How to Propagate Rhododendrons Successfully
This article has links to products that I may make commission from.
Welcome to the fascinating world of rhododendron propagation, where the beauty of flower buds unfolds into lush, vibrant gardens.
In this comprehensive guide, we delve into the art and science of multiplying these stunning plants, ensuring that all gardeners can successfully cultivate new rhododendrons from their existing favorites.
Learn how to identify the best flower buds for propagation, understand the critical steps in the process, and discover the joy of watching new growth emerge from carefully selected cuttings.
Whether you're a seasoned gardener or new to gardening, this guide will equip you with the knowledge and skills needed to propagate these beautiful blooms.
To learn more about growing rhododendrons, check out my guide Rhododendron vs Azalea: How to Spot the Difference.
Understanding Rhododendron Propagation
Propagating rhododendrons is a rewarding way to multiply these beautiful plants.
The process involves using parts of the parent plant to grow new plants.
Here are the key concepts behind propagating rhododendrons.
Key Concepts
Rhododendron Cuttings:
This is the most common and effective method of propagating rhododendrons.
The cuttings are typically taken from the stem of the parent plant.
It’s essential to choose a healthy stem with vigorous growth and no signs of disease or stress.
Cuttings can be taken from new growth or semi-hardwood.
Leaf Node and Stem:
A leaf node is where leaves are attached to the stem.
When taking cuttings, it's crucial to include at least one leaf node, as this is where the new roots are most likely to emerge.
The stem section should be healthy and robust, preferably from the current or previous year’s growth.
Rooting Hormone:
This is a substance that encourages root growth in plant cuttings.
Applying rooting hormone to the base of your rhododendron cuttings can significantly increase the chances of successful rooting.
It helps stimulate the cutting to develop roots at a faster pace than it would naturally.
Here is the rooting hormone I recommend:
Best Time for Taking Cuttings
The timing of taking cuttings is critical for successful propagation.
Rhododendron Cuttings in Spring:
Spring is an ideal time to take softwood cuttings.
Softwood cuttings are from new growth that is not yet mature.
These cuttings tend to root quickly and easily but are also more delicate and require careful handling.
Rhododendron Cuttings in Winter:
In winter, you can take hardwood cuttings from rhododendrons.
These are from mature, woody stems and are more resilient than softwood cuttings.
However, hardwood cuttings usually take longer to root and might require a more controlled environment, like a greenhouse.
Importance of Environment and Care
Humidity and Temperature:
Rhododendron cuttings require a humid and warm environment to encourage rooting.
This can be achieved by placing the cuttings in a plastic bag or under a plastic dome to maintain humidity.
Water and Light:
While the cuttings need to be kept moist, it's important to avoid over-watering as this can lead to rot.
They should also be placed in a location with indirect light as direct sunlight can be too intense.
Potential Challenges
Preventing Mold and Rot:
Ensuring proper air circulation and avoiding overly wet soil can help prevent the development of mold or rot in the cuttings.
Time and Patience:
Propagation from cuttings can be a slow process.
It requires patience and regular monitoring to ensure the cuttings are growing as expected.
By understanding these key elements of rhododendron propagation, gardeners can increase their chances of success. It's a process that combines science with a touch of art, requiring attention to detail and a nurturing approach.
Check out my guide: Rhododendron vs Azalea: How to Spot the Difference.
Step-by-Step Propagation Process
Propagating rhododendrons through cuttings is a delicate yet straightforward process.
By following these steps, gardeners can successfully propagate new plants from their existing rhododendron bushes.
Preparing the Cutting
Selecting the Parent Plant:
Choose a healthy rhododendron plant as your parent plant.
Look for vibrant leaves, robust growth, and absence of pests or diseases.
The health of the parent plant greatly influences the success of the cuttings.
Taking Cuttings:
The best cuttings are usually 4-6 inches long, with several leaves.
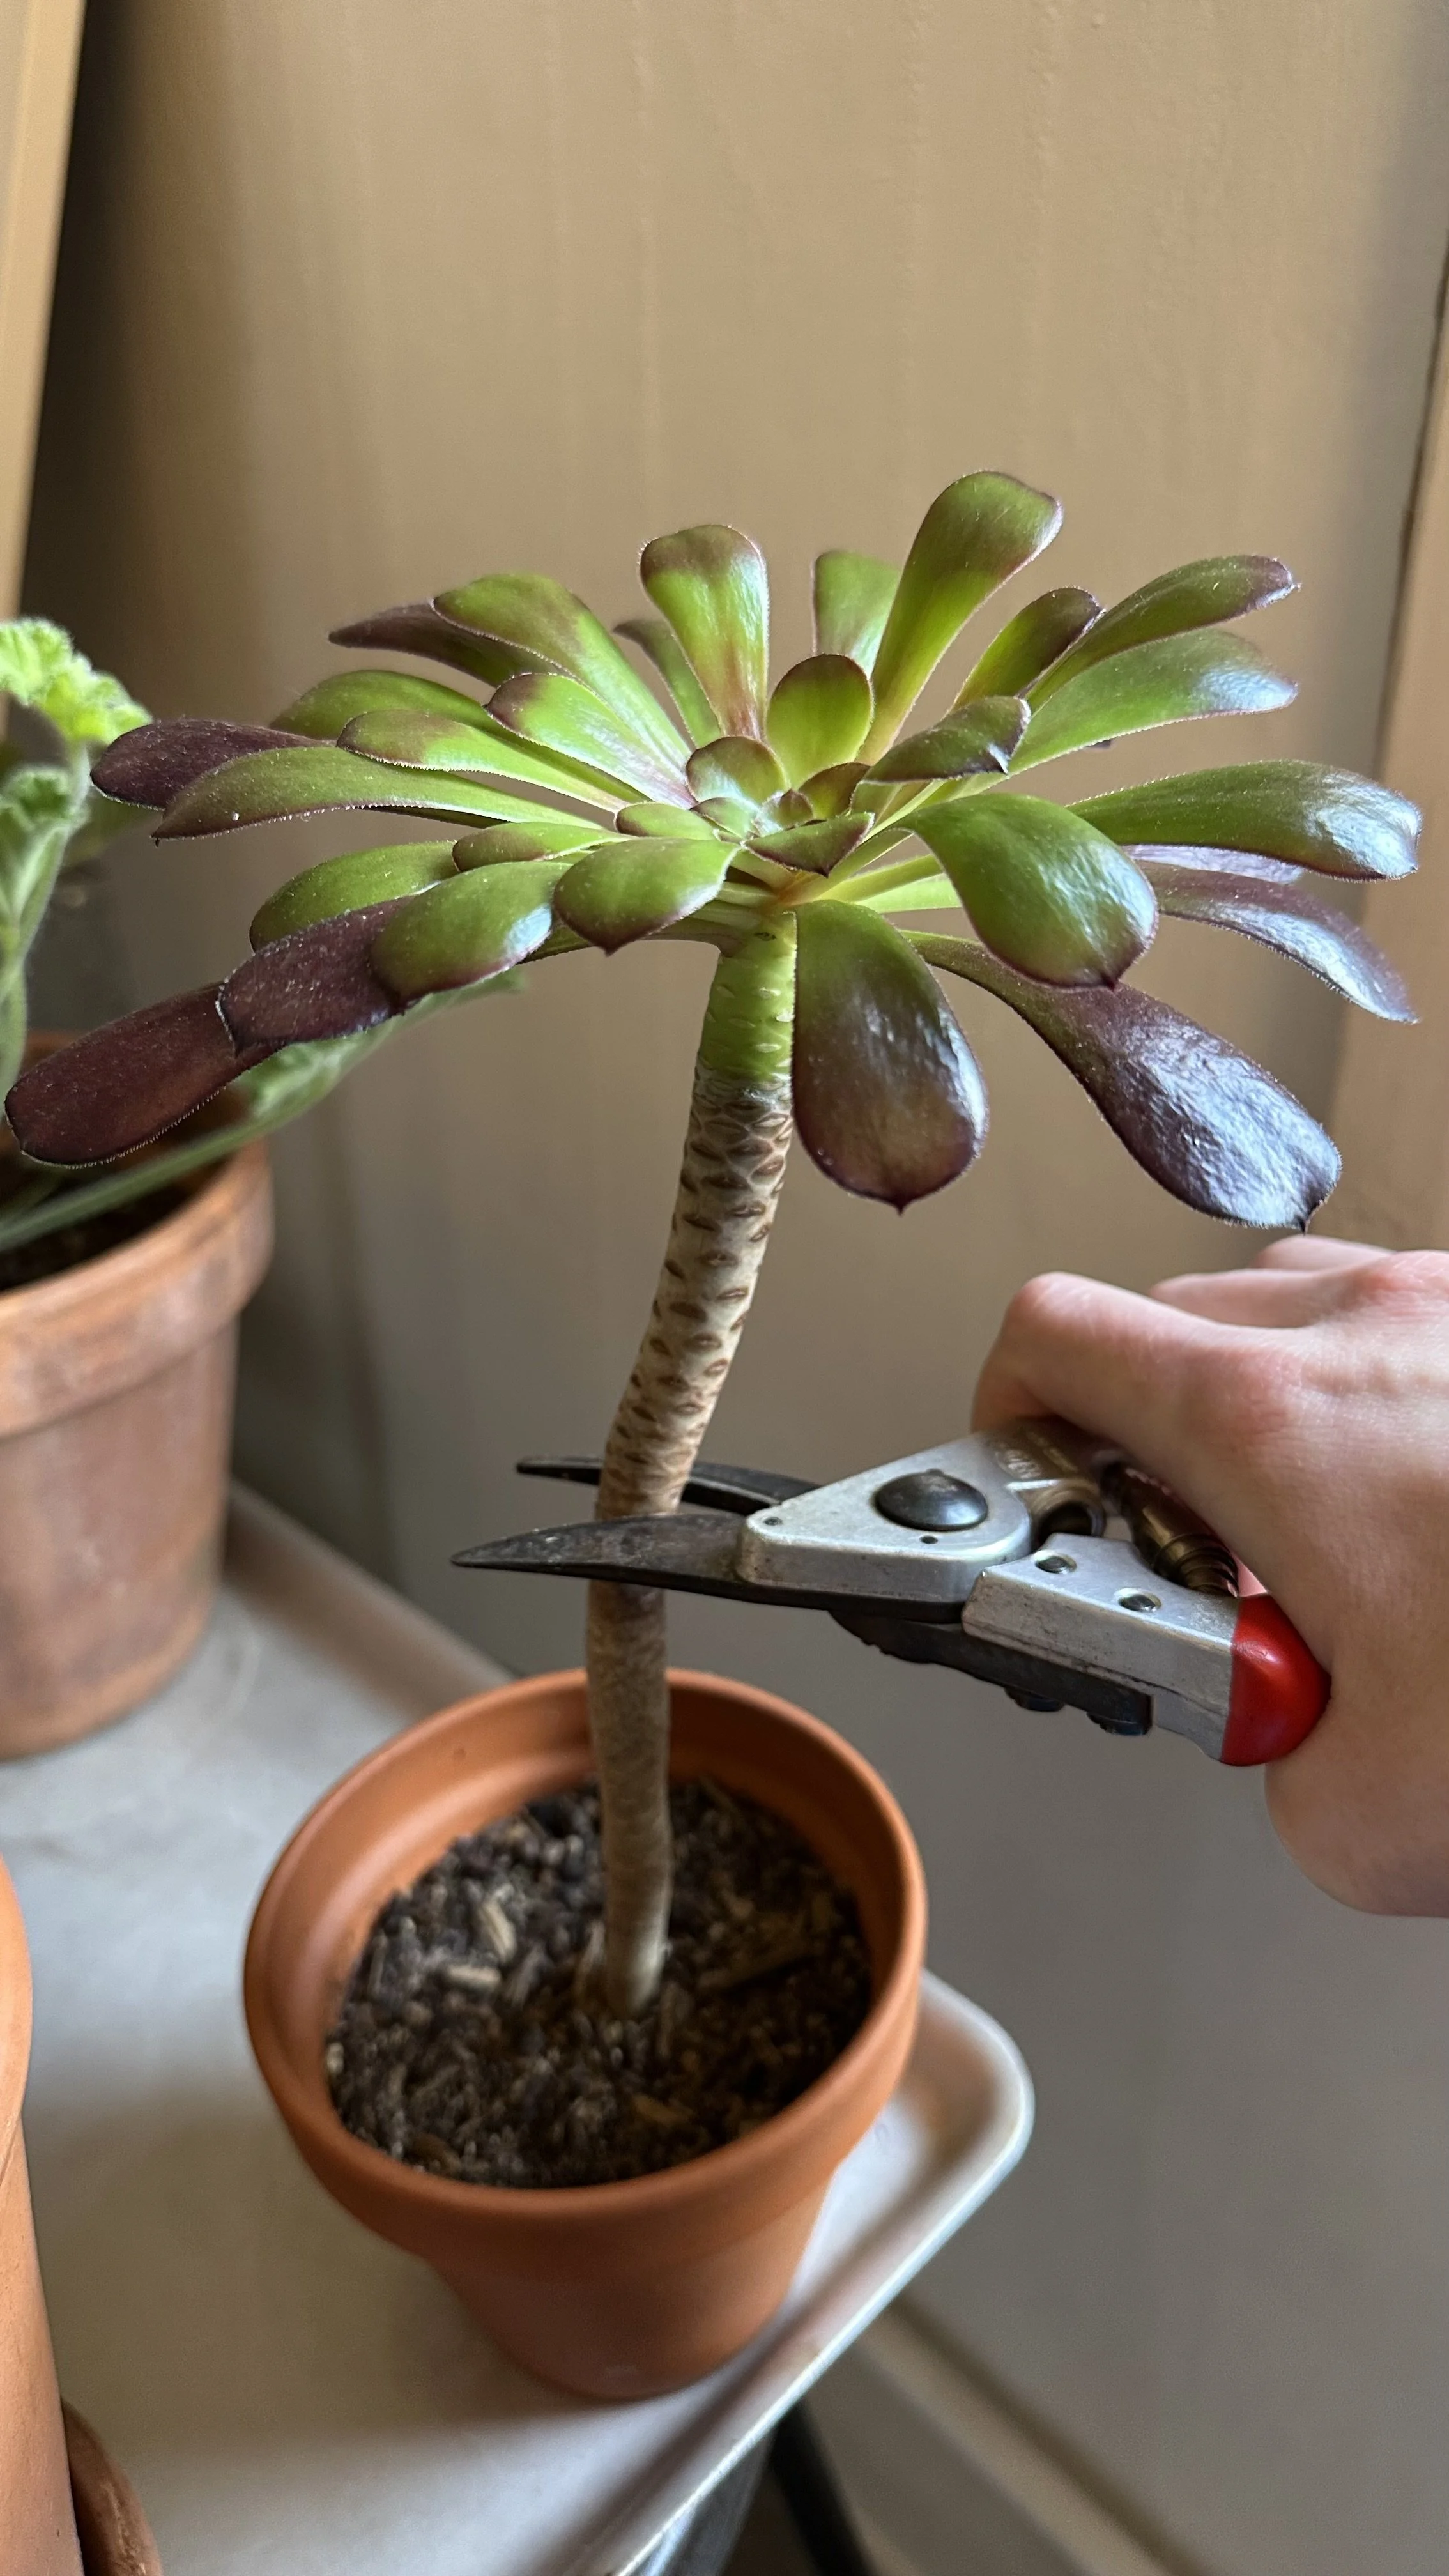
Using a sharp, clean pair of pruning shears, make a cut just below a leaf node.
The cut should be at a 45-degree angle to increase the surface area for rooting.
Here are the best pruning shears for the job:
3. Preparing the Cutting:
Remove the leaves from the lower half of the cutting, leaving a few leaves at the top.
This helps to reduce moisture loss while still allowing photosynthesis. If the leaves are very large, you can cut them in half to reduce transpiration.
4. Using Rooting Hormone:
Dip the cut end of the cutting into rooting hormone powder or gel.
This step is crucial as it significantly improves the chances of root development.
Rooting the Cuttings
Soil Preparation:
Fill a pot with a well-draining soil mix, ideally one that includes perlite. This mix provides the right balance of moisture retention and drainage.
Here is the potting soil for propagation I recommend:
Planting the Cuttings:
Insert the cuttings about 1-2 inches deep into the soil.
Gently firm the soil around the cuttings to ensure contact with the rooting hormone.
Creating a Humid Environment:
Cover the pot with a plastic bag or place it inside a mini greenhouse to maintain high humidity.
This simulates a humid, greenhouse-like environment crucial for rooting.
Watering and Positioning:
Keep the soil consistently moist but not soggy.
Place the pot in a warm location with indirect sunlight.
Avoid direct sun exposure as it can overheat and stress the cuttings.
Monitoring Root Growth:
Root development can take several weeks to a few months.
Gently tug on the cuttings after a few weeks to test for resistance, indicating root growth.
Transplanting Rooted Cuttings
Checking for Roots:
Once the cuttings have developed a good root system, they are ready to be transplanted.
Carefully remove the cuttings from the pot to check for healthy, white roots.
Transplanting:
Transplant the rooted cuttings into individual pots or directly into the garden.
Choose a location with well-draining soil and partial sun.
Aftercare:
Water the new plants regularly and monitor them for growth and health.
It may take some time for the plants to establish fully and start showing new growth.
Tips for Success
Timing: Take cuttings in the early morning when the plant is fully hydrated.
Cleanliness: Always use clean tools and pots to prevent the spread of disease.
Patience: Propagation is a slow process. Be patient and give your cuttings time to grow.
Want to learn more about propagation? Check out my guides:
Advanced Techniques
While stem cuttings are a common method for propagating rhododendrons, there are more advanced techniques that can be employed for successful and sometimes faster propagation.
These include layering and air layering, which are particularly useful for larger or more mature plants.
Layering Rhododendron
Layering is a technique that involves encouraging a stem to develop roots while it is still attached to the parent plant.
This method is particularly effective for rhododendrons with lower branches that can be easily bent to the ground.
Selecting a Branch:
Choose a healthy, flexible lower branch on the rhododendron.
The branch should be long enough to reach the ground comfortably.
Preparing the Branch:
Gently scrape or wound the underside of the branch where it touches the soil.
This wounding encourages root growth.
Rooting the Branch:
Bend the branch down to the ground and cover the wounded section with soil.
You can use a stone or a peg to secure the branch in place.
Encouraging Root Growth:
Keep the area moist. Rooting can take several months.
During this time, the branch should remain attached to the parent plant.
Separation:
Once the layered branch has developed a robust root system, it can be cut from the parent plant and transplanted to a new location.
Air Layering
Air layering is a more intricate method that involves rooting a branch while it is still on the parent plant, but without bending it to the ground.
Choosing the Branch:
Select a healthy branch that is at least one year old.
Wounding the Branch:
Make an upward slanting cut about one-third of the way through the branch.
Insert a small piece of wood or plastic to keep the cut open.
Applying Rooting Medium:
Surround the wounded part of the branch with moist sphagnum moss.
Then wrap it with plastic to hold the moss in place and to create a humid environment around the wound.
Securing the Wrap:
Seal the ends of the plastic wrap with tape to maintain moisture.
Ensure the moss stays moist throughout the rooting process.
Monitoring and Separation:
After a few months, check for root growth within the moss.
Once a healthy root system is established, the branch can be cut below the rooted section and planted as a separate plant.
Considerations for Advanced Techniques
Patience and Care:
Both layering and air layering require patience, as they can take several months to a year for roots to develop fully.
Environmental Factors:
Ensure the parent plant is in a healthy condition and the environment is suitable for propagation, with adequate moisture and indirect light.
Aftercare:
Once separated, treat the new plant as you would a cutting, with careful attention to watering, soil conditions, and light.
FAQ Section
How long does it take for a rhododendron cutting to root?
The time it takes for a rhododendron cutting to root can vary depending on several factors such as the type of cutting (softwood or hardwood), the environmental conditions, and the care provided.
Typically, softwood cuttings taken in spring or early summer may start to root in 3-4 weeks, whereas hardwood cuttings taken in winter can take several months.
Consistent moisture, warmth, and indirect light are key to encouraging faster rooting.
Can you root a rhododendron branch?
Yes, you can root a rhododendron branch using techniques like layering and air layering.
These methods are particularly effective for larger branches that are still attached to the parent plant.
In layering, a branch is encouraged to root by making contact with the soil, while air layering involves rooting a branch in the air using moist sphagnum moss and plastic wrap.
What are the differences between propagating rhododendrons and azaleas?
Rhododendrons and azaleas are closely related and can be propagated using similar methods.
However, azaleas, being generally smaller and more delicate, might root more quickly and easily than the larger-leaved rhododendrons.
The care and environmental conditions required for successful propagation are quite similar for both.
how can you collect rhododendron seeds?
To collect rhododendron seeds, wait until the seed pods on the plant have dried and turned brown.
Carefully remove the pods and gently open them to extract the tiny seeds.
It's important to store the seeds in a cool, dry place until you are ready to sow them.
Keep in mind that growing rhododendrons from seeds can be a lengthy and less reliable process compared to cuttings.
How to ensure successful cloning from cuttings?
To ensure successful cloning from cuttings, start with healthy, disease-free parent plants.
Use a sharp, clean cutting tool to make precise cuts, and immediately place the cuttings in water or moist soil to prevent them from drying out.
Applying rooting hormone can significantly enhance the chances of successful root development.
Additionally, maintaining a consistent environment with high humidity, warm temperatures, and indirect light is crucial.
What's the best way to propagate rhododendrons in water?
While propagating rhododendrons in water is less common than soil propagation, it can be done by placing the freshly cut stems in a container of water.
Change the water regularly to prevent bacterial growth.
Once roots have developed, transplant the cutting into soil.
This method allows you to visually monitor root development.
How do you propagate rhododendrons in different seasons?
Spring:
Ideal for softwood cuttings.
The plant is in active growth, and cuttings root quickly.
Summer:
Semi-hardwood cuttings can be taken, though they may require more care to prevent drying out.
Winter:
Hardwood cuttings are more resilient but take longer to root.
A controlled environment like a greenhouse can be beneficial.
Conclusion
As we conclude our journey through the intricate world of propagating rhododendrons, it's clear that this endeavor is more than just a gardening task; it's a way to connect with nature and bring more beauty into our surroundings.
By mastering the art of rhododendron propagation, you not only expand your garden's diversity but also engage in a rewarding, creative process that enhances your gardening skills.
The patience and care invested in nurturing flower buds into full-grown plants are a testament to the dedication of gardeners. Each step, from selecting the right cuttings to witnessing the first signs of new growth, brings its own set of rewards.
The sight of a newly rooted cutting or the emergence of fresh leaves and flowers on a plant that you propagated is a deeply satisfying experience.
Moreover, this guide serves as a reminder of the importance of preserving and propagating our beloved plant species. Each new rhododendron plant is a contribution to biodiversity, adding not only aesthetic value to our gardens but also playing a role in the larger ecosystem.
Whether you're propagating rhododendrons for personal enjoyment, to share with fellow gardening enthusiasts, or even as a means to conserve rare or special varieties, the knowledge and techniques shared here will serve you well.
Remember, each plant you propagate carries a piece of its parent's legacy, creating a living link between the past and future of your garden. I encourage you to embrace the challenges and joys of rhododendron propagation.
May your efforts bloom into stunning displays that captivate the senses and inspire a continued passion for gardening.


