Repotting a Bay Tree: 6 Easy Steps
This website is reader-supported - thank you! This post may contain affiliate links. As an Amazon Associate, I earn from qualifying purchases at no extra cost to you.
I never planned on growing bay, but when I spotted a small bay tree at the Columbia Road Flower market, I decided it was the perfect time to add it to my little herb garden.
What started as a single little plant quickly became a staple in my garden.
At first, I kept it tucked beside an olive tree, assuming they’d make good companions.
But I soon realized that bay has its own needs—it likes space to stretch its roots and rewards you for giving it the right home.
Over the years, I’ve learned that repotting is one of the best ways to keep a bay tree happy.
When I notice its roots peeking out of the drainage holes or the soil drying out faster than usual, I know it’s time for a new container.
Repotting gives the roots room to breathe, encourages fresh growth, and keeps the leaves lush and healthy.
Whether you’re growing a single potted bay tree for fresh leaves in the kitchen or maintaining a whole row in containers, knowing when and how to repot makes all the difference.
I’ve found that with the right approach, it’s a simple task that keeps my trees thriving for years.
Let me walk you through the process, step by step, so you can keep your bay tree looking its best.
For more growing tips, check out my guides:
Top Low Maintenance Evergreen Plants for Pots
The Best Trailing Plants for Window Boxes
Plants That Deter Cats: A Natural Solution to Keep Cats at Bay
Choosing the Right Moment
Figuring out the best time to repot a bay tree took me a bit of trial and error at first.
Over the years, I’ve come to rely on a few signs that help me decide when the move to a larger container is needed:
Roots Peeking Out
The biggest clue for me is when I catch roots poking through the drainage holes at the bottom of the pot.
That usually means the root system is running out of space.
I like to gently tilt the pot or lift it up to get a better look—if there’s a good tangle down there, I know it’s time to make a change.
Soil Drying Too Quickly
If I notice that the soil is drying up almost as soon as I water, I take it as a prompt to consider repotting bay tree.
When it’s hot in summer, it can be normal for water to evaporate faster, but if my bay leaves seem limp or the plant droops regularly, I suspect the container is simply too small.
Plus, dehydrated soil can stunt new growth.
For more watering tips, check out my guide: How to Use Watering Globes.
Slowed Growth
During the main growing season, I look forward to seeing fresh bay leaves and a flush of new shoots.
When that usual burst of activity starts to lag—or if the bay leaf tree looks a little tired—it’s a heads-up.
Sometimes this can also be caused by cramped roots or depleted compost, both of which a new, bigger container can fix.
Timing Every Few Years
I used to wonder if I should repot every year, but I’ve found that doing so every two to three years is usually enough.
By spacing it out, I keep the roots from getting pot-bound yet still allow the bay laurel a chance to settle into its pot.
It’s a balance between giving it space to spread and not overwhelming it with too much room.
Shape and Form
If you’re training a bay tree lollipop or creating a specific shape, the container plays a part in maintaining that form.
A snug pot can slow growth, but a larger container lets the trunk thicken and supports sturdier branching.
So, if you see the shape losing its crisp outline or the trunk looking a bit spindly, you know the plant might need more room.
These cues have guided me toward healthier bay trees in pots.
Once I recognize the signs, I feel more confident moving them into fresh compost with ample space, and that helps me maintain vibrant, strong bay leaves all season long.
For more herb growing inspiration, check out my guides:
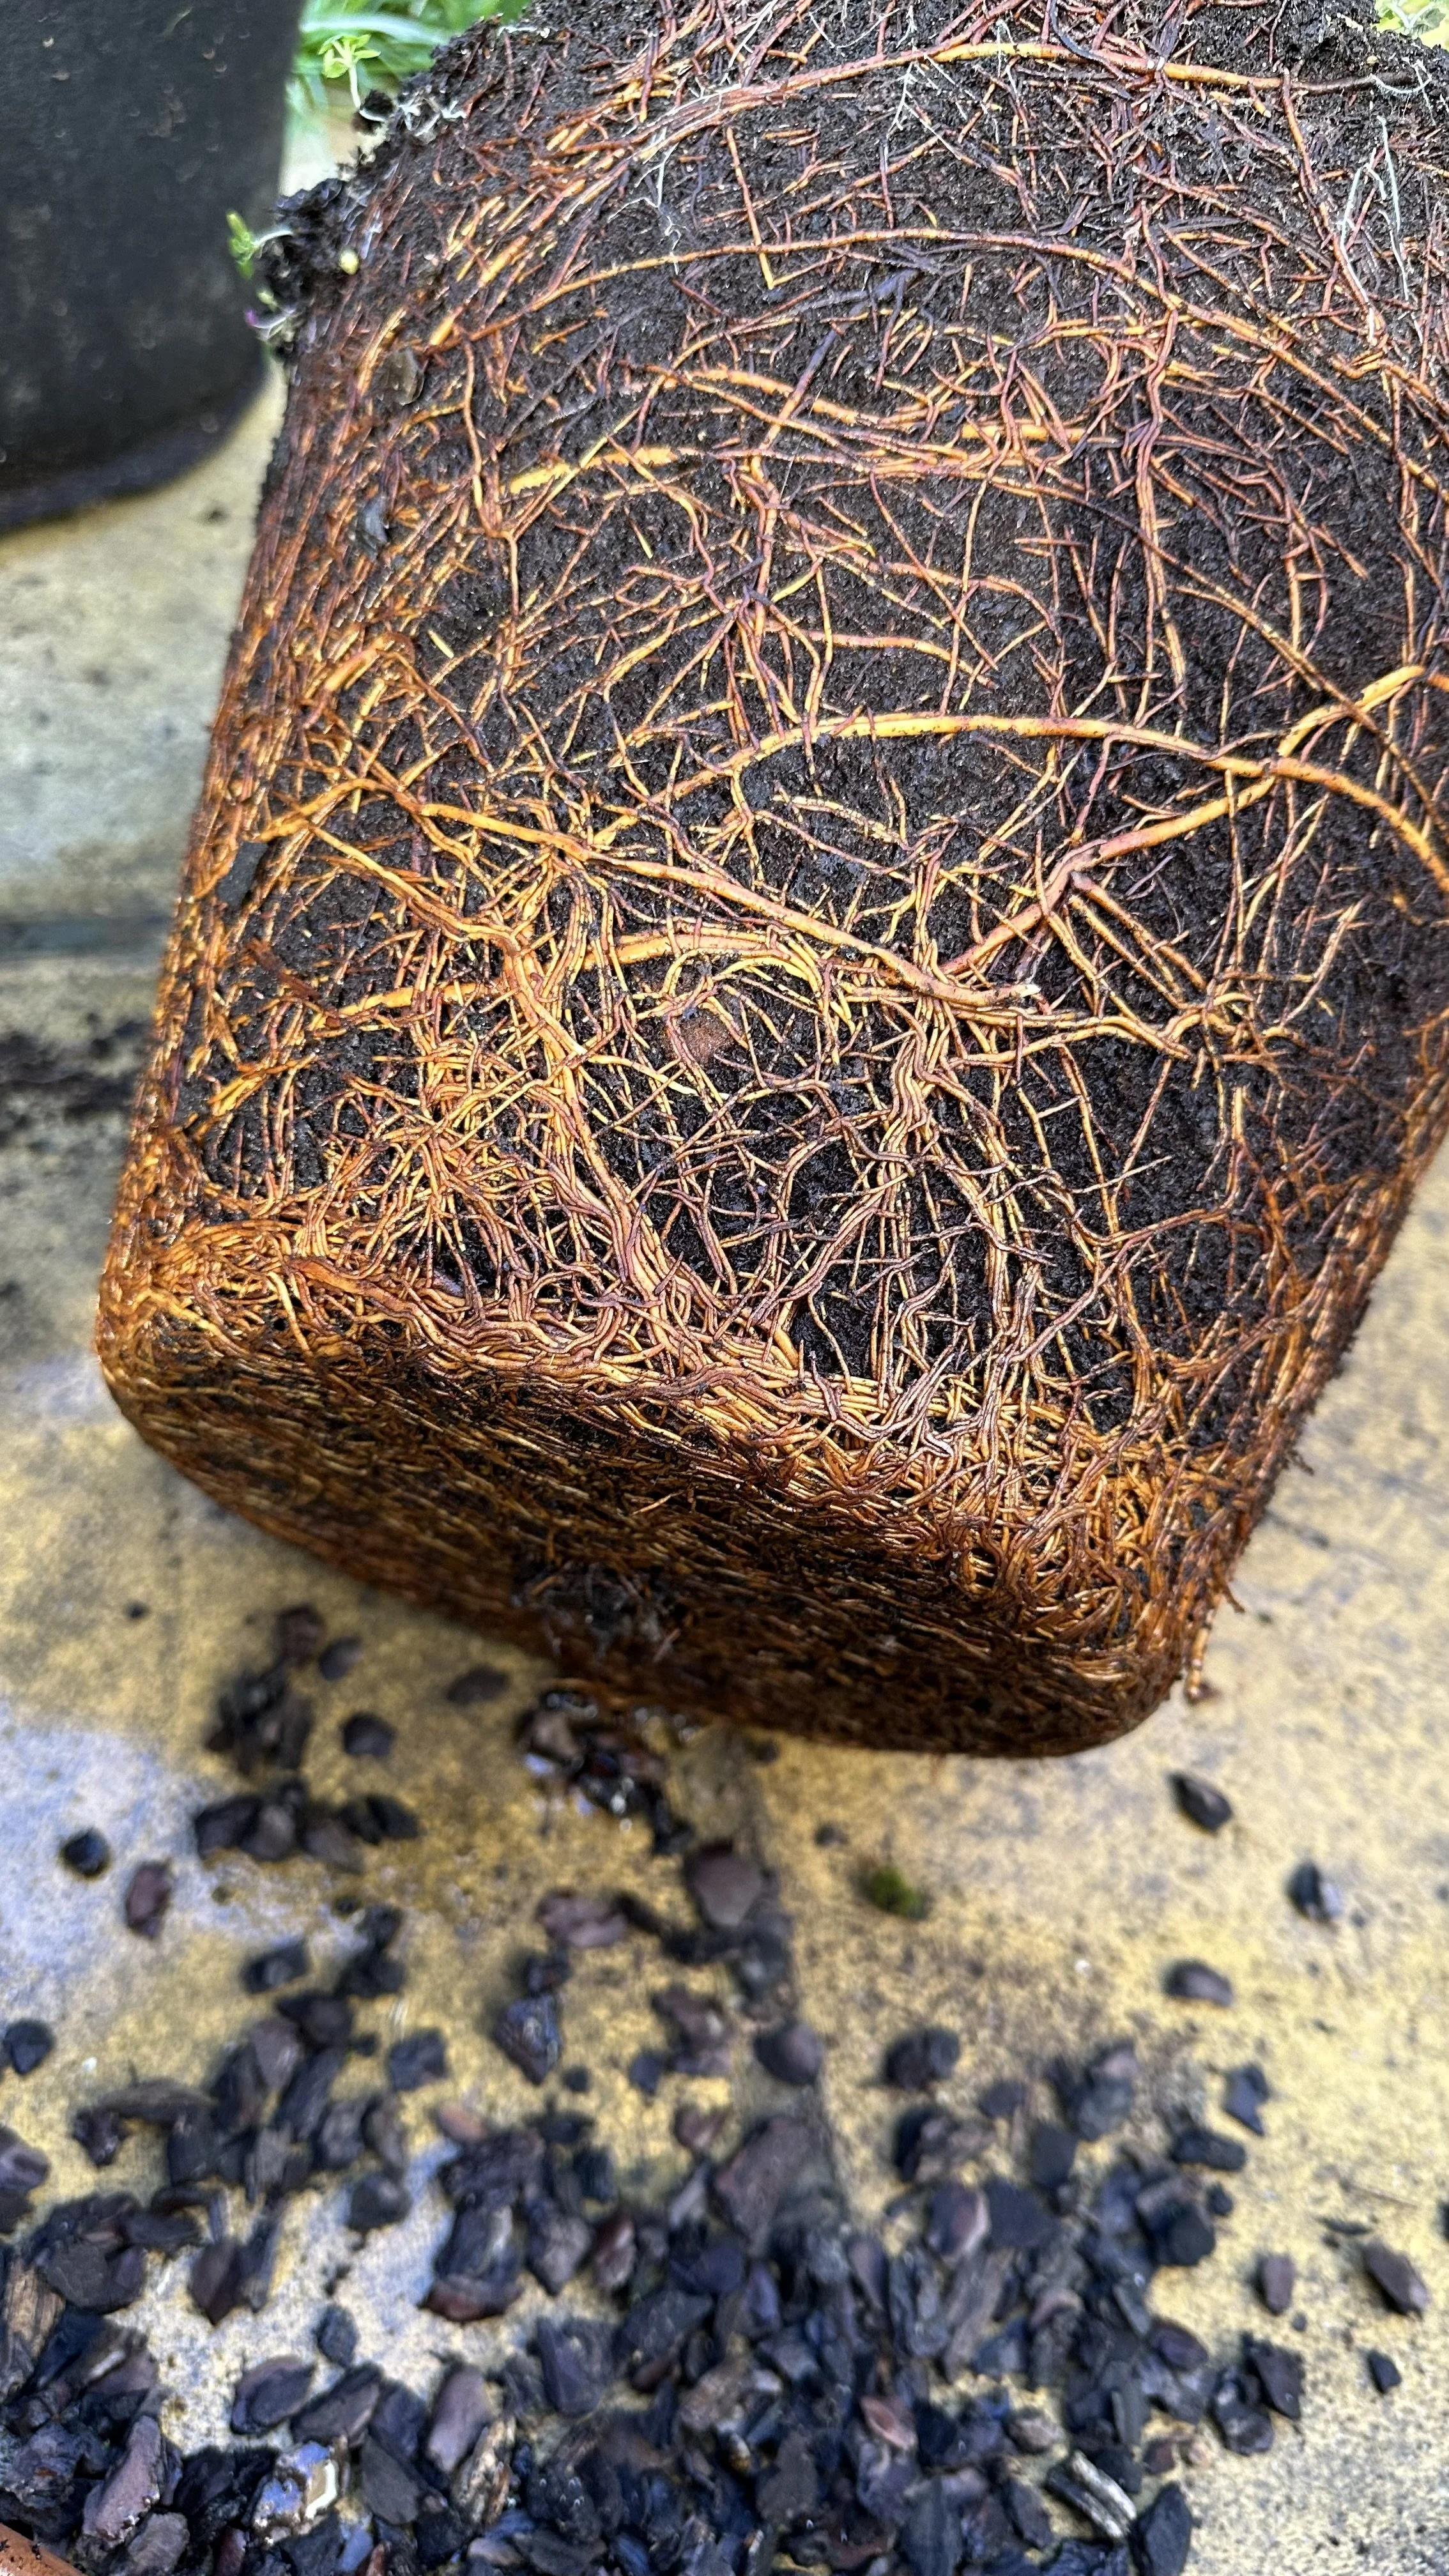
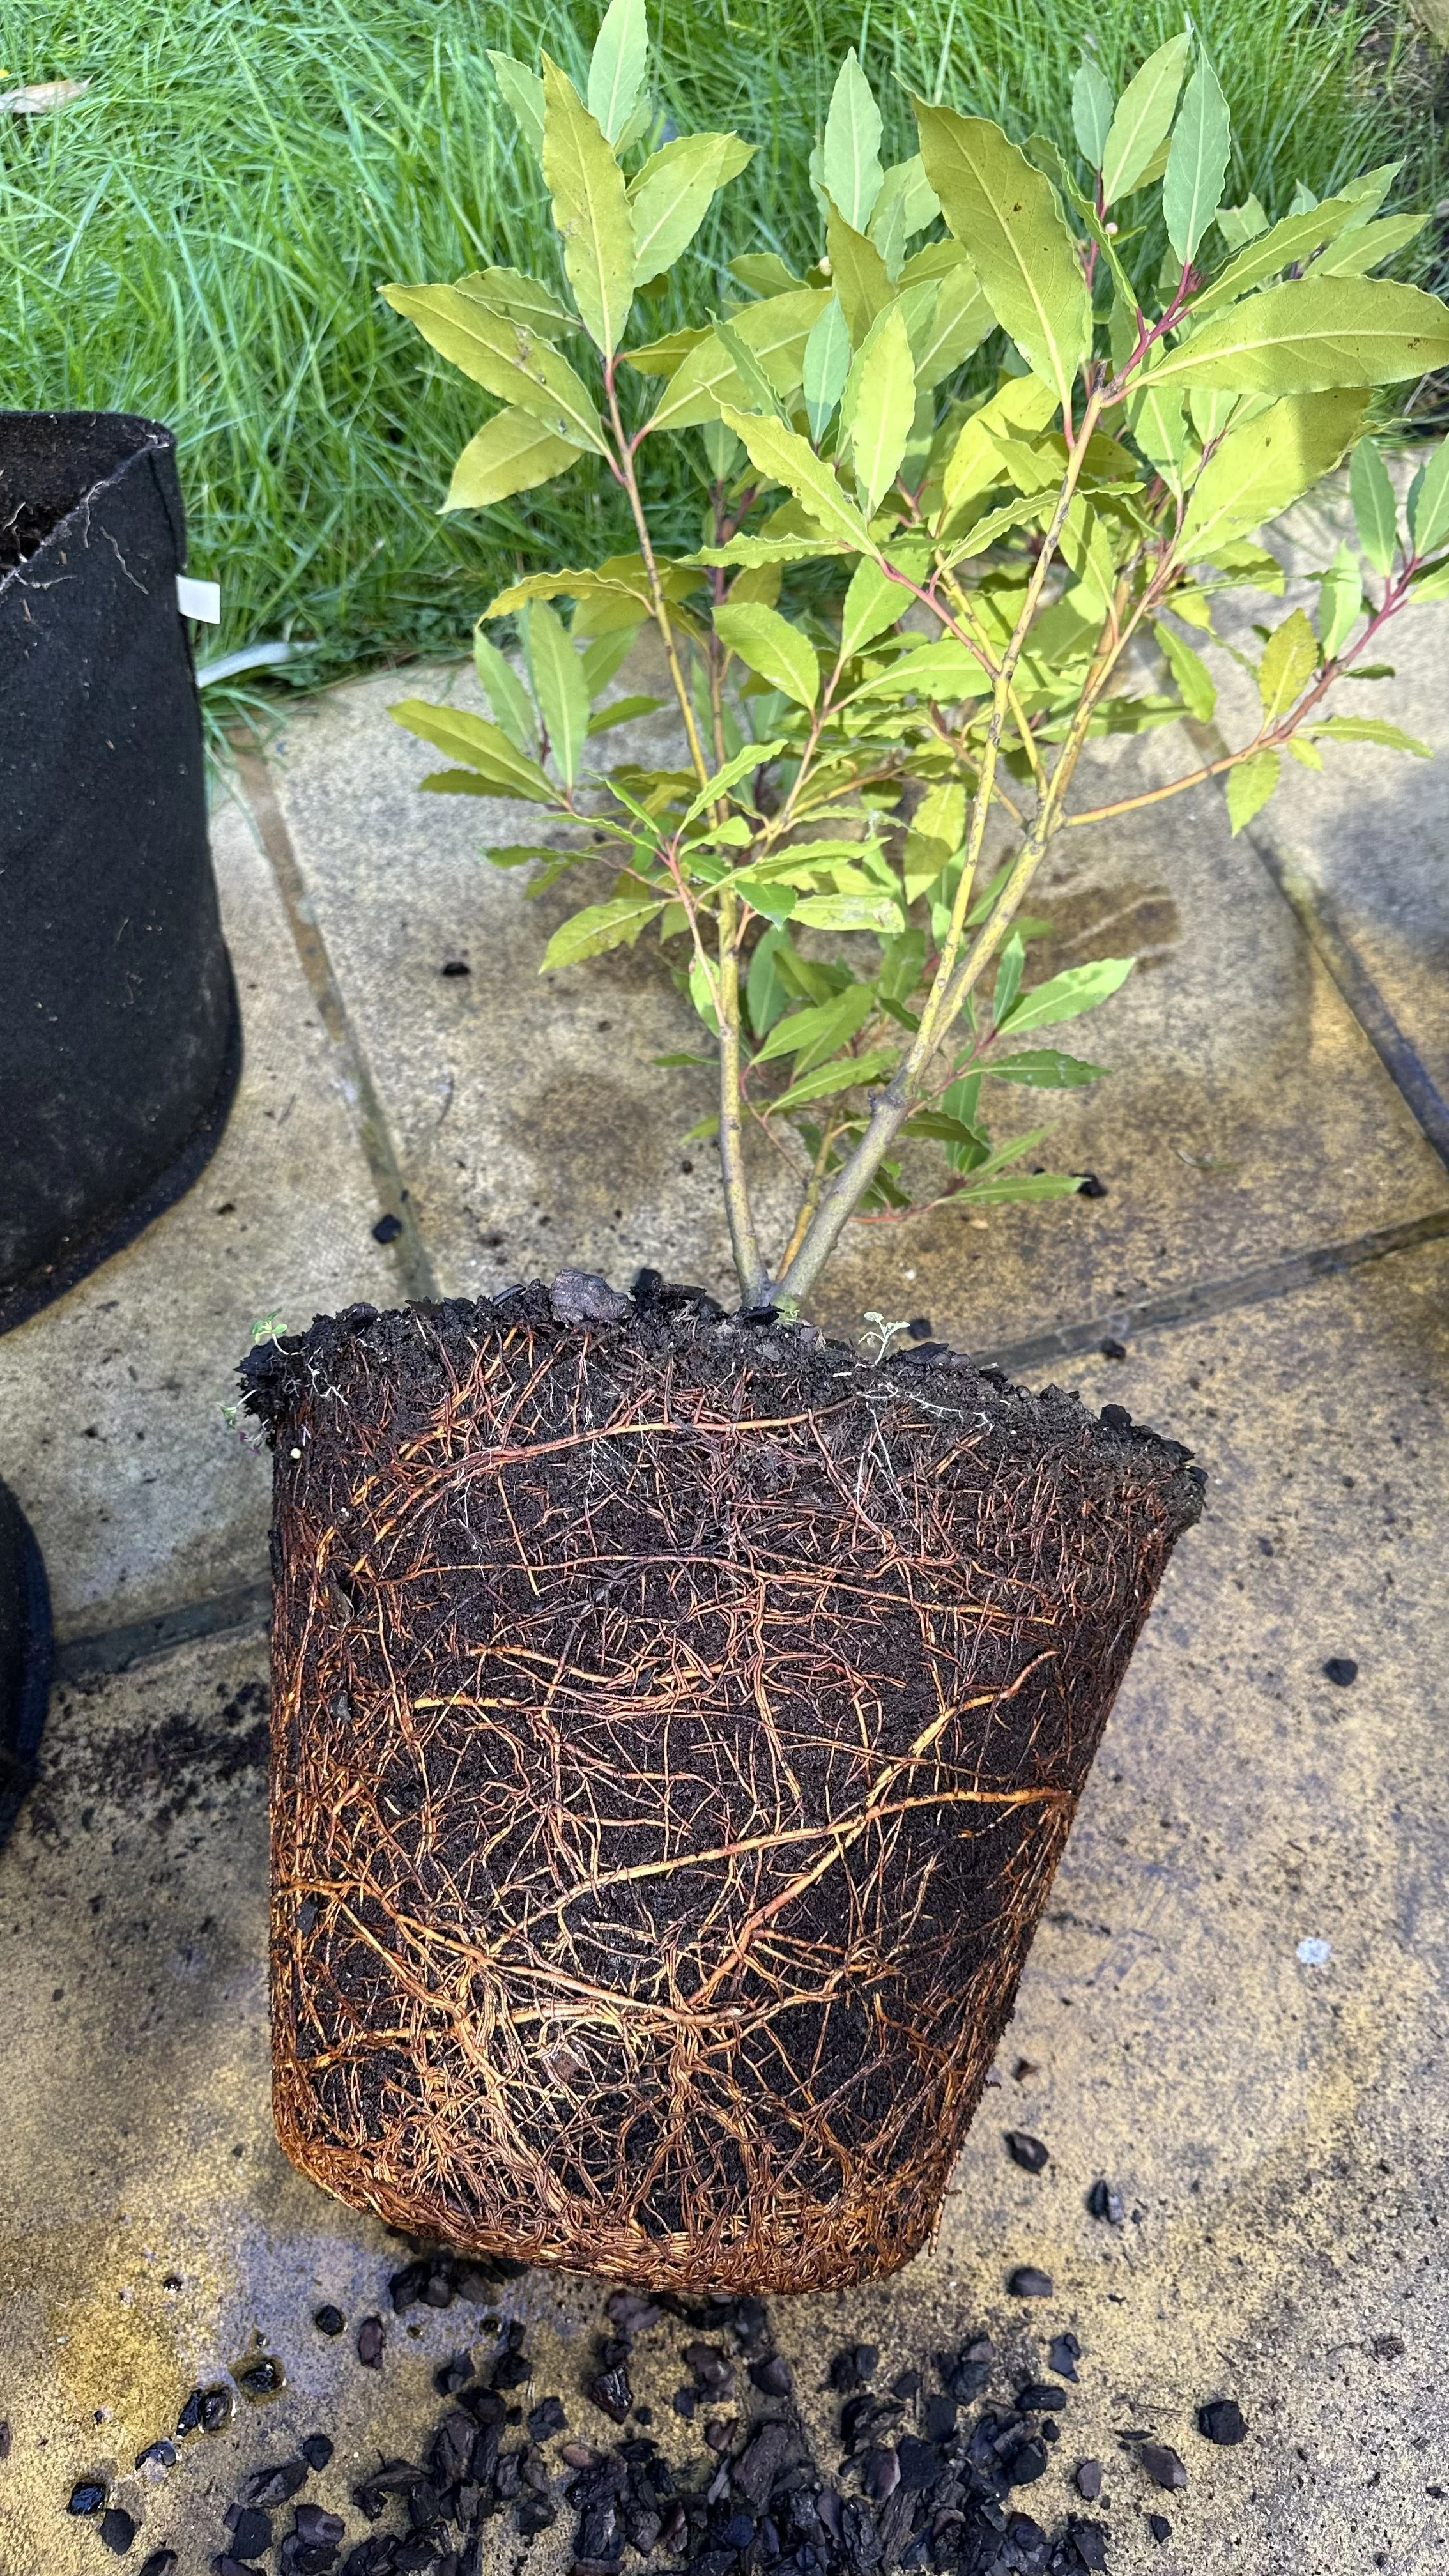
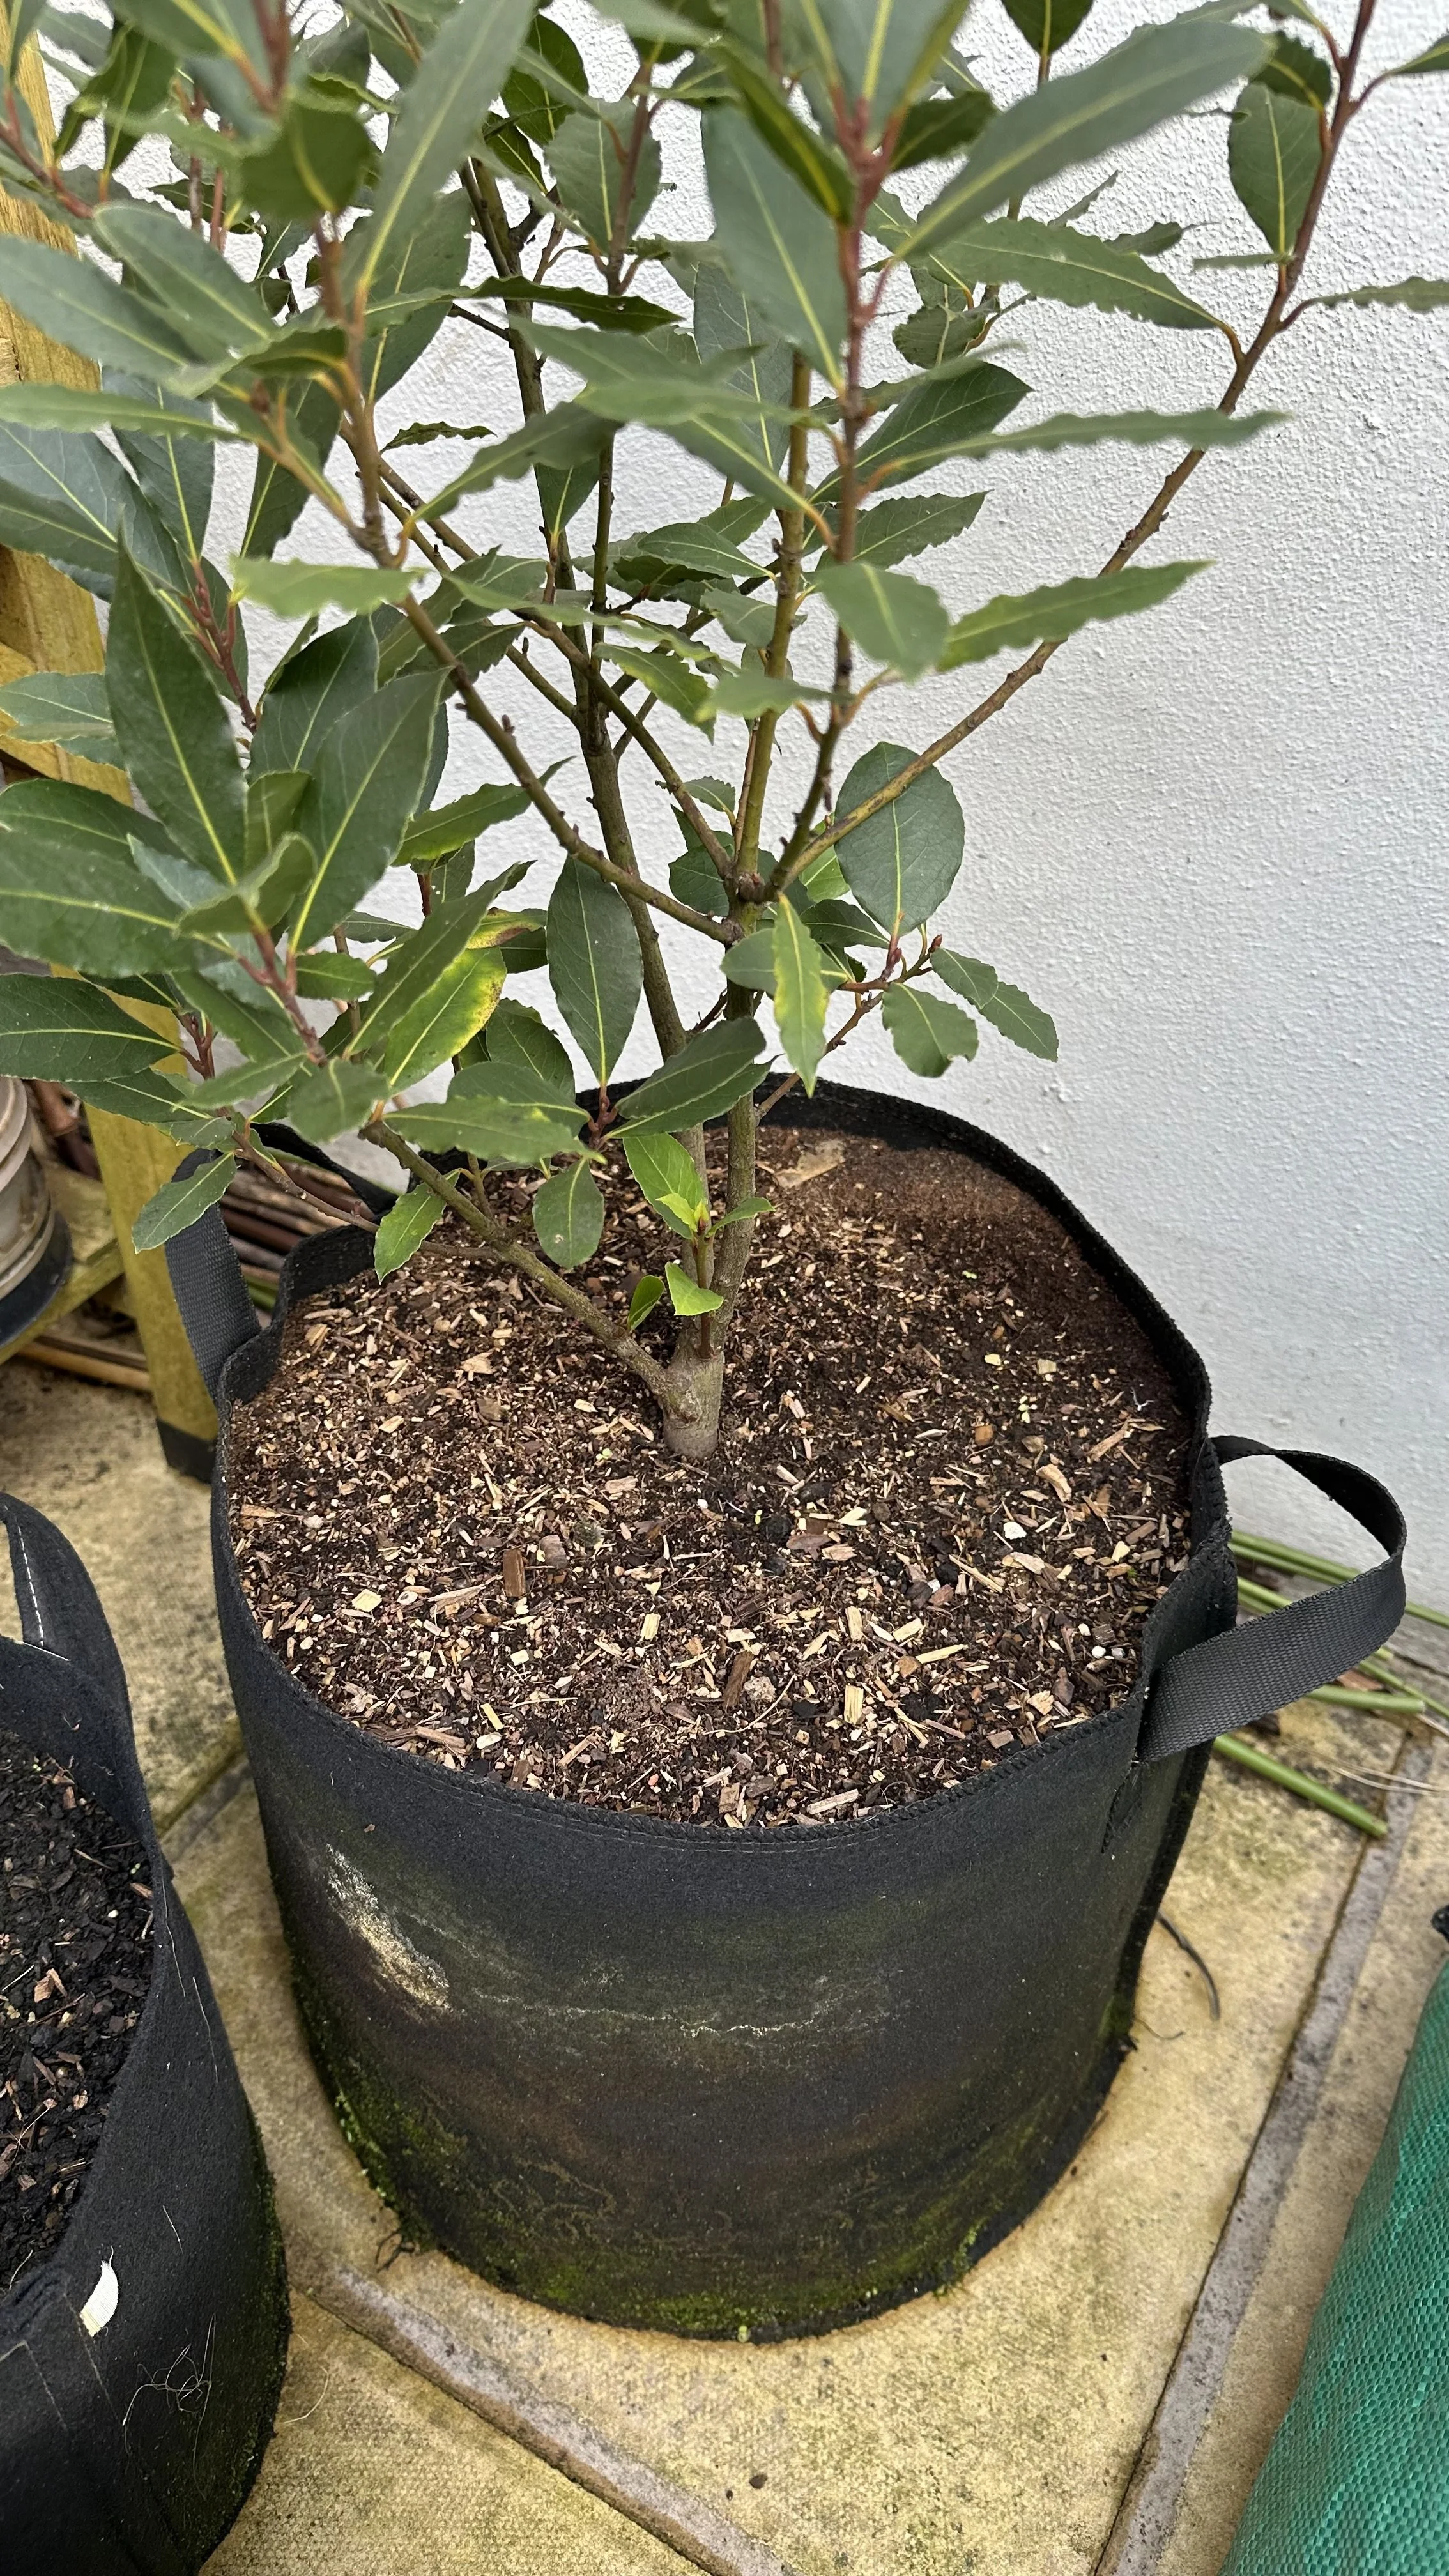
This bay tree has become quite rootbound and needs a new pot.
Supplies and Preparation
Whenever I plan to repot a bay tree, I start by gathering everything I need in one place so I’m not scrambling mid-task.
Over the years, I’ve learned it’s simpler if I set up a little station in the garden or on a patio table with enough space to maneuver.
Let me walk you through my usual process:
Picking the Perfect Container
I generally look for a pot that’s just one or two sizes larger than the current one.
If I jump straight to a huge container, the soil can stay too damp in places where the roots don’t reach.
By moving up gradually, I give the bay leaf tree root system a better chance to settle without being overwhelmed.
And, of course, any new container should have proper drainage holes—this is non-negotiable for healthy roots.
Deciding on Soil or Compost
It’s really important to choose a mix that supports growth without turning into a soggy mess.
I typically use an organic compost because it has the right balance of nutrients and drainage.
You could also blend in a bit of free-draining material if your local conditions are very damp.
The goal is to keep the bay tree roots happy and well-ventilated.

Gathering Basic Tools
A sturdy pair of gloves (my hands always thank me for this later).

A hand trowel for scooping compost.

A watering can filled and ready to go.

A small fork or garden knife in case I need to gently tease out the roots.

Finding the Right Spot
Before I even start repotting, I think about where the bay tree (or bay trees, if I’m doing multiple) will live afterward.
I love placing them in a spot that gets decent sunshine, especially during the growing season, but not so much scorching heat that the soil dries out in a flash.
In winter, I keep a plan B in mind—somewhere sheltered—just in case the temperatures drop too low.
Considering the Aftermath
Once the repotting is done, I don’t want to drag a heavy pot across the patio or through the house.
So, if I’m planning to position my potted bay tree in a certain corner, I might do the repotting near that area.
If the bay tree lollipop form you are repotting is tall, a quick check ensures it won’t topple over in a windy location.
When I have everything positioned properly from the start, it saves me a lot of hassle down the line.
For more herb growing tips, check out my guides:
How to Store Dried Herbs: Tips to Ensure they Last Longer

Step-by-Step: Repotting a Bay Tree
I like to break down repotting a bay tree into smaller tasks so it feels less daunting.
Here’s the process I follow:
Ease the Tree Out
I cradle the trunk of my bay laurel gently and tip the container on its side.
If the roots are clinging to the edges, I run a small trowel or a garden knife (also called hori hori) around the inside to loosen everything.
Once I feel it shift, I ease the whole root ball out in one piece.
This part can be a little tricky, so I take my time to avoid damaging any new shoots.
Check the Root Ball
After removing the plant, I take a look at the roots.
If I see they’re circling tightly, I tease them out a bit with my fingers.
That way, they can spread more easily once they’re in fresh, well-drained soil.
If there are any dead or squishy roots, I trim them with clean pruners.
This helps the bay leaves stay healthy, since a compromised root system can lead to problems later.
Prepare the Larger Container
I always pick a pot with proper drainage holes.
A size or two larger than the old one usually works best for potting bay.
Before setting the tree in, I fill the bottom with some compost, ensuring there’s enough room so the top of the root ball sits just below the pot’s rim.
By not going too big right away, I keep the compost from staying overly wet, which could harm the roots.
Set the Bay Tree in Place
With the tree centered, I fill in around the root ball with more compost, gently pressing it down to remove any air pockets.
This is where I try to pay attention to how much material I’m adding, so the trunk remains at the same soil level it had before.
If I bury the trunk too deeply, it can stress the tree and affect new growth.
Water Thoroughly
As soon as I finish planting, I give the bay leaf tree a generous watering.
I like to watch the water drain out of the bottom to be sure it’s flowing freely.
This initial soaking helps the compost settle around the roots and provides moisture for recovery.
If the weather is particularly warm, I’ll check the top layer every few days during the growing season to make sure it’s not drying out too fast.
Consider Added Support
If you have a tall bay tree in lollipop form, I would recomming poping in a stake for extra stability, especially if you repot during a windy time of year.
It just needs a gentle tie around the trunk so it doesn’t wobble too much.
I’ve learned the hard way that a slight breeze can topple a newly repotted plant if it’s not steady.
Lastly, I pick up any stray leaves or compost around my workspace and move the repotted bay tree to its spot.
I like to keep an eye on it for the next week or so, just to ensure the soil stays lightly moist without getting waterlogged.
If everything looks good—plenty of healthy bay leaves and no drooping branches—then I know the repotting went smoothly.
Once you get into the rhythm, the process feels more straightforward, and it’s satisfying to see your bay tree settle into its new home with fresh compost and room for the roots to grow.
For more growing tips, check out my guides:
Top Slug Resistant Plants to Transform Your Garden
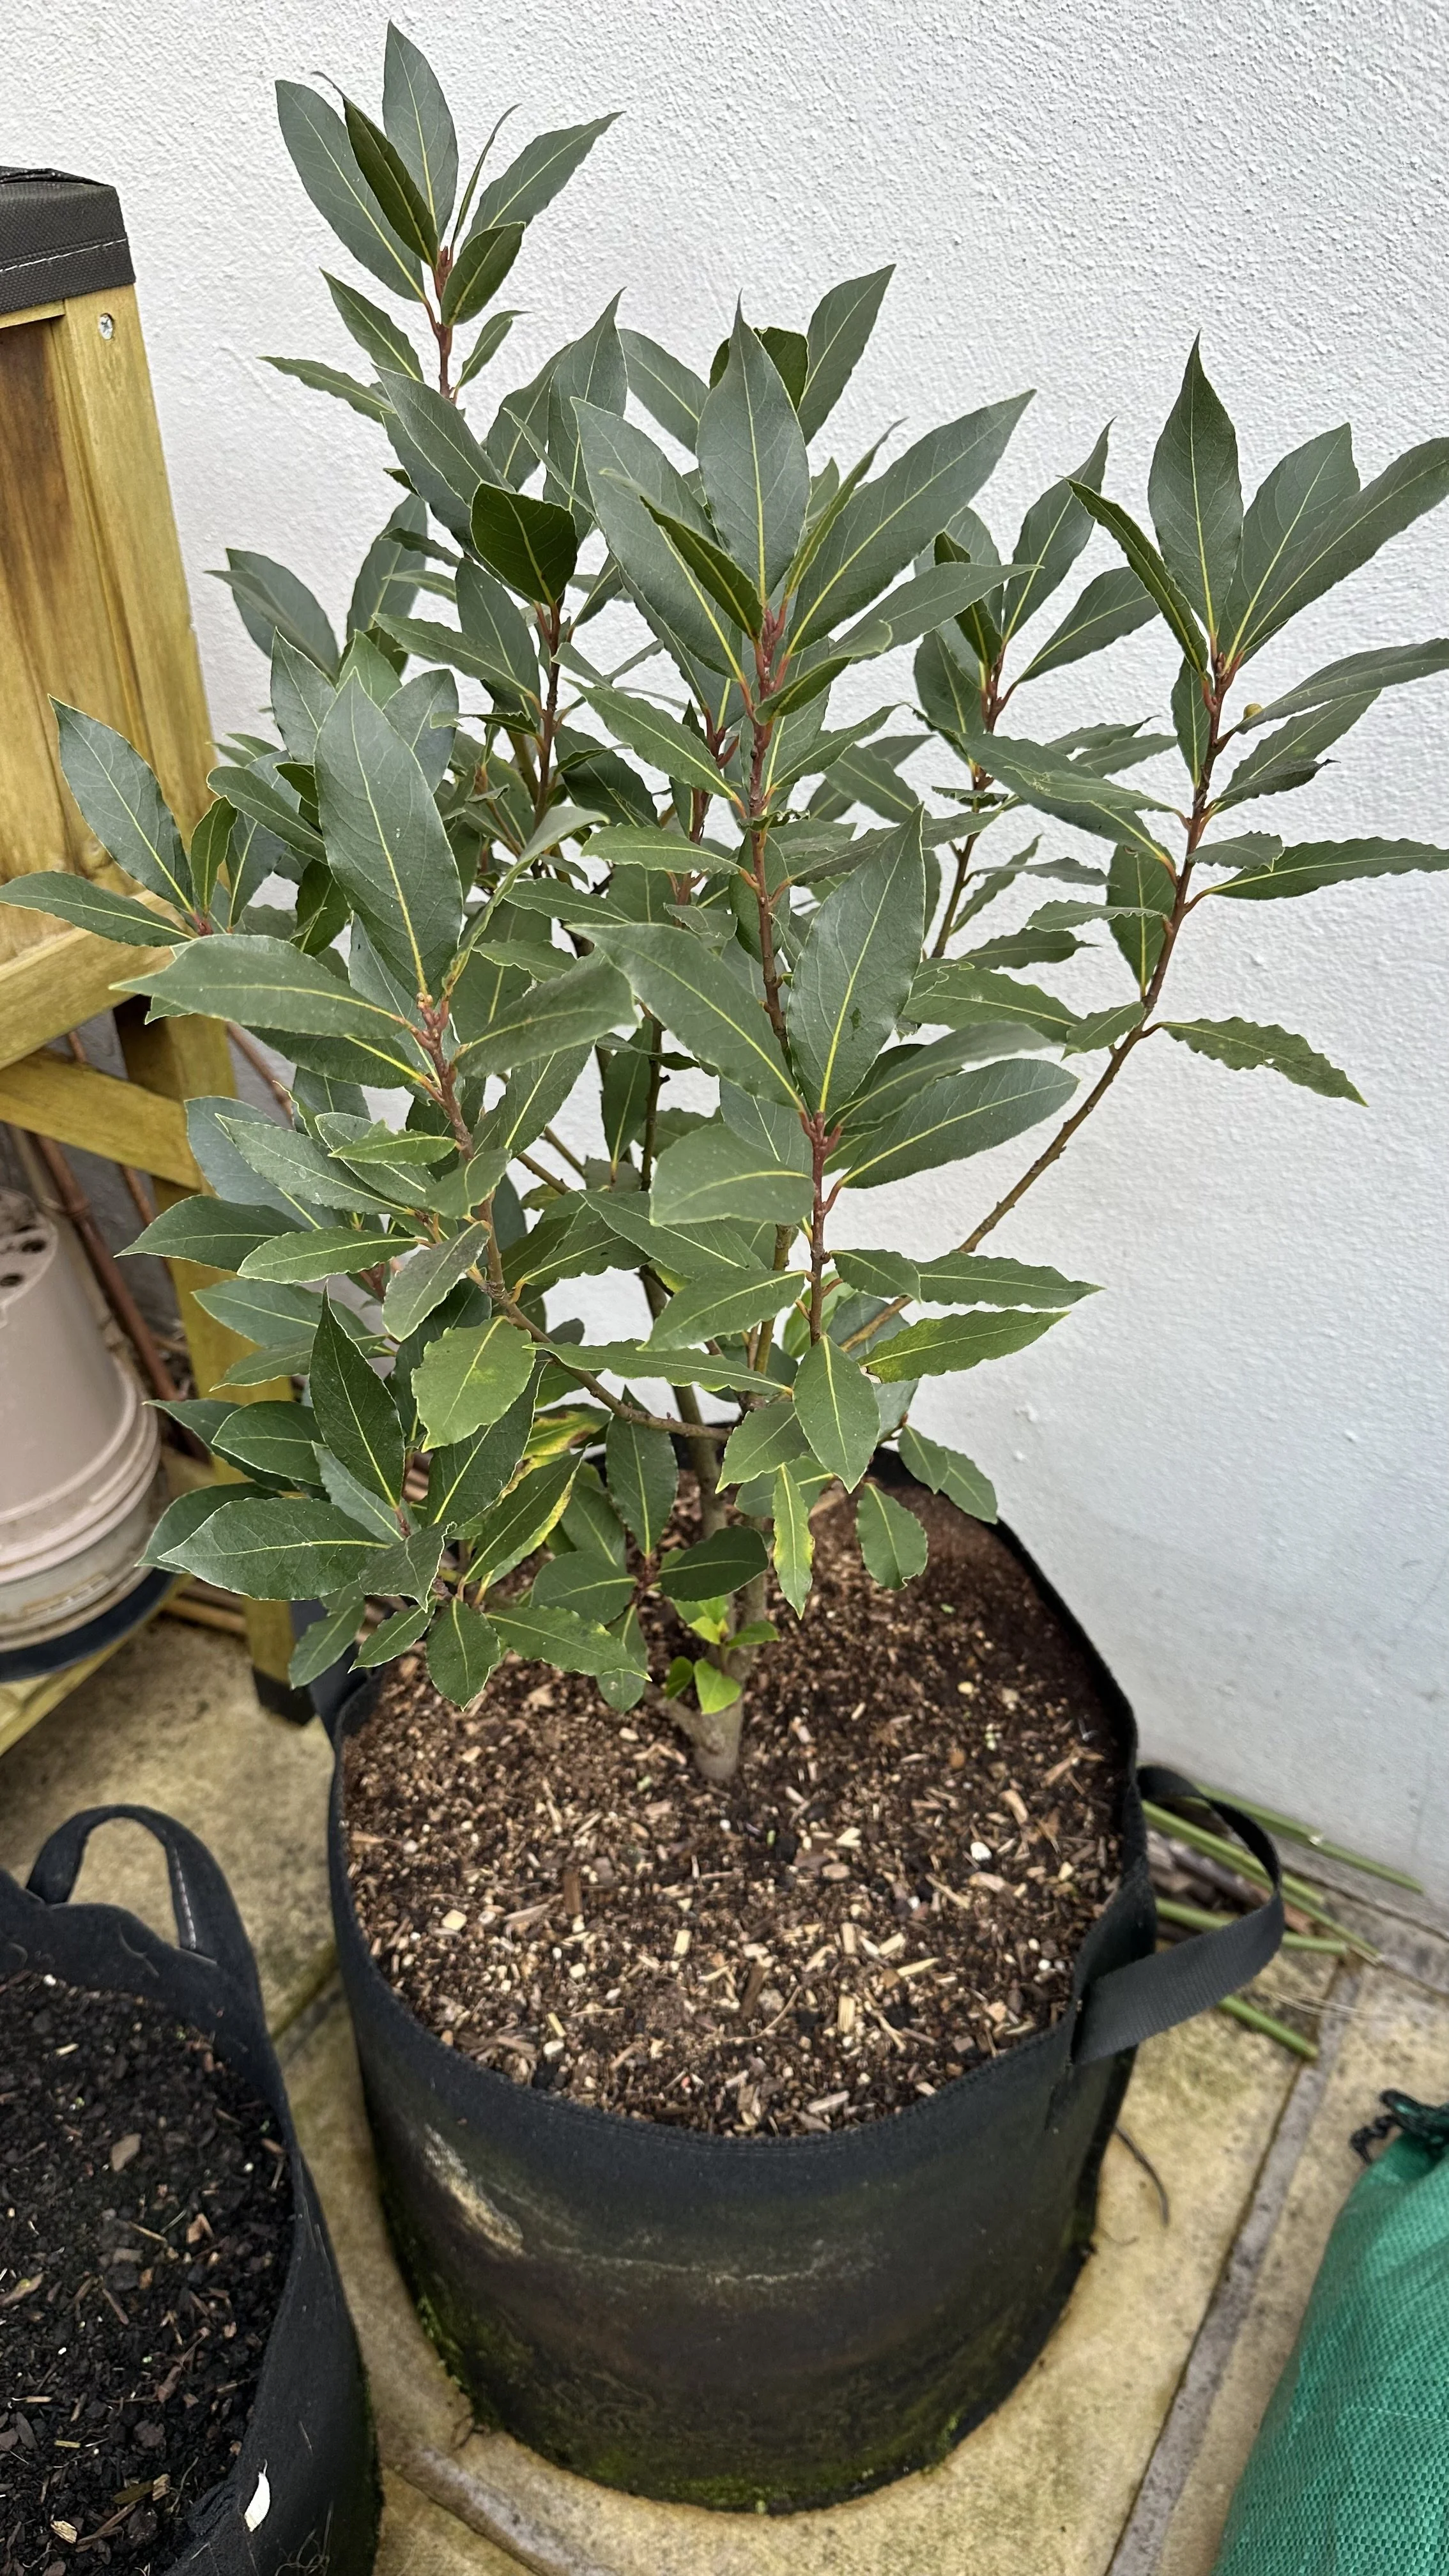
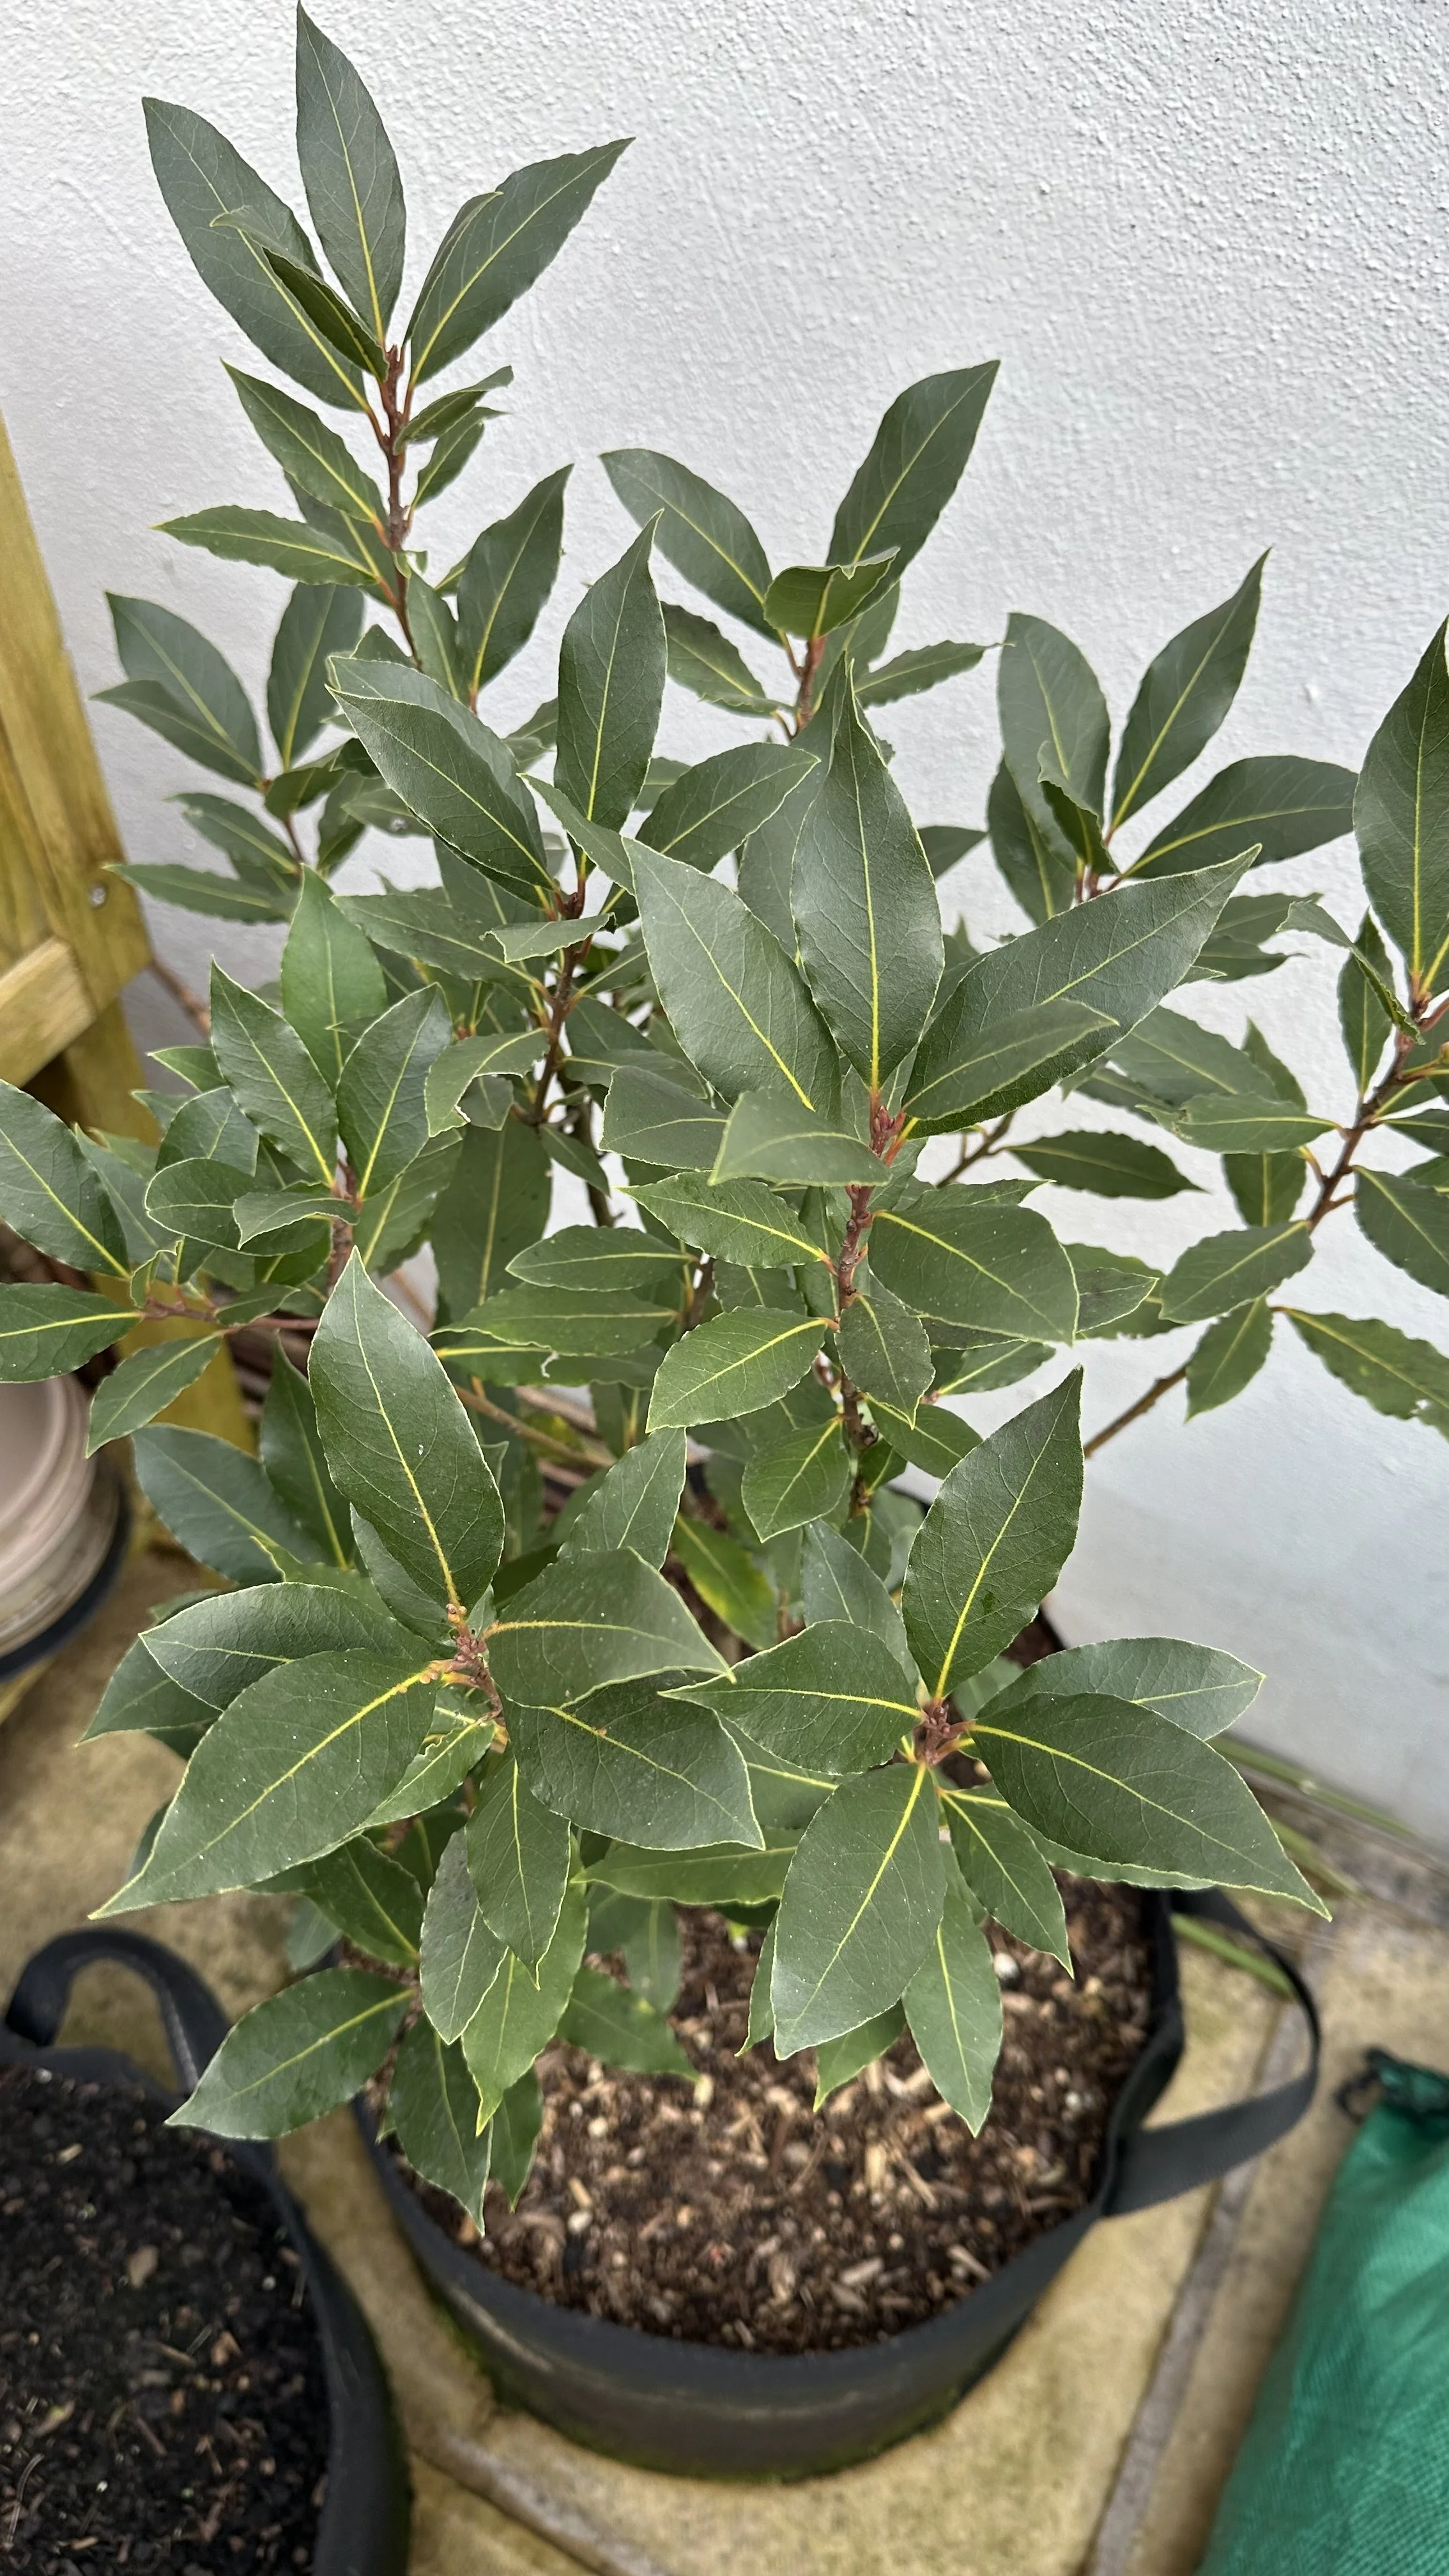
Happy bay tree in its new pot.
Extra Tips for Success
Aftercare:
Keep an eye on watering.
Bay leaves appreciate consistent moisture in the growing season, but let the top layer dry slightly before watering again.
Position:
If you’re planting bay trees in pots on a balcony or terrace, choose a spot with sunshine but some protection from strong winds.
Pruning:
If you want to prune bay tree lollipop shapes or manage new growth, a light trim in spring encourages a tidy look.
This also helps in training bay tree forms over time.
Winter Care:
Potted bay trees in the UK or cooler climates might need protection.
Move them to a sheltered location when it’s very cold, or wrap the container to keep the roots from freezing.
For more inspiration, check out my guides:
Flowers That Attract Ladybugs For Natural Pest Control
FAQs
Are bay trees related to other popular herbs?
Yes. Bay trees are part of the Laurus genus, which makes them a member of the broader Lauraceae group, distinct from something like an olive tree.
Can bay tree roots damage foundations?
While the bay tree root system is generally not as aggressive as some larger trees, it’s best to keep significant distance between bay tree roots foundations.
If you’re unsure, consider planting bay leaf tree in pots or planters instead.
How often should I water during hot weather?
In summer, check moisture levels frequently.
Water whenever the top inch of soil feels dry, but avoid waterlogging.
Is it possible to keep a bay tree for many years?
Absolutely.
With proper care, bay tree growing can continue for decades.
Regular repotting, adequate watering, and suitable pruning a bay tree all help prolong its lifespan.
What compost works best for bay leaf trees in pots?
Many folks swear by using John Innes–based mixes for bay trees in pots.
Look a good organic compost that offers good drainage yet holds enough moisture for new growth.
Is there a special technique for how to train a bay tree?
It mostly involves gentle pruning and shaping.
You can start with pruning bay trees while they’re small and gradually shape them into a single trunk or a bay tree lollipop form.
Check out my other garden guides:
Water Butts: Sustainable Water Storage for Your Garden
Wrap-Up
Repotting a bay leaf tree might look tricky at first, but it’s one of those tasks that gets easier every time.
Once you settle your bay tree roots into that fresh compost, you’ll see new shoots popping up and a healthier, fuller appearance.
I enjoy seeing how my bay tree responds to repotting, and I appreciate the chance to shape it with gentle pruning.
I hope this clears up some of your questions about repotting bay tree and caring for these plants.
It’s been a straightforward process for me, and I’m always pleased with how these trees adapt to new pots.
Happy growing!
Pin this post to save it for later!


