How to Propagate Sedum
This website is reader-supported - thank you! This post may contain affiliate links. As an Amazon Associate, I earn from qualifying purchases at no extra cost to you.
Working with sedum has become one of my favorite things.
I’ve always found it fascinating how these hardy little plants can transform a space by adding new life with minimal fuss.
In this post, I share the steps I use for sedum propagation.
I’ll talk about everything from understanding the different sedum varieties to the various methods I use to propagate sedum—whether by using stem cuttings or even learning how to propagate sedum from leaf.
I hope that by the end of this guide, you’ll feel more confident in your ability to create new plants and expand your garden using sedum plants.
For more propagation tips, check out my guides:
Propagating Aeonium: Easy Step-by-Step Guide
The Ultimate Guide to Choosing the Best Electric Propagators
I still remember the first time I noticed sedum in a friend’s garden.
There was something so great about the way these plants thrived even under less-than-ideal conditions.
With their unique ability to store water in their leaves, sedums are often referred to as the live forever plant—and it’s not hard to see why.
They offer a simple solution if you want to grow new plants without too much fuss.
I’ve experimented with various methods to propagate sedum, and each approach has taught me something new about how these plants grow, and survive throughout the seasons.
When I first started, my goal was to learn how to propagate sedum so that I could easily multiply my collection.
I remember researching different techniques—from taking small stem cuttings to even experimenting with how to propagate sedum in water and in soil.
Every experiment, whether it was successful or not, helped me understand the subtle differences between sedum varieties like sedum autumn joy, sedum autumn glory, sedum album, and even the delicate sedum 'purple emperor’.
This post is my way of sharing those experiences with you in hopes that you might find a method that works perfectly in your own garden.
Check out my other propagation guides:
How to Propagate Basil Like a Pro
Understanding Sedum and Its Varieties
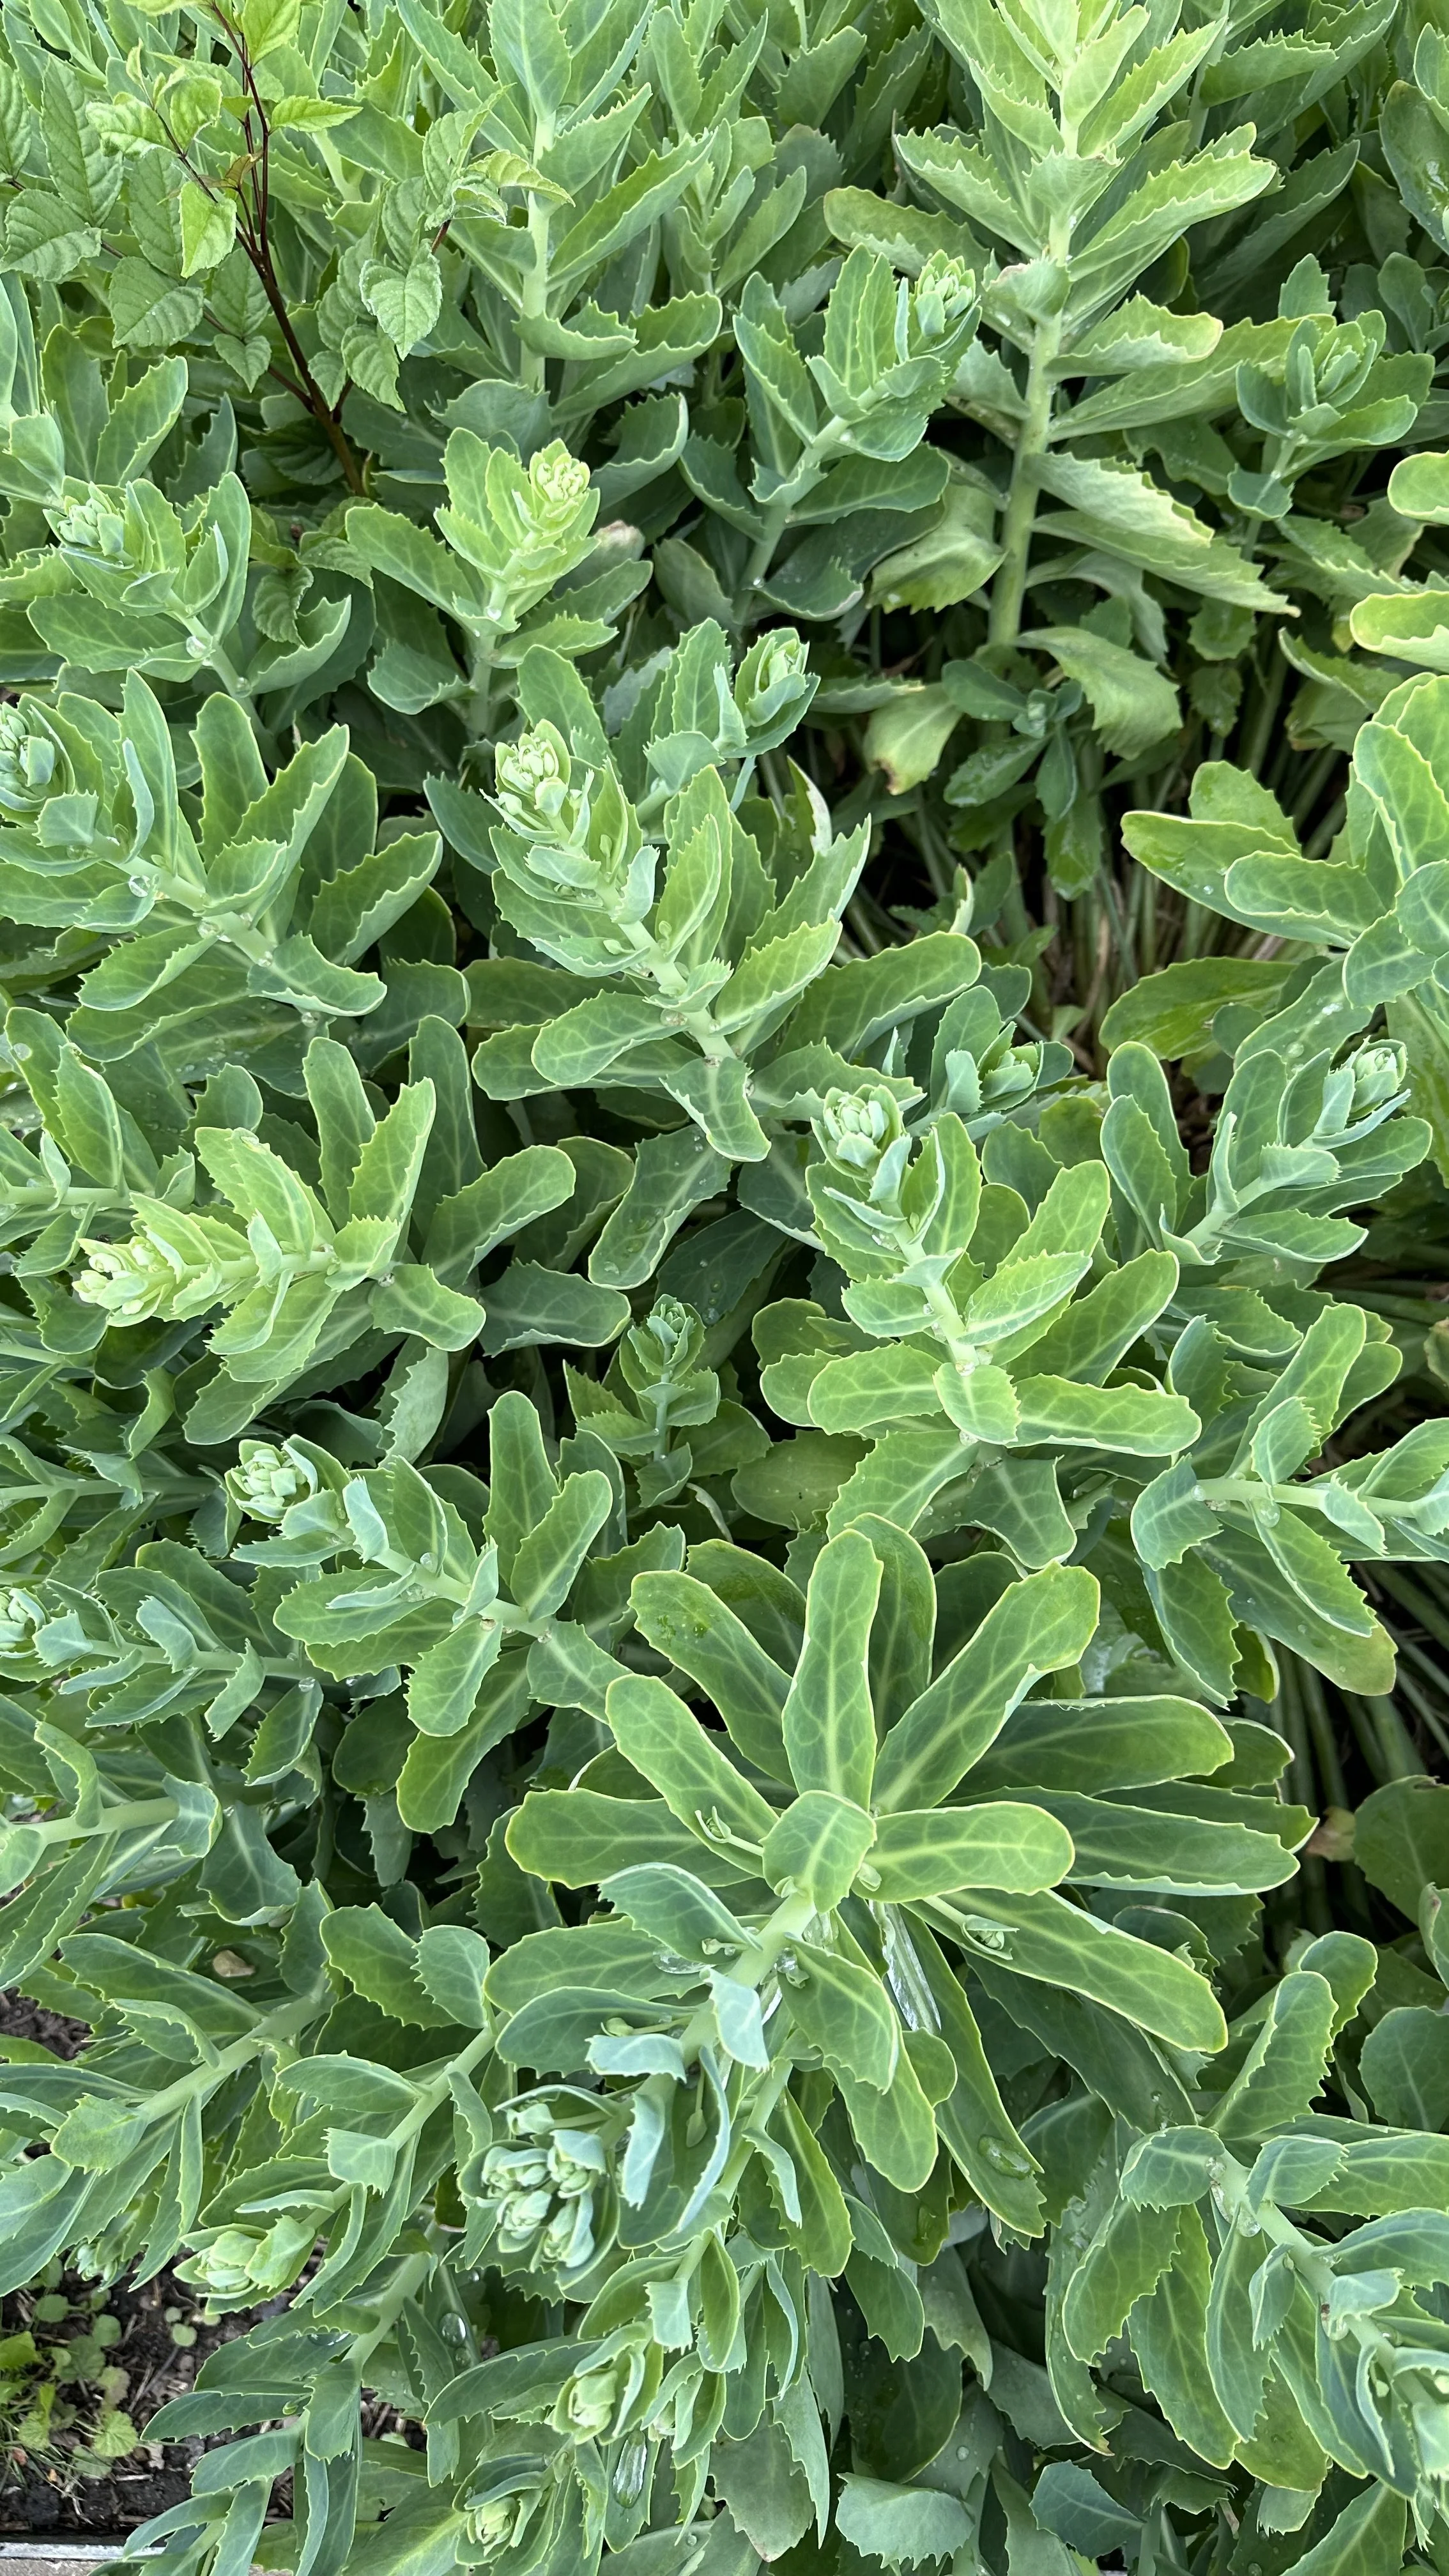
Sedum is a really diverse group of succulents.
They come in so many different forms and colors, each with its own unique characteristics.
For instance, sedum autumn joy is known for its subtle changes in color as the season progresses, while sedum autumn glory offers a slightly different texture and structure to the mix.
Sedum plants are hardy enough to withstand extremes of summer heat and the chill of winter, yet they bring beautiful bursts of flowers in spring and autumn.
Over time, I noticed that even a small sedum cutting, when nurtured properly, can grow into a strong new plant with roots that quickly establish in the soil.
This makes sedum an excellent choice for anyone interested in gardening without the need for constant care or elaborate setups.
In my own garden, I often place sedum indoors during the colder months, and I’ve even grown sedums in pots on my patio.
The adaptability of these plants is impressive—they seem equally comfortable in a carefully planned sedum garden design as they do in a casual arrangement on a windowsill.
It’s also interesting to note that sedum plants are sometimes compared to the ice plant, although the methods for propagating them differ.
While sedum stores water in its thick leaves and is known as the live forever plant, the ice plant has its own distinct propagation style.
Understanding the varieties also means recognizing their seasonal behavior.
In summer, sedum plants can handle full sun and flourish with minimal watering, while in autumn, I often notice a change in the color of their leaves and the appearance of small flowers that signal the coming of cooler days.
Winter can be a quiet time for these plants, but some varities are hardy enough to survive frost, and by spring, new growth is usually evident.
This cyclic nature of sedum makes them a great addition to my garden year after year.
For more propagation tips, check out my guides:
Choosing Your Propagation Method
I’ve experimented with various methods to propagate sedum, and I’ve come to appreciate that there isn’t a one-size-fits-all approach.
Depending on the season and the specific sedum variety you’re working with, the method that works best for you might vary.
I’ve tried everything from taking stem cuttings to using whole leaves, and each method has its own set of advantages and challenges.
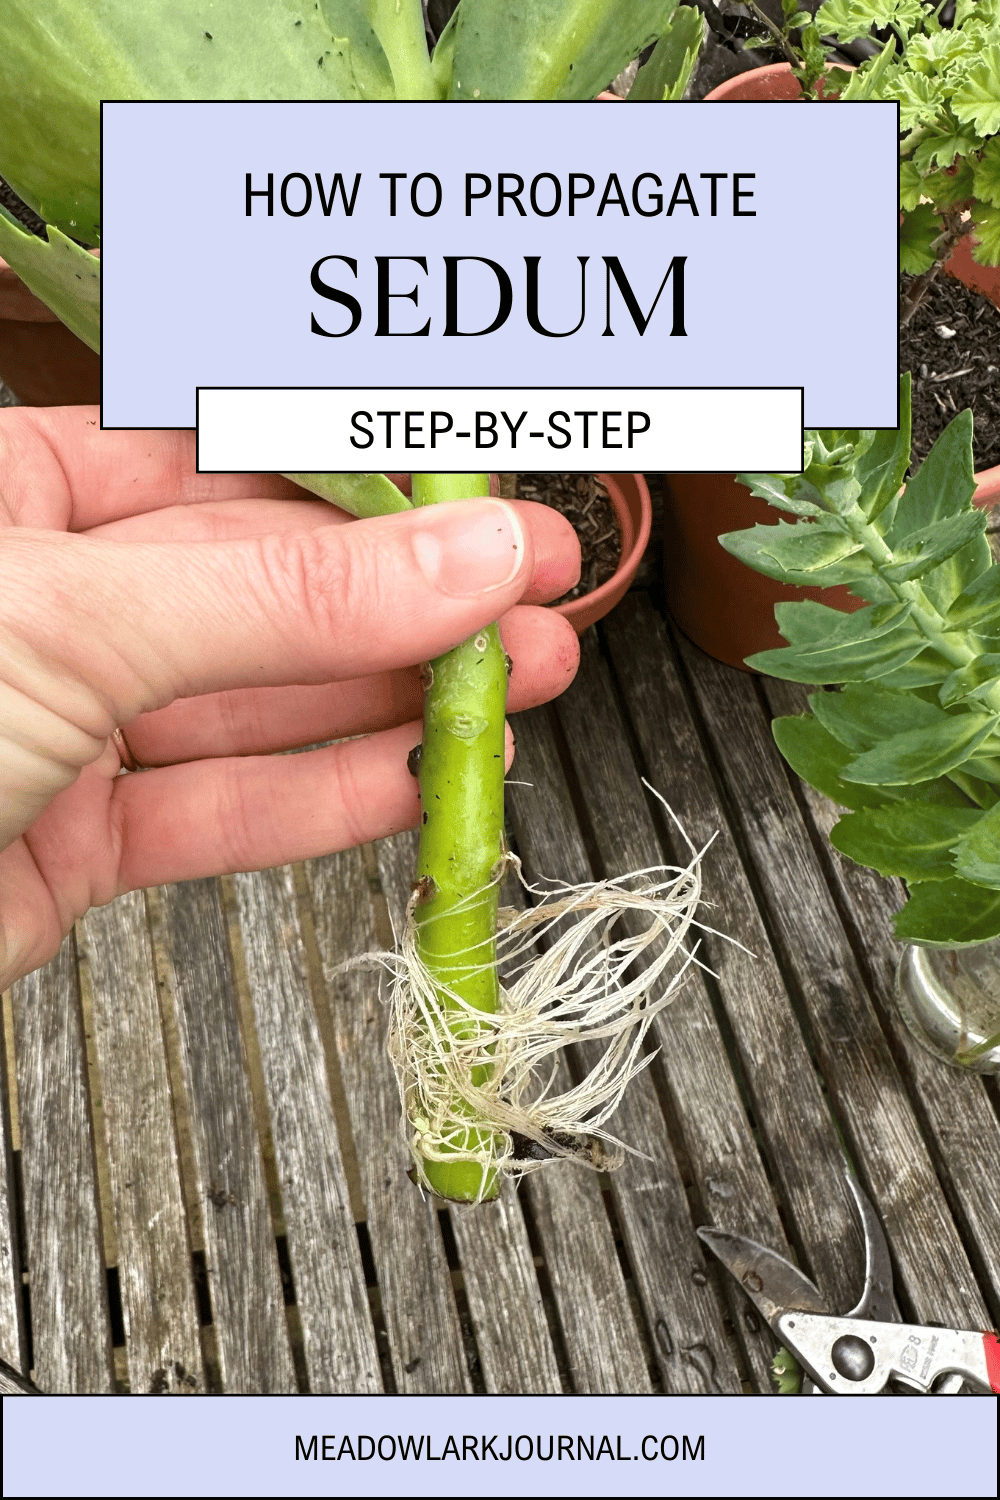
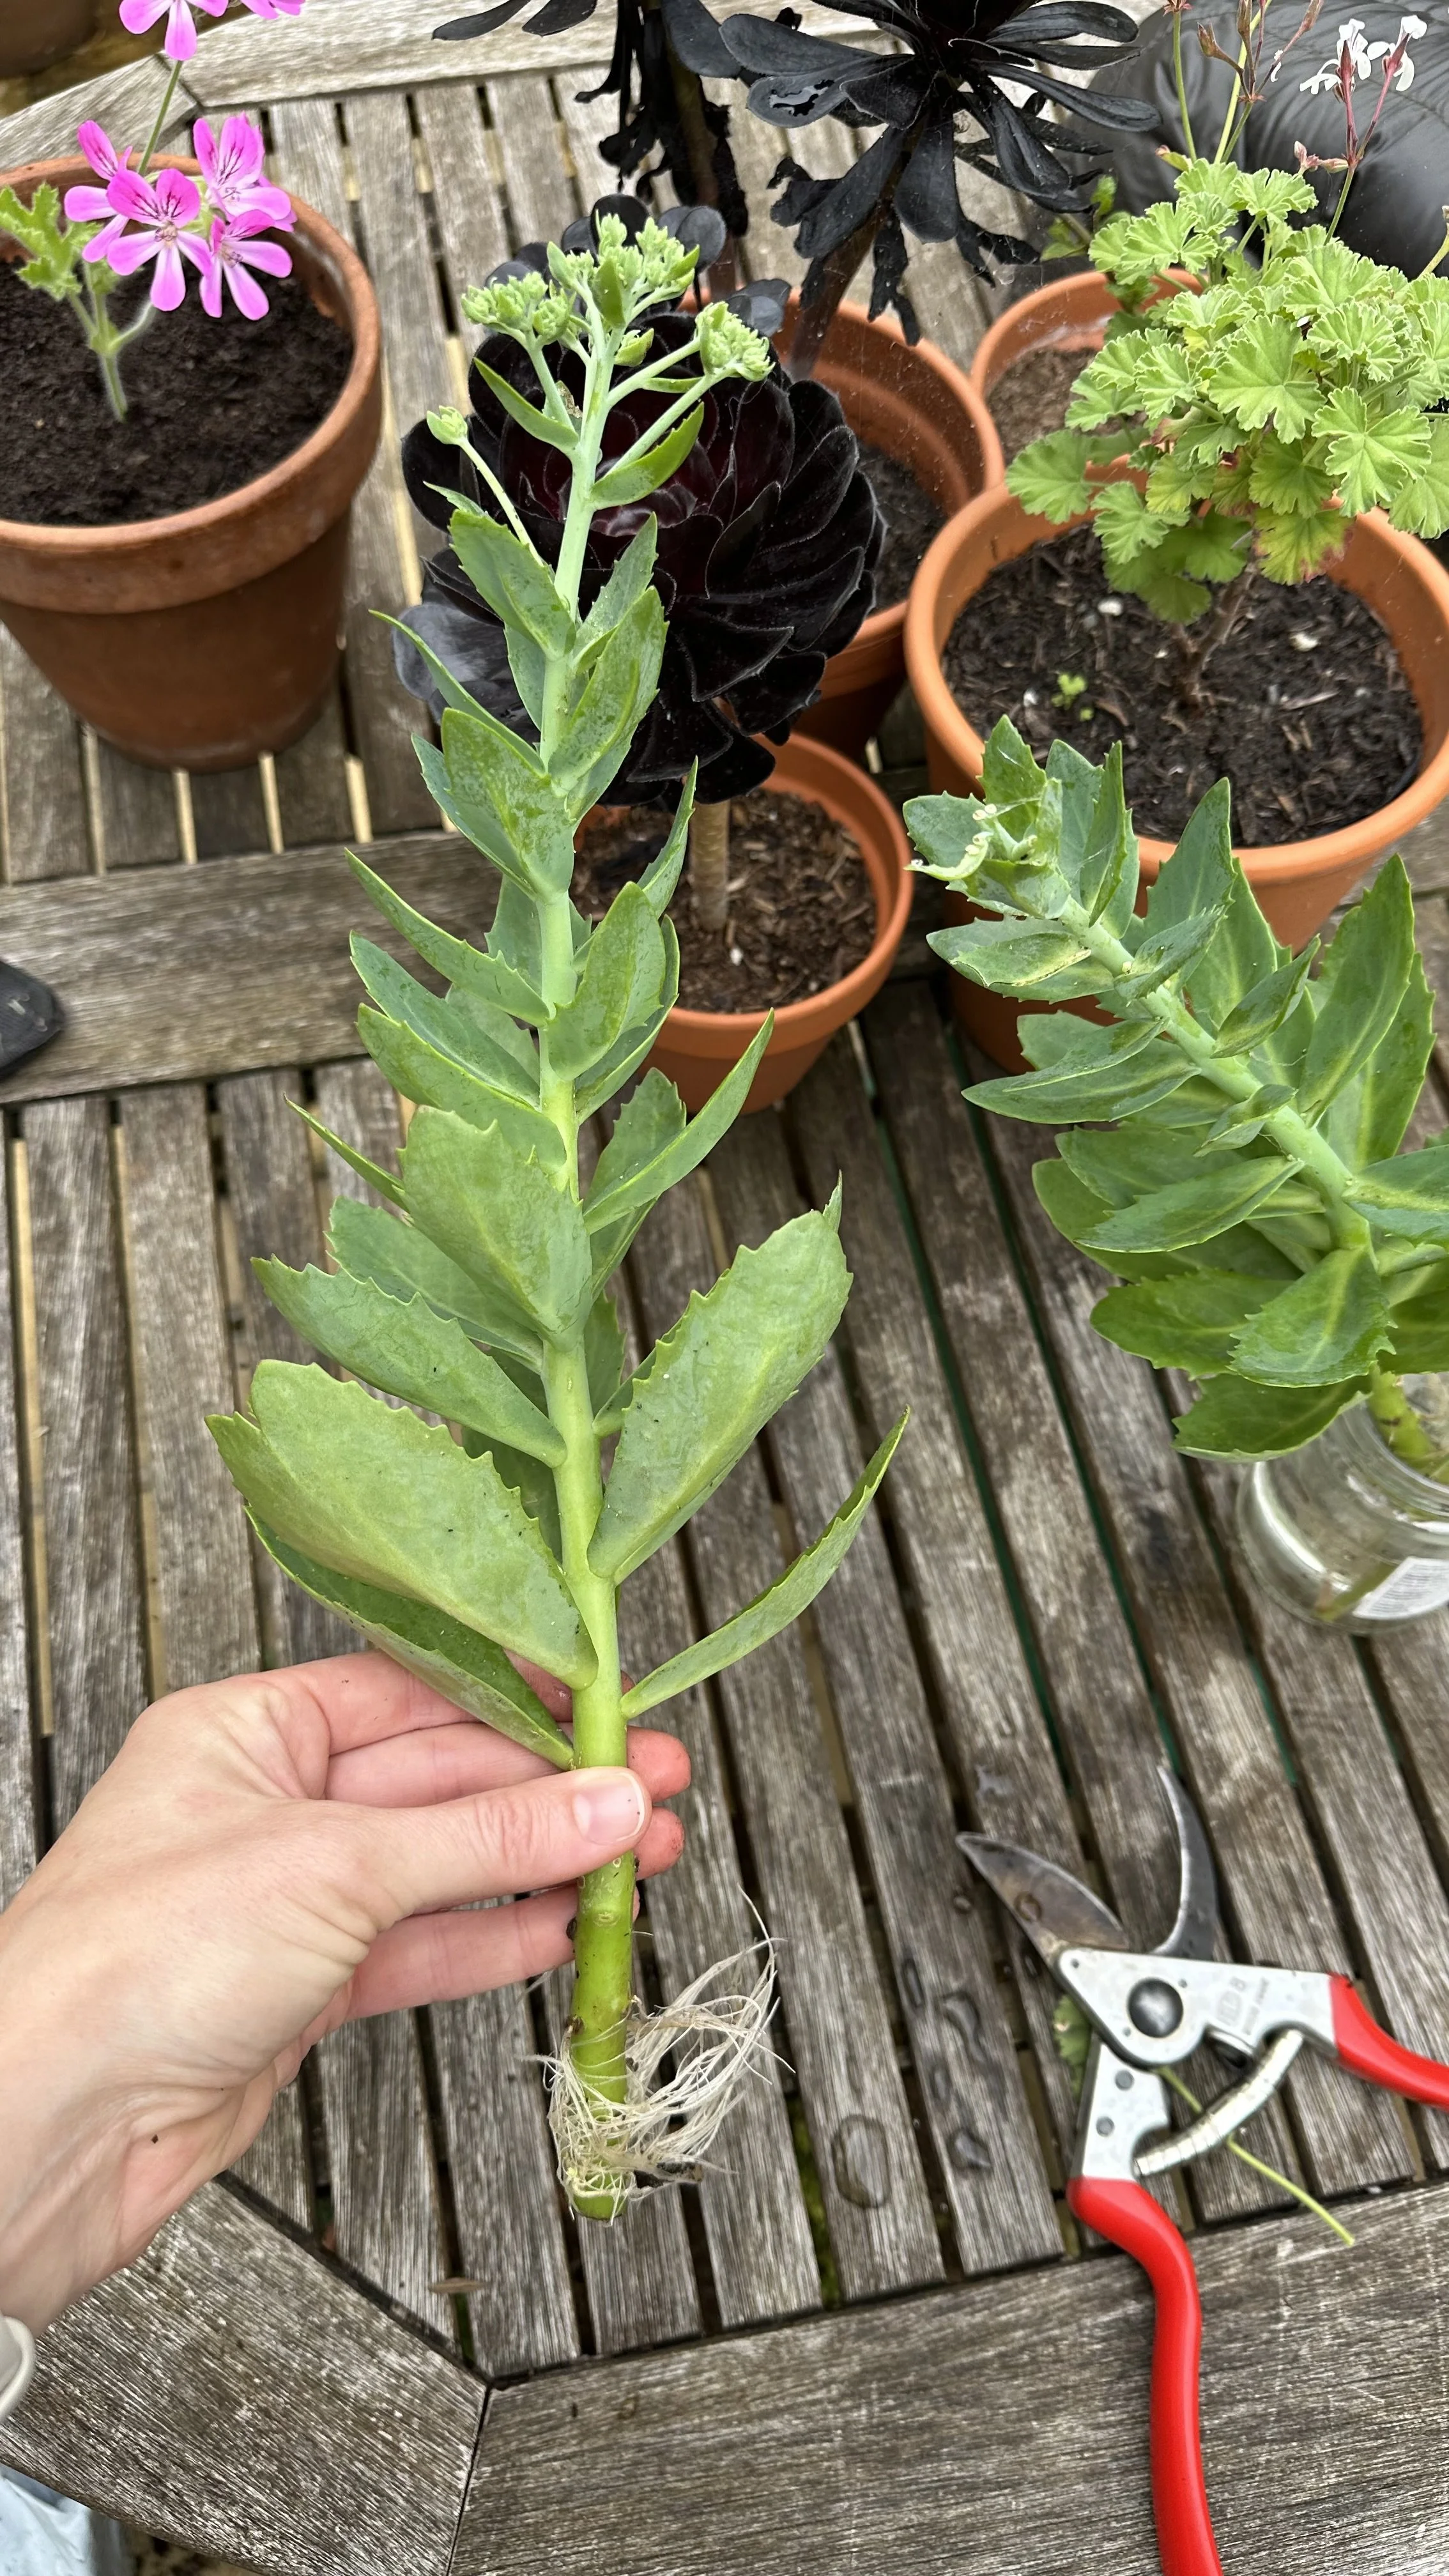
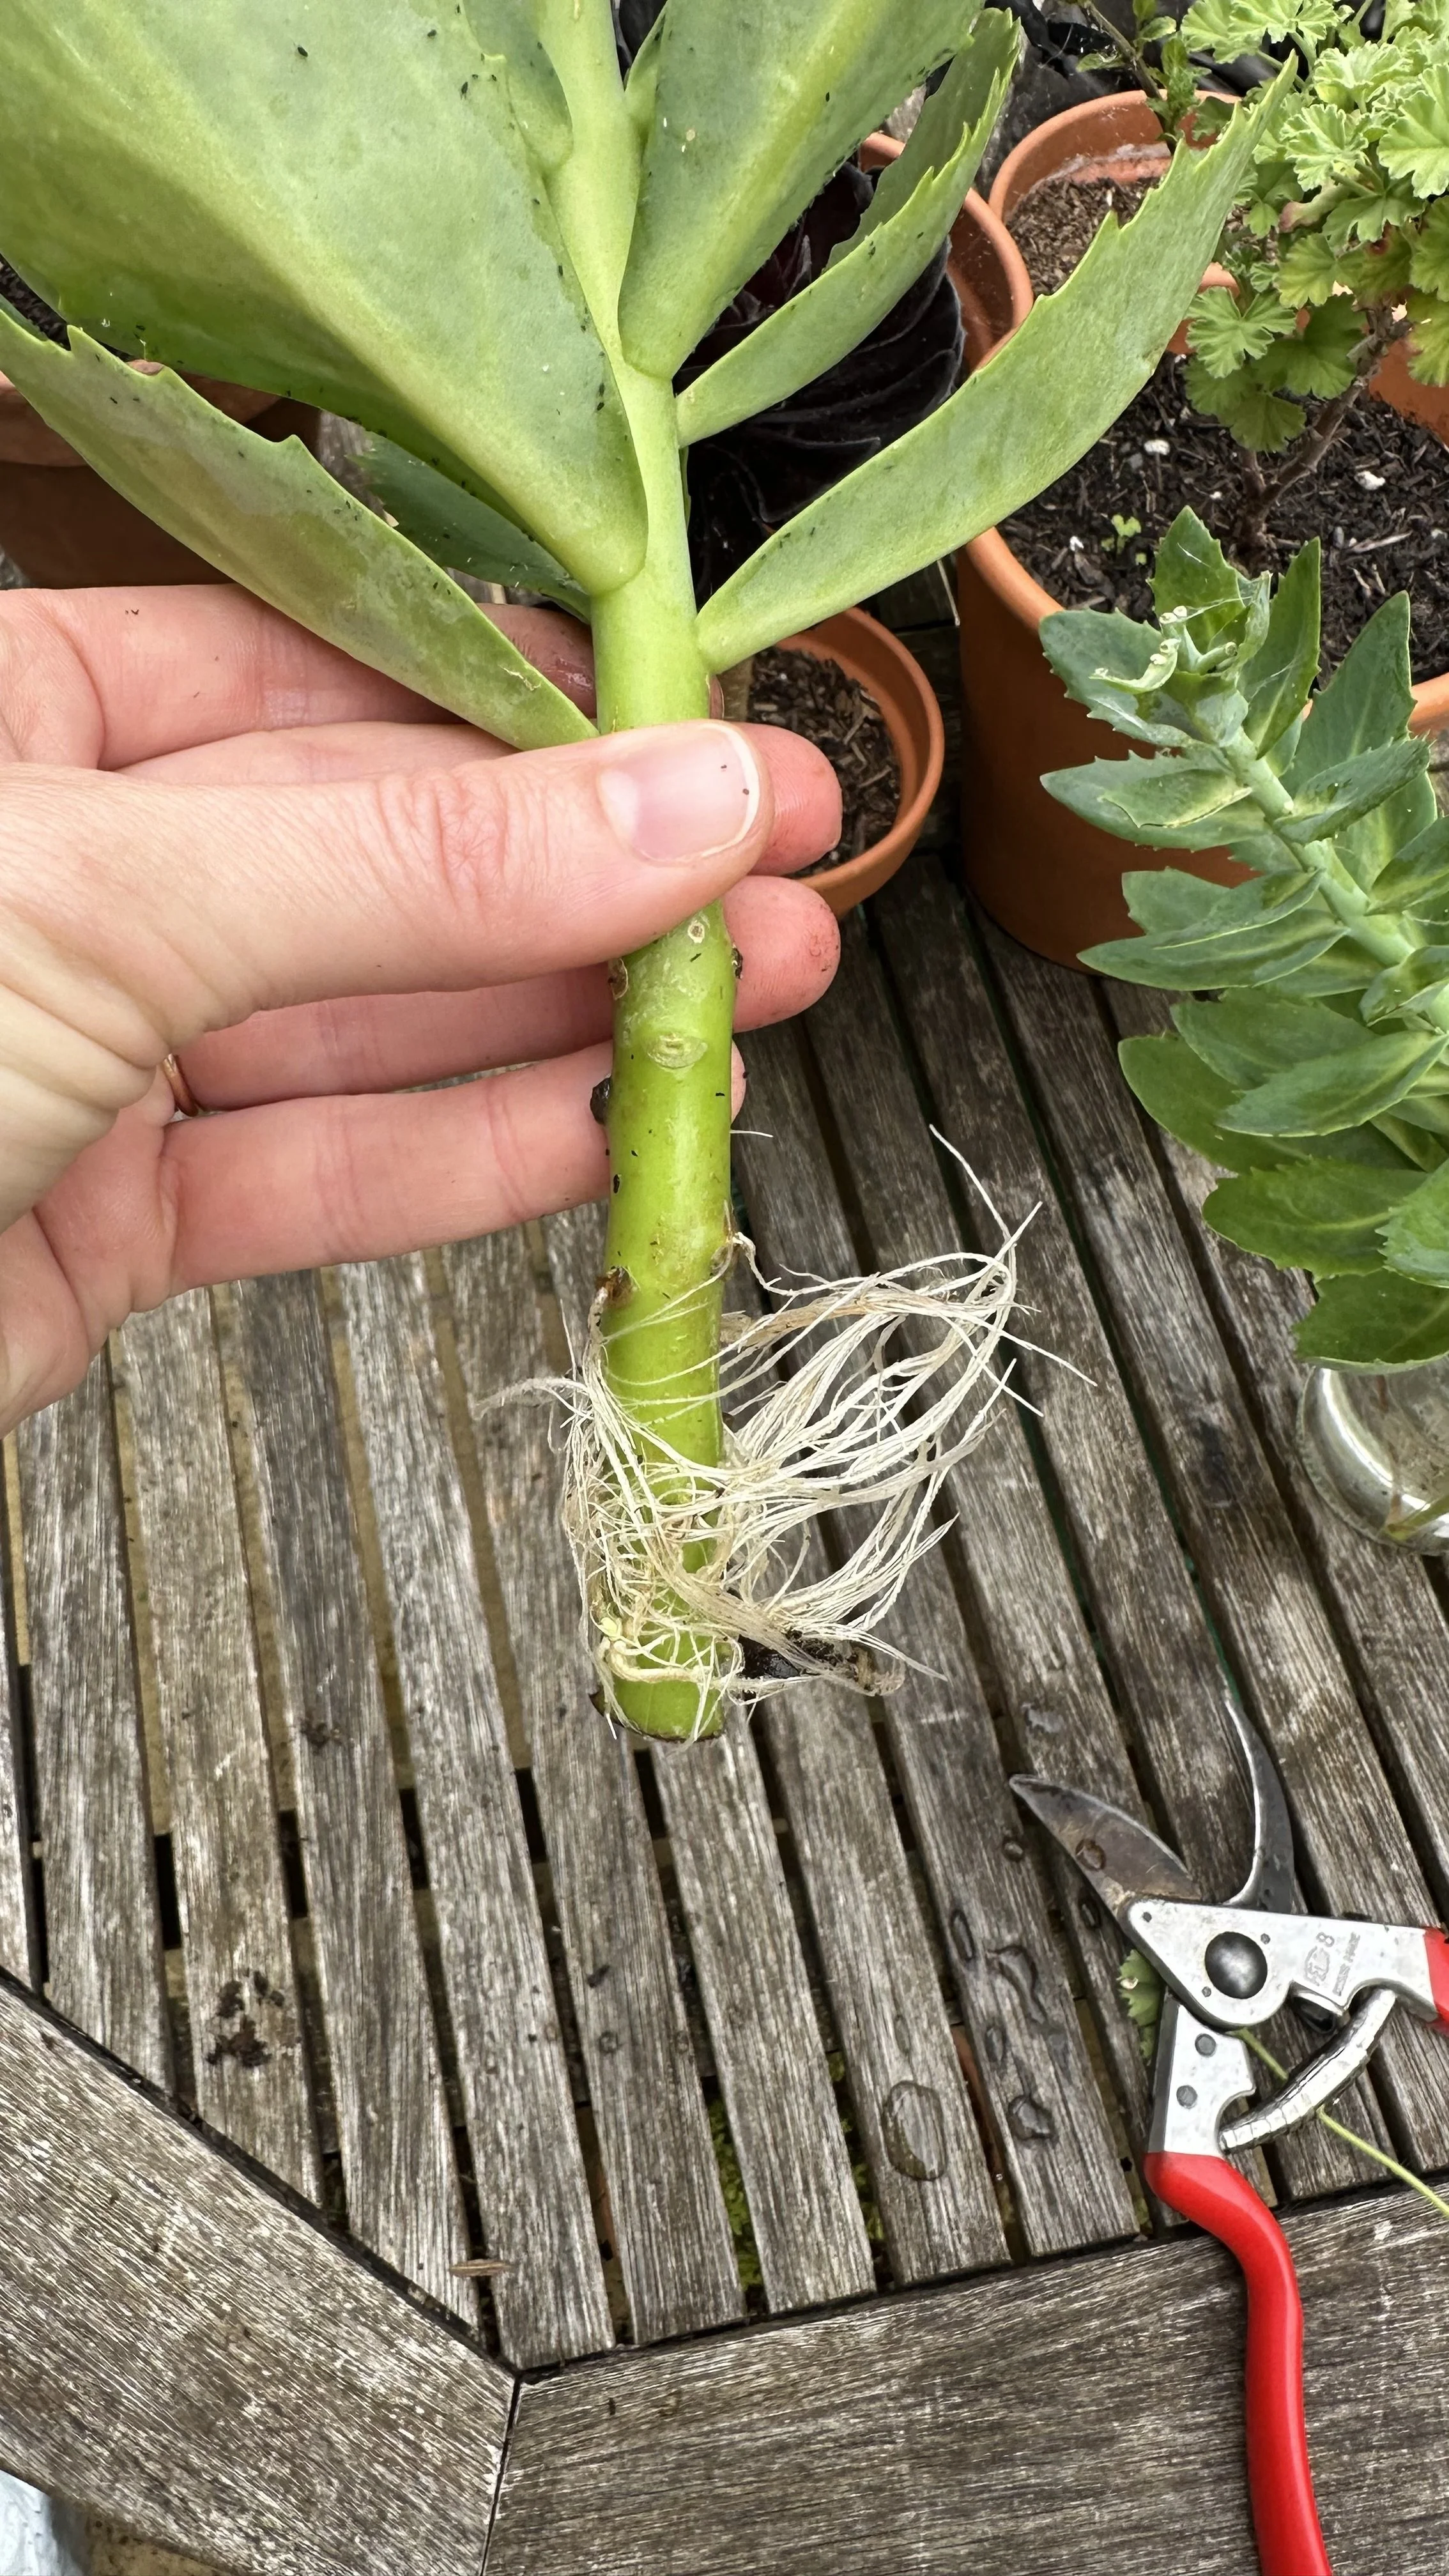
One of the first techniques I mastered was using stem cuttings.
I usually choose a healthy, small stem from a mature sedum plant, ensuring that the cutting has several leaves and a portion of the stem intact.
This method is often referred to as rooting sedum cuttings, and it has proven to be reliable in my garden.
Once I have the cutting, I let it dry for a short while so that the wound can form a callus.
After that, I either place the cutting in a container of water or plant it directly in well-draining soil.
Both methods have yielded new plants, although the water method has the added benefit of letting me monitor the development of roots more clearly.
I also experimented with how to propagate sedum from leaf, which can be a great option if you have a limited amount of plant material.
The process is similar to using stem cuttings but focuses on a single, healthy leaf.
This method might take a little longer, but it’s fascinating to see how a new plant can emerge from something as simple as a leaf.
Another approach I’ve tried is directly planting small sedum cuttings in the garden soil.
This method, often described as how to propagate sedum in soil, allows the cutting to acclimate immediately to its future environment.
I usually choose a spot in the garden that gets indirect sunlight and has good drainage.
Sometimes, the soil mix is supplemented with a bit of sand or perlite to ensure the roots don’t sit in excess moisture—a technique that has worked wonders, particularly during the wetter autumn months.
The choice between propagating in water versus soil sometimes comes down to personal preference and the specific needs of the plant.
For more tips on growing from cuttings, check out my guides:
Step-by-Step Guide to Propagating Sedum
Let me walk you through the step-by-step process I follow to propagate sedum.
This guide is based on trial and error, and it’s designed to help you achieve the best possible results in your garden.
1. Selecting the Right Cutting
My first step is always to choose a healthy sedum plant that shows signs of robust growth.
I look for a stem that is neither too old nor too new—a small stem with several leaves attached is ideal.
It’s important that the plant is free from any signs of disease or pests.
Once I identify a good candidate, I use a clean pair of scissors or garden shears to snip off a section of the stem.
I make sure the cutting is long enough to have a few nodes (the points where leaves attach), as these are crucial for the development of new roots.
These garden shears are perfect for the job:

2. Preparing the Cutting
After taking the cutting, I gently remove any leaves from the bottom inch of the stem.
This area is where I want the roots to form.
I then leave the cutting out in a dry, shaded area for several hours.
This waiting period allows the cut end to callus over, which is important for preventing rot once the cutting is placed in water or soil.
I have also experimented with how to propagate sedum from leaf by carefully detaching a healthy leaf and letting it sit on a paper towel for a while before placing it in a propagation medium.
3. Choosing a Propagation Medium: Water or Soil?
At this point, you have a choice.
I often decide based on the season and the specific variety I’m working with:
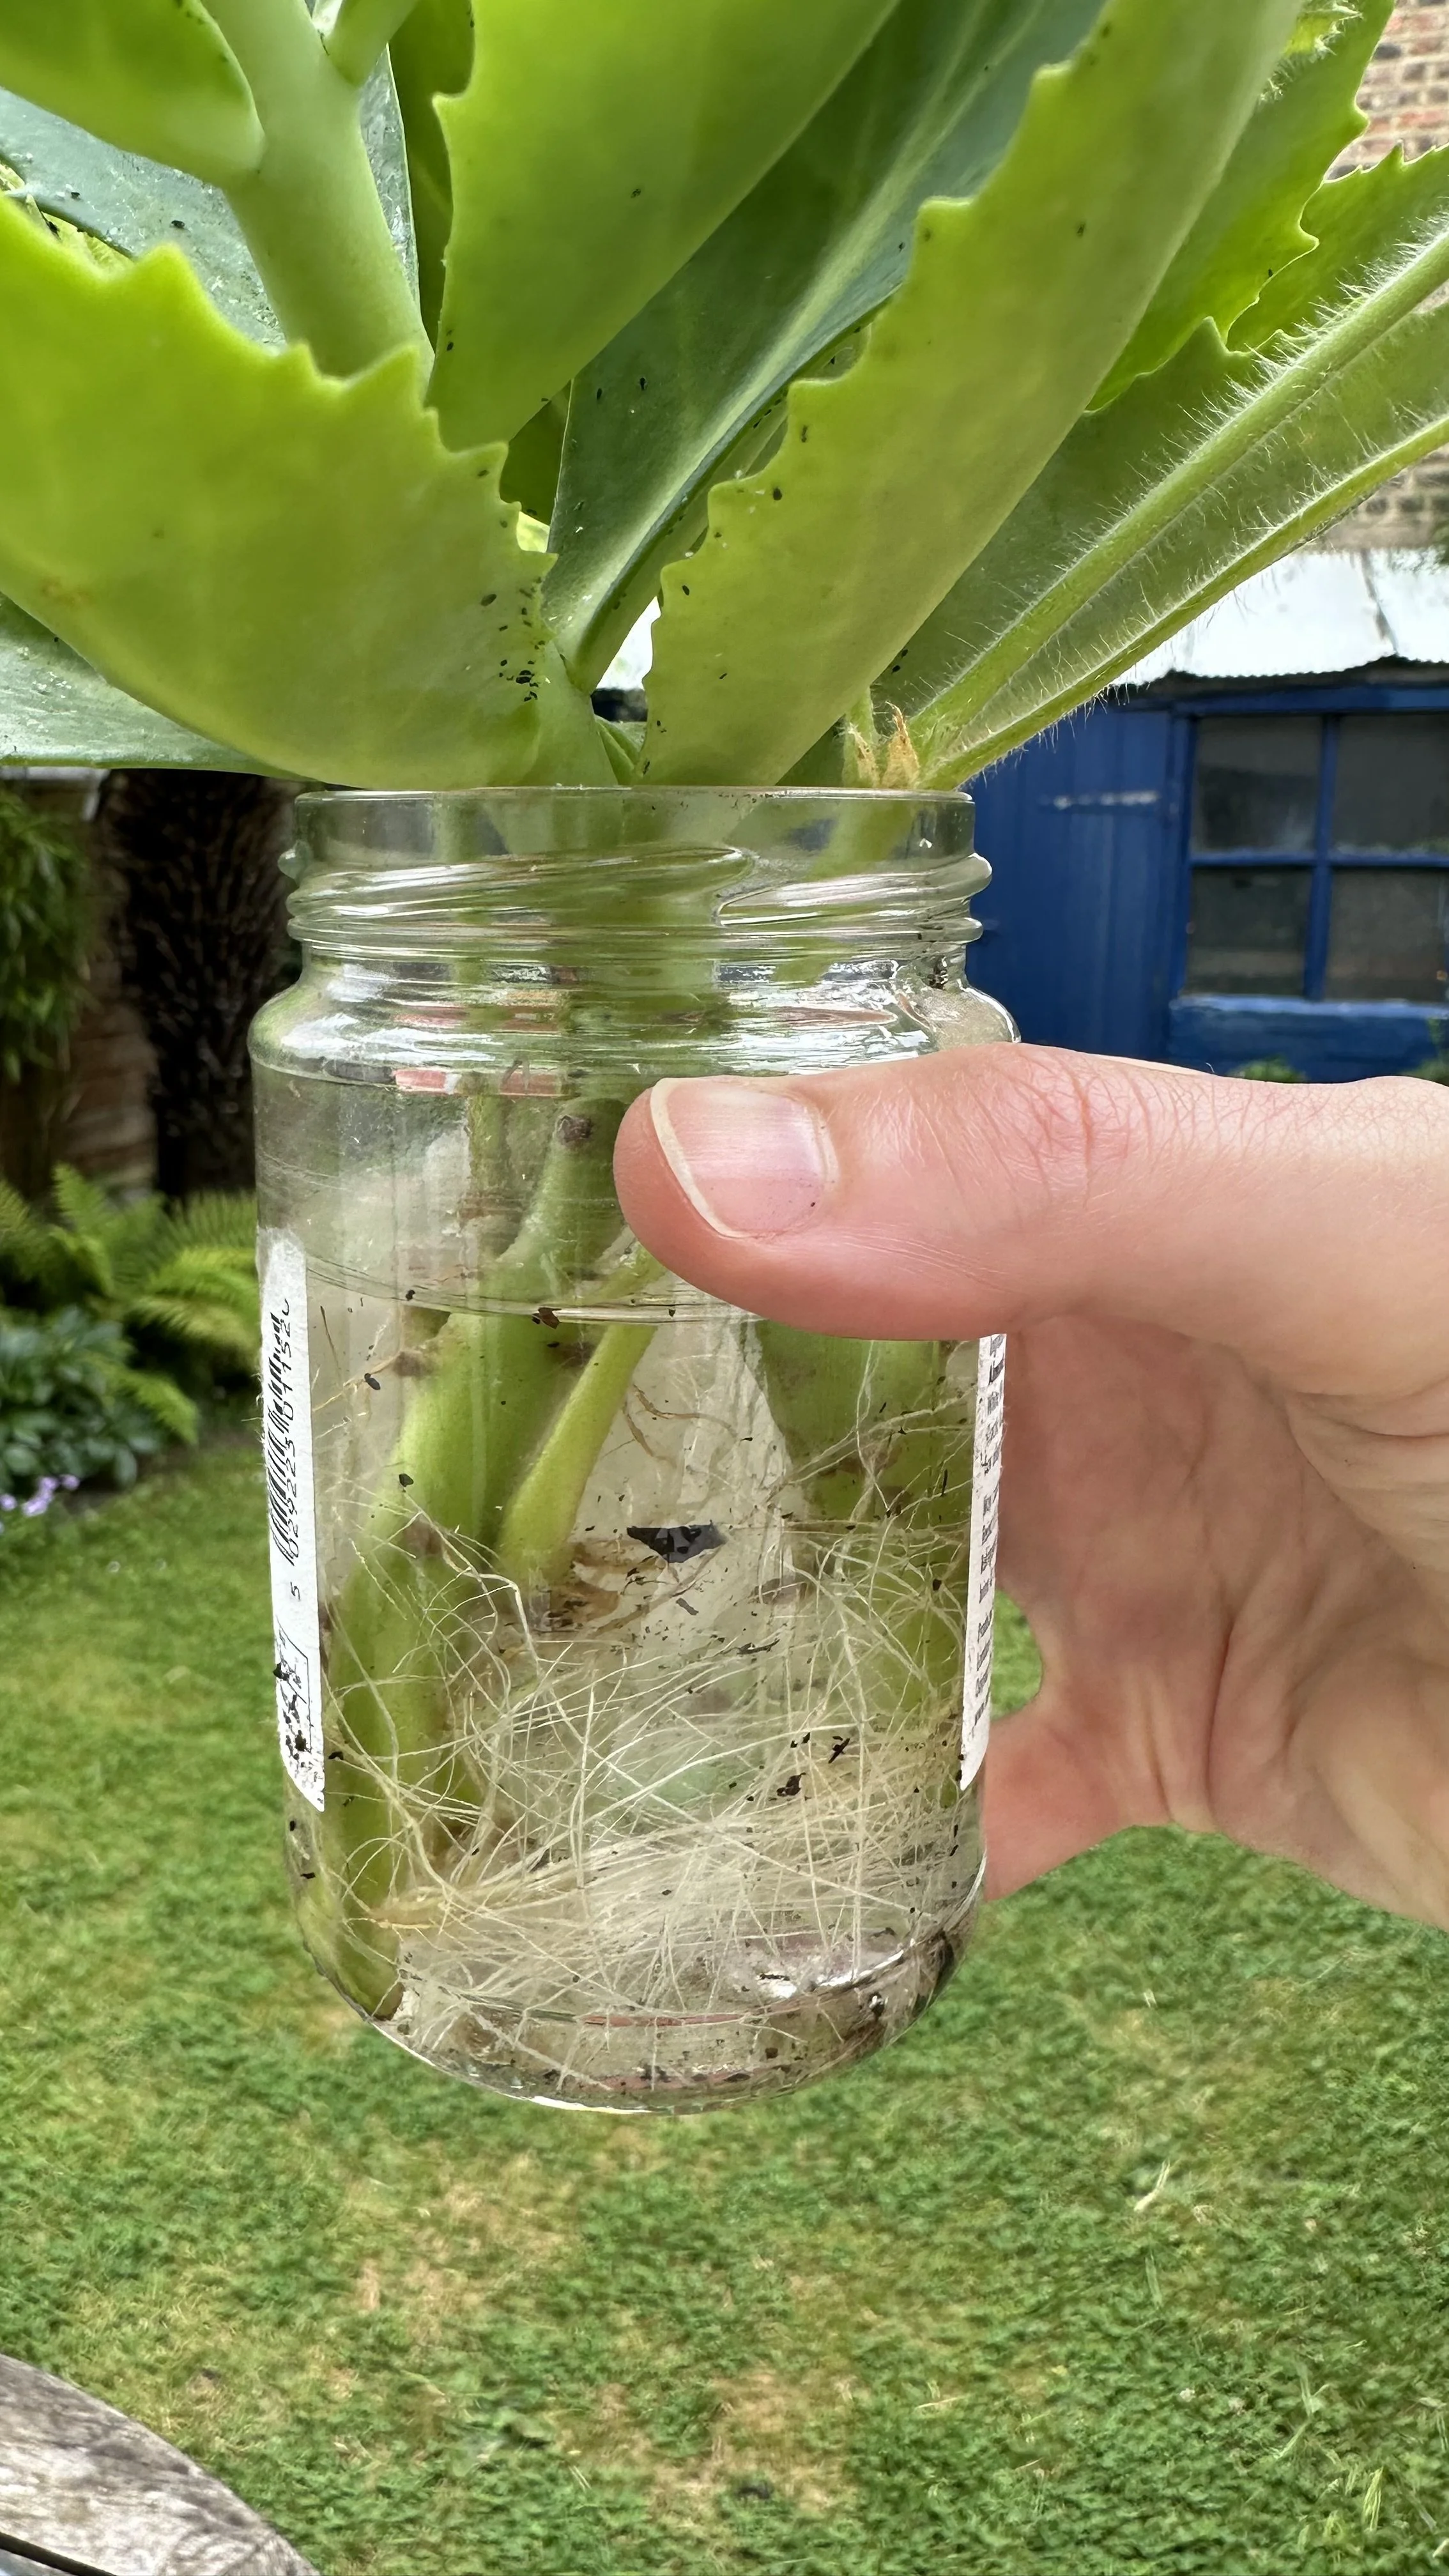
In Water:
I fill a small, clear container with fresh water and place the cutting inside.
This method allows me to observe the progress of rooting.
I usually change the water every few days to prevent stagnation and to keep the cutting healthy.
In Soil:
Alternatively, I prepare a pot with a well-draining soil mix.
Often, I add some extra perlite or coarse sand to ensure that the soil does not retain too much moisture.
I then gently insert the cutting into the soil, pressing lightly around it to secure it in place.
This method, often referred to as how to propagate sedum in soil, mimics the natural conditions the plant would experience in its garden habitat.
Here is the soil mix I recommend:

4. Providing the Right Conditions
Regardless of the medium you choose, providing the proper conditions is key to success.
I place my cuttings in an area with bright, indirect light.
Direct sunlight, especially during the peak of summer, can sometimes stress the cutting before it has a chance to develop roots.
A consistent watering schedule is also essential.
I aim to keep the environment moist—but not waterlogged—to encourage the formation of healthy roots.
Over the next few weeks, I keep a close eye on the cuttings.
When I see that small roots have begun to emerge, I know that the propagation process is on the right track.
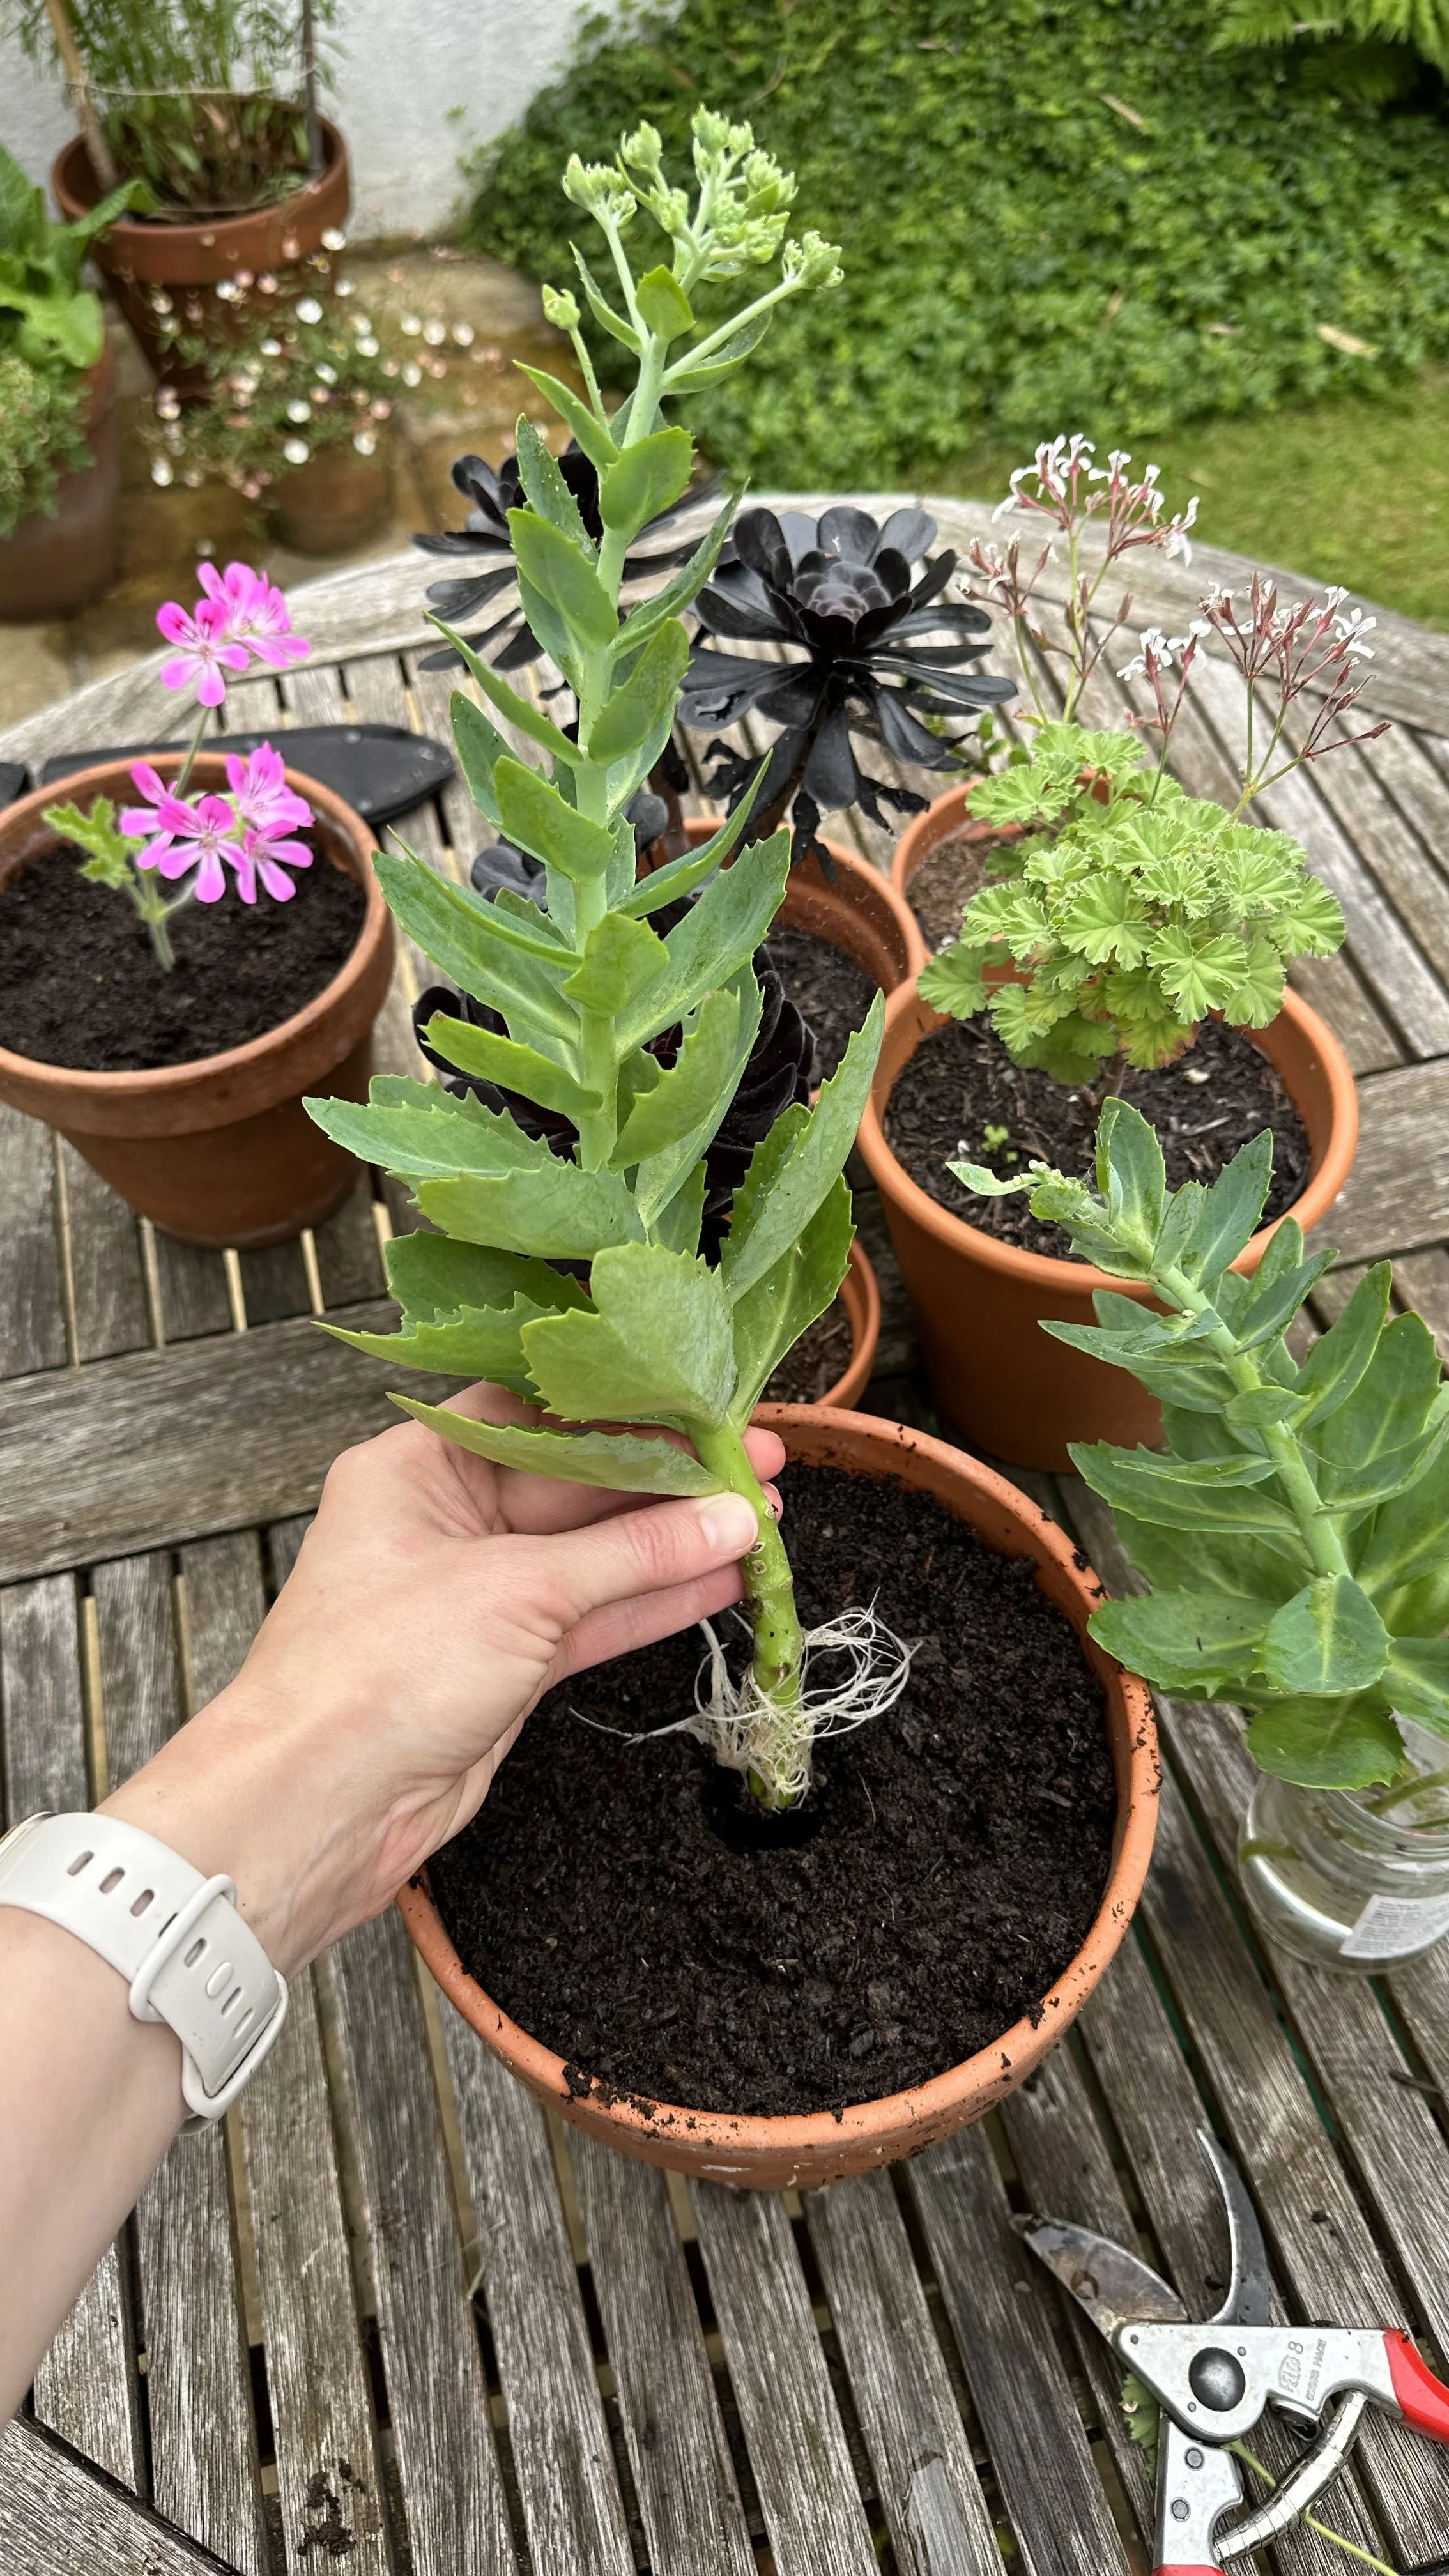
5. Transitioning to a Permanent Home
Once the cutting has established a decent network of roots, it’s time to transplant the new plant into a larger container or directly into the garden.
This is an exciting moment because it’s when a small sedum cutting truly begins its journey to becoming a thriving sedum plant.
I choose a spot in the garden that receives indirect light and has well-draining soil.
Whether you are planting sedum directly in a garden bed or arranging sedums in pots, this step is crucial for long-term success.
During transplanting, I’m extra careful not to disturb the young roots, as they are delicate and critical for the plant’s survival.
6. Ongoing Care and Observation
After transplanting, I continue to care for my new plants by maintaining a balanced watering schedule and ensuring they receive enough light.
I also monitor the growth of the roots and the development of small flowers.
It’s incredibly satisfying to watch the transformation—from a small stem or leaf to a mature sedum plant that eventually produces stunning clusters of flowers.
To learn more about growing plants from cuttings, check out my guides:
Sedum Propagation Tips and Tricks
I’ve picked up a number of tips that have made propagating sedum a much smoother process.
I’ve learned that even the smallest changes can have a big impact.
Here are some of the tips I’ve gathered along the way:
Experiment and Observe
One of the most important lessons I’ve learned is to never be afraid to experiment.
There is a lot of room for creativity when it comes to propagating sedum.
For example, I once set up two parallel experiments—one using the water method and the other using soil—for the same sedum variety.
Watching the differences in how quickly each cutting developed roots was really fascinating.
Experimentation has taught me that there isn’t always one “right” way to propagate sedum; rather, it’s about finding what works best for your specific conditions.
Adjust According to the Season
The season plays a significant role in determining which propagation method is most effective.
In the hot, dry days of summer, I tend to favor the water method because it offers a controlled environment where I can easily monitor the progress of the cuttings.
On cooler, more humid days, planting directly in soil has often yielded better results.
I’ve found that paying attention to seasonal changes helps me decide when to try new methods or when to rely on traditional stem cuttings.
clean tools
I recommend that the tools you use are clean and sharp before taking any cuttings.
A clean cut reduces the chance of infection and helps the cutting form a callus more effectively.
I also take care to choose a healthy new plant from the cutting, ensuring that it receives a balanced amount of water and light as it begins its journey.
For more growing tips, check out my guides:
Easy to Grow Plants for Bees and Butterflies
Frequently Asked Questions
1. Where can I find sedum cuttings or plant cuttings for sale?
There are several sources if you’re looking to purchase sedum cuttings.
Local nurseries often carry a range of sedum varieties, and many online marketplaces specialize in plant cuttings.
These sources can be a good alternative if you’re looking to quickly expand your collection or try a new variety that you haven’t yet cultivated at home.
2. What are the differences between propagating sedum and propagating ice plant?
While both sedum and ice plant propagation involve using cuttings, there are differences in their overall care and environmental needs.
Sedum propagation often emphasizes a careful balance of water and light to ensure that roots develop properly.
On the other hand, propagating ice plant may require slightly different moisture levels and attention to sunlight intensity.
Each method has its unique set of practices, so it’s important to research and understand the specific needs of the plant you’re working with.
3. Can sedum be grown indoors, and if so, what are the best practices?
Yes, sedum can be successfully grown indoors as long as you provide adequate light and proper drainage.
For indoor sedum, I recommend placing the plants near a bright window and ensuring that any pots have drainage holes to prevent water from accumulating.
Using a well-draining soil mix is also essential for preventing root rot.
Indoor sedum can be a great addition to any room, offering a touch of green that requires minimal maintenance.
4. Are there any special considerations for varieties like sedum autumn joy, sedum album, or sedum 'purple emperor when purchasing cuttings?
Each sedum variety has slight differences in its care and propagation requirements.
For example, sedum autumn joy propagation involves specific timing related to seasonal changes, while sedum 'purple emperor’ has more delicate stems that require gentler handling.
5. What should I look for in a soil mix when planning to propagate sedum in soil?
A good soil mix for sedum propagation should be well-draining to prevent water from pooling around the roots.
I prefer to mix regular potting soil with perlite, coarse sand, or even small amounts of compost.
The goal is to create a medium that allows moisture to evaporate quickly while still providing enough nutrients to support young sedum plants.
Experimenting with different mixes can help you determine the best combination for your local conditions.
6. How can I tell when my sedum cuttings have developed strong roots?
One of the easiest ways to tell if your sedum cuttings have successfully rooted is by gently tugging on them.
If you feel resistance, it’s a good sign that the roots have begun to anchor the cutting.
In the water propagation method, you can also see the formation of visible roots along the submerged part of the stem or leaf.
Once you notice a network of small roots, it’s time to consider transplanting the new plant to its permanent home.
For more tips, check out my guides:

Wrapping Up
Propagating sedum has taught me a lot about patience, and the rewards of nurturing something from a small cutting into a flourishing new plant.
Every time I watch a tiny piece of sedum develop roots and eventually burst into life, I get so excited.
Whether you choose to work with stem cuttings, leaves, or even experiment with methods like how to propagate sedum in water versus in soil, each approach has its own unique benefits.
I’m excited for you to start your own experiments and to experience the satisfaction of watching your sedum cuttings develop into thriving new plants.
Happy gardening!
Pin this post to save it for later!