Growing Mint from Cuttings: Easy Step-by-Step Guide
This website is reader-supported - thank you! This post may contain affiliate links. As an Amazon Associate, I earn from qualifying purchases at no extra cost to you.
Mint, a versatile herb, is one of my favorite things to grow.
This guide is dedicated to guiding you through the rewarding journey of propagating mint, transforming simple mint cuttings into flourishing mint plants.
Mint is more than just an amazing herb to have in the kitchen; it’s a plant that promises new growth with minimal effort.
Even if you are new to gardening, the process of taking a mint cutting and nurturing it into a thriving plant is a fulfilling experience.
Growing mint from cuttings is a sustainable step towards self-sufficiency in your herb garden.
This guide will walk you through the easy yet fascinating process of mint propagation, from the initial cutting to the joy of witnessing new growth.
To learn more about growing mint, check out my guides:
Gather Materials for taking mint cuttings
To start growing mint from cuttings, it's essential to have the right materials at hand.
Here’s what you’ll need and why each item is important:
1. Mint plant
Choose healthy, vigorous stems from an existing mint plant.
Look for stems that are about 4-6 inches long with several leaf nodes.
These are typically the best candidates for rooting.
If you don’t already have a mint plant, here are the ones I recommend:
2. Potting Soil
Use a high-quality potting mix that is well-draining and nutrient-rich.
Mint prefers soil that retains moisture but also allows excess water to drain away.
Good soil is crucial for the healthy growth of roots and the overall development of your mint plant.
Here is the potting mix I recommend:
3. Containers
Choose containers with drainage holes to prevent waterlogging.
The size of the container will depend on how many cuttings you plan to root.
You can use anything from small pots to larger garden containers, depending on your available space and the number of cuttings.
Here are the containers I recommend using:
4. Water
Use clean, chlorine-free water for both rooting the cuttings and watering them after planting.
If your tap water is chlorinated, let it sit out overnight before using.
Proper hydration is crucial for the rooting process and the ongoing health of the mint.
5. Clear Plastic Bag or Cover
A clear plastic bag or a plastic cover can create a greenhouse effect, maintaining humidity around the mint cutting, which can be beneficial in the initial stages of rooting, especially in drier environments.
Cover the pot containing the mint cutting with the plastic, ensuring it doesn't touch the leaves directly.
This setup helps in retaining moisture and warmth, encouraging root growth.
These pots with clear humdity domes also work great:
6. Labels
If you're propagating multiple varieties of mint or other herbs, labels can help you keep track of each plant's progress and variety.
Use anything from commercial plant labels to improvised markers like popsicle sticks and permanent markers.
These are the labels I use:
7. Pruning Shears or Scissors
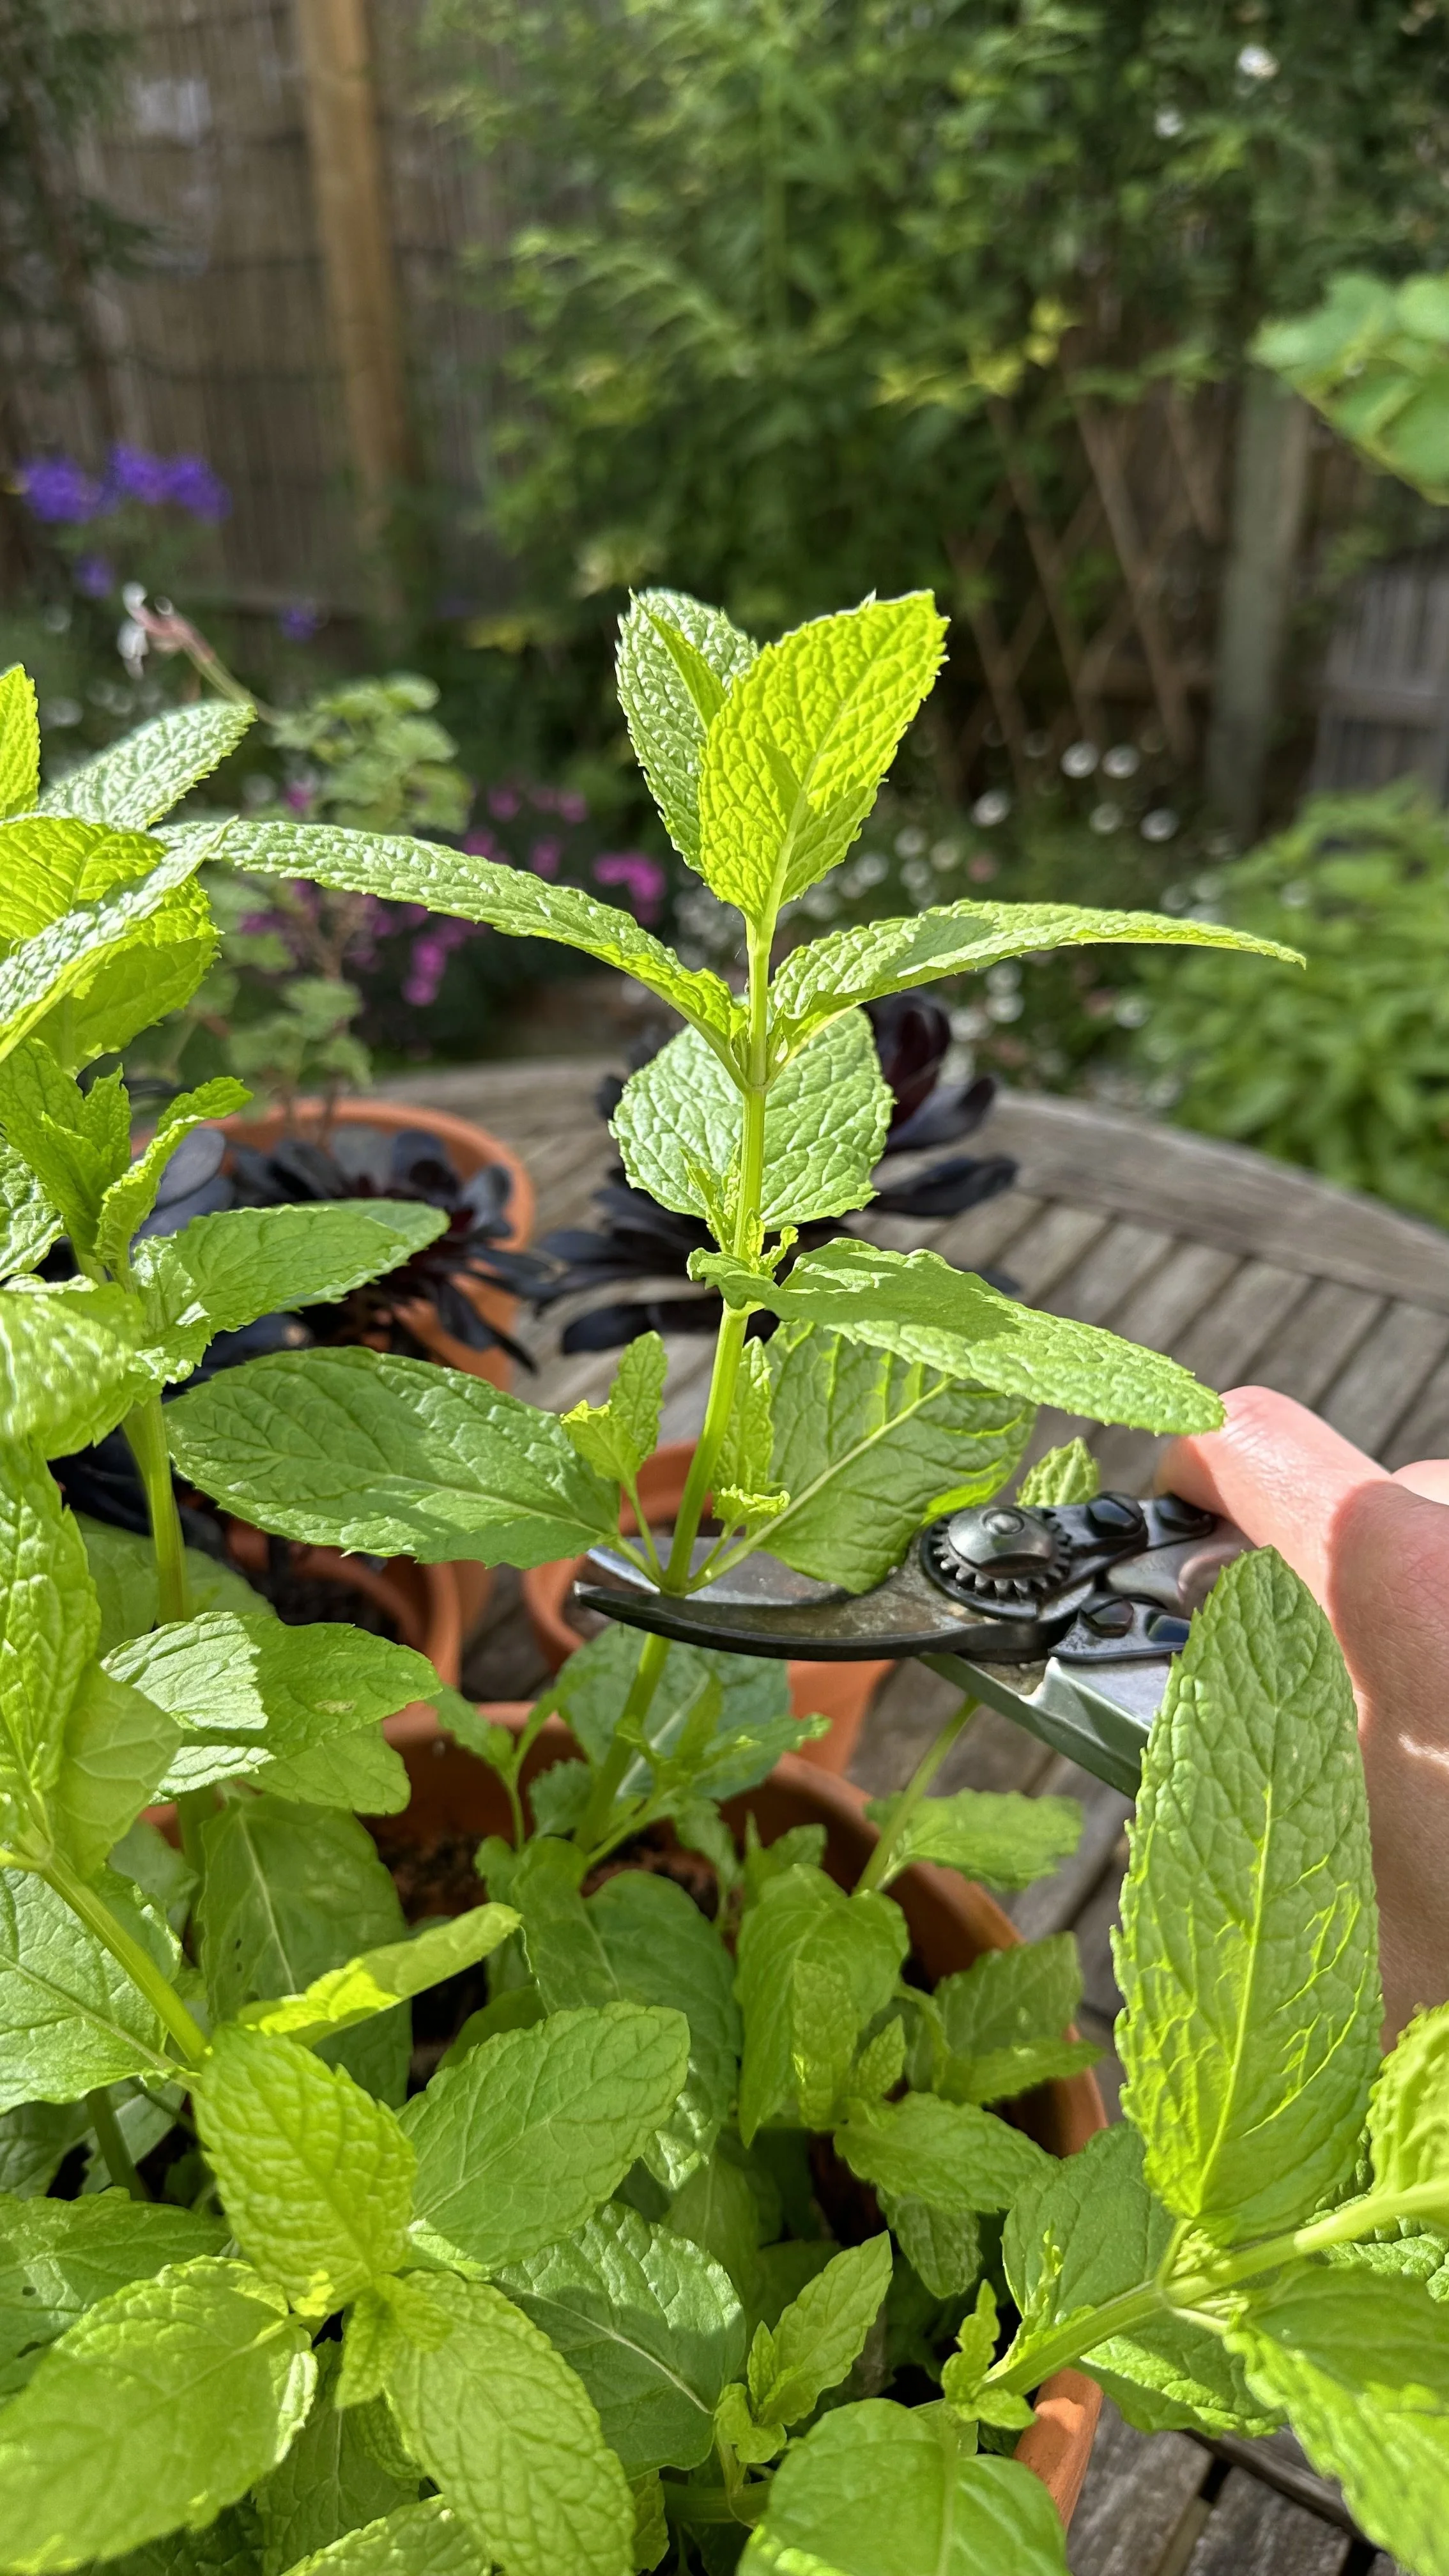
A sharp pair of shears or scissors is essential for making a clean cut on the mint stem.
A clean cut helps in better root formation and reduces the risk of disease.
These garden shears are perfect for the job:
Gathering these materials in advance ensures a smooth and successful start to propagating your mint cuttings.
Each item plays a specific role in the process, contributing to the healthy growth and development of your mint plants.
Want to learn more about propagating herbs? Check out my guides:
Step-by-Step Guide to taking Mint cuttings
Growing mint from cuttings is a simple and fun process.
Here's a detailed guide to help you through each step:
How to Grow Mint from Cuttings in Water
Choose a healthy mint stem about 4-6 inches long.
Use sharp scissors or pruning shears to make a clean cut just below a leaf node (the point on the stem where leaves emerge).
Remove the lower leaves to expose a few leaf nodes.
These nodes will develop into roots when submerged in water.
Place the cutting in a glass or jar filled with clean water.
Ensure that the leaf nodes are submerged, but the remaining leaves are above water to prevent rot.
Place the jar in a location with indirect sunlight. Avoid direct sun exposure, which can stress the cutting.
To learn more about this, check out my guide: Growing Herbs in Water: A Simple Guide.
Change the water every few days to keep it fresh and reduce the risk of fungal growth.
Roots typically begin to emerge within a week or two.
Wait until they are about an inch long before transplanting.
Growing Mint from Cuttings Indoors
Once the roots are well-developed, prepare a pot with potting soil.
Make a small hole in the soil and gently insert the rooted cutting.
Be careful not to damage the delicate roots.
Firm the soil around the cutting to provide support.
Place the pot in a location that receives plenty of indirect sunlight.
Water the soil to keep it consistently moist but not soggy.
Mint prefers a humid environment, so consider misting the leaves occasionally.
Growing Mint from Cuttings in Soil
Prepare a spot in your garden or a container with potting soil.
Plant the cutting directly into the soil, burying the lower leaf nodes where the roots will develop.
Water the soil well after planting.
Choose a spot that receives partial to full sunlight.
Keep the soil moist, especially during dry periods.
As the mint grows, pinch off the tips to encourage a bushier plant.
Aftercare for All Mint Plants
Mint plants prefer consistently moist soil. Water them when the top inch of soil feels dry.
For more watering tips, check out my guide How to Use Watering Globes.
Use a balanced, all-purpose fertilizer every few weeks during the growing season.
To learn more about fertilizer, check out my guide: Does Fertilizer Go Bad? The Reality of Fertilizer Shelf Life.
Here is the fertilizer I recommend:
By following these detailed steps, you'll be well on your way to growing healthy and vibrant mint plants from cuttings, whether you choose to root them in water or plant them directly in soil.
For more herb garden tips, check out my guides:
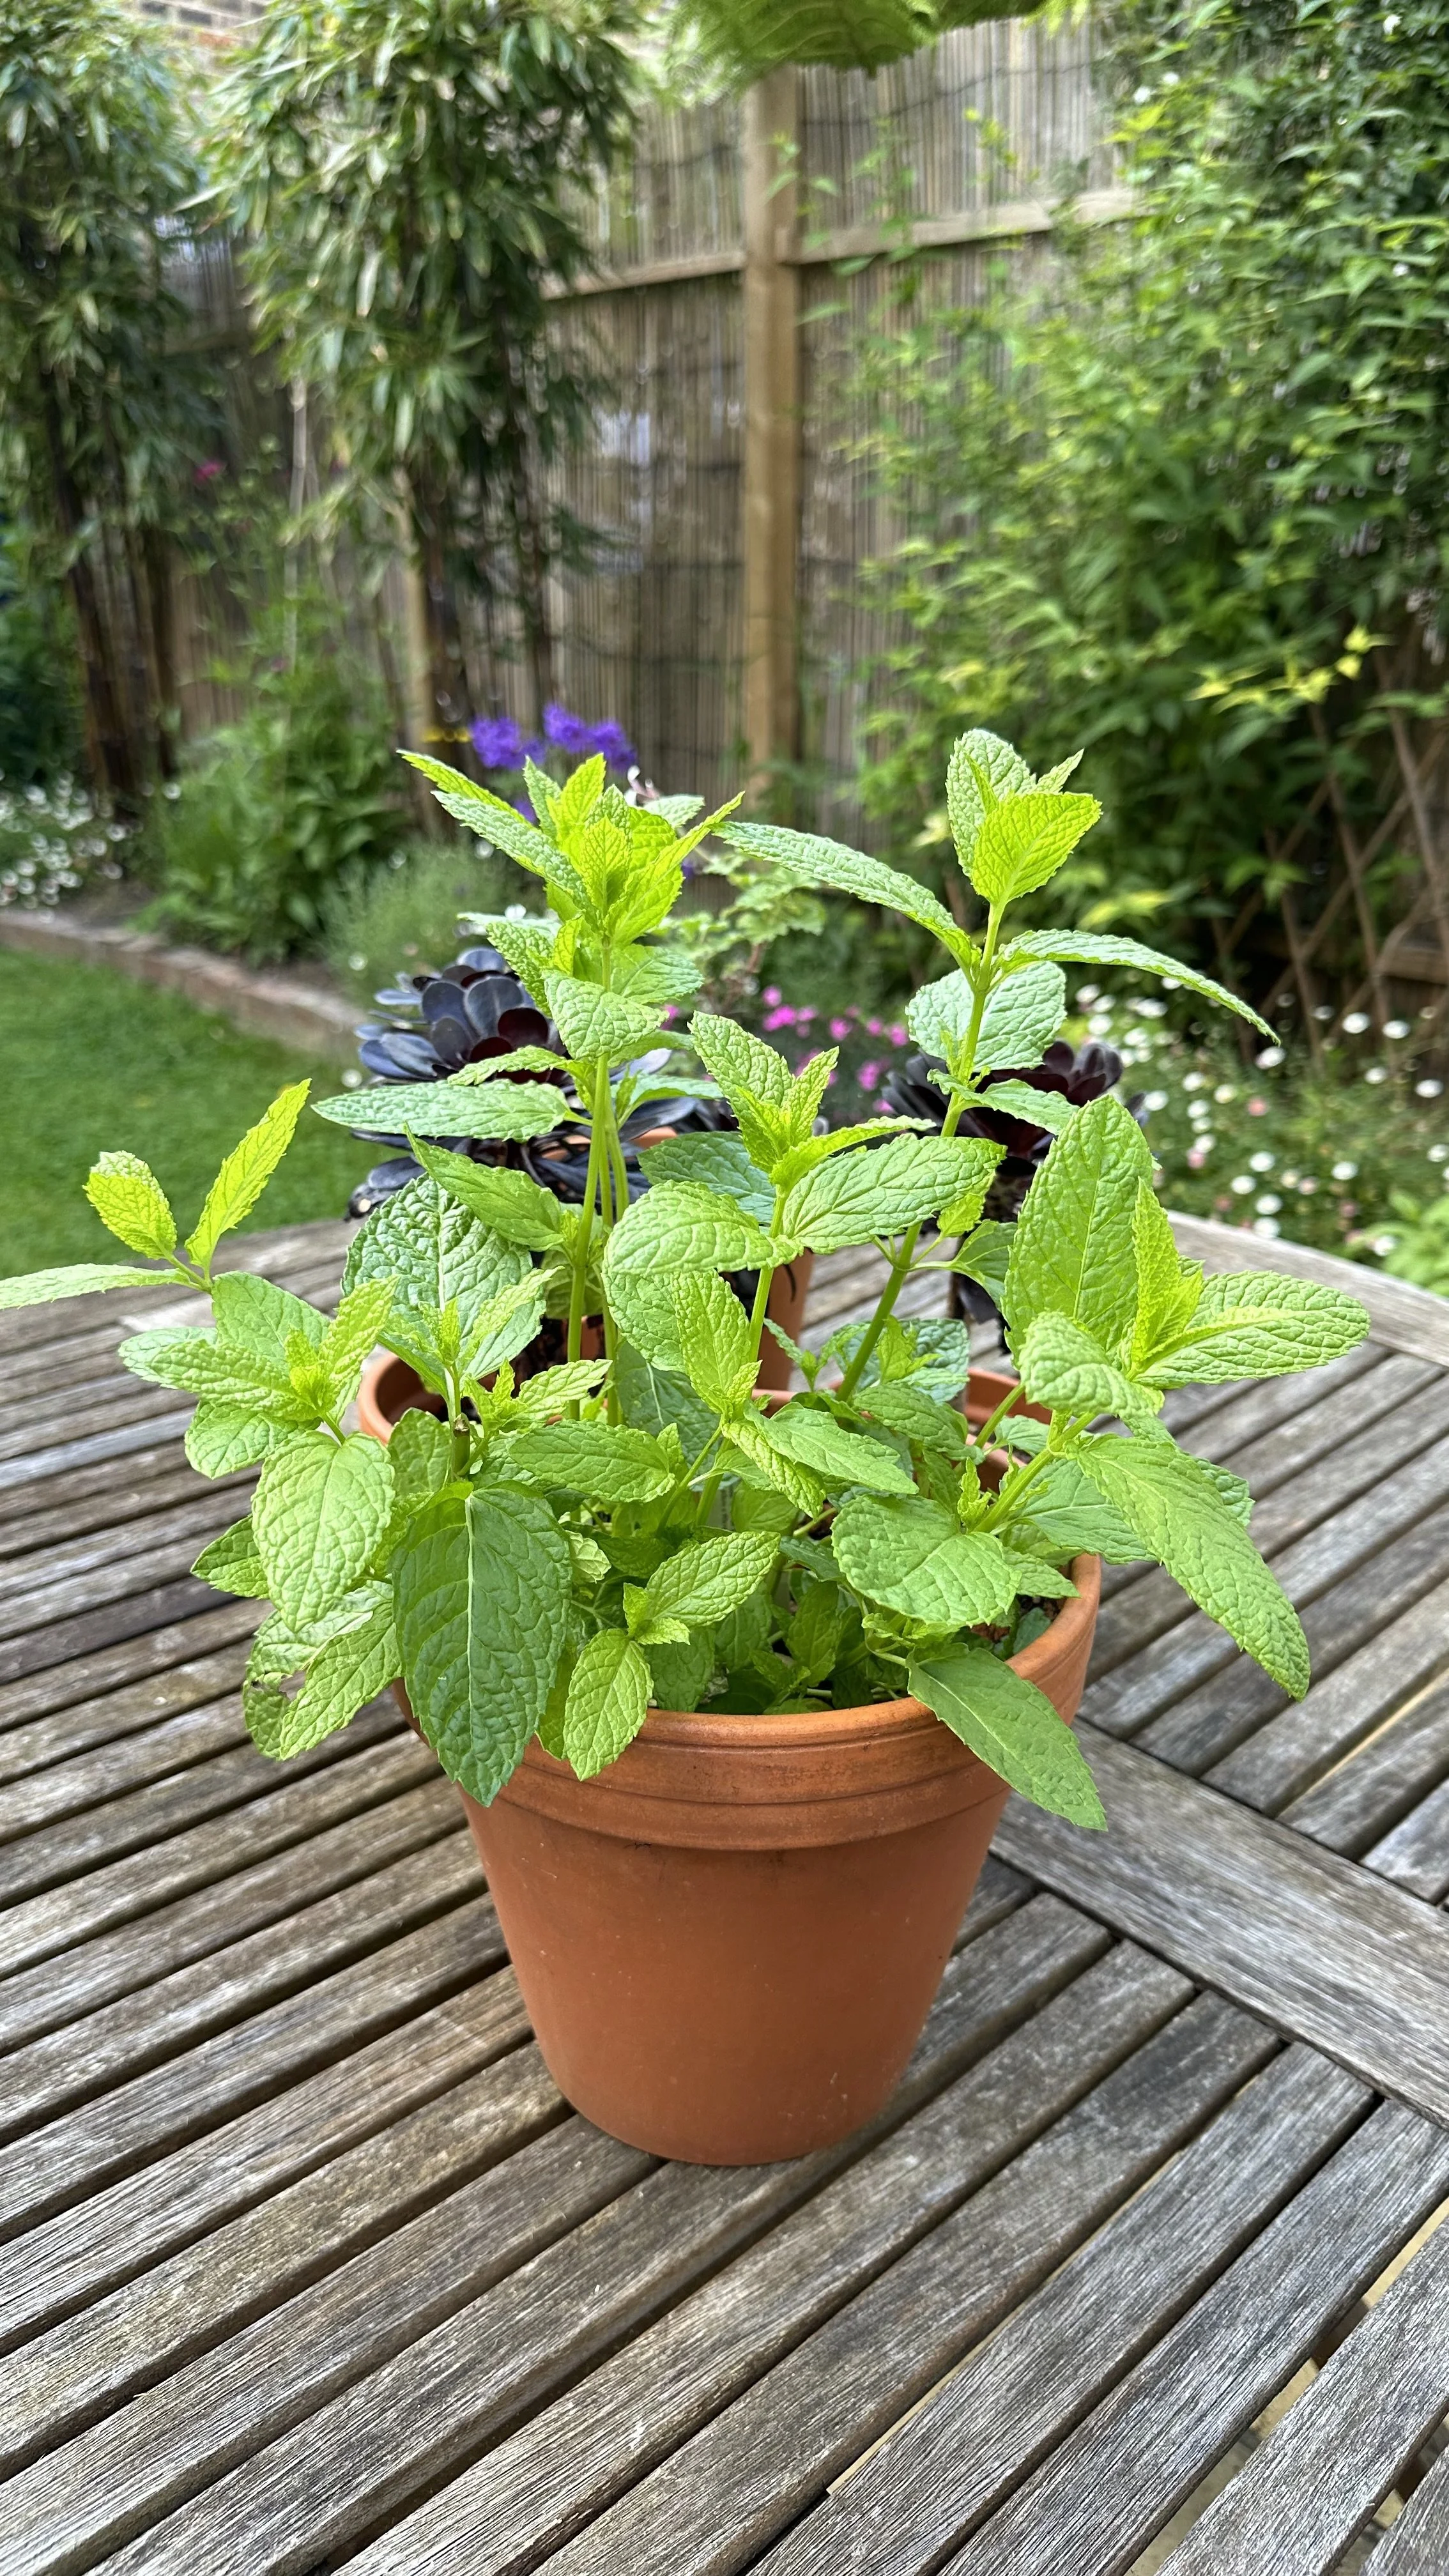
Spearmint and Moroccan mint.
To learn more about propagating, check out my guides:
Caring for Your Mint Plant
Once your mint cuttings have successfully rooted and are growing, proper care is crucial to ensure they develop into healthy, thriving plants.
Here are key aspects of mint plant care:
Sunlight and Location
Mint plants prefer a location with partial to full sunlight.
If grown indoors, a windowsill that receives several hours of sunlight is ideal.
Outdoors, mint thrives in both sunny and partially shaded areas.
Gradually acclimate your mint plants to direct sunlight to prevent shock.
Start with a few hours of morning sun and increase exposure over time.
Watering
Mint likes consistently moist soil. Water the plant when the top inch of soil feels dry to the touch.
While mint plants like moisture, they don’t fare well in waterlogged soil. Ensure good drainage to prevent root rot.
For more advice, take a look at my guide: How Often to Water Mint.
Soil and Potting
Use a well-draining potting mix.
Mint prefers soil that is rich in organic matter, which helps retain adequate moisture.
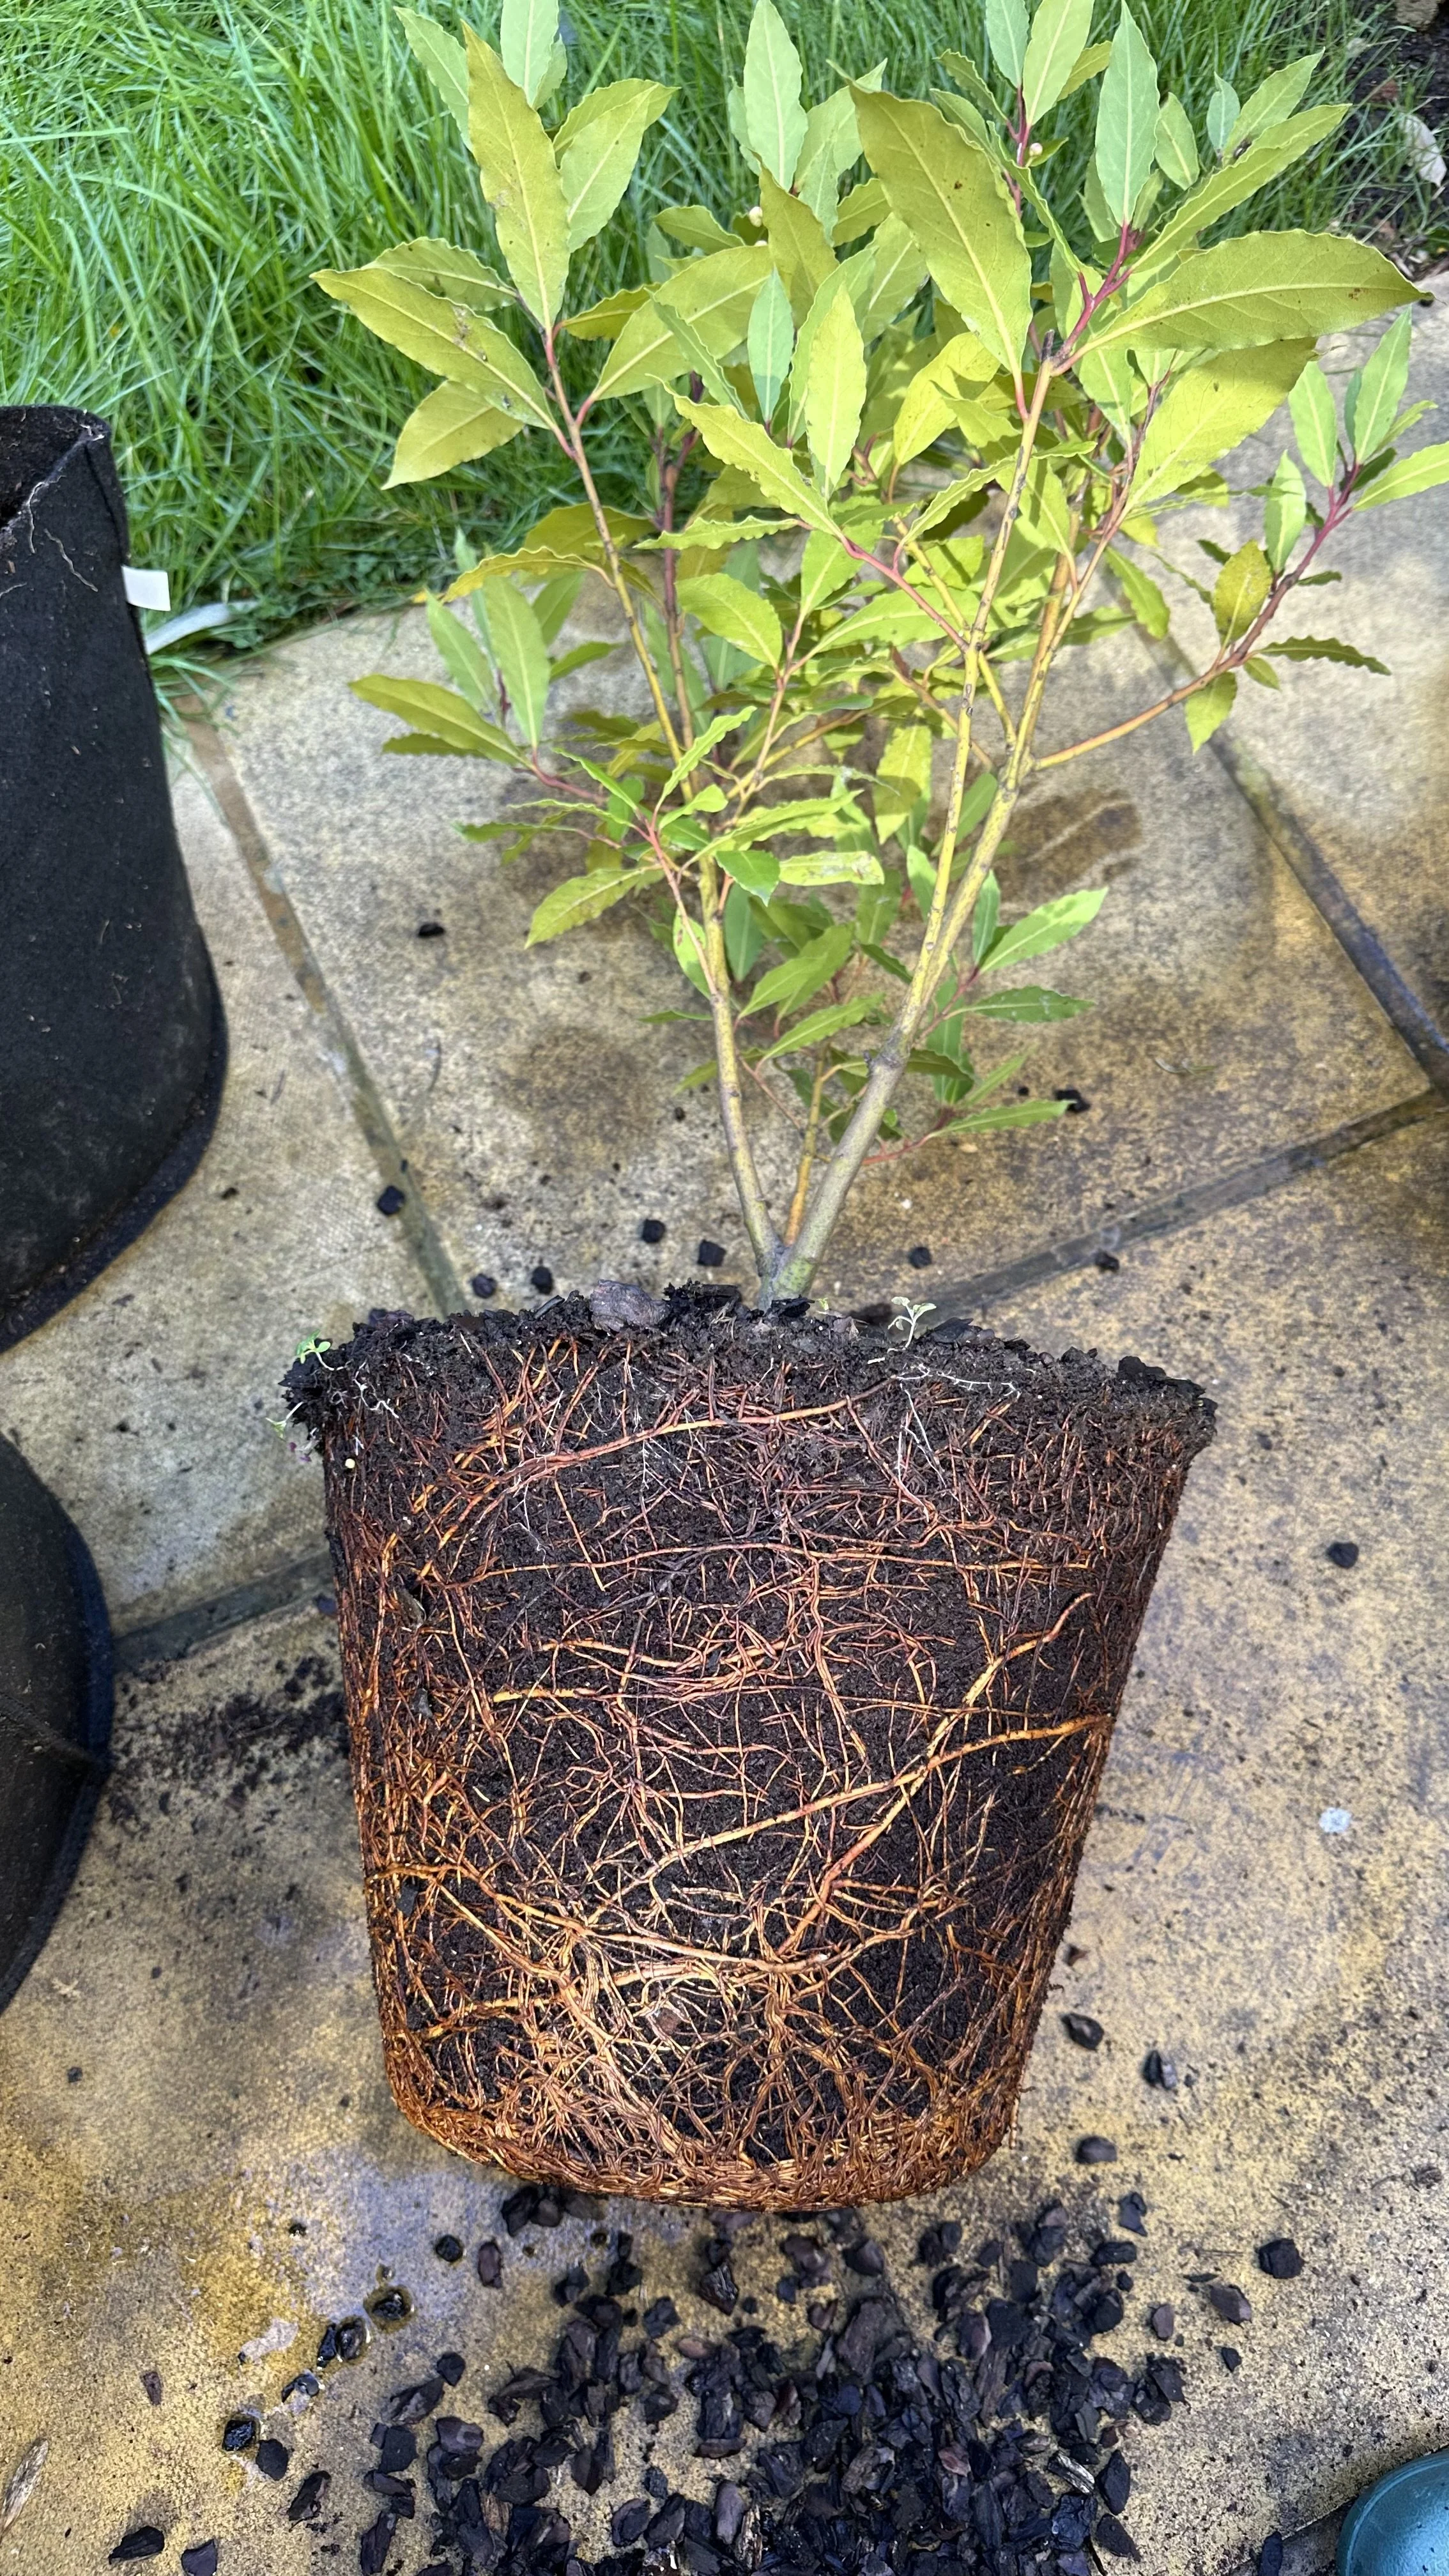
Mint plants can grow vigorously. If you notice the roots crowding the pot, it may be time to repot to a larger container.
This is one of my favorite pots for growing mint:
Fertilization
Feed your mint plant with a balanced, all-purpose fertilizer every 4-6 weeks during the growing season.
Over-fertilizing can lead to excessive foliage growth at the expense of flavor.
Pruning and Harvesting
Regular pruning helps maintain a bushy, compact growth and prevents the plant from becoming leggy.
Pinch off or cut back the top leaves to encourage lateral growth.
Harvest mint leaves as needed. It’s best to pick leaves in the morning when their essential oils are strongest for the best flavor.
Pest and Disease Management
Mint is relatively pest-resistant but can occasionally attract aphids and spider mites.
Inspect leaves regularly and treat with an appropriate organic pesticide if needed.
Good air circulation and proper watering can prevent most fungal diseases.
Avoid wetting the foliage to reduce the risk of mildew.
Overwintering Mint
In colder climates, mint plants will die back in winter but usually return in spring.
You can mulch over outdoor mint plants to protect them from frost.
If you have potted mint, consider bringing it indoors during winter months to ensure it continues to thrive.
Companion Planting
Mint can be a great companion plant in the garden, as its strong scent deters pests.
However, it can be invasive, so consider planting it in containers or designated areas to prevent it from overtaking other plants.
For more tips on growing mint, check out my guide Mint to Be Together: Choosing Companion Plants for Mint.
For more herb garden tips, check out my guides:
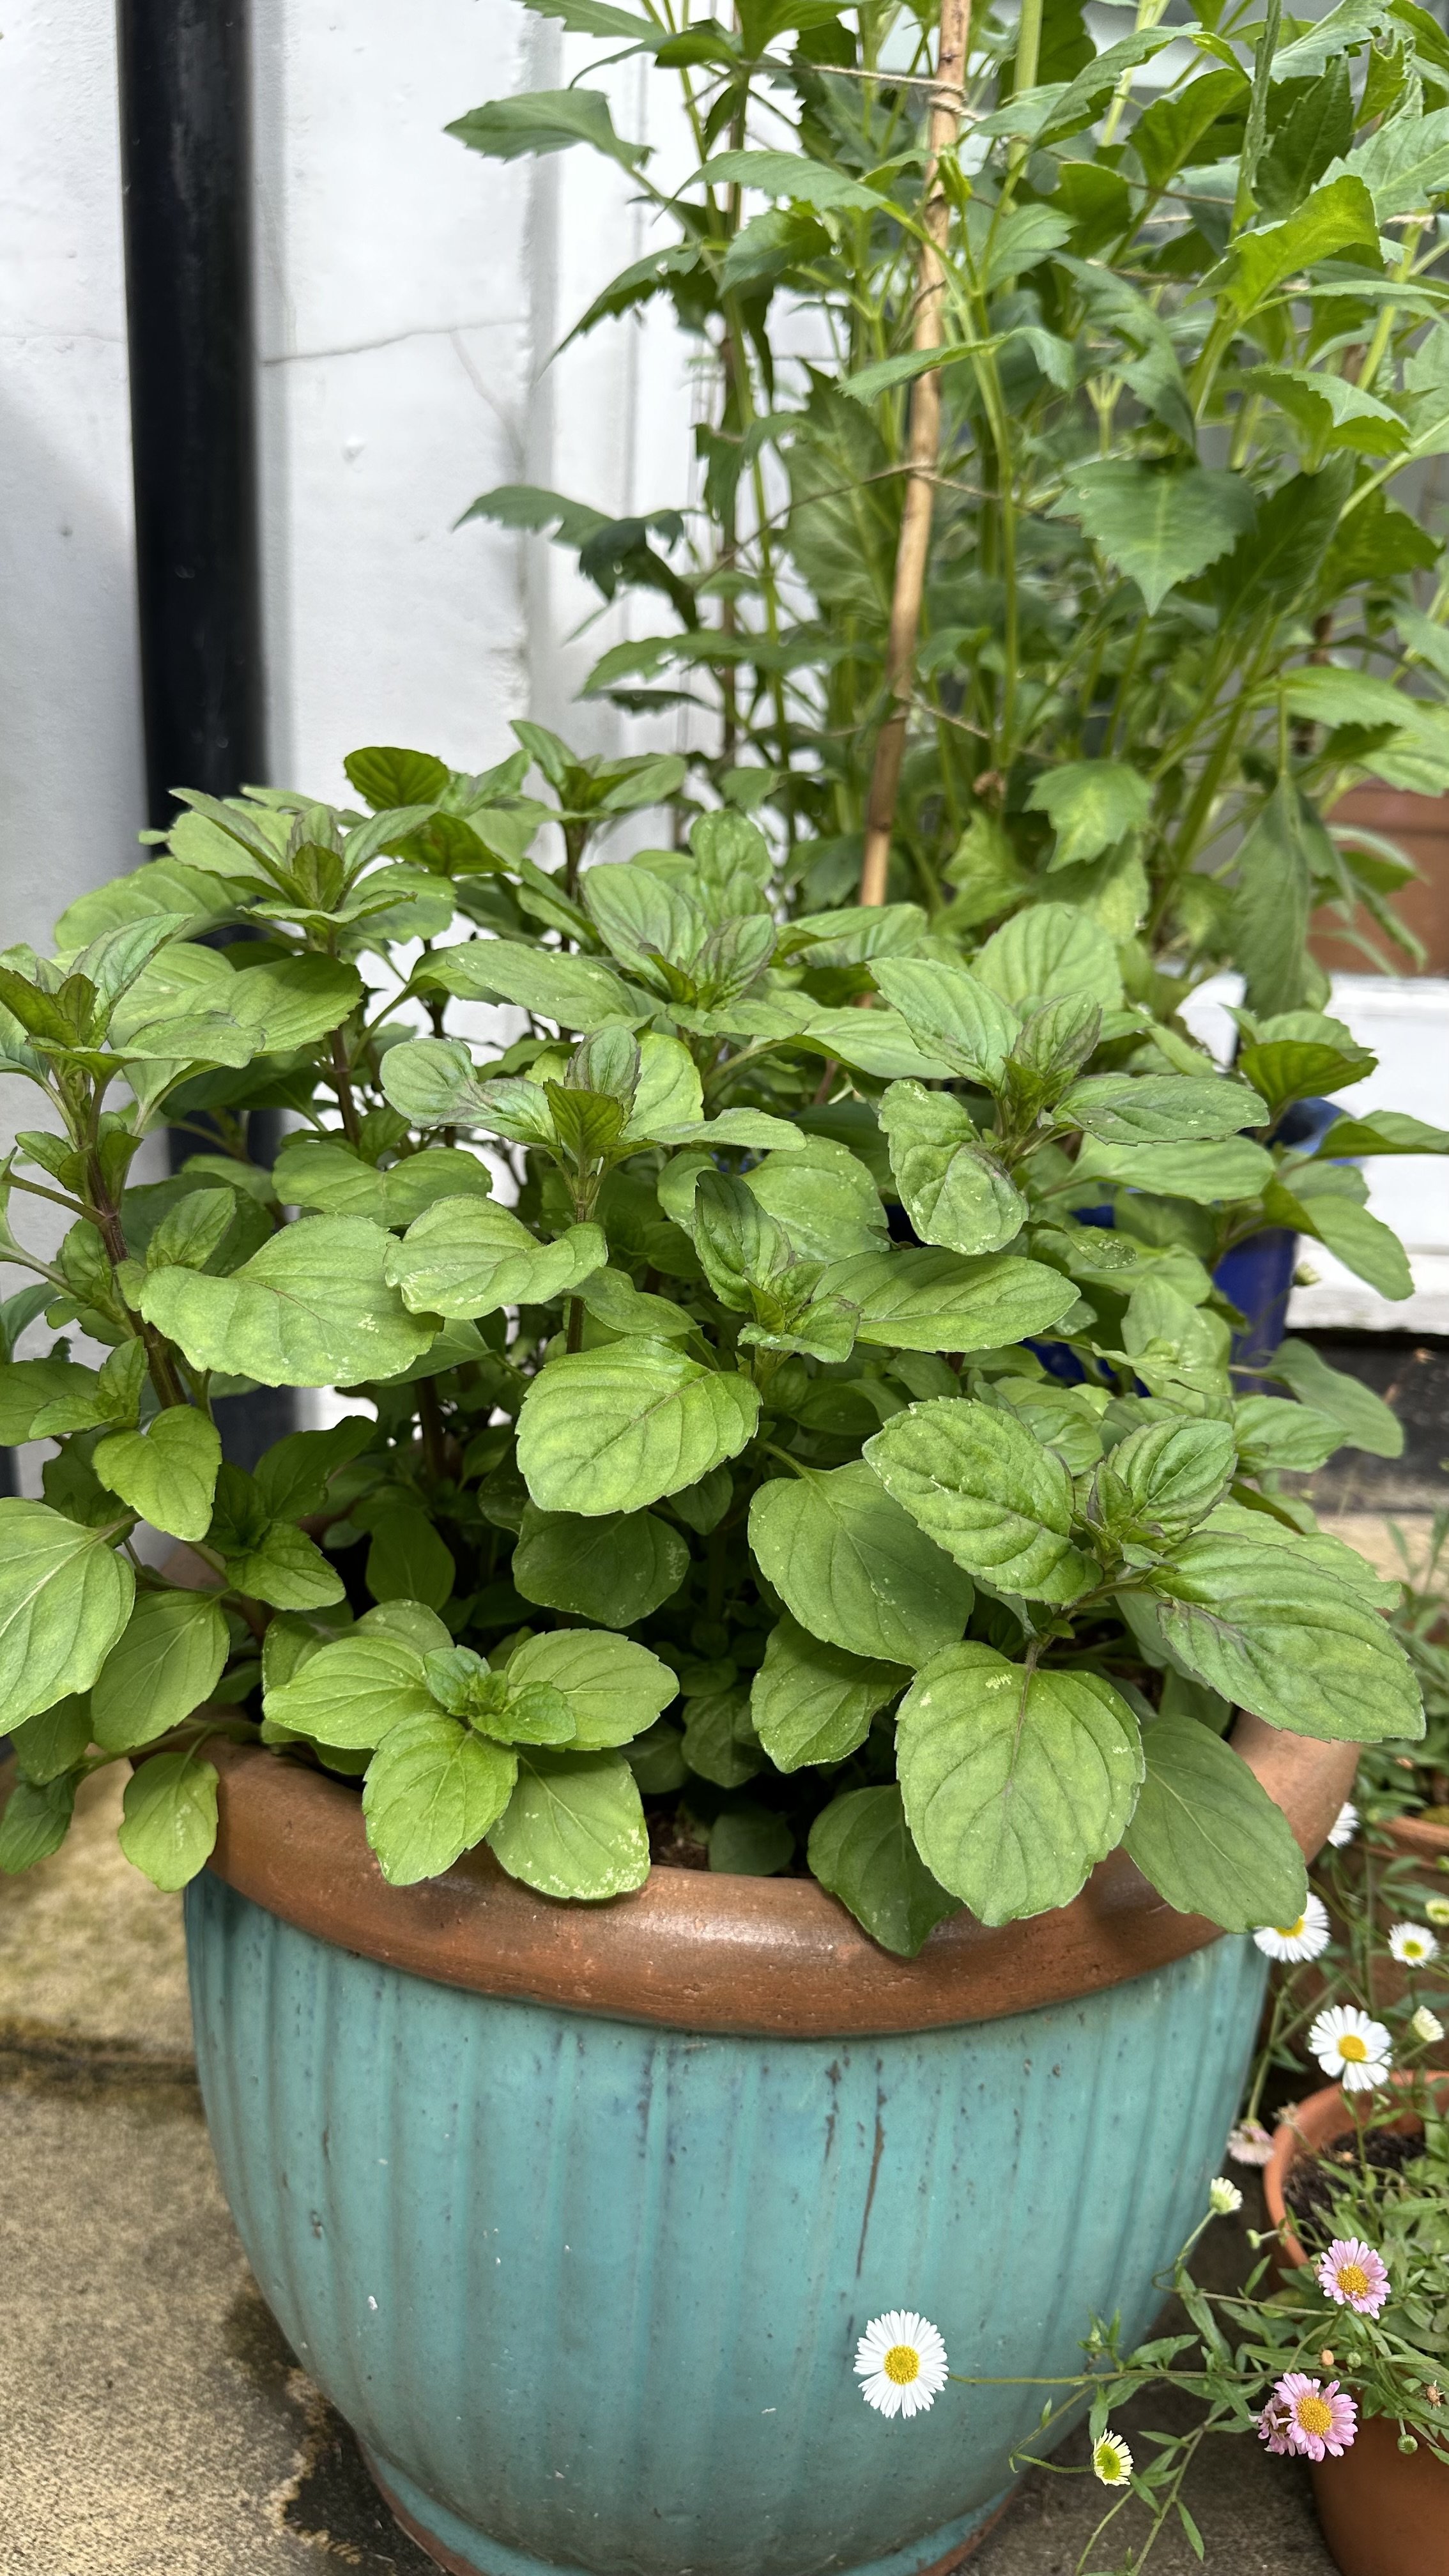
Lime mint.
Why Grow Mint from Cuttings?
Here’s why you should consider propagating mint this way:
1. Cost-Effective and Sustainable
Starting mint plants from cuttings is far more economical than purchasing fully-grown plants.
If you already have access to a mint plant, the cuttings are essentially free.
This method promotes a sustainable approach to gardening, reducing waste and the need for commercial packaging.
2. Rapid Growth and Multiplication
Mint is known for its rapid growth rate.
When propagated from cuttings, the plants tend to establish themselves quickly and start growing new leaves in a short period.
This quick turnaround is ideal for those looking to expand their herb garden swiftly.
3. High Success Rate
Mint cuttings root easily, making them a great choice for new gardeners.
4. Genetic Consistency
When you grow mint from cuttings, you’re essentially cloning the parent plant.
This means the new mint plants will have the same characteristics as the original, whether it's a particular flavor, aroma, or growth habit.
This consistency is especially important for those who are looking to maintain a specific quality in their mint plants.
6. Therapeutic and Aromatic Rewards
Mint is not only a culinary delight but also has therapeutic properties.
Having a constant supply of fresh mint can be beneficial for your health, adding an amazing element to your kitchen garden.
7. Versatility in Gardening
Mint cuttings can be grown in various conditions – indoors, outdoors, in soil, or water.
This versatility makes it a perfect plant for different living spaces and gardening preferences.
Whether you have a large garden or a small windowsill, mint can be a fitting addition.
8. Endless Culinary Uses
Growing your own mint ensures you always have fresh herbs at hand for a variety of culinary uses.
From mint tea to garnishes for dishes, the fresh leaves from your mint plant can enhance the flavor and presentation of your meals.
FAQs
Can You Grow Mint from Store-Bought Cuttings?
Yes, you can! Just ensure they are fresh and follow the same steps for rooting in water.
How to Grow Mint Outdoors/Indoors?
Outdoors, mint thrives in a cool, moist environment with partial shade.
Indoors, ensure it gets enough light and regular watering.
To learn more, check out my guide Herbs That Actually Grow Well in Shade.
How to Prune Mint for Better Growth?
Prune the top leaves to encourage bushier growth.
Regular pruning also prevents legginess.
Is it Easy to Propagate Mint in Water?
Absolutely! Mint roots easily in water, making it one of the easiest herbs to propagate this way.
Common Challenges in Growing Mint from Cuttings
Sometimes cuttings might not root, usually due to poor cutting selection or water conditions.
Always choose healthy stems and change the water regularly.
Wrap-Up
Growing mint from cuttings is an easy process that opens up a world of greenery in your own space.
By following the steps outlined in this guide, you can effortlessly propagate mint and enjoy the bounty of fresh mint leaves.
Whether you’re enhancing your culinary creations or simply enjoying the process of growing herbs, mint plants offer endless possibilities.
Pin this post to save it for later!
