Propagate Oregano: How to Multiply Your Herbs
This article has links to products that I may make commission from.
If you've ever marveled at the idea of expanding your herb garden or simply love using oregano in your dishes, you're in the right place.
Here we're getting into the details of how to propagate oregano, focusing on methods that can turn a single plant into a bountiful harvest.
Whether you're a fan of the robust flavors of Greek oregano or just looking to fill your garden with more oregano plants, I've got you covered.
Propagating oregano might sound like a task reserved for the green-thumbed experts, but I'm here to break it down for you, making it easy and accessible.
We'll explore everything from taking the right cuttings to ensuring they thrive and transform into flourishing oregano plants.
To learn more about oregano, check out my guides:
Getting Started with Oregano Propagation
You might be thinking, "Why propagate when I can just buy?"
Well, let me tell you, there's nothing quite like the satisfaction of watching those tiny cuttings flourish into full-blown plants, all thanks to your care.
Why Propagate Oregano?
Oregano, especially varieties like Greek oregano, are a must-have in any herb garden, thanks to its fragrant leaves that add that special zing to dishes.
Propagating oregano means you can quickly expand your collection, experiment with different varieties, or even gift a piece of your garden to a friend.
And the best part? It's incredibly easy and rewarding.
Choosing Your Oregano Plant
First off, you'll need an oregano plant.
If you already have one, you're all set.
If not, this might be the perfect excuse to visit your local nursery or perhaps adopt a cutting from a fellow gardener.
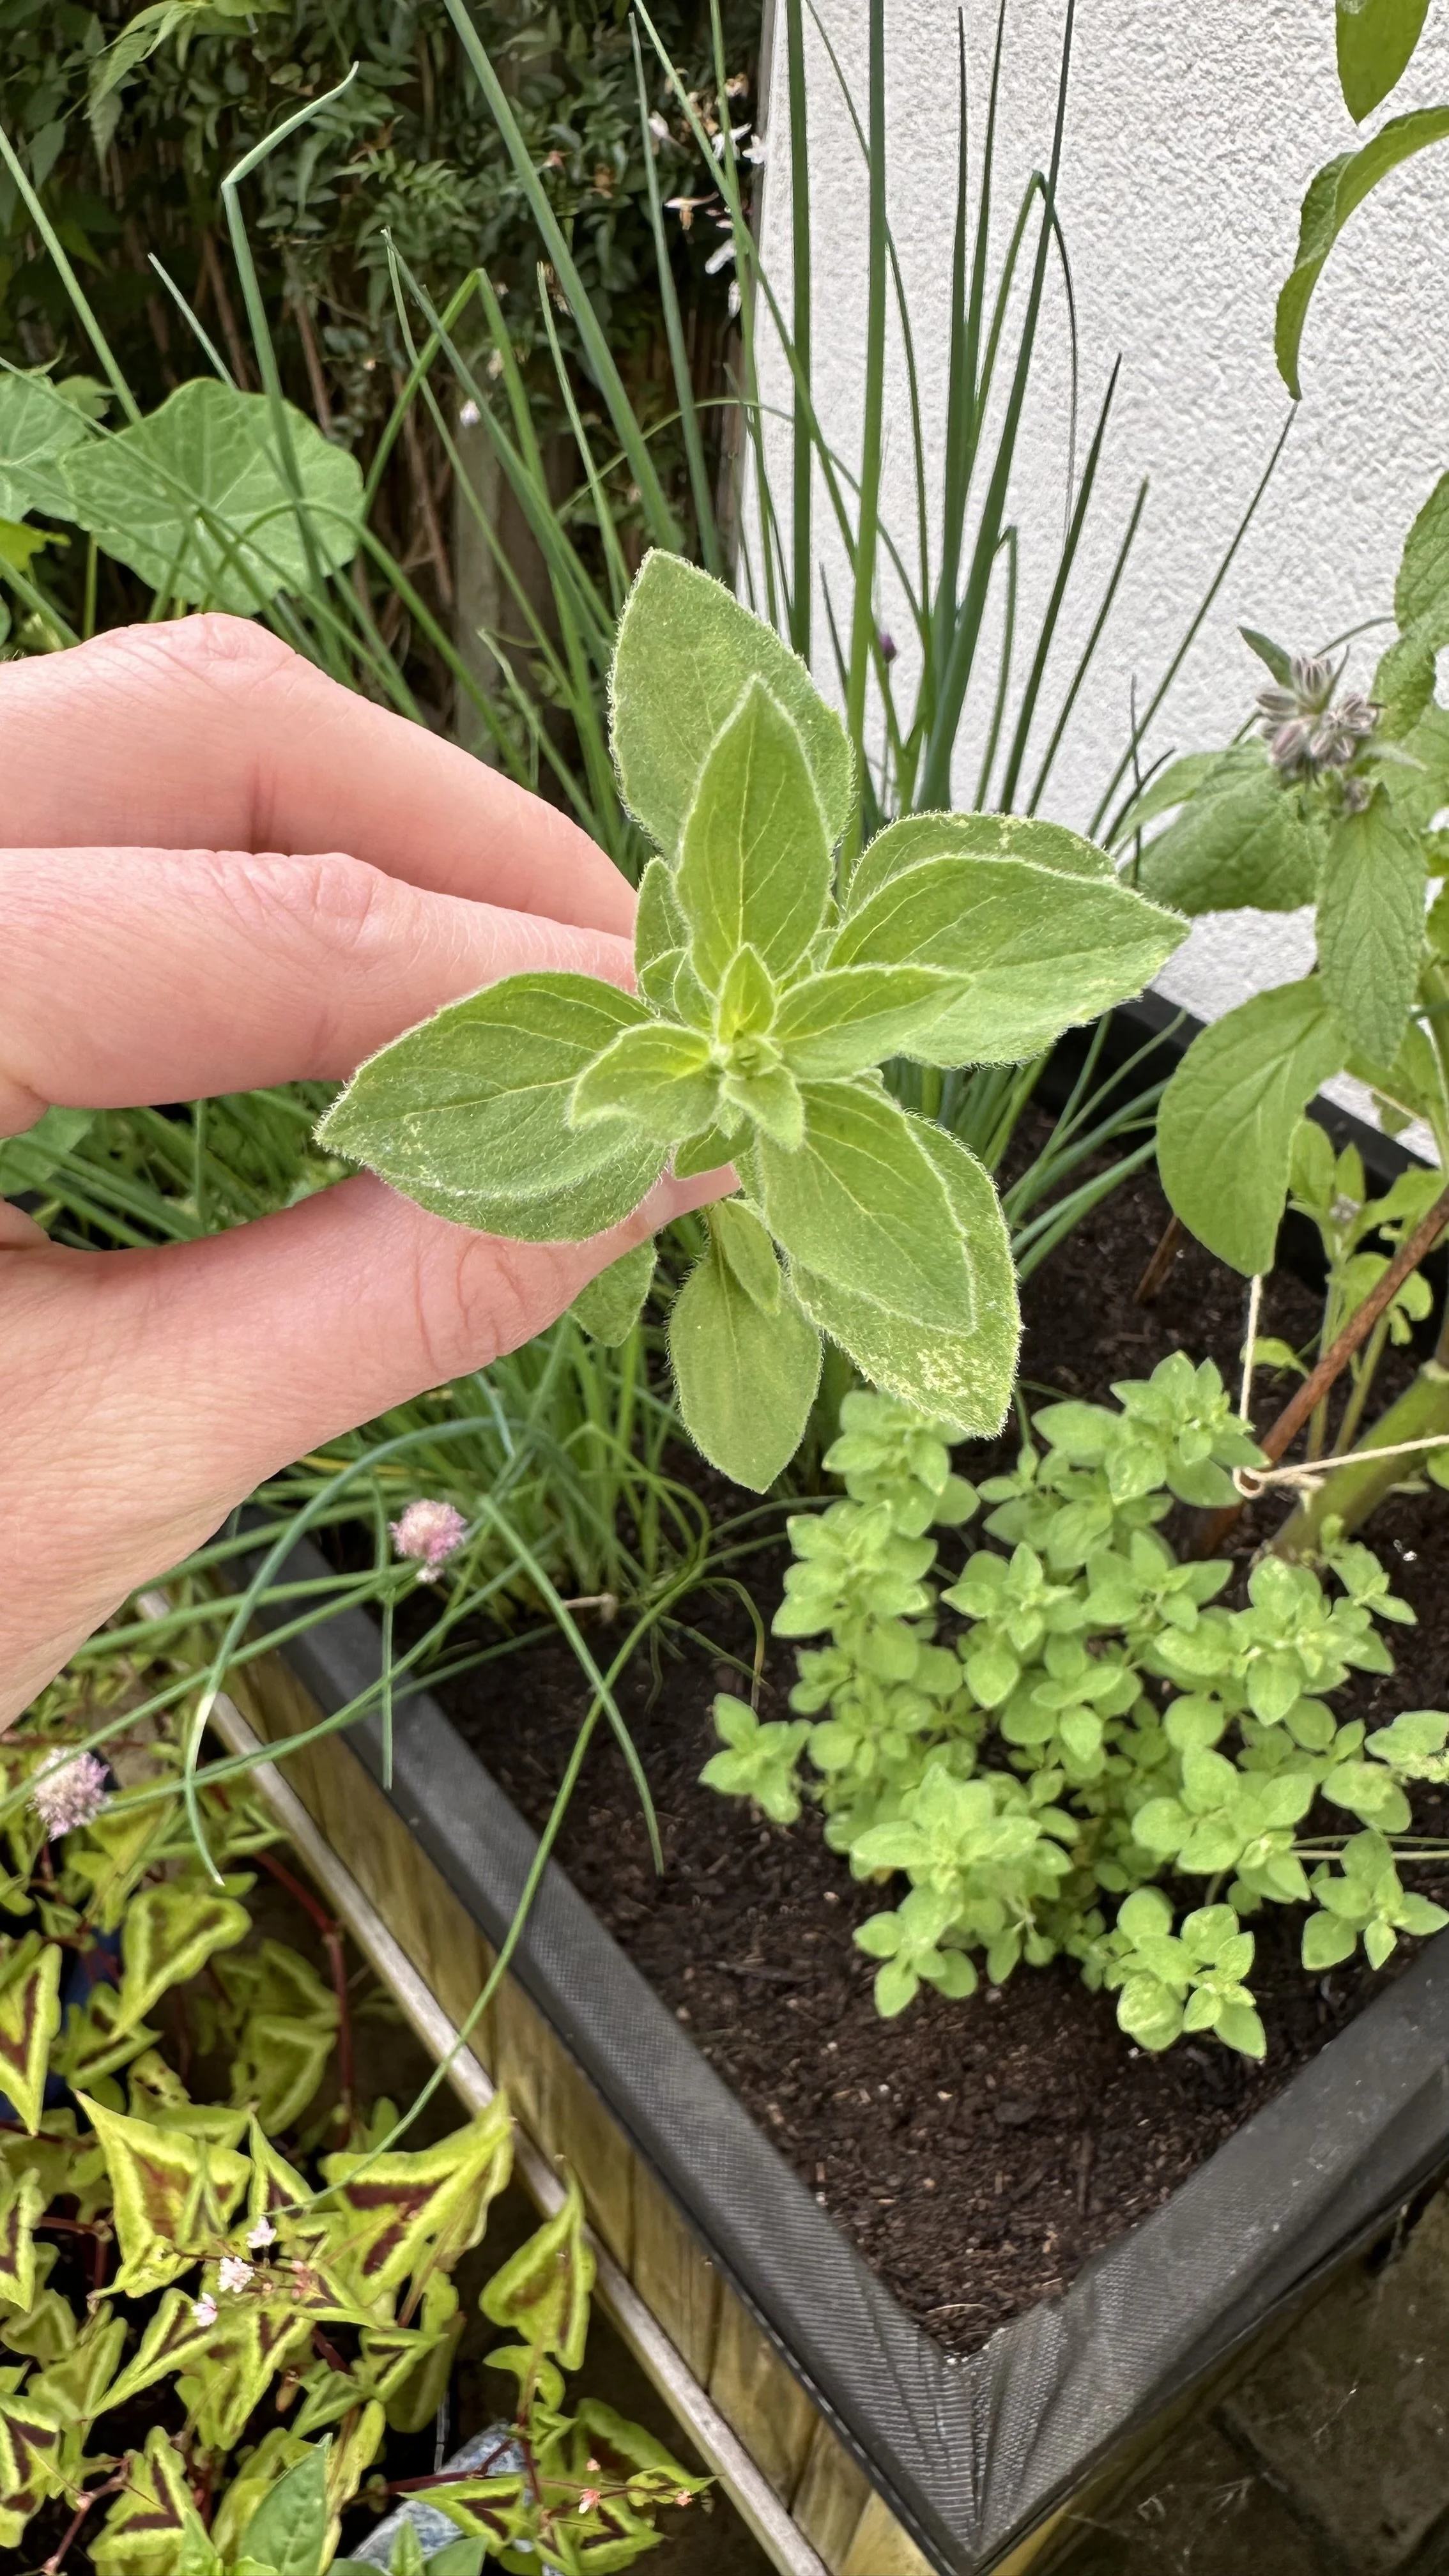
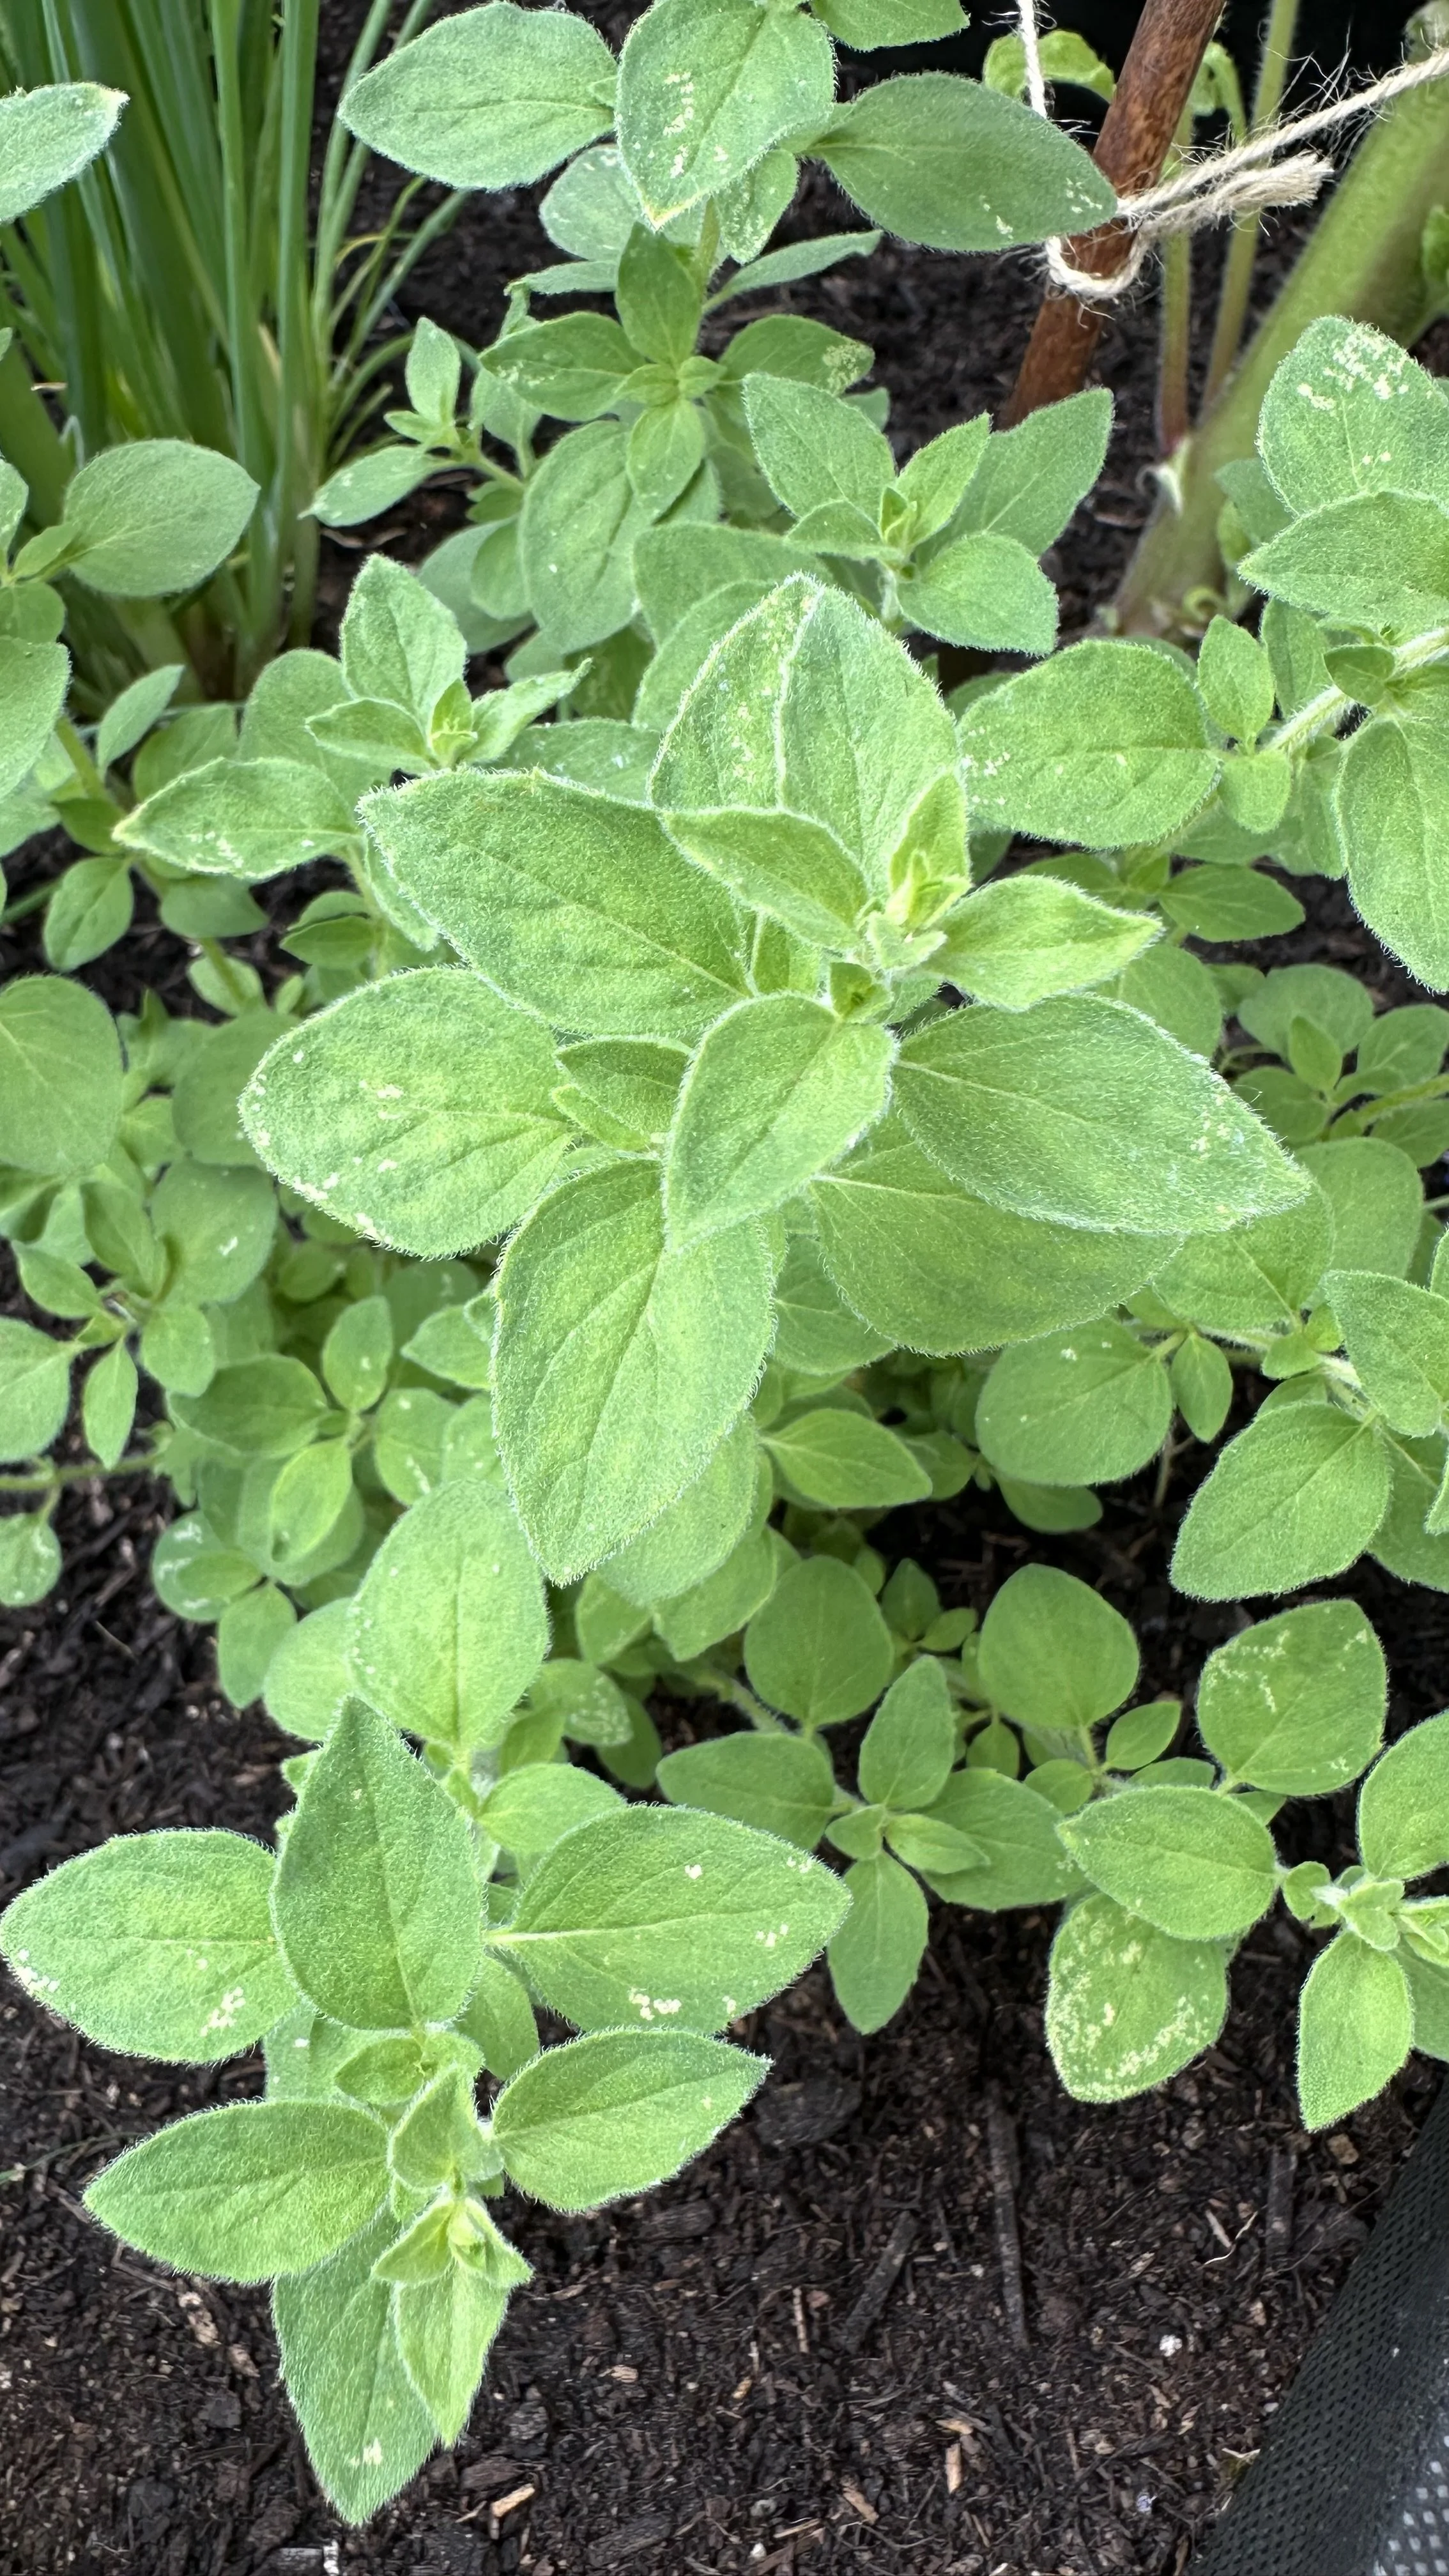
When selecting a plant or cutting, opt for one that looks healthy and vigorous.
This increases your chances of successful propagation.
Here are the oregano plants I recommend starting with:
Understanding the Basics
Propagation can sound technical, but it really boils down to two methods: water propagation and soil propagation.
Each has its perks, and I'll guide you through both, step by step.
Before we get our hands dirty, here are a few things to keep in mind:
The Right Time:
Spring and early summer are ideal for propagating oregano.
This is when plants are in their active growth phase, making them more likely to take root and thrive.
Tools of the Trade:
Ensure you have a sharp pair of scissors or pruning shears for clean cuts, a glass or jar for water propagation, potting mix, and pots for soil propagation.
A rooting hormone is optional but can encourage faster root development.
Here is the rooting hormone powder I recommend:
Preparation Is Key:
Whether you're opting for water or soil, starting with the right conditions will set you up for success.
For water propagation, a clear glass filled with room-temperature water is your starting point.
For soil propagation, prepare small pots with a mix of potting soil and perlite for drainage.
Equip your urban garden with my recommend top tier tools.
The First Cut Is the Deepest
Well, not really.
When taking cuttings, look for healthy stems that are not flowering.
Cuttings should be about 4-6 inches long with several leaves.
For water propagation, remove the leaves from the bottom half of the cutting; these are the parts that will be submerged.
For soil propagation, you might leave a few more leaves on, as they won't be sitting in water.
Rooting for Success
Whether you choose water or soil, the goal is the same: to encourage your oregano cuttings to develop roots and become strong, independent plants.
The process requires patience, care, and a bit of love.
With the right conditions and a little bit of your attention, you'll soon see the fruits of your labor.
Propagating Oregano in Water
Choosing the Perfect Cutting
Before we get started, you'll need a cutting—a piece of the oregano plant that you'll coax into growing its own roots.
Look for a healthy stem, ideally one that's not flowering, as flowers direct the plant's energy away from root development.
A stem cutting about 4-6 inches long is ideal.
This size is small enough to manage easily but large enough to have multiple nodes from which roots can sprout.
For more herb growing tips, check out my guide:
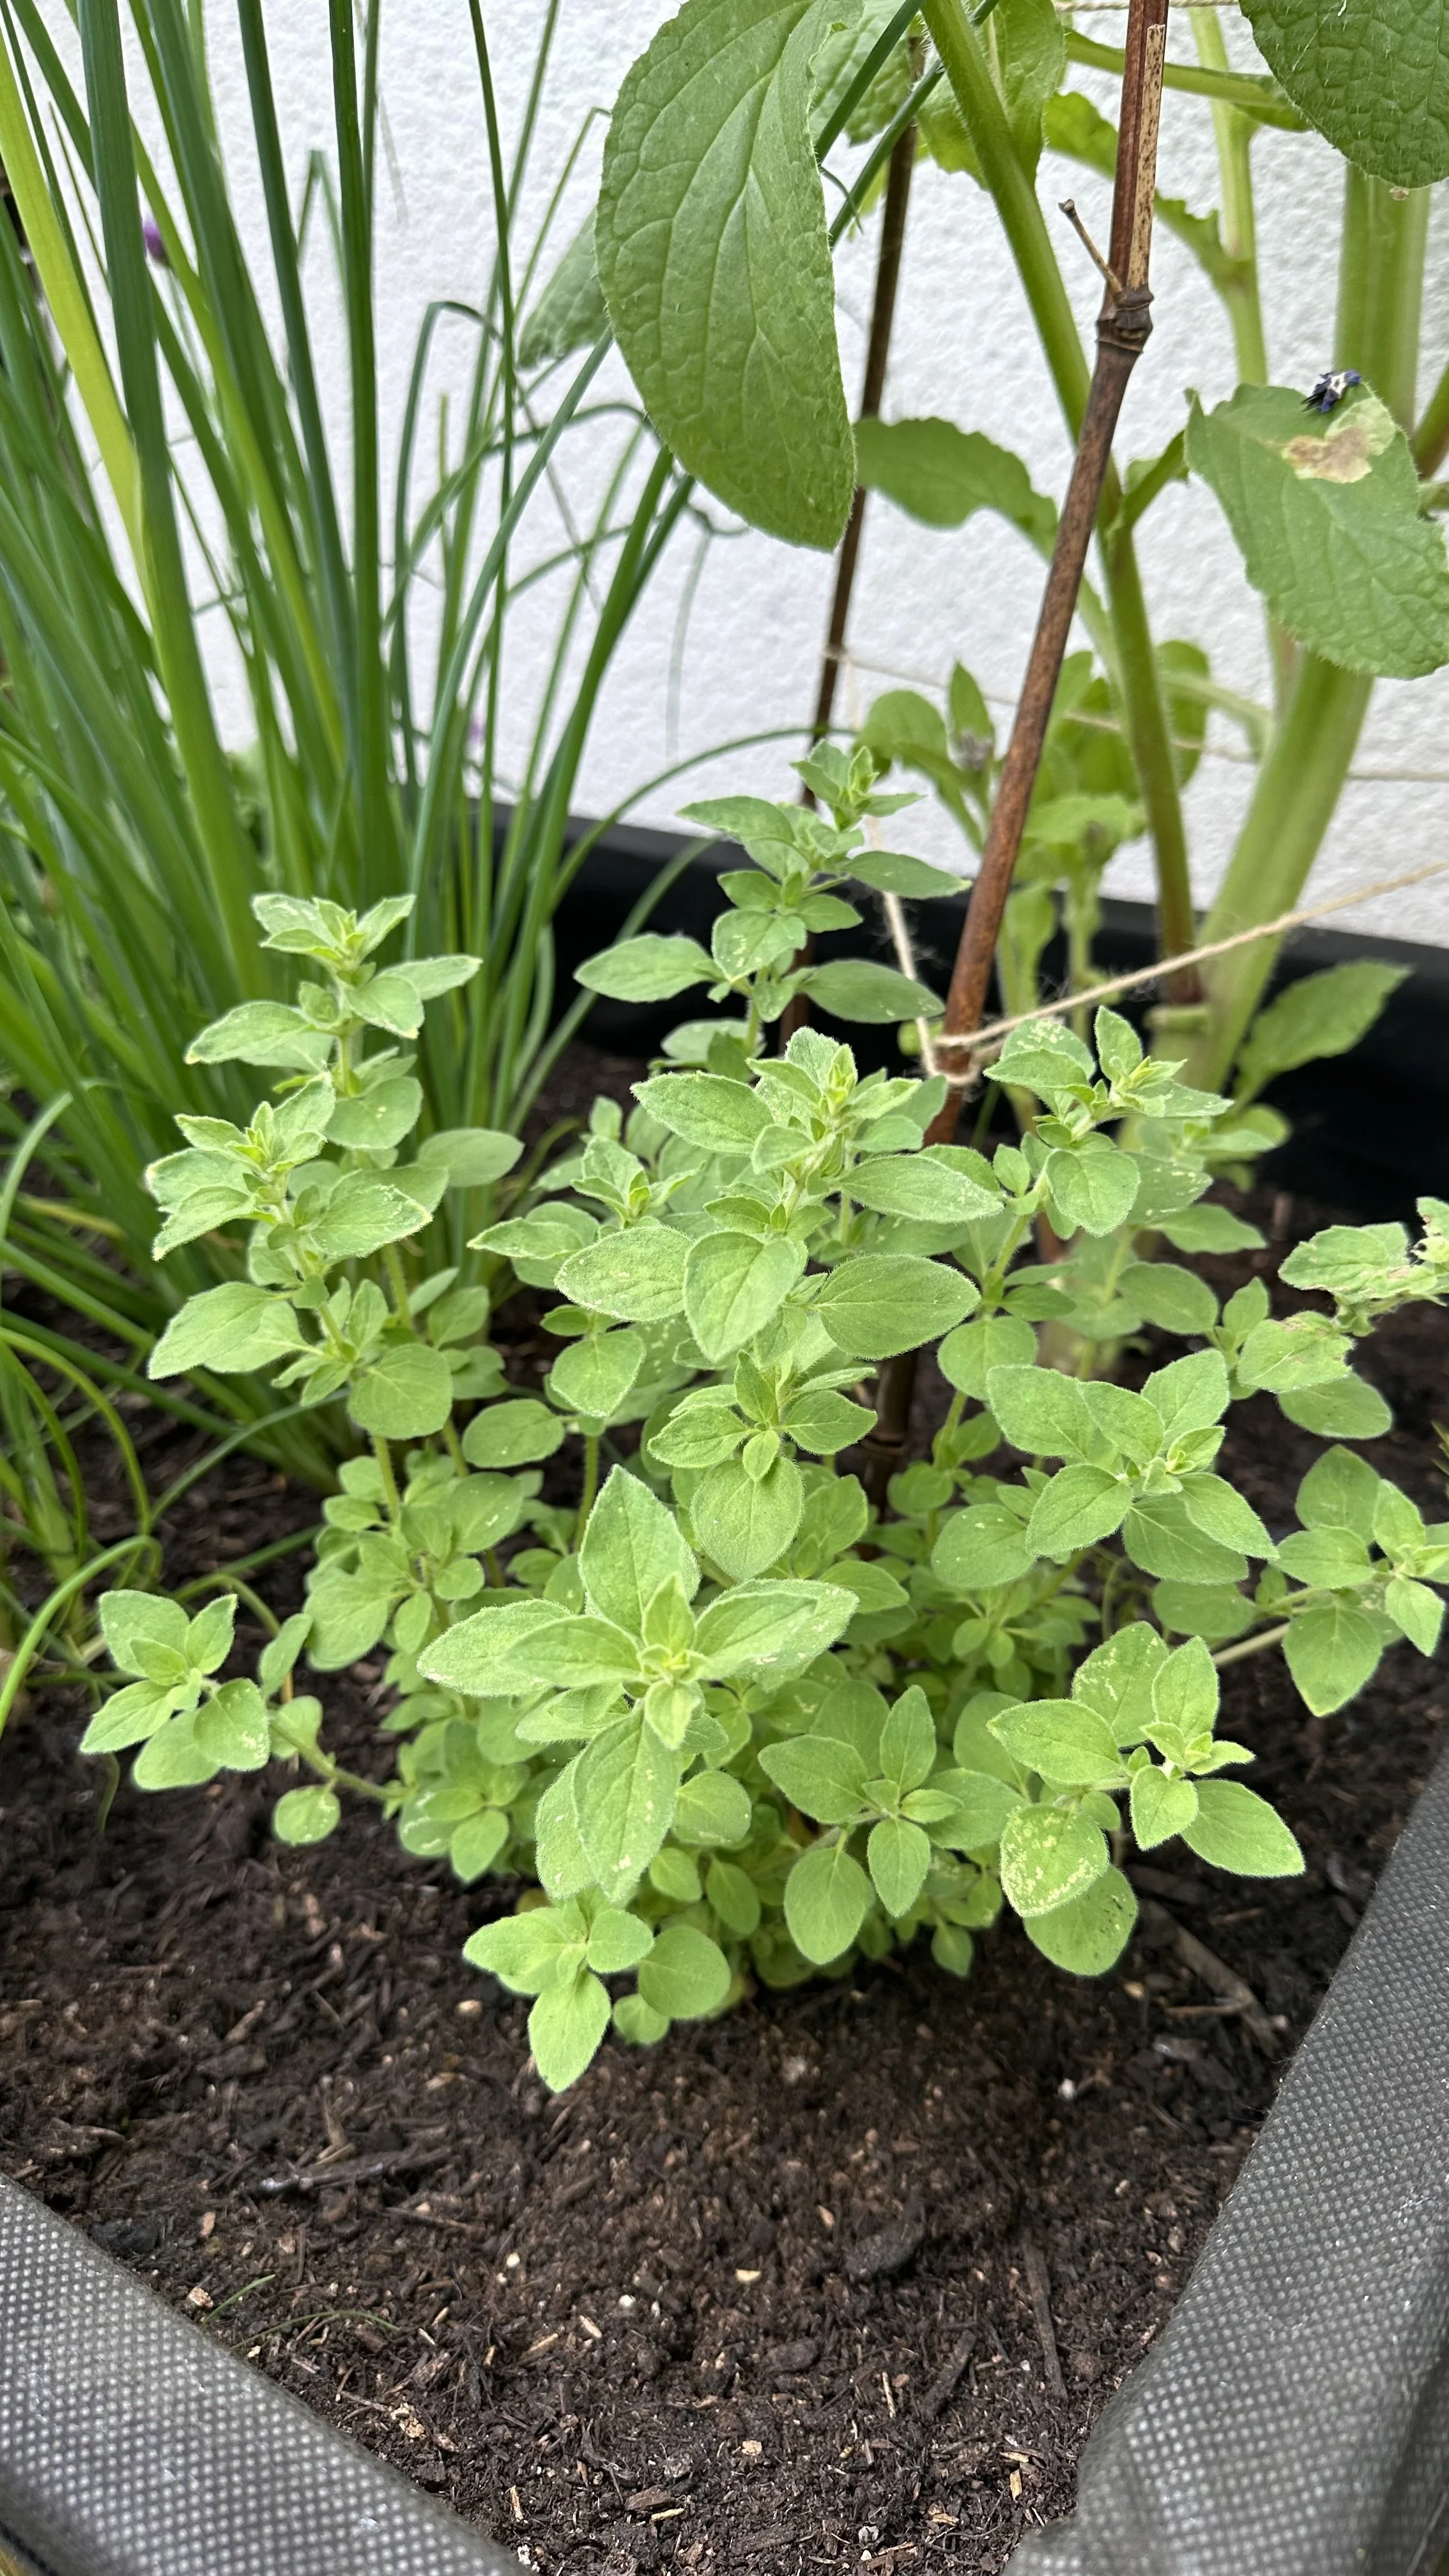
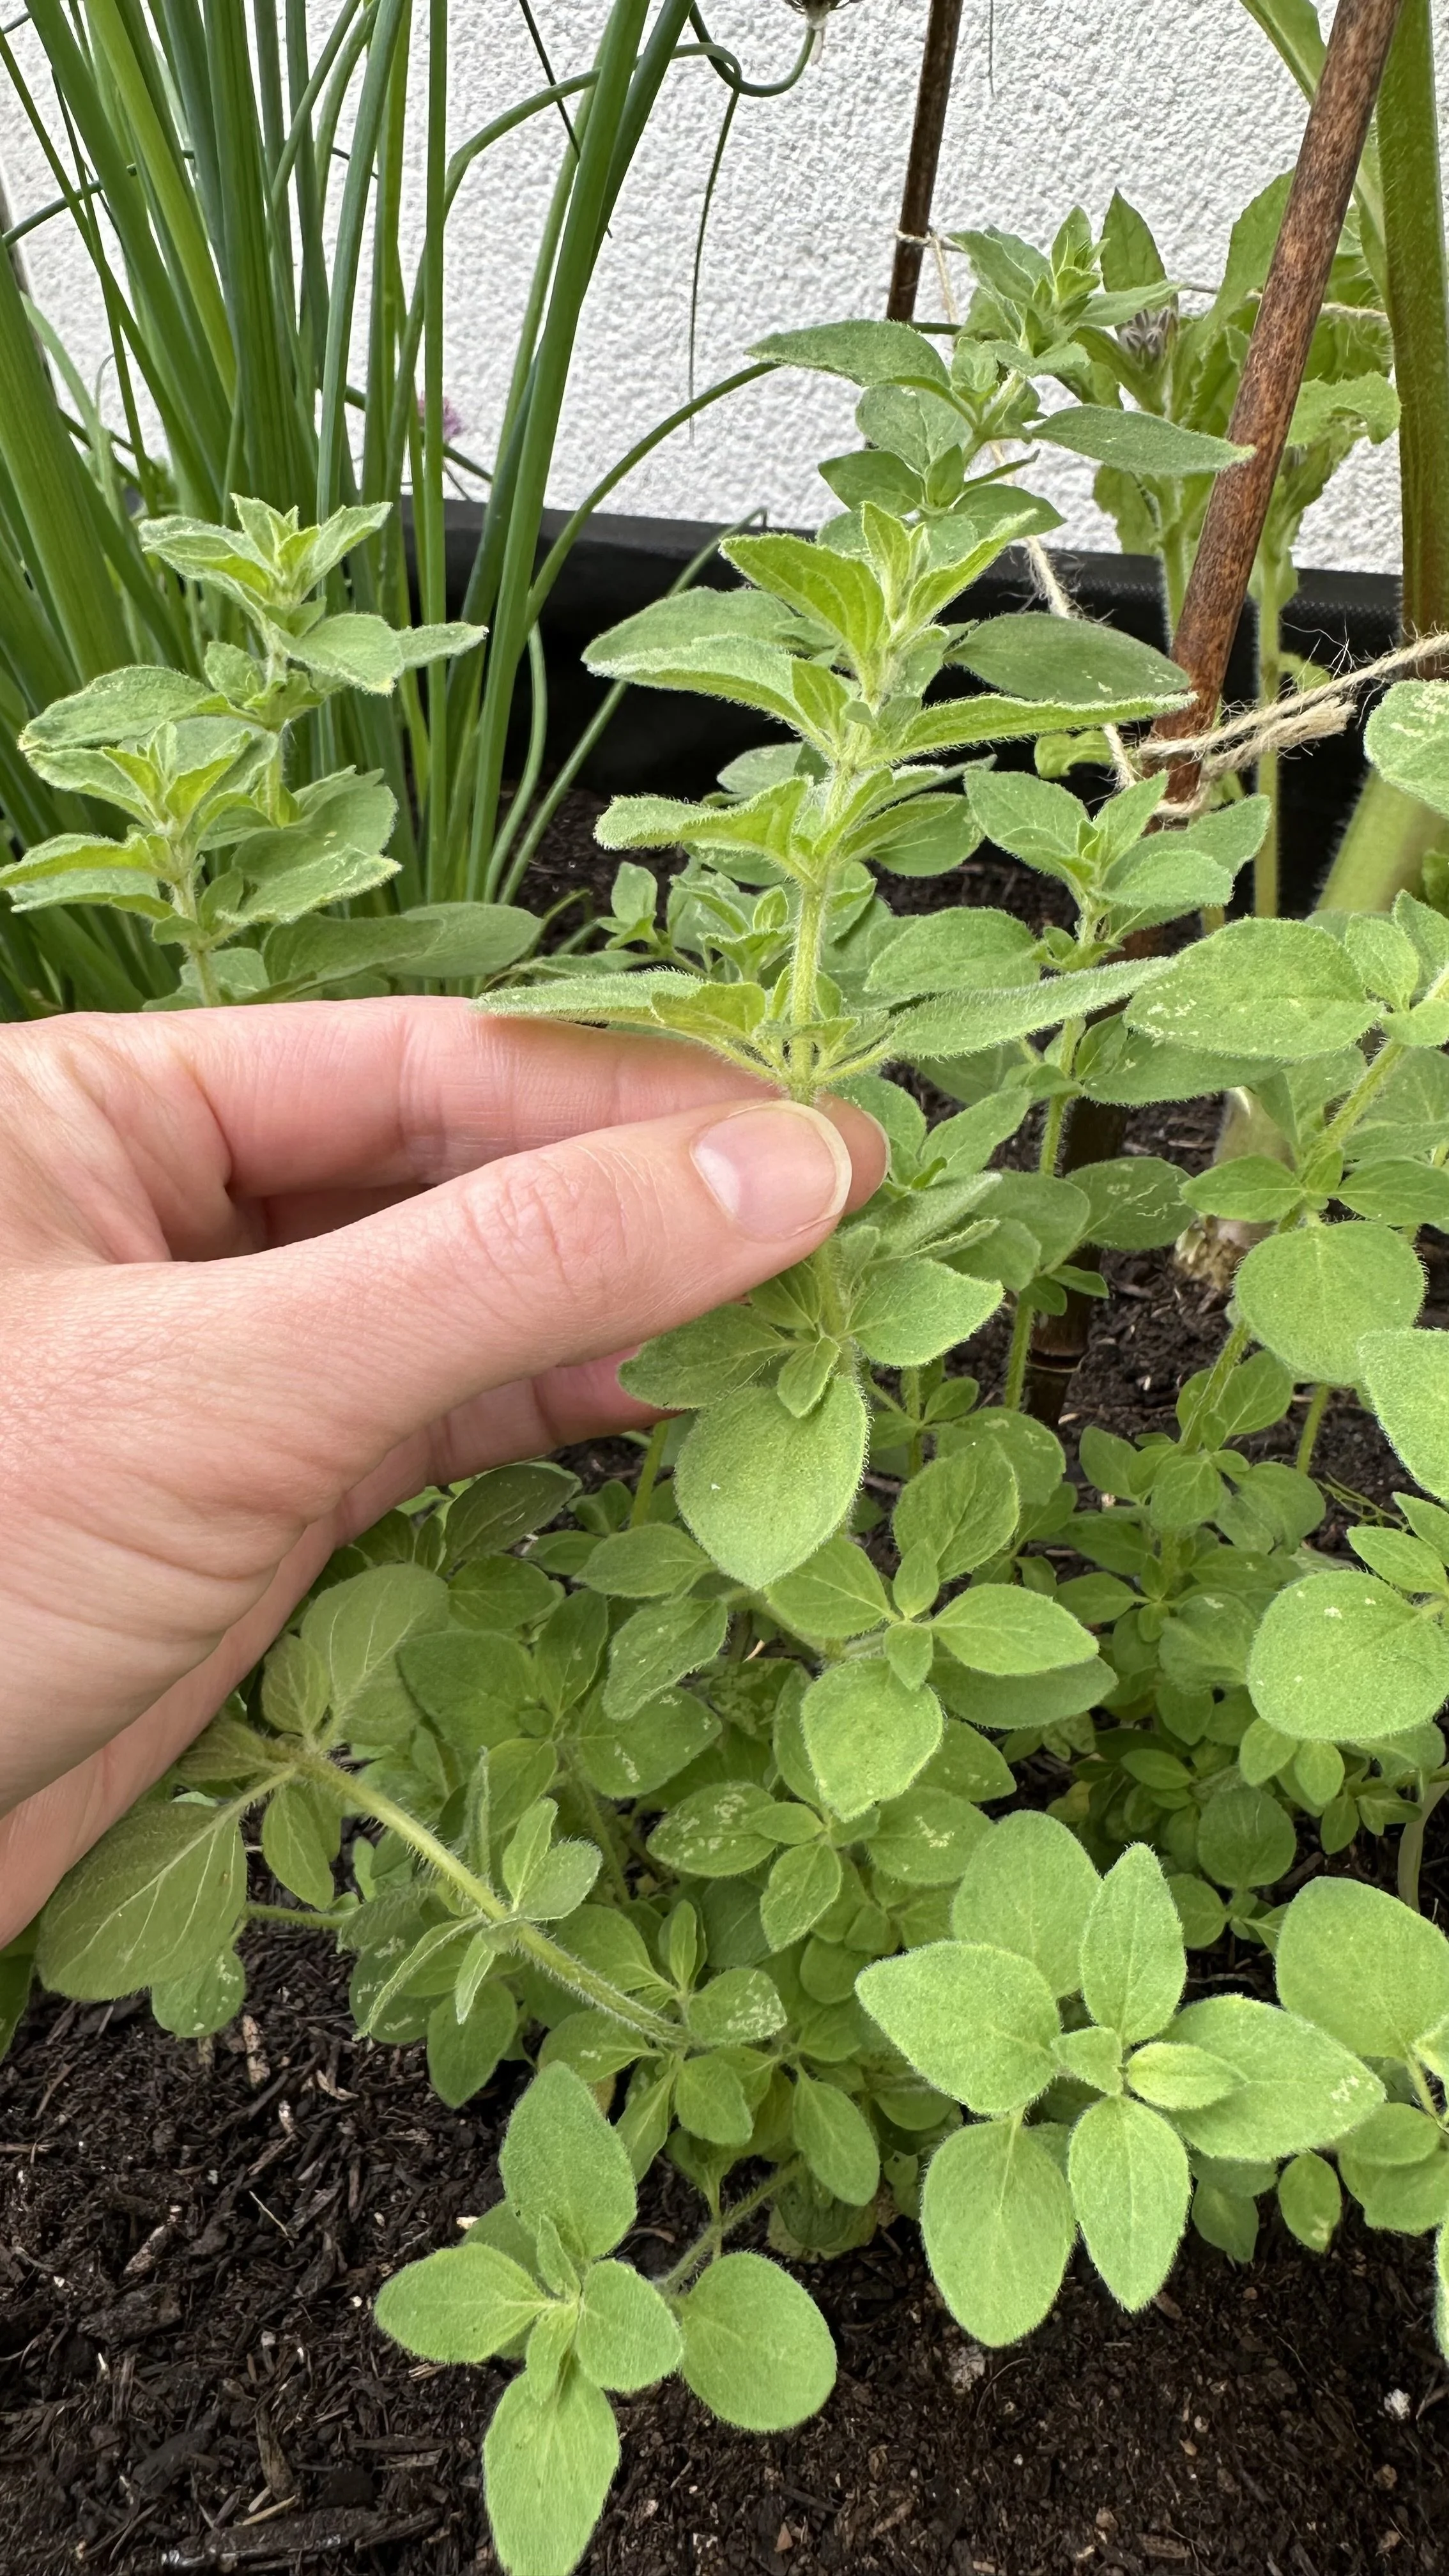
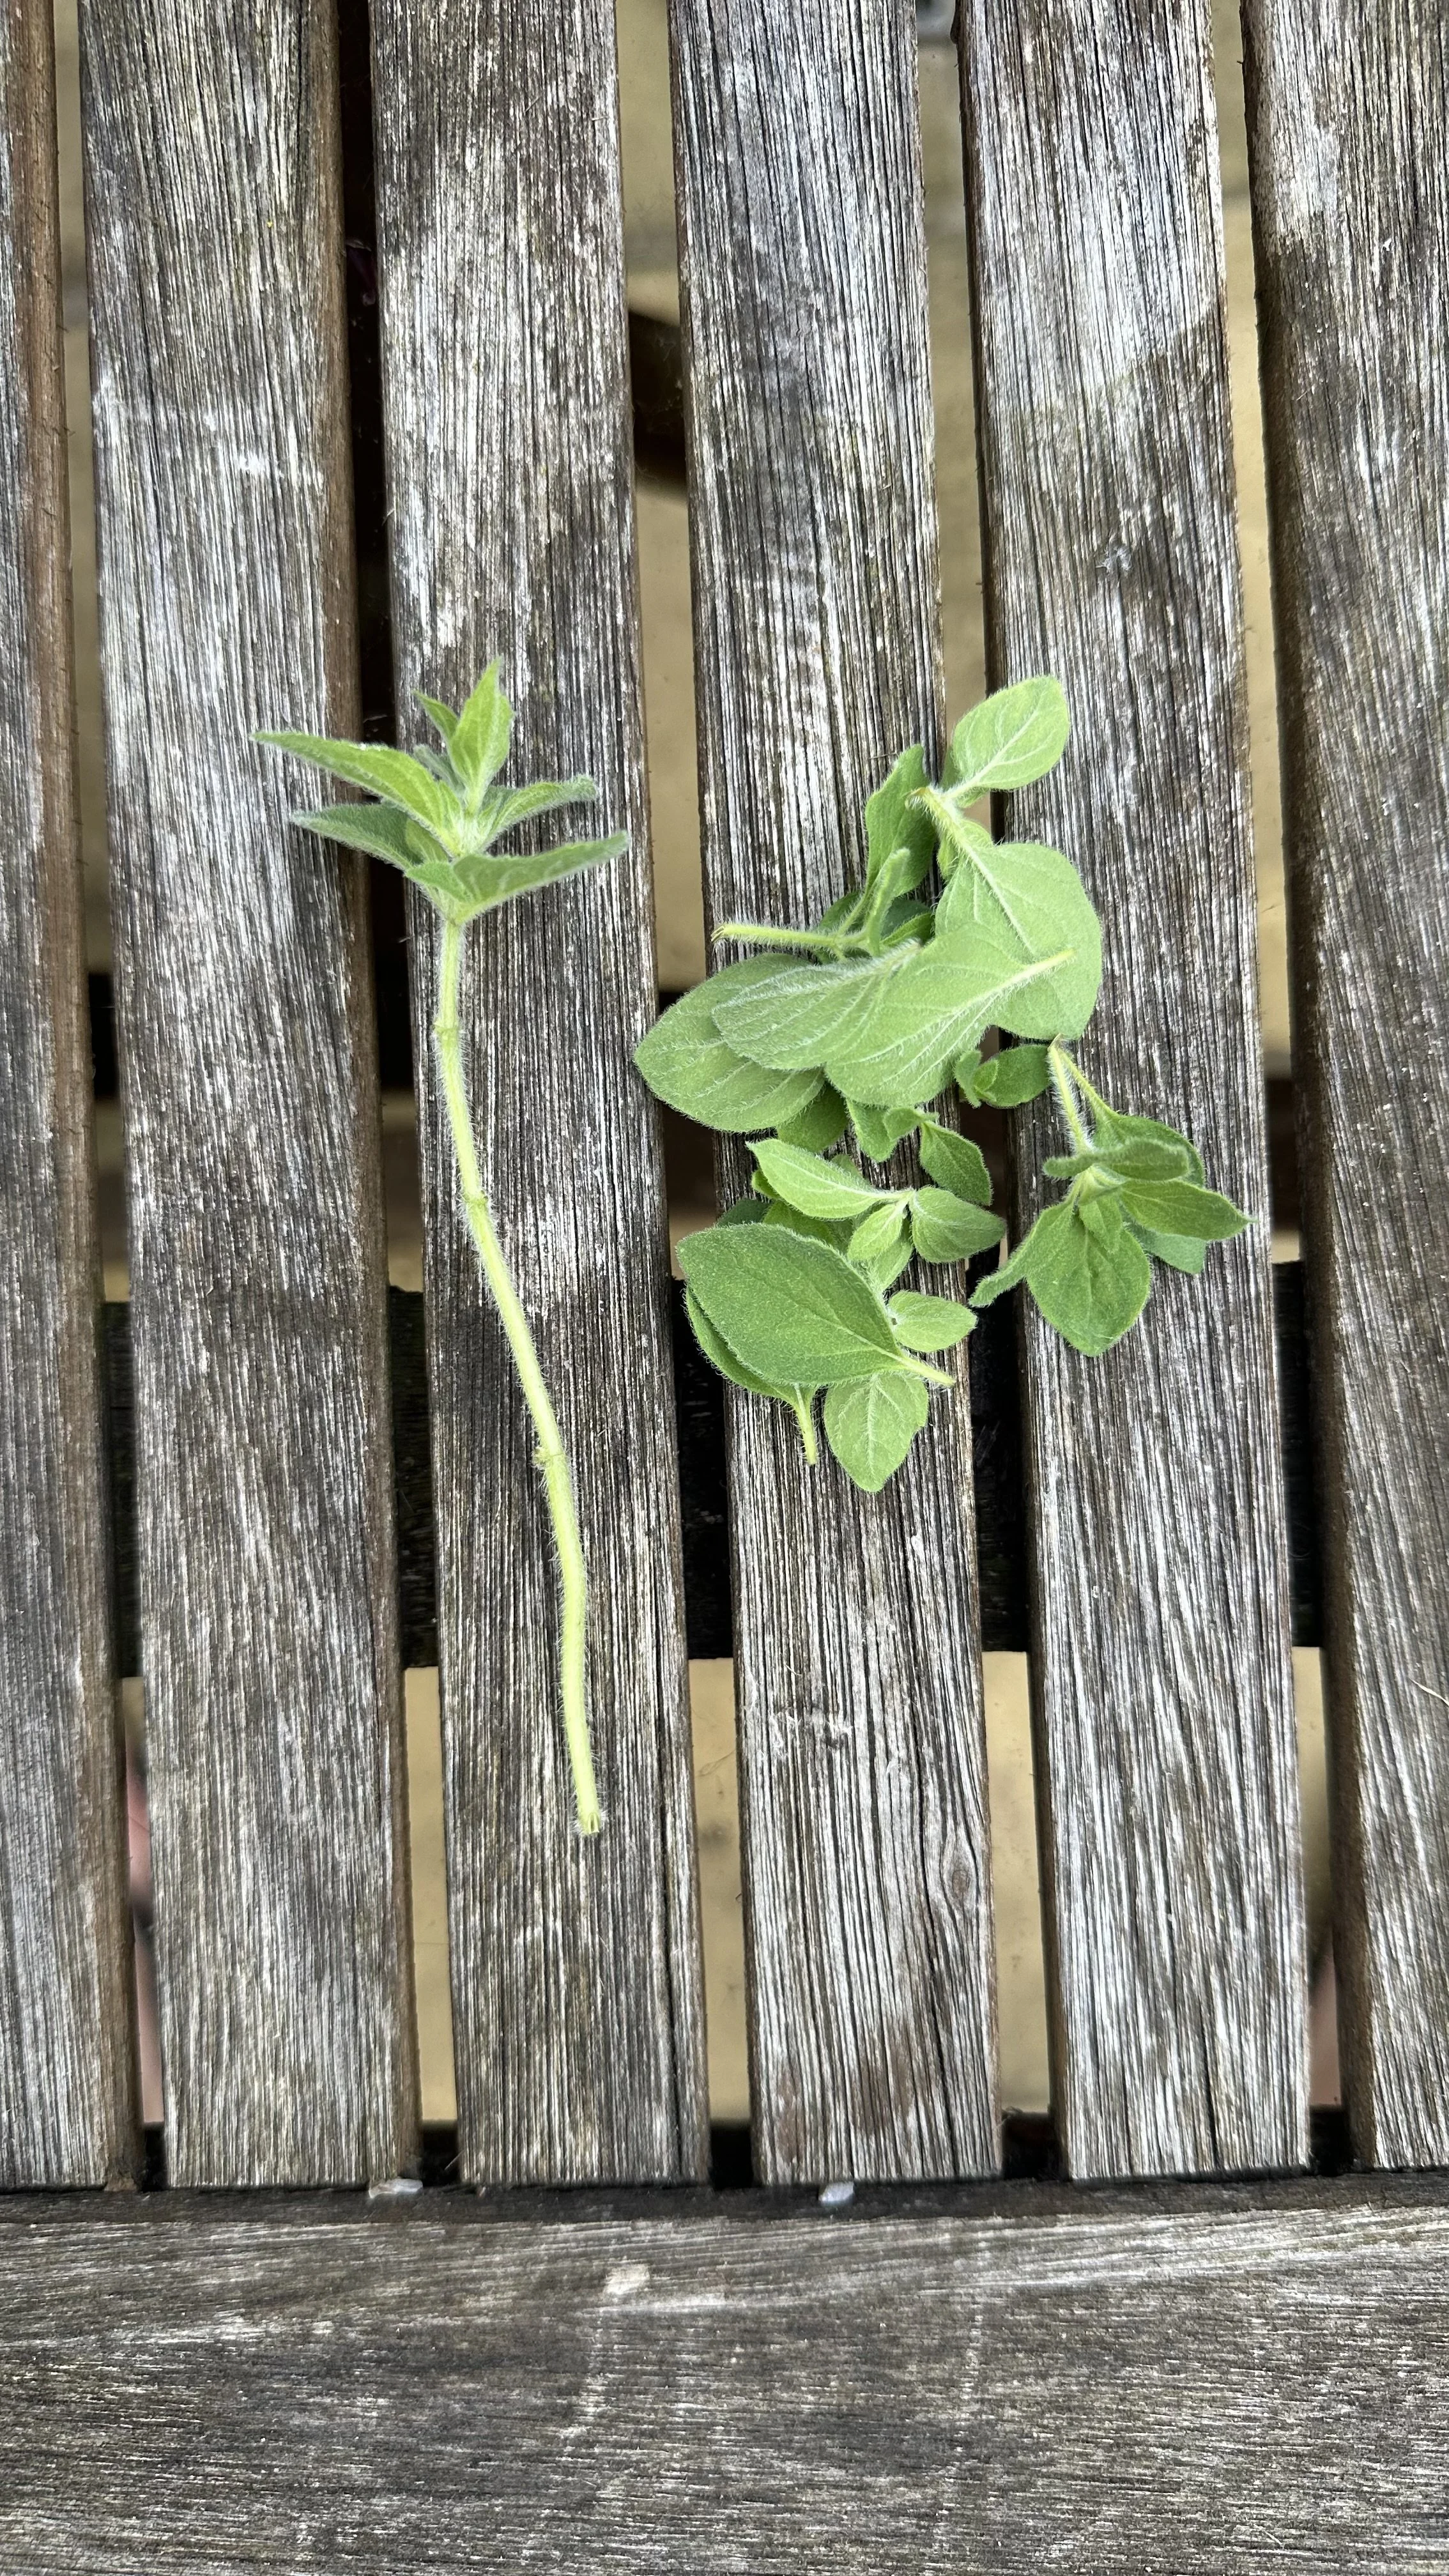
Choosing the ideal stem for cutting.
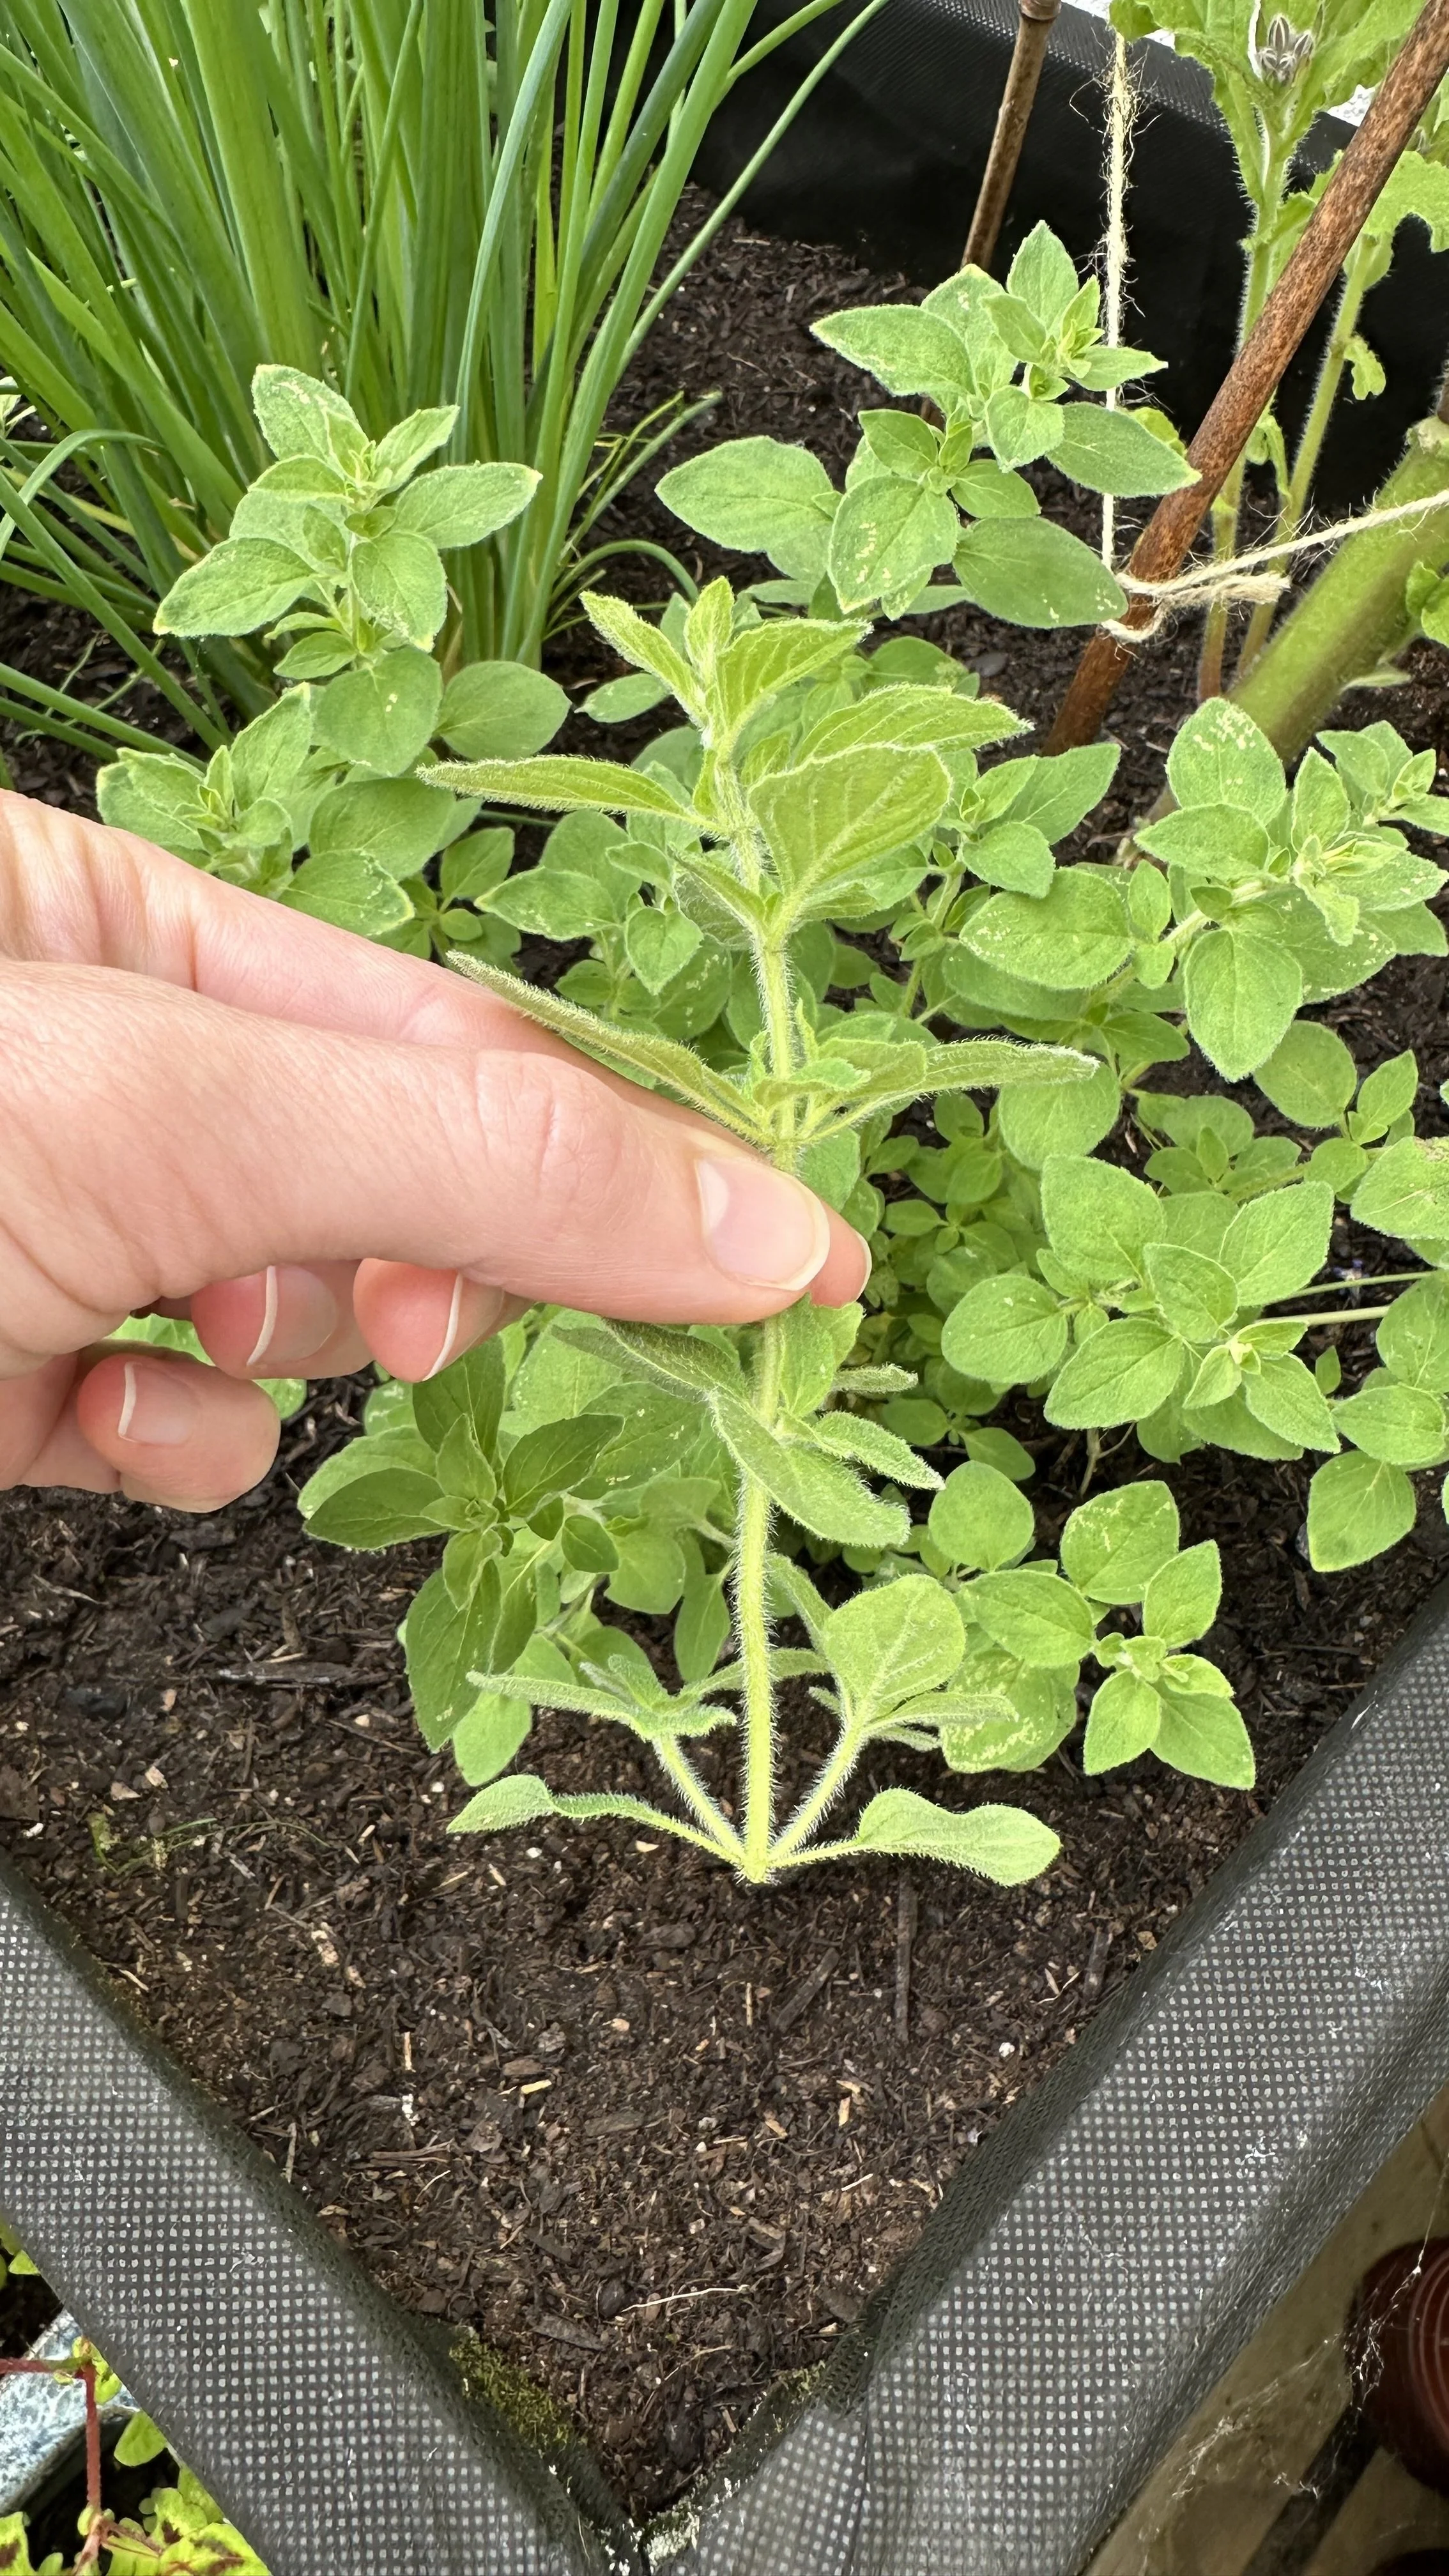
Taking oregano cutting
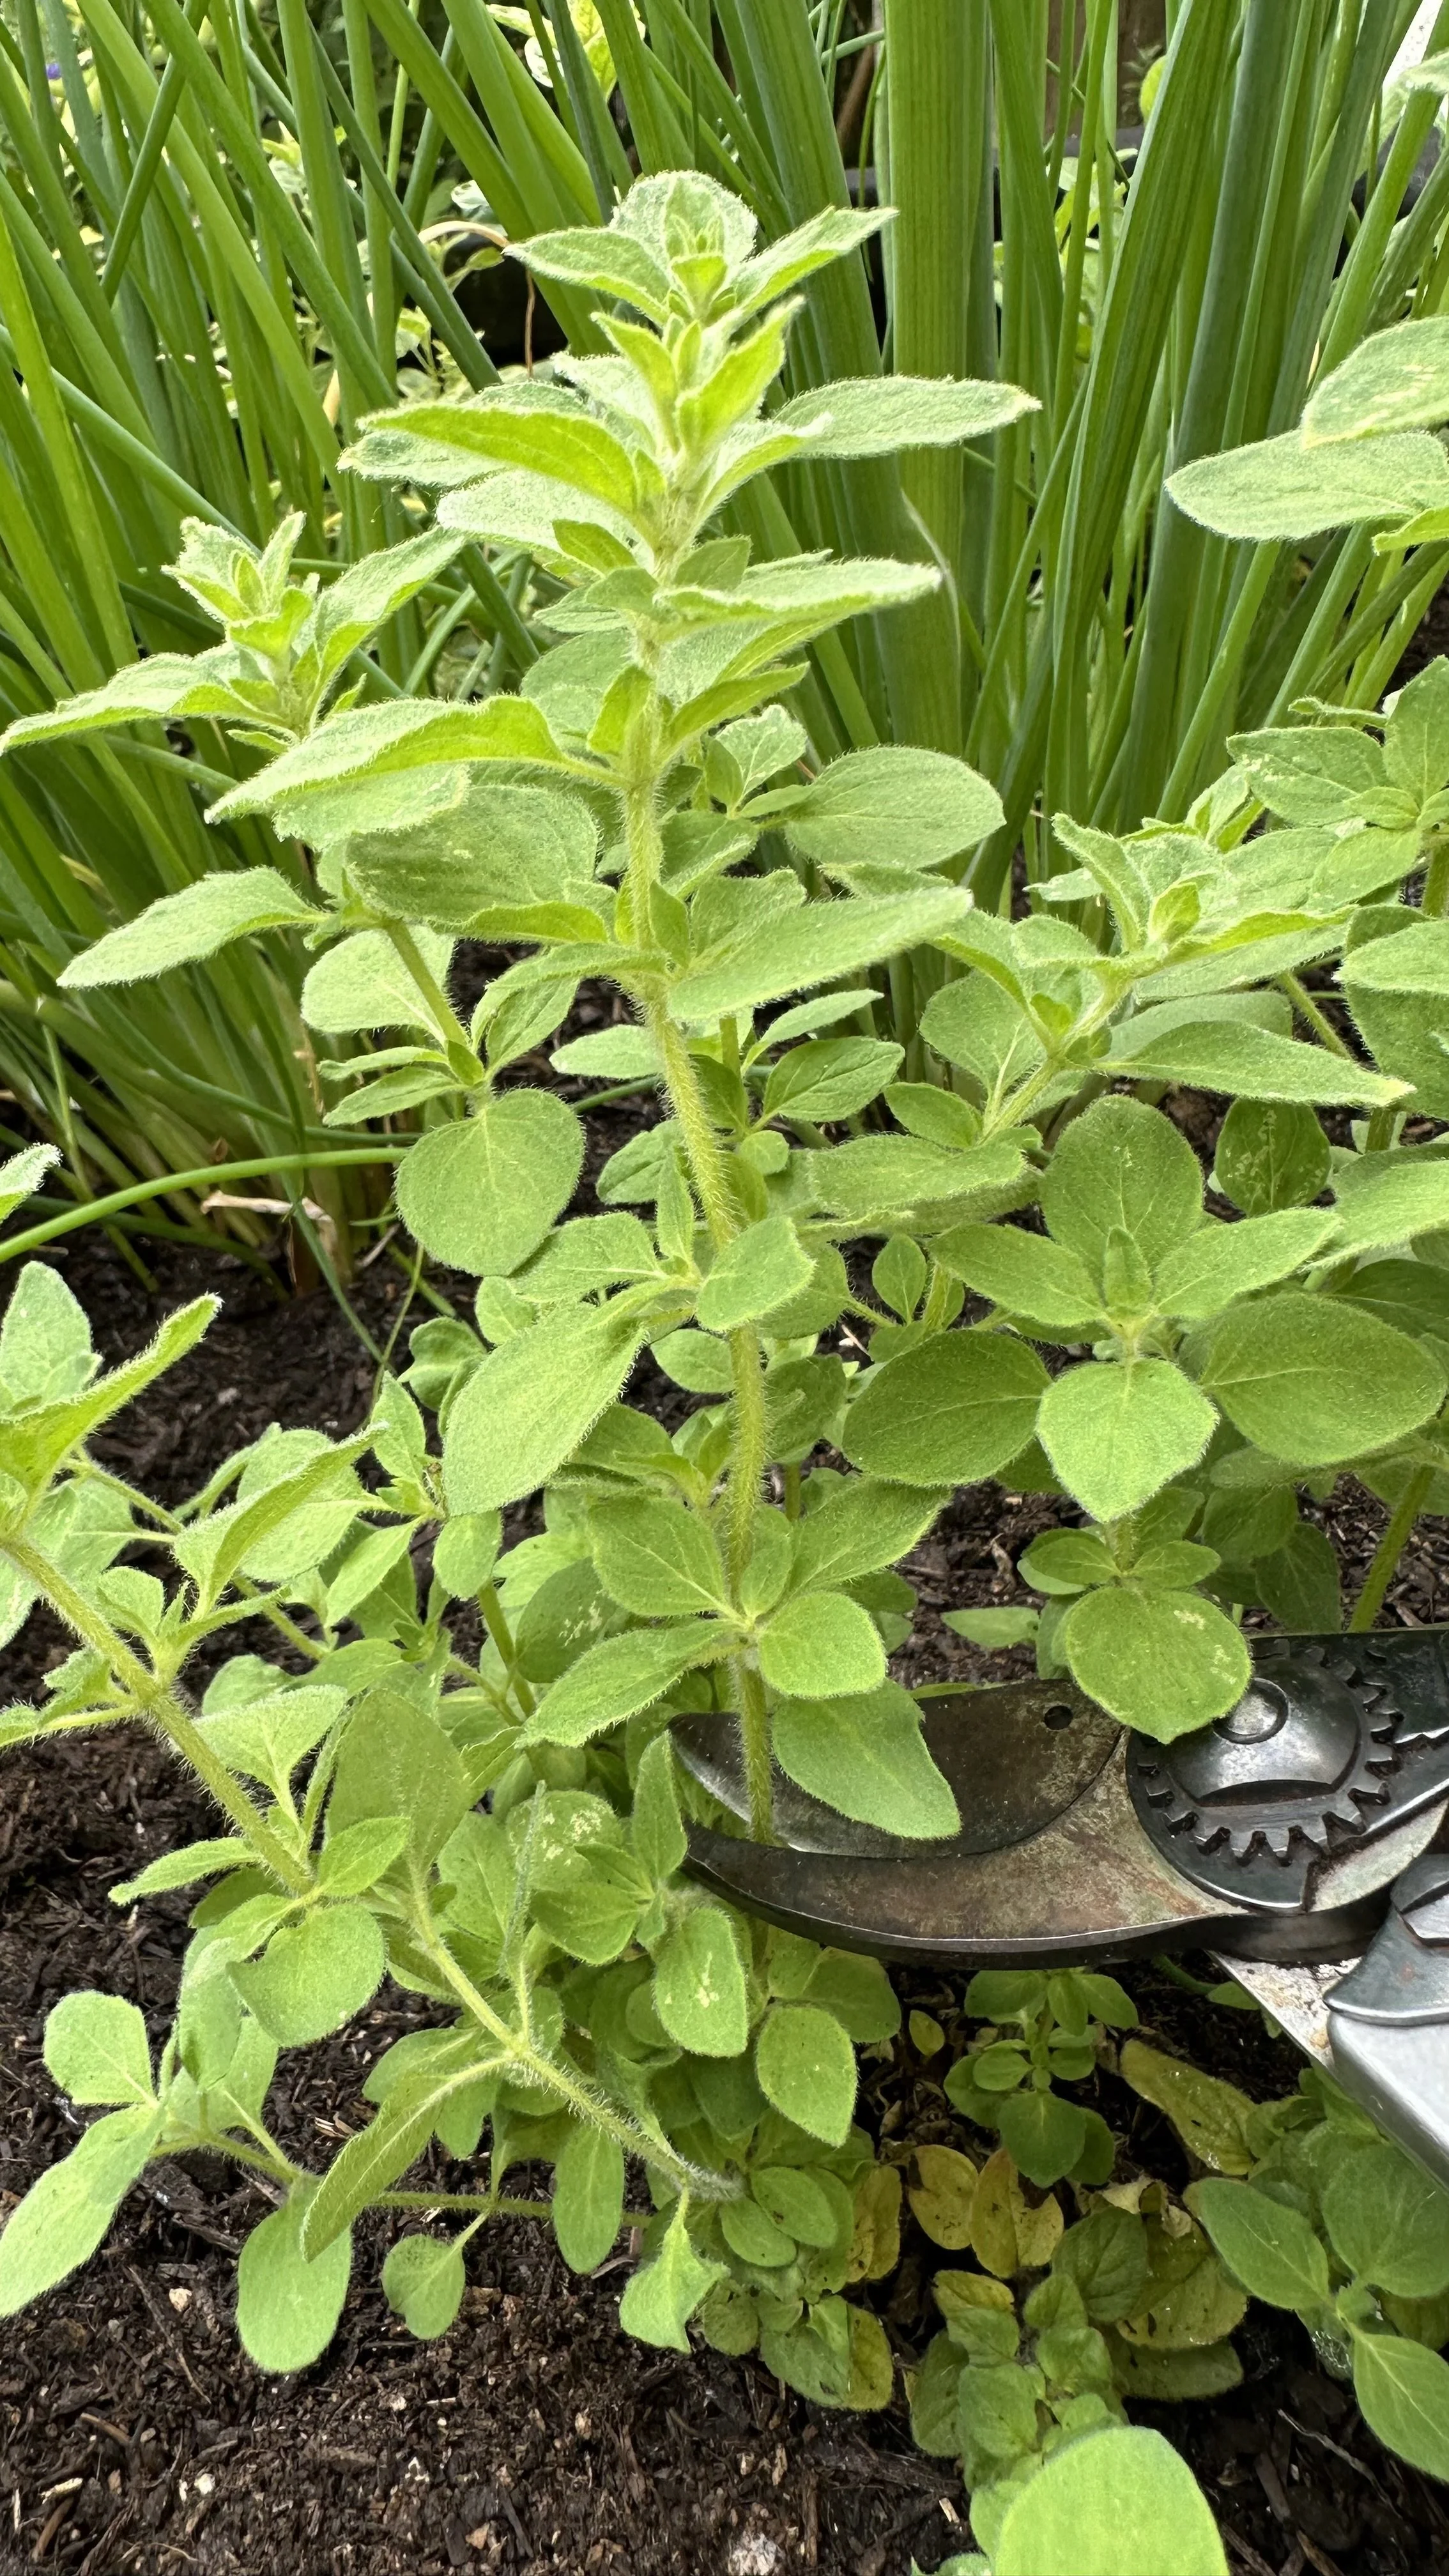
With a clean, sharp pair of scissors or pruning shears, make a cut just below a leaf node (the point on the stem where leaves emerge).
A clean cut reduces the risk of infection and ensures the best chance for roots to develop.
Here are the pruning shears I recommend for the job:
Taking oregano stem cutting.
Oregano stem cutting taken just below a leaf node.
Leaf Removal:
Carefully remove the leaves from the lower half of the cutting.
These leaves would rot if submerged in water, potentially spoiling the whole process.
The top leaves should stay intact, as they will continue to photosynthesize and support root growth.
Removing lower leaves of cutting.
Setting Up Your Mini Water Nursery
Water Vessel:
Grab a clear glass, jar, or even a plastic cup.
Fill it with room-temperature tap water.
If your tap water is heavily chlorinated, let it sit out overnight to allow some of the chlorine to dissipate, or use filtered water.
The container should be tall enough to support the cutting without letting it topple over.
The Perfect Spot:
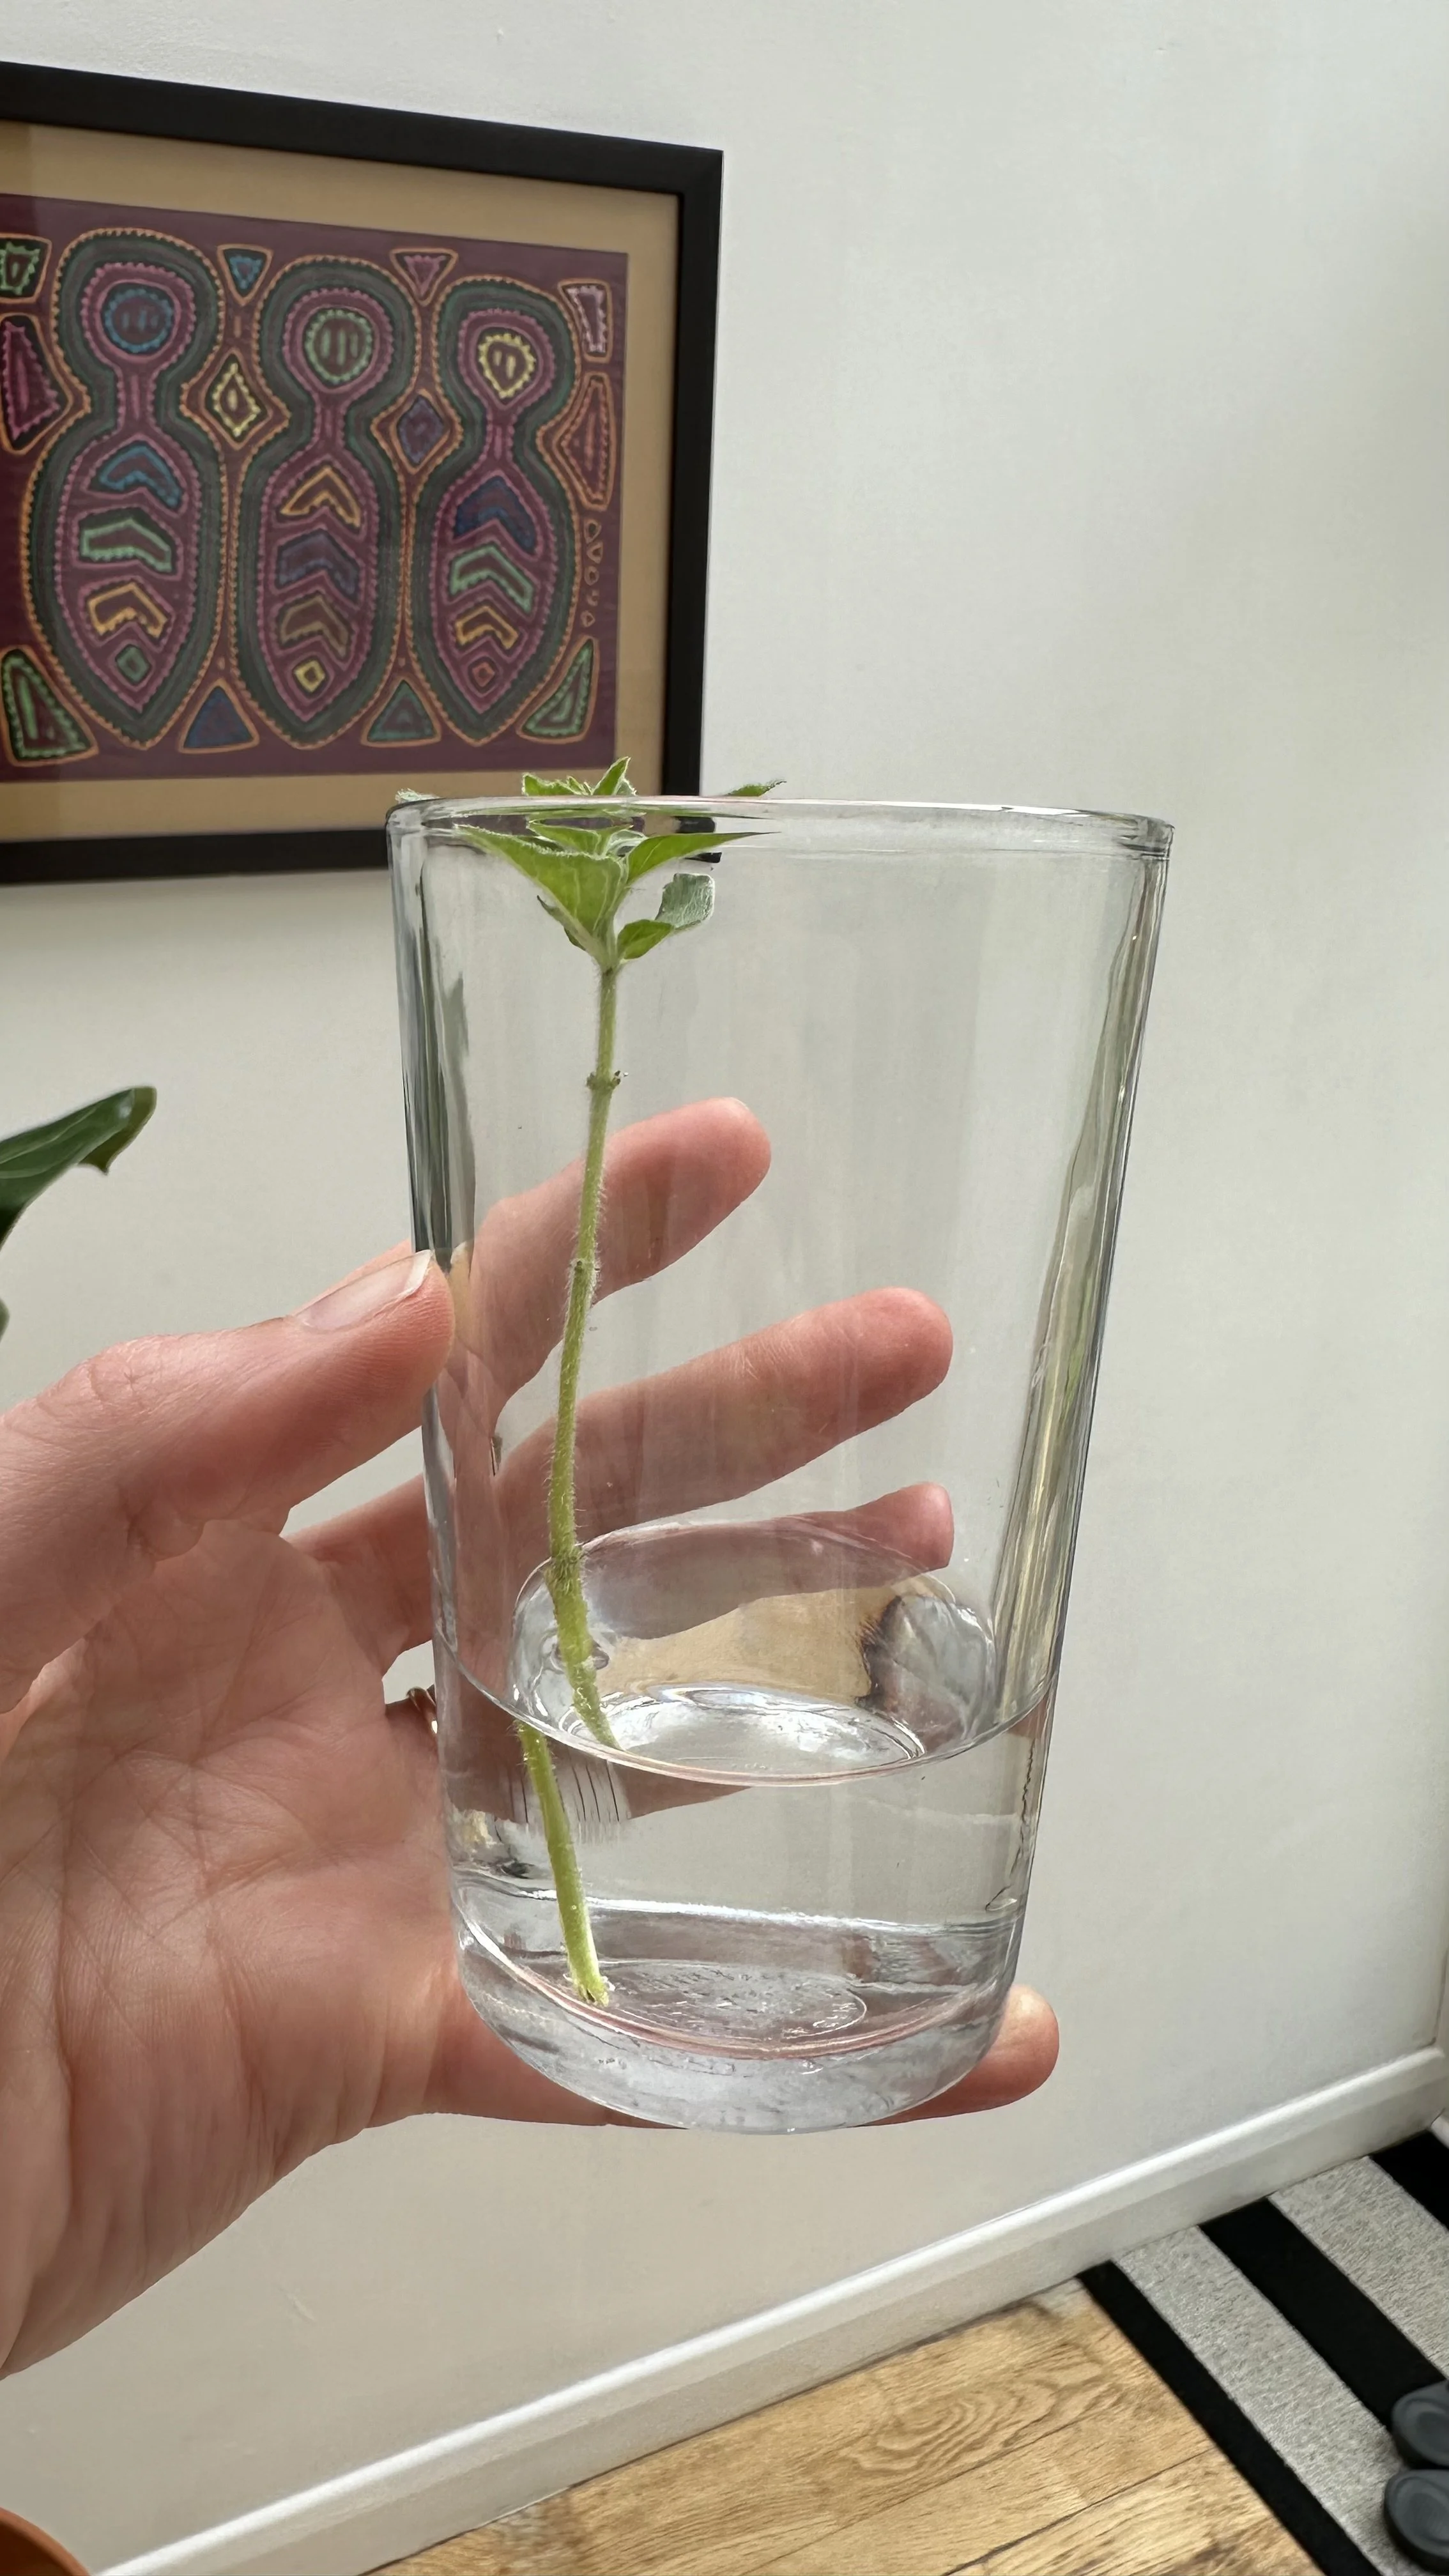
Place your cutting in the water, ensuring no leaves are submerged.
Find a spot for your mini nursery where the cutting will receive plenty of indirect light.
Direct sunlight might be too intense, leading to algae growth in the water or stressing the cutting.
To learn more about starting an herb garden, check out my guide:
Propagating oregano cutting in water.
Patience Pays Off
Change the Water Regularly:
Refresh the water every few days to keep it clean and oxygenated.
This simple step can significantly increase your success rate by preventing bacterial growth.
Root Watch:
After about a week or two, you'll start to see tiny roots emerging from the nodes.
This is always an exciting moment!
Full root development can take anywhere from 2-4 weeks, depending on conditions like light and temperature.
Transplanting Your Rooted Cuttings
Once the roots have grown a few inches long and seem sturdy, it's time to transition your oregano to soil.
This step is crucial for long-term growth, as it allows the plant to access nutrients and expand its root system.
Gently plant each cutting in a pot filled with a well-draining potting mix, taking care not to damage the delicate roots.
Keep the soil moist and place the pot in a location with indirect light.
In a few weeks, you should see new growth, a sign that your oregano is well on its way to becoming a robust plant.
Troubleshooting Tips
No Roots?
If it's been over a month and you're not seeing any action, it might be time to try again with a new cutting.
Not every cutting will take, and that's perfectly okay.
Slimy Stems?
This could be a sign of bacterial growth.
Change the water more frequently and ensure no leaves are submerged.
Learn more about propagation with my guides:
Learn more about herb gardening with my guide:
Propagating Oregano in Soil
Prepping Your Cuttings
Just like with water propagation, the journey begins with selecting the right cutting.
Look for healthy, vigorous stems on your oregano plant. A good cutting should be about 4-6 inches long, ensuring it has a few leaf nodes.
Here’s how to prep them:
Clean Snips:
Use sharp, clean scissors or pruning shears to cut just below a node (the spot on the stem where leaves grow).
This increases the chance of roots sprouting from that node.
Leaf Prep:
Strip off the leaves from the bottom half of each cutting.
These lower leaves would otherwise be buried in the soil, where they could rot and potentially harm the developing roots.
Rooting Hormone: A Secret Weapon
Though not strictly necessary, a rooting hormone can encourage quicker root development.
Dip the cut end of your stem into the rooting hormone powder or solution, then tap off any excess.
This step can significantly increase the success rate of your cuttings by stimulating root growth at the point where the hormone contacts the plant tissue.
Here is the rooting hormone I recommend:
Planting in Soil
Soil Selection:
Choose a well-draining potting mix.
Oregano thrives in soil that doesn't hold too much moisture, so a mix with perlite or vermiculite is ideal.
Fill small pots or a seed starting tray with your mix, pre-moistening the soil slightly.
Here is the potting mix for propagating oregano I recommend:
The Planting Process:
Make a small hole in the soil with a pencil or your finger, deep enough to accommodate the stripped portion of the stem.
Carefully insert the cutting into the hole and gently firm the soil around it to provide support.
You can plant multiple cuttings in a larger pot, but ensure they have enough space to grow without crowding.
Location, Location, Location:
Place your pots in a bright spot with indirect sunlight.
Too much direct sun can stress the young cuttings, while too little light can weaken them.
Aftercare for Success
Keep It Moist:
Water the soil gently to keep it consistently moist but not waterlogged.
Overwatering can lead to root rot, so it’s a balance.
A spray bottle can be useful for keeping the soil moist without disturbing the cuttings.
Here is the spray bottle I recommend using:
Patience Is Key:
It might take a few weeks for the cuttings to root and show new growth.
During this time, it’s crucial to maintain the right moisture level and ensure they’re getting enough light.
Transplanting to Their Final Home
Once the cuttings have established a good root system and you see new growth, they’re ready to be transplanted to their final growing spot, whether that’s a larger pot or a spot in your garden.
Be sure to acclimate them slowly to outdoor conditions if they’ve been growing indoors.
Troubleshooting Tips
Yellowing Leaves?
If the leaves start to yellow, it could be a sign of overwatering.
Let the soil dry out a bit more between waterings.
Slow Growth?
Ensure they're getting enough light and the soil isn’t too wet or too dry. Patience is often the remedy here.
For more propagation tips, check out my guides:
Learn how to preserve your oregano harvest with my guide:
FAQs
Can you start oregano from cuttings?
Yes, starting oregano from cuttings is not only possible but highly recommended.
This method retains the genetic identity of the parent plant, ensuring that your favorite varieties are preserved.
How long does it take for oregano cuttings to sprout roots?
The timeline for root sprouting can vary based on factors like the cutting's environment and the propagation method used.
In water, roots may start to appear as early as one week, but typically it takes 2-4 weeks to see substantial root growth.
When propagating in soil, it might take a bit longer to visually confirm root development since it's all happening beneath the surface.
Consistent moisture, adequate light, and a bit of patience are key.
Can you propagate other herbs this way?
Absolutely!
Many herbs besides oregano are well-suited to propagation from cuttings, including thyme, rosemary, mint, and basil.
The process is similar: take a healthy cutting, prepare it by removing the lower leaves, and then root it in water or soil.
It's a fantastic way to expand your herb garden with minimal effort and expense.
How do I ensure my new oregano plants thrive?
Ensuring your new oregano plants thrive involves a few key care practices.
Firstly, provide them with plenty of indirect sunlight.
Direct, harsh sunlight can stress the young plants.
Secondly, water them to keep the soil moist but not soggy, as overwatering can lead to root rot.
Finally, a well-draining soil mix and occasional fertilization will support healthy growth.
Remember, oregano is relatively hardy, so it doesn't need too much fuss over it.
Does oregano self-propagate?
Oregano can self-propagate under the right conditions.
It spreads through rhizomes, underground stems that send up new shoots, expanding the plant's growth area.
Additionally, if allowed to flower, oregano can self-seed, dropping seeds close to the parent plant that can germinate and grow into new plants.
While this method is less controlled than taking and rooting cuttings, it's a natural way oregano can increase its presence in your garden.
Does oregano regrow after cutting?
Yes, oregano regrows after cutting, making it an excellent herb for continual harvest.
When you cut oregano, it encourages the plant to produce new growth, becoming bushier and more prolific over time.
To promote healthy regrowth, always leave several inches of stem above the ground when harvesting, and avoid cutting more than one-third of the plant at a time.
This approach ensures the plant has enough foliage to continue photosynthesizing and growing.
Learn how to propagate thyme with my guide:
Wrap-Up
And there you have it, the ins and outs of how to propagate oregano, transforming simple stem cuttings into flourishing plants.
Whether you're experimenting with how to grow oregano from cuttings for the first time or looking to refine your propagation techniques, the process is filled with moments of learning, growth, and, ultimately, success.
So, the next time you look at a sprig of oregano, remember that within it lies the potential for an entire garden's worth of oregano.
Keep those stem cuttings coming, and soon, you'll have more oregano than you'll know what to do with—a true testament to the simple joy of gardening.
