Propagating Sage: A Simple Guide
This website is reader-supported - thank you! This post may contain affiliate links. As an Amazon Associate, I earn from qualifying purchases at no extra cost to you.
Growing fresh sage that is ready to be picked and brought into the kitchen is a wonderful feeling.
And propagating sage is a simple and cost-effective way to expand your herb collection, so that you always have fresh sage on hand.
With its fragrant leaves, sage is a must-have in any herb garden.
In this guide, I'll walk you through everything you need to know about propagating sage, from selecting the right cuttings to nurturing your new plants.
Along the way, we'll explore different varieties of sage and share tips to ensure your propagation efforts are a success.
To learn more about growing sage, check out my guides:
When to Propagate Sage
Timing is crucial when it comes to propagating sage.
The best time to take cuttings and propagate sage is during the growing season, particularly in spring or early summer.
Here’s why:
Active Growth Period:
In spring and early summer, sage plants are in their active growth phase.
This means they are producing new leaves and stems, making it an ideal time to take cuttings.
During this period, the plant's natural growth hormones are at their peak, which helps the cuttings to root more quickly and effectively.
Optimal Weather Conditions:
Spring and early summer provide the perfect weather conditions for propagation.
The moderate temperatures and increased humidity levels support the rooting process.
Avoid taking cuttings during extreme weather conditions like the peak of summer or the cold of winter, as these can stress the cuttings and hinder root development.
Healthy Parent Plant:
Your sage plant will be at its healthiest during the growing season.
A vigorous, healthy parent plant will produce strong cuttings that are more likely to root successfully.
Ensure your parent plant is well-watered and pest-free before taking cuttings.
Extended Growing Season:
Propagating in spring gives your new sage plants the entire growing season to establish themselves.
By the time fall and winter approach, your plants will be strong enough to survive cooler temperatures.
This extended growing period allows your sage cuttings to develop a robust root system.
Preparing for Future Harvests:
Starting propagation in spring means that by the time late summer or fall rolls around, your new sage plants will be mature enough to start producing leaves that you can harvest.
This ensures a continuous supply of fresh sage to bring into your kitchen.
To learn more about propagating herbs, check out my guides:
How to Take Sage Cuttings
Taking sage cuttings is a straightforward process that, with a little care, can yield great results.
Here’s a step-by-step guide to ensure you get healthy cuttings that will root successfully:
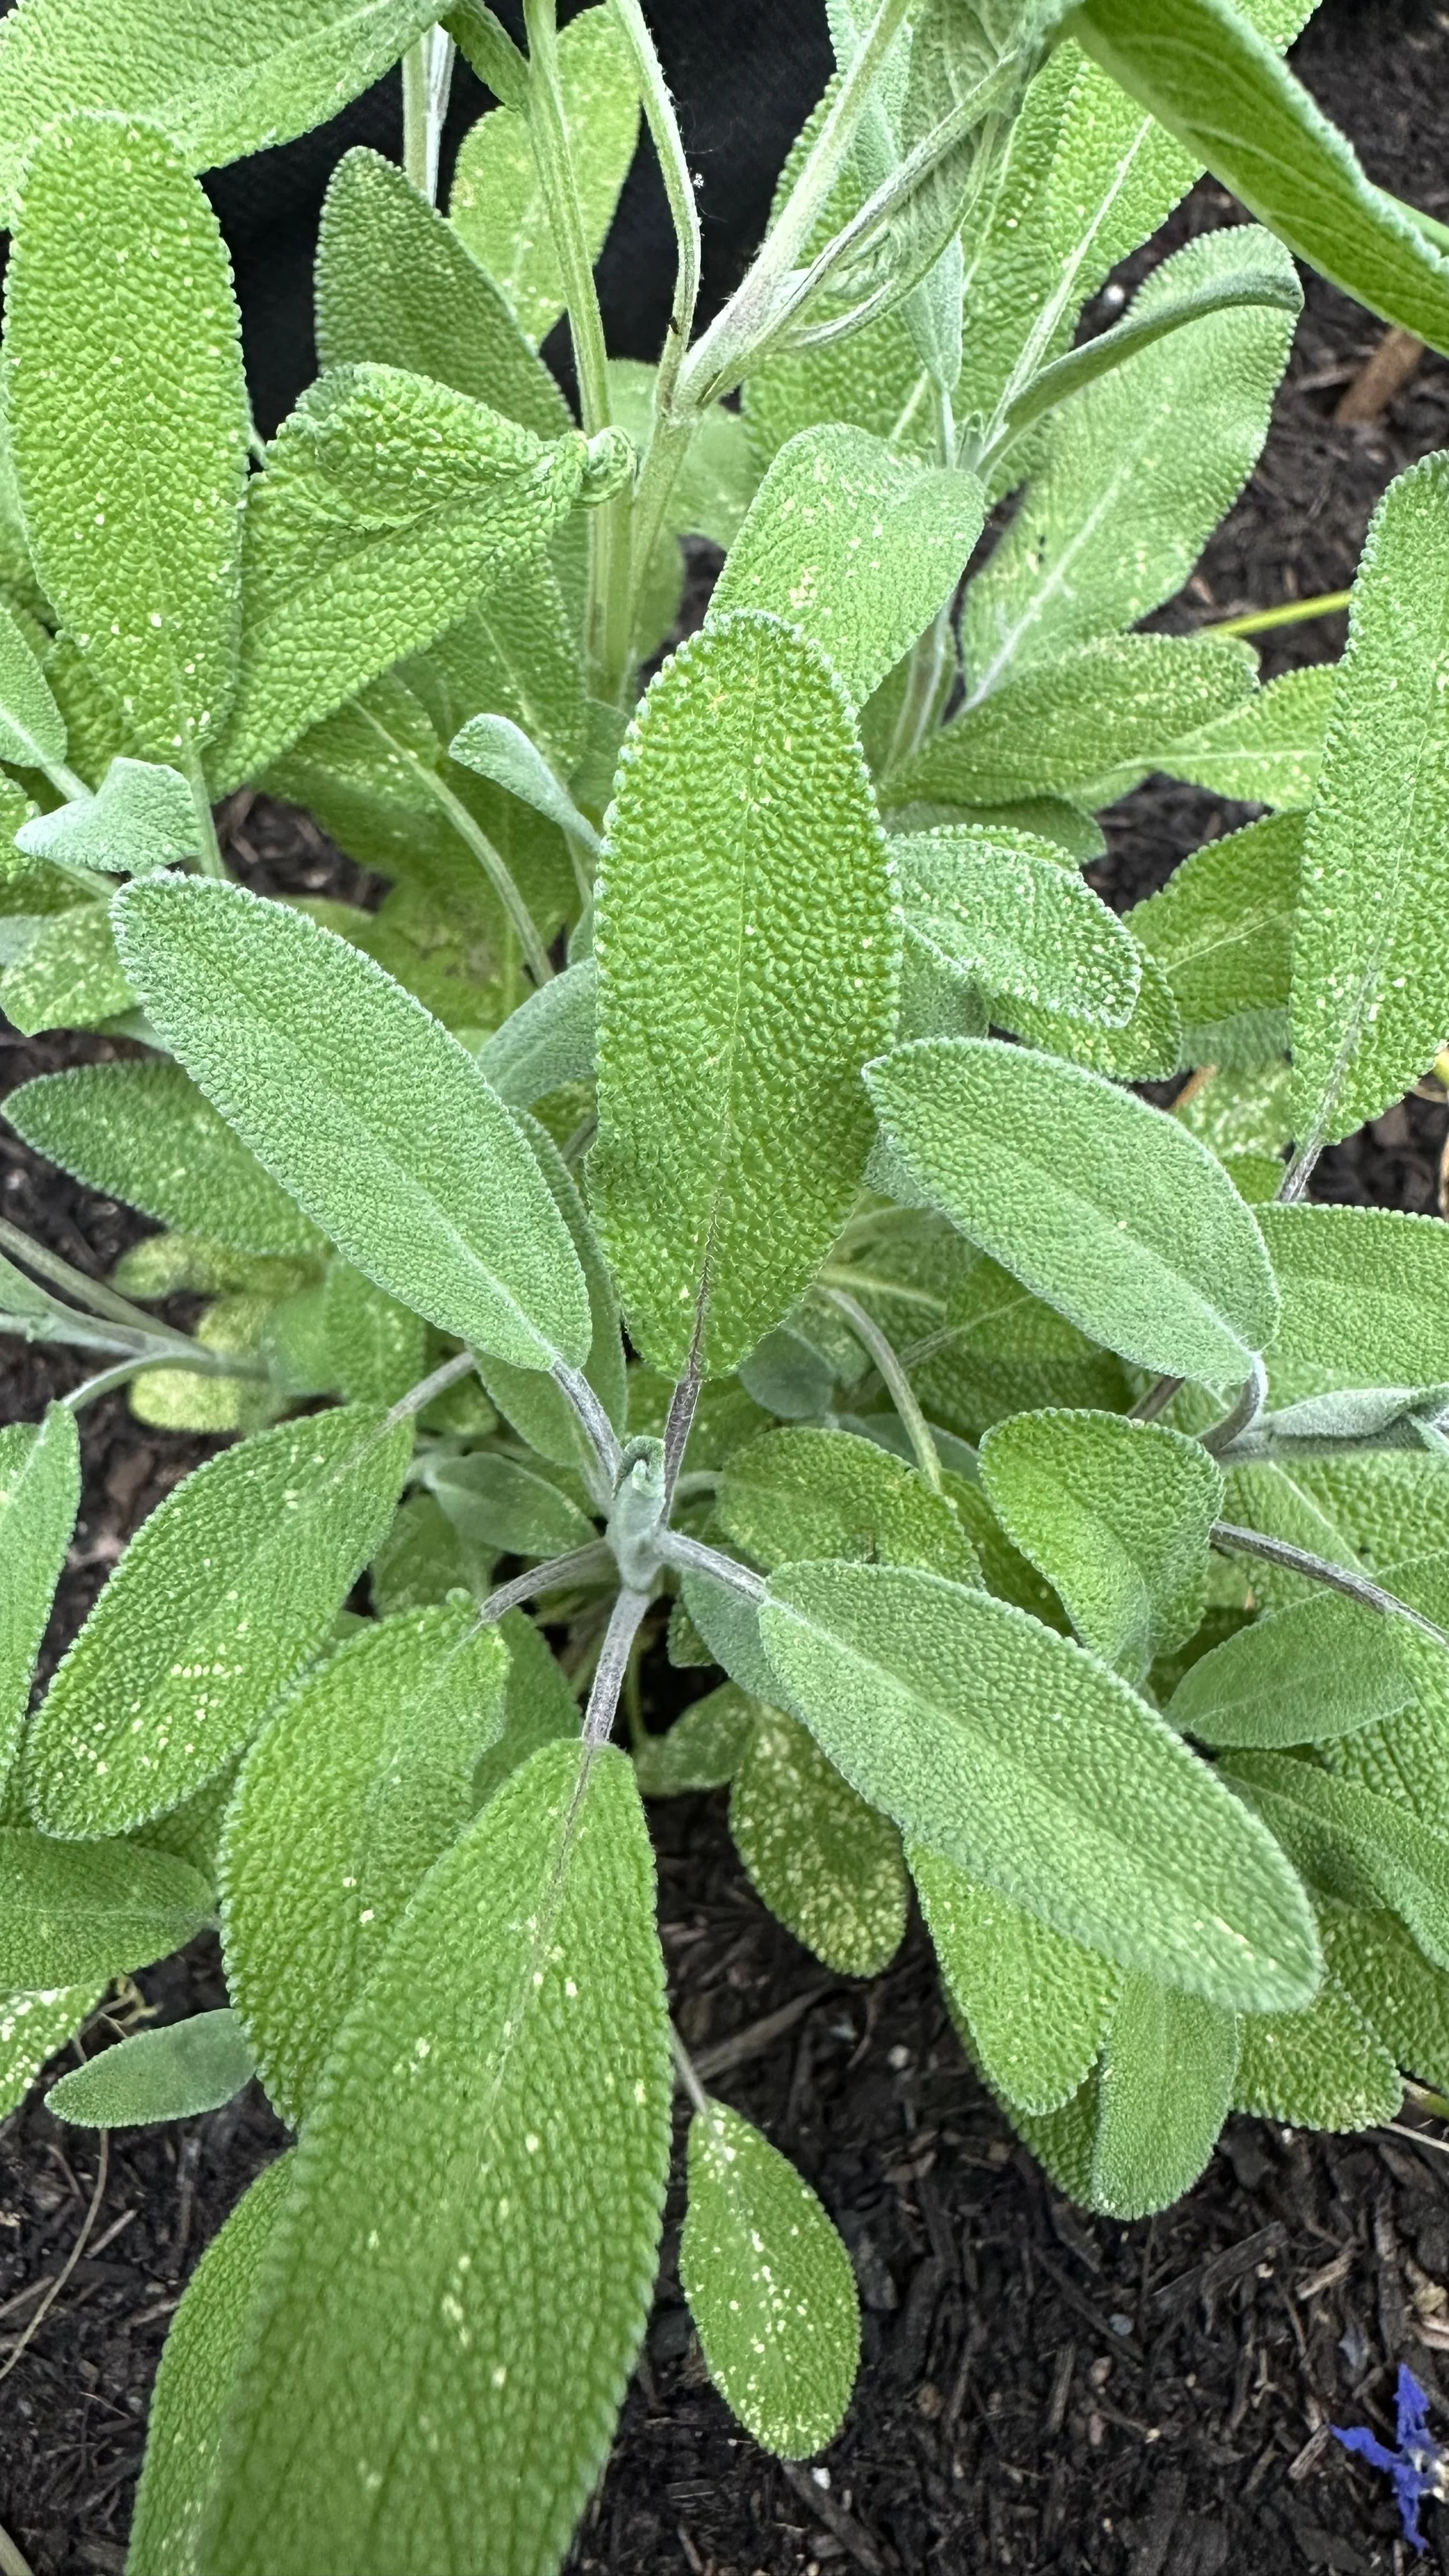
Choose the Right Plant:
Start by selecting a healthy sage plant. Look for one that is free from diseases and pests.
The plant should have plenty of new growth, as this is where you’ll take your cuttings from.
This is my favorite sage to grow:

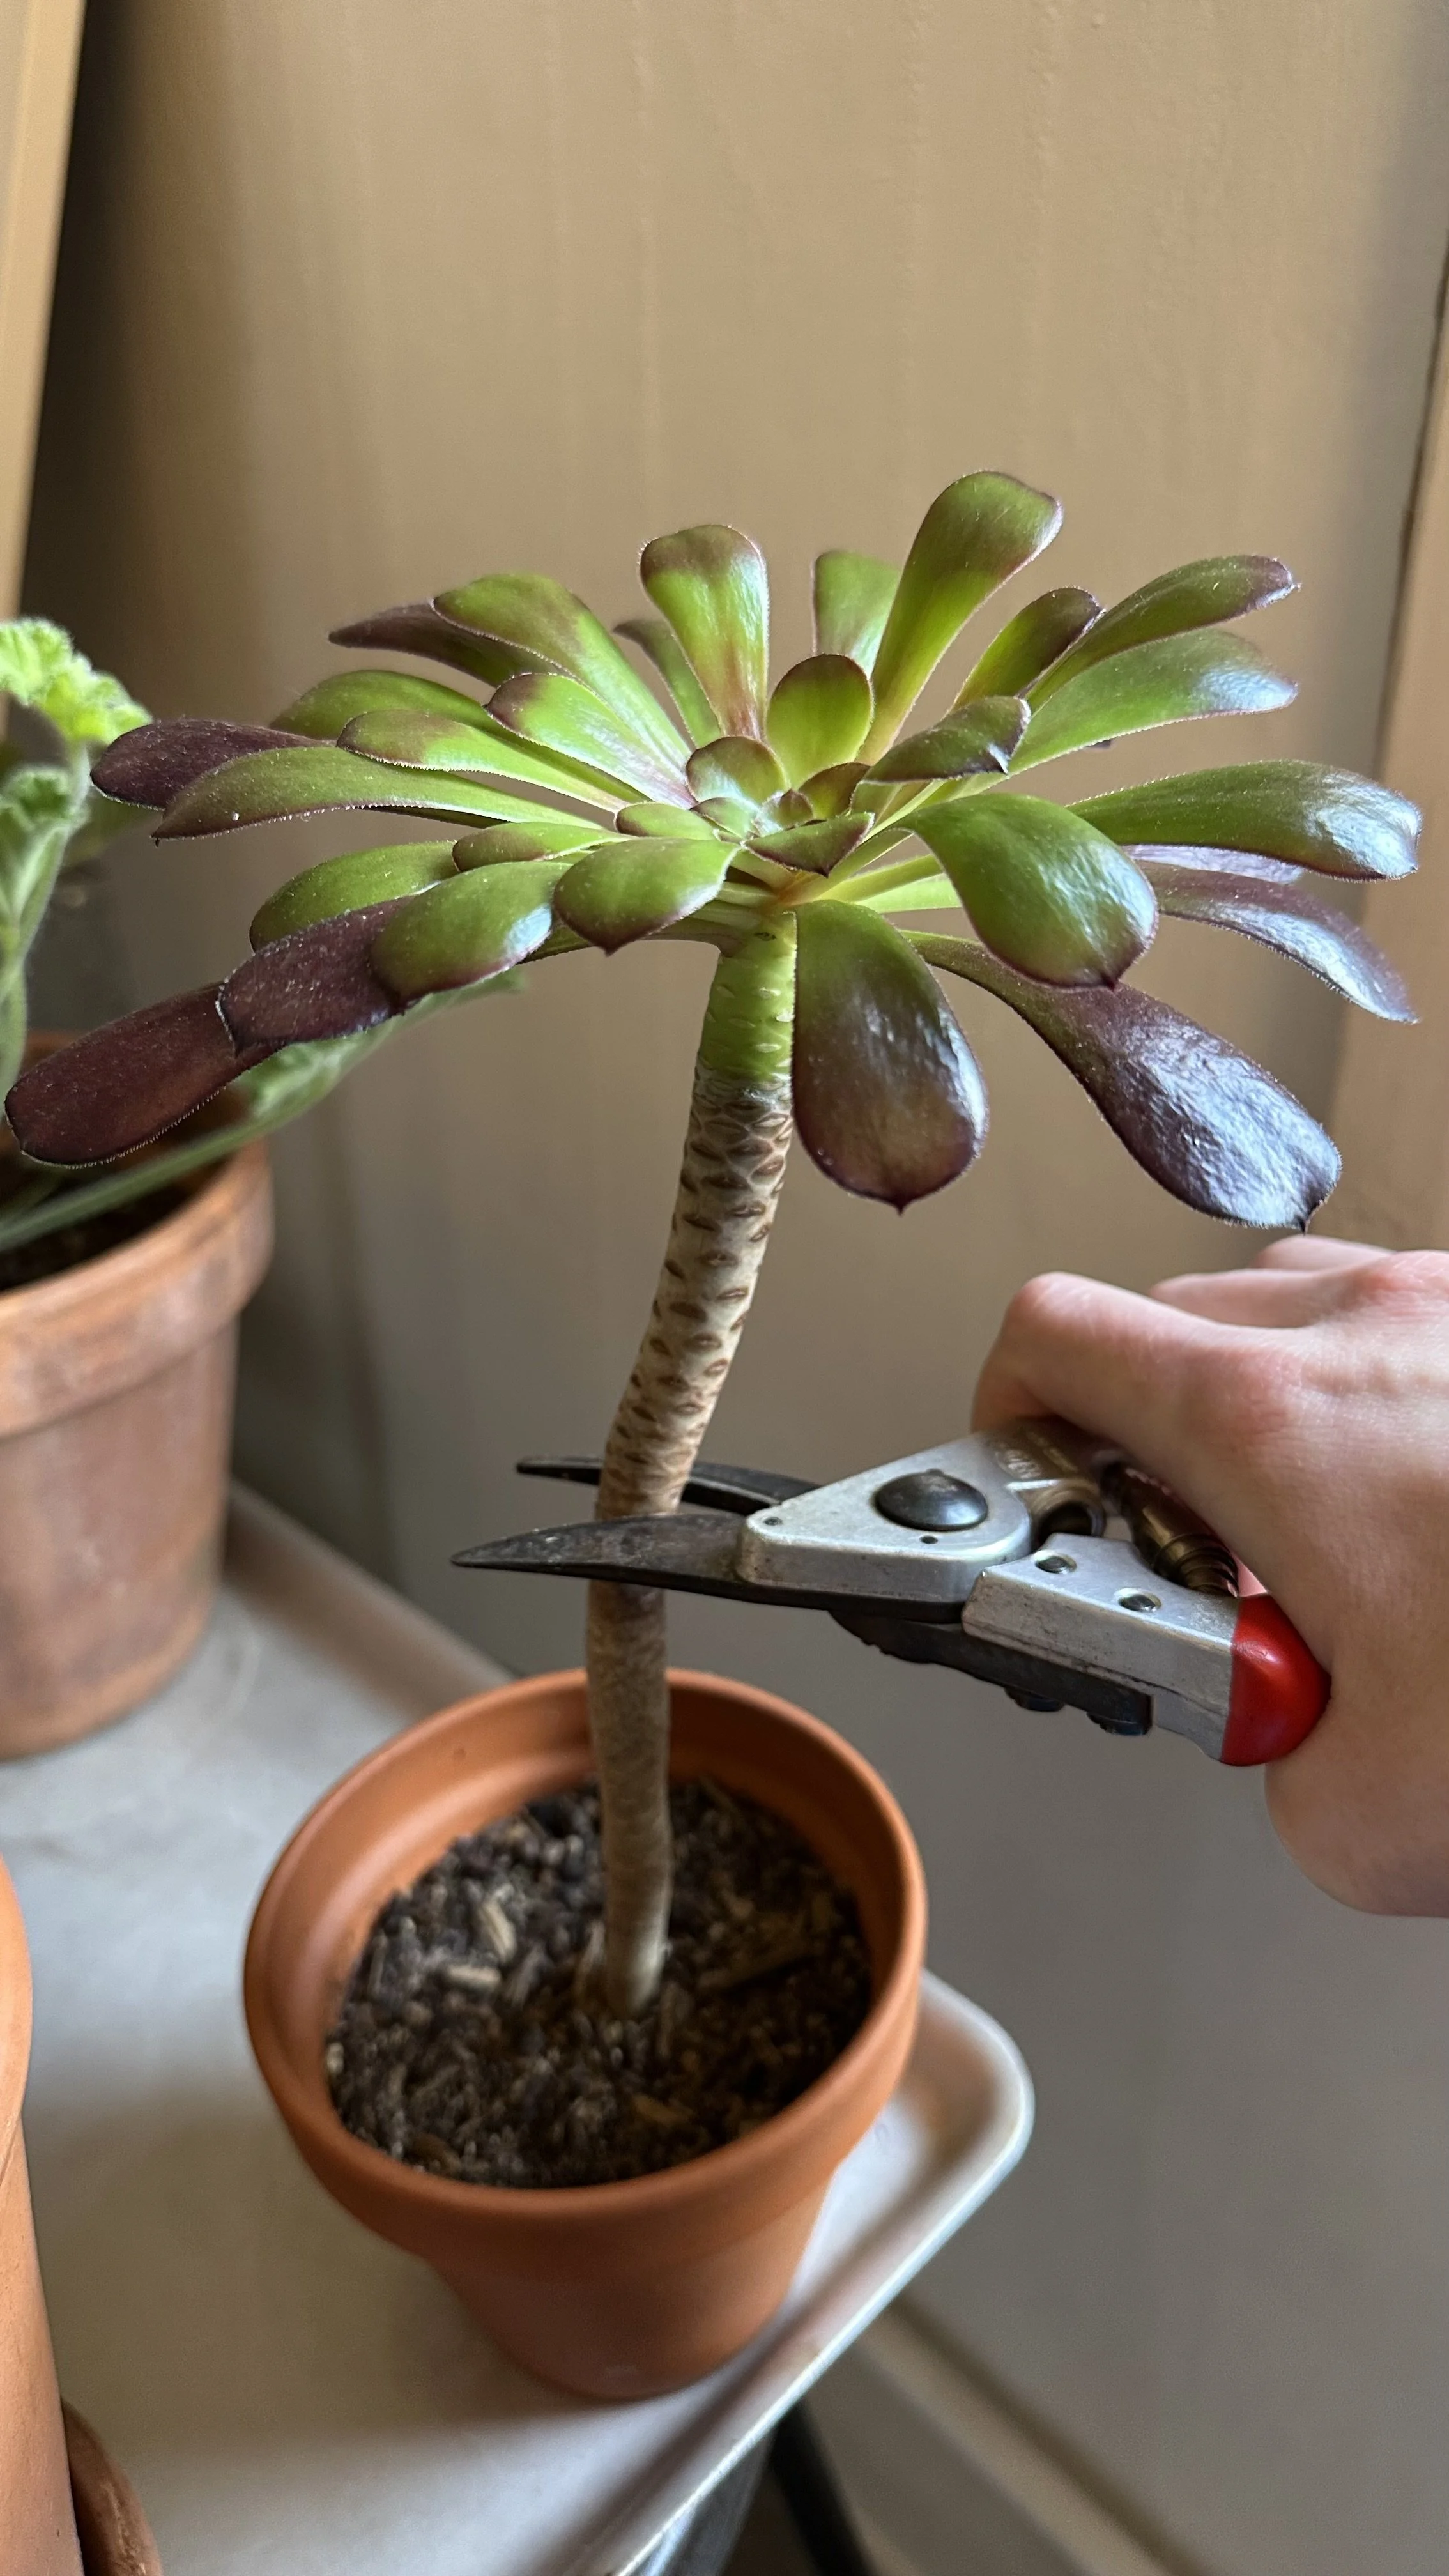
Prepare Your Tools:
Use a clean, sharp pair of scissors or pruning shears.
Sterilize your tools with rubbing alcohol to prevent any potential infection or disease from transferring to the cuttings.
Here are the shears I recommend for the job:

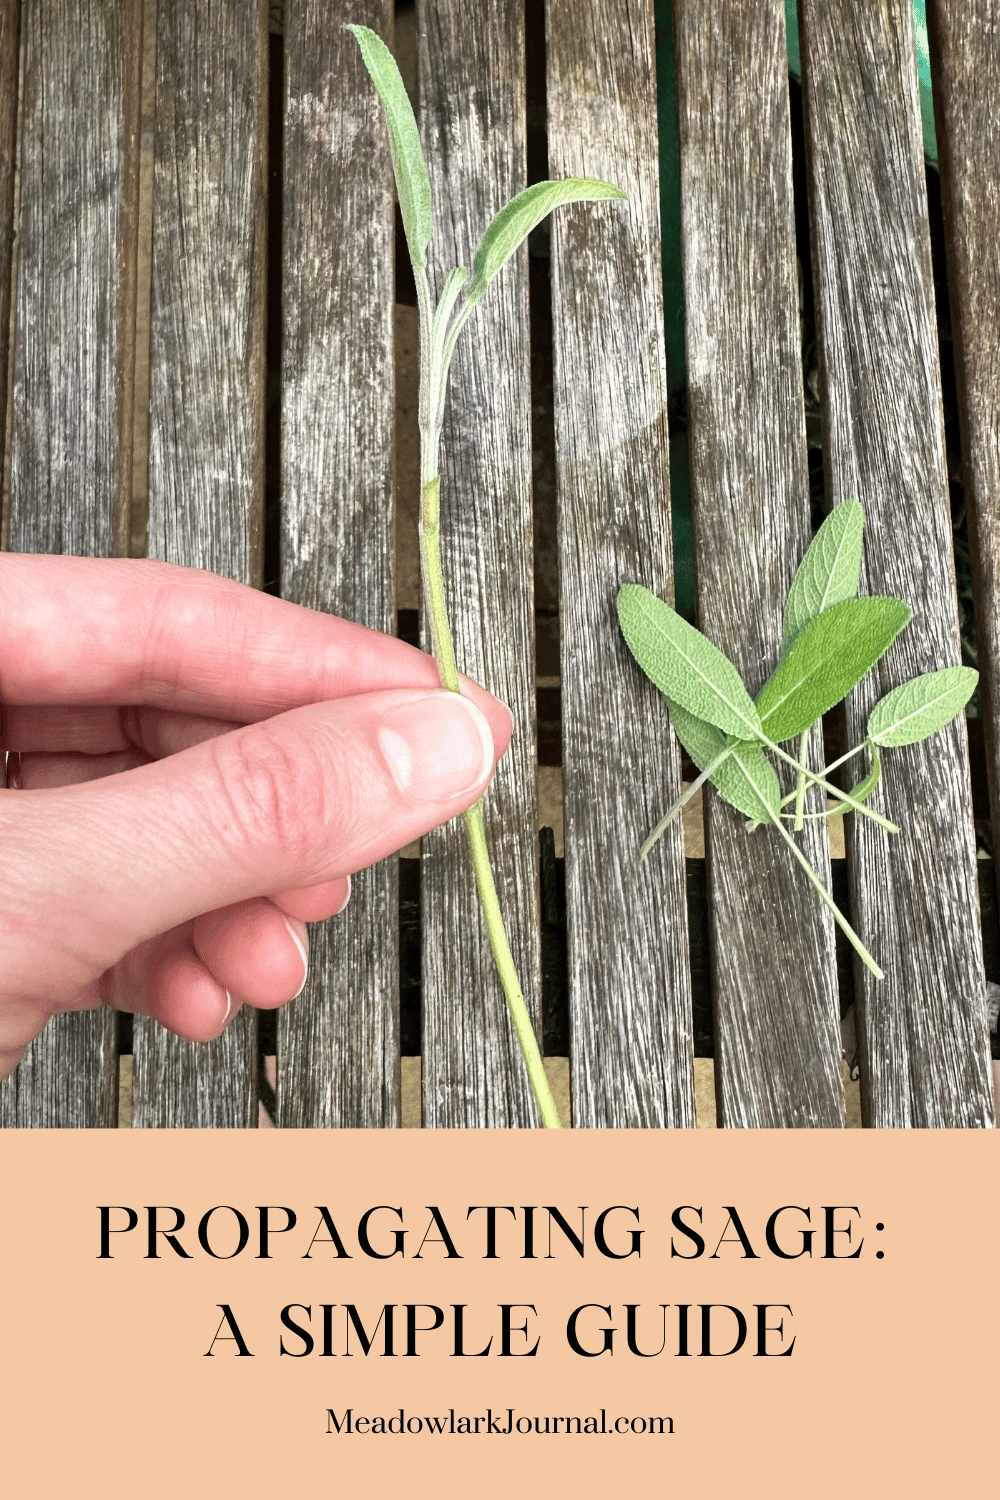
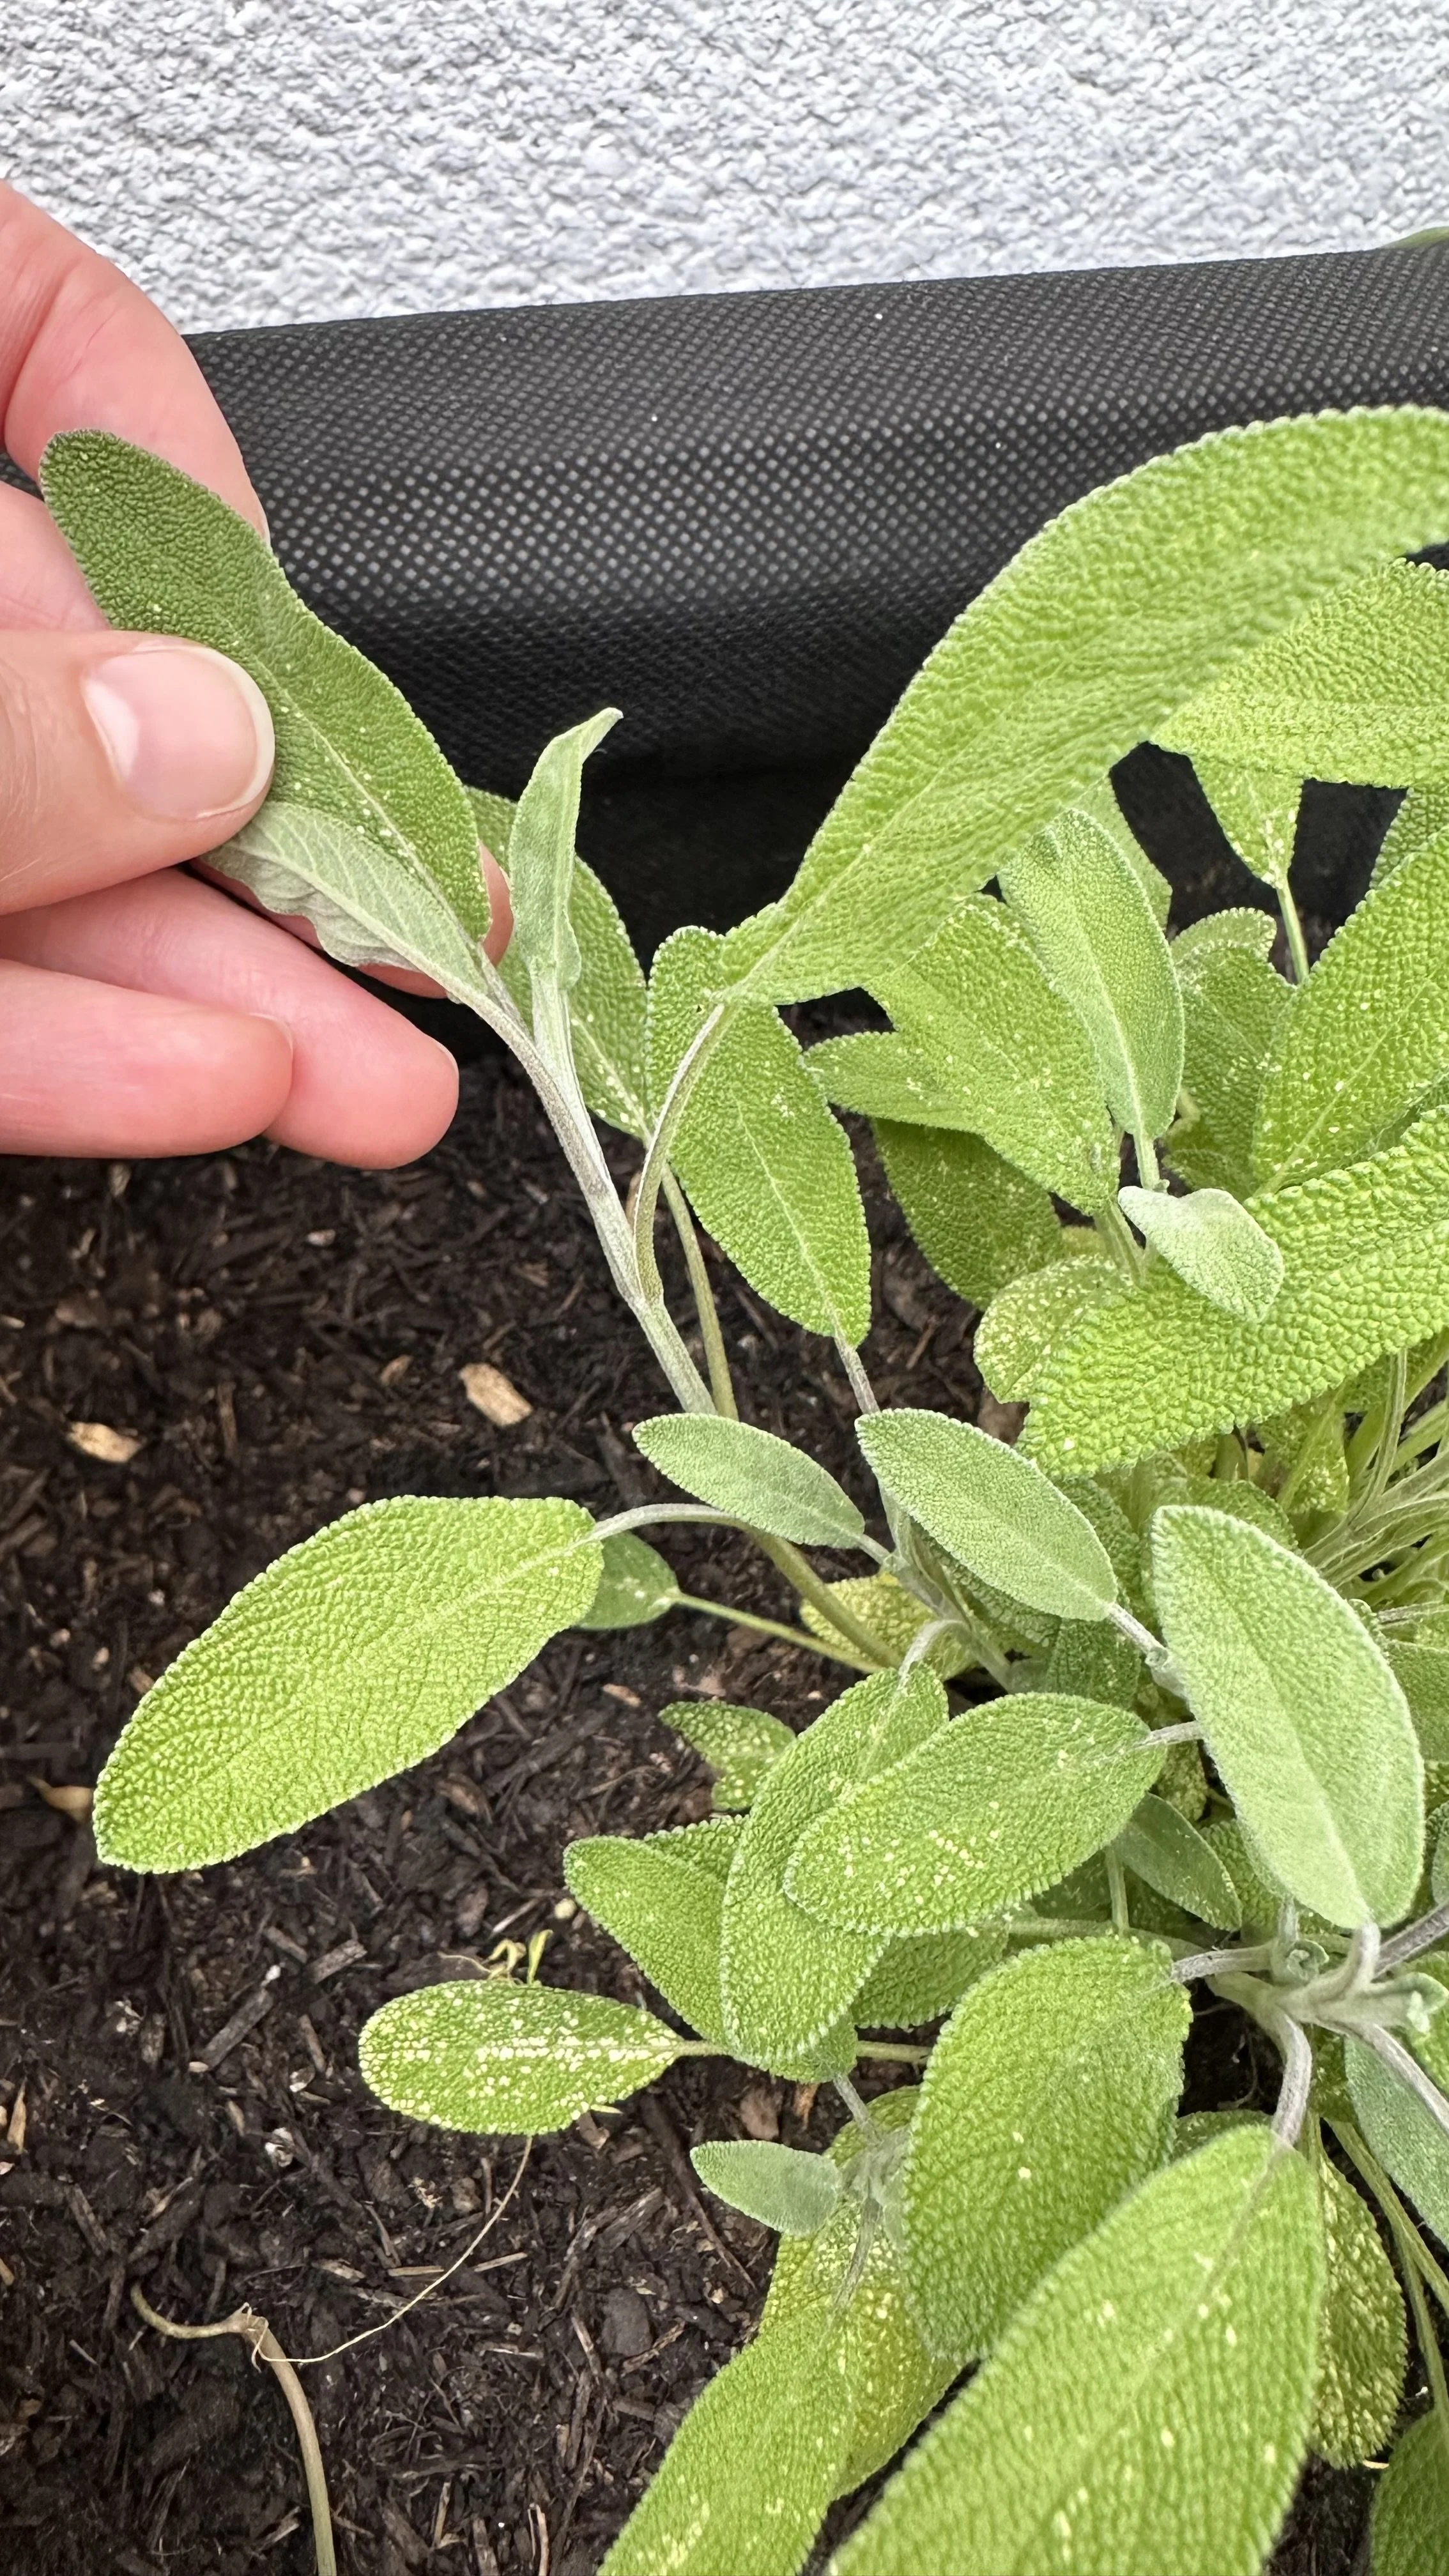
Select the Cuttings:
Identify a section of new growth that is about 4-6 inches long.
This should be a softwood cutting, which is flexible and not too woody.
Avoid taking cuttings from old, woody stems as they are harder to root.
Make the Cut:
Cut just below a leaf node (the point where a leaf is attached to the stem).
This node is where the highest concentration of rooting hormones is found, which will help your cutting develop roots more quickly.
Make sure the cut is clean and sharp.

Prepare the Cuttings:
Remove the leaves from the bottom half of the cutting, leaving a few pairs of leaves at the top.
This reduces water loss and directs the plant's energy towards root development.
If the leaves are large, you can also cut them in half to reduce the surface area.

Apply Rooting Hormone:
While not necessary, dipping the cut end of your sage cutting into rooting hormone can help speed up the rooting process.
Rooting hormone contains growth regulators that encourage root formation.
Simply dip the cut end into the powder and shake off any excess.
Here is the rooting hormone I recommend:

To learn more about propagating herbs, check out my guides:
Rooting Sage Cuttings
Successfully rooting sage cuttings requires a bit of patience.
Here’s a detailed guide to help you through the process, whether you choose to root your cuttings in water or soil.
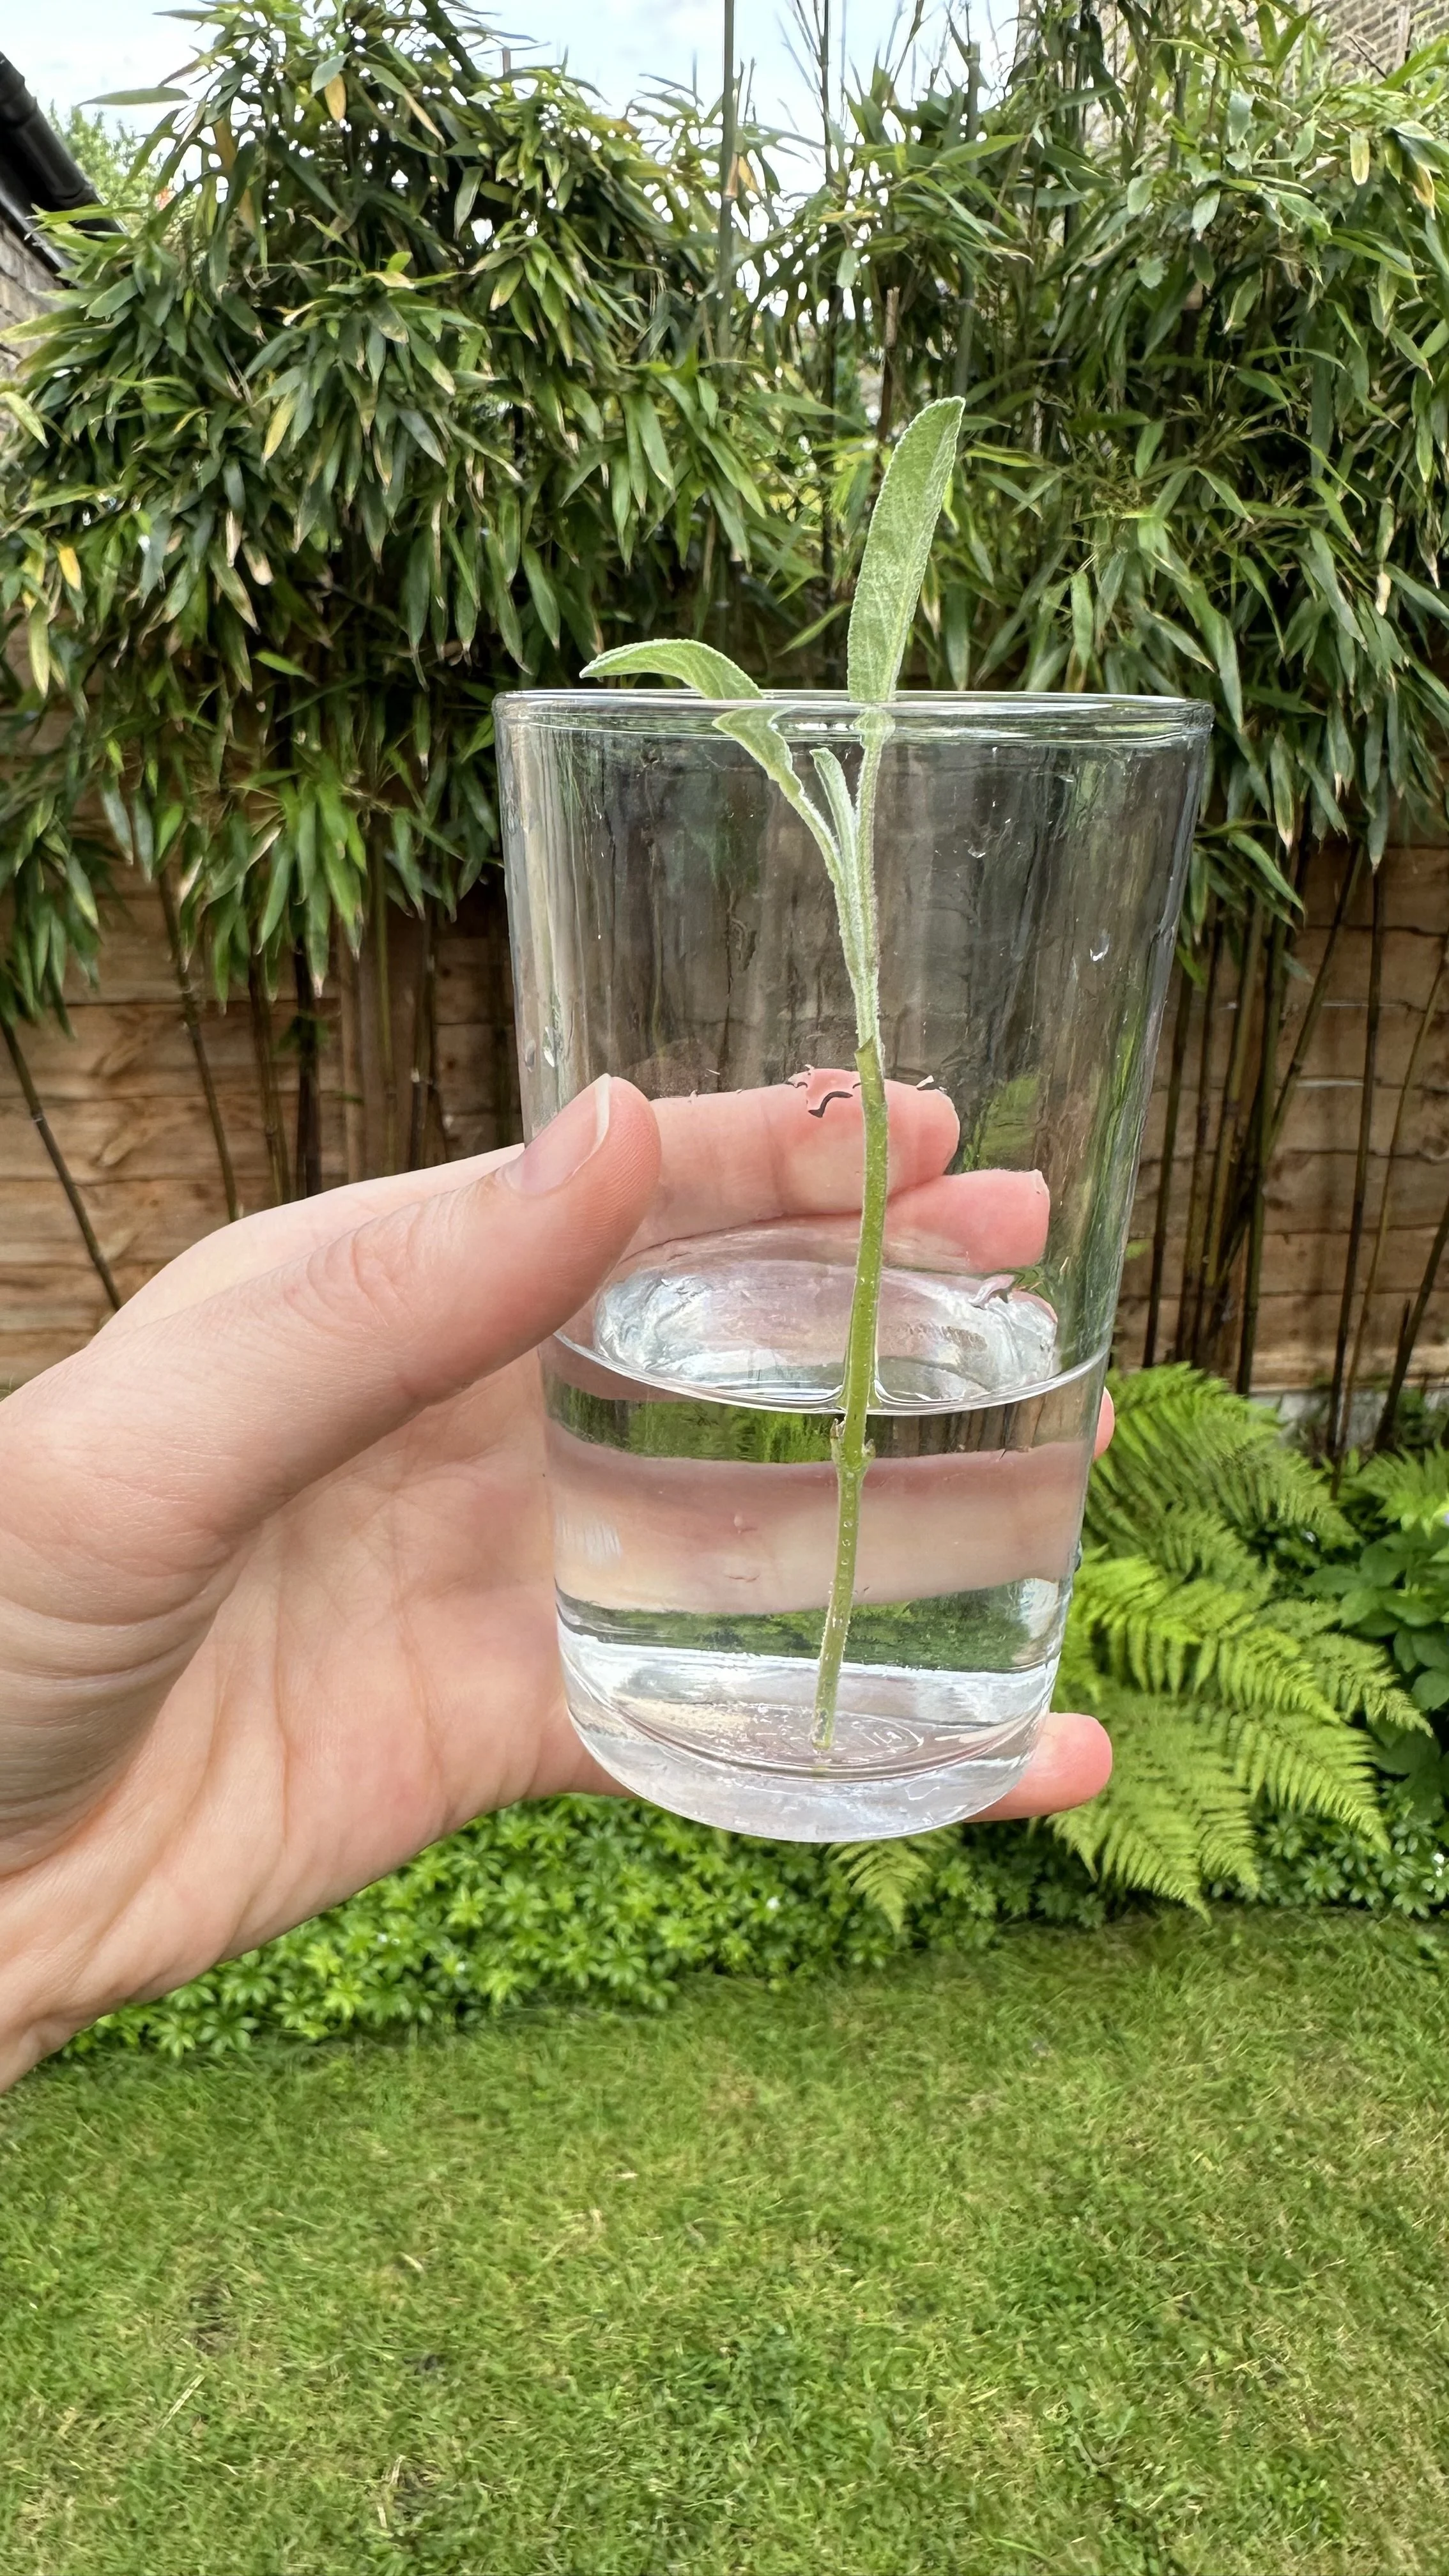
Rooting Sage Cuttings in Water
Rooting sage cuttings in water is a simple and visually satisfying method.
Here's how to do it:
Prepare the Container:
Use a clean glass or jar filled with room temperature water.
Ensure the container is tall enough to support the cuttings without submerging the leaves.
Submerge the Cuttings:
Place your prepared sage cuttings in the water, ensuring that the lower part of the stem (where you removed the leaves) is submerged.
The leaves should remain above the water line to prevent rotting.
Placement:
Place the container in a bright location with indirect sunlight.
Direct sunlight can cause the water to heat up and promote algae growth, which can be detrimental to the cuttings.
Water Maintenance:
Change the water every few days to keep it fresh and oxygenated.
This also helps prevent the growth of bacteria and algae.
Use room temperature water to avoid shocking the cuttings.
To learn more about this, check out my guide: Growing Herbs in Water: A Simple Guide.
Monitor Root Growth:
After a week or two, you should start to see small roots developing from the submerged nodes.
Allow the roots to grow until they are about 1-2 inches long before transferring the cutting to soil.
For more herb garden tips, check out my guides:

Rooting Sage Cuttings in Soil
Rooting cuttings in soil can be a bit more challenging than water but often results in stronger, more resilient plants.
Here’s how to root sage cuttings in soil:
Choose the Right Soil:
Use a well-draining potting mix.
A mix designed for seedlings and cuttings is ideal, but you can also make your own by combining equal parts of potting soil and perlite or sand.
Here is the potting mix I recommend:

Prepare the Pot:
Fill a small pot with the potting mix and water it lightly to settle the soil.
The pot should have drainage holes to prevent waterlogging.
Here are the pots I recommend:

Plant the Cuttings:
Using a pencil or your finger, make a hole in the soil for each cutting.
Insert the cut end of the cutting into the hole, burying it deep enough so it stands upright on its own.
Firm the soil gently around the base of the cutting.
Create a Humid Environment:
Cover the pot with a plastic bag or a clear plastic container to create a mini greenhouse.
This helps maintain high humidity, which is crucial for rooting.
Make sure the plastic does not touch the leaves; you can use sticks or wire to create a support structure.
Lighting and Temperature:
Place the pot in a location with bright, indirect light.
Avoid direct sunlight, which can overheat the cuttings and dry out the soil.
The ideal temperature for rooting is between 60-75°F (15-24°C).
Watering:
Keep the soil consistently moist but not soggy.
Check the soil regularly and water as needed.
Overwatering can lead to rot, while underwatering can cause the cuttings to dry out.
Monitor for Growth:
After a few weeks, you should start to see new growth at the top of the cuttings.
This is a sign that roots are developing.
You can gently tug on the cuttings to check for resistance, indicating that roots have formed.
Transplanting:
Once the cuttings have established a good root system, they can be transplanted to their final location in your garden or a larger pot.
Be gentle when transplanting to avoid damaging the new roots.
For more garden tips, check out my guides:
Caring for Your New Sage Plants
Once your sage cuttings have successfully rooted, it’s time to transition them into their new environment and ensure they thrive.
Proper care during this stage is crucial for the health and longevity of your new sage plants.
Here’s how to do it:
Transplanting Rooted Cuttings
Choose the Right Location:
Select a sunny spot in your garden where your sage plants will receive at least 6-8 hours of direct sunlight daily.
A south-facing, south-west facing, or west-facing location is best.
Sage thrives in full sun but can tolerate partial shade.
Check out my guide: Herbs That Actually Grow Well in Shade.
Prepare the Soil:
Sage prefers well-draining soil with a neutral to slightly alkaline pH (6.5 to 7.0).
If your soil is heavy or clay-like, consider amending it with sand, perlite, or compost to improve drainage.
This is crucial as sage does not like to sit in wet soil, which can lead to root rot.
Here is the perlite I recommend using:

Transplanting the Cuttings:
Dig a hole in your prepared soil that is slightly larger than the root ball of your cutting.
Gently remove the cutting from its rooting medium, being careful not to damage the new roots.
Place the cutting in the hole, backfill with soil, and gently firm it around the base of the plant.
Water the newly transplanted sage thoroughly to help settle the soil and eliminate air pockets.
Spacing:
Space your sage plants about 12-18 inches apart.
This spacing allows for good air circulation around each plant, which helps prevent fungal diseases and encourages healthy growth.
Watering and Feeding
Watering:
Initially, water your new sage plants regularly to help them establish.
Once established, sage is quite drought-tolerant.
Water deeply but infrequently, allowing the soil to dry out between watering sessions.
Overwatering is a common mistake and can lead to root rot.
For more watering tips, check out my guide: Water Butts: Sustainable Water Storage for Your Garden.
Mulching:
Apply a layer of mulch around the base of your sage plants.
Mulch helps retain soil moisture, suppress weeds, and regulate soil temperature.
Use organic mulch such as straw, wood chips, or compost.
Here is the mulch I recommend:

Fertilizing:
Sage is not a heavy feeder and generally does well without much fertilization.
However, you can apply a balanced, slow-release fertilizer in the spring to give your plants a boost.
Avoid over-fertilizing, as too much nitrogen can lead to excessive leaf growth at the expense of flavor.
Here is the slow-release fertilizer I recommend:

Pruning and Maintenance
Pruning:
Regular pruning helps maintain the shape of your sage plants and encourages bushier growth.
Trim back the tips of the stems regularly to promote branching.
In late spring or early summer, you can also perform a more substantial pruning to remove any dead or woody stems.
Avoid heavy pruning in the fall, as this can make the plants more vulnerable to winter damage.
For more pruning tips, check out my guide: Pruning Salvias: How to Prune for Abundant Flowers.
Pest and Disease Control:
Sage is generally resistant to many pests and diseases, but it’s still important to monitor your plants regularly.
Look out for common pests such as aphids, spider mites, and whiteflies.
Use insecticidal soap or neem oil if you notice an infestation.
Here is the insecticidal soap I recommend:

Overwintering Sage Plants
Protecting from Frost:
In colder climates, sage can be sensitive to frost.
Mulch heavily around the base of the plants in late fall to provide insulation.
In particularly harsh winters, you might need to cover your sage with burlap or a frost blanket.
Here is the frost blanket I recommend using:

Indoor Care:
If you live in an area with severe winters, consider growing sage in pots that can be brought indoors.
Place them in a sunny window or under grow lights to ensure they continue to receive adequate light.
Harvesting
When to Harvest:
You can start harvesting sage leaves once the plant is well-established and has plenty of foliage.
The best time to harvest is in the morning after the dew has dried but before the heat of the day.
How to Harvest:
Use sharp scissors or pruning shears to cut stems just above a pair of leaves.
Regular harvesting encourages the plant to produce more foliage.
Avoid harvesting more than one-third of the plant at a time to ensure it continues to grow vigorously.
For a full guide on how to harvest sage, check out this post: The Art of Harvesting Sage.
Common Varieties of Sage to Propagate
Sage comes in many varieties, each with its unique characteristics and uses.
Propagating different types of sage can add diversity to your garden and provide a range of colors and flavors.
Here’s a closer look at some of the most popular varieties of sage you might want to propagate:
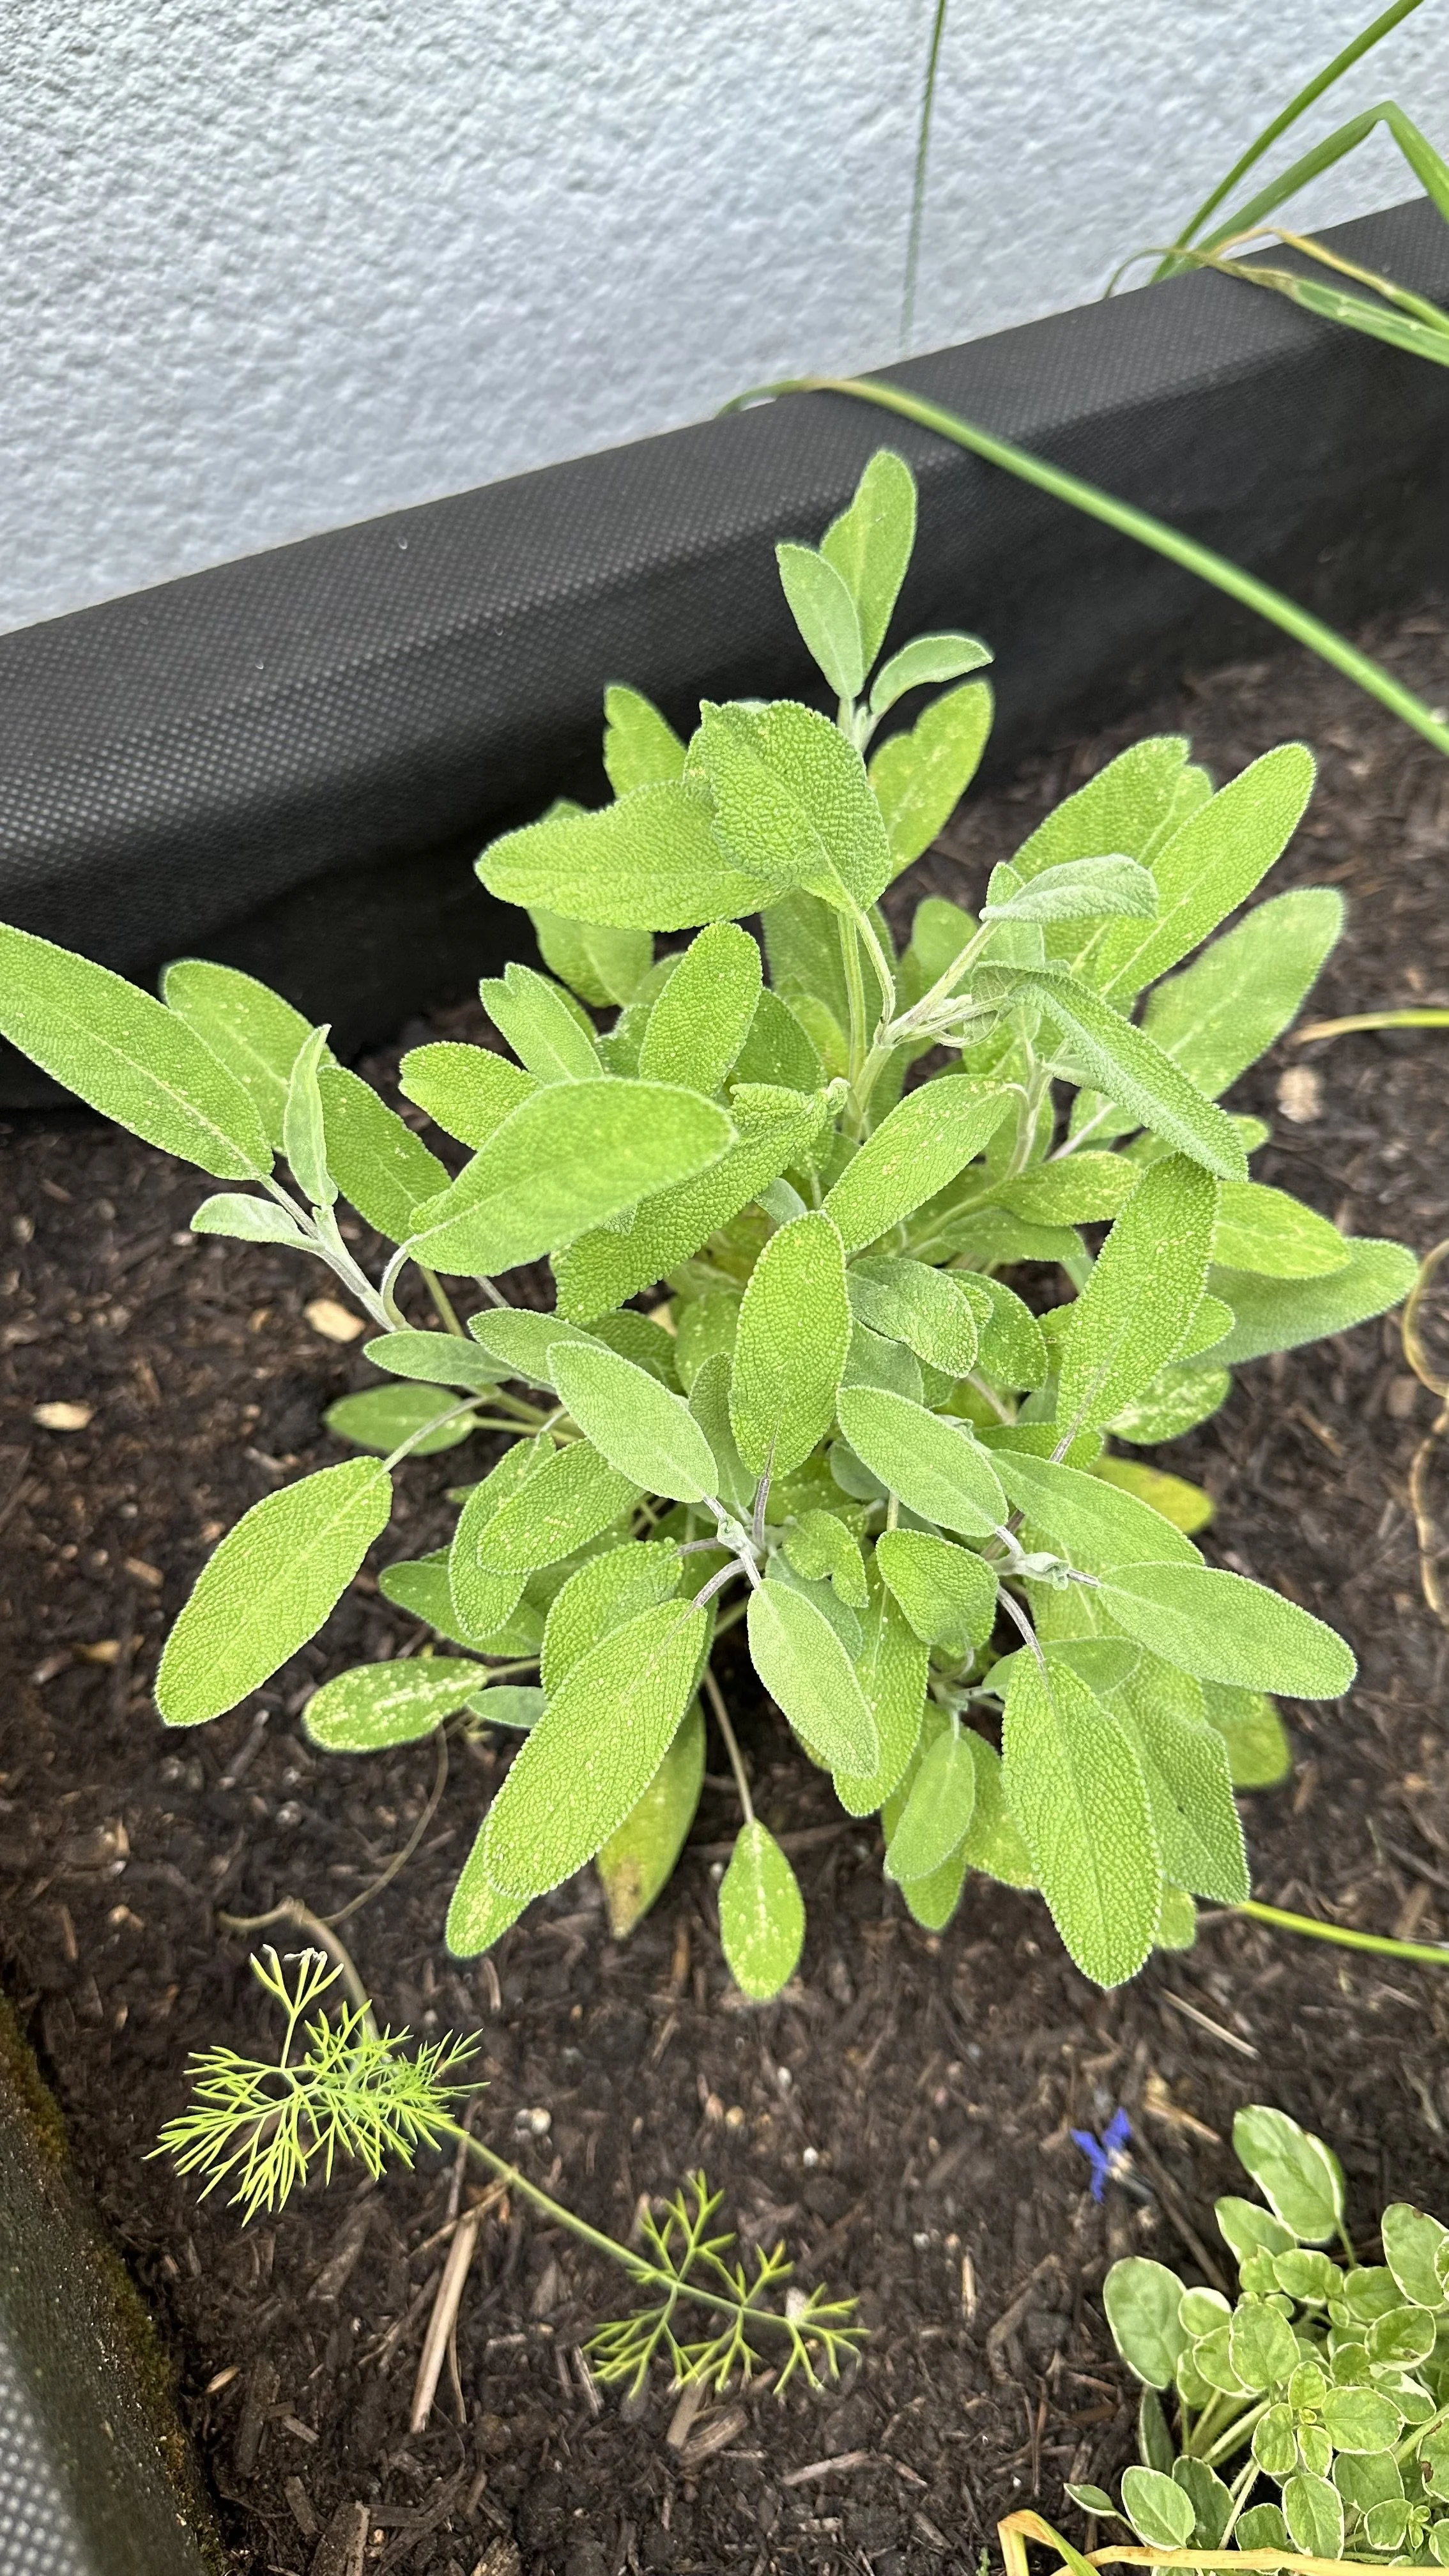
Common Sage (Salvia officinalis)
Appearance:
Common Sage, often referred to as Garden Sage, has gray-green leaves and blue to purplish flowers.
It’s a compact, evergreen perennial.
Growing Conditions:
It prefers full sun and well-drained soil.
Common Sage is hardy and can tolerate various soil types as long as they’re not waterlogged.
Uses:
This variety is a staple in the kitchen, known for its earthy, slightly peppery flavor. It’s used in a wide range of dishes, from meats to soups and stuffing.
Here are the seeds I recommend:
Pineapple Sage (Salvia elegans)
Appearance:
Pineapple Sage is a striking plant with bright red tubular flowers and green leaves that emit a pineapple scent when crushed.
Growing Conditions:
It grows best in full sun to partial shade and prefers well-drained, fertile soil.
Regular watering is essential, especially in hot weather.
Uses:
Pineapple Sage is popular in the kitchen for its sweet, fruity flavor, which is perfect for teas, desserts, and salads.
Its flowers also attract hummingbirds and butterflies.
Here is the pineapple sage I recommend:

White Sage (Salvia apiana)
Appearance:
White Sage has silvery-white leaves and tall flower spikes with small, white to lavender flowers.
It’s a robust, bushy plant.
Growing Conditions:
This sage thrives in full sun and well-drained, sandy soils.
It’s highly drought-tolerant and ideal for dry, Mediterranean climates.
Uses:
White Sage is widely used in smudging rituals and traditional medicine.
It’s valued for its strong aroma and believed to have purifying properties.
Here are the seeds I recommend:

For more propagation tips, check out my guide:
FAQs
How long does it take for sage cuttings to root?
Sage cuttings typically take about 2-4 weeks to develop roots, depending on the conditions.
Can you propagate sage in water?
Yes, you can propagate sage in water.
Place the cuttings in a glass of water, change the water regularly, and wait for roots to develop.
What type of soil is best for planting sage cuttings?
Sage prefers well-draining soil.
A mix of potting soil and sand or perlite works well.
Here is the soil I recommend for sage cuttings.
When is the best time to take sage cuttings?
The best time to take sage cuttings is in the spring or early summer when the plant is actively growing.
How often should I water my new sage plants?
Water your new sage plants regularly but ensure the soil is well-draining to avoid waterlogging.
Once established, sage is quite drought-tolerant.
Can sage be grown indoors?
Yes, sage can be grown indoors if it receives plenty of light. A sunny windowsill is an ideal spot.
Propagating sage is a straightforward and rewarding process that can significantly enhance your herb garden and overall garden design.
By following the steps outlined in this guide, you'll be able to expand your herb garden with minimal cost and effort.
So grab your pruning shears, prepare your cuttings, and start propagating sage today!
Pin this post to save it for later!