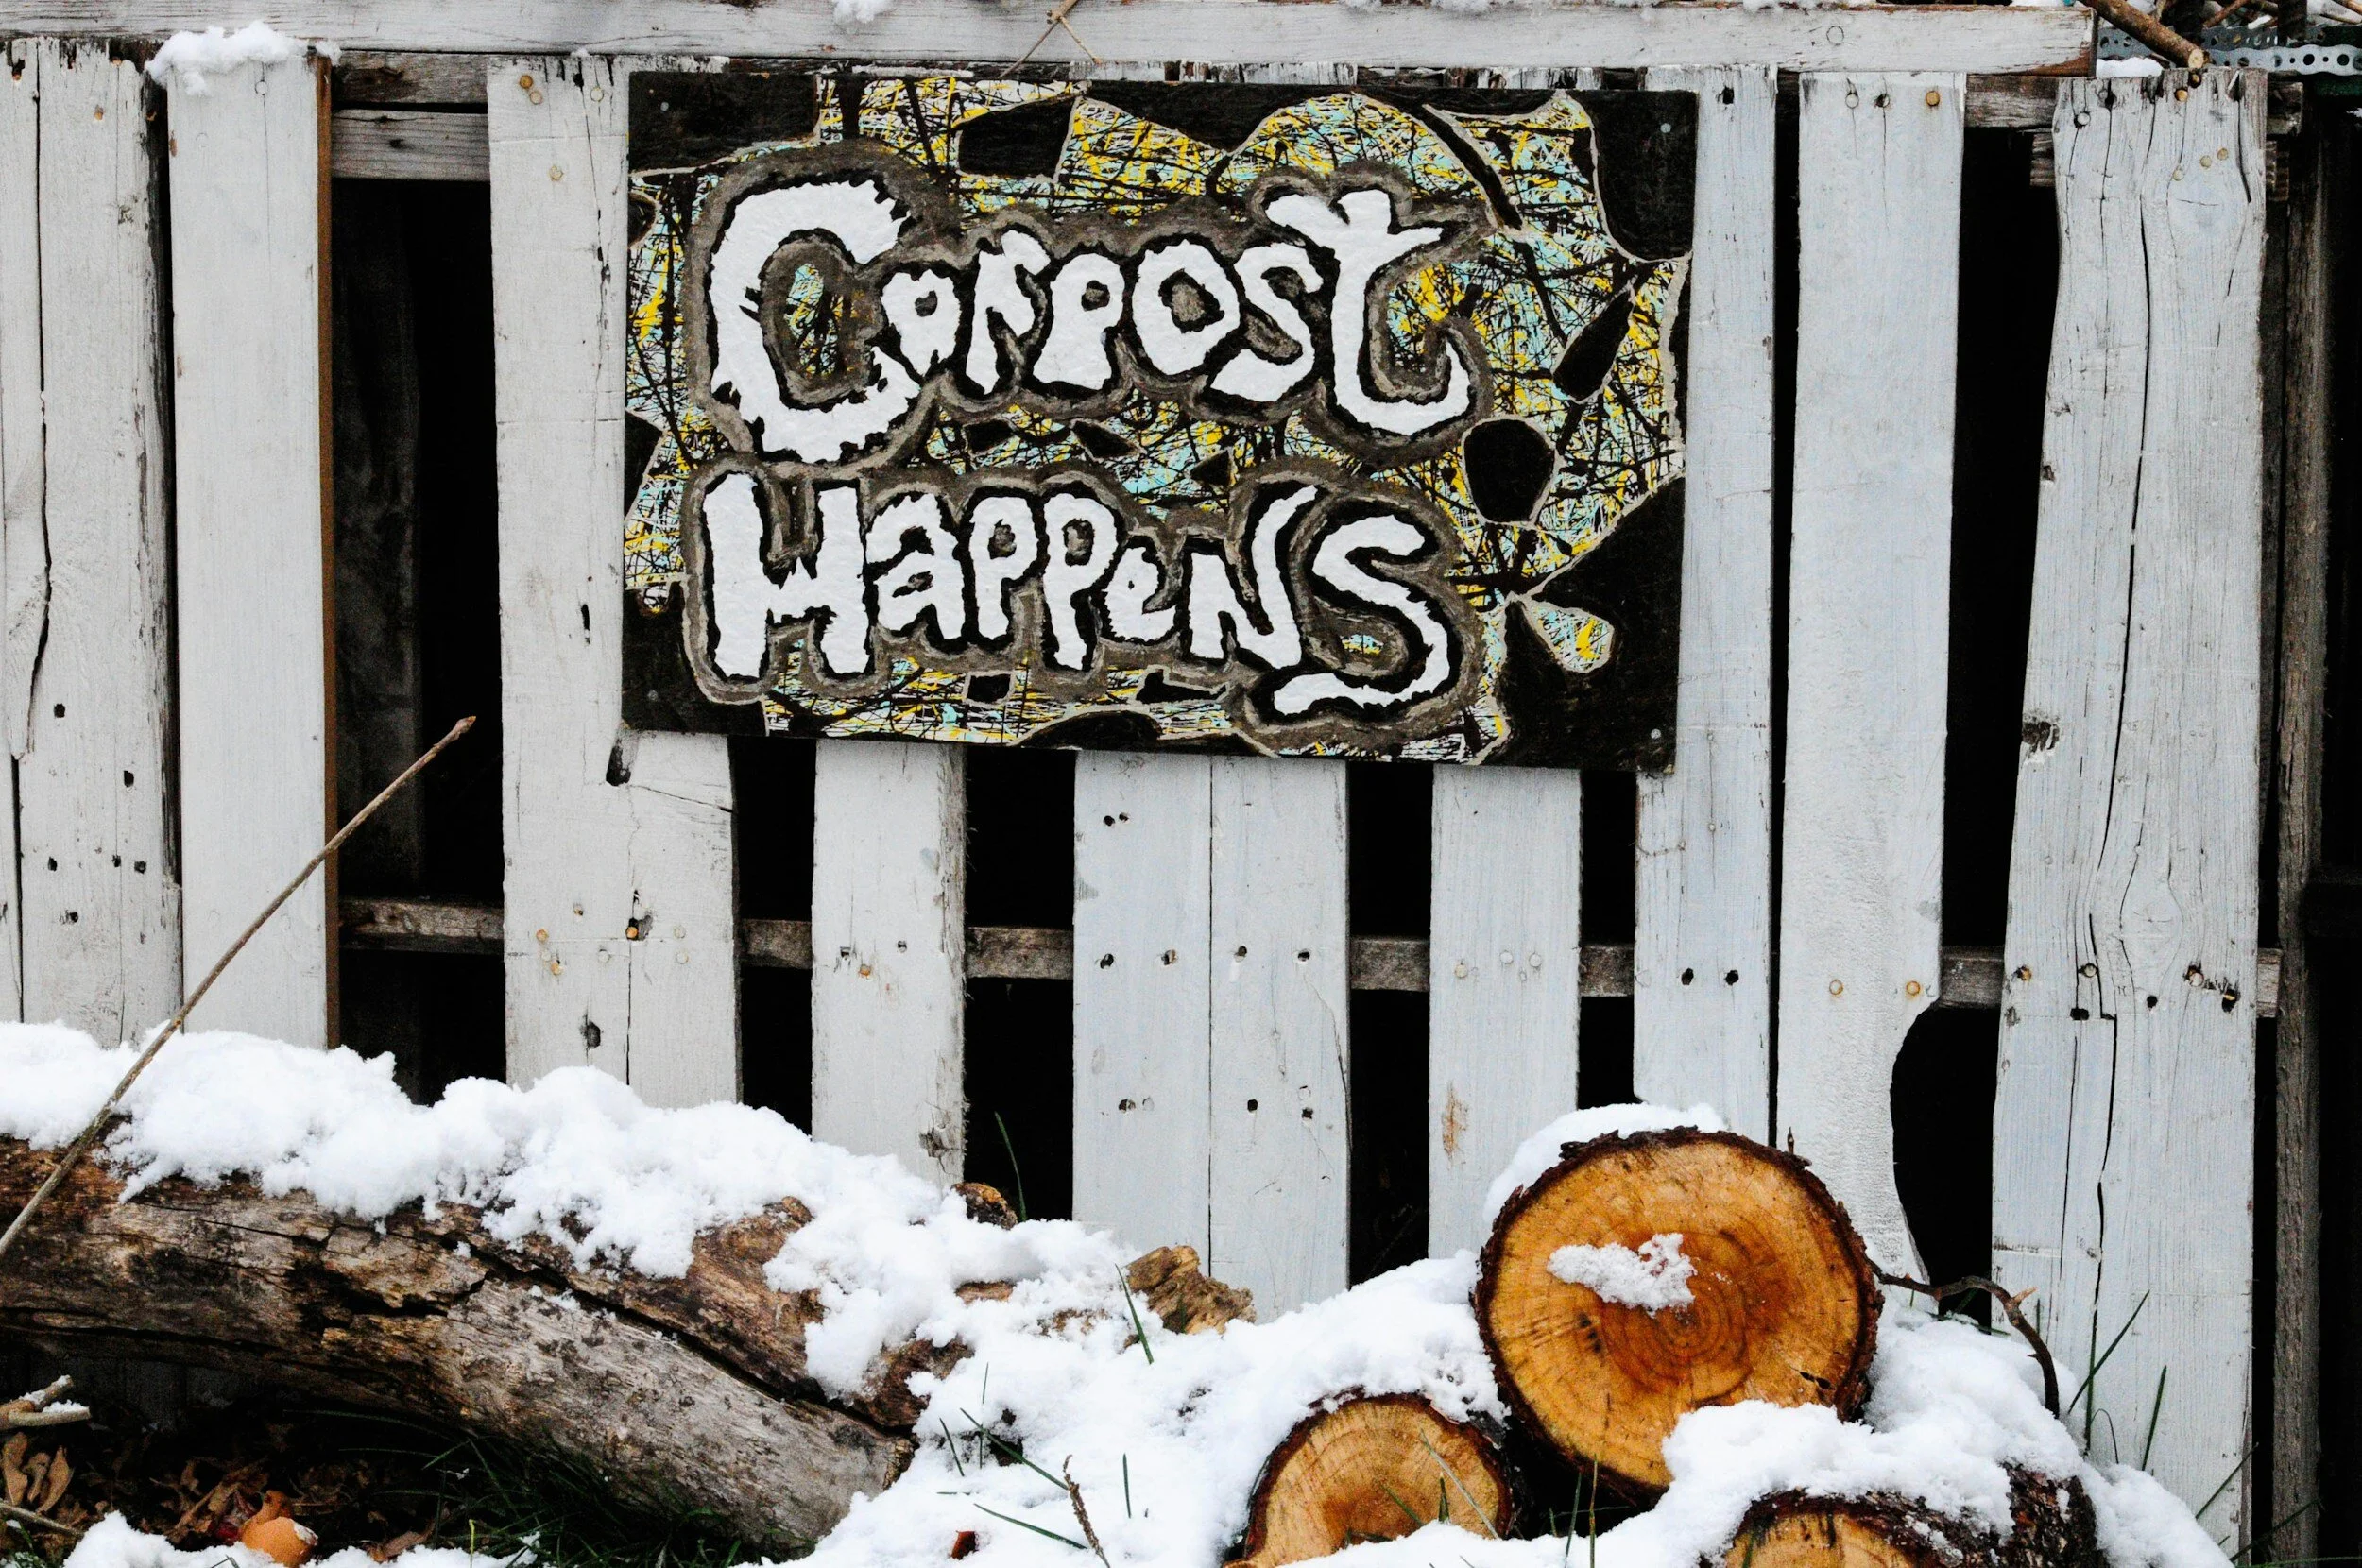
How to Start Composting in a Tumbler
This article has links to products that I may make commission from.
Tumbler composting is a significant step toward a more eco-friendly lifestyle and a flourishing garden.
This guide aims to simplify the process for newcomers and provide useful tips for those looking to enhance their composting practices.
Whether your goal is to minimize kitchen waste, enrich your garden soil, or embrace a more sustainable way of living, a compost tumbler offers a practical and effective solution.
In this guide, we will cover everything from the initial setup of your tumbler to addressing common composting challenges, equipping you with the essential knowledge to master the art of composting.
To learn more about composting, check out my guides:
Setting Up Your Compost Tumbler
Getting your compost tumbler up and running is a straightforward process, but a few key considerations can make all the difference in ensuring a smooth composting experience.
Here's how to set up your compost tumbler effectively:
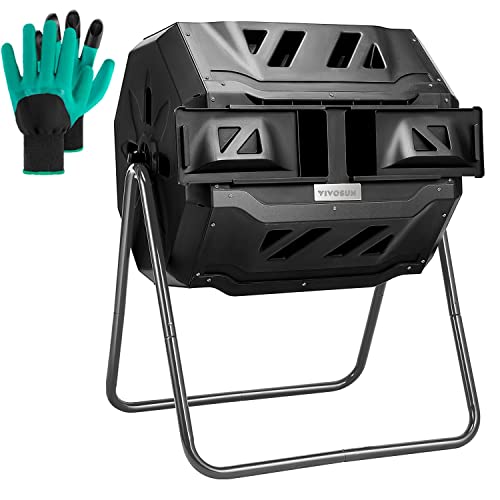
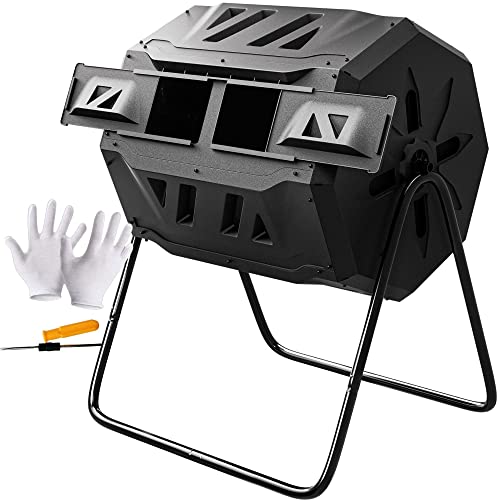
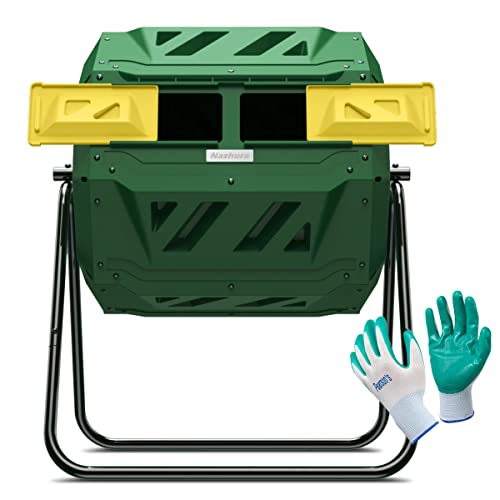
Choosing the Right Tumbler:
There's a variety of compost tumblers available on the market, ranging from single-chamber to dual-chamber models.
Below is a link to the composting tumbler I recommend.
Consider the following when choosing:
Capacity: Match the size of the tumbler to your household waste output and garden size.
Design: Look for features like built-in aerators or mixing bars, which help improve the composting process.
Ease of Use: Ensure the tumbler is easy to turn and has a convenient opening for adding materials and removing compost.
Location:
Accessibility: Place your tumbler in a location that's easily accessible year-round. You'll be adding materials regularly, so convenient access is key.
Sun Exposure: A sunny spot can help heat up the compost, speeding up the composting process. However, too much direct sunlight can dry out the compost, so balance is important.
Drainage: Make sure the area has good drainage to avoid waterlogging around the tumbler.
Assembling the Tumbler:
Follow Instructions: Carefully follow the assembly instructions provided with your compost tumbler. This may include attaching the drum to the frame and ensuring it rotates freely.
Tools and Help: Some tumblers require basic tools for assembly. Having an extra pair of hands can also be helpful.
Preparing the Tumbler for Composting:
Cleaning: If you've purchased a second-hand tumbler or repurposing a barrel, clean it thoroughly before use to remove any residues or contaminants.
Initial Test: Before adding any compost materials, give the tumbler a few spins to ensure it's stable and turns easily.
First Addition of Materials:
Starting Mix: Begin with a mix of greens (like kitchen scraps and grass clippings) and browns (like dry leaves or shredded newspaper) to create a balanced composting environment.
Moisture Check: Your initial batch should be moist but not wet. Think of the dampness of a wrung-out sponge.
Tips for Success:
Avoid Overloading: Don't fill the tumbler to the brim on the first go. It's better to add materials gradually to maintain balance and ensure effective composting.
Regular Checks: Regularly check your compost for moisture and aeration, especially in the first few weeks, to get a sense of how your tumbler works.
Here is the compost tumbler I recommend:
For more tips, check out my guides:
Basic Composting Principles
Understanding the fundamental principles of composting is crucial for turning your kitchen scraps and yard waste into nutrient-rich compost.
Here's what you need to know:
Balance of Greens and Browns:
Greens: These are nitrogen-rich materials like kitchen scraps (vegetable peels, fruit waste, coffee grounds), fresh grass clippings, and green leaves.
They provide the necessary proteins and amino acids for the microbes that break down the compost.
Browns: These are carbon-rich materials such as dry leaves, straw, wood chips, shredded newspaper, and cardboard.
Browns provide the energy source for microbes and help to balance the moisture in your compost.
Ideal Ratio: A general guideline is to maintain a ratio of about 2-3 parts browns to 1 part greens.
This balance is key to a healthy, odor-free, and efficient composting process.
Size of Materials:
Chopping or Shredding: Smaller pieces decompose faster.
Chopping kitchen waste and shredding yard waste can significantly speed up the composting process.
Surface Area: The more surface area exposed, the easier it is for microbes to do their work.
This principle is especially important in a compost tumbler where space is confined.
Moisture and Aeration:
Moisture Level: The compost should be moist, but not wet.
The consistency should be like a wrung-out sponge.
Too much moisture can lead to a smelly, anaerobic process, while too little can slow down decomposition.
Aeration: Oxygen is crucial for composting.
In a tumbler, this is achieved by turning the bin, which introduces air into the mix.
Regular turning (about once every 2-3 days) is recommended to maintain oxygen levels and distribute moisture evenly.
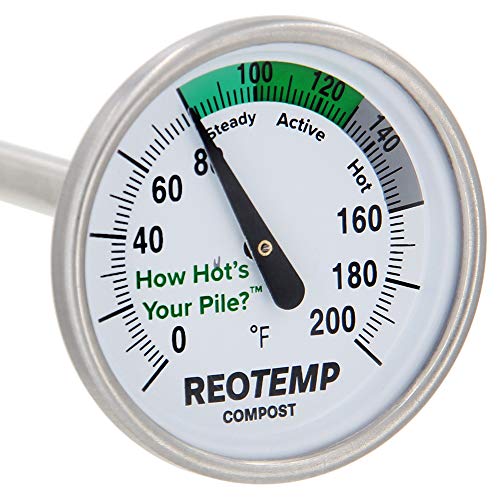
Temperature:
Heat Generation: As the materials break down, they generate heat, which is a sign of active composting.
The ideal temperature range for effective composting is between 90-140°F (32-60°C).
Monitoring: If you're serious about composting, you might use a compost thermometer to monitor the temperature.
A significant drop in temperature can indicate that it's time to turn the compost or adjust the green-brown ratio.
Here is the composting thermometer I recommend:
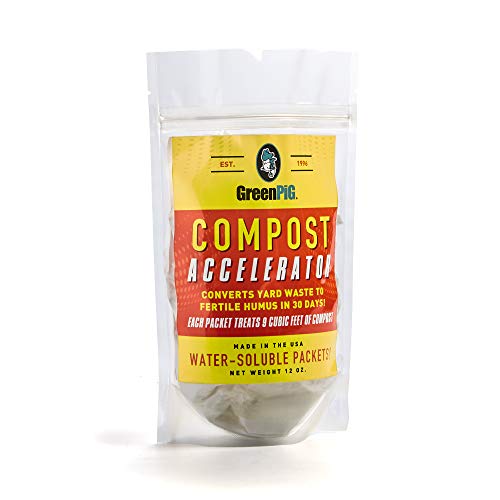
Microorganisms:
Natural Process: The decomposition in your compost tumbler is carried out by naturally occurring microorganisms such as bacteria and fungi.
Activators: While not necessary, compost activators can be added to introduce a higher concentration of these microorganisms, potentially speeding up the process.
Here is the compost activator I recommend:
Time and Patience:
Composting Duration: Depending on the balance of materials, moisture, and temperature, composting can take anywhere from a few weeks to a few months.
Observation and Adjustment: Regular observation and adjustment are key.
If your compost is too wet, add more browns; if it's too dry, add greens or a bit of water.
Adding Materials to Your Tumbler
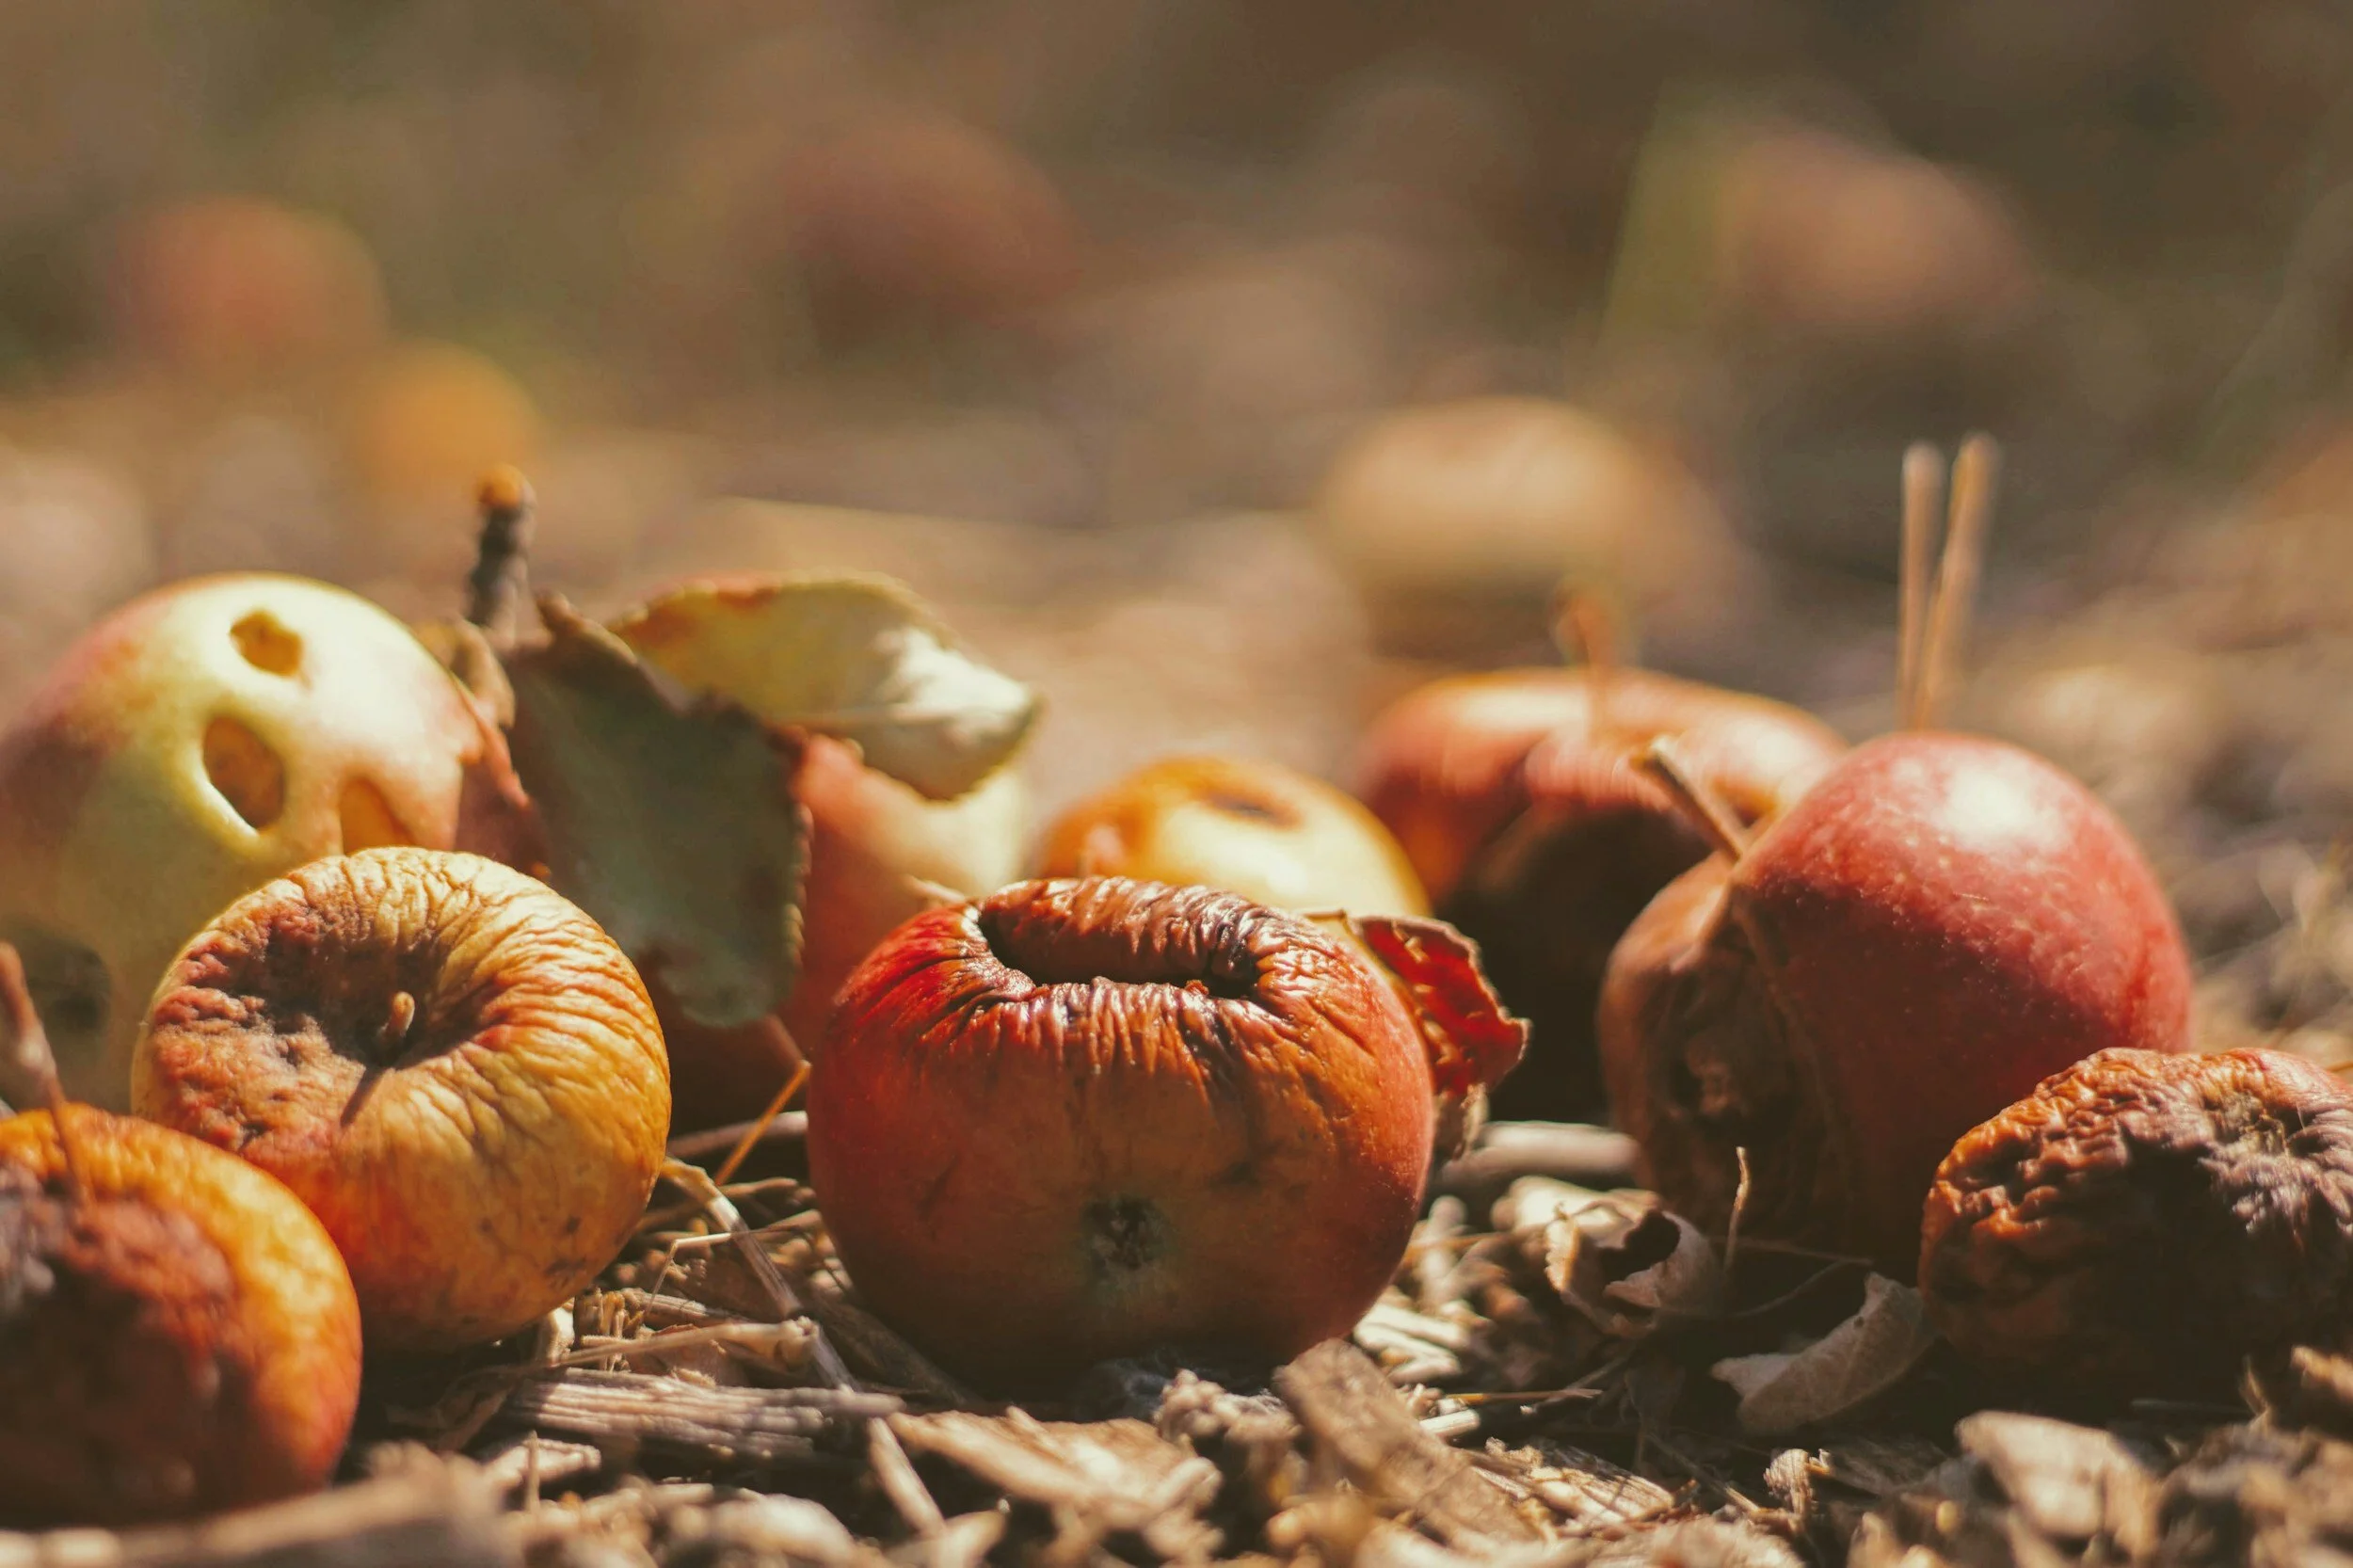
Start adding your kitchen scraps, yard waste, and other compost materials.
Remember not to add meat, dairy, or oily foods to prevent odors and pests.
To learn more about composting, check out my guides Garden Gold: Composting Orange Peels and A Simple Recipe for Rich Compost Tea.
Maintaining Your Compost Tumbler
Effective maintenance of your compost tumbler is key to ensuring a successful composting process.
Here are some detailed steps and tips to keep your tumbler in top shape:
Regular Turning:
Frequency: Turn your compost tumbler every few days, ideally every 2-3 days.
Consistent turning mixes the compost, distributes moisture and air, and speeds up the decomposition process.
Technique: Give the tumbler several good turns to adequately mix the contents.
If your tumbler has a crank handle, use it; otherwise, rotate it manually.
Monitoring Moisture:
Moisture Level: Your compost should be moist but not soggy.
The ideal moisture level is similar to a wrung-out sponge.
Adjustments: If the compost is too wet, add more brown materials (like shredded newspaper or dry leaves) to absorb excess moisture.
If it's too dry, add water sparingly or include more green materials.
Checking for Odor:
Odor Identification: A healthy compost should have an earthy smell.
If you notice foul odors, it might be a sign of imbalance.
Addressing Odor Issues: Bad smells often indicate too much moisture or an excess of green materials.
Adjust by adding browns and ensuring proper aeration through turning.
Managing Temperature:
Warmth is Good: A warm compost tumbler indicates active decomposition.
It's normal for the tumbler to feel warm to the touch.
Too Hot or Too Cold: If the compost gets excessively hot, it might need more frequent turning or more browns.
If it's too cold, check if it's too dry or needs more greens.
Observing Decomposition:
Progress Check: Regularly observe the changing texture and color of the compost.
It should gradually become darker and finer over time.
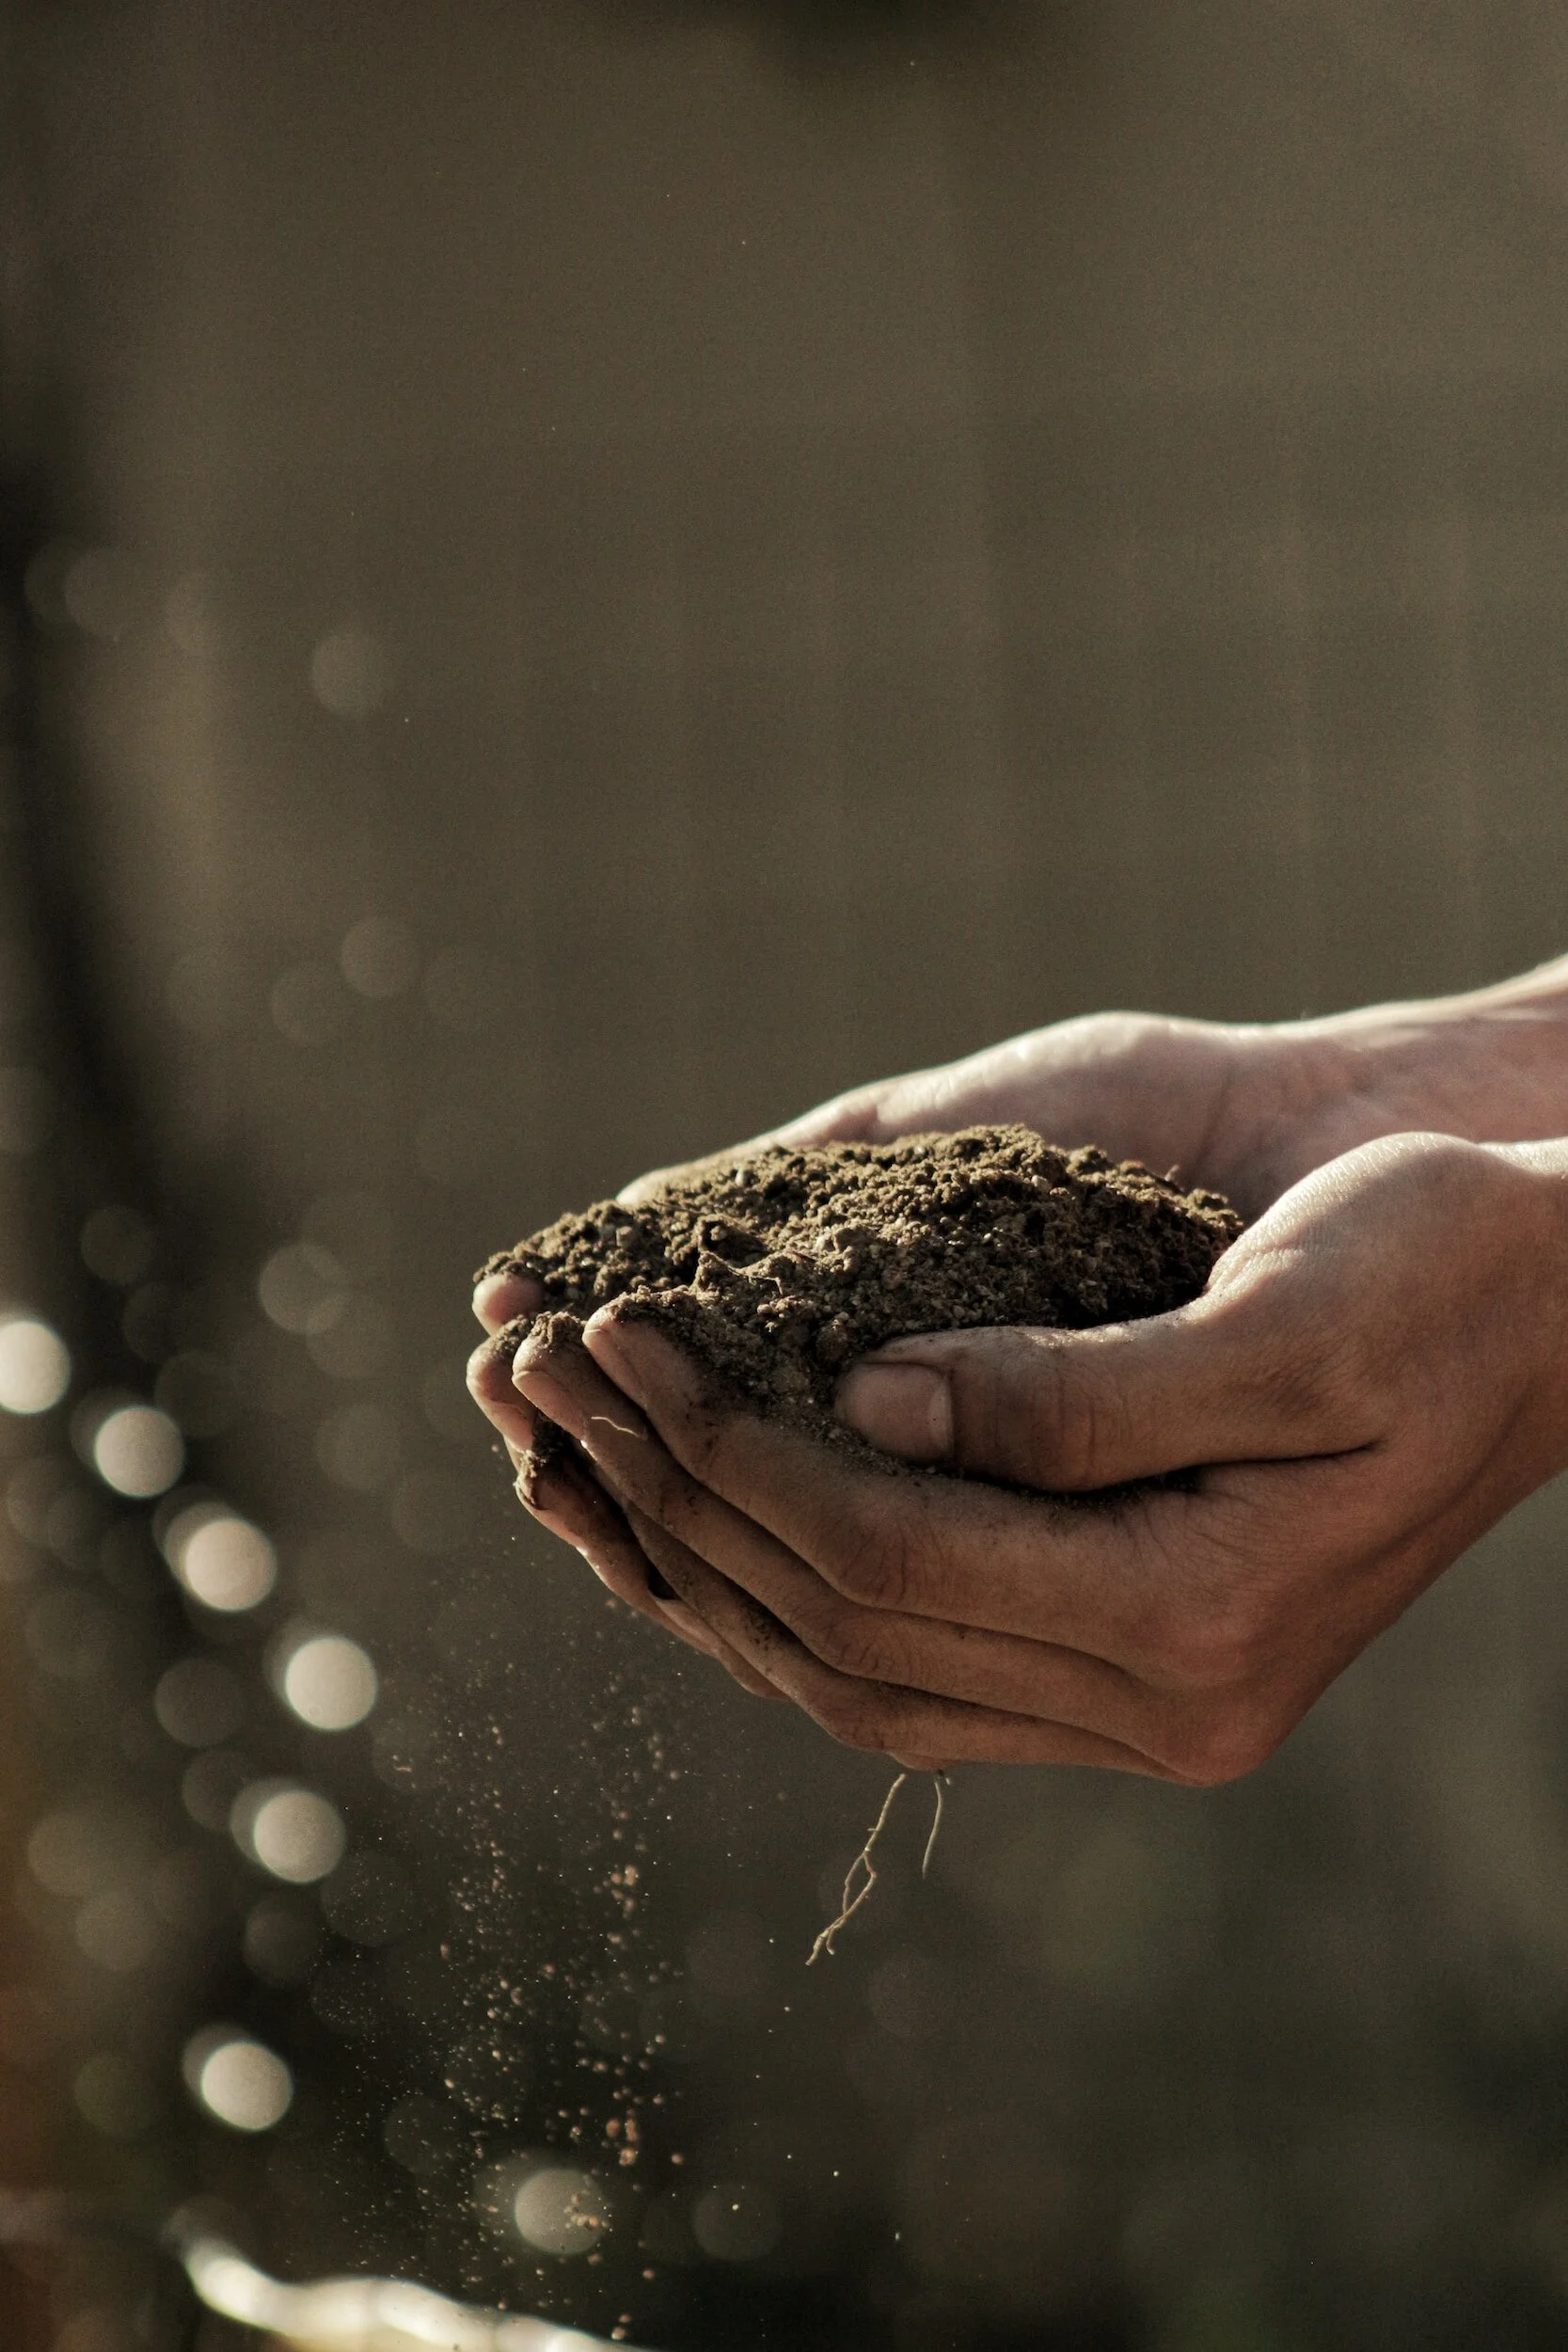
Complete Decomposition: Finished compost is dark, crumbly, and has an earthy smell.
It shouldn't have any recognizable food or yard waste pieces.
Harvesting Compost:
Timing: Depending on conditions, compost can be ready in 2-6 months.
When the compost appears dark and rich, it's likely ready to use.
Harvesting Process: Many tumblers have a hatch or door for removing compost.
Use a shovel or bucket to collect the finished compost.
Continuous Composting:
Adding New Materials: If you have a dual-chamber tumbler, you can continuously add new materials to one chamber while the other finishes composting.
Management: Keep track of which chamber is in which stage of composting for a steady supply of compost.
Cleaning and Maintenance:
Regular Cleaning: Clean the tumbler occasionally to prevent buildup and ensure smooth operation.
A hose-down with water is usually sufficient.
Checking for Wear: Periodically inspect your tumbler for any signs of wear and tear, especially the moving parts like hinges or the axle.
Why Choose a Compost Tumbler?
When it comes to composting, the method you choose can have a big impact on your experience and results.
Compost tumblers offer several advantages over traditional compost piles or bins, making them a popular choice for many gardeners individuals.
Here's why you might consider a compost tumbler for your composting needs:
Space Efficiency
Compost tumblers are ideal for small yards, patios, or urban gardens where space is at a premium.
Their compact design takes up less room than a typical compost pile or stationary compost bin, allowing you to compost even in limited spaces.
Faster Composting Process
Due to their enclosed design and efficient aeration, compost tumblers can produce compost more quickly than open piles or bins.
The tumbling action mixes the compost materials thoroughly, speeding up the decomposition process and resulting in quicker compost turnaround.
Ease of Use
Turning compost can be a laborious task with traditional piles or bins, but tumblers make it much easier.
With a simple turn of the handle, you can mix and aerate the contents, which is essential for efficient composting.
This ease of turning is particularly beneficial for those who might find shoveling compost physically challenging.
Pest and Rodent Control
One of the significant challenges with open compost bins or piles is the attraction of pests and rodents.
A sealed compost tumbler helps deter animals and keeps pests away from your compost, making it a more hygienic option.
Odor Control
Compost tumblers are enclosed, which helps contain any odors produced during the composting process.
This is especially important in urban or residential settings where neighbors are close by.
Clean and Tidy
Compost tumblers provide a more organized and neat way of composting.
Unlike open piles, they prevent the compost from being scattered by animals or wind, keeping your composting area tidy and contained.
All-Weather Composting
The enclosed design of compost tumblers allows for composting in various weather conditions.
Rain or excessive moisture can hinder the composting process in open piles, but tumblers keep the elements out, ensuring a more consistent composting environment.
Diversity in Models
There's a wide range of compost tumblers available, from single-chamber models to dual-chamber tumblers, catering to different composting needs and preferences.
Some even come with built-in features like compost tea collectors.
Environmental Impact
Using a compost tumbler can be a step towards a more sustainable lifestyle.
By composting kitchen scraps and yard waste, you're reducing the amount of organic waste sent to landfills and creating nutrient-rich compost for your garden.
Equip your urban green space with my recommend top tier tools.

Common Mistakes to Avoid in Tumbler Composting
Even with the best intentions, it's easy to make mistakes when starting with tumbler composting.
Being aware of these common pitfalls can help you maintain a healthy composting process:
Overloading with Green Materials:
Mistake: Adding too many green materials (like kitchen scraps and grass clippings) can throw off the nitrogen-carbon balance, leading to odor issues and a slow decomposition process.
Solution: Maintain a good balance between green and brown materials.
The ideal ratio is about 2-3 parts browns to 1 part greens.
Ignoring the Moisture Balance:
Mistake: Compost that's too wet or too dry can hinder the composting process.
Overly wet compost can become smelly and anaerobic, while too dry compost won't decompose effectively.
Solution: Aim for a moisture level similar to a wrung-out sponge.
Add browns to soak up excess moisture or greens/water to moisten dry compost.
Infrequent Turning:
Mistake: Failing to turn the compost regularly can lead to poor aeration, resulting in slower decomposition and potential odor problems.
Solution: Turn your compost tumbler every 2-3 days to ensure proper aeration and mix the materials for even decomposition.
Adding Inappropriate Materials:
Mistake: Including materials like meat, dairy, oils, diseased plants, or pet wastes can attract pests, cause bad odors, and introduce pathogens.
Solution: Stick to compostable materials like fruit and vegetable scraps, yard waste, eggshells, and coffee grounds.
Avoid anything that can cause issues. Check out my guide Garden Gold: Composting Orange Peels.
Neglecting Brown Materials:
Mistake: Underestimating the importance of brown materials can lead to a nitrogen-heavy, smelly, and wet compost pile.
Solution: Regularly add brown materials such as dry leaves, straw, sawdust, or shredded newspaper to balance the compost.
Not Monitoring Compost Progress:
Mistake: Forgetting to check on the compost's progress can mean missing signs of problems or not knowing when the compost is ready.
Solution: Regularly observe the compost's appearance, smell, and temperature. This will help you learn and adjust as needed.
Ignoring Seasonal Changes:
Mistake: The same composting approach might not work year-round, as temperature and humidity changes can affect the process.
Solution: Be prepared to adjust your composting habits with the seasons.
For example, you might need to add more browns in wet seasons or increase turning frequency during colder months.
Expecting Too Quick Results:
Mistake: Becoming impatient with the composting process can lead to frustration.
Composting takes time, and various factors influence the speed of decomposition.
Solution: Composting is a natural process that can take several months.

FAQs
What should I not put in a compost tumbler?
Avoid adding materials that can attract pests, cause odors, or introduce harmful pathogens.
This includes meat, dairy products, oily foods, diseased plants, and pet waste. Non-biodegradable items like plastics, metals, or glass should also be avoided.
Additionally, be cautious with adding large amounts of citrus peels or onions, as they can affect the pH balance and microbial activity.
How long does it take to make compost in a tumbler?
The time it takes to produce compost in a tumbler can vary, typically ranging from 2 to 6 months.
Factors influencing this timeline include the balance of materials, frequency of turning, climate, and the specific design of the tumbler.
Consistent turning and maintaining the correct moisture and green-brown balance can help speed up the process.
Can I add kitchen waste directly to the tumbler?
Yes, kitchen waste is an excellent addition to your compost tumbler.
It's a rich source of nitrogen and helps in creating a balanced compost mix.
However, it's important to chop or break down larger pieces to speed up the composting process. Remember to avoid meat, dairy, and oily foods.
Do I need a compost starter for my tumbler?
While not necessary, a compost starter can help kick-start the decomposition process, especially if you're setting up a new tumbler.
These starters introduce beneficial microorganisms that break down organic matter.
Here is the compost starter I recommend using:

Alternatively, you can use a small amount of finished compost or garden soil as a natural starter.
Incorporating a chamber compost tumbler into your home composting routine marks a significant stride in managing food waste responsibly and contributing to a healthier environment.
The journey of using a composting tumbler might seem daunting at first, but with these composting tips, you're well-equipped to tackle the challenges and reap the rewards of tumbling compost.
Remember, every peel, core, or scrap you add to your composter is a step away from the landfill and a step towards nourishing your garden.
Whether you're a seasoned gardener or just starting to explore sustainable practices at home, the impact of turning your food waste into valuable compost cannot be overstated.
Embrace the process, enjoy the learning curve, and watch as your efforts bring vitality to both your garden and the environment.
Looking for more eco-friendly garden inspiration? Check out my guides: