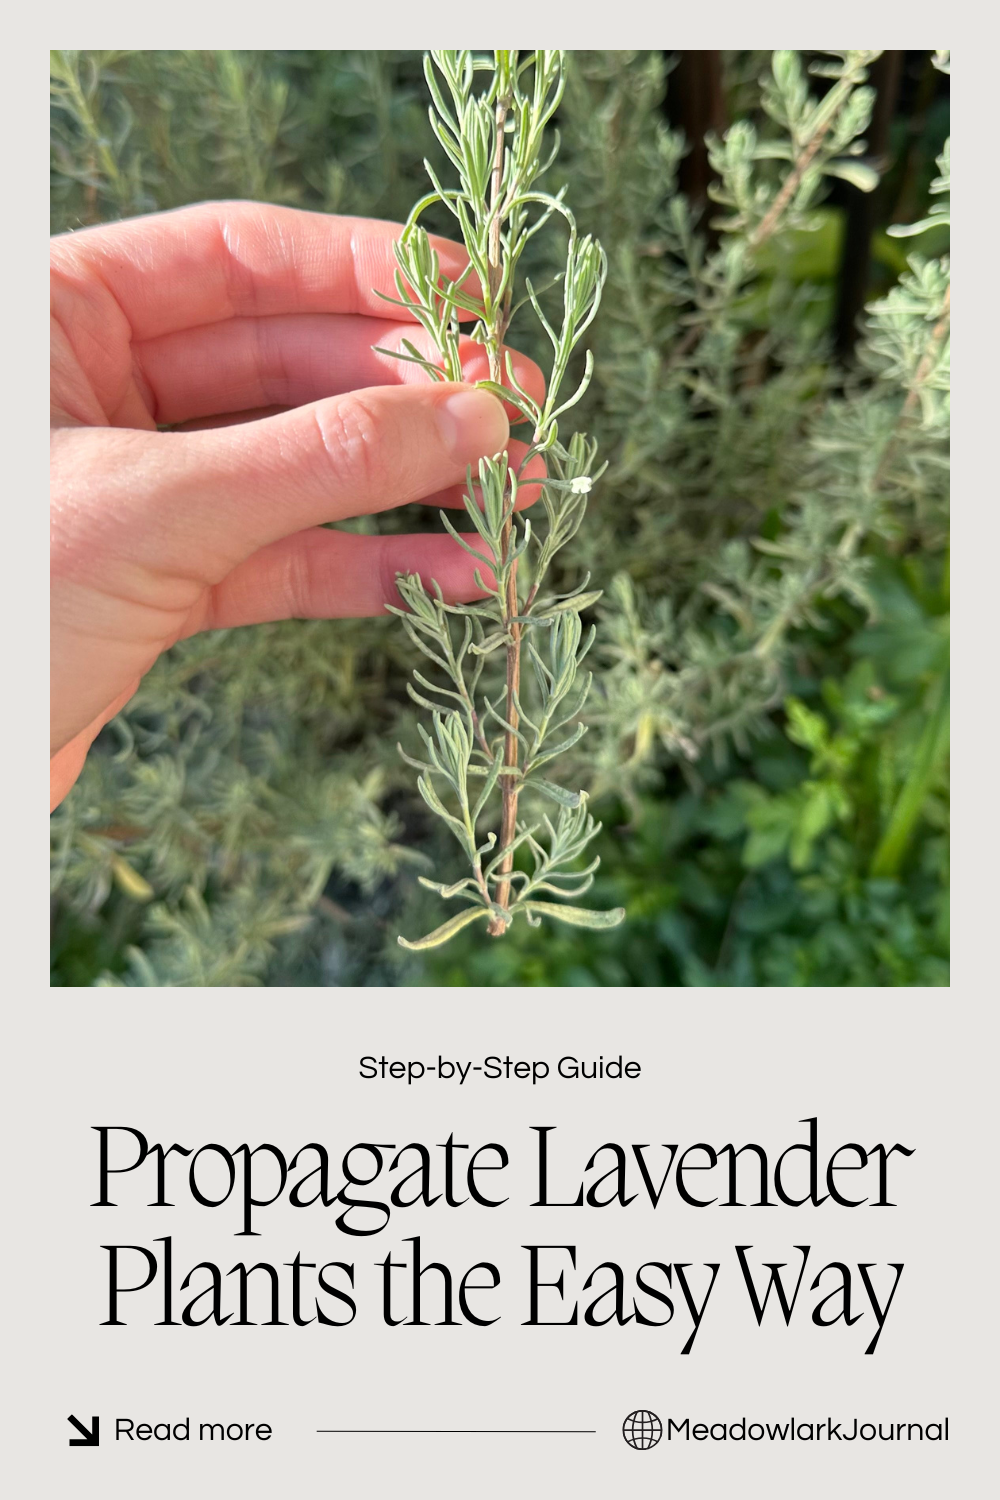
Propagate Lavender Plants The Easy Way
This website is reader-supported - thank you! This post may contain affiliate links. As an Amazon Associate, I earn from qualifying purchases at no extra cost to you.
If you’ve fallen in love with lavender and want more of it in your garden, propagating lavender is a really rewarding and straightforward process.
There’s something magical about taking a small cutting from an existing plant and turning it into a thriving new addition to your garden.
It feels like gifting yourself a little piece of happiness from your garden (or with friends, if you’re feeling generous!).
Whether you’re aiming to fill your yard with lavender or just want to experiment with propagation, I’ve got you covered.
Here’s how I propagate lavender plants step by step.
To learn more about growing lavender, check out my guides:
What is Lavender Propagation?
Propagation is just a fancy word for creating new plants from an existing one, but it’s also one of my favorite parts of gardening.
It feels almost like crafting – taking a piece of something you love and turning it into something new.
When it comes to lavender, you’ve got two main paths: starting from seed or using cuttings.
Starting from seed can be satisfying, but it requires more time, patience, and a bit of luck.
That’s why I usually opt for cuttings.
Not only is it faster, but it’s also a more predictable way to ensure your new plants will be just like the parent.
Plus, there’s something so rewarding about seeing a small cutting take root and thrive.
Let me show you how easy it can be!
For more tips on growing lavender, check out my guides:

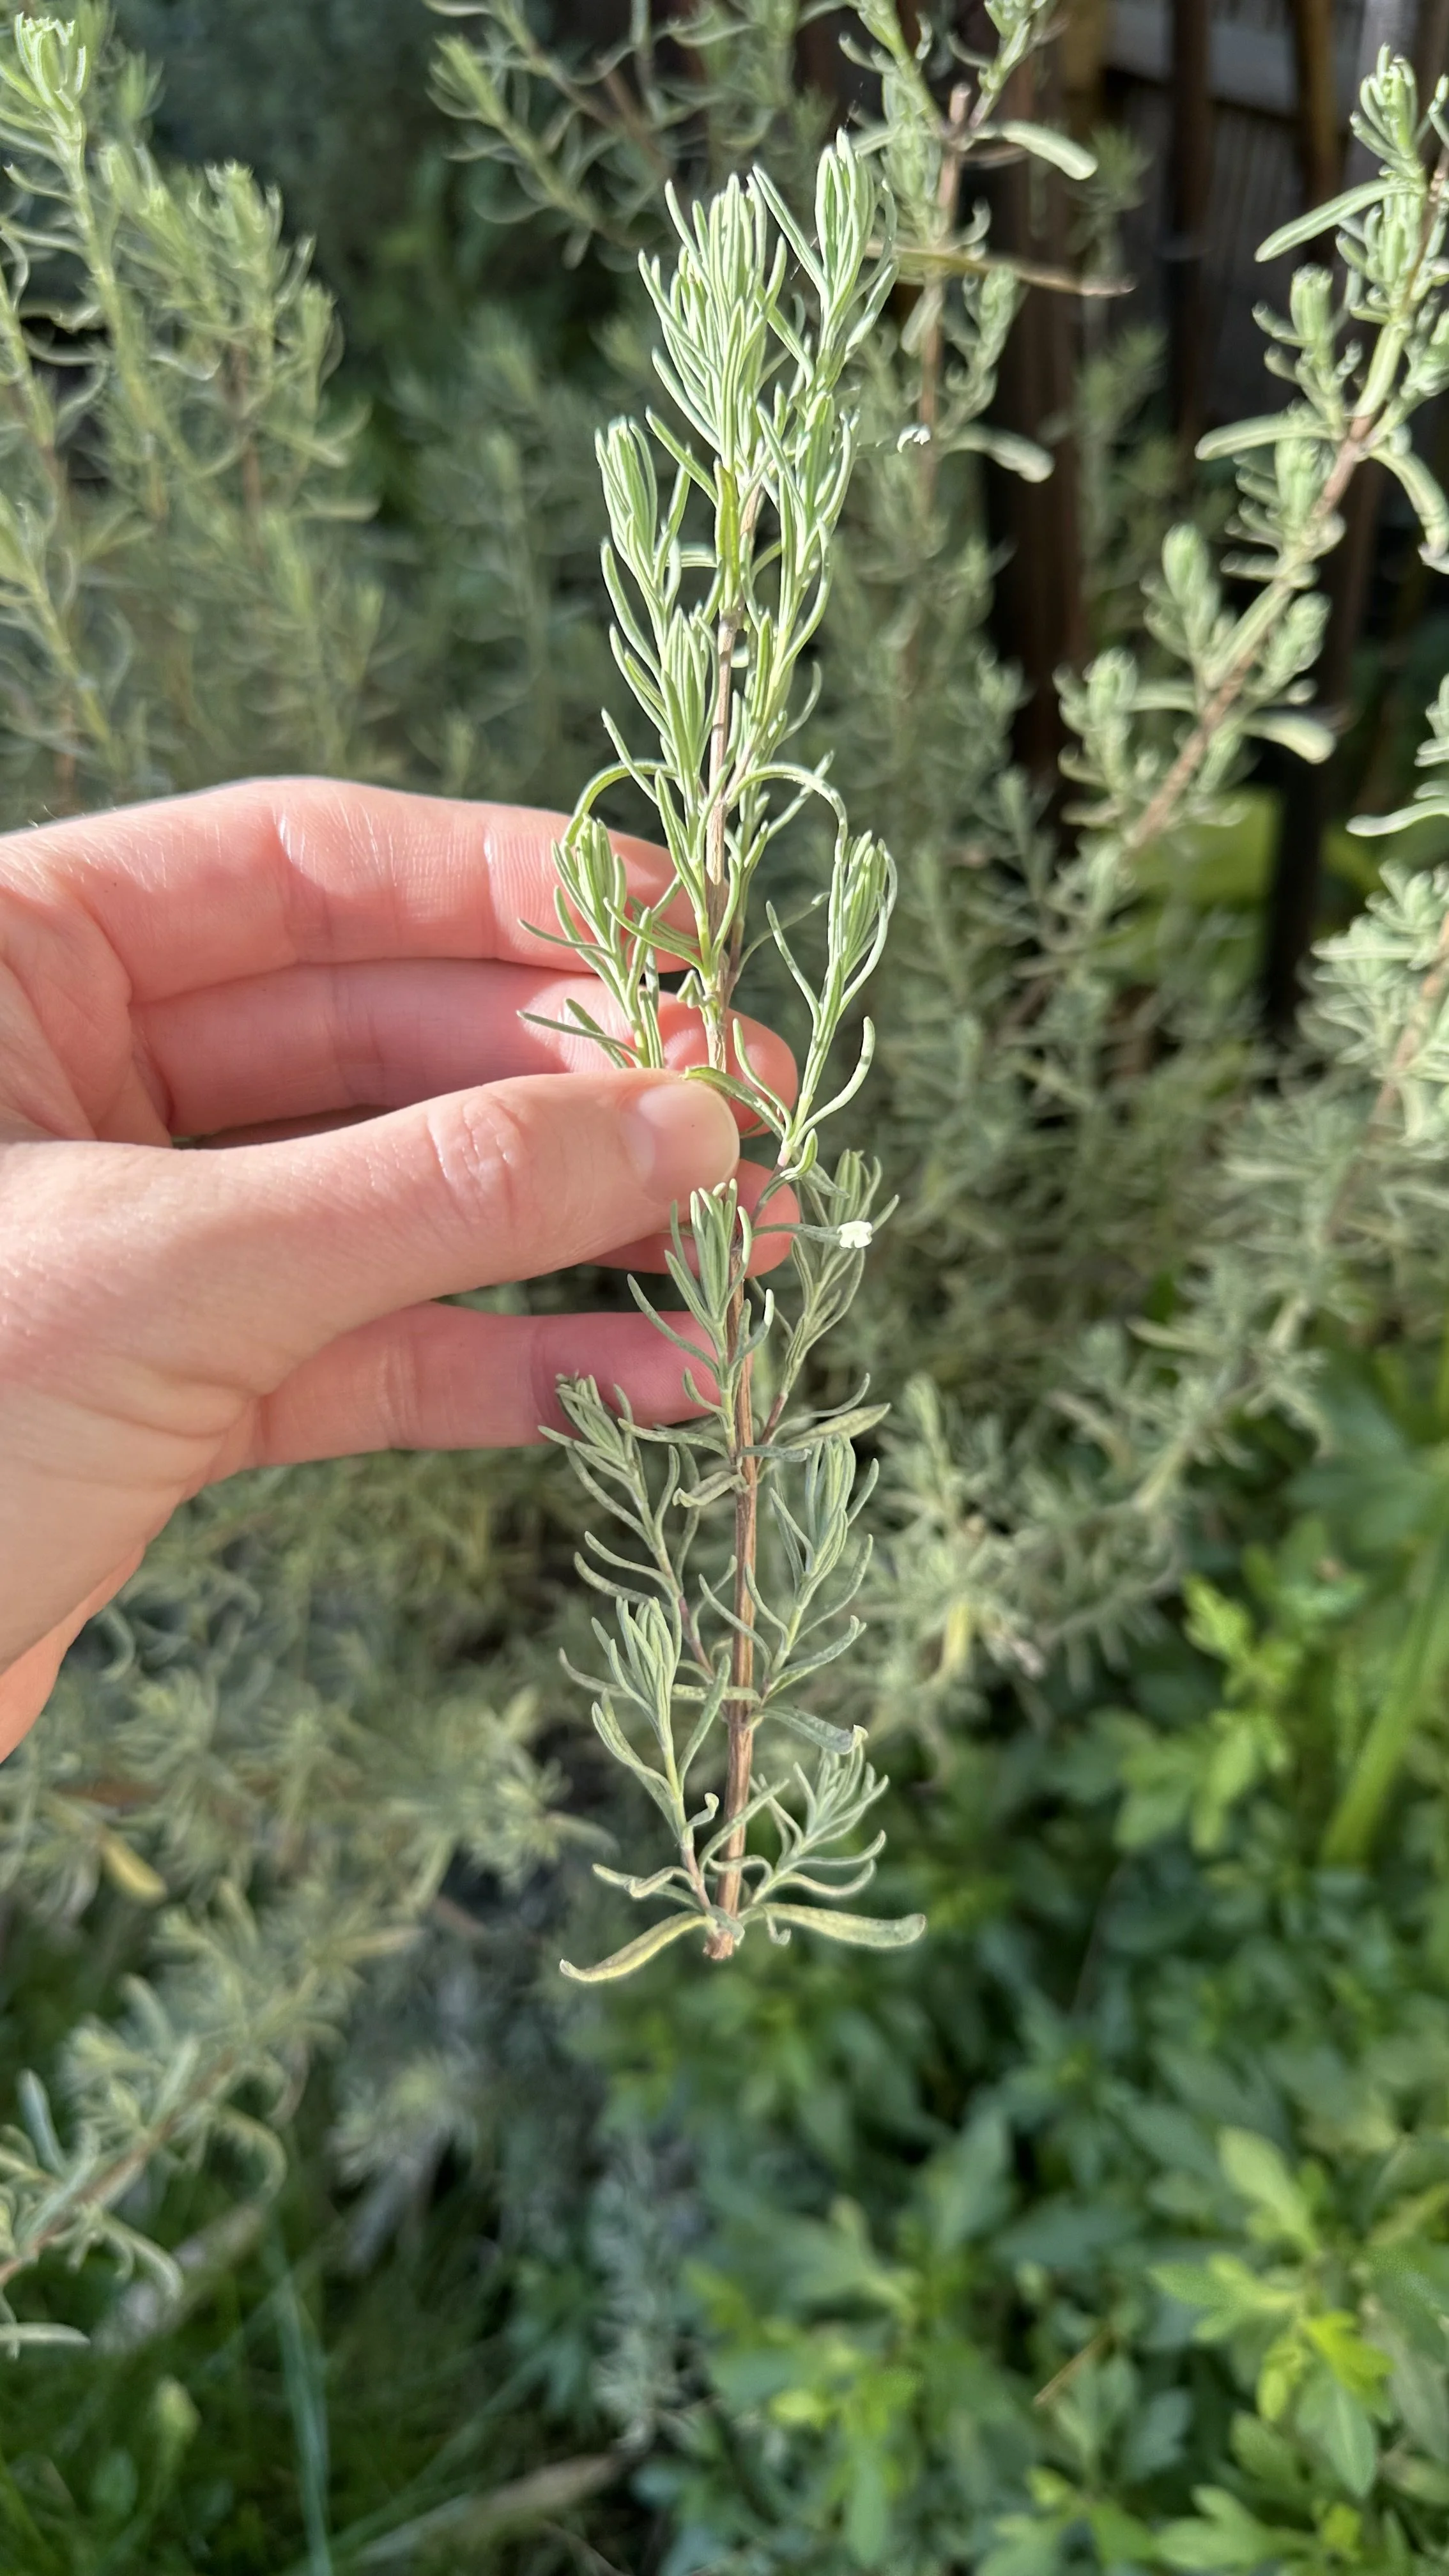
My mature lavender plant that I like to take cuttings from.
What You WILL Need
Before getting started, gather these tools and materials:
For more propagation tips, check out my guides:
Propagate Oregano: How to Multiply Your Herbs
Choosing Between Softwood and Hardwood Cuttings
One of the first decisions you’ll make when propagating lavender is whether to use softwood cuttings or hardwood cuttings.
It might sound technical, but don’t worry – it’s pretty straightforward, and I’ll explain how I approach it.
Softwood Cuttings:
These are taken from fresh, green growth, usually in spring or early summer.
I love working with softwood cuttings because they root quickly and are easier to handle.
They’re a bit delicate, though, so they need some extra TLC while they establish.
If you’re the kind of person who checks on your plants daily (like me), softwood cuttings might be your perfect match!
Hardwood Cuttings:
These come from the older, woody stems of the lavender plant.
They’re sturdier and can handle a little less attention, making them a great option if you’re busy or tend to forget about your projects for a day or two.
Hardwood lavender cuttings take longer to root, but the payoff is worth it – they’re tougher and more resilient in the long run.
I usually take these cuttings in late summer or early autumn, when the plant has matured.
Whenever I’m deciding between the two, I think about the season and how much time I can dedicate to the process.
Softwood cuttings are perfect if you’re itching for faster results, while hardwood cuttings are a bit more forgiving and sturdy.
Either way, you’ll end up with beautiful new lavender plants!
For more fun propagation projects, check out my guides:
Propagating Sage: A Simple Guide
Step-by-Step Guide to Propagating Lavender
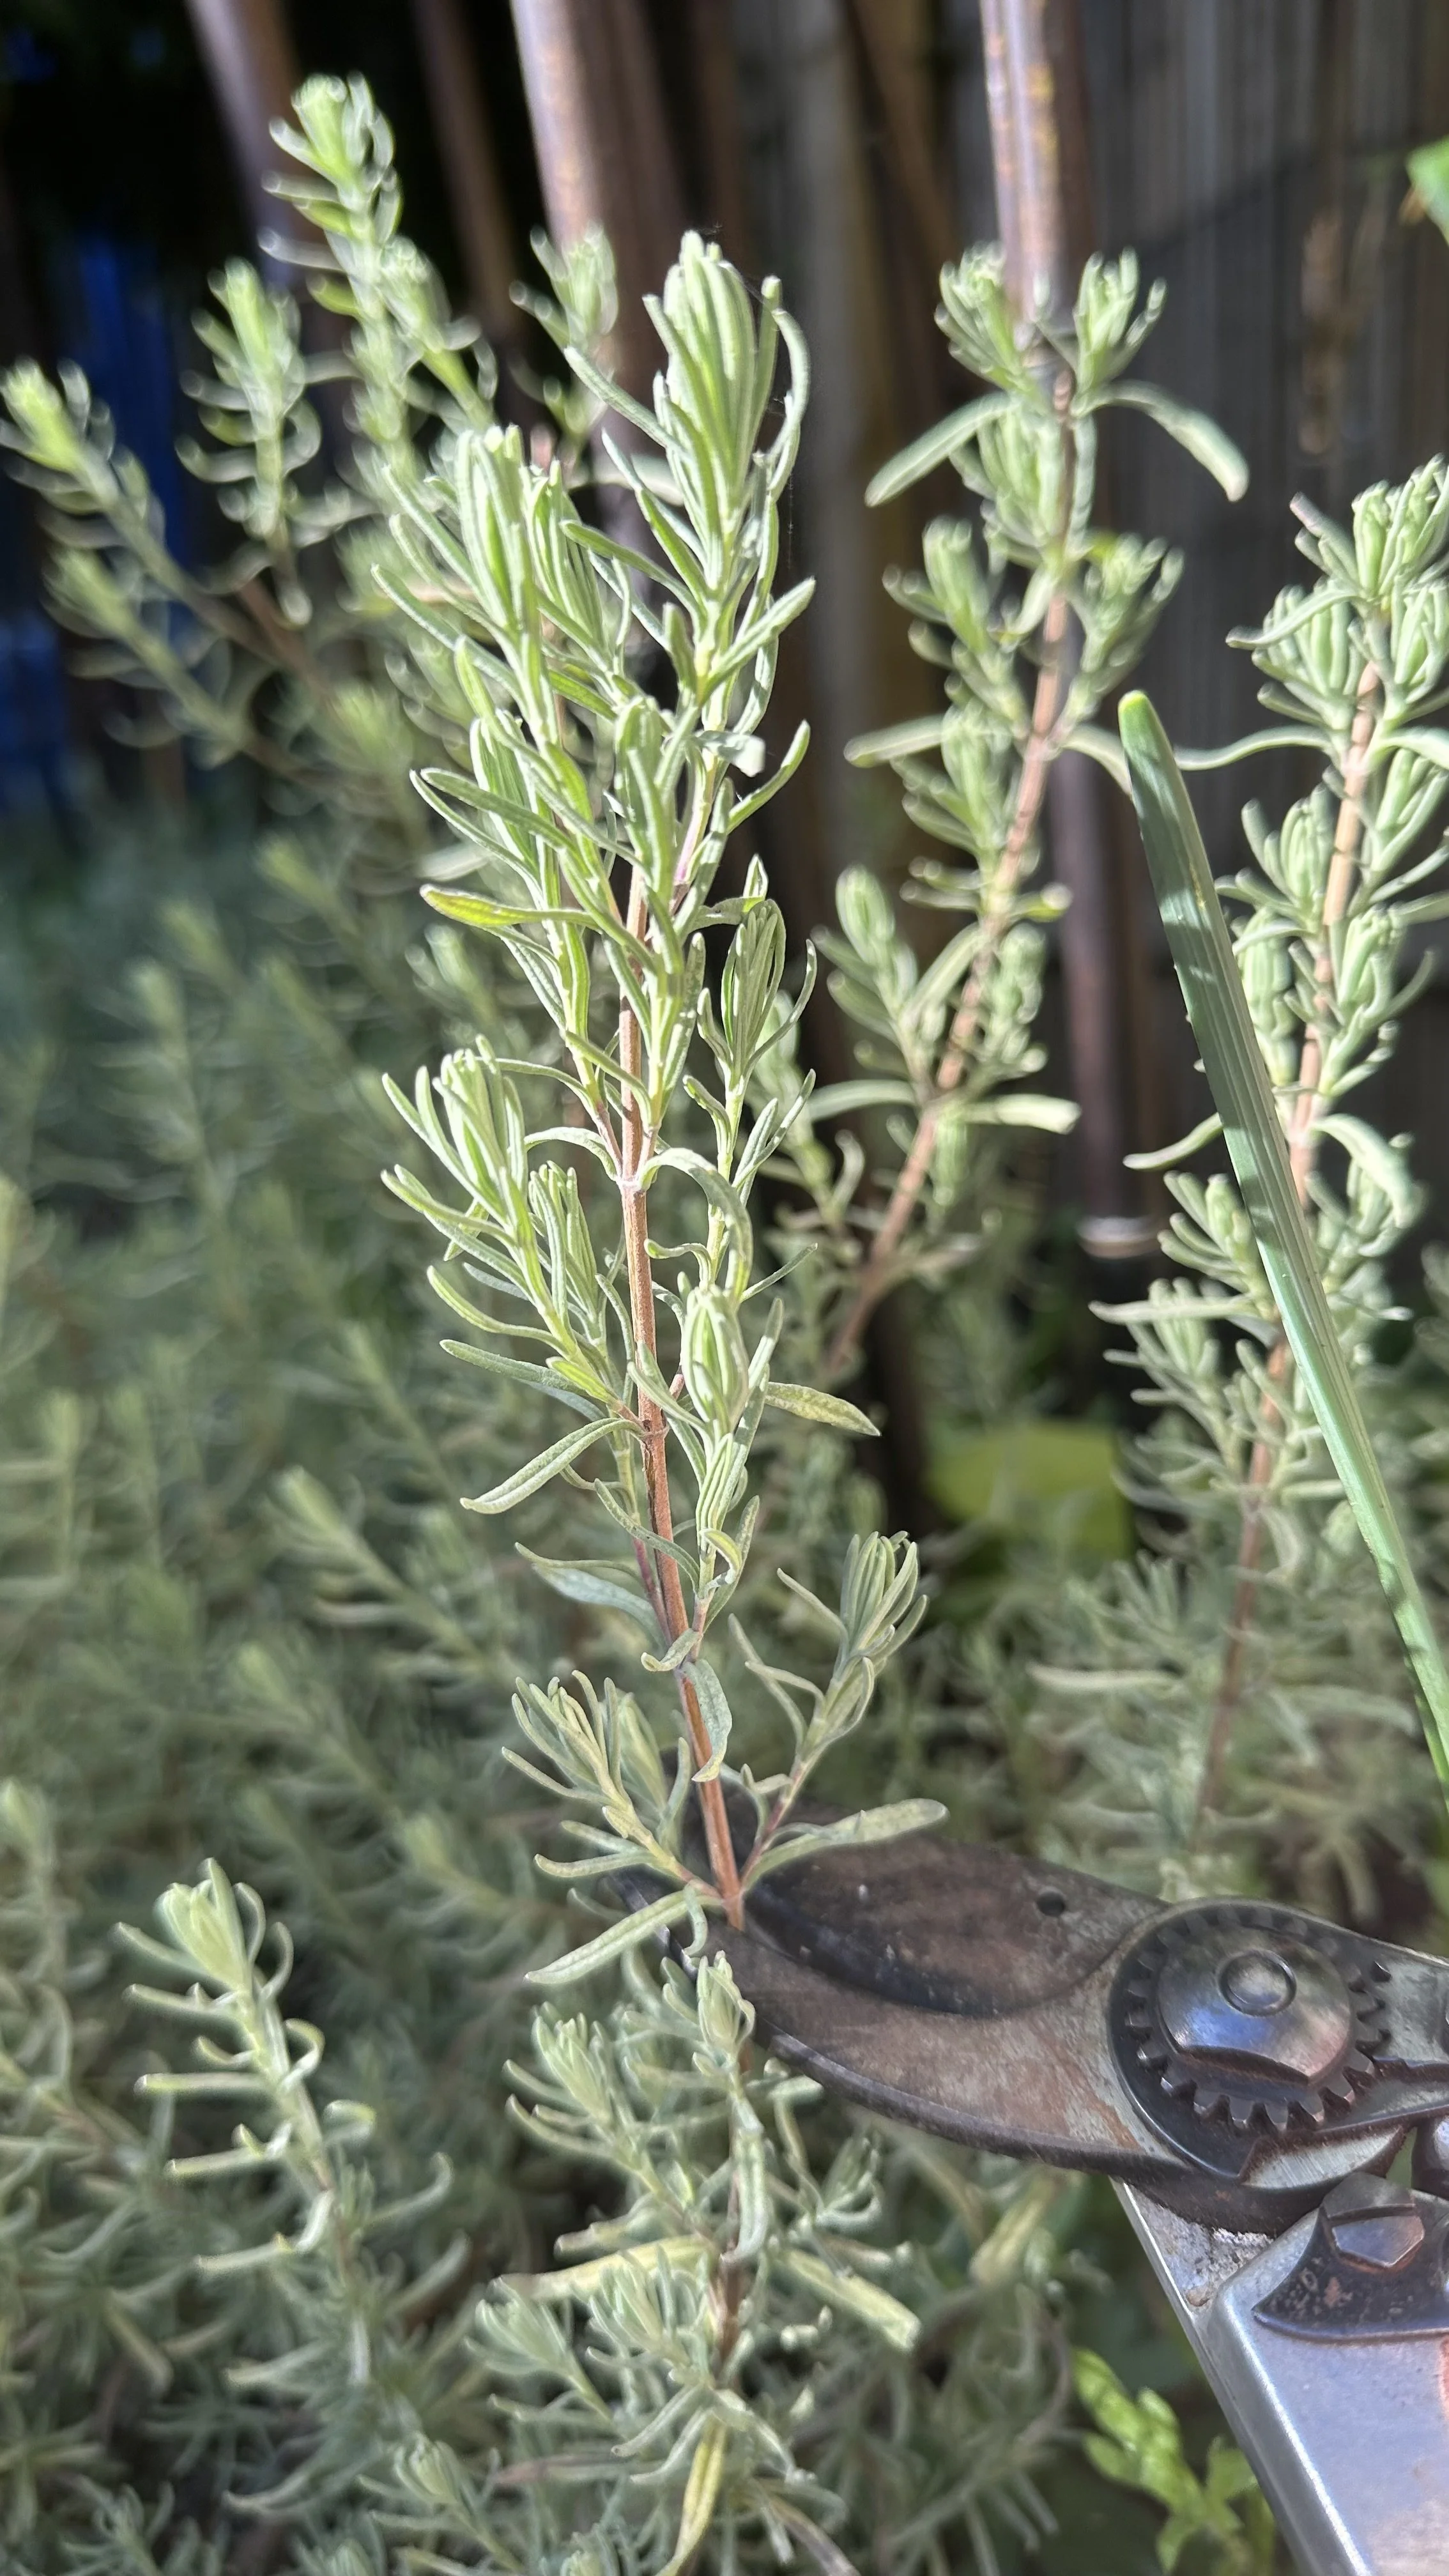
1: Select healthy Stems
Start by picking a strong, healthy lavender plant.
Look for stems that are pest-free and thriving.
For softwood cuttings, focus on the green, flexible stems from the plant’s new growth.
If you’re going the hardwood route, find stems that are firm and slightly woody.
Choosing the right stem makes all the difference – you’re setting the stage for success!
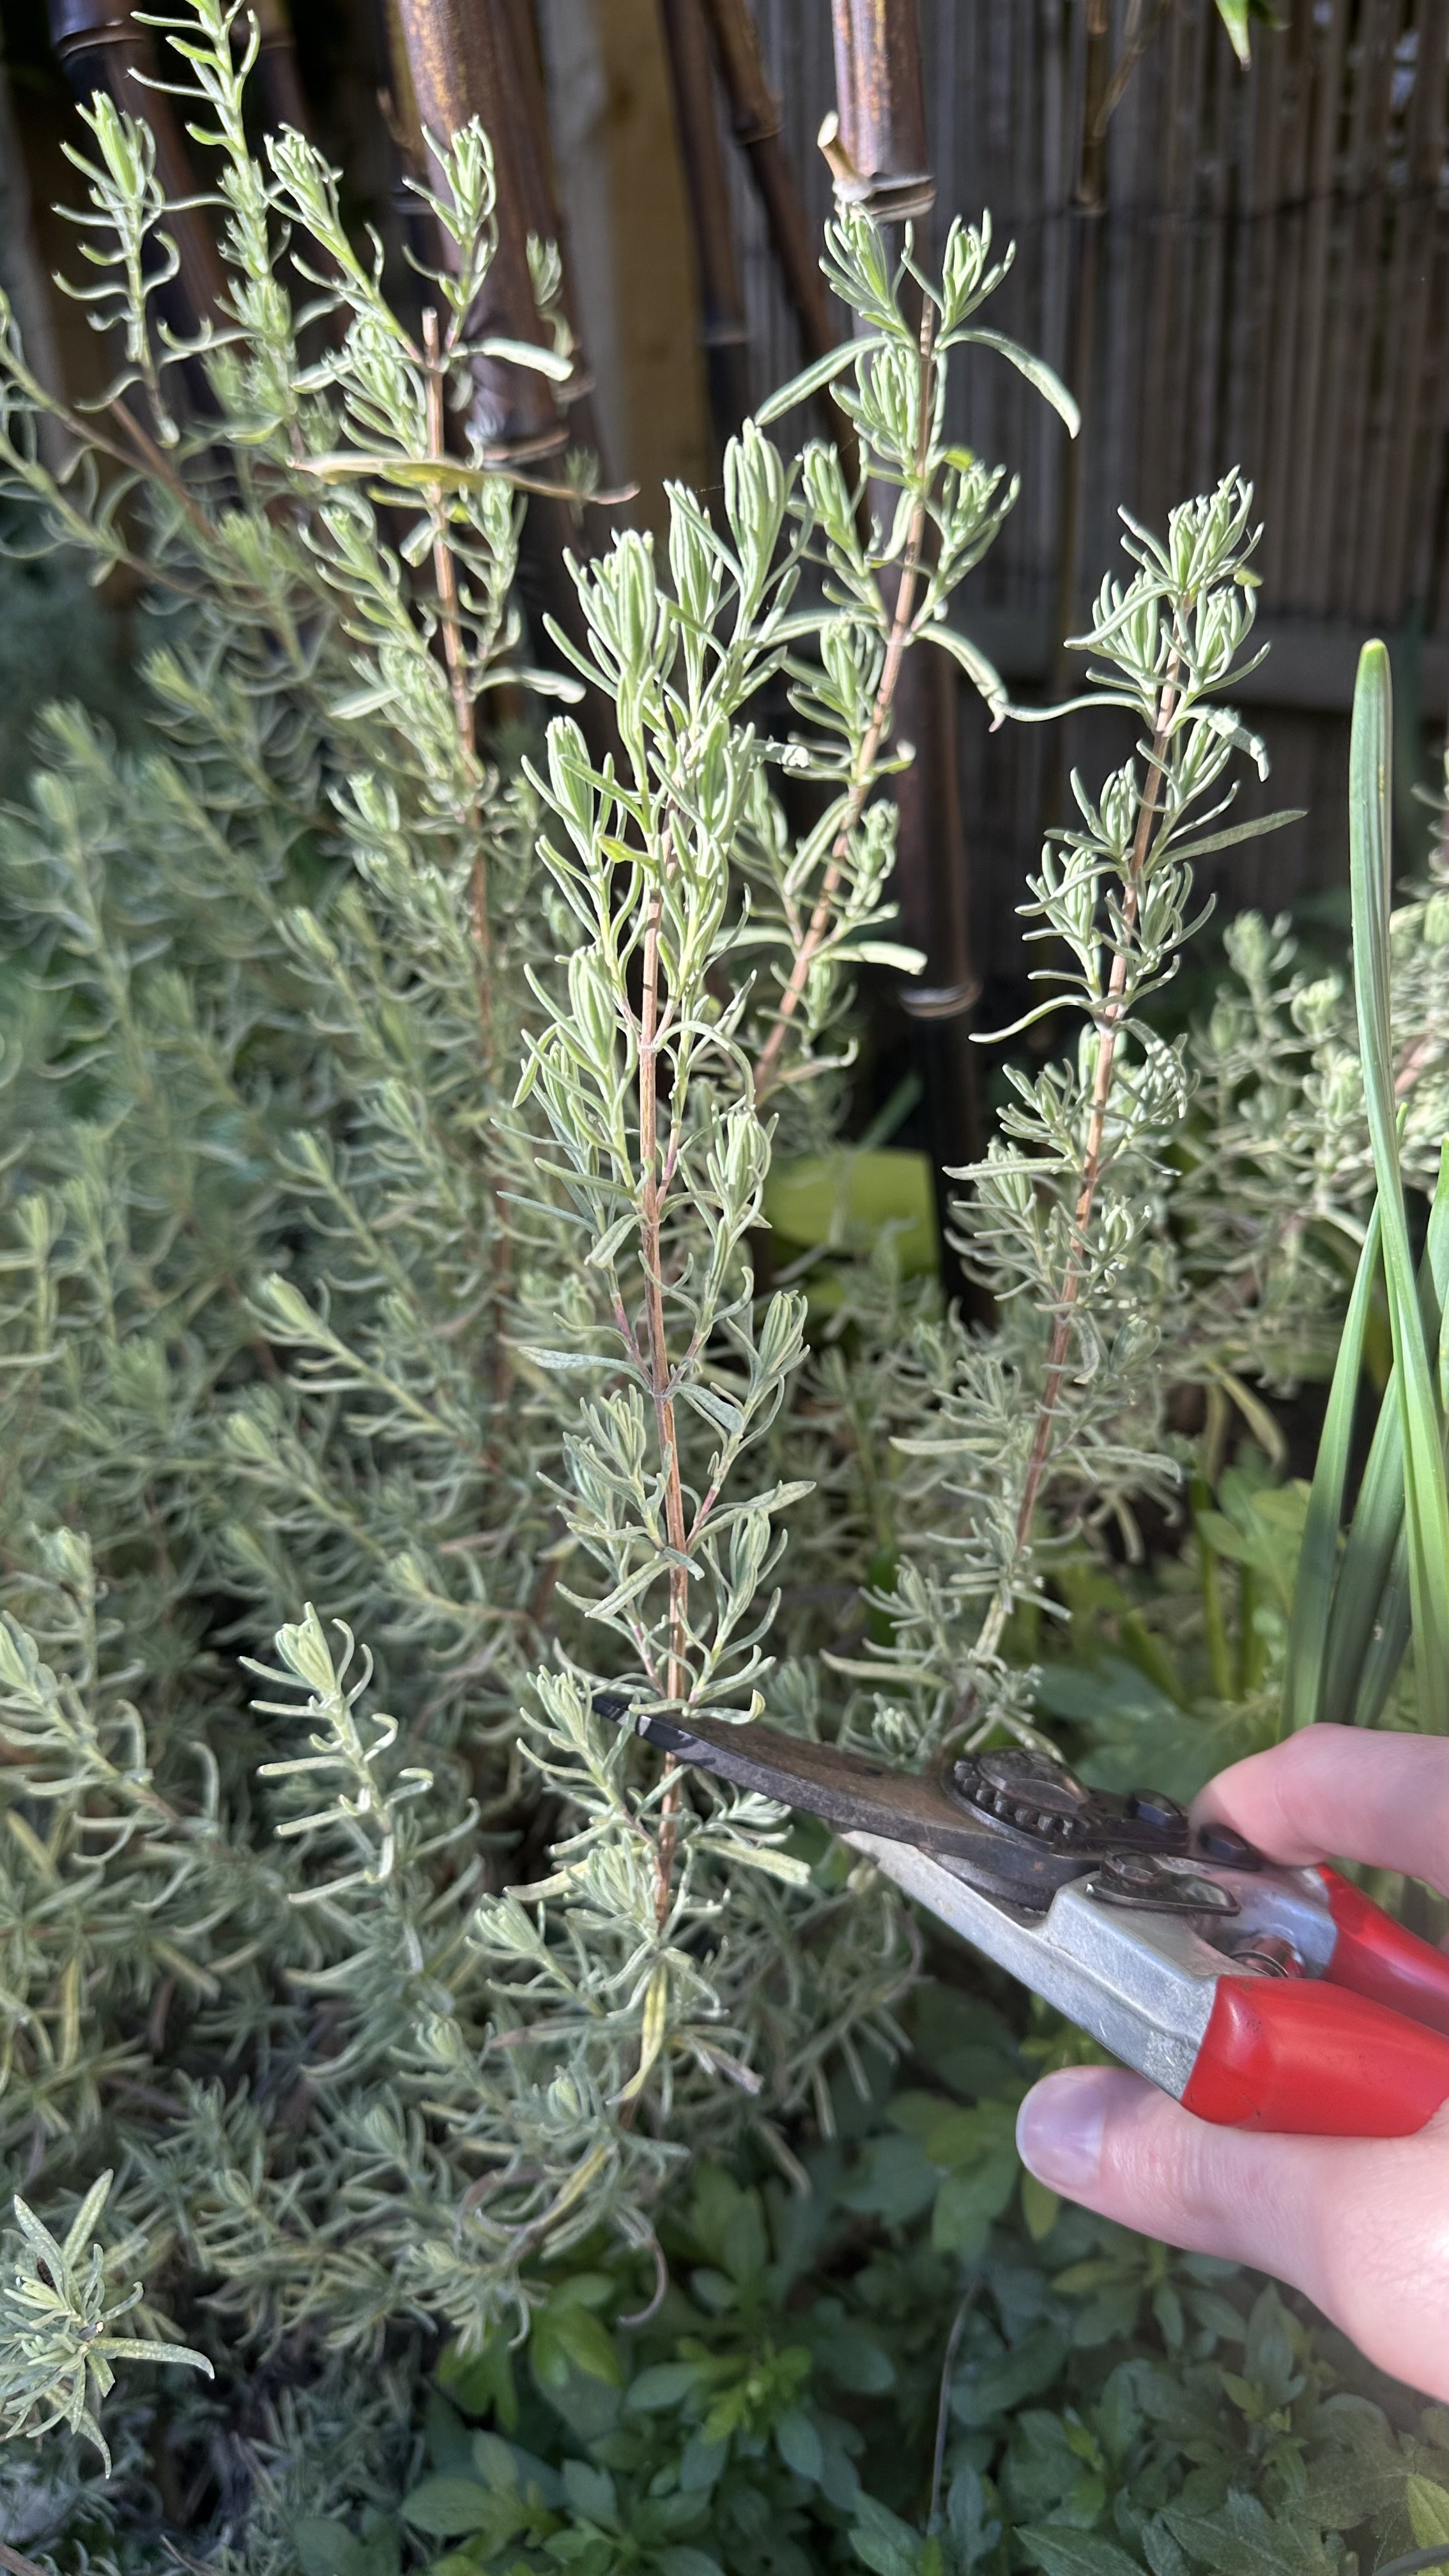
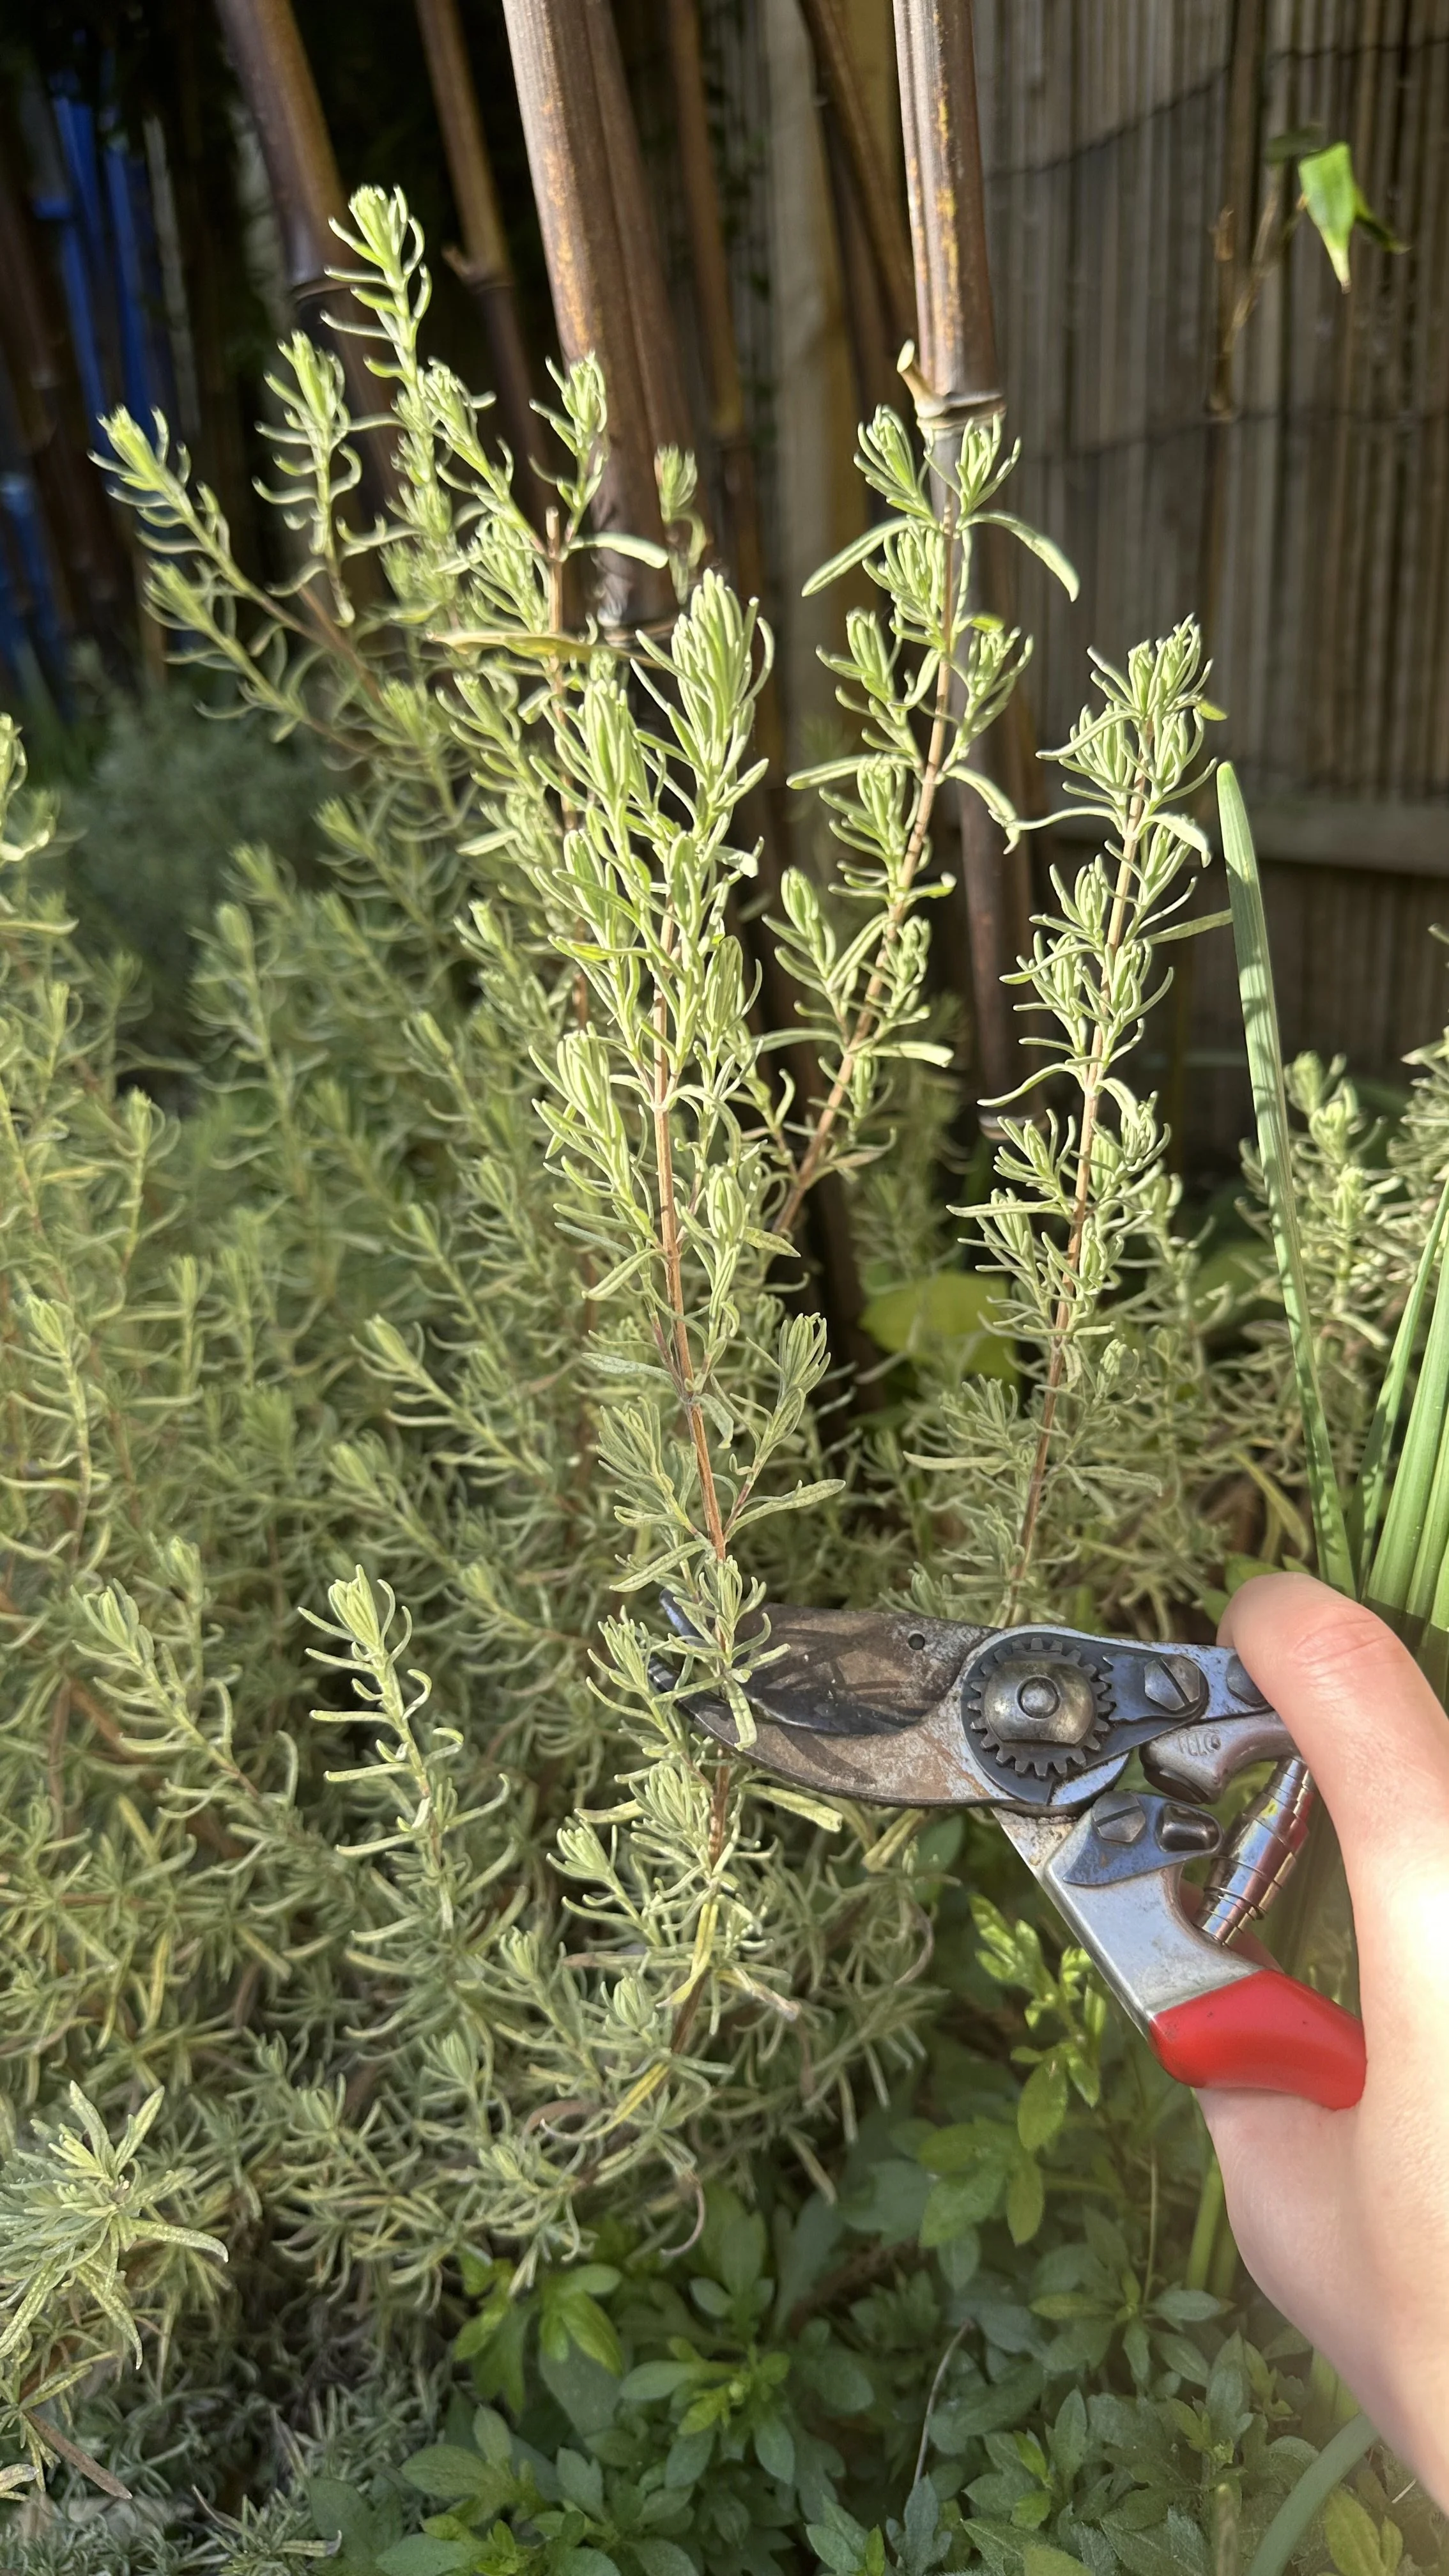
2. Take Your Cuttings
This is one of my favorite steps.
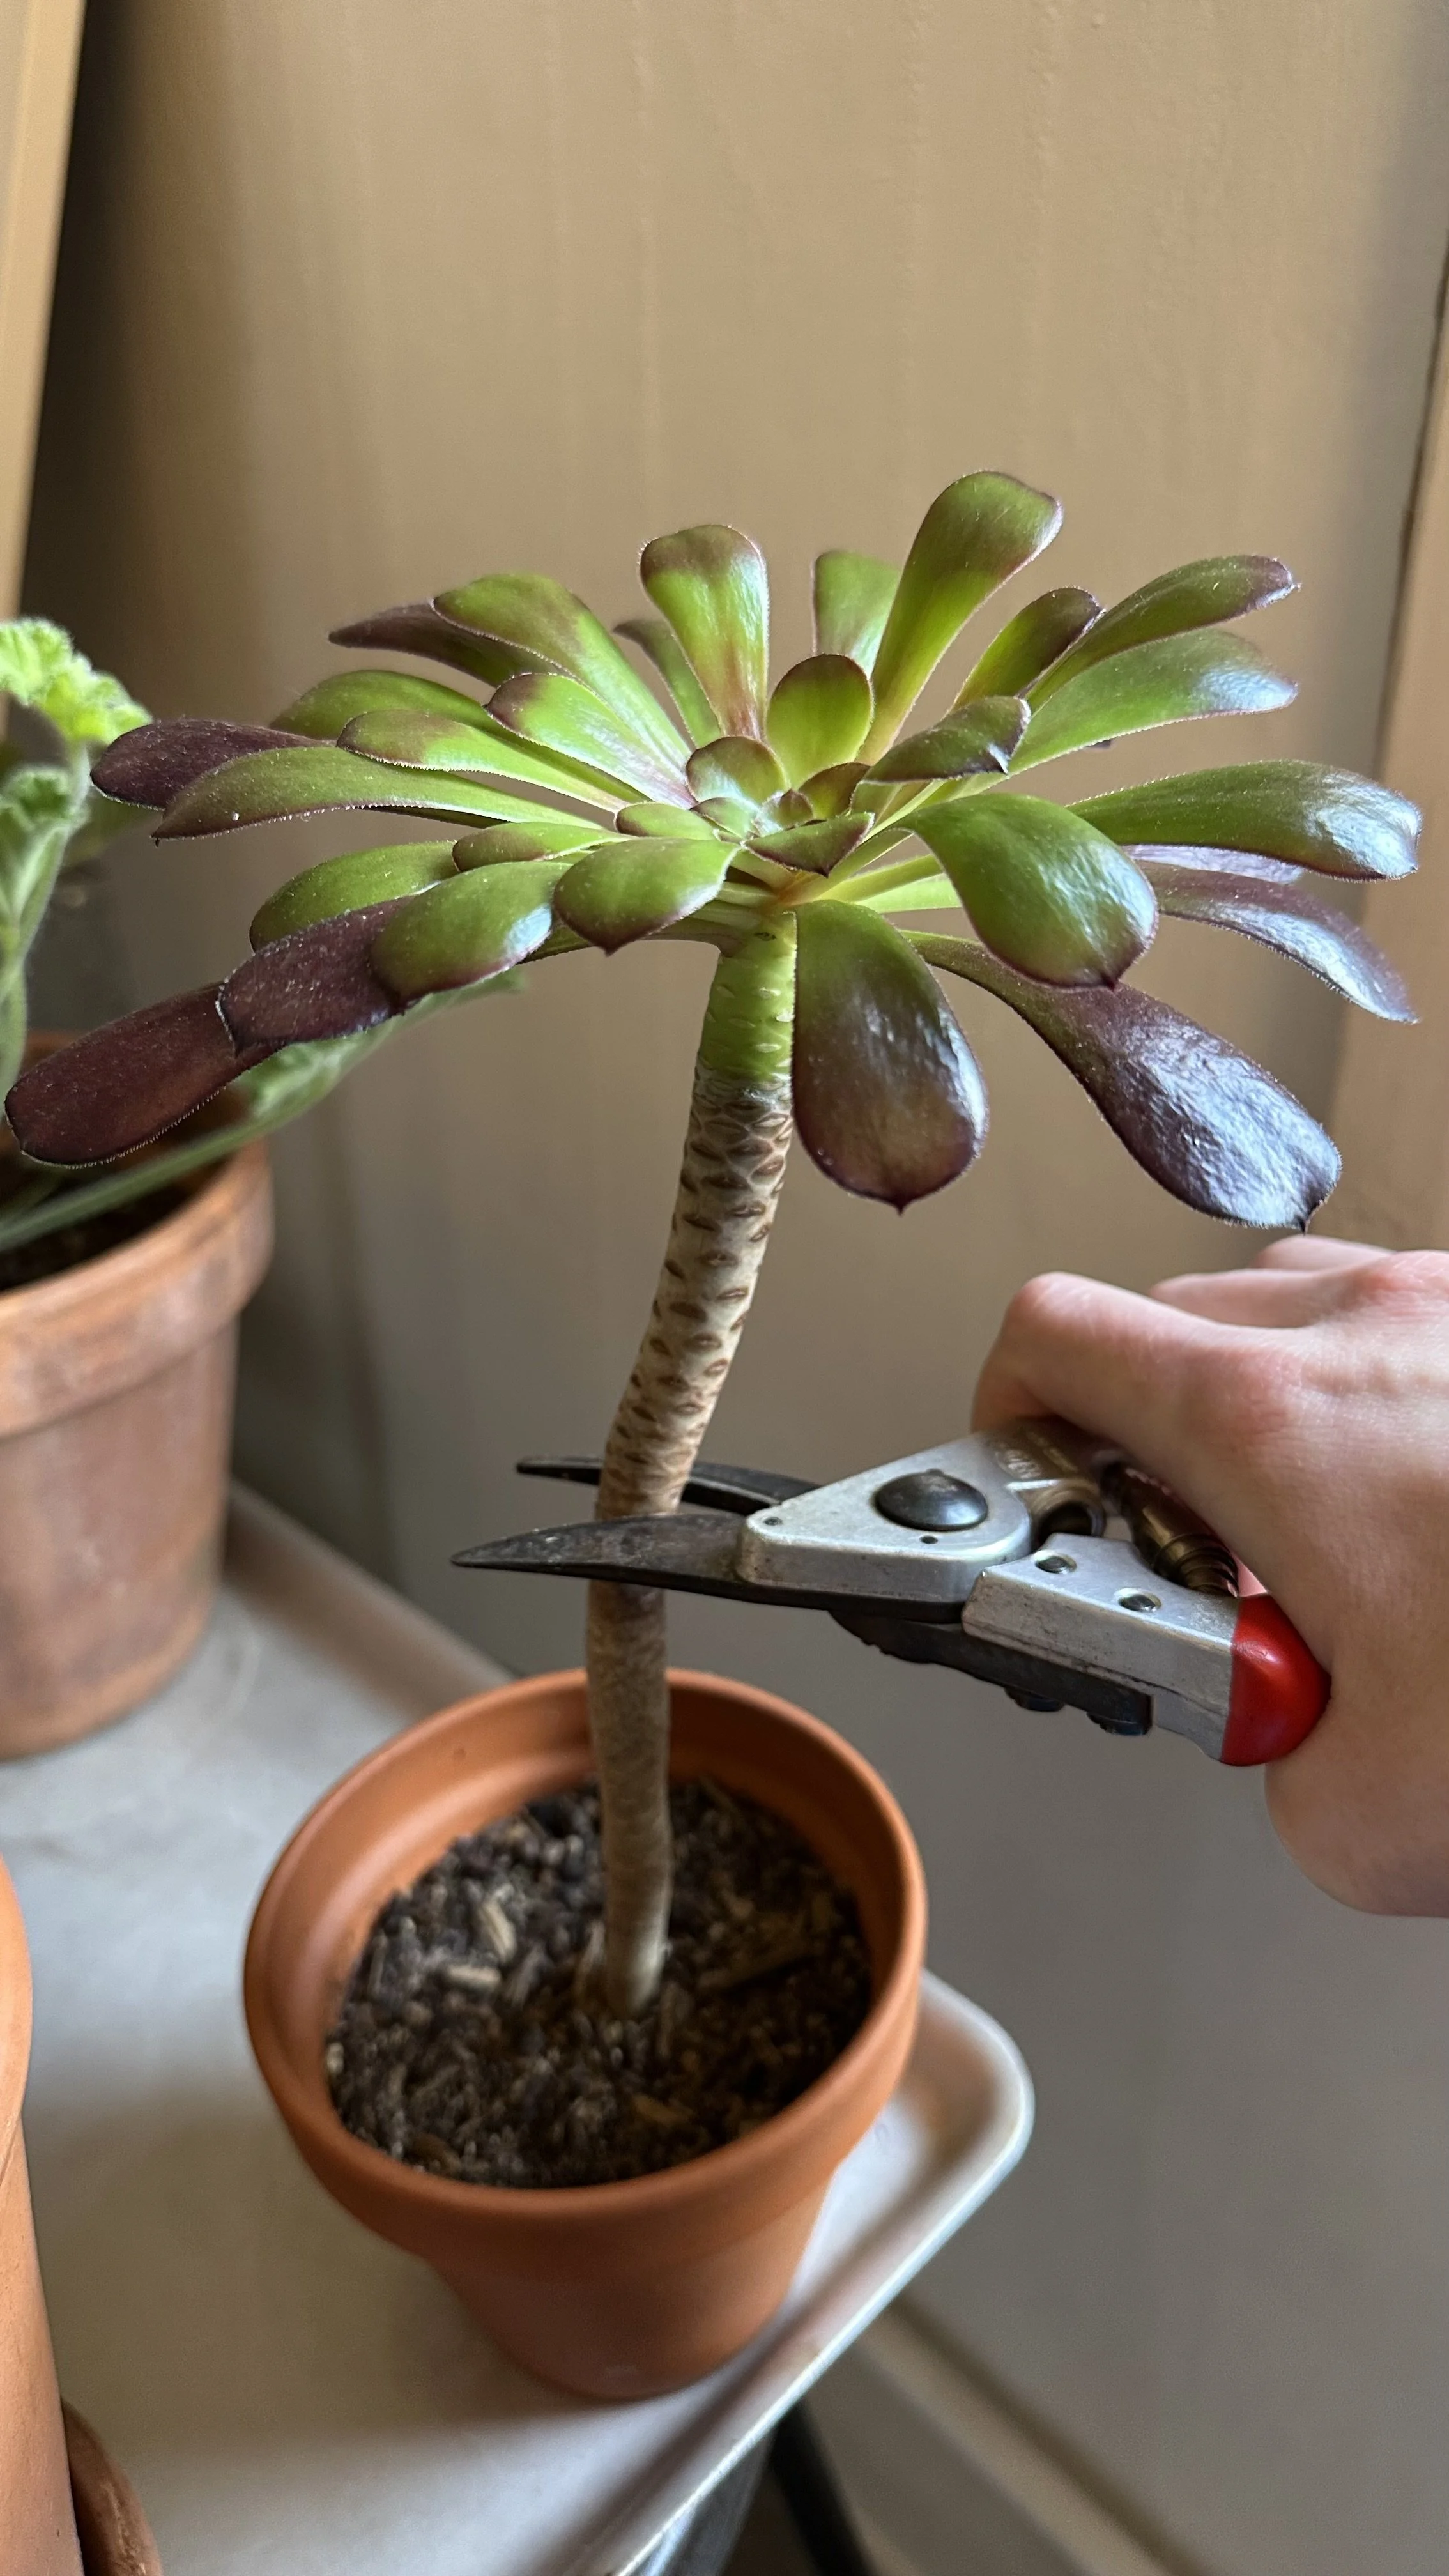
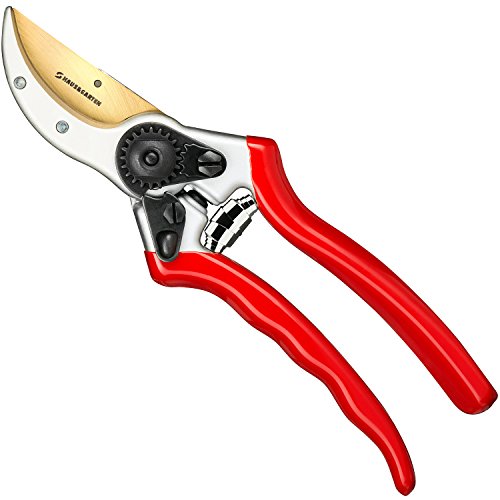
Grab a sharp knife or pruning shears and cut a 4- to 6-inch stem just below a leaf node (this is where the magic happens).
Make sure your tools are clean to avoid any potential infections.
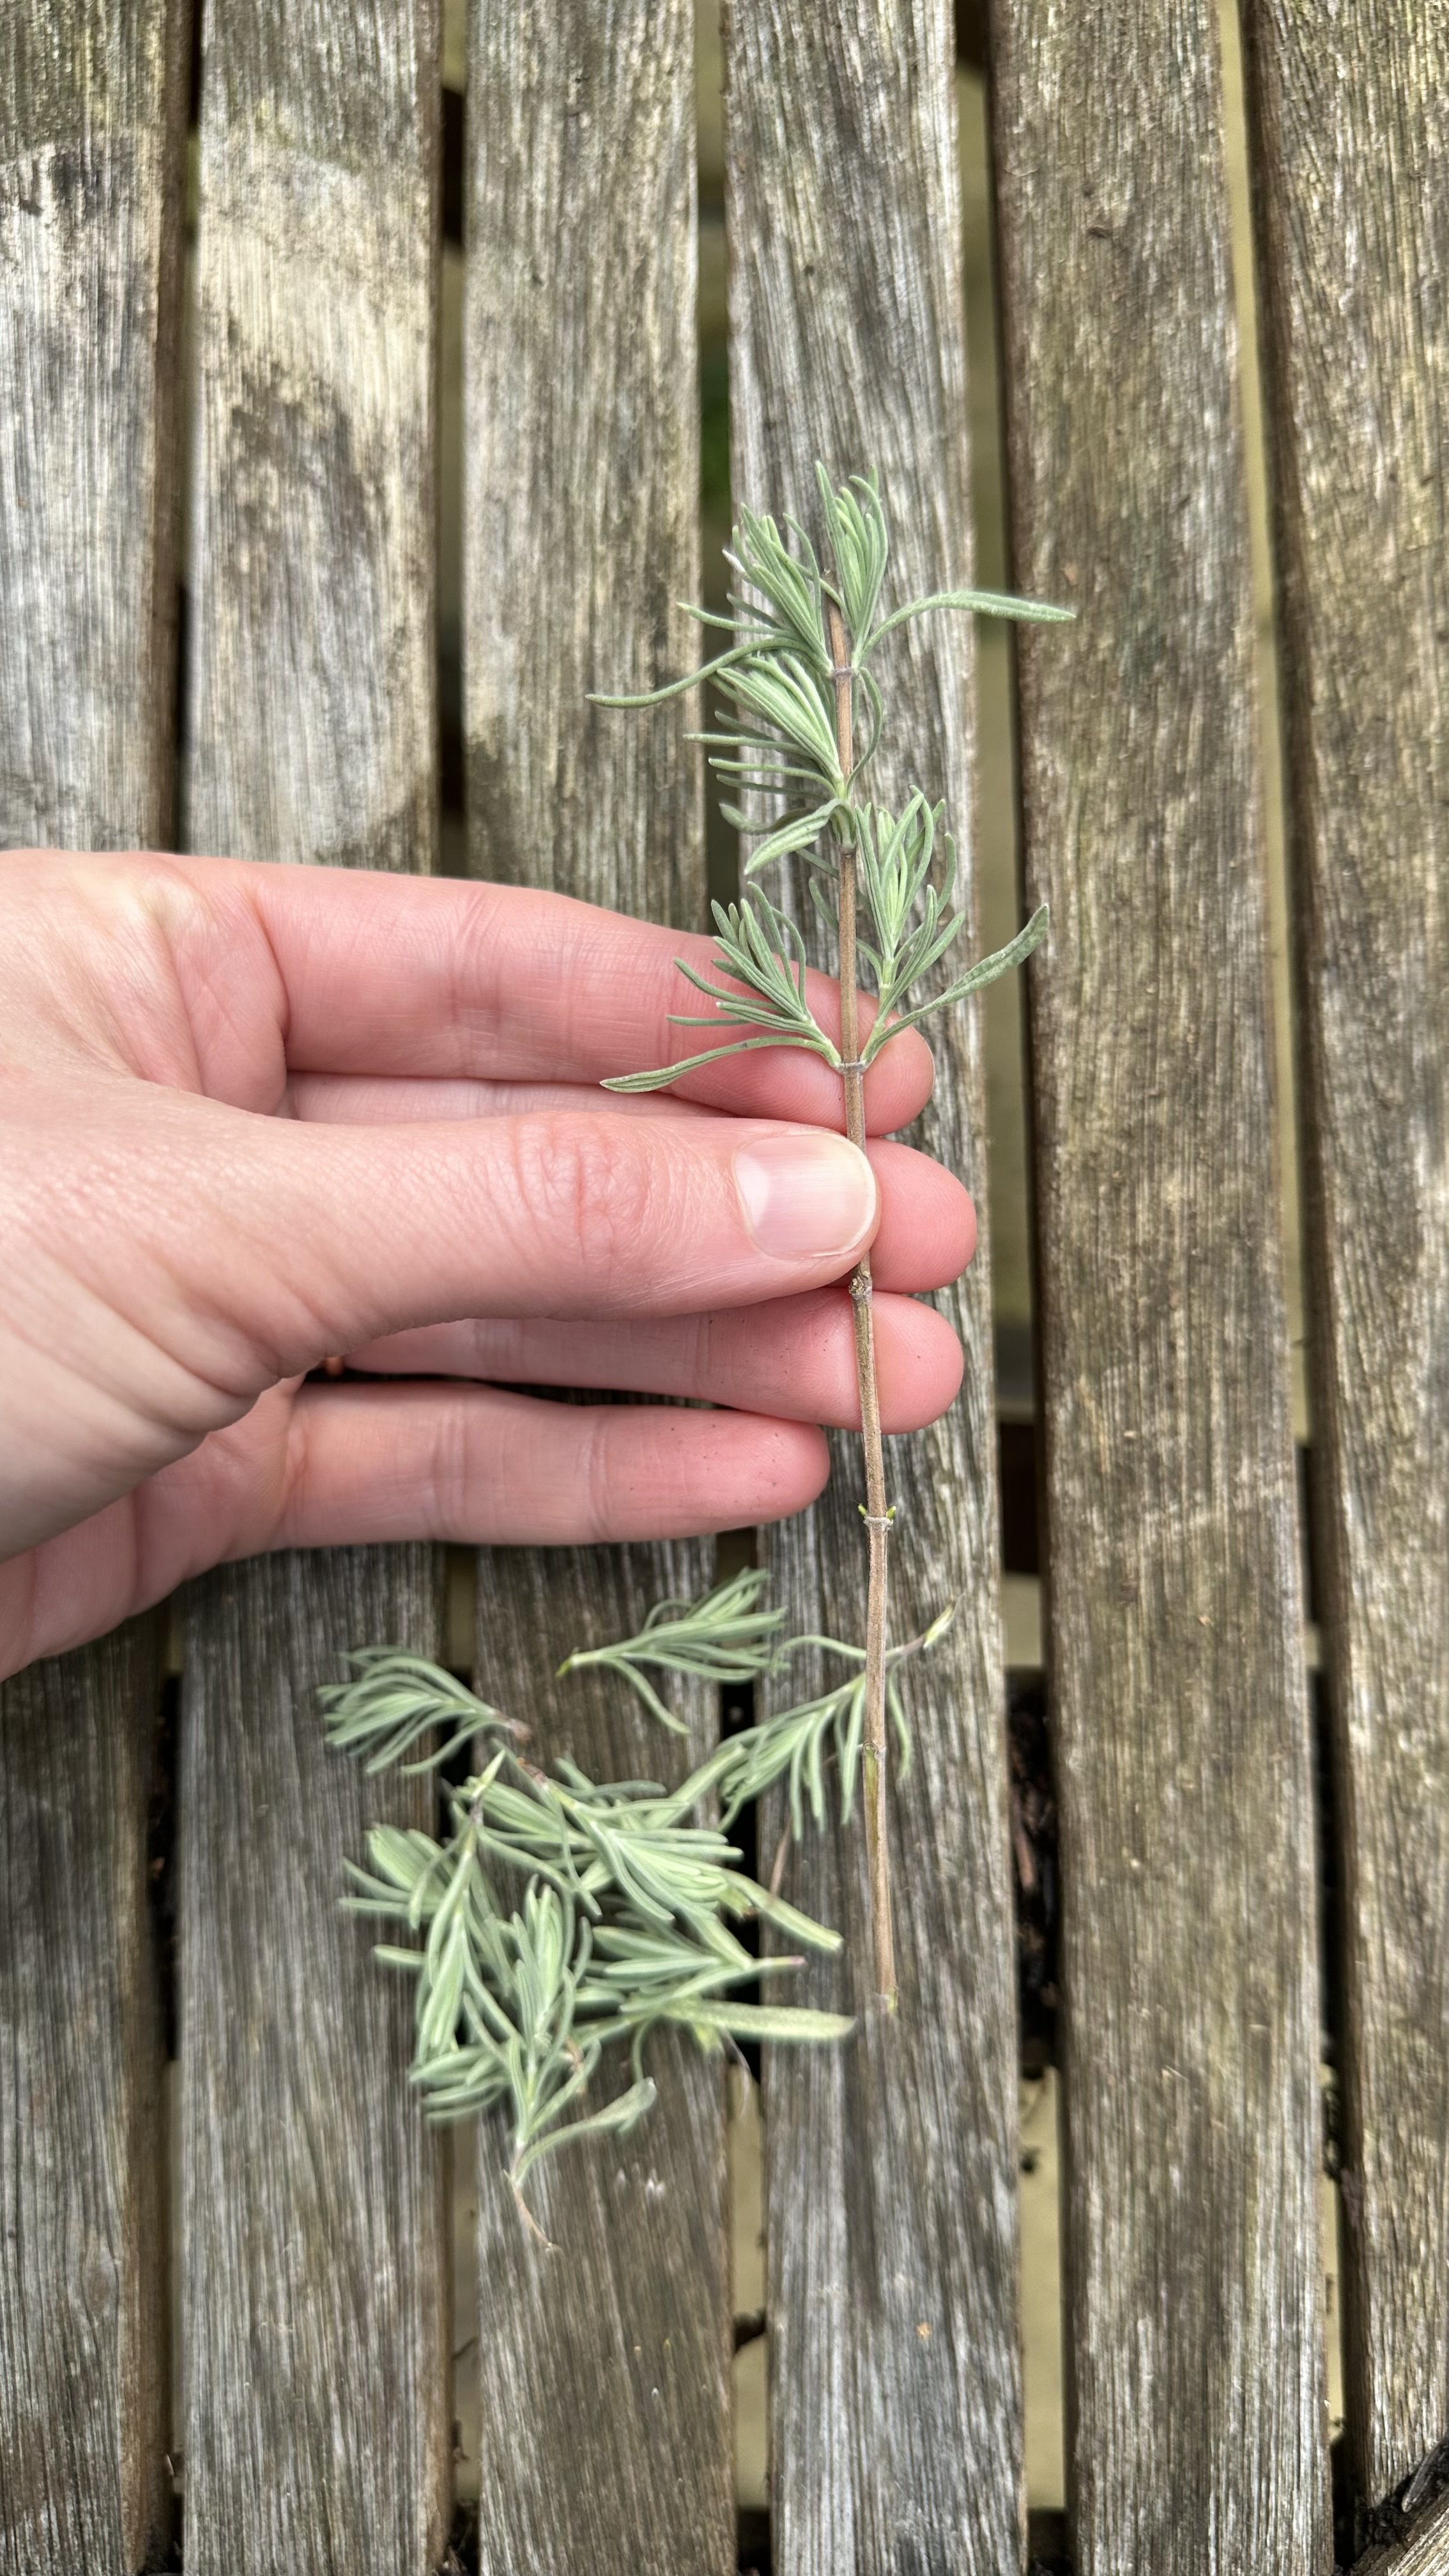
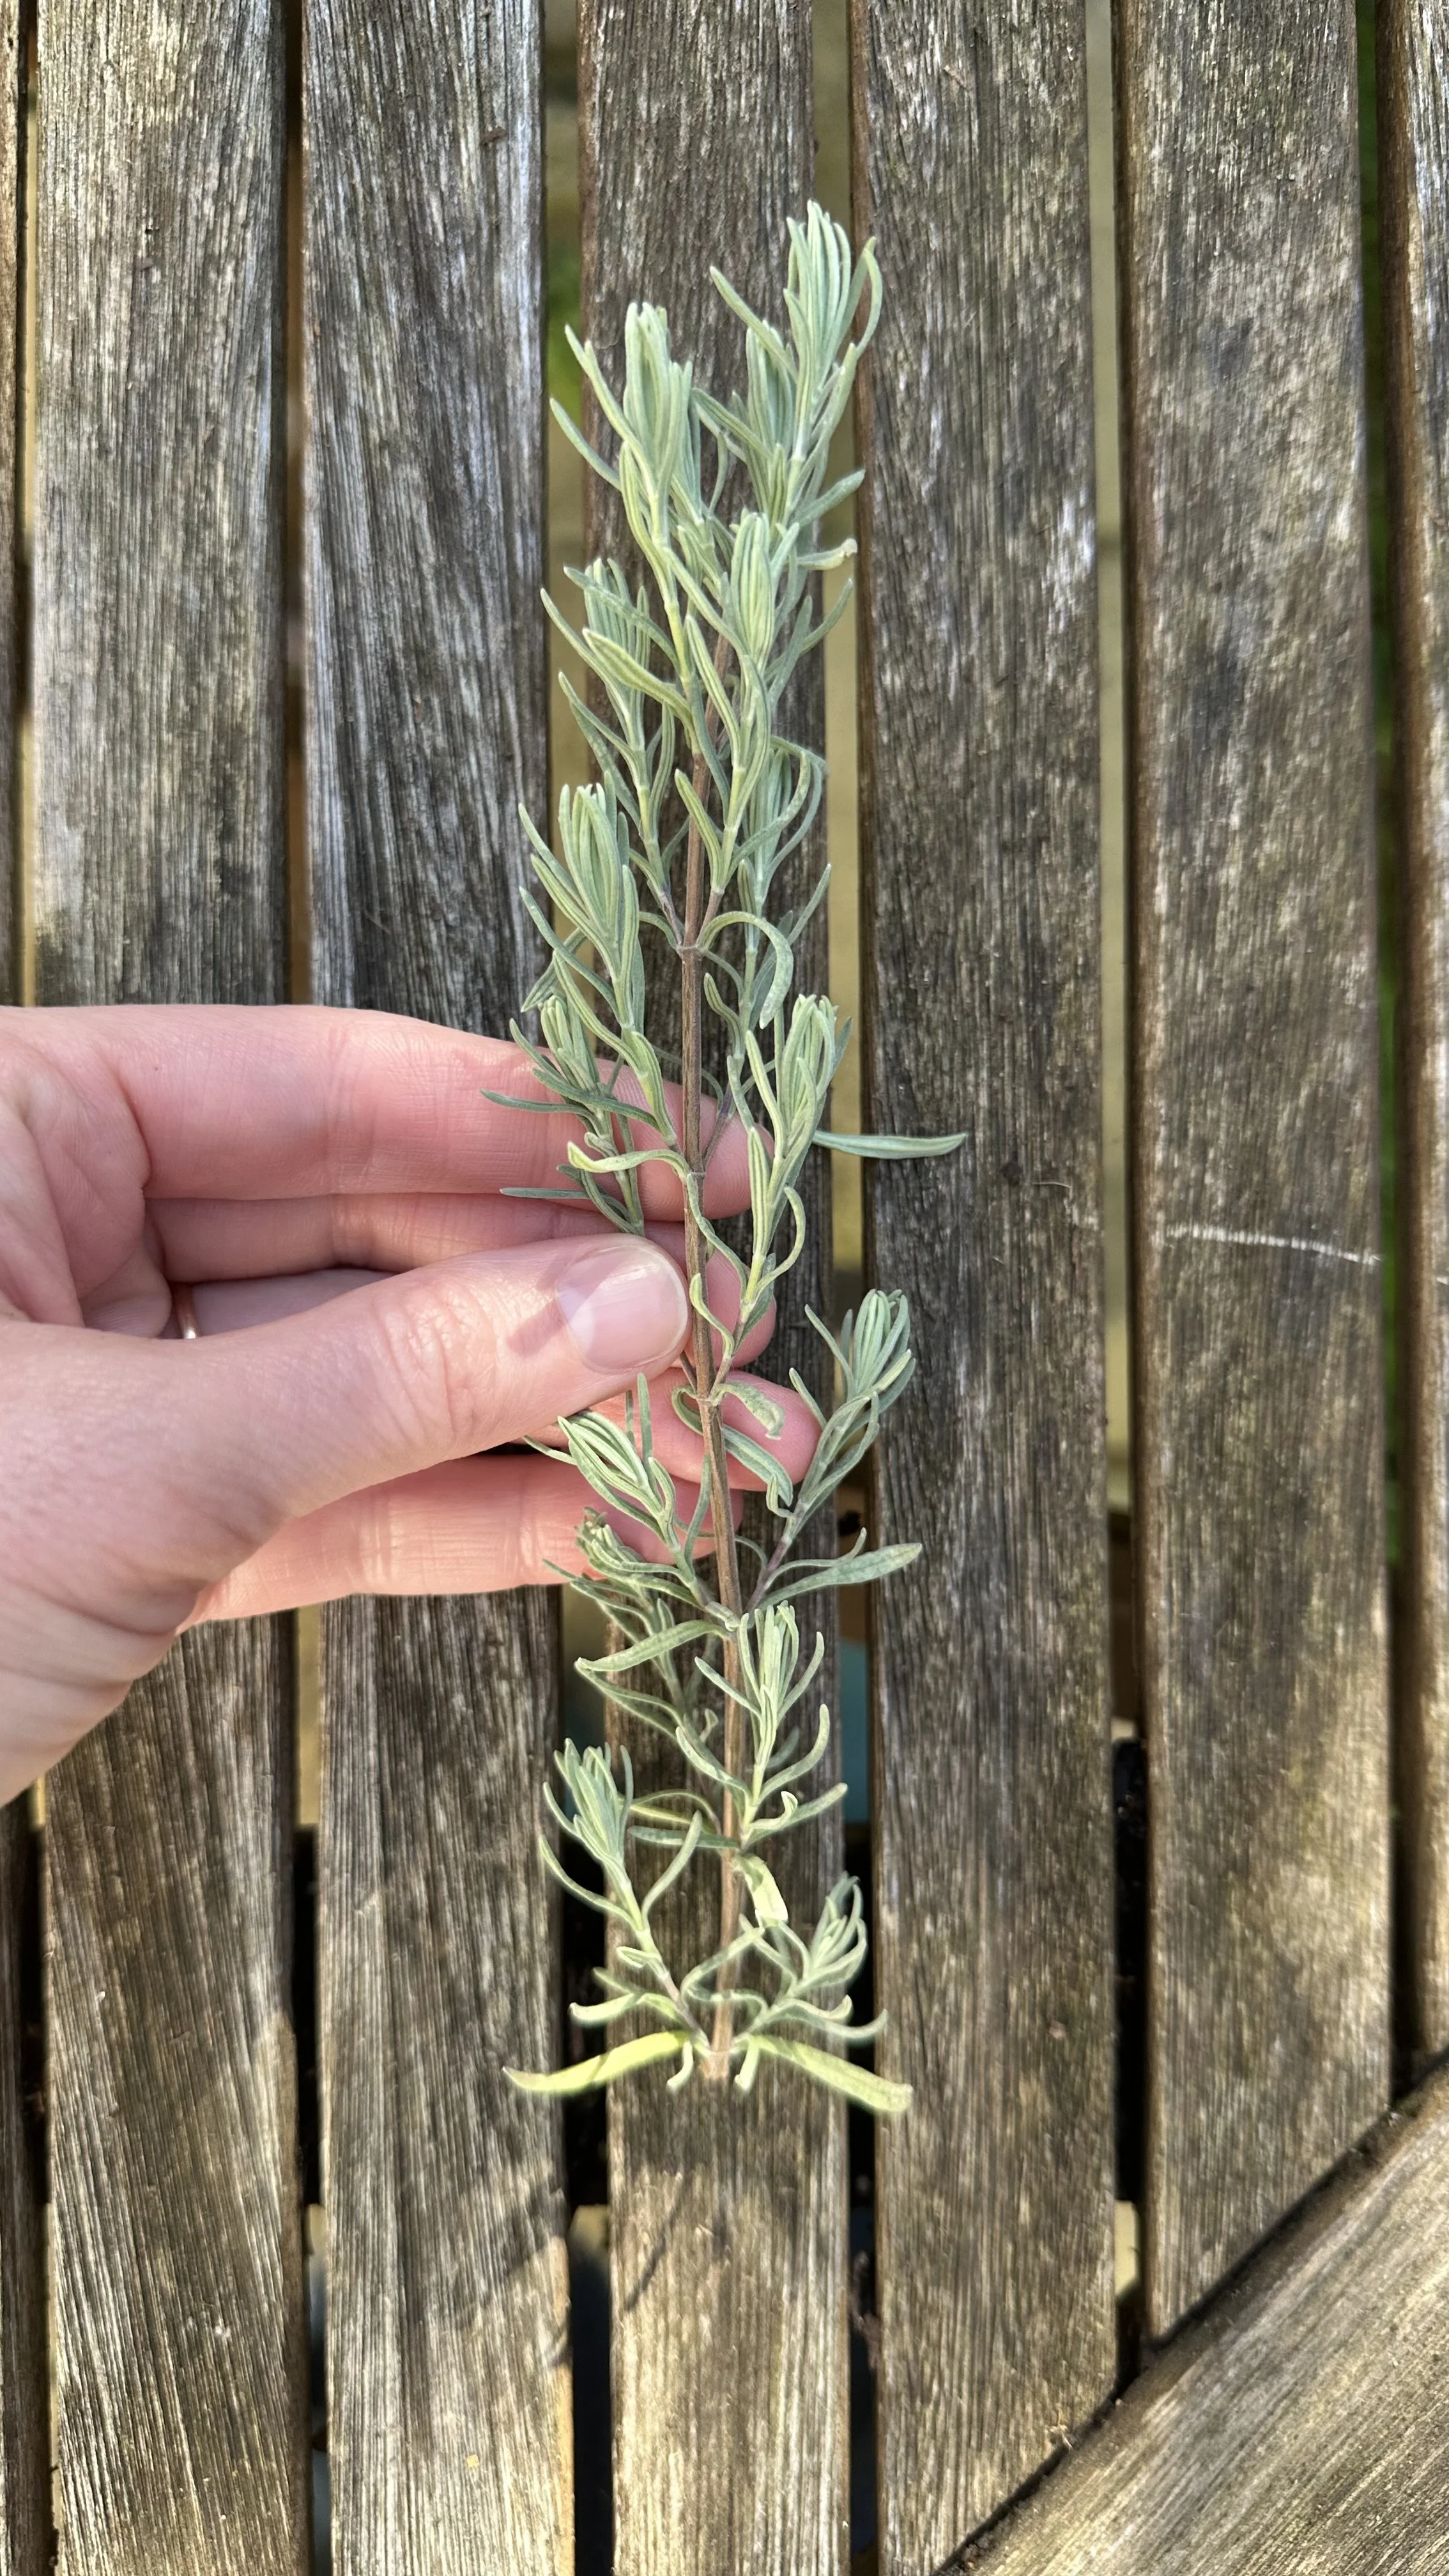
Once you have your cutting, gently strip the leaves off the bottom half of the stem to expose the bare section for rooting.
Don’t worry, it might look a little sparse, but this is what helps it focus on growing roots instead of maintaining leaves.
These pruning shears are perfect for the job:

3. Prepare for Rooting
Here’s where rooting hormone can come in handy.
Dip the cut end of your stem into the rooting hormone powder or gel if you’re using it.
This step isn’t mandatory, but I’ve found it gives my lavender cuttings a little extra nudge toward success.
If you’re trying water propagation, you can skip this part and move straight to the next step.
Here is the rooting hormone powder I recommend:

Want to propagate more plants? Check out my guides:
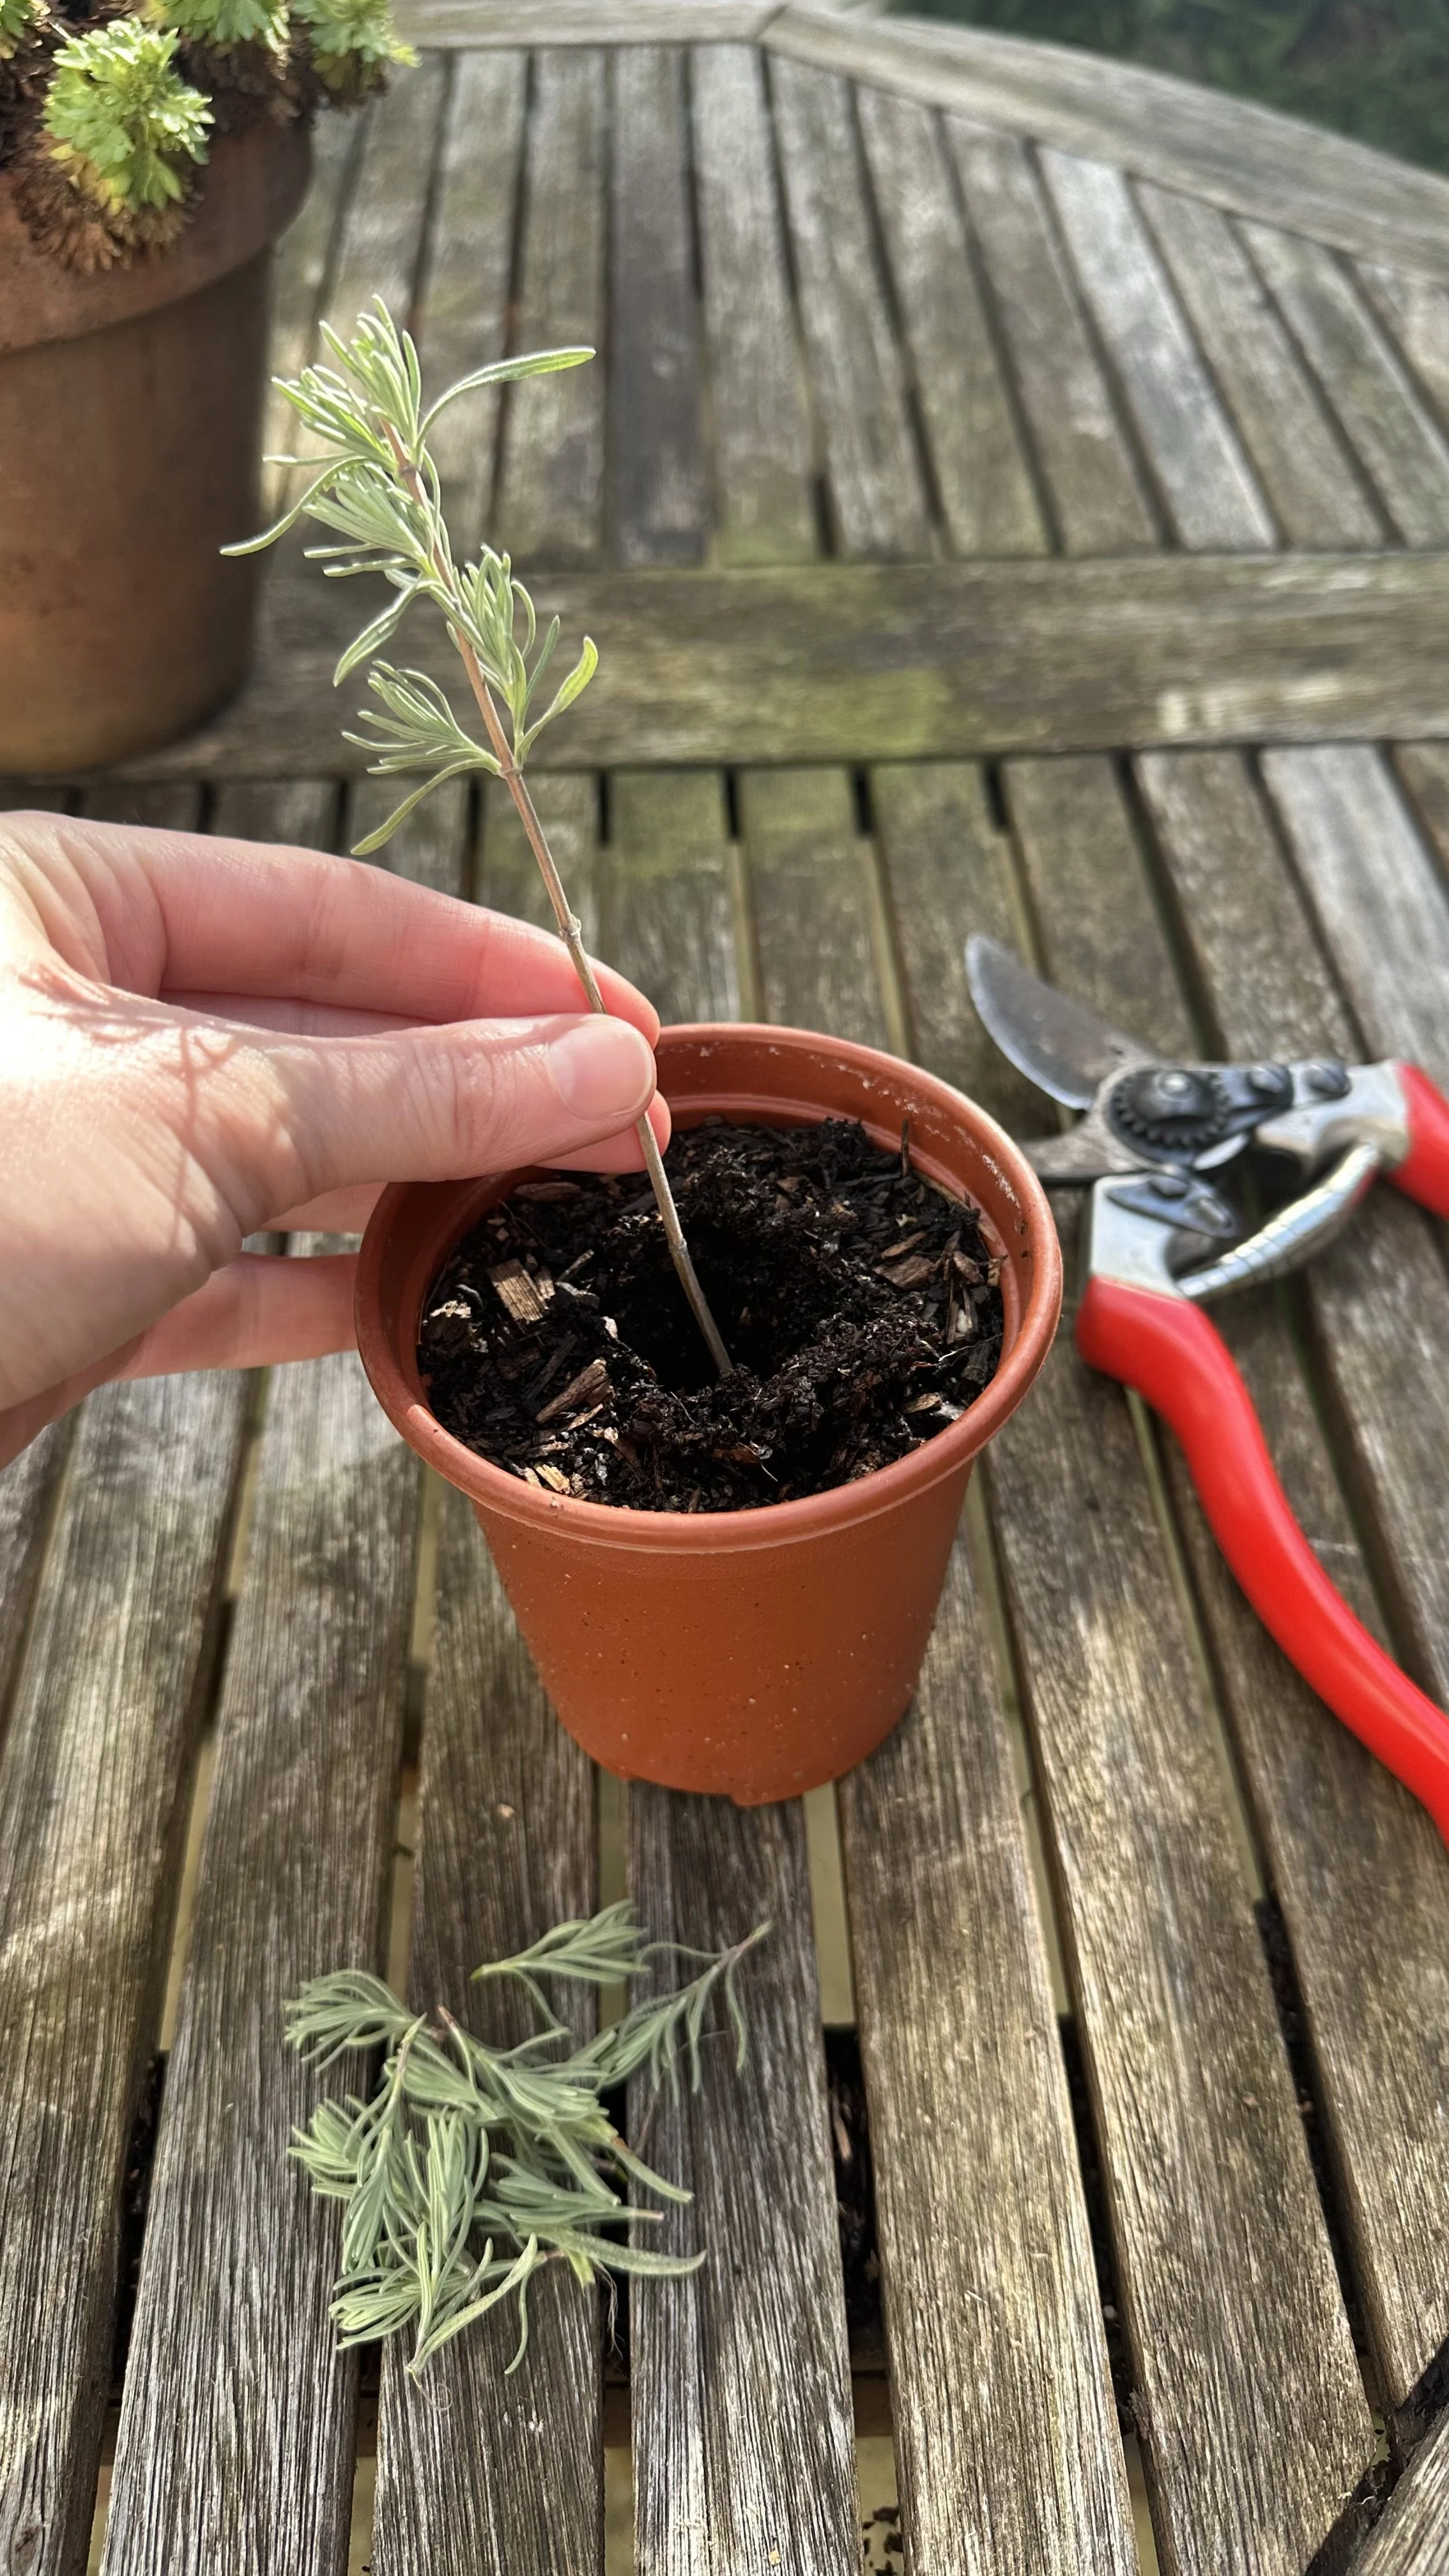
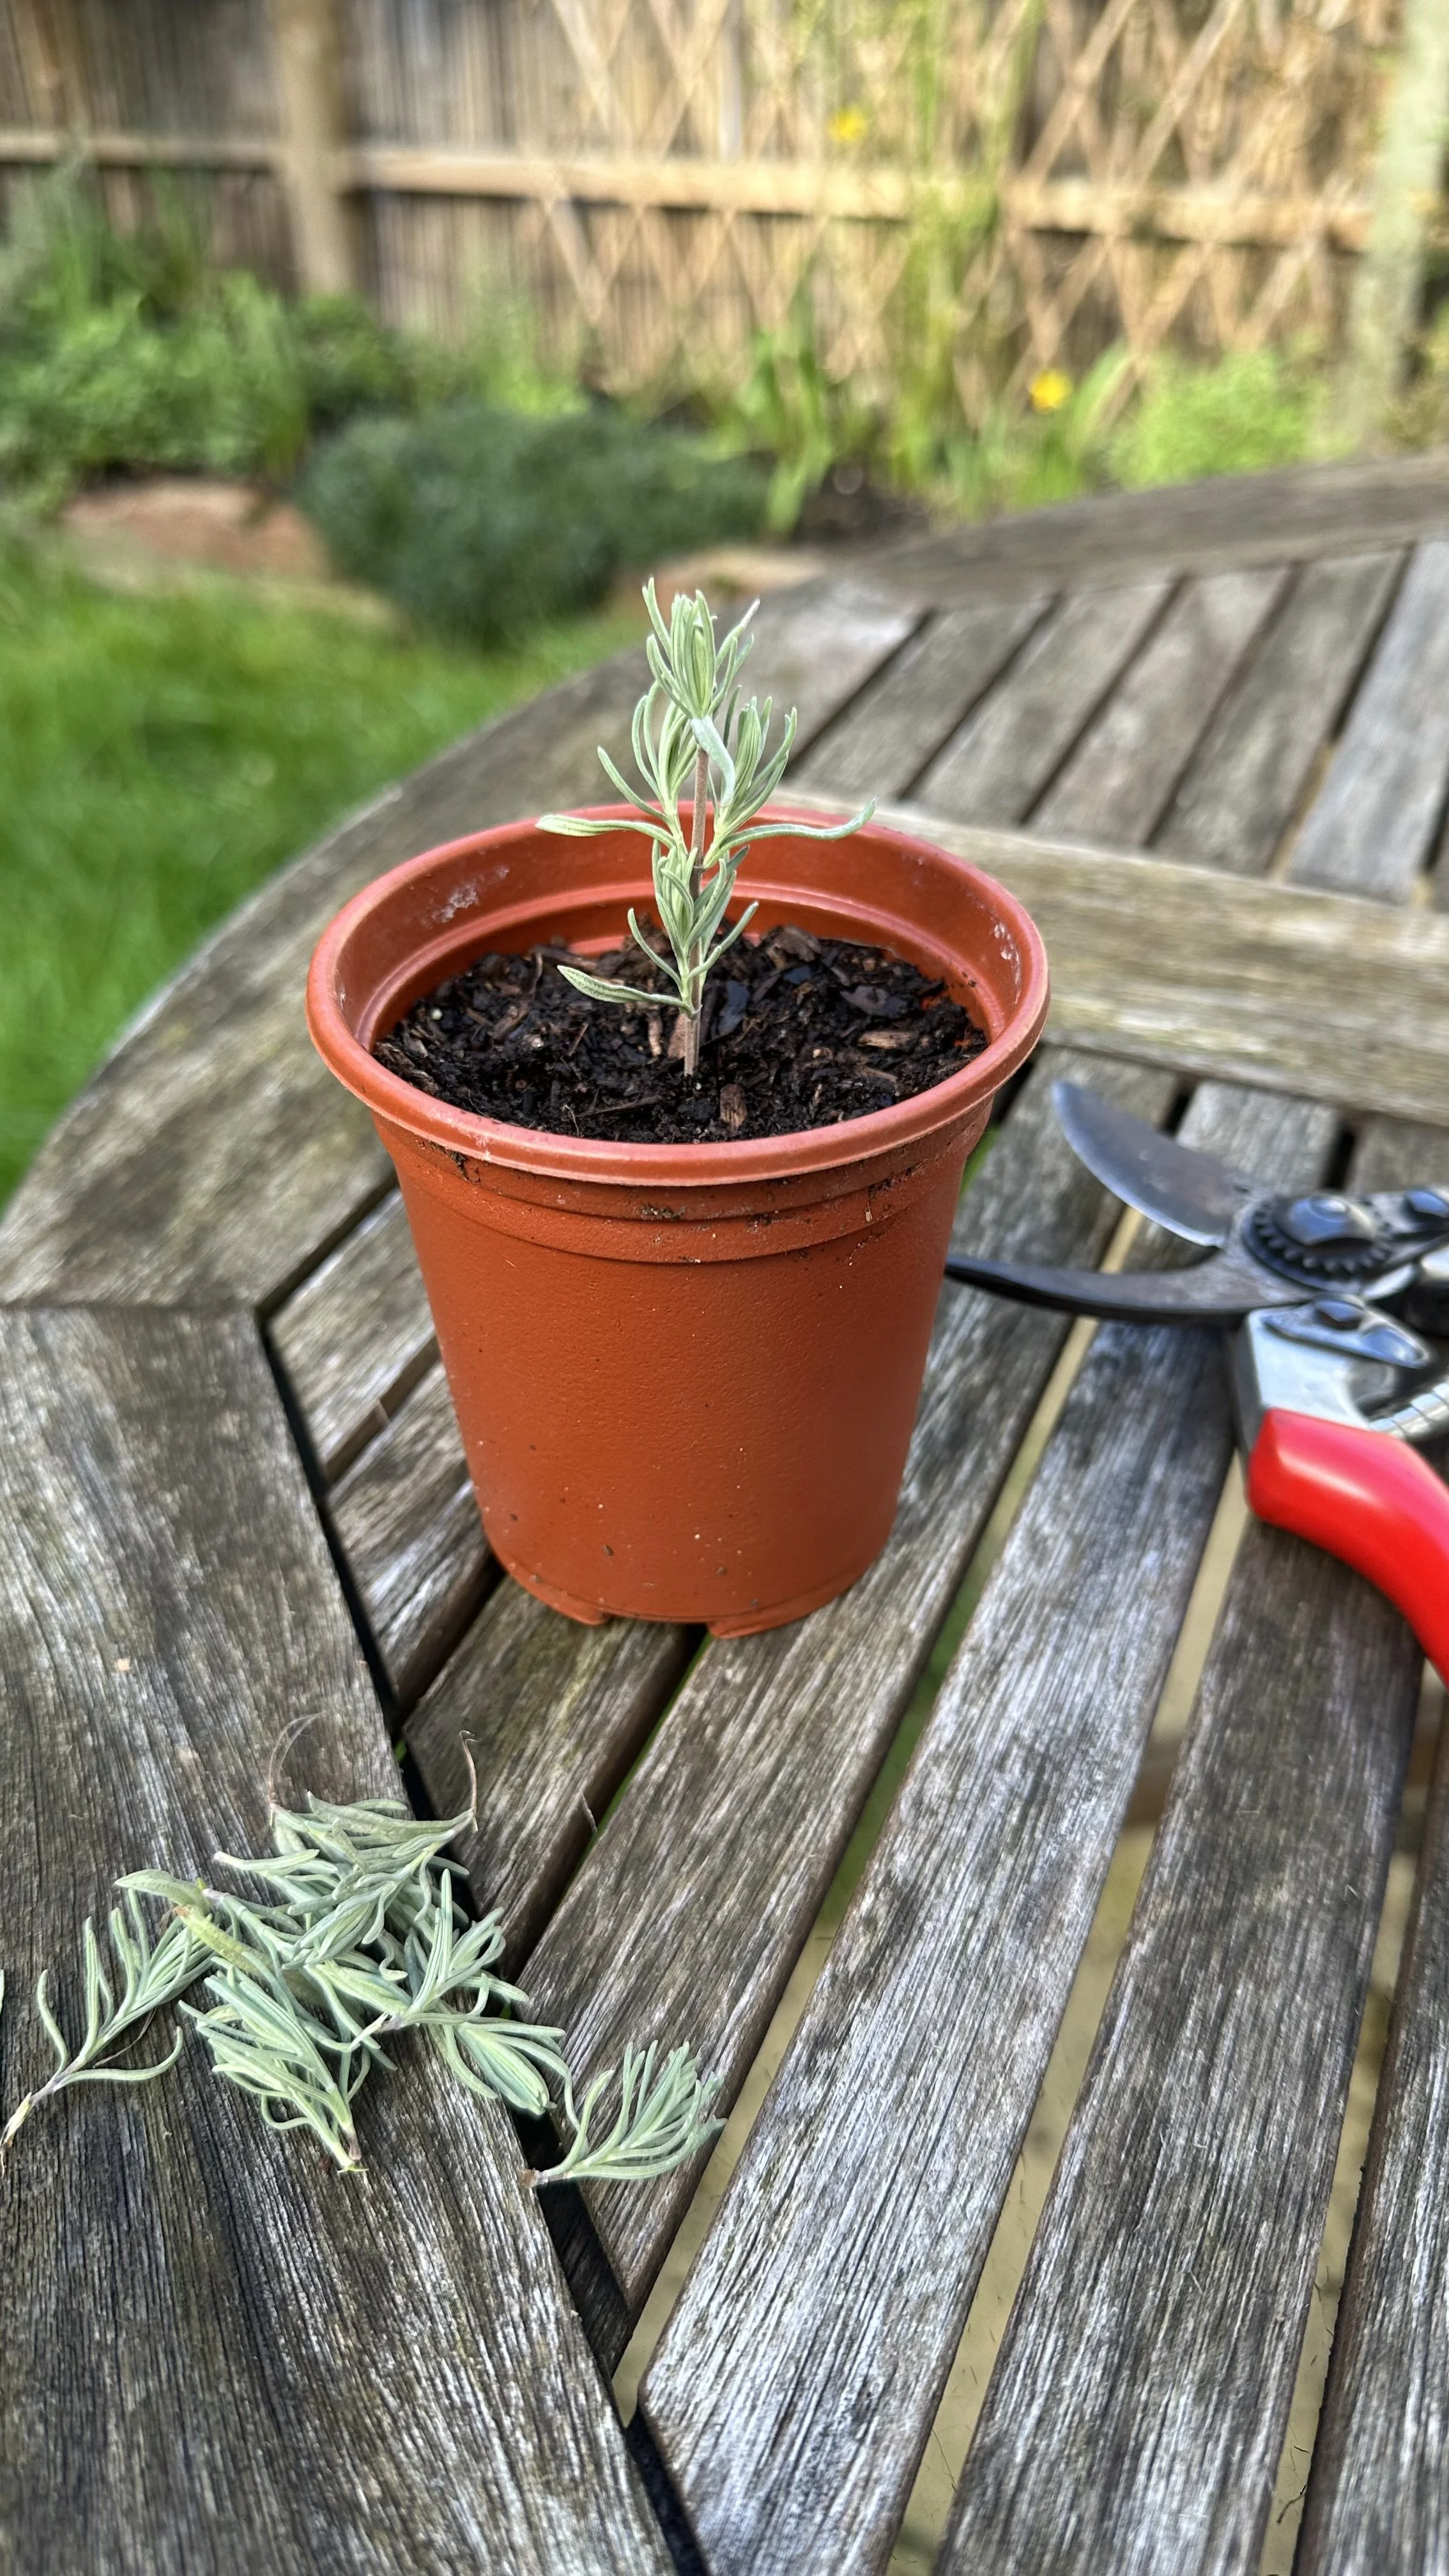
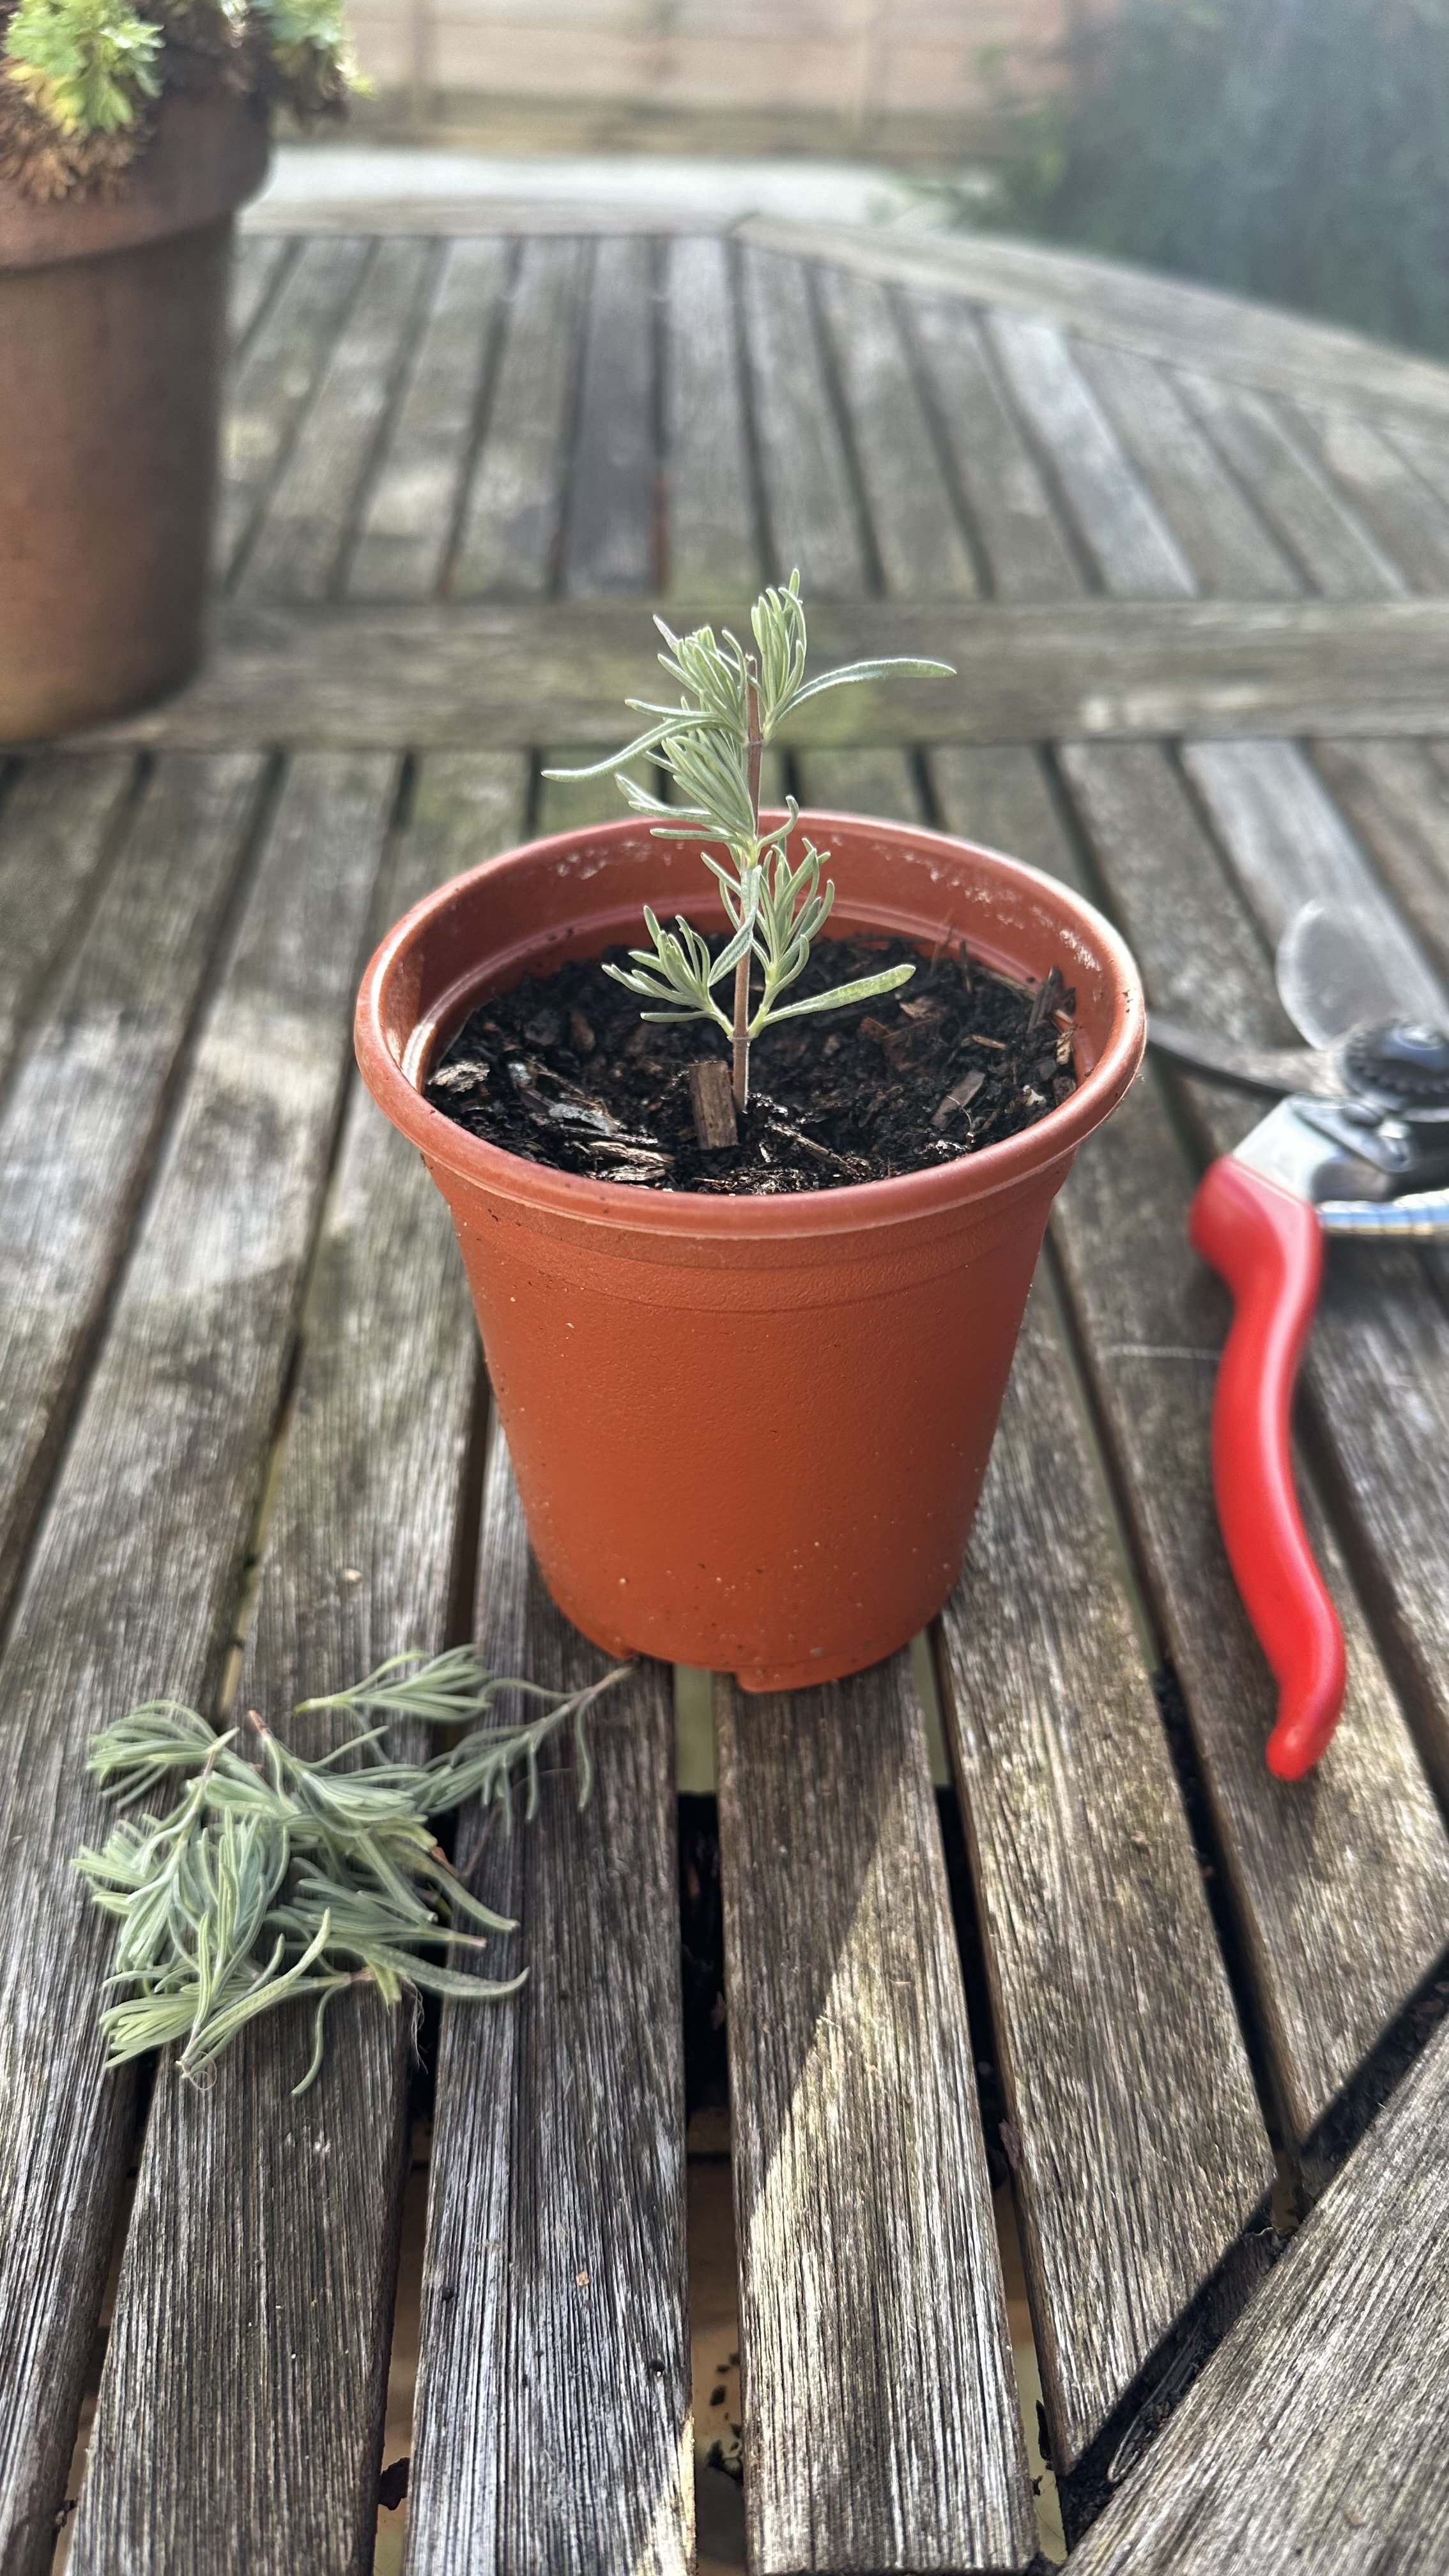
4. Plant the Cuttings
Fill a small pot with well-draining potting soil.
I like to use a mix that includes perlite or sand to ensure the soil doesn’t hold too much water – lavender roots need to breathe!
Insert the cut end of your stem about an inch deep into the soil and press it gently to keep it stable.
It’s a small detail, but making sure your cutting is secure really helps it thrive.
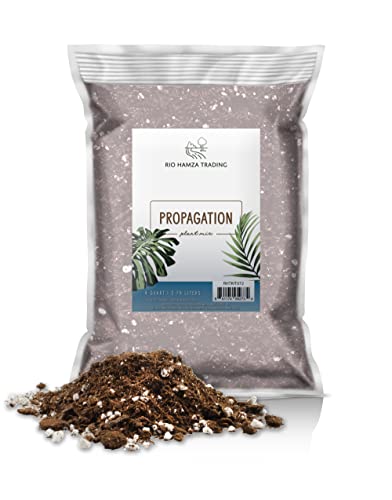
Here is the potting soil for propagation I recommend using.
5. Create a Humid Environment
Now, let’s give your cutting the spa treatment!
Cover the pot with a clear plastic bag or use a propagation dome to keep humidity high.
This step is like creating a mini greenhouse for your plant, helping it stay hydrated while it grows roots.
Just make sure the plastic doesn’t touch the cutting directly – a few sticks or stakes can help keep it propped up.
6. Care and Wait
This is where patience pays off.
Place your pot in a bright spot with indirect sunlight.
Lavender loves light, but direct sun can be a bit too harsh for young cuttings.
Keep the soil lightly moist – not soggy – and check in on your cutting every few days.
Over the next four weeks or so, you should start to see roots forming.
7. Transplanting
Once your cutting has established roots, it’s time to move it to a bigger pot or into your garden.
Be gentle during this process – the new roots are delicate and need a little extra care.
Choose a sunny spot with well-draining soil, and before you know it, you’ll have a thriving lavender plant ready to grow and bloom.
For more herb growing tips check out my guides:
When to Propagate Lavender
Timing is everything when it comes to propagating lavender, and knowing the best season can make all the difference.
Here’s how I think about it:
Softwood Cuttings:
Spring to early summer is ideal for softwood cuttings.
During this time, lavender plants are actively growing, and the green, flexible stems are full of energy, making them eager to root.
I love starting softwood cuttings in the spring because they often root quickly, and it feels like a fresh beginning for the growing season.
Hardwood Cuttings:
Late summer to early autumn is the perfect time for hardwood cuttings.
As the plant matures and the stems become woody, they’re tougher and more prepared to handle the propagation process.
These cuttings might take a little longer to root, but their resilience makes them worth the wait.
Winter Propagation:
If you’re feeling adventurous and want to propagate lavender in winter, it’s definitely possible, especially if you have a controlled indoor environment.
While rooting might take longer because of cooler temperatures and reduced light, a sunny windowsill can work wonders.
Plus, having a propagation project during the colder months is a great way to keep your green thumb busy.
Check out my guide:
The Ultimate Guide to Choosing the Best Electric Propagators
Tips for Success
Keep Your Tools Clean:
Always use clean tools to prevent spreading diseases.
It’s a small step, but it goes a long way in keeping your plants healthy and happy.
Choose the Right Soil:
Lavender roots thrive in well-draining soil.
A mix with sand or perlite works wonders to prevent soggy conditions that can lead to rot.
Be Patient:
Propagation takes time, and every cutting is unique.
If one doesn’t root, don’t be discouraged – just try again!
Monitor Humidity:
Creating a humid environment is key, but too much moisture can cause problems.
Keep an eye on condensation inside your plastic bag or dome, and allow some airflow if needed.
Watch the Watering:
It’s tempting to overwater, but lavender prefers soil that’s slightly dry between waterings.
Light, consistent moisture is all you need.
Pick the Right Spot:
Bright, indirect light is best for your cuttings.
Avoid harsh sunlight until the roots are well-established.
Learn more about growing herbs:
For more ideas, check out my guides:
FAQs
Can you propagate lavender in water?
Yes, you can propagate lavender in water.
Place the cuttings in a glass of water, ensuring only the bare stem is submerged.
Change the water every few days to keep it fresh.
While this method works, soil propagation often results in stronger roots.
Learn more: Growing Herbs in Water: A Simple Guide.
How long do lavender cuttings take to root?
Lavender cuttings typically take about four weeks to root.
However, hardwood cuttings might take a bit longer, especially in cooler conditions.
Do I need rooting hormone to propagate lavender?
No, rooting hormone isn’t necessary, but it can improve success rates, especially with hardwood cuttings.
If you don’t have rooting hormone, lavender can still root just fine.
Can you take lavender cuttings in winter?
Yes, you can take lavender cuttings in winter, but it’s best done indoors where you can control the environment.
Rooting might take longer due to lower temperatures and reduced light.
What’s the difference between softwood and hardwood cuttings?
Softwood cuttings are taken from fresh, green growth and root faster but are more delicate.
Hardwood cuttings come from older, woody stems and are sturdier but take longer to root.
Can I propagate lavender from seed?
Yes, lavender can be grown from seed, but it’s a slower process and can produce plants that vary from the parent plant.
Propagation from cuttings is quicker and ensures the new plants are true to type.
Learn how to use lavender as a natural cat repellant in the garden with my guide:
Plants That Deter Cats: A Natural Solution to Keep Cats at Bay
Wrap-Up
Growing lavender from stem cuttings is one of the most satisfying gardening projects you can tackle.
Watching those small pieces of plant turn into thriving lavender bushes is like witnessing a little miracle unfold.
Using tools like rooting hormones can boost your success, but even without them, lavender is forgiving and eager to grow.
With some patience, attention, and the tips shared above, you’ll soon have a garden full of fragrant lavender plants.
Whether you’re propagating for your own space or to share with fellow gardeners, the joy of nurturing these new plants makes every step worth it.
Here’s to rooting lavender and growing a beautiful garden full of life and fragrance!
Pin this post to save it for later!