Lavender Pruning: A Simple Guide
This website is reader-supported - thank you! This post may contain affiliate links. As an Amazon Associate, I earn from qualifying purchases at no extra cost to you.
There's something truly special about stepping into a garden and catching the soothing scent of lavender.
If you're like me and have a soft spot for lavender, you know that keeping them healthy and flourishing takes a bit of care.
One of the key tasks is proper pruning, which helps your lavender plants stay lush and full of blooms year after year.
Let's dive into how to prune your lavender so you can enjoy its beauty in every season.
To learn more about growing lavender check out my guides:
When to Prune Your Lavender
Over the years, I've learned that choosing the right time to prune lavender can make all the difference in how well the plants grow and bloom.
Let me share what works best based on my own gardening experiences:
Spring Pruning:
Early spring is a great time to give your lavender a good trim.
When I see those first signs of new green growth emerging, I know it's time to get out the pruning shears.
Cutting back the plants at this stage encourages them to produce plenty of fresh stems and leaves, setting the stage for a full and fragrant flowering season.
I usually trim about one-third of the plant's height, being careful to stay above the woody parts.
These pruning shears are perfect for the job:
For more tips on tools, check out my guide:
Late Summer Pruning:
After the lavender has shown off its beautiful flowers and they've started to fade—usually in late summer—I like to do a second, lighter pruning.
This helps keep the plants neat and prevents them from getting too leggy.
It's also a wonderful opportunity to gather some stems for drying or making sachets.
By tidying up the plants now, they stay healthier through the cooler months.
Timing your pruning sessions like this helps the lavender stay vigorous and keeps them producing those lovely purple flowers.
Just remember to avoid cutting into the old, woody stems, as the plants don't bounce back well from heavy pruning in those areas.
Focusing on the green growth ensures your lavender will thrive year after year.
For more lavender growing tips, check out my guides:
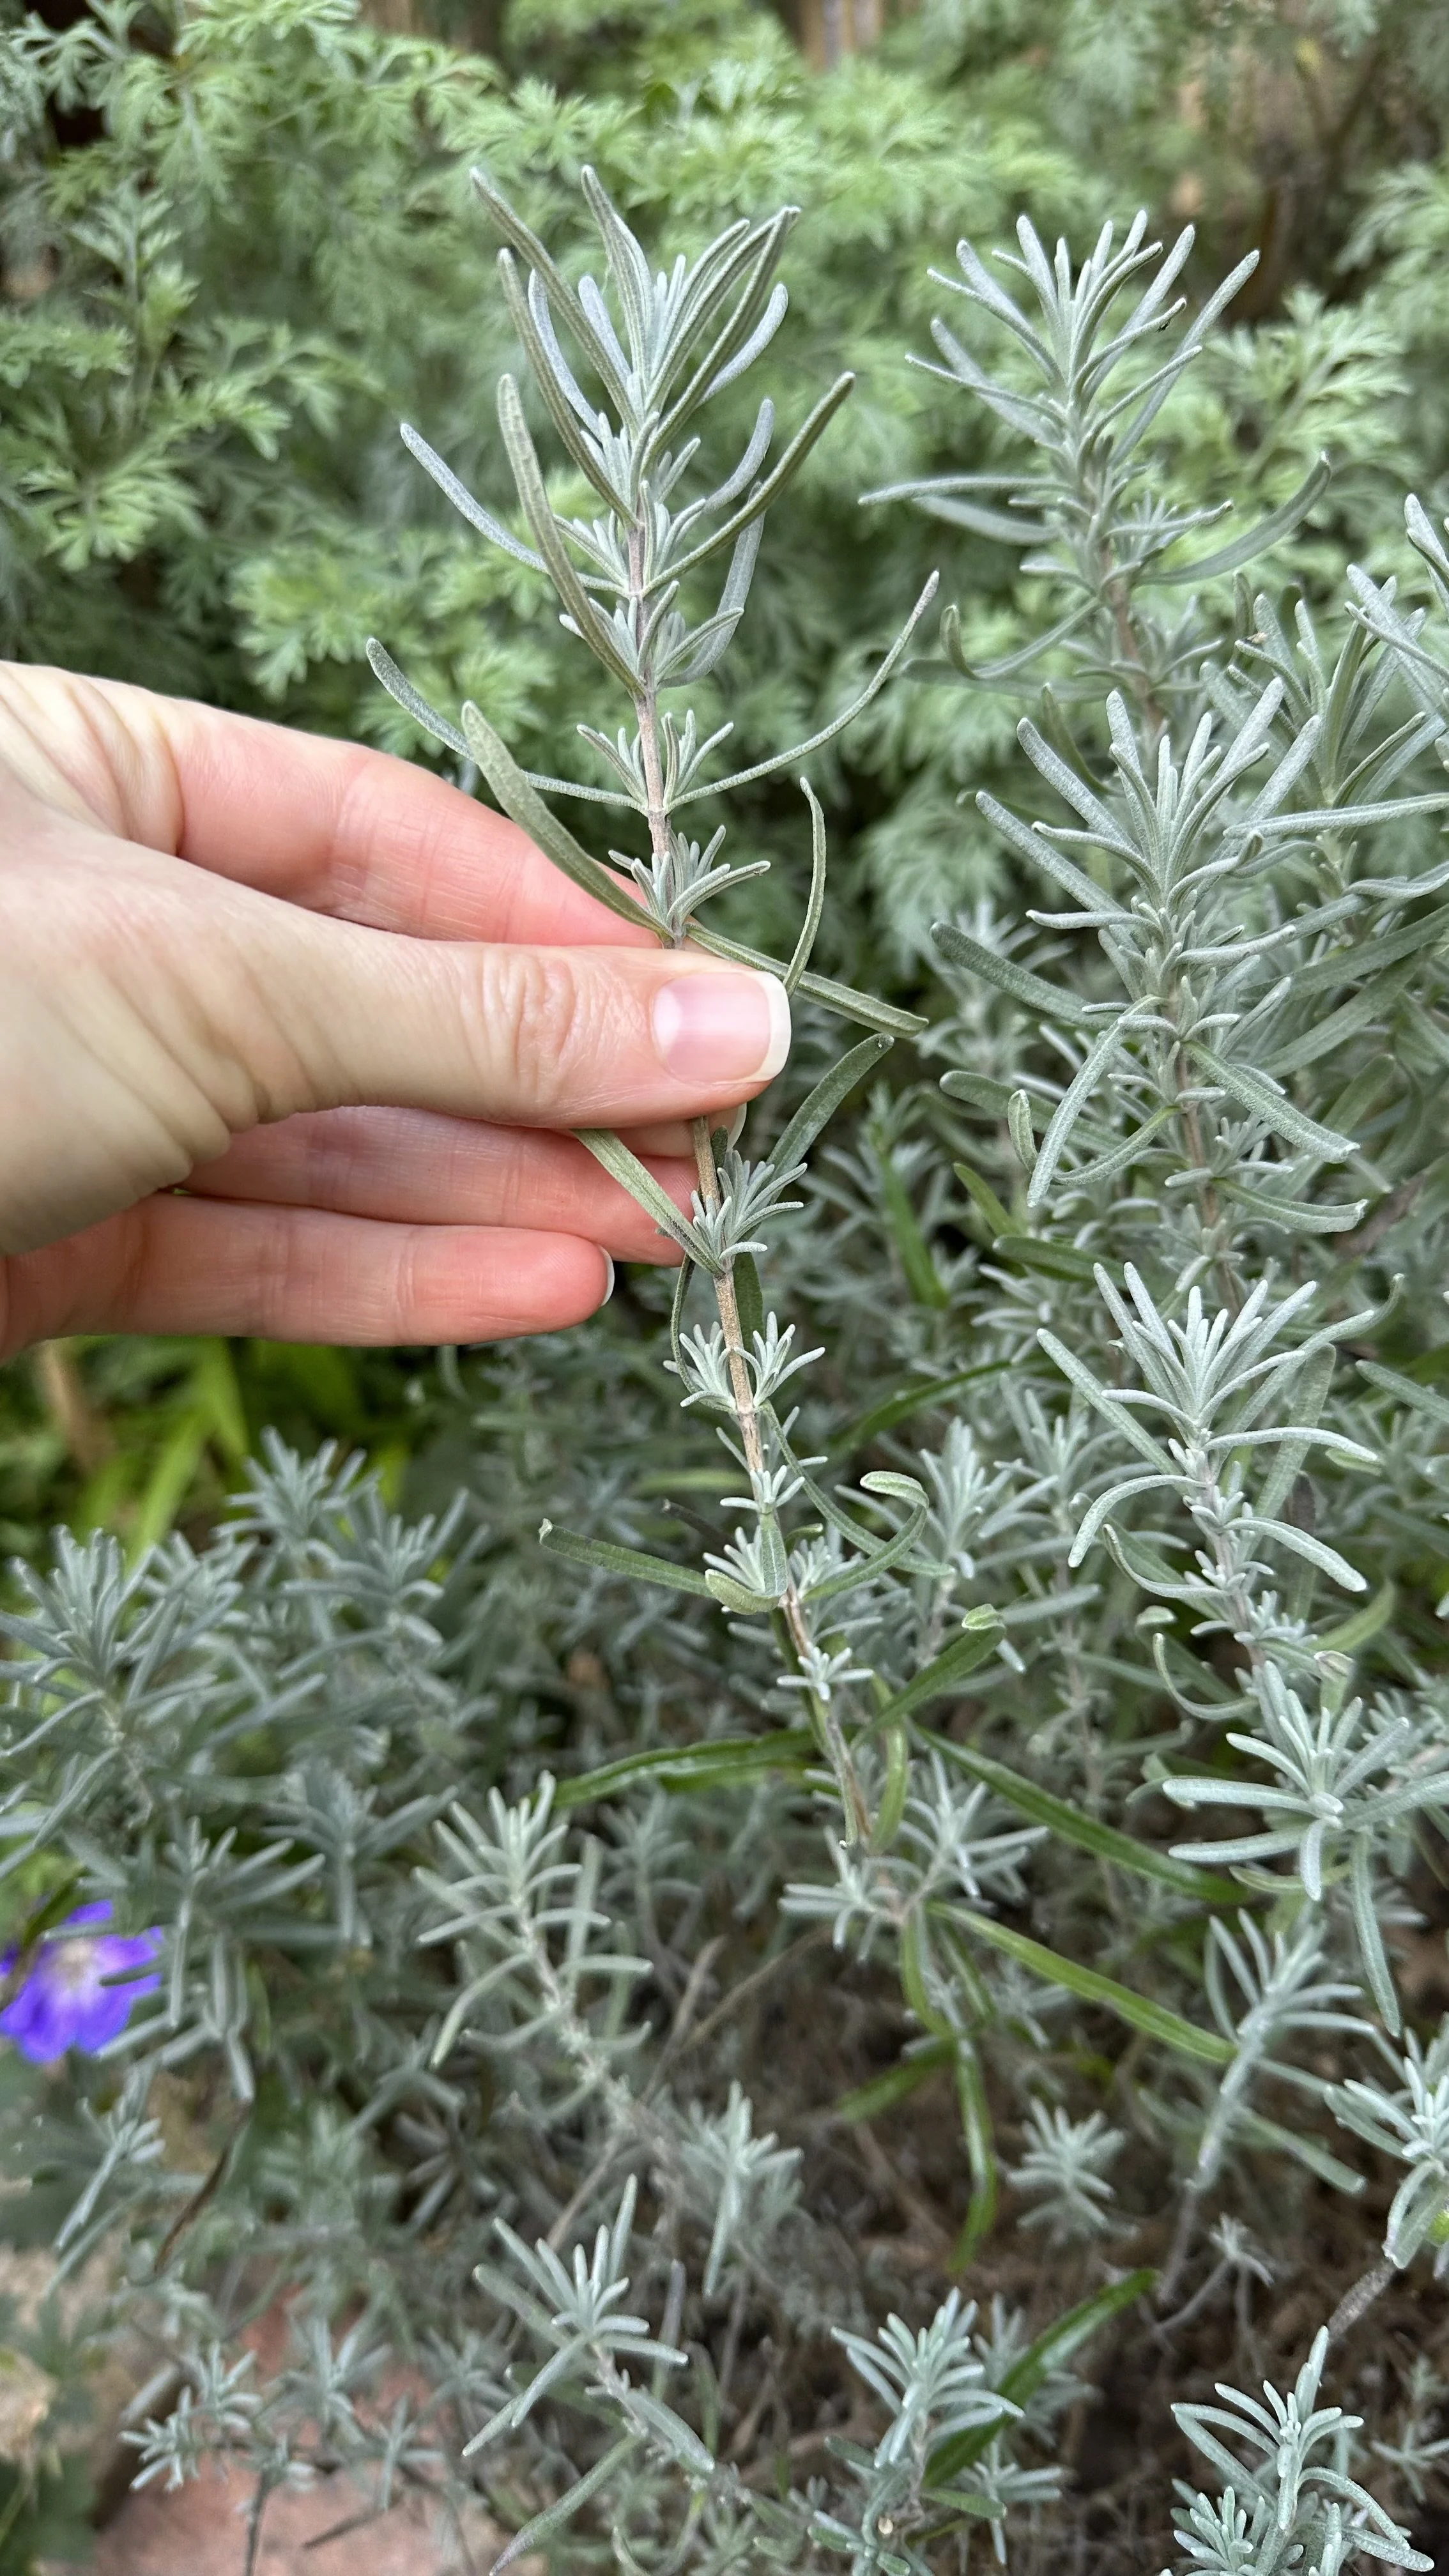
Where to prune English Lavender.
How to Prune Different Types of Lavender
Pruning lavender might feel a bit tricky, especially with different varieties like English and French lavender in the garden.
But trust me, once you get the hang of it, it's quite straightforward.
Let me share how I approach pruning these different types to keep them healthy and blooming beautifully.
English Lavender
English lavender is known for its hardiness and classic purple flowers.
Here's how I prune mine:
Post-Bloom Pruning:
After the flowers have faded in late summer, I trim back about one-third of the plant.
This helps prevent it from becoming too woody and encourages new growth next season.
Spring Cleanup:
In early spring, before new growth starts, I remove any dead or damaged stems.
This gives the plant a fresh start for the year.
Tips:
Avoid Cutting Into Old Wood:
I've learned that English lavender doesn't regenerate well from its woody parts, so I make sure to cut above them.
Shape the Plant:
I like to shape it into a neat mound.
It not only looks nice but also helps sunlight reach all parts of the plant.
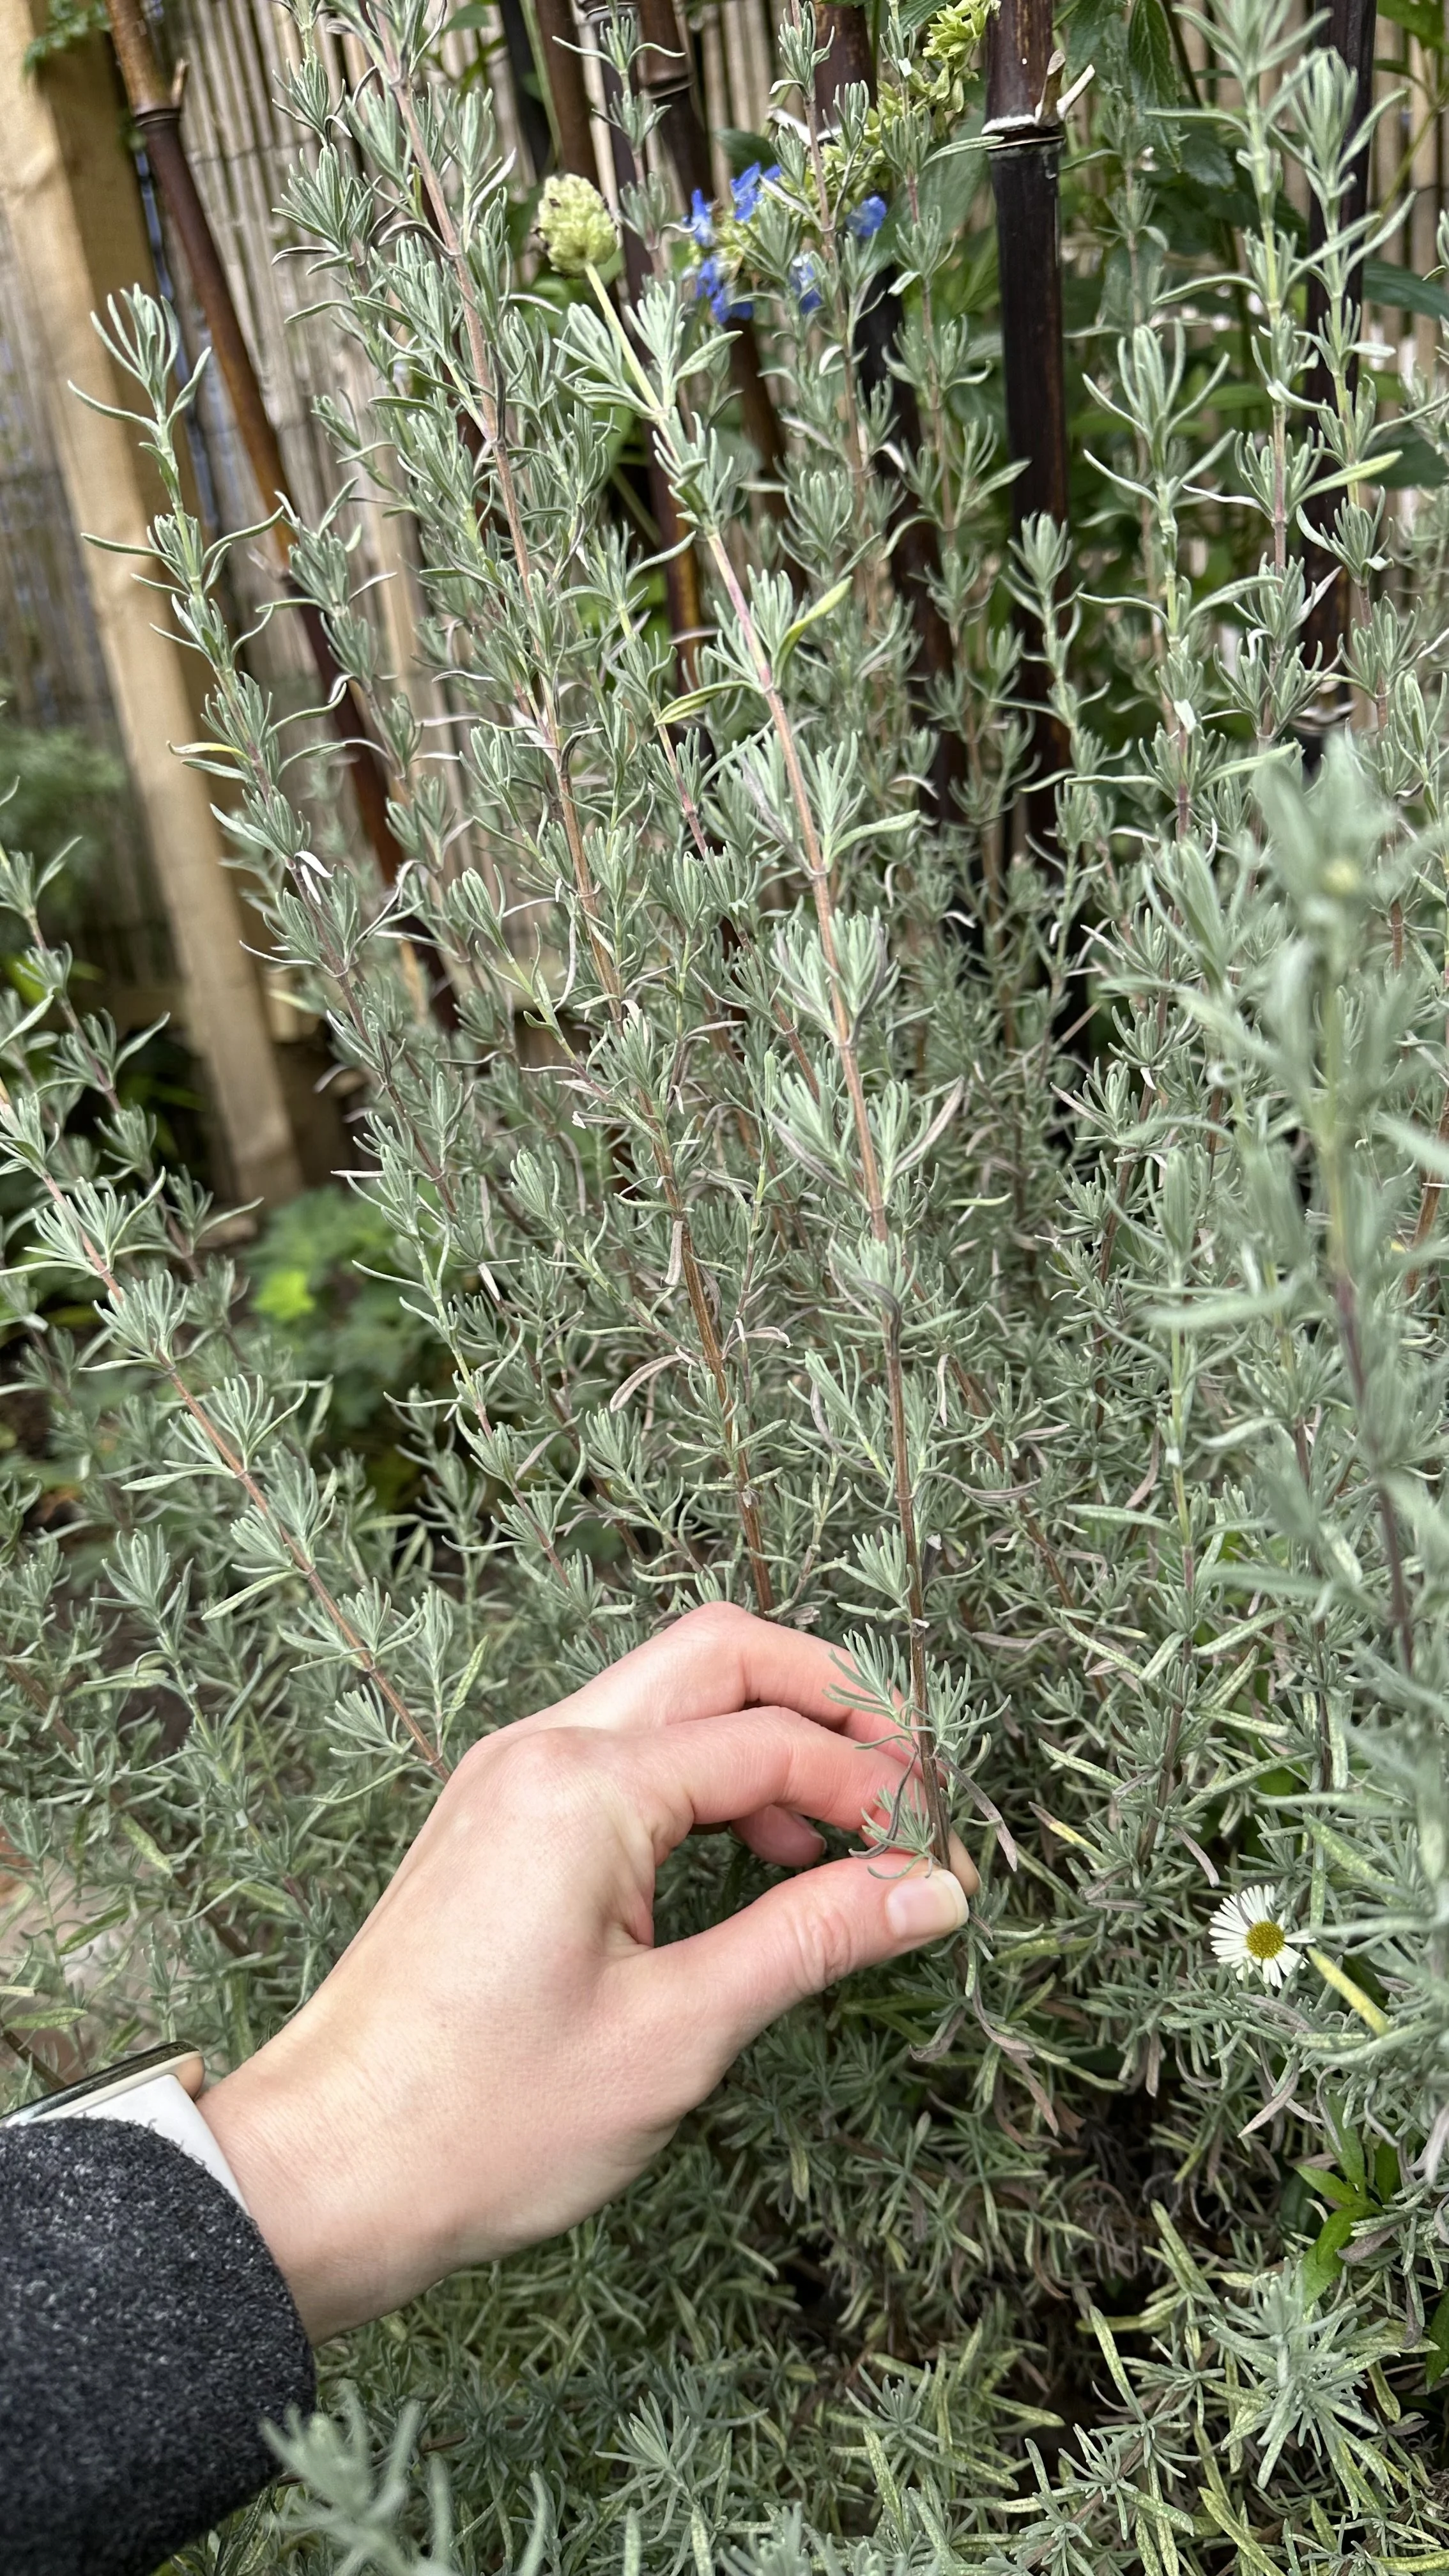
English lavender before pruning.
English lavender after pruning.
French Lavender
French lavender has a longer blooming period and a slightly different appearance.
Here's my method for pruning it:
Regular Light Trimming:
Throughout the growing season, I lightly trim spent flowers.
This keeps the plant looking tidy and encourages continuous blooming.
Protect from Cold:
Since French lavender is less hardy than its English cousin, I avoid heavy pruning in late summer or fall.
Instead, I wait until spring to do any significant trimming.
Tips:
Gentle Touch:
French lavender appreciates a lighter hand.
I've found that gentle, more frequent pruning works best.
Watch the Weather:
Because it's sensitive to cold, I make sure to time my pruning to avoid exposing fresh cuts to any unexpected frost.
General Pruning Advice
Use Sharp Tools:
I always use clean, sharp pruning shears to make clean cuts, which helps the plant heal faster.
Stay Above the Woody Stems:
No matter the type, I avoid cutting into the woody base.
Focusing on the green stems promotes healthier growth.
Listen to Your Plants:
Over the years, I've noticed that each lavender plant has its own growth pattern.
Paying attention to how they respond to pruning helps me adjust my approach.
For more pruning tips, check out my guides:
Pruning Winter Jasmine: Simple Guide
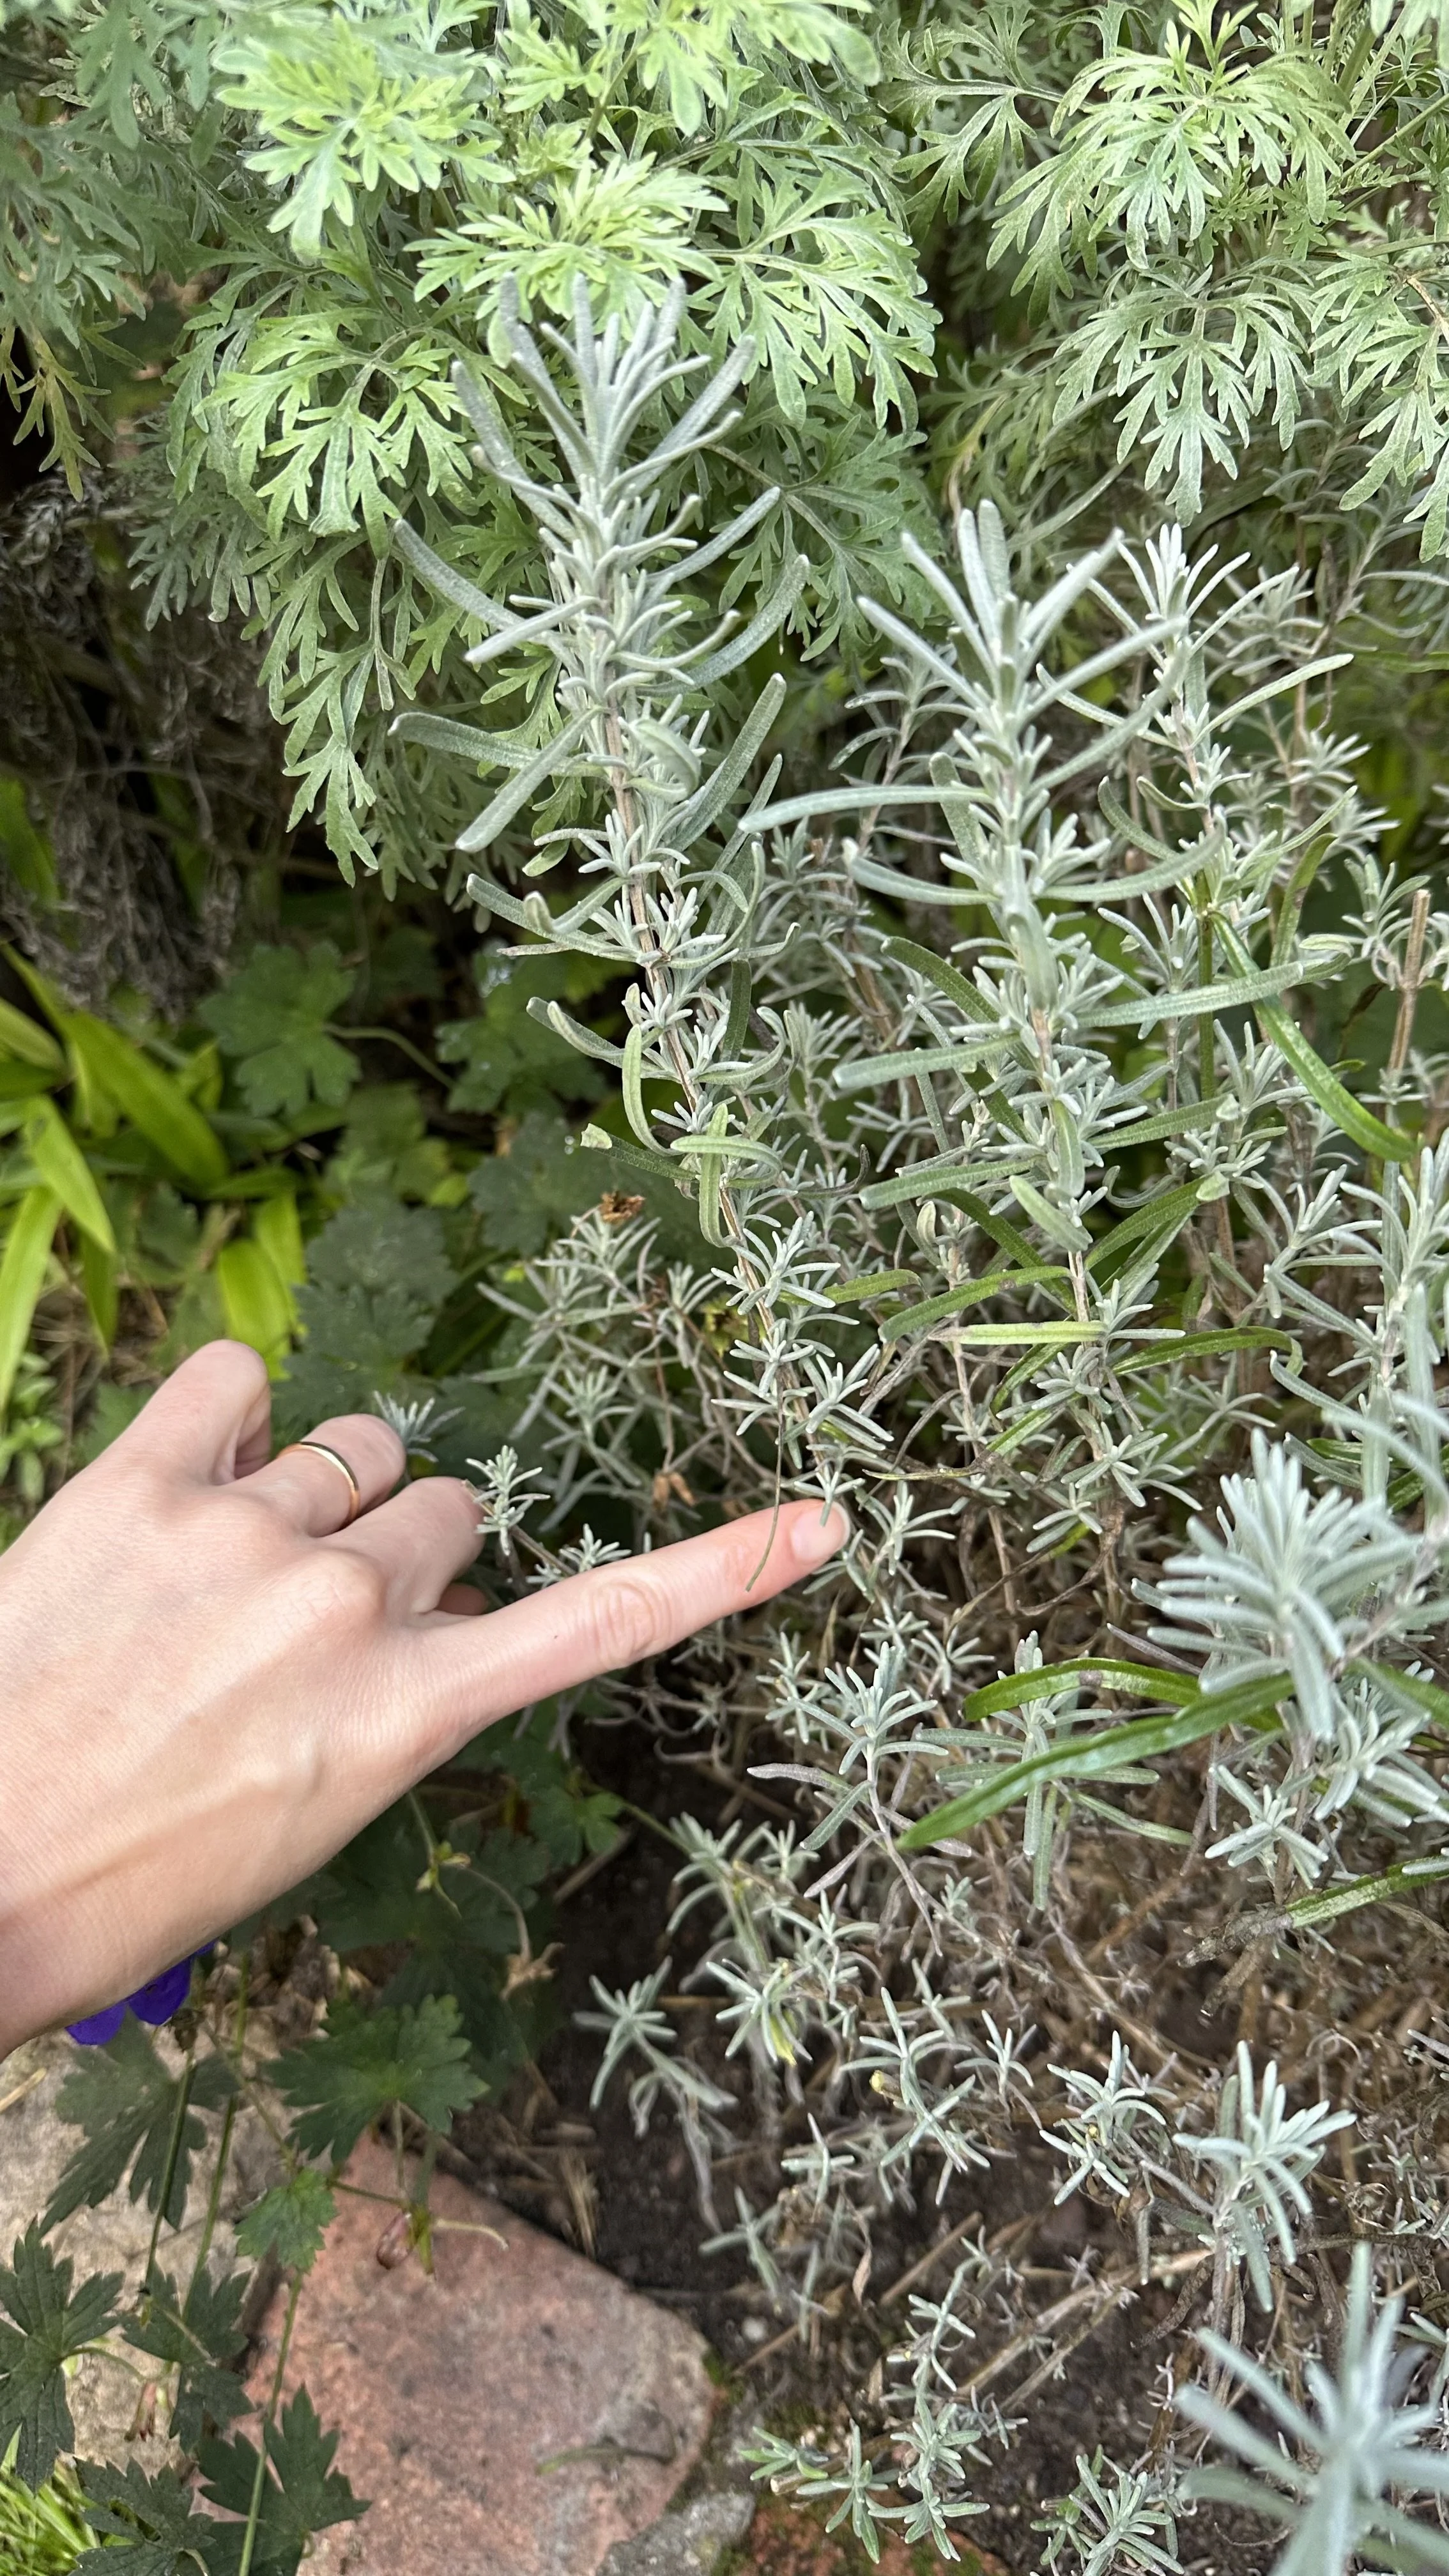
Showing where to prune French lavender.
For more tips on growing lavender, check out my guide:
My favorite lavender to grow:
Dealing with Woody Lavender
If you've noticed your lavender plants becoming a bit woody and less lush over time, you're not alone—I’ve been there myself.
Lavender naturally becomes woody as it ages, especially if it hasn't been pruned regularly.
But don't worry; there are ways to rejuvenate your plants and keep them thriving.
Why Does Lavender Become Woody?
Lavender tends to develop a woody base after a few years.
This woodiness can lead to fewer flowers and a less attractive plant overall.
I remember when my first lavender plant started to look more like a bundle of sticks than the beautiful, flowering bush it once was.
It was a clear sign that it needed some extra attention.
Steps to Rejuvenate Woody Lavender
1. Gradual Pruning Over Time
Take It Slow:
Instead of cutting back all the woody parts at once—which can shock and potentially kill the plant—it's better to prune gradually over a couple of seasons.
I learned this the hard way when I aggressively pruned a lavender plant, only to find it didn't recover.
Seasonal Trimming:
Start by trimming a little more than usual during your regular pruning sessions.
Over time, this encourages new growth and reduces the woody parts without stressing the plant.
2. Focus on New Green Growth
Identify Green Shoots:
Look for areas where new green stems are emerging from the woody base.
These are signs that the plant is still active and can regenerate.
Careful Cutting:
Trim just above these green shoots.
I always make sure to avoid cutting into the old, brown wood that doesn't show any signs of life.
3. Avoid Heavy Pruning into Old Wood
Know the Limits:
Lavender doesn't respond well to heavy pruning into old wood.
If you cut too deeply, the plant might not sprout new growth from those areas.
Gentle Approach:
I've found that being gentle and patient yields the best results.
It's better to encourage the plant to grow naturally than to force it with drastic cuts.
When to Consider Replacing the Plant
Sometimes, despite our best efforts, a lavender plant may become too woody to revive effectively.
Assess the Plant's Health:
If there's minimal new growth and the plant looks more woody than green, it might be time to consider replacing it.
Propagation Option:
Before you do, you can take cuttings from the healthier parts to grow new lavender plants.
I've done this to keep a piece of the original plant going.
Preventing Future Woodiness
To keep your lavender plants from becoming woody again, consistent care is key.
Regular Pruning:
Make pruning a part of your annual gardening routine.
I've set reminders for myself in spring and late summer to ensure I don't forget.
Proper Shaping:
Aim to maintain a rounded shape.
This not only looks nice but also promotes even growth throughout the plant.
Stay Above the Woody Parts:
Always prune above the woody stems where you see green growth.
This encourages the plant to produce more foliage and flowers.
My Personal Takeaway
Dealing with woody lavender taught me a valuable lesson about the importance of regular pruning.
Now, my lavender plants are healthier, and I get to enjoy their beautiful flowers and soothing scent much more.
It's a small investment of time that pays off in a big way.
For more pruning tips, check out my guide:
Additional Tips for Growing Lavender
I've found that growing lavender can be a rewarding experience, but it helps to keep a few extra tips in mind to ensure your lavender plants thrive.
Let me share some of the things that have made a big difference in my own garden.
Proper Spacing
When I first started planting lavender in my garden, I didn't realize how important spacing was.
Giving each lavender plant enough room to breathe is crucial.
I make sure to plant them about 2 to 3 feet apart.
This not only allows the plants to grow fully but also promotes good air circulation, which helps prevent issues like mold or mildew.
Trust me, your lavender plants will thank you for the extra elbow room.
Soil Matters
Lavender isn't too picky, but it does have preferences when it comes to soil.
I've learned that well-draining soil is a must for growing lavender successfully.
In my garden, the soil was a bit heavy, so I mixed in some organic matter to improve drainage.
This prevents water from sitting around the roots and causing root rot.
If you're unsure about your soil, it's worth taking the time to get it right—your lavender plants will be much happier and healthier.
Here is the compost I recommend for lavender:
Sunlight is Key
Lavender absolutely loves the sun.
I make sure to plant mine in the sunniest spot in my garden, where they can soak up at least 6 hours of sunlight each day.
A south or west facing garden spot is best.
In my experience, the more sun they get, the better they grow and the more flowers they produce.
So if you have a bright, sunny area at home, that's the perfect place for your lavender plants.
Water Wisely
One of the things I appreciate about lavender is how drought-tolerant it is once it's established.
When I first plant new lavender, I water it regularly to help the roots get settled.
But after that, I ease off on the watering.
Overwatering can actually harm the plants by encouraging root rot and fungal diseases.
I wait until the soil is dry about an inch below the surface before giving them a good soak.
This approach has kept my lavender plants healthy and strong.
Mulching with Care
I've found that a light layer of mulch can help retain soil moisture and suppress weeds.
However, it's important not to mulch too close to the stems of the lavender plants.
I leave a small gap around the base to ensure good air flow and prevent any moisture-related problems.
This has been especially helpful during the summer months when weeds can compete with lavender for nutrients.
Here is the mulch I recommend:
Fertilizing Sparingly
Lavender doesn't need a lot of extra nutrients.
In fact, over-fertilizing can lead to more foliage and fewer flowers.
I usually skip the fertilizer altogether, but if I notice the plants looking a bit lackluster, I might add a small amount of compost in the spring to encourage new growth.
Protecting in Winter
If you live in an area with harsh winters, t's helpful to provide some protection for your lavender plants.
You can cover your plants with a bit of straw or burlap to shield them from extreme cold and wind.
This little bit of extra care helps them come back strong when spring rolls around.
Winter can be tough on lavender, but with some protection, your plants can survive and thrive for many years.
Here are the plant covers I recommend:
Choosing the Right Varieties
There are different types of lavender, like English lavender and French lavender, each with their own characteristics.
I've found that English lavender is more cold-hardy, making it a better choice for cooler climates.
If you're in a warmer area, French lavender might be a good option.
Knowing which type suits your garden can make a big difference in how well your lavender grows.
Here are the varieties I recommend for each:
Companion Planting
I enjoy planting lavender alongside other sun-loving plants like rosemary and sage.
Not only do they look great together in the garden, but they also have similar care requirements.
Plus, the bees and butterflies love visiting them, which is a wonderful bonus for my garden.
To learn more about companion planting, check out my guide: Lavender Companion Plants: Enhancing Your Herb Garden.
Lavender can help keeps cats away from the garden. Read more with my guide:
Plants That Deter Cats: A Natural Solution to Keep Cats at Bay
FAQ
When should you cut back lavender?
The best times to prune lavender are in early spring as new growth appears and in late summer after flowering has finished.
What happens if you don't prune lavender?
If lavender isn't pruned regularly, it can become woody and leggy, leading to fewer flowers and a less healthy plant overall.
Where to cut lavender when pruning?
Cut just above the green growth, avoiding the woody stems.
This encourages new growth without harming the plant.
Can you hard prune lavender to revive it?
Lavender doesn't respond well to hard pruning into old wood.
It's better to prune gradually and focus on promoting new green growth.
How long do lavender plants typically live?
With proper care and regular pruning, lavender plants can thrive for several years, often up to 10-15 years or more.
Wrap-Up
Lavender growing has become one of my favorite parts of tending to my garden.
There's something so satisfying about seeing these plants flourish with just a bit of regular pruning and care.
I hope that sharing my experiences helps you in your own gardening journey.
May your gardens be filled with the beauty and joy that lavender brings for many years to come.
Pin this post to save it for later:
