Quick Homemade Tomato Fertilizer
This website is reader-supported - thank you! This post may contain affiliate links. As an Amazon Associate, I earn from qualifying purchases at no extra cost to you.
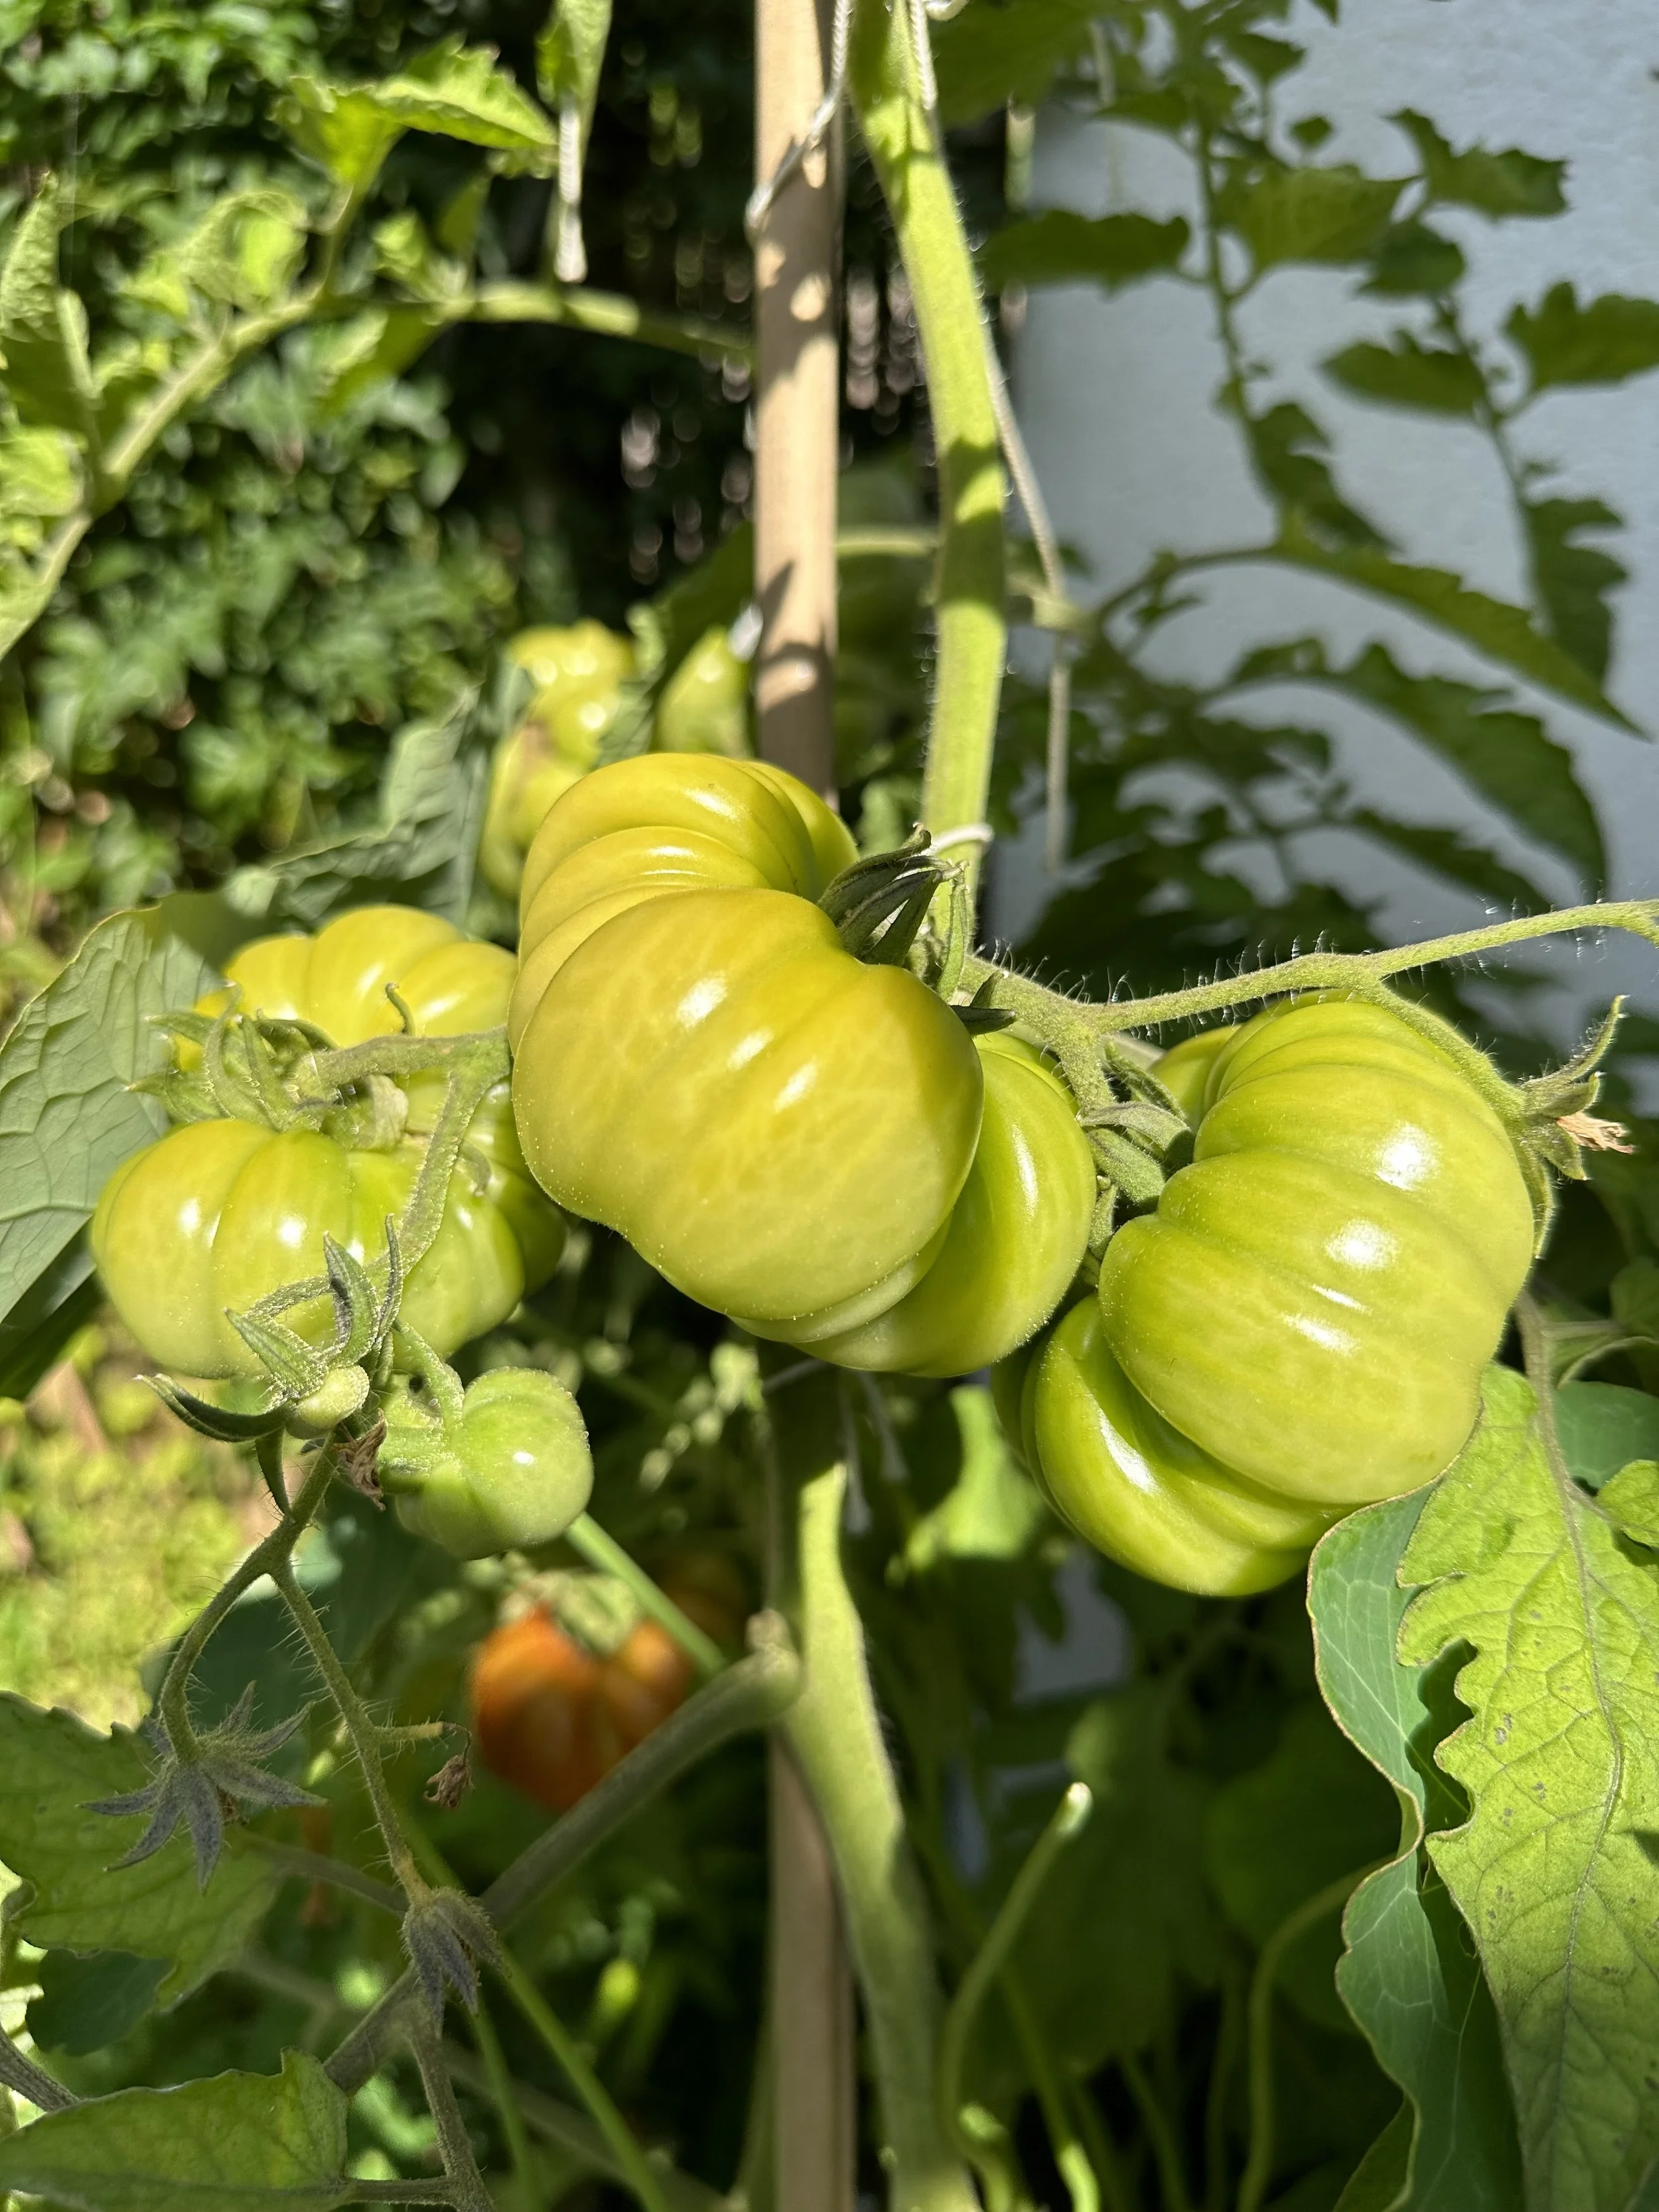
The joy of seeing the first tomato blossom in your garden, brings with it the promise of sun-ripened, juicy tomatoes in the near future.
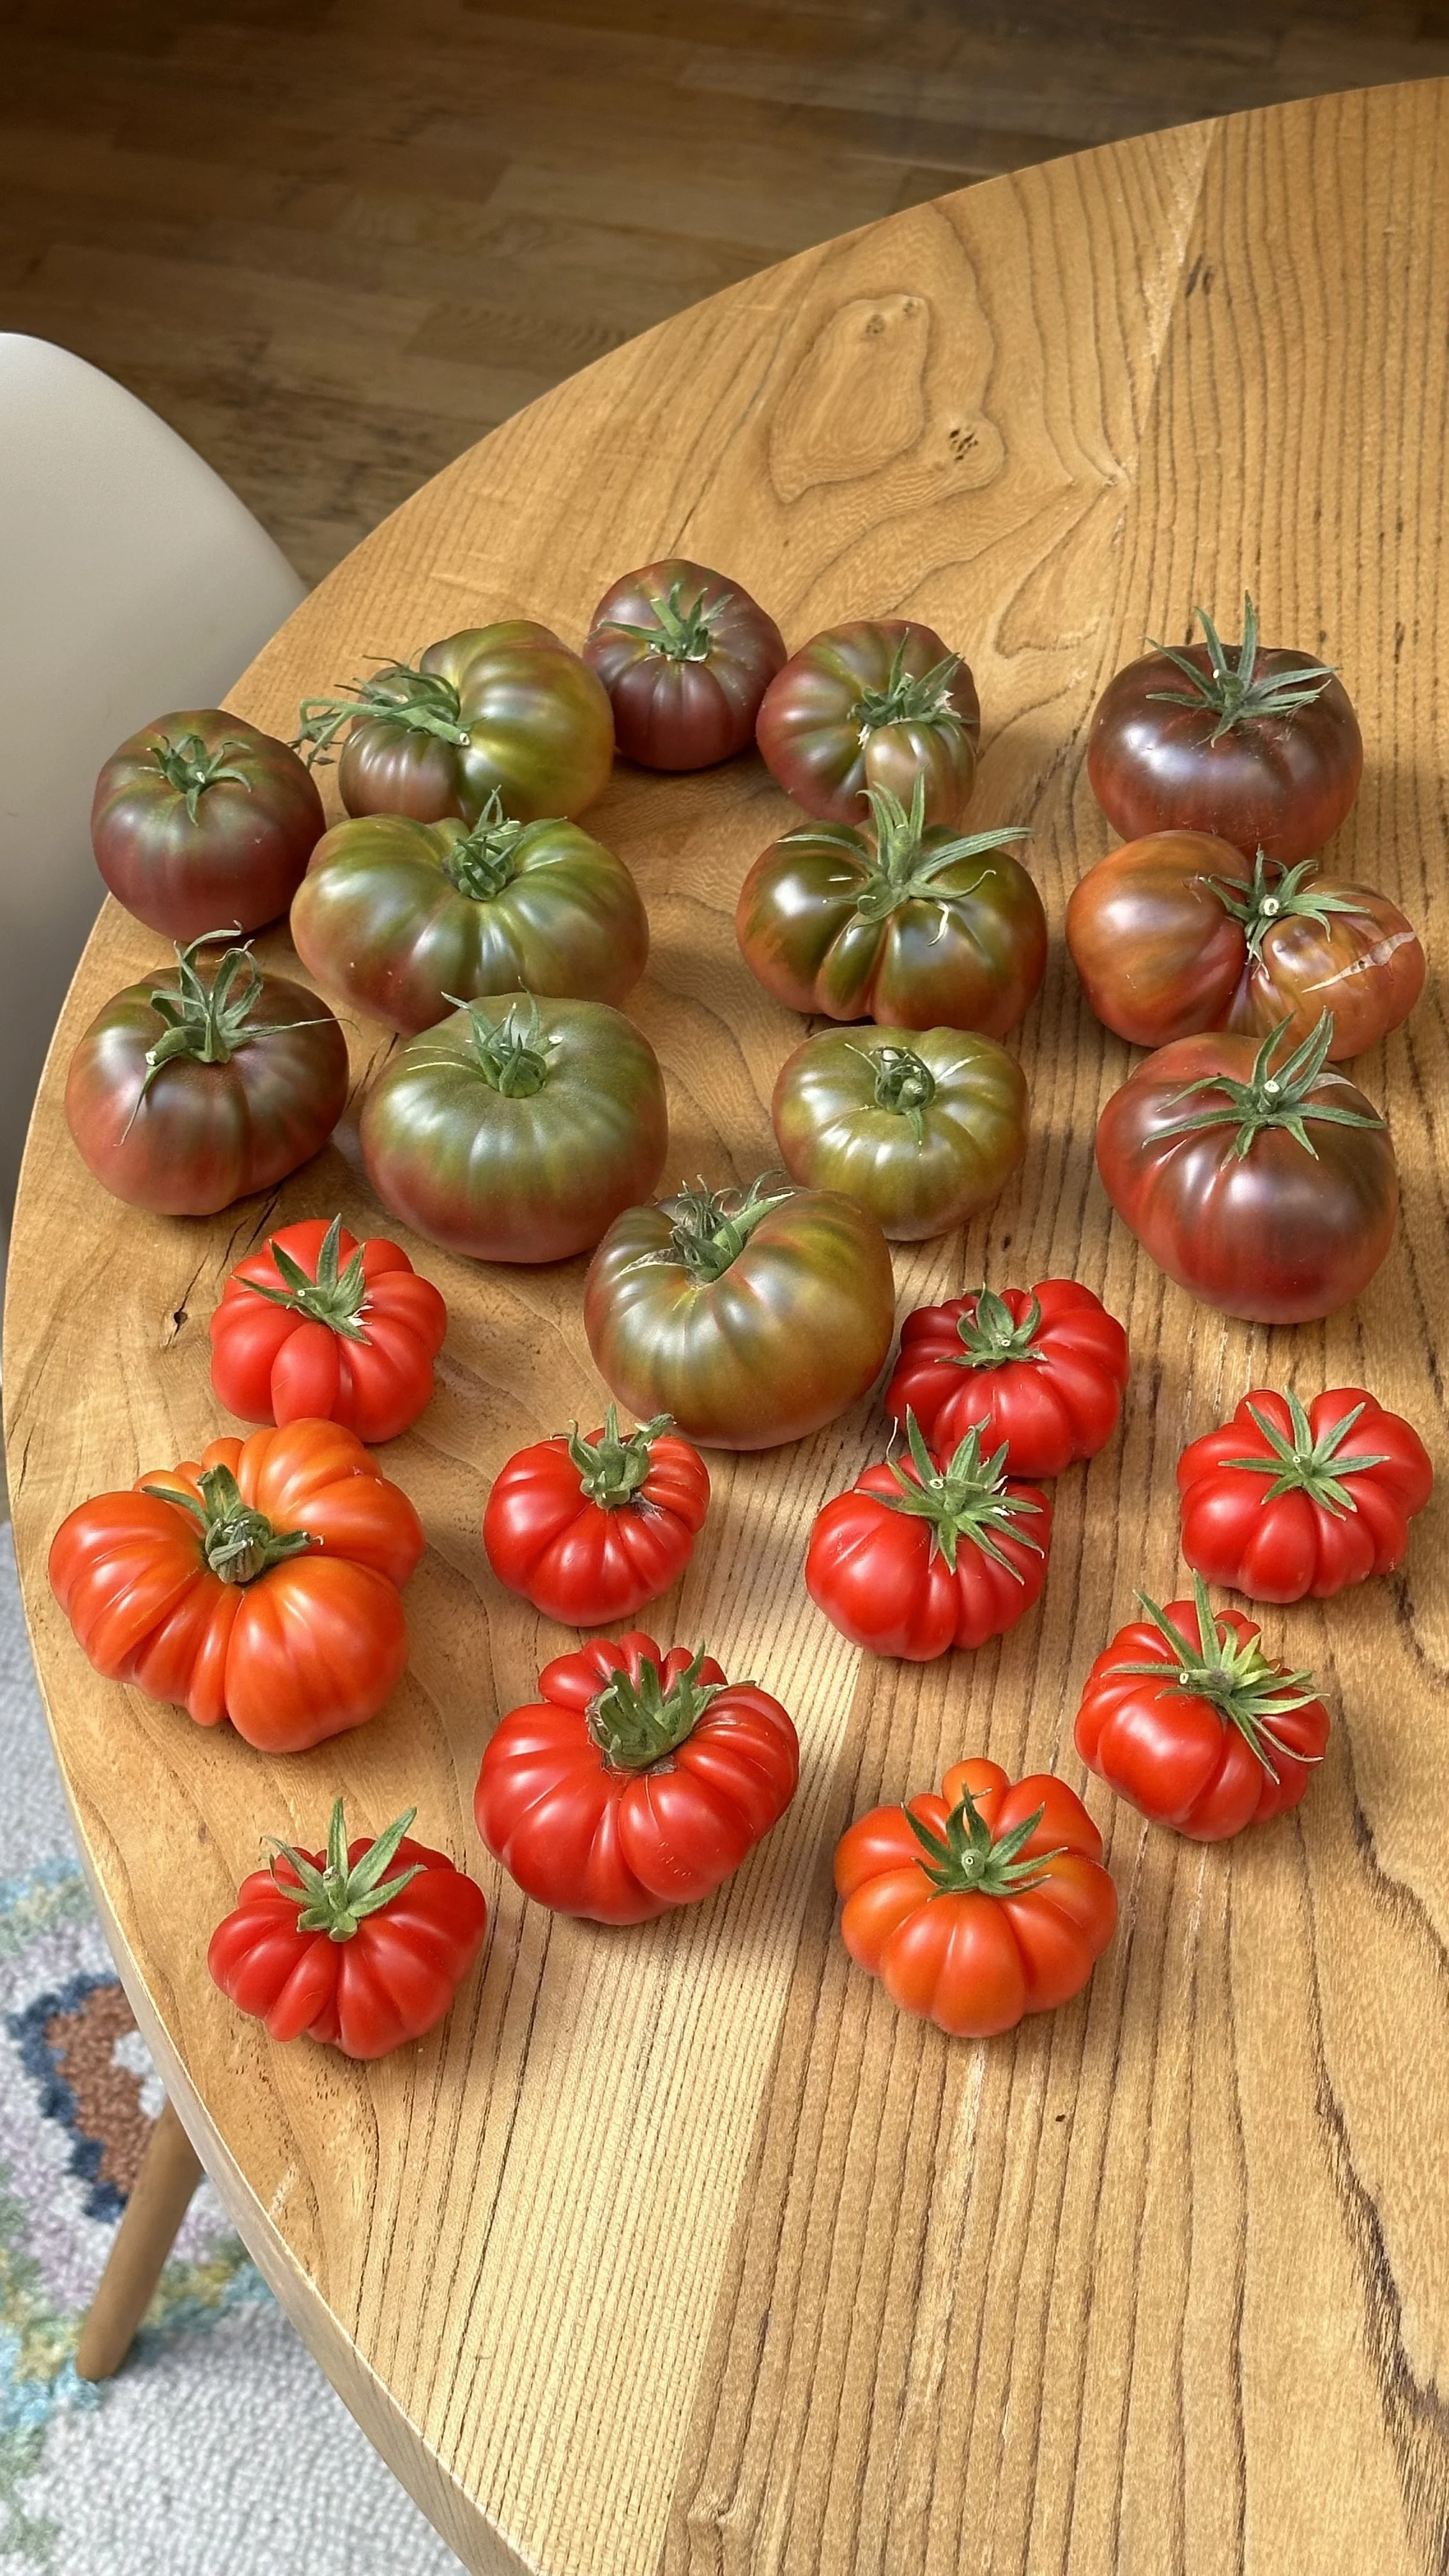
These little red (or yellow, purple, and even green) jewels are more than just a fruit; they represent months of care, commitment, and patience.
But even the most diligent care can result in a poor harvest if the soil isn’t adequately nourished.
That’s where fertilizers come into play.
While there’s a vast market of commercial products out there, nothing quite matches the sustainability of a homemade tomato fertilizer.
Not only is this method environmentally friendly and cost-effective, but it also ensures that what goes into the soil is natural, organic, and free from harmful chemicals.
In this guide, we’ll delve deep into the world of homemade tomato fertilizers, discussing their benefits, what tomatoes truly crave, and even sharing a tried-and-true recipe for you to start with.
Learn more about growing tomatoes:
Are Coffee Grounds Good for Tomato Plants?
Why Use a Homemade Tomato Fertilizer?
A homemade solution gives you control over what goes into your garden and eventually, onto your plate.
There are many other benefits to homemade tomato fertilizer:
Sustainability at Its Best:
Creating a fertilizer from household items or garden waste not only reduces the environmental burden but also promotes a cyclical approach to gardening.
When we use organic waste like banana peels or eggshells, we're essentially recycling nutrients, ensuring that nothing goes to waste.
Healthier Plants and Produce:
Commercial fertilizers often come packed with a host of chemicals.
While they might promise quicker results, they can sometimes harm the beneficial microorganisms in the soil.
Natural tomato fertilizers maintain a harmonious balance in the soil, leading to healthier plant growth and, consequently, more nutritious tomatoes.
Cost-Effective and Economical:
Gardening can become an expensive hobby, especially with the recurring cost of fertilizers.
By leveraging ingredients already present in your home or yard, you can save a significant amount while still offering the best care to your plants.
Customization:
One of the biggest advantages of homemade solutions is the ability to customize.
Depending on what your soil test reveals or what stage of growth your tomato plants are in, you can tweak your fertilizer recipe to provide the exact nutrients your plants crave.
Organic Assurance:
While many products on the market claim to be "organic," creating your own mix ensures that you're truly getting an organic product.
This not only benefits the soil and plants but also guarantees that the food you consume is free of synthetic additives.
To learn more about growing tomatoes, check out my guides:
Grow Tomatoes Anywhere with Grow Bags
What nutrients Tomato Plants Need
Like all plants, tomatoes thrive best when their environment caters to their specific nutrient needs.
To grow robust and yield bountifully, tomato plants rely on three primary nutrients, along with other secondary and micronutrients.
Primary Nutrients:
Nitrogen (N):
Often considered the 'leaf nutrient', nitrogen is the key to a plant's early growth phase.
It promotes robust leafy growth, giving tomato plants the vibrant green hue we associate with health.
However, it's a balancing act.
Too much nitrogen, especially during the fruiting stage, can lead to an abundance of foliage but a reduced fruit yield.
Phosphorus (P):
This nutrient plays a pivotal role in energy transfer within the plant, making it essential for flower and fruit development.
A sufficient amount of phosphorus ensures that your tomato plants produce ample blossoms that lead to a bountiful tomato harvest.
Potassium (K):
Often termed the 'quality nutrient', potassium is vital for overall plant health, affecting various physiological processes.
It aids in protein synthesis, improves drought resistance, and fortifies plants against diseases.
More notably for tomatoes, potassium is known to enhance fruit size, color, and flavor.
Secondary and Micronutrients:
Calcium (Ca):
Crucial for cellular development, calcium prevents blossom end rot, a common ailment in tomatoes.
Magnesium (Mg):
A vital component of chlorophyll, magnesium assists in photosynthesis.
Its presence ensures vibrant green leaves and improved photosynthetic efficiency.
Sulfur (S):
This nutrient aids in certain amino acid formations and is crucial for overall plant protein development.
Micronutrients:
Elements like iron, manganese, zinc, molybdenum, boron, and copper are needed in trace amounts.
However, their role is crucial for certain enzymatic and physiological processes within the plant.
Soil pH and Tomato Plants:
Apart from nutrients, the soil pH plays a considerable role in tomato health.
Tomatoes prefer slightly acidic soils with a pH level of 6.2 to 6.8.
Ensuring the right pH guarantees that nutrients are easily available to the plants.
In order to measure your soil pH and see if you need to make adjustments, I recommend using this pH meter:
To learn more about growing tomatoes, check out my guides:
Why is My Tomato Plant Not Flowering?
Homemade Tomato Fertilizers
These homemade concoctions provide the essential nutrients tomato plants crave.
Epsom Salt:
Benefits:
Epsom salt offers magnesium and sulfur, which play vital roles in photosynthesis and amino acid formation, respectively.
Recipe:
Dissolve 1 to 2 tablespoons of Epsom salt in a gallon of water.
Use this mixture to water your tomato plants once a month.
This is the epsom salt I recommend:
Banana Peels:
Benefits:
Bananas are a great source of potassium, which enhances fruit quality in tomatoes.
Recipe:
Bury dried or fresh banana peels a few inches deep at the base of the tomato plant.
Over time, as they decompose, they'll release potassium into the soil.
Fish Emulsion:
Benefits:
This liquid fertilizer is teeming with nitrogen, phosphorus, and potassium.
It's an immediate-acting fertilizer, perfect for giving plants a quick nutrient boost.
How to Use:
Follow the instructions on commercially available fish emulsion or, if making your own, dilute it heavily with water to prevent root burn.
This is the fish emulsion I recommend:
Bone Meal Fertilizer:
Benefits:
Bone meal is phosphorus-rich, making it an excellent choice during the flowering and fruiting phases.
How to Use:
Sprinkle the bone meal on the soil's surface and work it in gently.
Be sure to follow the recommended amounts, as too much can make the soil overly alkaline.
Here is the bone meal I recommend using:
Wood Ash:
Benefits:
Wood ash adds calcium and potassium to the soil, benefiting the overall health of the tomato plant.
How to Use:
Lightly sprinkle wood ash around the base of your tomato plants and rake it into the soil.
Eggshells:
Benefits:
Rich in calcium, crushed eggshells can prevent blossom end rot in tomatoes.
Recipe:
Rinse and dry eggshells, then crush them into a fine powder.
Sprinkle this around the base of the tomato plants or mix it into the soil.
Here is the dry eggshell powder I recommend using:
Compost Tea:
Benefits:
A balanced source of nutrients, compost tea enhances soil microbial activity and provides a broad spectrum of minerals.
Recipe:
Fill a large bucket with compost and cover with water.
Let it steep for a few days, stirring occasionally.
Strain out the solids and use the liquid to water your tomatoes.
To learn more, check out my full guide: A Simple Recipe for Rich Compost Tea.
Quick DIY Tomato Fertilizer Recipe
For those looking for a quick tomato fertilizer recipe, here's one that encompasses many of the mentioned ingredients:
Ingredients:
1 tablespoon Epsom Salt
4-5 Eggshells
2 tablespoons Bone Meal
1 tablespoon Baking Soda
1 gallon Water
Instructions:
Eggshell Powder:
Start by rinsing your eggshells to remove any egg residue.
Allow them to dry.
Once dried, crush the shells into a fine powder using a mortar and pestle or a coffee grinder.
Eggshells are rich in calcium, which helps prevent blossom end rot in tomatoes.
Mix Dry Ingredients:
In a large bucket or container, combine the powdered eggshells, Epsom salt, bone meal, and baking soda.
Epsom salt provides magnesium and sulfur, bone meal adds phosphorus and calcium, and baking soda helps in disease prevention.
Dilute with Water:
Slowly add the gallon of water to your dry ingredients, stirring continuously to ensure everything dissolves and mixes well.
This step dilutes the mixture to a safe concentration for the plants.
Application:
Use this solution to water your tomato plants at the base, being careful not to get it on the leaves.
It’s best used once every 4-6 weeks during the growing season.
Storage:
If you have leftover fertilizer, store it in a cool, dry place, preferably in a container with a lid.
Give it a good stir or shake before using it again.
Notes:
Always test the soil before applying any fertilizer to understand what nutrients your plants need.
This DIY fertilizer provides a balanced mix of nutrients, but it's important to observe your plants for any signs of nutrient deficiency or excess and adjust your fertilization practices accordingly.
Check out my other guides on growing tomatoes:
Leggy Tomato Seedlings: Causes and Solutions
Tomato Fertilizer Schedule
Understanding when and how often to fertilize your tomato plants is crucial.
A well-timed fertilizing schedule ensures optimal uptake of nutrients, aiding in healthier growth and a better yield.
Here is a schedule to guide you through the different stages of tomato growth:
1. Seedling Stage (2-3 weeks post germination):
Nutrient Needs:
At this stage, the primary concern is to encourage strong root and leaf development.
A balanced, water-soluble fertilizer, slightly higher in nitrogen, is ideal.
Application:
Once seedlings have at least two sets of true leaves, it's time for their first feeding.
Dilute the recommended amount of fertilizer by half to prevent over-fertilization.
For watering tips, check out my guide How Often to Water Seedlings.
2. Transplanting:
Nutrient Needs:
Boosting root development is vital at this stage.
Phosphorus-rich fertilizers can be particularly beneficial.
Application:
A week before transplanting, start hardening off your plants.
On the day of transplanting, add a handful of compost and a tablespoon of bone meal (rich in phosphorus) to each planting hole.
This preps the soil with nutrients and aids root development.
3. Early Growth Stage (First 4-5 weeks post-transplanting):
Nutrient Needs:
As the plant starts to grow vigorously, it will require a balanced dose of N-P-K (Nitrogen-Phosphorus-Potassium).
Application:
Feed the plants every two weeks with a balanced, water-soluble fertilizer.
Remember to always water after applying solid fertilizers to help nutrient absorption.
4. Flowering Stage:
Nutrient Needs:
As flowers appear, the plant's requirement shifts towards phosphorus and potassium to support flower and fruit formation.
Application:
Switch to a fertilizer lower in nitrogen but higher in phosphorus and potassium.
Apply every 2-3 weeks.
5. Fruiting Stage:
Nutrient Needs:
Potassium is crucial now, promoting fruit ripening and improving overall fruit quality.
Application:
Continue with the phosphorus and potassium-rich fertilizer but consider adding crushed banana peels or wood ash to boost potassium levels.
6. Late Season/Maintenance:
Nutrient Needs:
As the season progresses, plants might exhibit signs of nutrient deficiency like yellowing leaves or lackluster fruit production.
Application:
A light application of compost tea or liquid seaweed can rejuvenate plants, providing a broad spectrum of nutrients.
Additionally, ensure that you're not overwatering, as this can leach nutrients from the soil.
Note:
It's essential to keep a keen eye on your tomato plants throughout the growing season.
Visual cues can often signal nutrient deficiencies.
Yellowing leaves might indicate a nitrogen shortage, while dark green leaves and delayed fruiting could be a sign of excessive nitrogen.
Adjust your feeding schedule based on what your plants are telling you.
Fertilizer For Potted Tomatoes
Growing tomatoes in pots or containers offers flexibility, especially for those with limited gardening space.
However, tomatoes grown in pots have unique nutritional needs and challenges compared to their in-ground counterparts.
Check out my full guide to Grow Tomatoes Anywhere with Grow Bags.
Here's how you can ensure they thrive:
Choosing the Right Container:
A typical tomato plant requires a pot that can hold at least 5-7 gallons of soil.
This provides ample space for roots to spread, ensuring they can access all the nutrients they need.
Here is my favorite 5 gallon grow bag:
Premium Potting Mix:
Tomatoes are heavy feeders.
Begin with a high-quality potting mix designed for edible plants.
These typically contain a balanced mix of nutrients tailored for vegetable growth.
Here is the high-quality potting mix for tomatoes I recommend:
3. Fertilizing Schedule for Potted Tomatoes:
Mix a slow-release granular fertilizer into the potting soil at the time of planting.
This will provide a steady supply of nutrients for the initial growth stages.
Here is the slow-release fertilizer I recommend:
Early Growth:
A liquid fertilizer, diluted to half-strength, should be applied every two weeks once you observe active growth.
Flowering & Fruiting:
As flowers emerge, switch to a fertilizer with less nitrogen but more phosphorus and potassium.
This supports flower and fruit formation.
Continue with bi-weekly applications.
Maintenance:
Potted tomatoes are more prone to nutrient depletion since they can't source nutrients outside their container.
Periodically adding compost, worm castings, or a sprinkle of Epsom salt can help maintain nutrient levels.
4. Monitoring & Adjusting:
Watch for Signs:
Container plants often show quicker signs of distress.
Yellowing leaves may hint at nitrogen deficiency, while stunted growth might indicate a lack of phosphorus.
Watering Wisdom:
Container tomatoes tend to dry out faster, especially in hot climates.
However, overwatering can cause nutrient runoff. Aim for consistently moist, but not soggy, soil.
5. End of Season Care:
Replenish:
If you plan to reuse the potting mix for the next season, refresh it by adding compost or a new batch of potting mix.
This ensures the soil is nutrient-rich and ready for another round of growing.
Clean & Store:
Empty pots should be cleaned to remove any potential disease or pest residues.
Store them in a dry place to increase their longevity.
Note:
Growing tomatoes in pots requires consistent attention, particularly in terms of nutrition.
However, the rewards – juicy, homegrown tomatoes even in the smallest of spaces – make all the effort worthwhile.
Wrap-Up
Choosing an organic tomato fertilizer is not just a nod to sustainable practices, but a commitment to giving our tomatoes the best natural care possible.
As we've explored, the ways to fertilize tomato plants are numerous, from traditional store-bought options to innovative homemade fertilizers.
The use of natural ingredients like using Epsom salt, bone meal fertilizer, and blood meal provides essential nutrients that support healthy plant growth.
In essence, by understanding and respecting the nutrient needs of our plants, we can reap the rewards in the form of vibrant, juicy, and delicious tomatoes.
Next check out my guide The Art of Harvesting Tomatoes: When and How to Pick the Perfect Fruit.
Pin this post to save it for later!


