When to Start Tomato Seeds Indoors
This website is reader-supported - thank you! This post may contain affiliate links. As an Amazon Associate, I earn from qualifying purchases at no extra cost to you.
Diving into the world of growing tomatoes starts with a crucial step: starting tomato seeds indoors.
I love this proactive approach, as it is taken well before the arrival of summer's warmth, and is key to beating the spring frost date and ensuring a big tomato harvest.
Mastering the process of starting seeds indoors is important for a fruitful growing season, so let's explore the essential techniques and tips for nurturing tomato seeds, paving the way for a thriving tomato garden.
Tomatoes are one of my favorite things to grow.
Check out my other guides:
Grow Tomatoes Anywhere with Grow Bags
The Art of Harvesting Tomatoes: When and How to Pick the Perfect Fruit
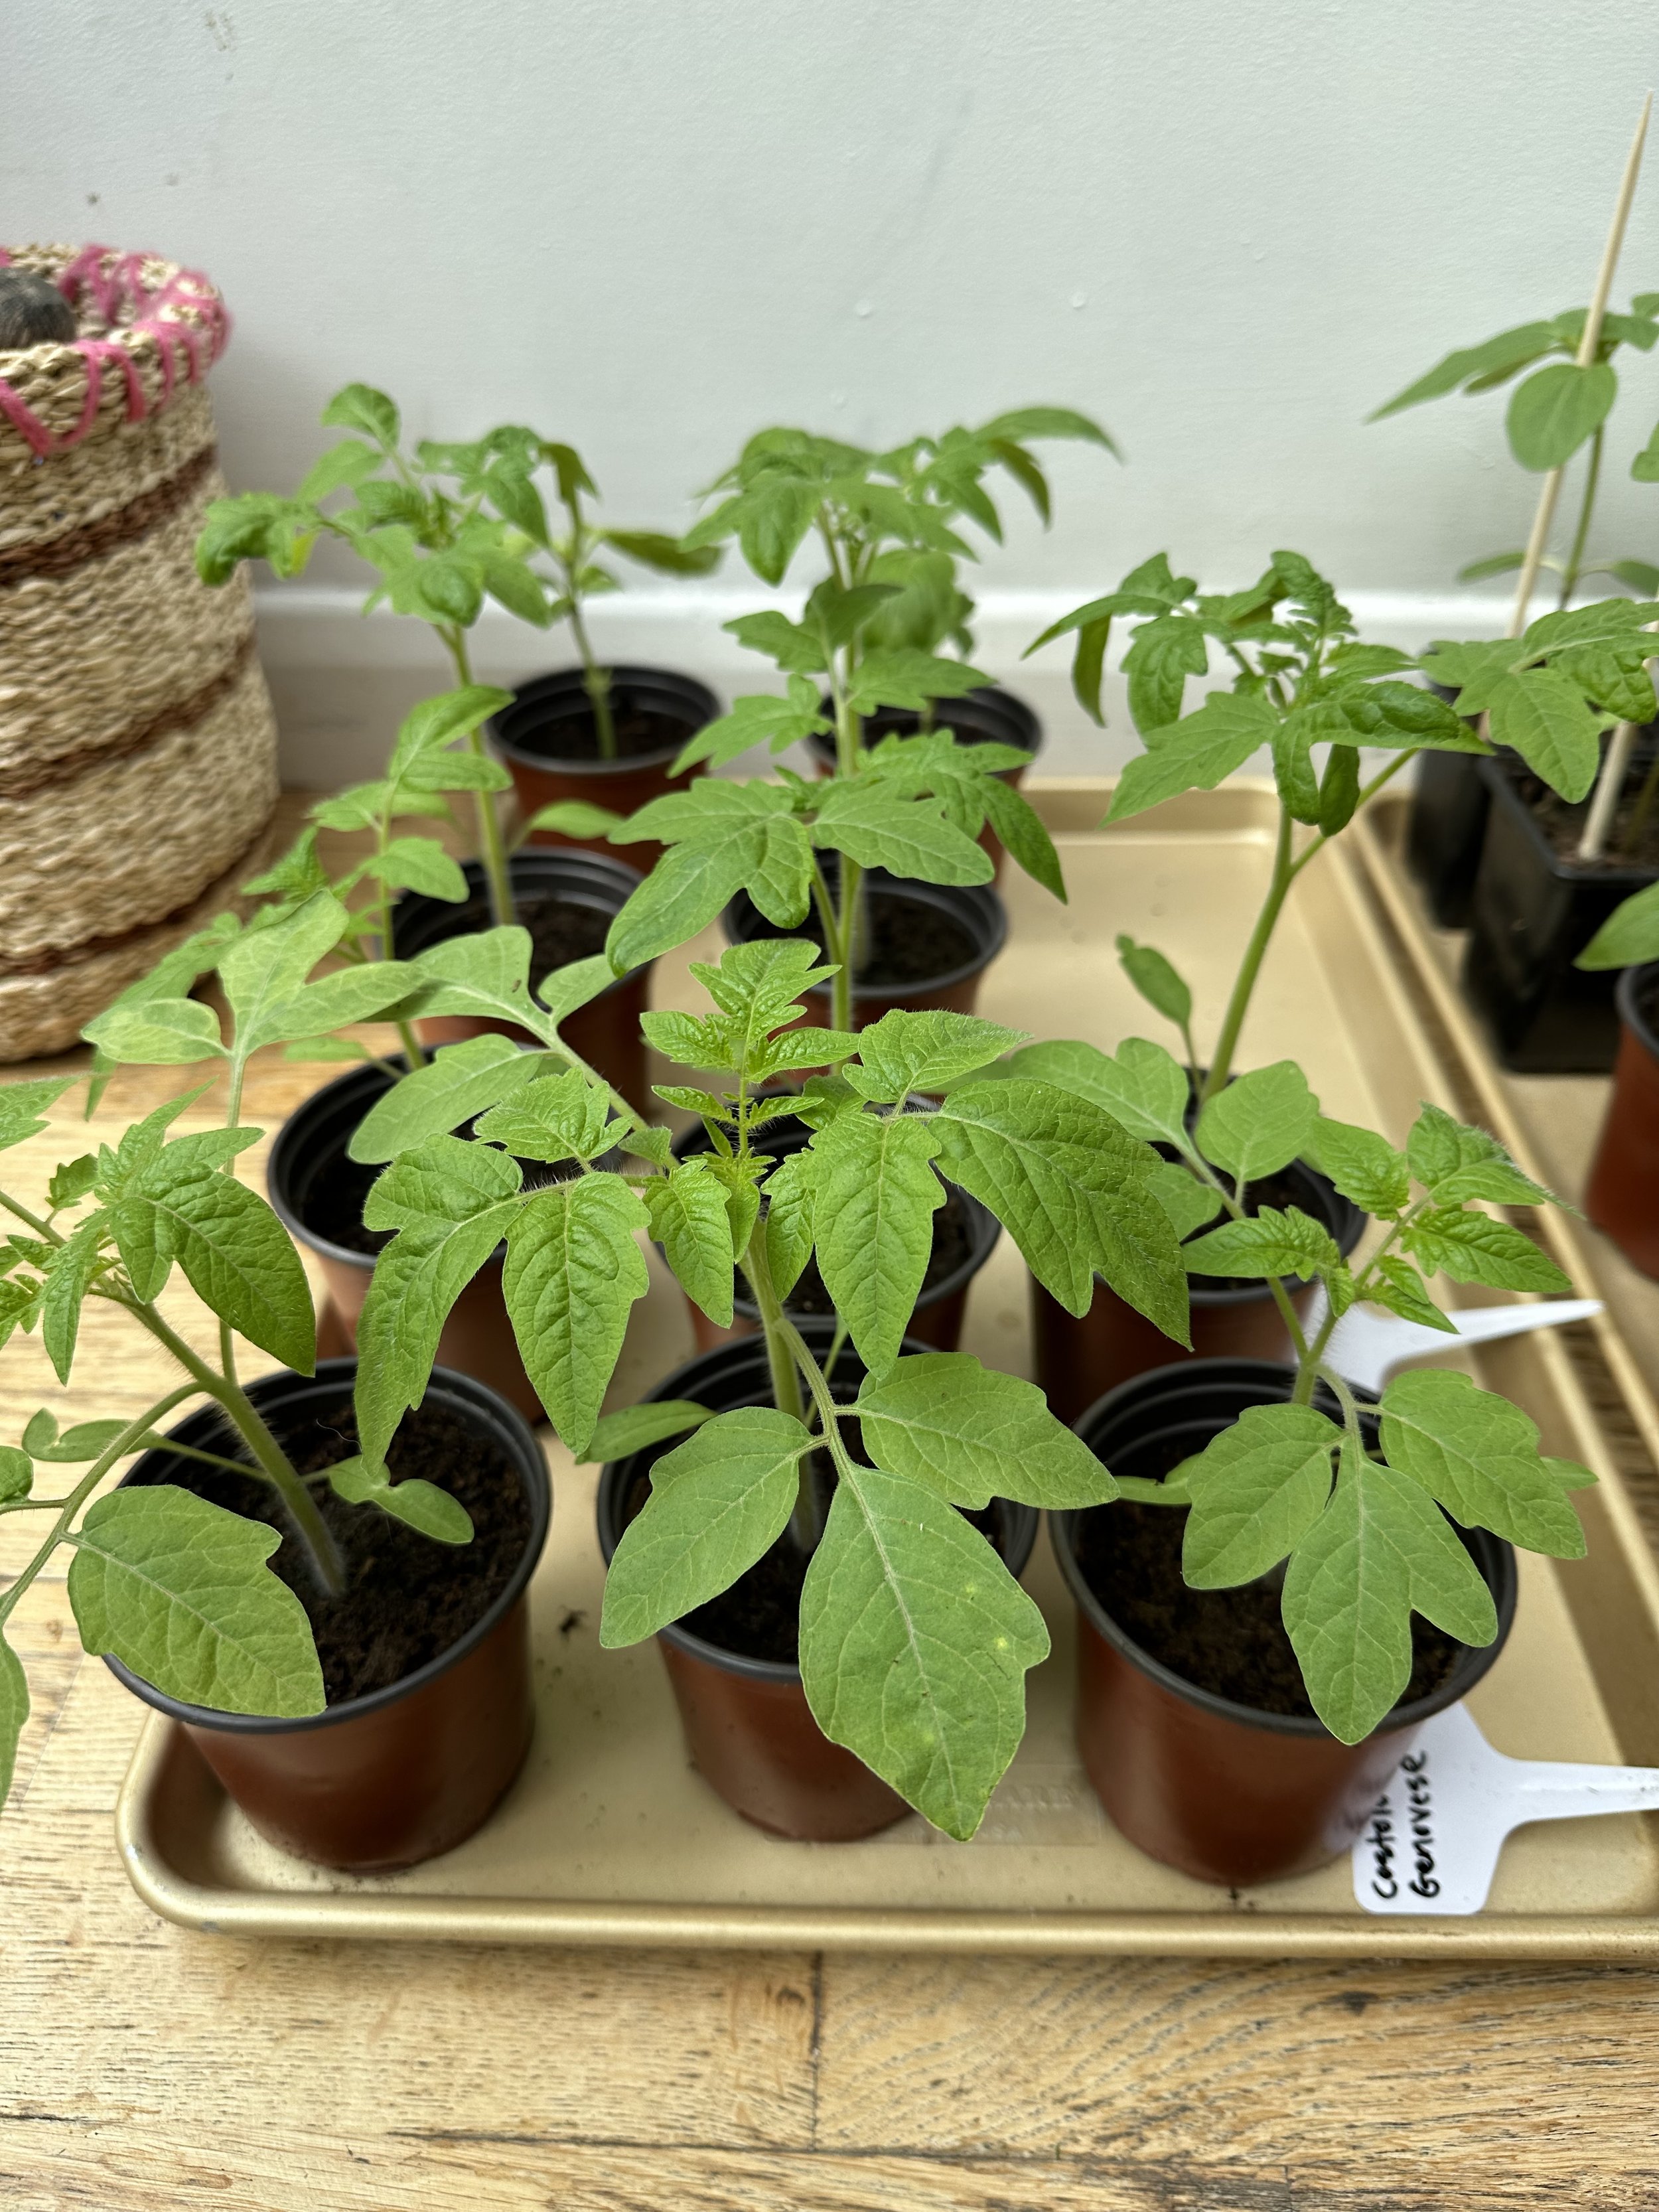
My little tomato seedlings that I started in the warmth indoors.
Why Start Tomato Seeds Indoors?
Extended Growing Season:
One of the primary reasons to start tomato seeds indoors is to extend the growing season.
Tomatoes typically require a long growing period to mature and produce fruit.
By starting seeds indoors, you can get a jumpstart on the season, especially in regions with shorter summers or longer winters.
This head start is crucial for enjoying ripe tomatoes earlier and for a longer duration.
Better Control Over Growing Conditions:
Indoors, you have more control over the environment.
This control is vital during the initial stages of growth.
You can ensure the right temperature, which is crucial for germination, and provide consistent lighting, which might be challenging outdoors during early spring.
This controlled environment leads to healthier, more robust seedlings.
Protection from Weather Fluctuations:
Early spring is notorious for its unpredictable weather, including frost that can be detrimental to young tomato plants.
By starting seeds indoors, you protect these delicate seedlings from such harsh conditions, ensuring they grow uninterrupted by external weather elements.
Avoidance of Pests and Diseases:
Young tomato plants are vulnerable to pests and diseases found outdoors.
By germinating seeds and nurturing seedlings indoors, you significantly reduce the risk of exposure to common garden pests and diseases, leading to healthier plants that are more likely to thrive once transplanted outside.
Cost-Effective:
Starting tomatoes from seeds can be more cost-effective than purchasing seedlings from a store.
A packet of seeds often costs less than individual seedlings and can yield a much larger number of plants.
To learn more about growing tomatoes, check out my guides:
Are Coffee Grounds Good for Tomato Plants?
I like to keep my tomato seedlings on a tray near the window so that they get enough heat and light.
To learn more about starting from seed, check out my guide:
The Best Time to Start Tomato Seeds Indoors
Timing is a critical factor in the success of growing tomatoes indoors.
Here is how to determine the best time to start your tomato seeds:
Understanding Your Local Climate Zone
Your location plays a significant role in determining the right time to start seeds indoors.
The United States is divided into various hardiness zones, each with its own climatic conditions.
Knowing your zone helps in pinpointing the ideal time to plant.
Simply input your zip code into this USDA map and they will tell you your hardiness zone.
Using the Last Frost Date as a Guide
The cornerstone of timing your tomato planting is the last frost date in your area.
Tomatoes are warm-weather plants and frost can be detrimental to them.
The last frost date is the average date of the last frost in spring after which the likelihood of frost is low.
A great guide for this is the Old Farmer’s Almanac.
Type in your zip code and it will tell you the average frost dates for your area.
Count Backwards from the Frost Date
As a general rule, start your tomato seeds indoors 6-8 weeks before the expected last frost date.
This timeframe gives your seedlings enough time to grow strong and healthy before moving them outside.
Regional Examples:
Zone 4: In colder areas like Zone 4, the last frost date might be in late May.
So, start seeds indoors in early to mid-March.
Zone 6: Here, the last frost is typically around mid-April.
Hence, late February to early March is a good time to start.
Zone 8: With an earlier last frost date in late February or early March, you should start seeds in early to mid-January.
For more tips, check out my guide: Seeds to Sow in January.
Consider the Varieties
Different tomato varieties might have slightly varying needs.
While most follow the 6-8 week guideline, check if your chosen variety has specific requirements.
Monitoring Seedling Growth
It's not just about when to start, but also about observing your seedlings' growth.
They should be sturdy and have several sets of leaves before transplanting outdoors.
If they seem leggy or weak, they might need more time indoors.
Check out my guide Leggy Tomato Seedlings: Causes and Solutions.
Adapting to Local Weather Fluctuations
Weather can be unpredictable.
Keep an eye on local weather forecasts as the transplanting time nears.
If an unexpected frost is predicted, you might need to delay moving your plants outside.
grow lights
For those in urban areas or with limited outdoor space, grow lights can extend your growing possibilities, allowing for a bit more flexibility in timing.
Here are my favorite grow lights:
While the general rule of 6-8 weeks before the last frost date holds, it's essential to consider your local climate, weather patterns, and tomato varieties.
By paying attention to these details, you can optimize the timing for starting your tomato seeds indoors, setting the stage for a successful growing season.
To learn more about growing tomatoes, check out my guides:
Why is My Tomato Plant Not Flowering?
Growing Tomatoes in Shade: Top 6 Varieties
Planting my tomato seeds.
Choosing the Right Tomato Varieties
When it comes to growing tomatoes, the variety you choose can significantly impact the quality of your harvest.
Here is what to consider when selecting the right tomato varieties for your indoor start:
1. Determine Your Purpose and Preference:
Eating Fresh vs. Cooking:
Some tomatoes are best eaten fresh, like cherry and beefsteak tomatoes, which are great for salads and sandwiches.
Others, like Roma tomatoes, are ideal for sauces and canning due to their lower water content.
Flavor Profile:
Do you prefer sweet, tangy, or a balanced flavor?
Cherry tomatoes tend to be sweeter, while some heirloom varieties offer a more complex flavor profile.
2. Consider the Space You Have Available:
Determinate vs. Indeterminate:
Determinate tomatoes (bush tomatoes) grow to a fixed height and are more compact, making them suitable for smaller spaces or containers.
Indeterminate tomatoes continue growing in height throughout the season and require more space and staking or caging for support.
3. Growth Habit and Maintenance:
Bushy vs. Vining:
Bushy varieties require less staking and can be easier to manage.
Vining varieties, while requiring more support, often yield more fruit over a longer period.
4. Disease Resistance:
Look for varieties that are resistant to common tomato diseases, especially if you've had disease issues in the past.
5. Maturation Time:
Early, Mid, or Late Season:
Early-season tomatoes mature quickly, providing a faster harvest.
Mid and late-season varieties take longer but can provide a continuous supply of tomatoes throughout the season.
Here are my 3 favorite tomato seeds to grow:
For more planting tips, check out my guide:
I like to grow some of my tomato plants indoors to maturity as they are sure to get enough heat and light indoors.
Preparing to Plant
Getting your supplies ready is crucial for the successful germination and growth of your tomato seeds.
Here is how to ensure you’re all set for planting:
1. Gather Your Supplies:
High-Quality Tomato Seeds:
Choose your preferred varieties based on the factors we discussed earlier.
Ensure the seeds are fresh for the best germination rates.
As I mentioned before, this is one of my favorite tomato varieties to grow:
Seed Starting Mix:
Use a light, well-draining seed starting mix, which is different from regular potting soil.
It's designed to retain moisture while providing enough air for root growth.
For more tips on potting soil, check out my guide Does Potting Soil Go Bad? Know the Warning Signs.
Here is the seed starting mix I recommend using.
Containers:
You can use seed trays or any small containers with drainage holes.
If reusing containers, clean them thoroughly to prevent disease.
Here are the containers I like to use:
Labels:
Don’t forget to label your containers with the tomato variety and planting date.
It’s easy to forget once they start growing!
2. Setting Up Your Planting Area:
Location:
Choose a warm area with a stable temperature, ideally between 70-80°F (21-27°C).
Consistent warmth is key for germination.
Light Source:
After germination, seedlings need plenty of light.
A sunny window may work, but for best results, consider using grow lights.
Place them a few inches above the seedlings and adjust as they grow.
Here are the grow lights I recommend using for this:
3. Preparing the Seed Starting Mix:
Moistening the Mix:
Before filling your containers, moisten the seed starting mix.
It should be damp but not soggy.
This helps with even moisture distribution and makes planting easier.
Filling Containers:
Fill your containers with the moistened mix, leaving about a half-inch from the top.
Firm the soil lightly to eliminate air pockets.
4. Planning for Watering:
Watering Setup:
Have a plan for watering your seedlings.
A watering can with a fine rose attachment is ideal to avoid disturbing the soil or seeds.
Alternatively, you can water from below by placing containers in a tray of water and allowing the soil to absorb moisture upward.
For more watering tips, check out my post Water Butts: Sustainable Water Storage for Your Garden.
5. Temperature Control:
Heating Mats:
If your planting area isn’t warm enough, consider using a heating mat specifically designed for seed germination to maintain a consistent soil temperature.
Here is the heating mat I recommend:
6. Humidity Considerations:
Covering Containers:
To maintain humidity and warmth, cover the containers with plastic wrap or a plastic dome until the seeds germinate.
This mimics the effects of a greenhouse.
Remember to remove the cover once you see sprouts.
For more tips on garden tools, check out my guide:
The first cherry tomatoes I ever grew, which I started and grew indoors.
Planting the Seeds
Now that you’ve prepared your planting area and gathered all your supplies, it’s time to get those tomato seeds in the soil.
Here’s a step-by-step guide to ensure your seeds have the best start:
1. Sowing the Seeds:
Depth and Spacing:
Plant the tomato seeds about ¼ inch deep in the soil.
If using a tray, sow seeds about an inch apart to give each seedling enough space to grow without overcrowding.
Gentle Planting:
Place a seed in each hole and gently cover it with soil.
Avoid pressing down too hard, as this could compact the soil and hinder growth.
Here is the seed tray I use:
2. Watering After Planting:
Initial Watering:
After planting, water the seeds gently.
Use a spray bottle or a watering can with a fine rose to moisten the soil without displacing the seeds.
Consistent Moisture:
Keep the soil moist but not waterlogged.
Consistent moisture is crucial for germination, so check the soil daily.
For more on how to water seedlings, check out my guide How Often to Water Seedlings.
3. Providing Warmth:
Maintaining Warm Soil:
Tomato seeds need warm soil to germinate efficiently.
Aim to keep the soil temperature around 70-80°F (21-27°C).
A heating mat can be very helpful in maintaining this consistent warmth.
4. Covering the Containers:
Creating a Humid Environment:
Cover the containers with plastic wrap or a humidity dome to create a greenhouse-like environment.
This helps in maintaining consistent soil moisture and warmth.
Monitoring:
Check your seeds daily.
Too much humidity can lead to mold growth, so it’s important to remove the cover for a few hours each day to allow for some air circulation.
5. Location and Light:
Before Germination:
Keep your planted seeds in a warm location.
Direct light is not necessary at this stage since the focus is on warmth for germination.
After Germination:
Once the seeds sprout, they need plenty of light.
If you’re not using grow lights, place the seedlings near a sunny window.
Rotate the containers regularly to ensure even growth.
For more tips on this, check out my guide Leggy Tomato Seedlings: Causes and Solutions.
6. Thinning Seedlings:
Thinning Out:
Once your seedlings have a few leaves, thin them out.
Keep the strongest seedling in each pot or cell and gently remove the others.
This might seem harsh, but it’s necessary to avoid competition and ensure robust growth.
7. Patience and Observation:
Germination Time:
Tomato seeds typically take 5-10 days to germinate, but this can vary based on the variety and conditions.
Be patient and keep an eye on moisture and temperature.
For more inspiration, check out my guide:
My cherry tomatoes that I started from seed indoors.
Caring for Seedlings
Place the containers in a warm, bright spot or under grow lights.
Once the seedlings sprout and develop their first true leaves, it's time to transplant them into larger pots.
Transplanting Seedlings Outdoors
After the danger of frost has passed, and your seedlings are strong enough, it's time to transition them outdoors.
Gradually acclimate them to outdoor conditions before planting them in your garden.
To learn how to grow tomatoes in grow bags, check out my guide Grow Tomatoes Anywhere with Grow Bags.
For the next stages of your tomato growing journey, check out my guides:
Quick Homemade Tomato Fertilizer
Are Coffee Grounds Good for Tomato Plants?
The Art of Harvesting Tomatoes: When and How to Pick the Perfect Fruit.
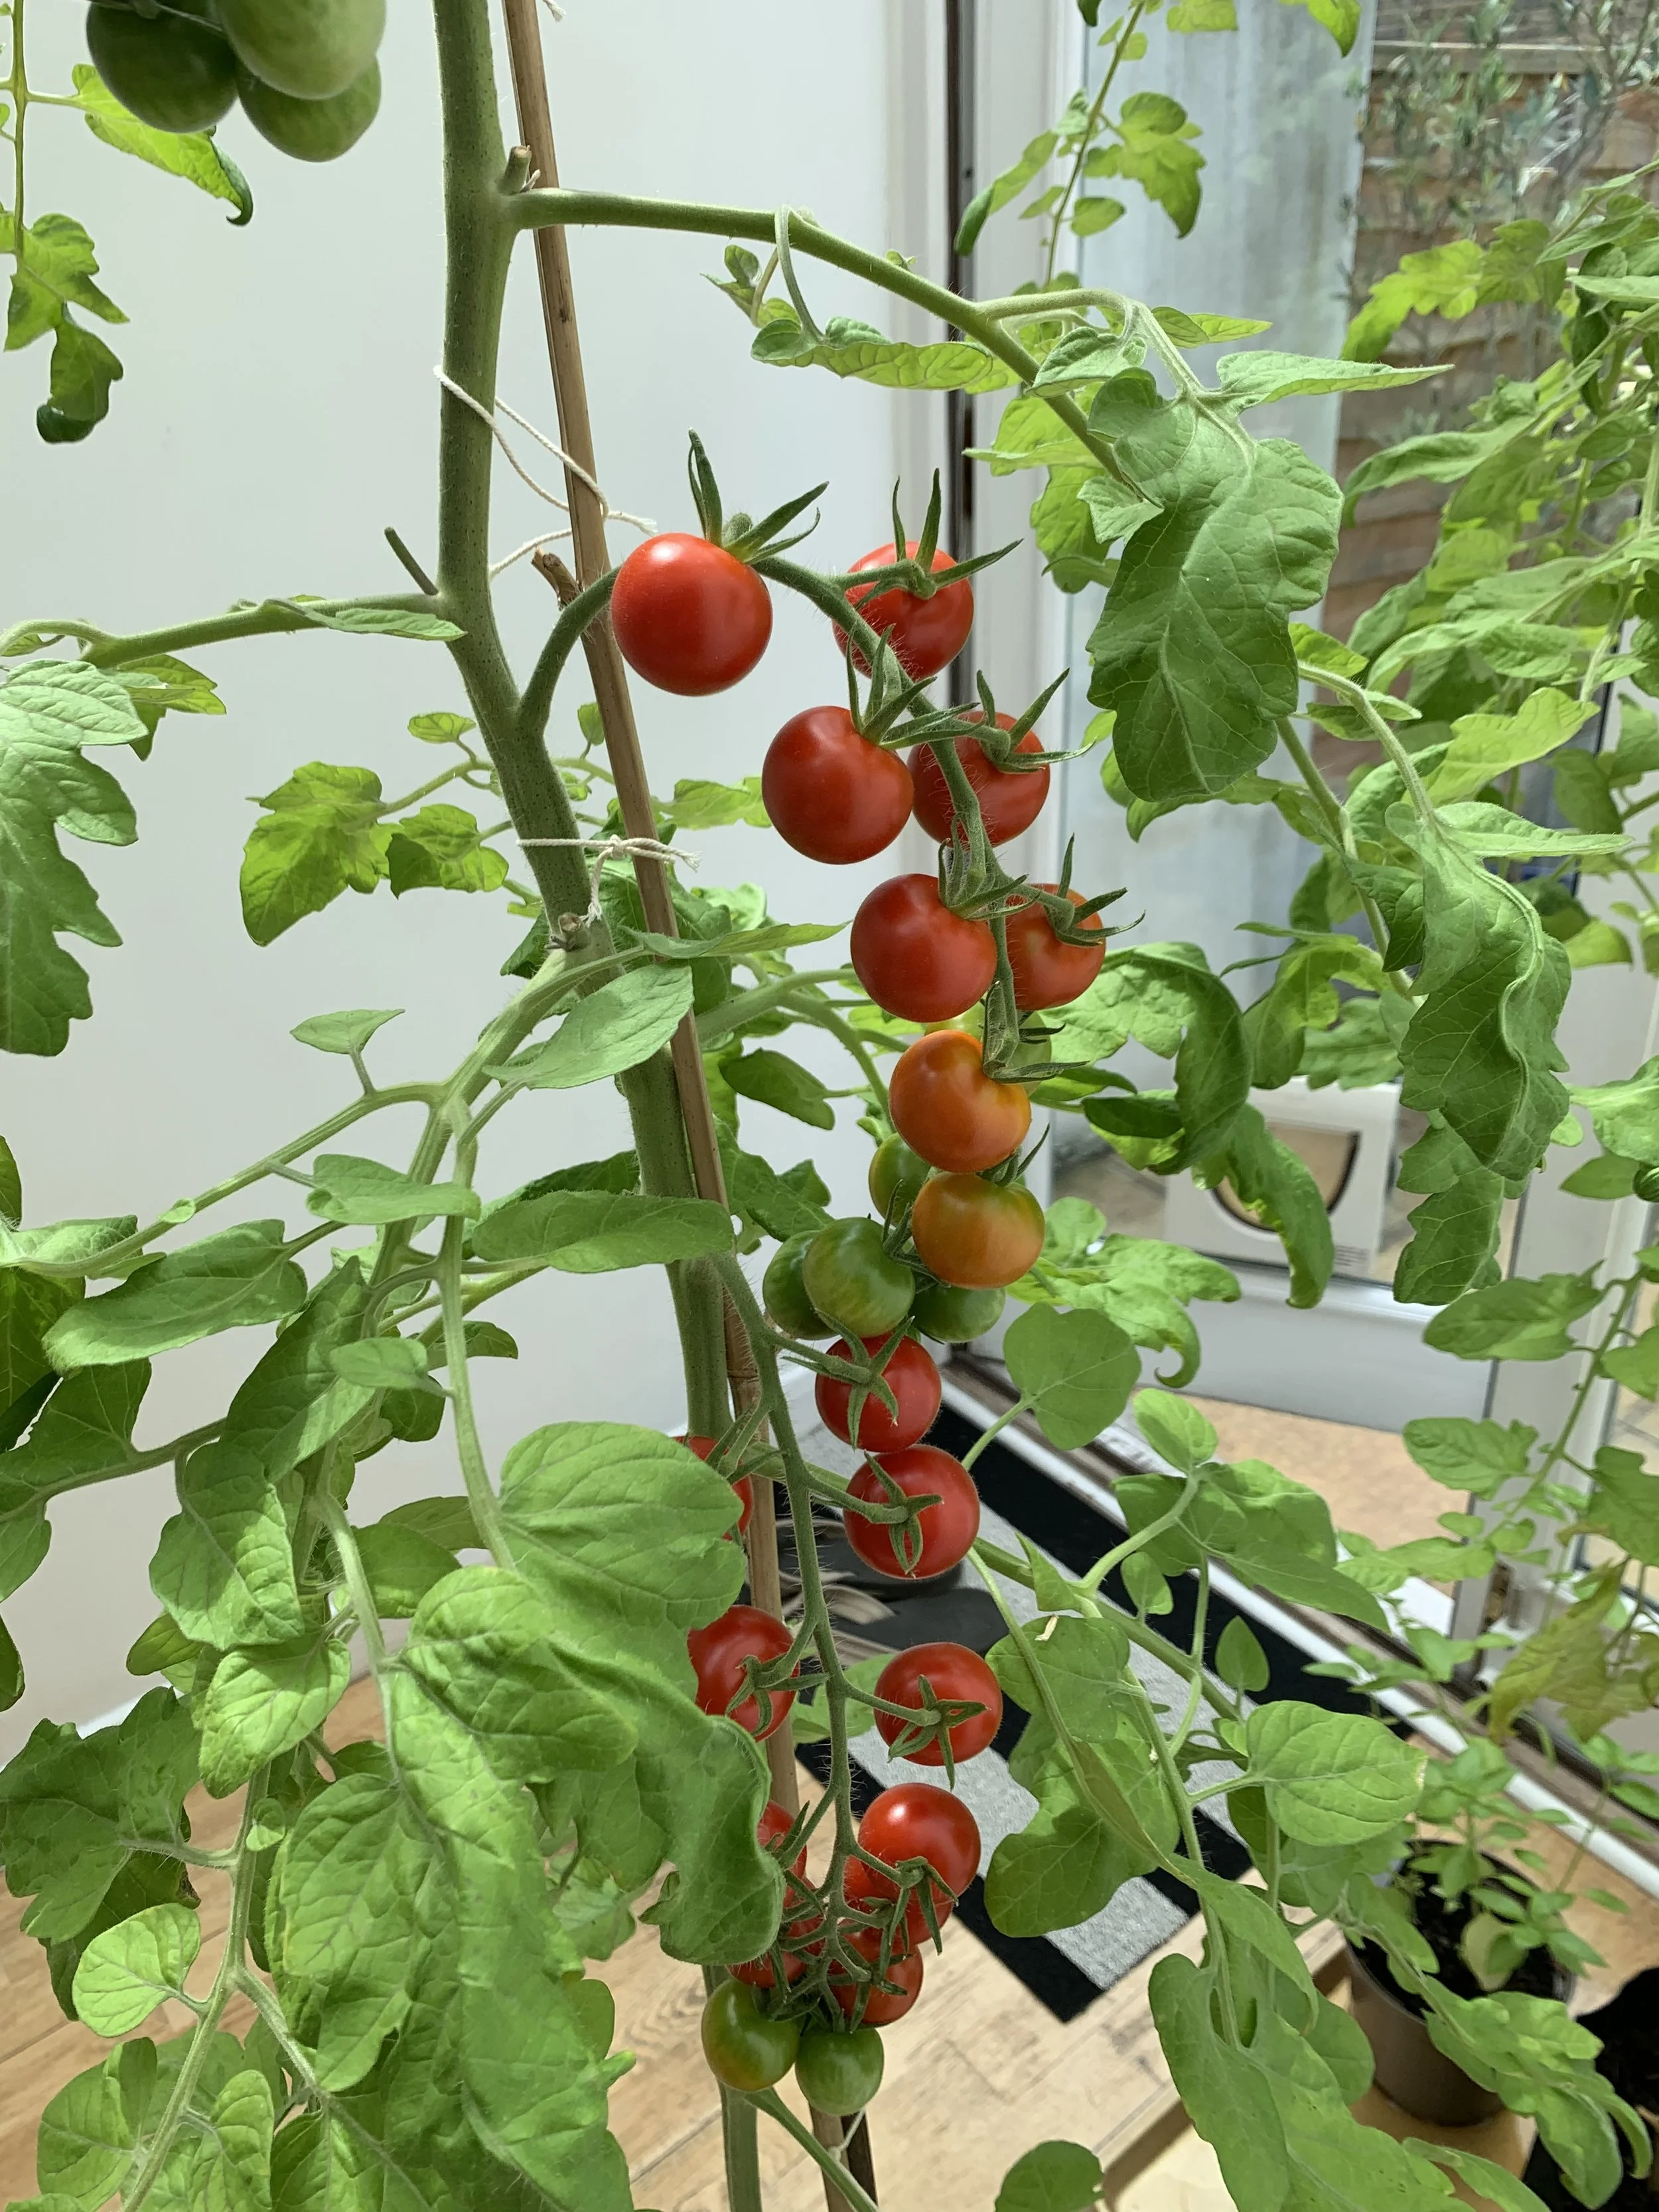
My cherry tomatoes in the sun looking like the colors of a stoplight.
As our journey of starting tomato seeds indoors comes to a close, remember that this is just the beginning of a rewarding gardening season.
The right potting mix, dedication, and care you’ve invested in your seedlings indoors will soon translate into thriving plants in your vegetable garden.
When the time comes to transplant them, their strong roots, nurtured in the safety of your home, will be ready to go outside.
With patience and attention, the seeds you started indoors will soon blossom into a lush tomato vines, offering the joys and flavors of homegrown tomatoes.
FAQs
How do I know when to start tomato seeds indoors in my zone?
Check your local last frost date and count back 6-8 weeks.
This is your ideal window for starting tomato seeds indoors.
Do I need special equipment to start seeds indoors?
Basic equipment simply includes tomato seeds, seed starting mix, pots or trays, and a light source like a sunny window or grow lights.
When should I transplant my tomato seedlings outdoors?
Transplant them after the last frost date when they are strong enough to withstand outdoor conditions.
How do I acclimate my tomato seedlings to outdoor conditions?
Gradually introduce them to the outdoors over a week or two, increasing their exposure to sun and wind daily.
Pin this post to save it for later!
