Mastering the Art of Growing Radishes in a Container
This article has links to products that I may make commission from.
With container gardening, where even the smallest spaces can yield a bounty of fresh produce.
In this guide, we're zooming in on one of the gardening world's unsung heroes: the radish.
This peppery root vegetable, often the first to pop up in springtime gardens, is perfectly suited to container living.
Whether you're adorning a sun-drenched balcony or a cozy patio corner, growing radishes in a container is a straightforward and rewarding venture for gardeners of all levels.
Join us as we delve into the essentials of variety selection, soil richness, planting depth, and care tips to transform your urban space into a radish paradise.
Prepare to be dazzled by just how simple and enjoyable it can be to go from pot to plate with the freshest of roots.
To learn more about growing radishes, check out my guide:
Choosing Your Radish Variety
Embarking on your container gardening journey begins with selecting the right kind of radish to grow.
Radishes come in various shapes, sizes, and flavors, and choosing the right variety can make all the difference in your gardening experience and the flavors on your plate.
Let’s delve into some of the varieties I recommend for container gardening.
Cherry Belle:
A popular choice for its early maturity and classic radish look, the 'Cherry Belle' variety is round and bright red with a crisp white flesh.
It has a mild flavor and is resistant to pithiness, often seen in radishes that are left in the ground too long.
They're perfect for a quick harvest, often ready in as little as 22 days.
Here are the ‘Cherry Belle’ radish seeds I recommend:

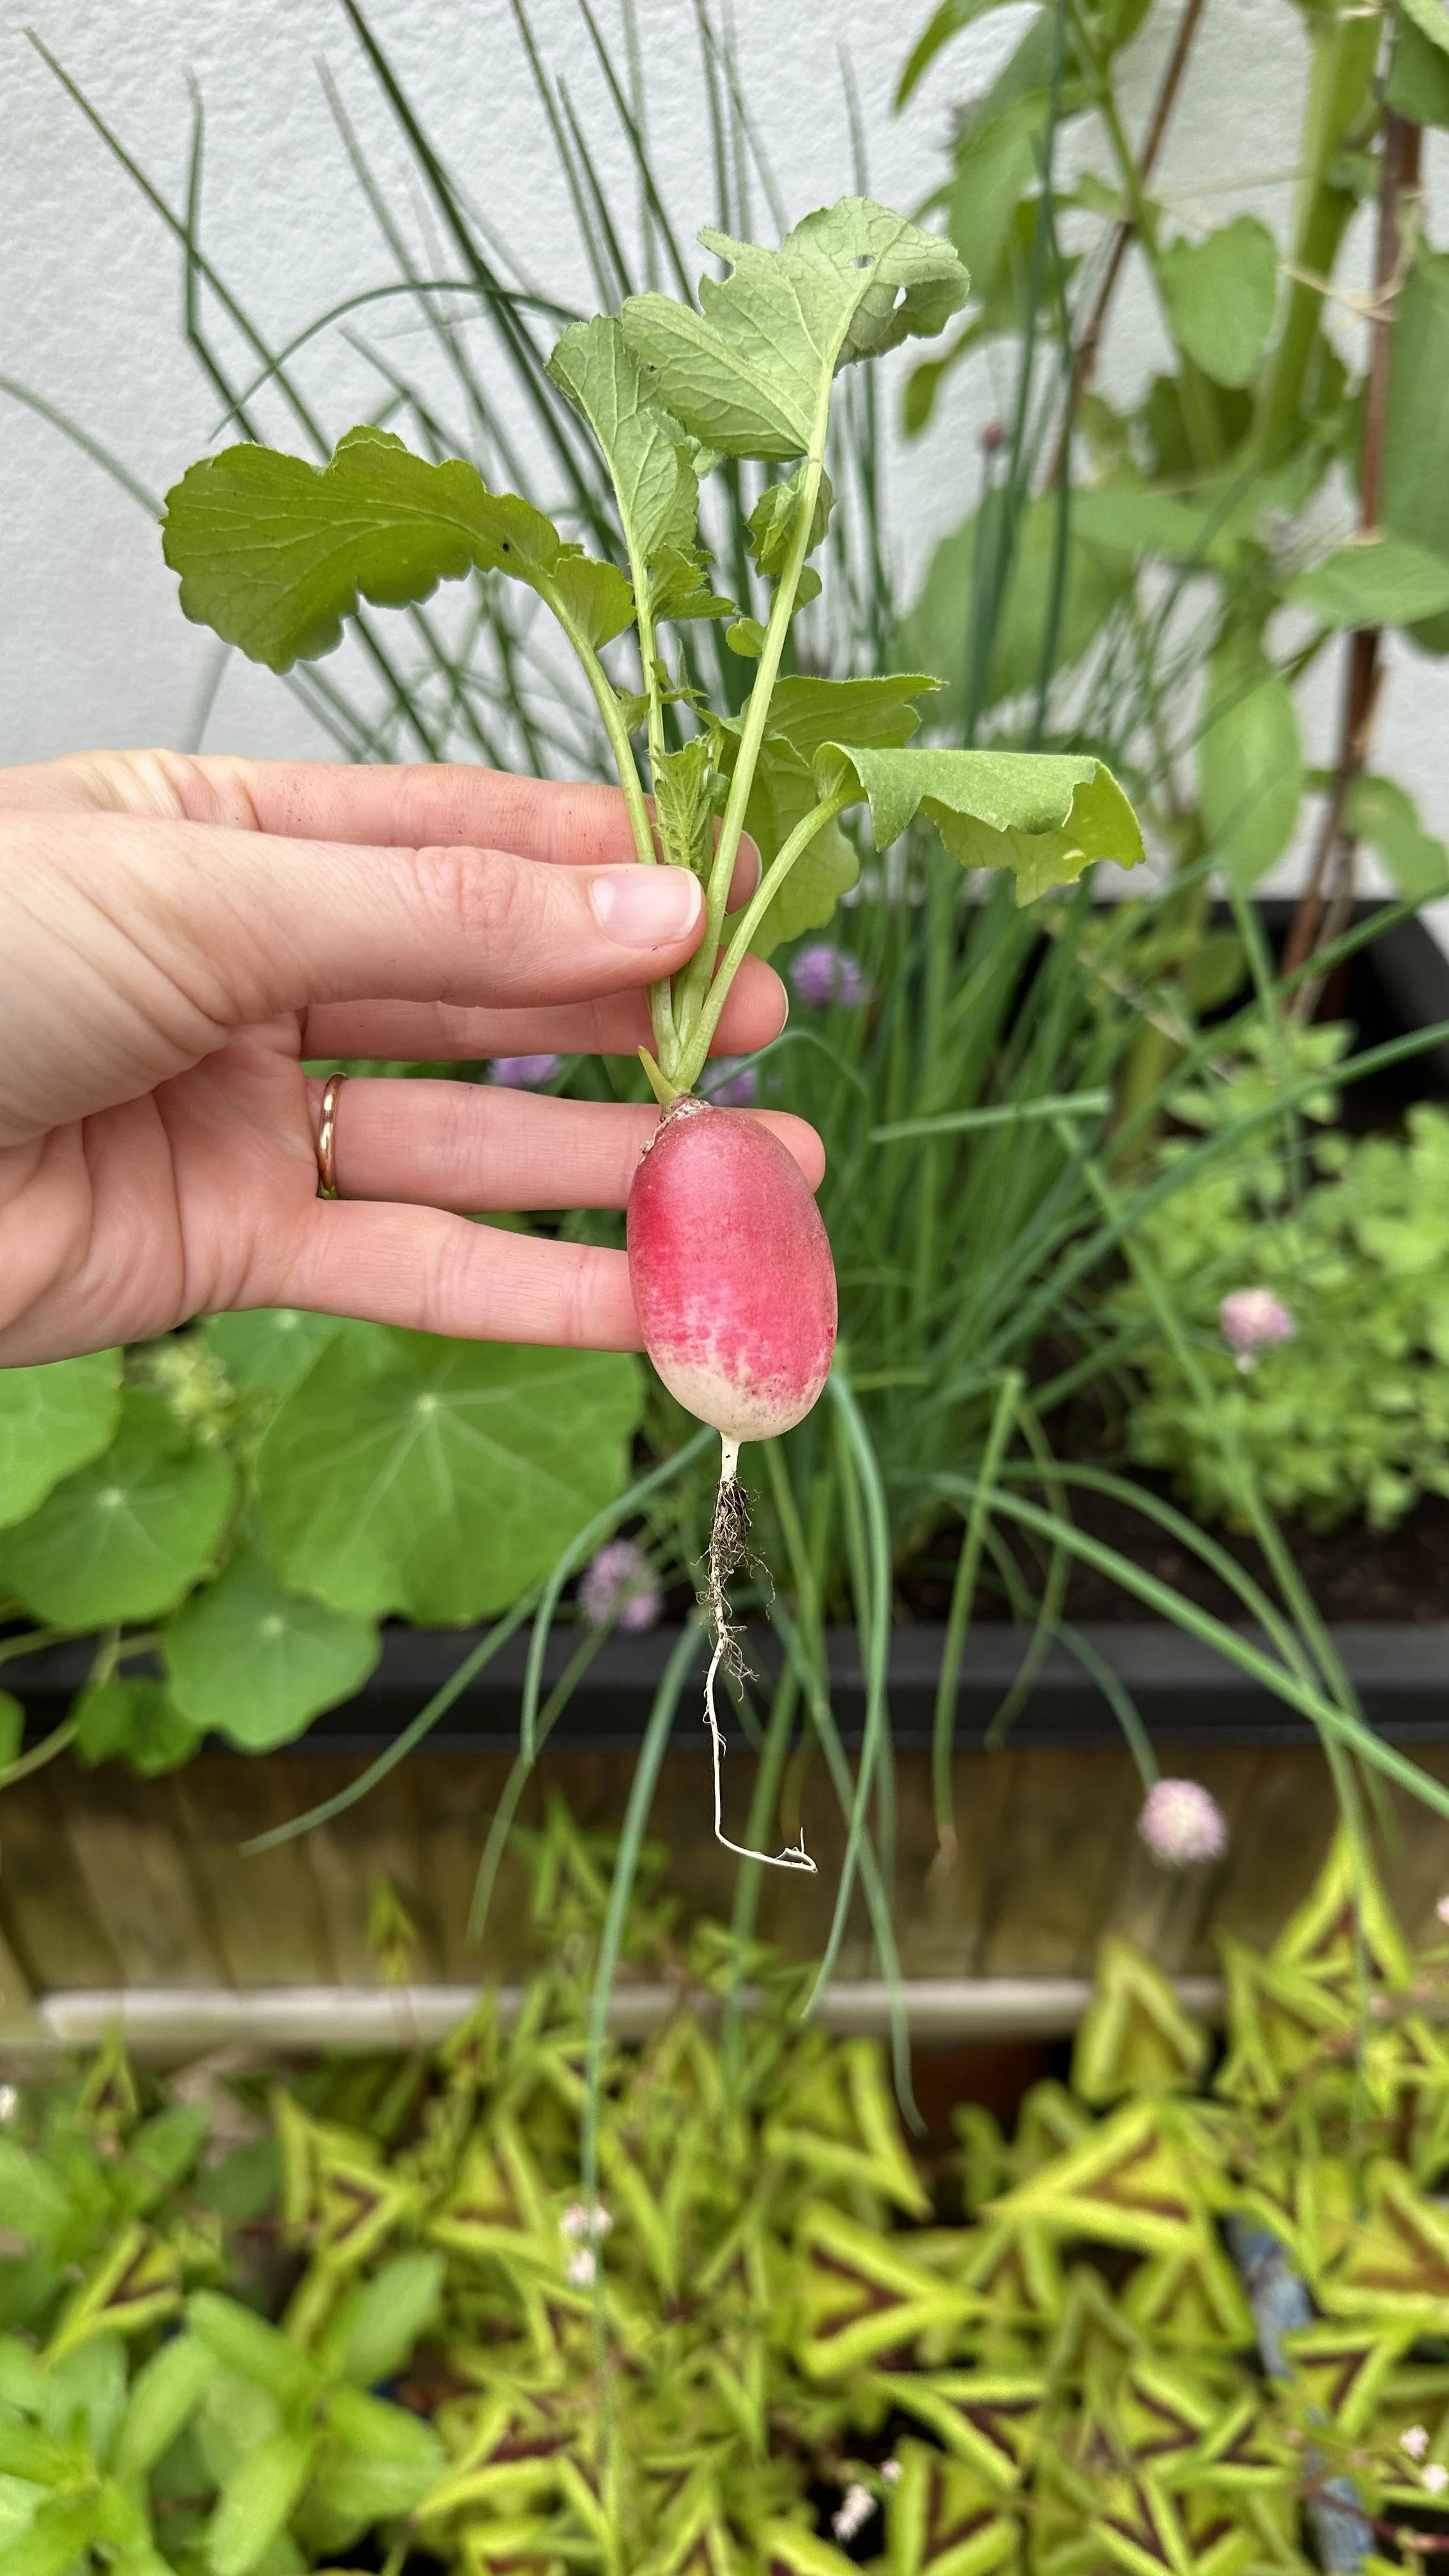
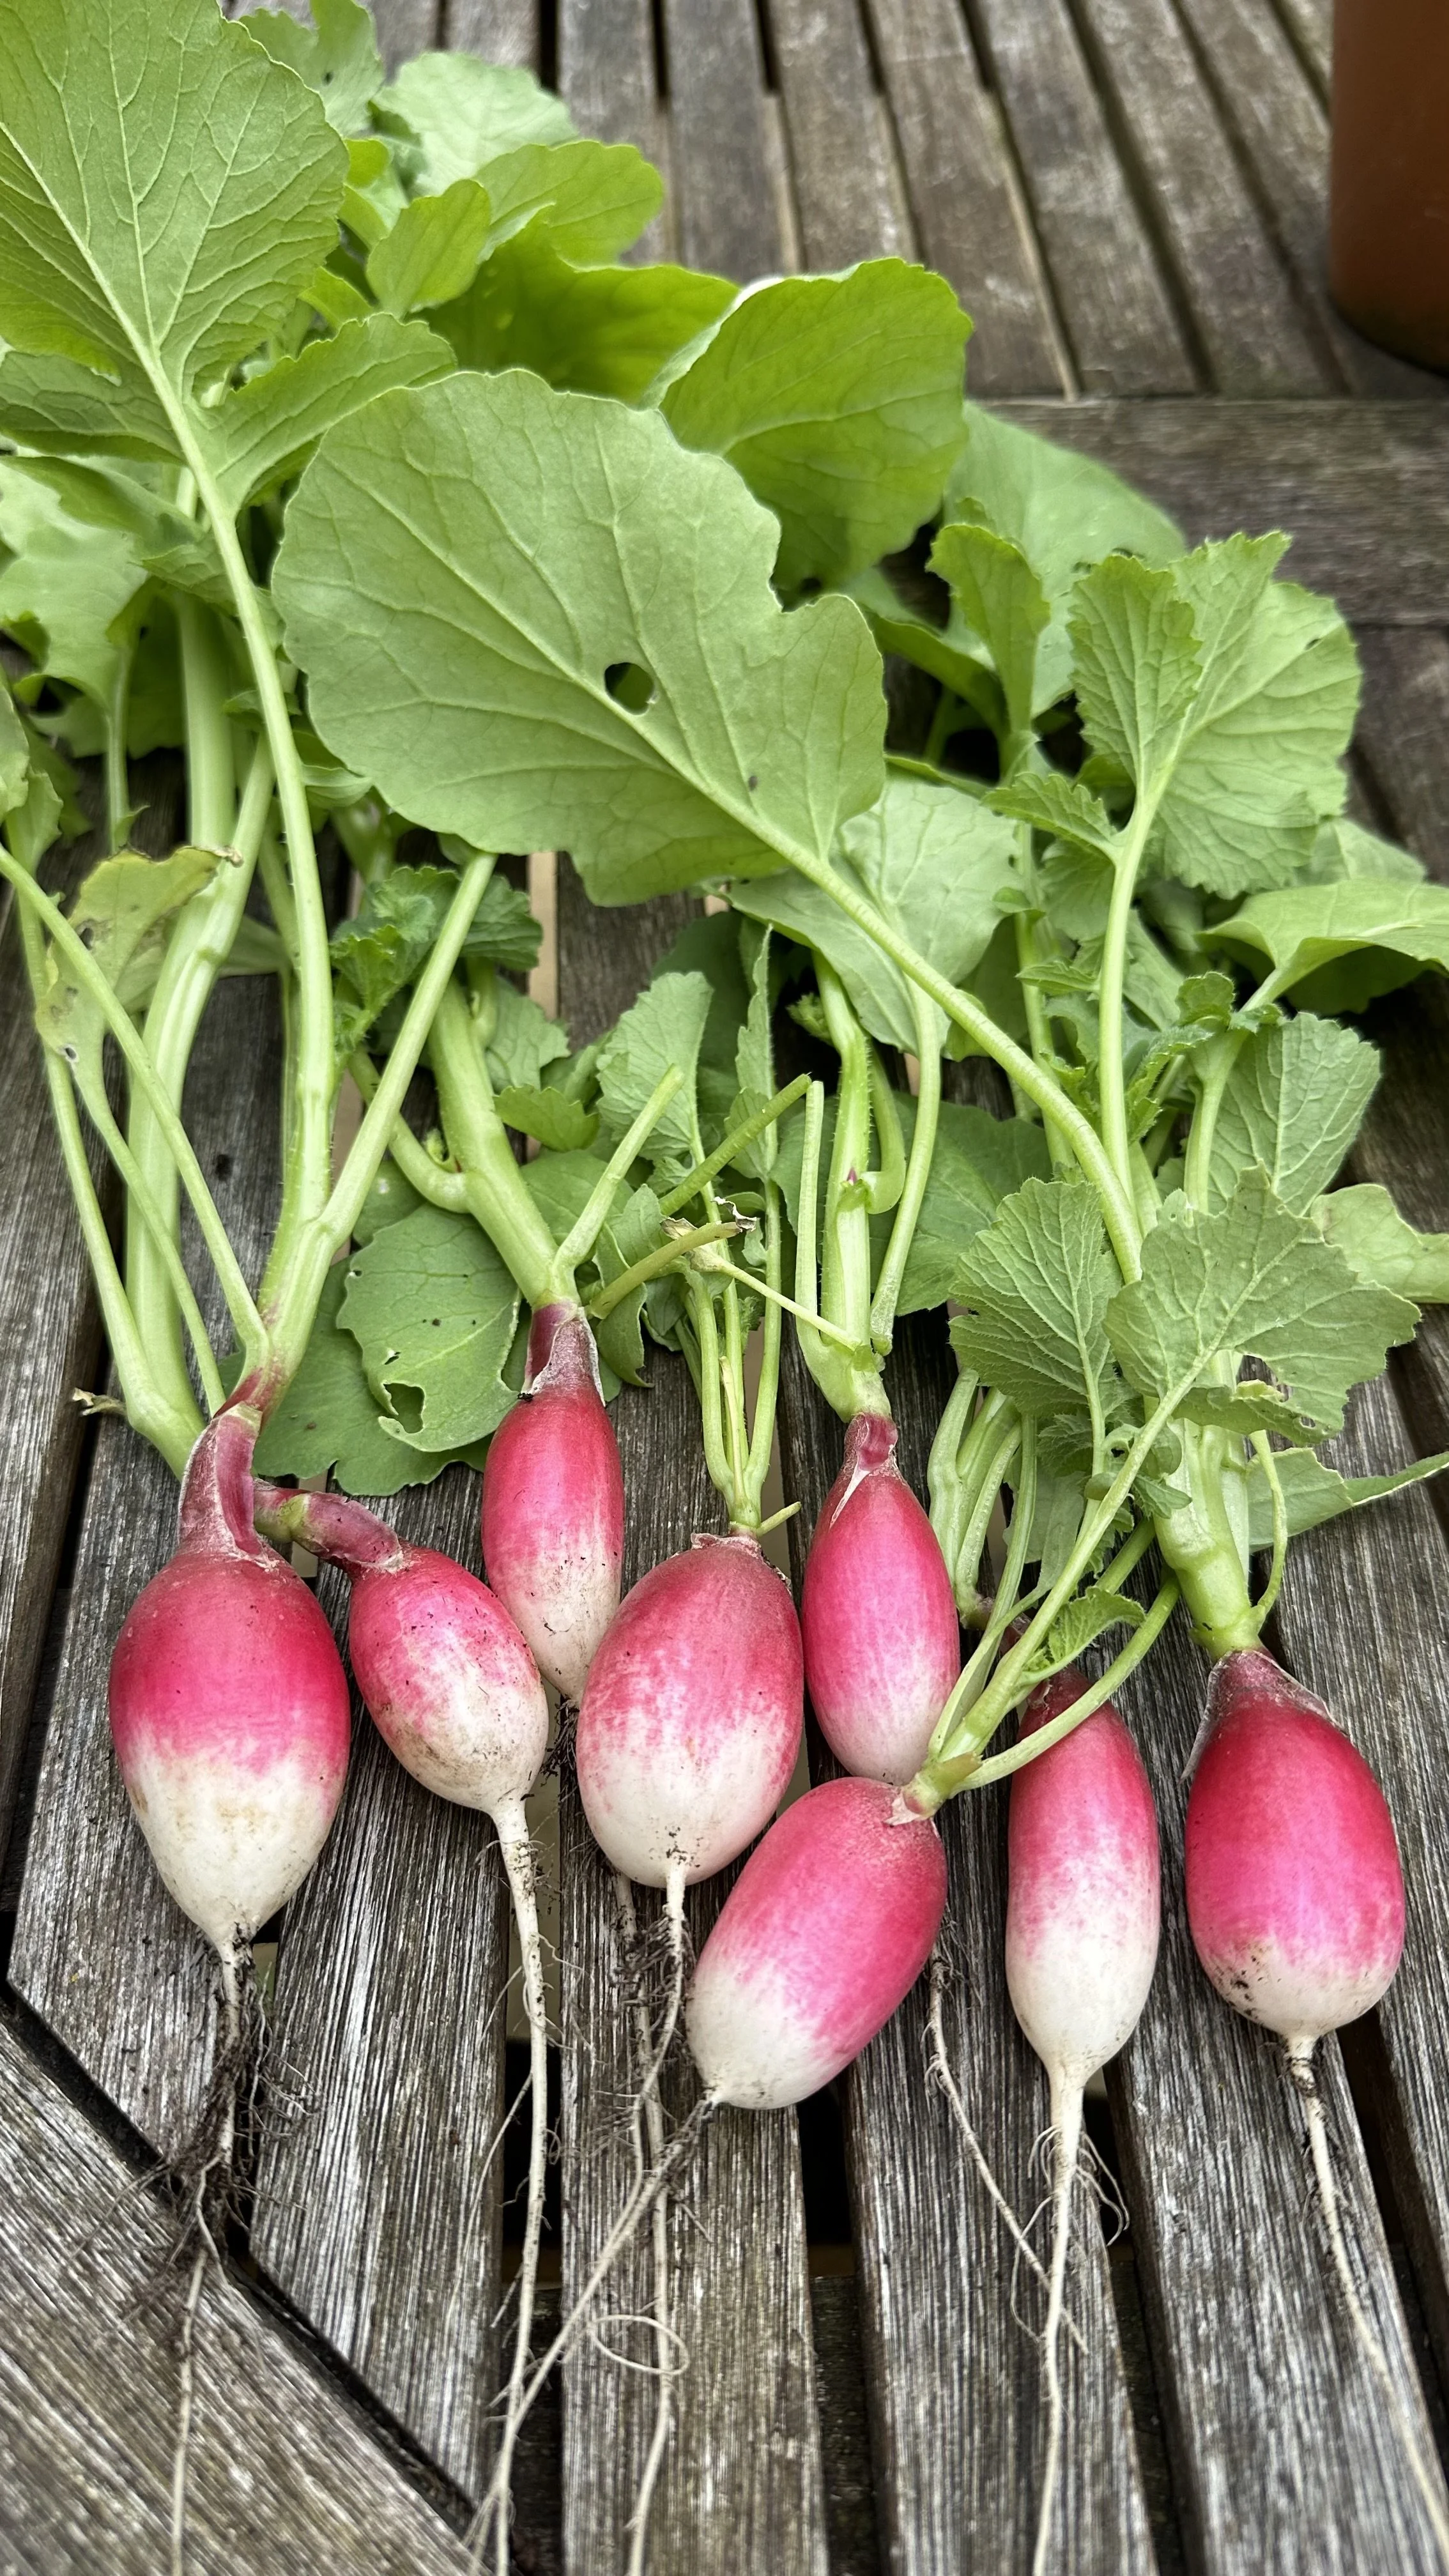
French Breakfast:
This heirloom variety is elongated with a crimson top that fades into a white tip.
It’s known for its slightly milder taste compared to other varieties, and its attractive shape makes it a favorite for market gardeners.
They are typically ready to harvest in 28 days.
It’s slightly more forgiving than the round types if harvest is delayed, but best enjoyed when harvested young.
Here are the ‘French Breakfast’ radish seeds I recommend:

Daikon:
For those with a bit more patience and larger containers, the Daikon radish is a Japanese variety that can grow up to several inches in length.
They require a deeper container, at least 12 inches, to accommodate their larger root size.
Daikon radishes are known for their use in Asian cuisine and have a milder taste than smaller varieties.
Here are the Daikon radish seeds I recommend:

Watermelon Radish:
Named for its bright green exterior and striking pink interior, the watermelon radish is a beautiful variety that adds a pop of color to any dish.
It has a slightly peppery flavor and is larger than the average radish, making it a conversation piece as well as delicious.
It takes longer to mature than Cherry Belle or French Breakfast, so be prepared for a longer growth period of about 60 days.
Here are the Watermelon radish seeds I recommend:

White Icicle:
This variety is long and slender, resembling an icicle, as its name suggests.
It has a crisp texture and a slightly milder flavor.
It’s a good option if you’re looking for something a bit different from the traditional red radish, and it can offer a continuous harvest as it matures well even in warmer temperatures.
Here are the ‘White Icicle’ radish seeds I recommend:

When choosing radish varieties for container gardening, it's also important to consider the season.
Some radishes, like the 'Cherry Belle', are well-suited to cooler temperatures and can be planted in both spring and fall.
Others might be better suited to either the cooler or warmer part of the growing season.
Keep in mind the radish's growth rate and your own taste preference when selecting a variety.
Do you want a quick harvest or are you willing to wait for a larger, potentially more flavorful radish?
Would you prefer the peppery bite of the classic red radish or the milder, nuanced flavors of the 'French Breakfast' or Daikon varieties?
No matter which variety you choose, ensure your containers and soil are prepared accordingly.
Some radishes do better with a bit more room for their roots, while others are well-suited to the more compact space of a standard container.
By considering these factors, you'll set the stage for a successful and enjoyable harvest.
Remember, the variety you choose will influence not only the care and maintenance but also the timing of planting and harvesting, pest control measures, and, of course, the culinary applications of your homegrown radishes.
Want to learn more about growing vegetables in containers? Check out my guides:
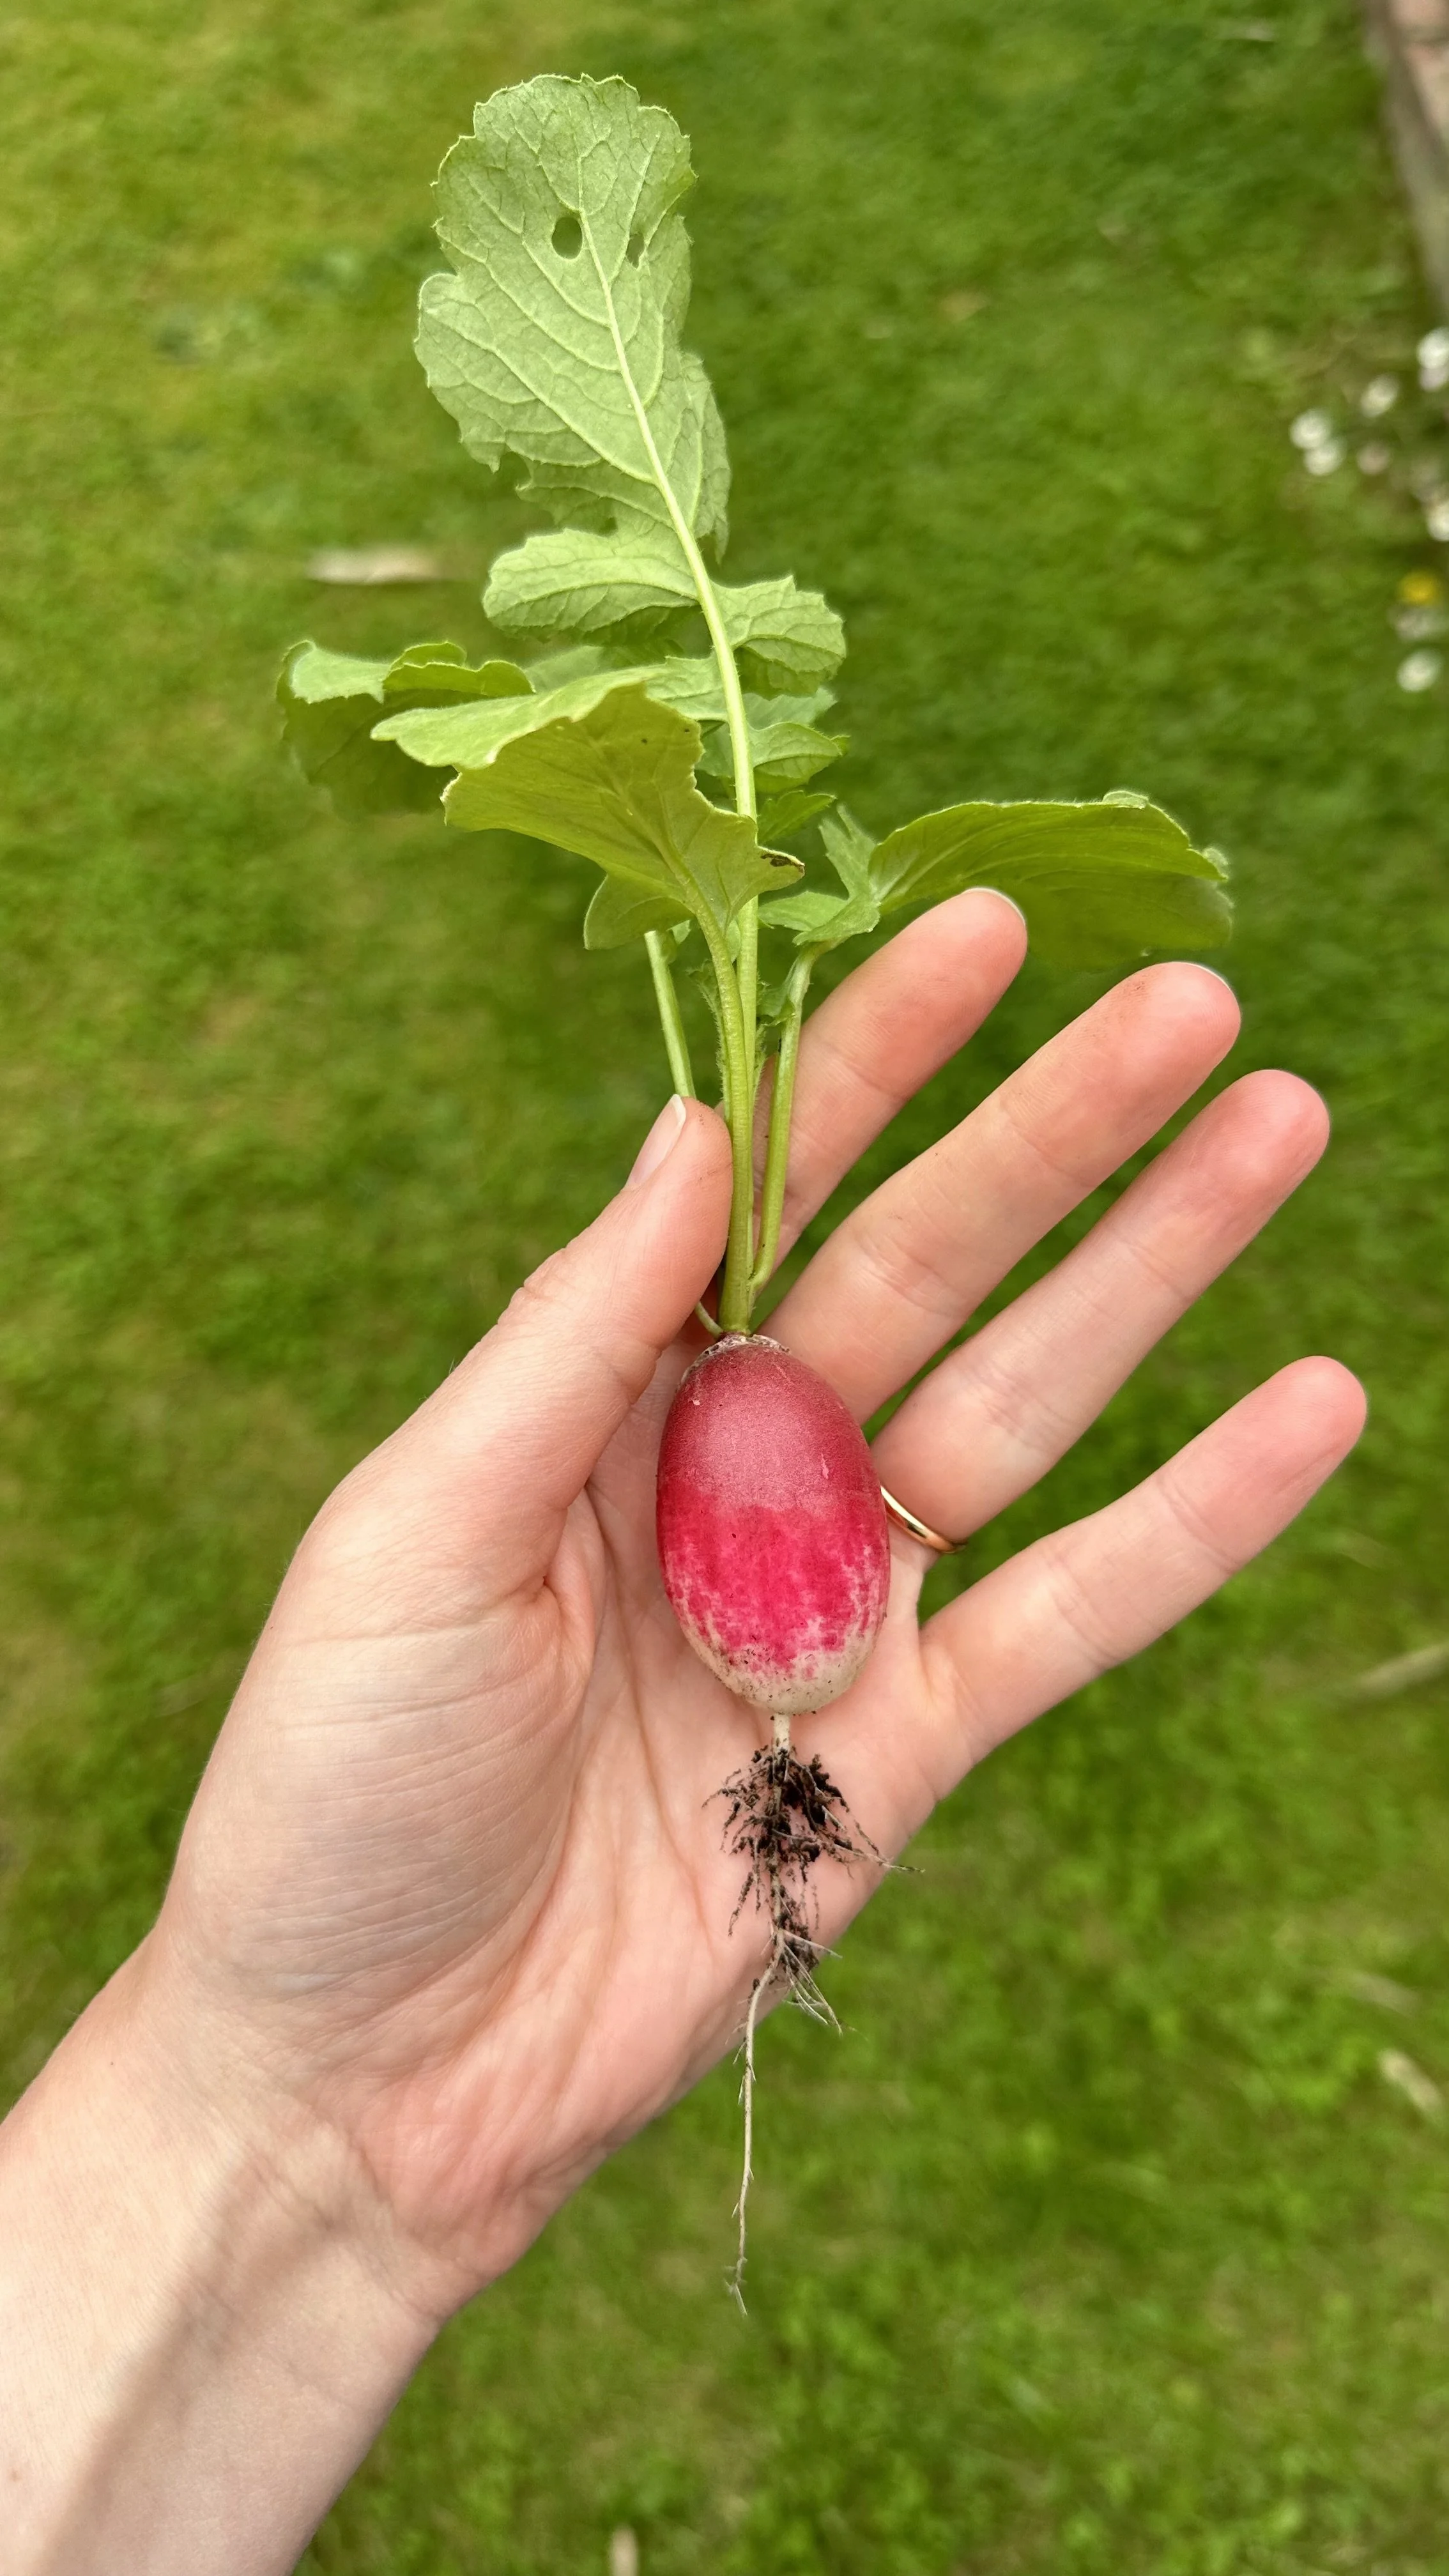
‘French Breakfast’ radishes after harvest.
Selecting the Right Container
The success of your radish crop starts with choosing an appropriate container.
Radishes are versatile and can thrive in a variety of container types, but there are a few key factors to keep in mind to ensure your harvest is plentiful.
Container Depth and Width
The ideal container depth for standard radish varieties is about 6 to 8 inches, as radishes are primarily shallow-rooted.
This 3 gallon container is the perfect size for standard radish varieties:

However, if you're opting for larger or elongated varieties, such as Daikon or Watermelon radishes, you'll need a container that can accommodate their larger root size, which means a depth of 10 to 12 inches may be necessary.
This 7 gallon container is the perfect size for larger radish varieties:

The width of the container is also important, especially if you're planning to plant multiple radish seeds.
A wider container will allow for more radishes to be grown at once.
For a bountiful harvest, choose a container that allows at least 2 to 3 inches of space between each plant.
Drainage
Radishes do not like soggy conditions.
Ensure your container has ample drainage holes at the bottom.
Good drainage is essential to prevent water from pooling at the roots, which could cause the radishes to rot.
If your chosen container doesn’t have holes, you can drill several at the bottom before adding soil.
Material
Containers can be made from various materials such as clay, plastic, fabric, or wood.
Each has its advantages. Clay pots, for example, are porous and allow roots to breathe, but they can dry out quickly.
Plastic pots retain moisture better but can impede air flow if not properly ventilated.
Wooden containers are sturdy and have good insulation properties but may rot over time if not treated.
Fabric pots are breathable and ensure good drainage but may not hold their shape as well as rigid containers.
To learn more about growing vegetables in containers, check out my guides:
Aesthetics and Practicality
Your container should not only be functional but also fit the aesthetics of your space.
With a variety of designs, colors, and materials available, you can choose containers that complement your home or garden's decor.
Additionally, consider the weight and portability of the container, especially if you plan to move it around to chase the sun or shield your radishes from harsh weather.
Container Care
Before planting, clean your container thoroughly to prevent any diseases or pests from affecting your crop.
If reusing a container from a previous season, wash it with a solution of one part bleach to nine parts water to kill any lingering pathogens.
Innovative Options
For those with limited space or a desire for convenience, there are also self-watering and tiered containers that can maximize vertical space and reduce the need for daily watering.
These self-watering containers are excellent if you don’t have the time to tend to your garden every day:

When selecting a container, consider the growth habits of your chosen radish variety alongside the practicalities of your living space.
By doing so, you’ll ensure that your radishes have the optimal environment to grow, leading to a successful and rewarding harvest.
In essence, the right container for your radishes should offer enough depth for root development, ensure good drainage, be made of a material conducive to the health of the plant, and fit well within the aesthetics and practical limits of your gardening space.
Want to grow more vegetables in containers? Check out my guides:
The Perfect Soil Mix
Creating the perfect potting mix for your container-grown radishes is not just about using good dirt.
It's about providing a balanced environment that caters to the specific needs of radish plants, which will encourage healthy growth and optimal root development.
Here's how you can achieve that:
Texture and Composition
Radishes prefer a soil mix that is loose and friable, allowing their roots to expand and grow without resistance.
A heavy or clay-like soil is a recipe for stunted growth and misshapen radishes.
Here is the potting soil I recommend for growing radishes in containers:
Nutrient Balance
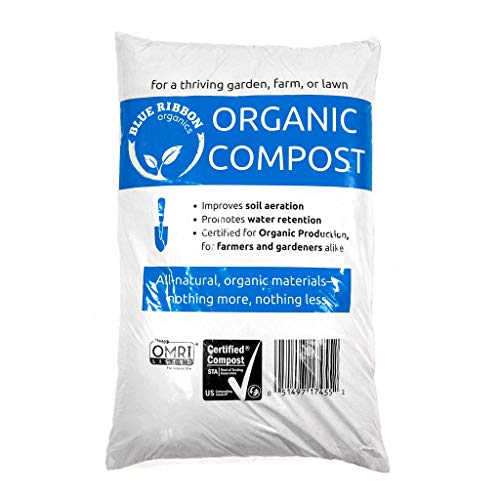
While radishes are not heavy feeders, they do benefit from a soil rich in organic matter.
Incorporating compost or well-rotted manure into your potting mix can provide a steady supply of nutrients throughout the growing season.
However, it’s important to avoid a mix that’s too nutrient-rich or high in nitrogen, which could promote leafy growth at the expense of root development.
pH Level
Radishes thrive in a slightly acidic to neutral pH, ranging from 6.0 to 7.0.
You can purchase a pH testing kit to determine the acidity of your mix and adjust accordingly.
If your soil is too acidic, a little lime can raise the pH. If it’s too alkaline, sulfur can help lower it.
Here is the pH testing kit I recommend:

Moisture Retention vs. Drainage
While you want your soil to retain moisture, it’s vital that it doesn't stay wet.
The best potting mix for radishes should be like a well-wrung sponge — moist but not dripping.
Quality potting mixes often contain coconut coir, which help to retain the right amount of water while excess can freely drain away.
Creating Your Mix
To create your own potting mix, consider the following recipe: mix 1 part coconut coir for moisture retention, 1 part perlite or sand to ensure drainage, and 1 part compost or aged manure for nutrients.
Mix these components thoroughly to ensure an even distribution.
Maintenance
Even the perfect soil mix can't be set and forgotten.
Regularly check the moisture level of your potting mix, as containers can dry out quickly, especially in warm, sunny conditions.
During the growing season, the top inch of soil should remain consistently moist but not waterlogged.
If the soil feels dry at that depth, it’s time to water.
Quality Matters
If you're not mixing your own, opt for high-quality potting soil from a reputable garden center.
Quality potting mixes are specifically designed to provide a balanced growing medium for container plants.
Look for "potting mix" or "potting soil" on the label rather than "garden soil," which may not offer the drainage and aeration your radishes need.
Learn more about this with my guide Garden Soil vs. Potting Soil: How to Choose the Right One.
For more spring planting tips, check out my guide:

Planting Your Radishes
Planting radishes in containers is a straightforward process, but attention to detail can make the difference between a good harvest and a great one.
Here's what you need to know:
Timing
Radishes are a cool-season crop, which means they grow best in the cooler temperatures of spring and fall.
They can germinate in soil temperatures as low as 40°F (4°C), but the optimal soil temperature for seed germination is around 65°F to 85°F (18°C to 29°C).
In milder climates, radishes can be planted at intervals from early spring to early fall.
In hotter climates, aim for an early spring or late summer planting to avoid the intense heat, which can cause radishes to bolt.
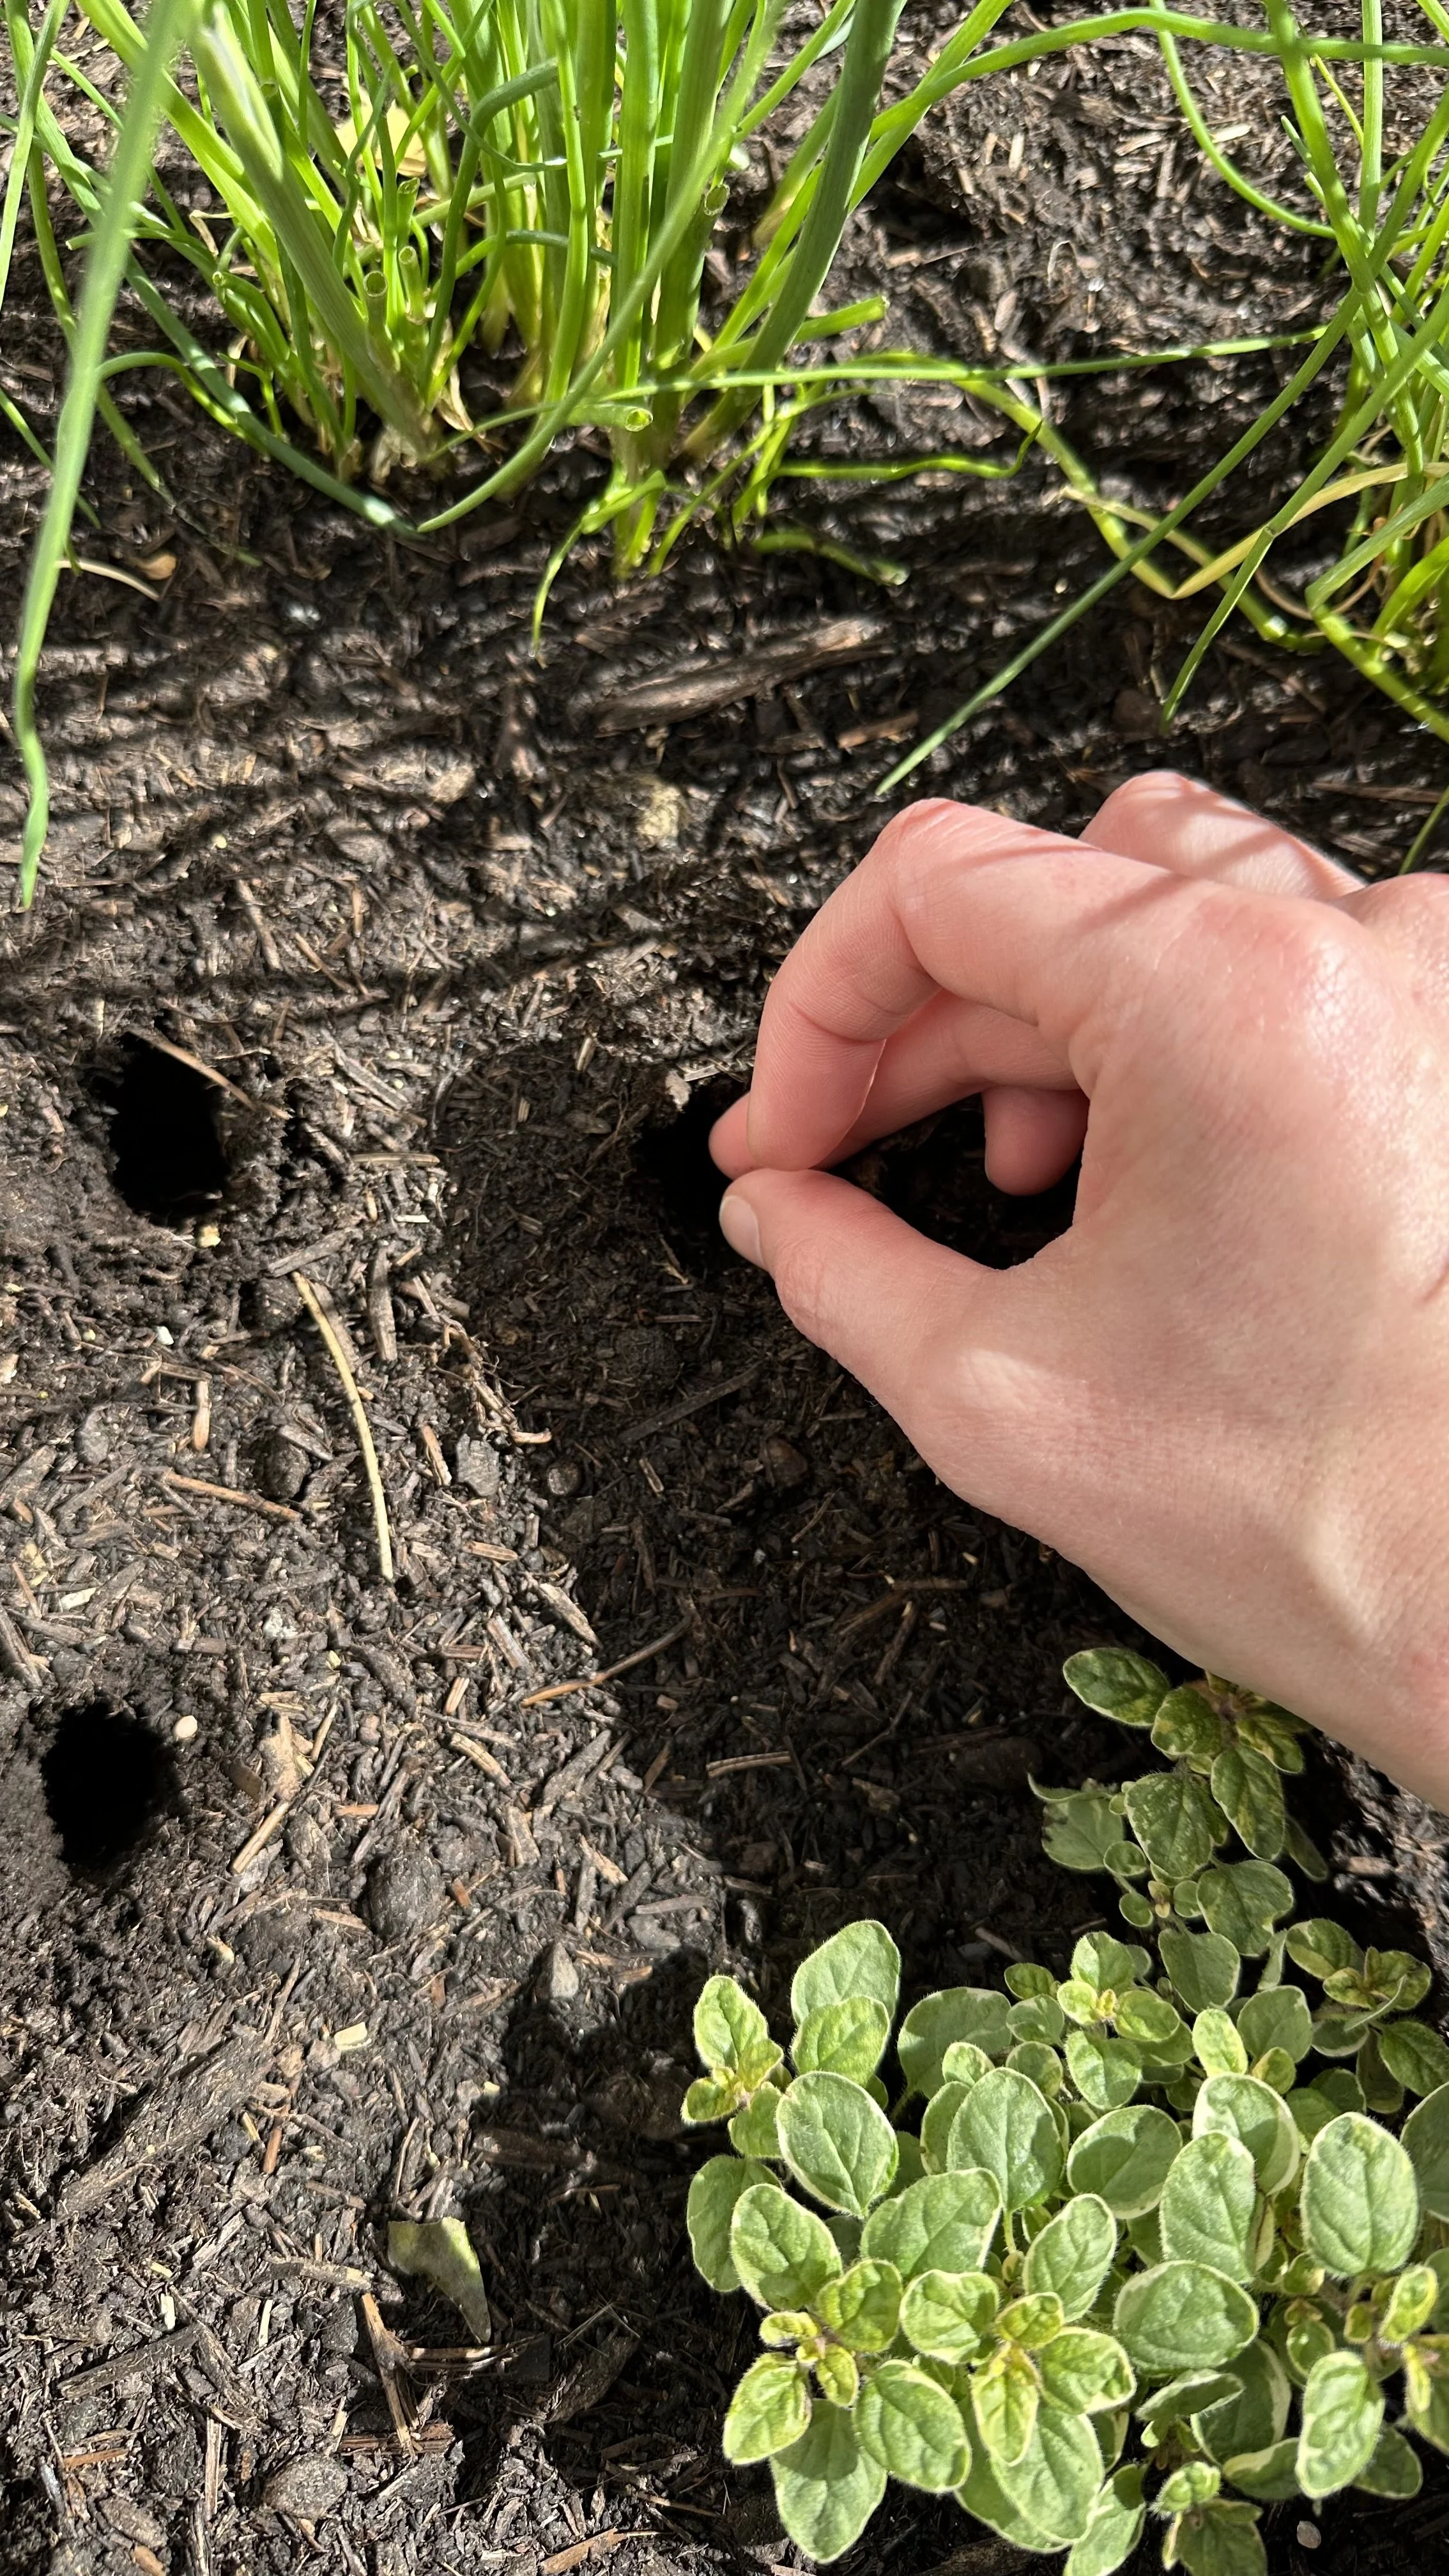
Seed Depth and Spacing
To plant radish seeds, use a shovel to make small holes in your potting mix about 1/2 inch (1.25 cm) deep.
The general rule of thumb is to plant seeds at a depth approximately three times their diameter.
Space the holes about an inch apart in all directions.
This spacing allows the radishes to grow without overcrowding, which can result in smaller, less desirable roots.
If you're planting larger radish varieties, such as 'Daikon,' you may need to space the seeds a bit further apart.
Sowing
Drop one to two radish seeds into each hole.
It’s better to sow a couple of seeds per hole because not every seed will germinate, and you can thin out the weaker seedlings later.
After placing the seeds, cover them gently with soil and press down lightly for good seed-to-soil contact.
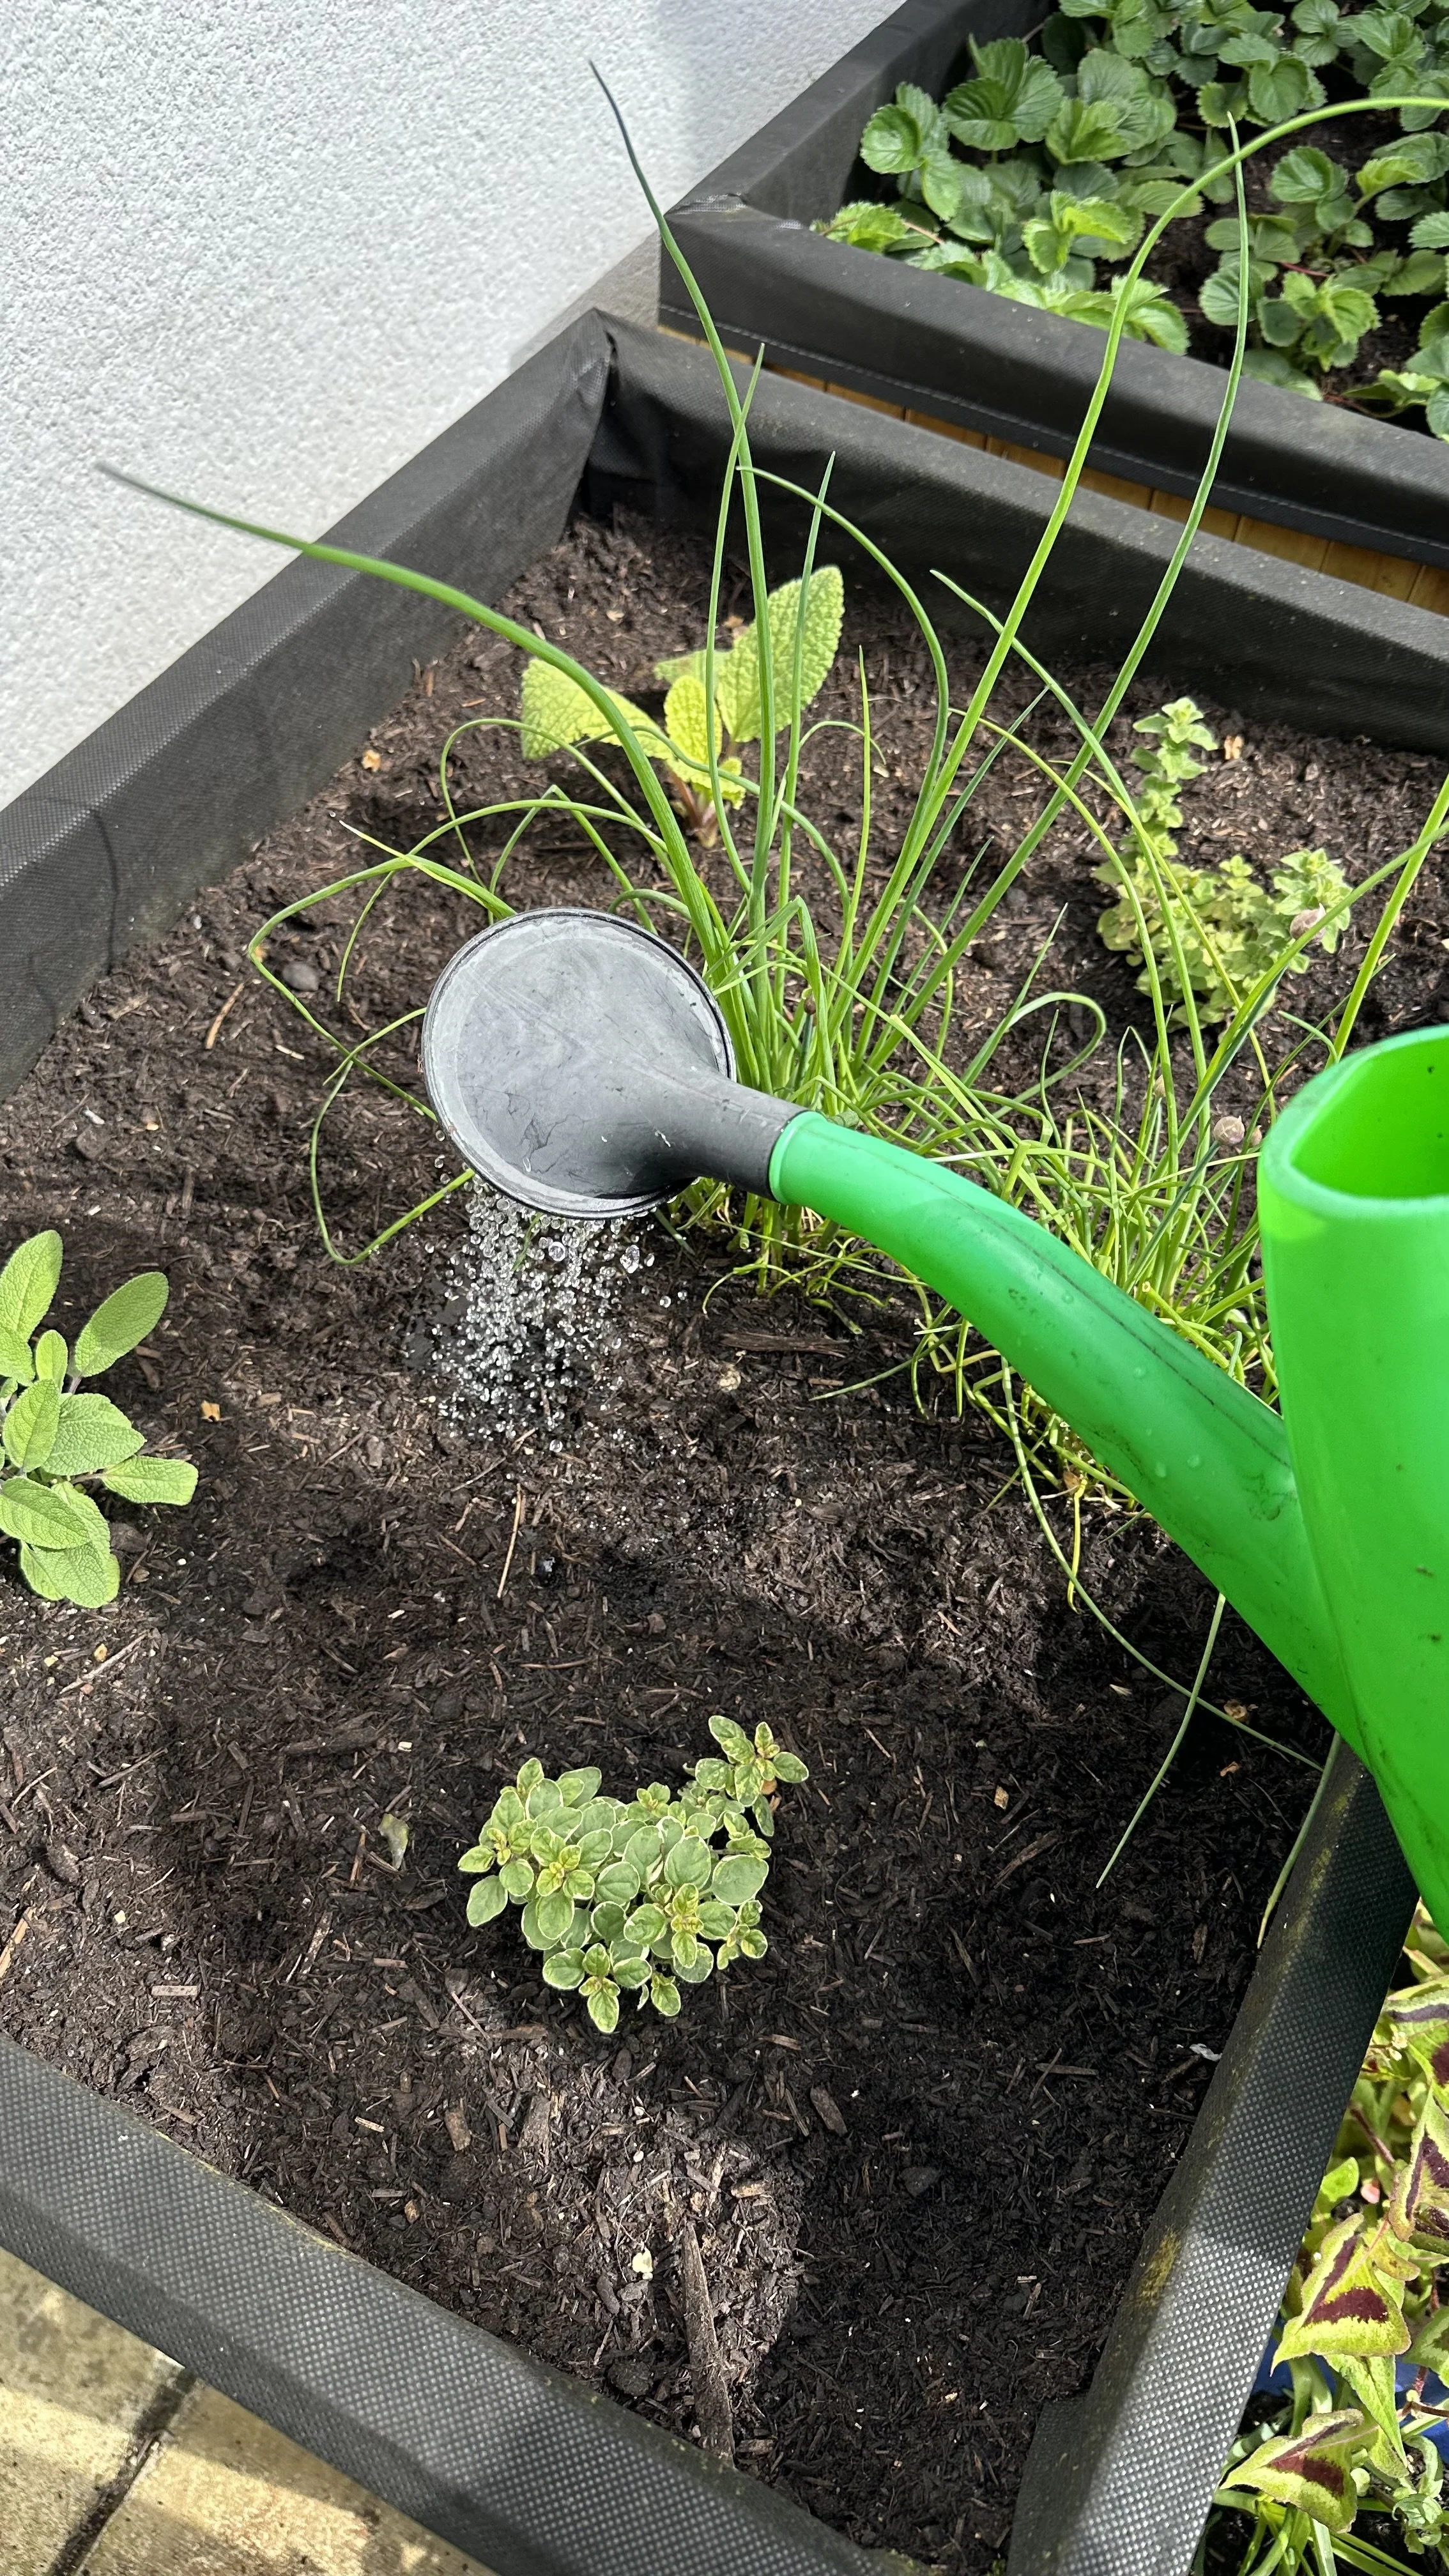
Watering
After planting, water your seeds gently but thoroughly.
The goal is to moisten the soil without causing the seeds to float away or clump together.
A spray bottle can be an effective way to water newly planted seeds.
As radishes grow, keep the soil evenly moist but not saturated.
Consistent watering is key — if the soil dries out too much, the radishes may become woody and overly pungent.
For more watering tips, check out my guide How to Use Watering Globes and How Often to Water Seedlings.
Thinning Seedlings
Once your radish seeds have sprouted and are about two inches tall, you may need to thin them.
This simply means removing the extra seedlings to allow enough room for the remaining radishes to develop.
Gently pull out the smaller or weaker seedlings, leaving the strongest to grow.
Ideally, each radish should have at least two inches of space all around it.
Container Placement
Place your container in a location where the plants will receive at least six hours of sunlight per day.
Radishes need plenty of light to develop their root bulbs.
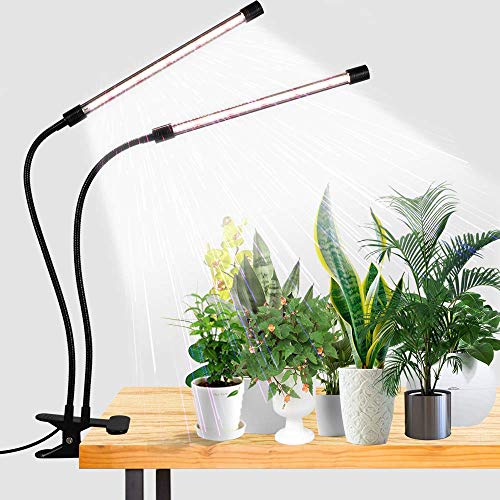
If you're growing radishes indoors, a south-facing window or supplemental grow lights may be necessary to provide sufficient light.
These are the grow lights I recommend:
Radish containers can also be placed in a greenhouse.
Monitoring
Keep an eye on your radishes as they grow.
If you notice the tops of the radish roots pushing up out of the soil, gently cover them with a bit of potting mix.
Exposed roots can become tough and bitter. By following these planting tips, you're on your way to growing radishes successfully in containers.
Regular attention and care will yield a crop of crisp, spicy radishes ready to be enjoyed raw or in your favorite dishes.
Caring for Your Radish Plants
Regular Watering
Consistent watering is crucial for radishes.
Irregular watering can result in radishes that are woody and hot.
Aim to keep the soil moist, but not waterlogged. A good rule of thumb is to water when the top inch of soil feels dry to the touch. For this, you can use rainwater collected from a water butt.
Using a watering can with a rose attachment is ideal because it delivers moisture gently and evenly, without displacing the soil or damaging the plants.
Here is my favorite watering can for the job:

Sunlight and Temperature
Radishes need a full sun location, where they can receive at least six hours of sunlight daily.
If you’re growing radishes in the warmer months, they may benefit from afternoon shade to protect them from the heat, which can cause bolting (when a plant goes to seed prematurely).
The ideal temperature range for growing radishes is between 50°F and 65°F (10°C - 18°C).
Feeding
Radishes generally do not require a lot of additional feeding if planted in quality potting mix that contains compost.
However, if growth seems slow, a light application of a balanced, all-purpose liquid fertilizer can give them a boost.
Here is the fertilizer I recommend:

Avoid high-nitrogen fertilizers, as these can encourage leaf growth at the expense of the roots.
Thinning Seedlings
If you didn’t thin your radishes at the seedling stage, it’s not too late once they’ve started to grow.
Thinning is important because crowded radishes will compete for light, water, and nutrients, resulting in smaller roots.
Thin the plants to stand about 2 inches apart from each other.
Pest Control
Keep an eye out for pests such as flea beetles, which can create small holes in the leaves.
While a few holes won’t affect the radish roots, a severe infestation can weaken the plants.
Organic options like neem oil or a floating row cover can protect your radishes without the use of harsh chemicals.
Here is the floating row cover I recommend:

Disease Management
Radishes can be susceptible to root rot and other fungal diseases if the soil is too moist.
Ensure good drainage in your container and avoid overhead watering to keep the foliage dry.
If any plants appear diseased, remove them promptly to prevent the spread to healthy plants.
Mulching
A thin layer of organic mulch can help retain soil moisture and regulate temperature.
Straw, shredded leaves, or finely ground bark can work well for mulching radish containers.
Check out my guide: The Best Alternatives to Traditional Mulch for Your Garden.
Harvesting Your Radishes
The moment of truth in your radish-growing journey is the harvest.
Here's how to know when your radishes are ready and the best way to go about harvesting them:
Timing the Harvest
Radishes are one of the quickest vegetables you can grow, with some varieties ready in as little as three weeks after planting.
The key to harvesting radishes is timing. They should be harvested when they are of usable size and still young and tender.
If left in the soil too long, radishes can become tough, woody, and overly spicy.
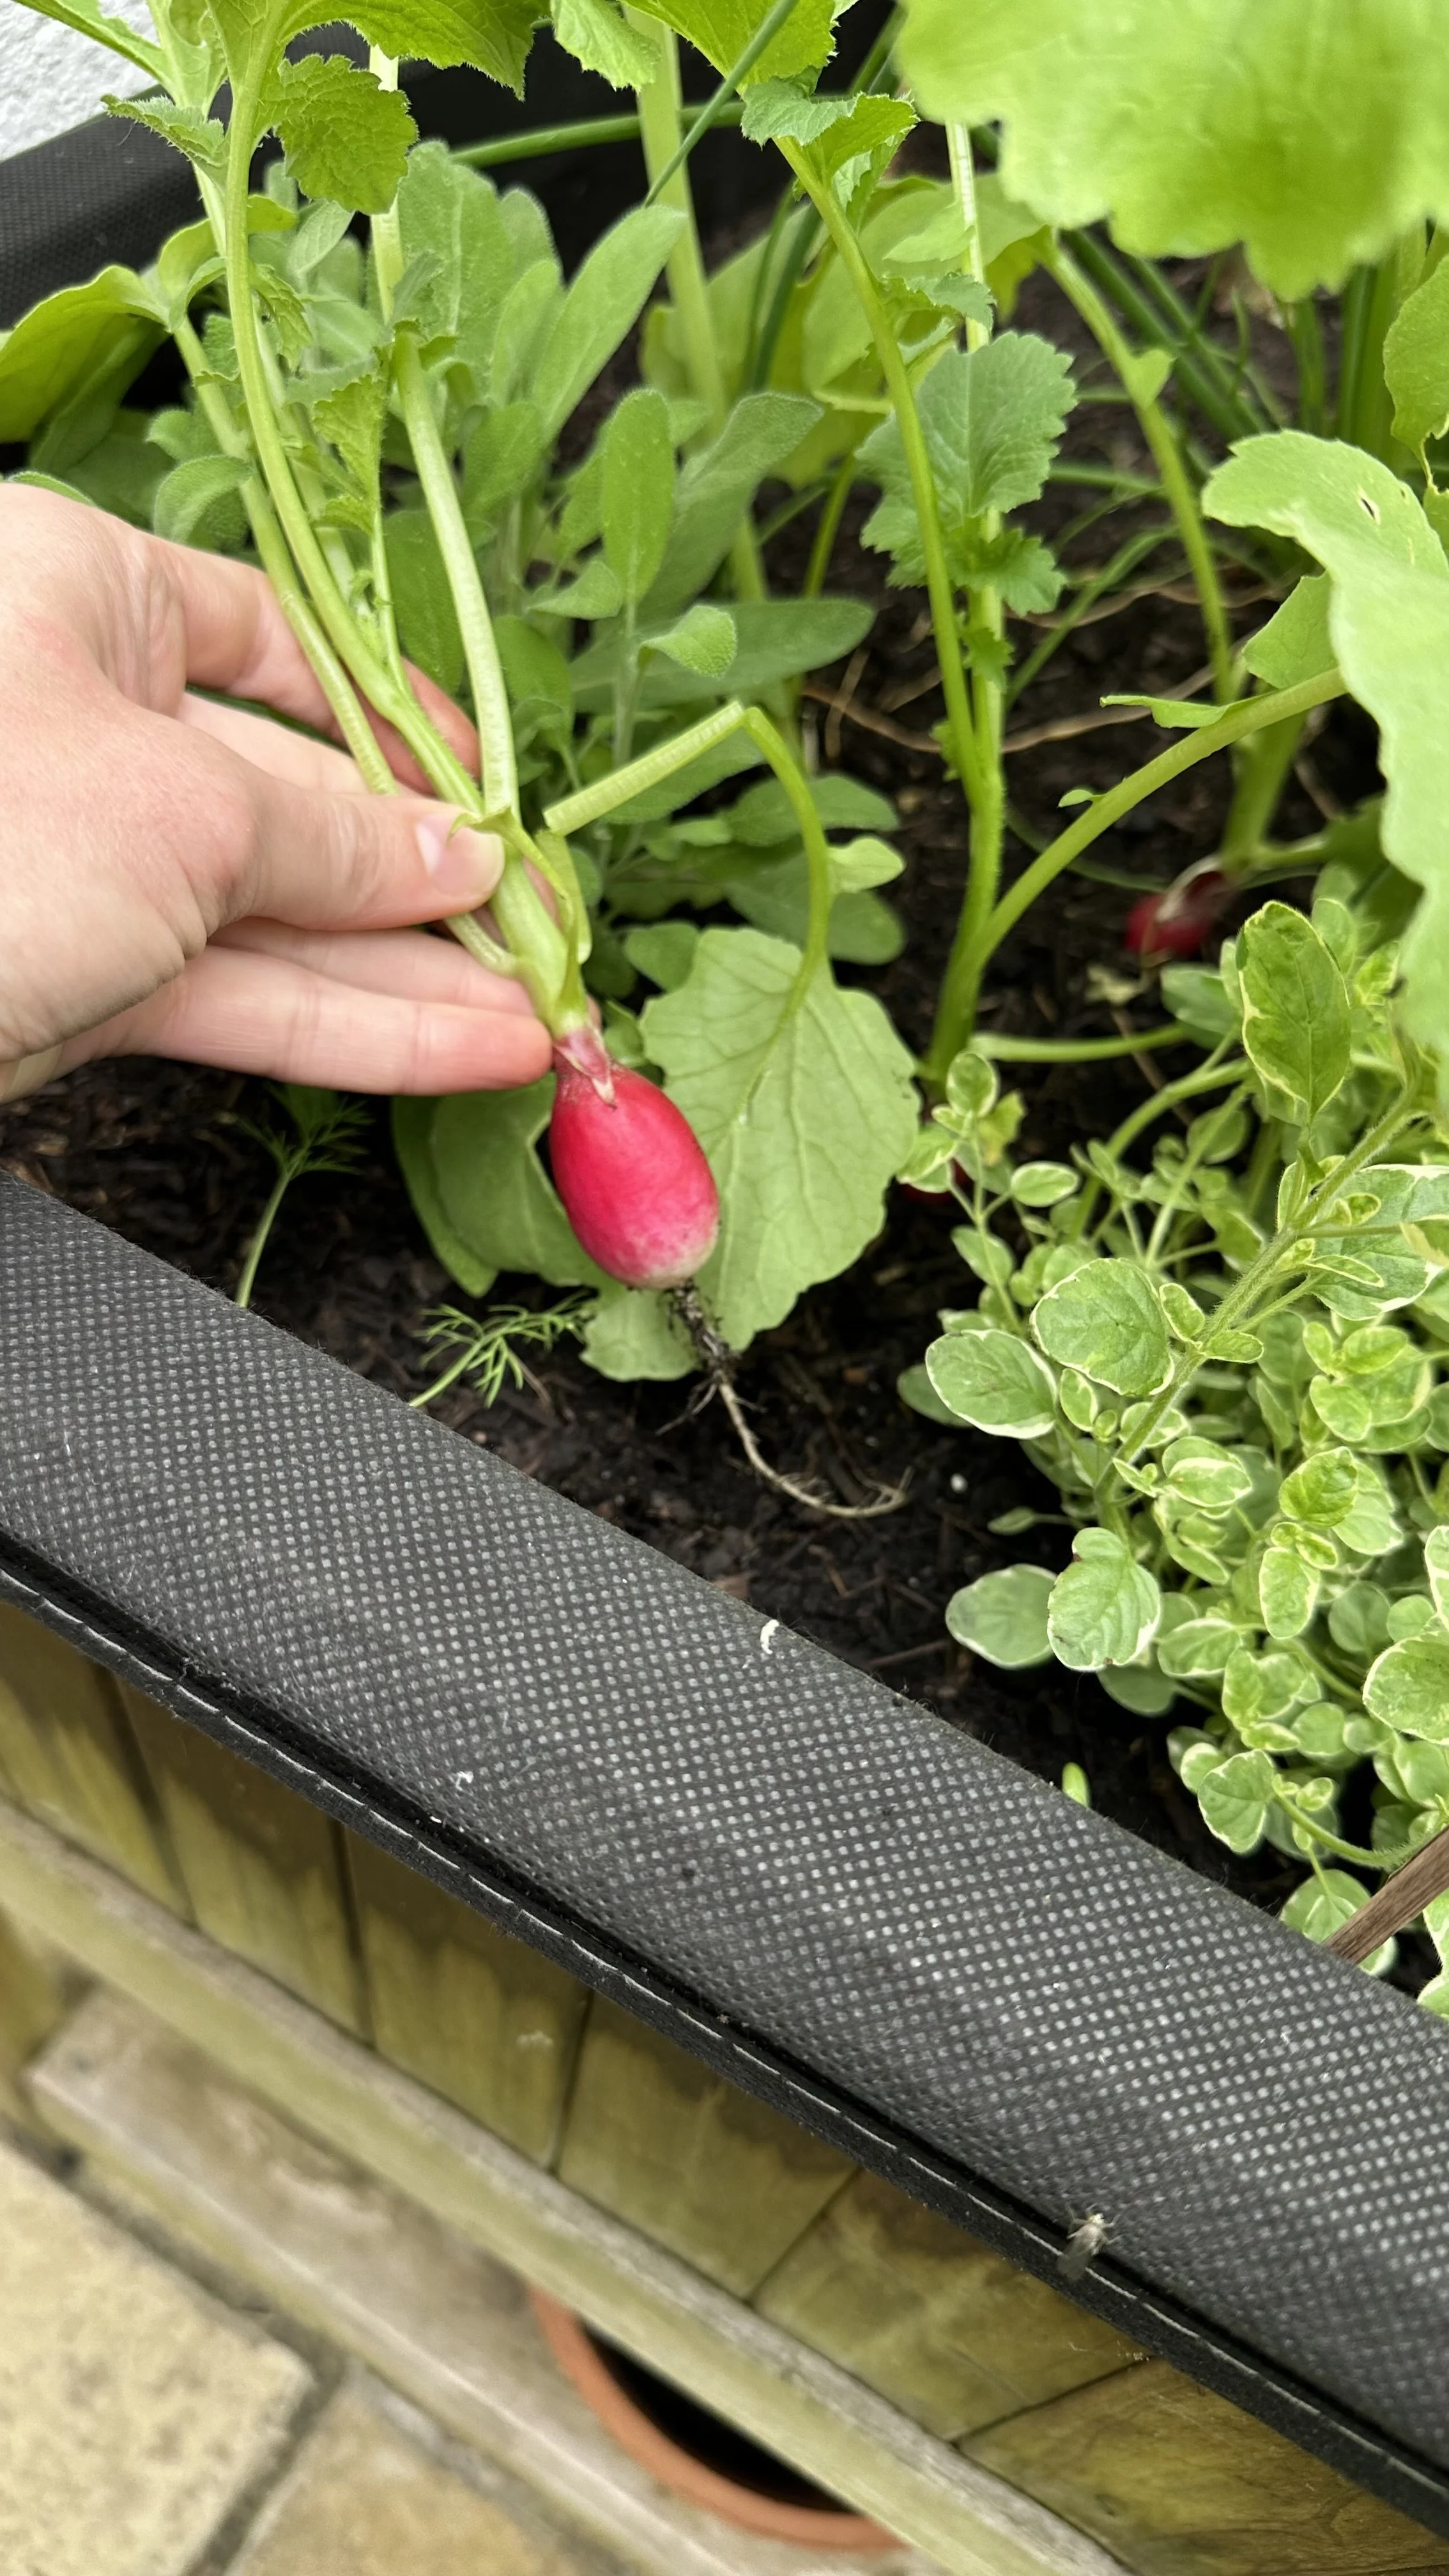
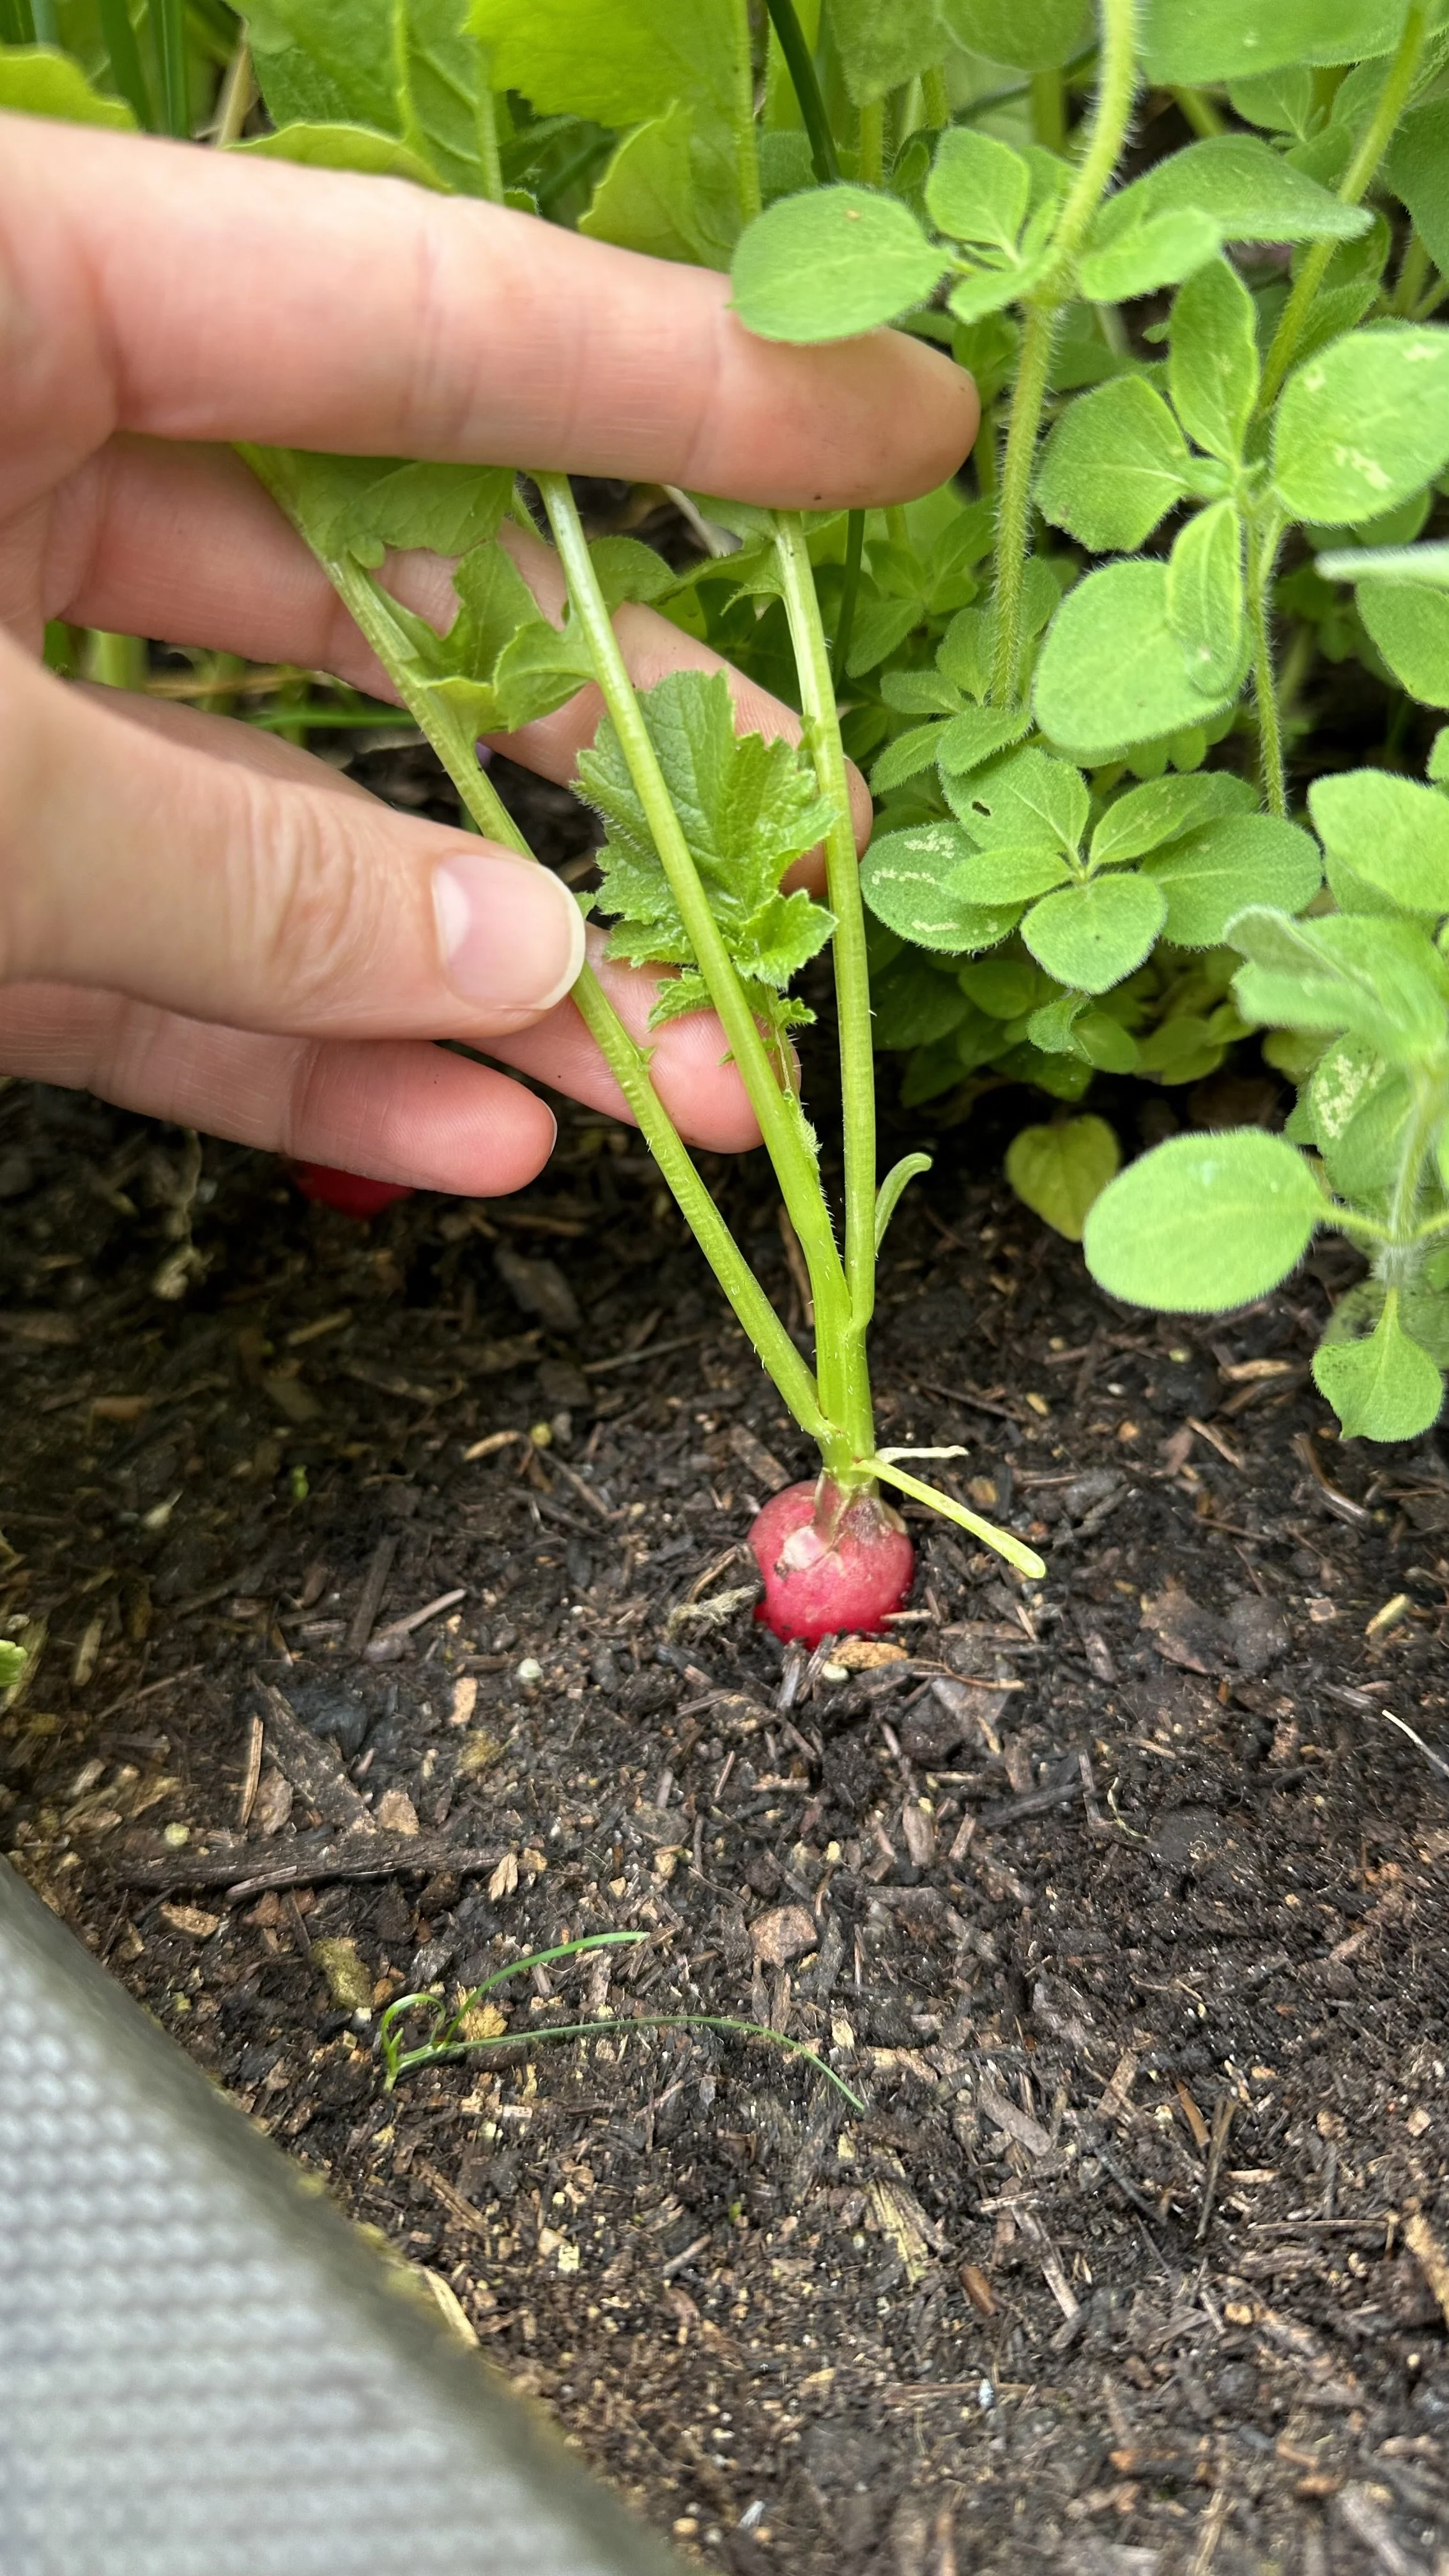
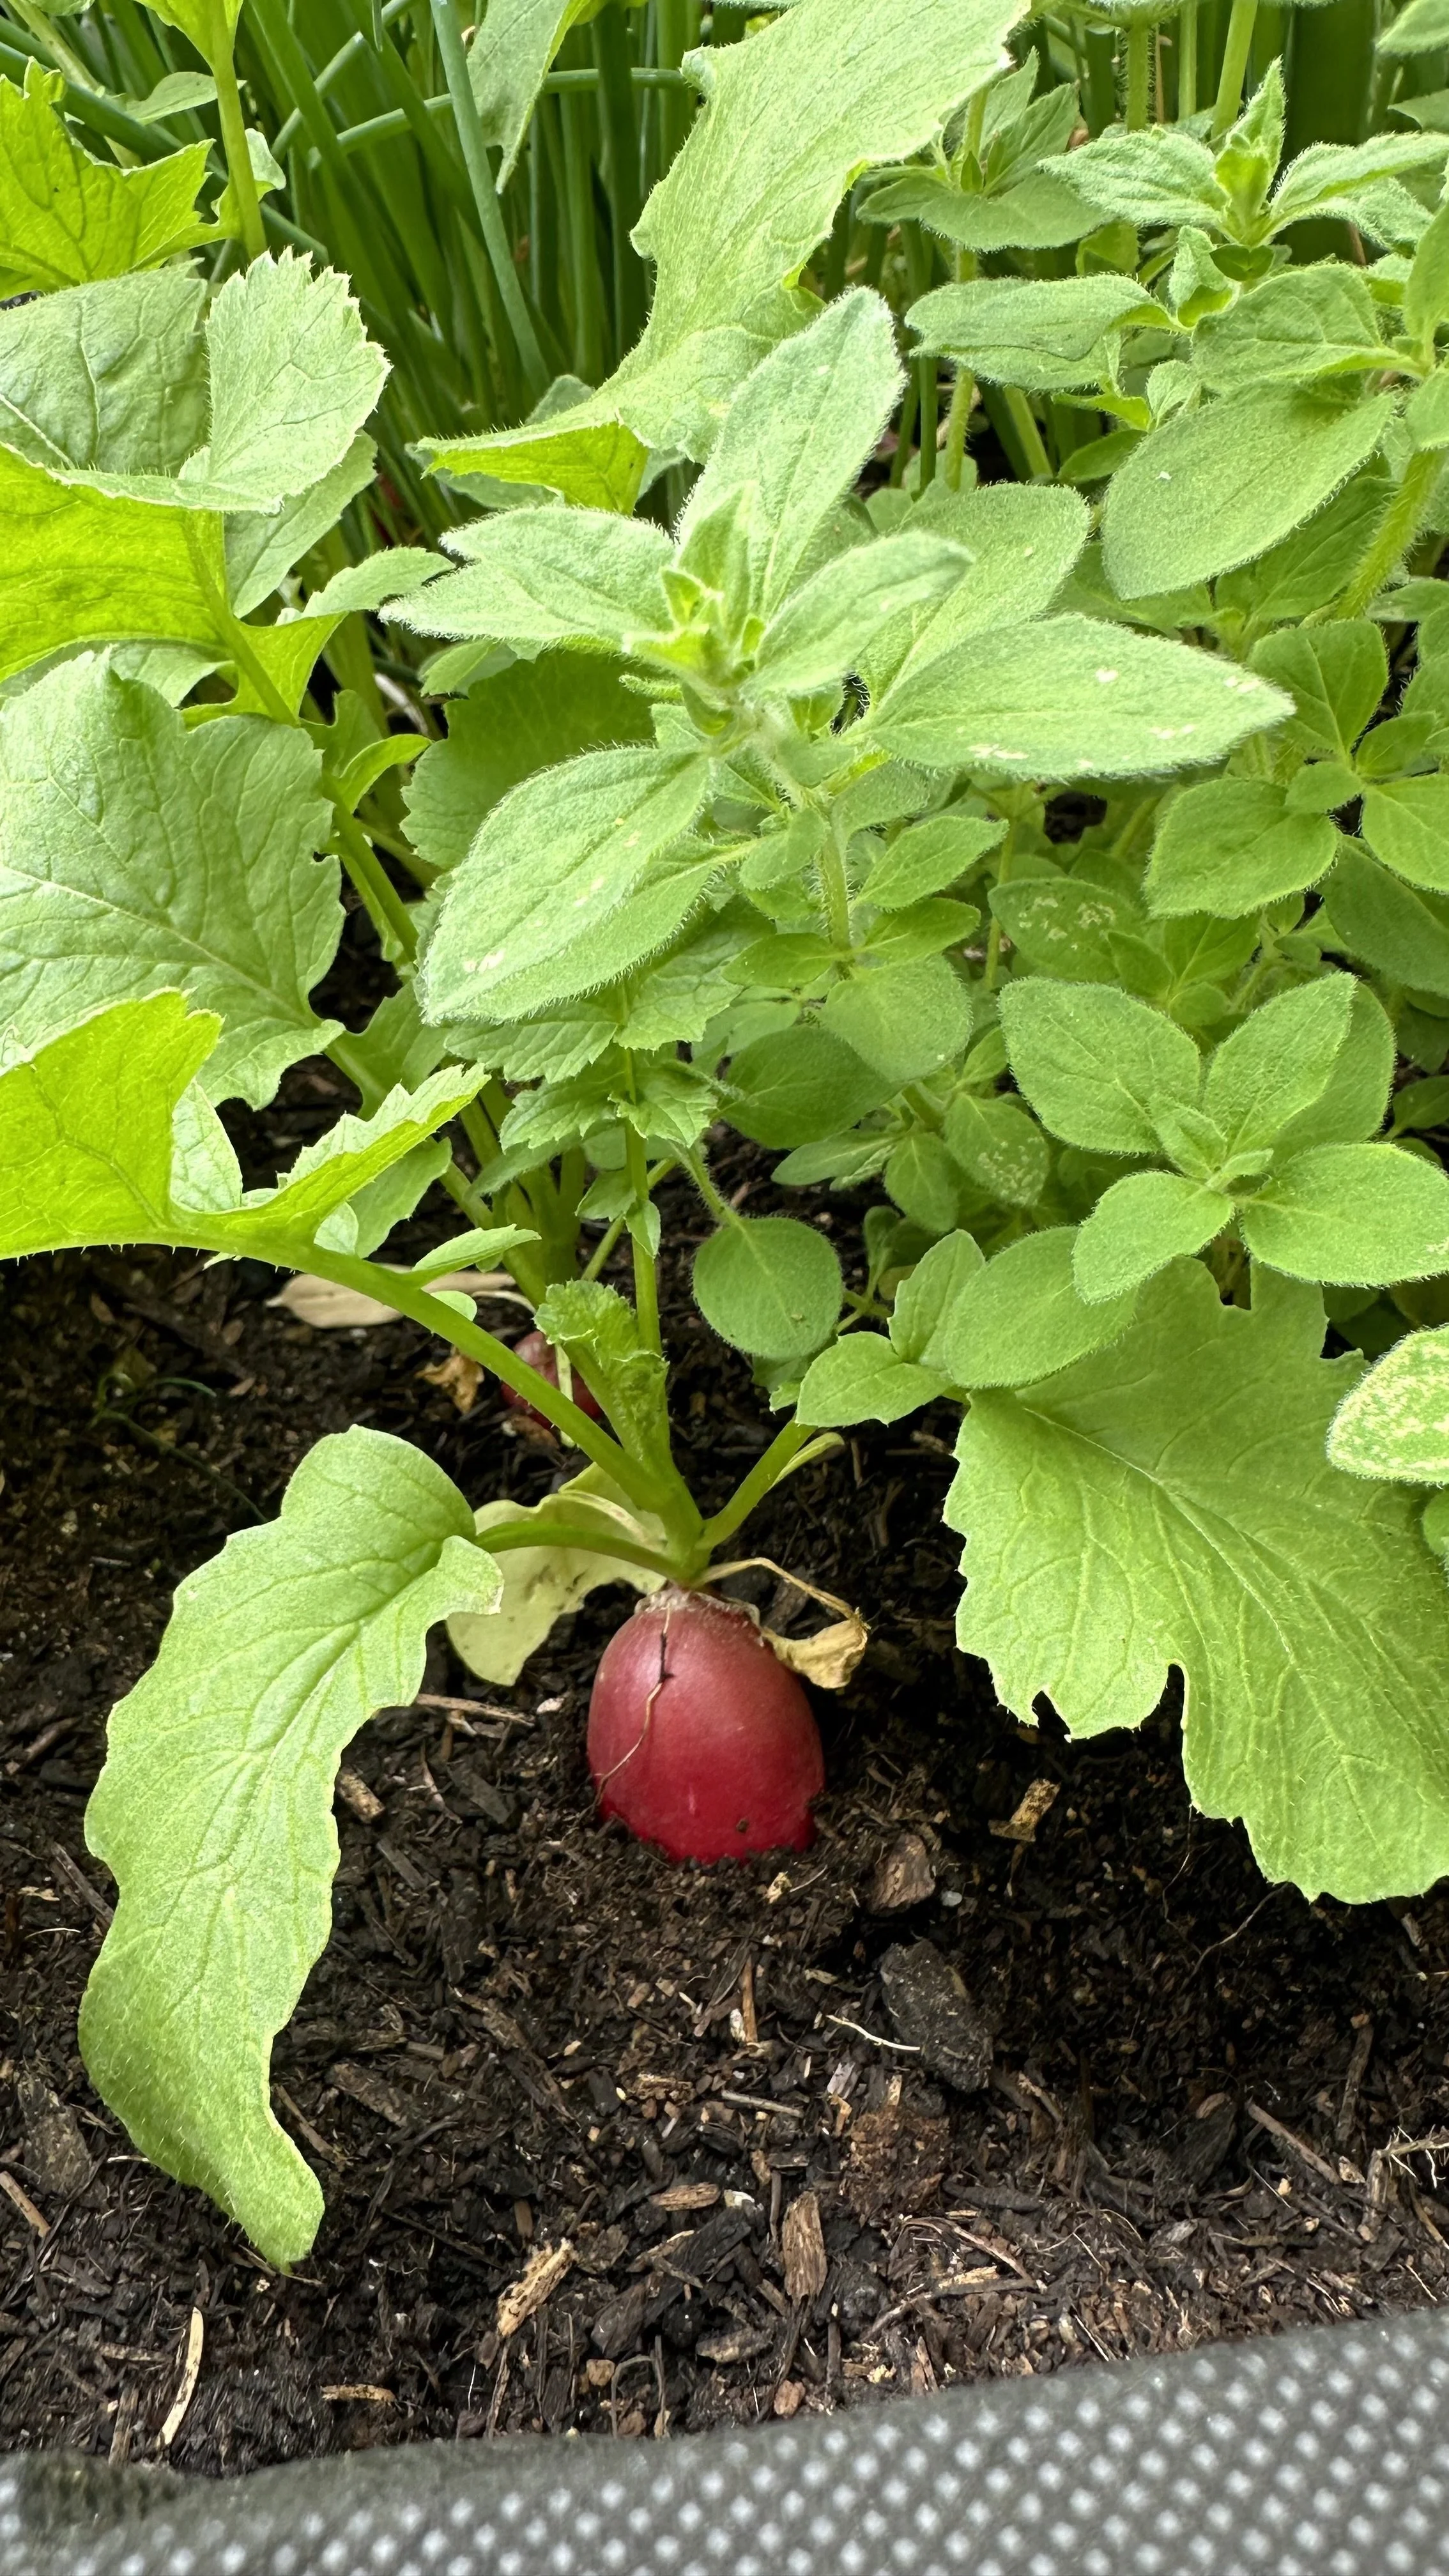
To determine if radishes are ready to harvest, watch for the shoulders of the radish (the top part of the root) to push up through the soil and become visible.
Radishes are typically ready when they are about an inch in diameter.
However, this can vary depending on the variety, so knowing the expected size of your radish type is helpful.
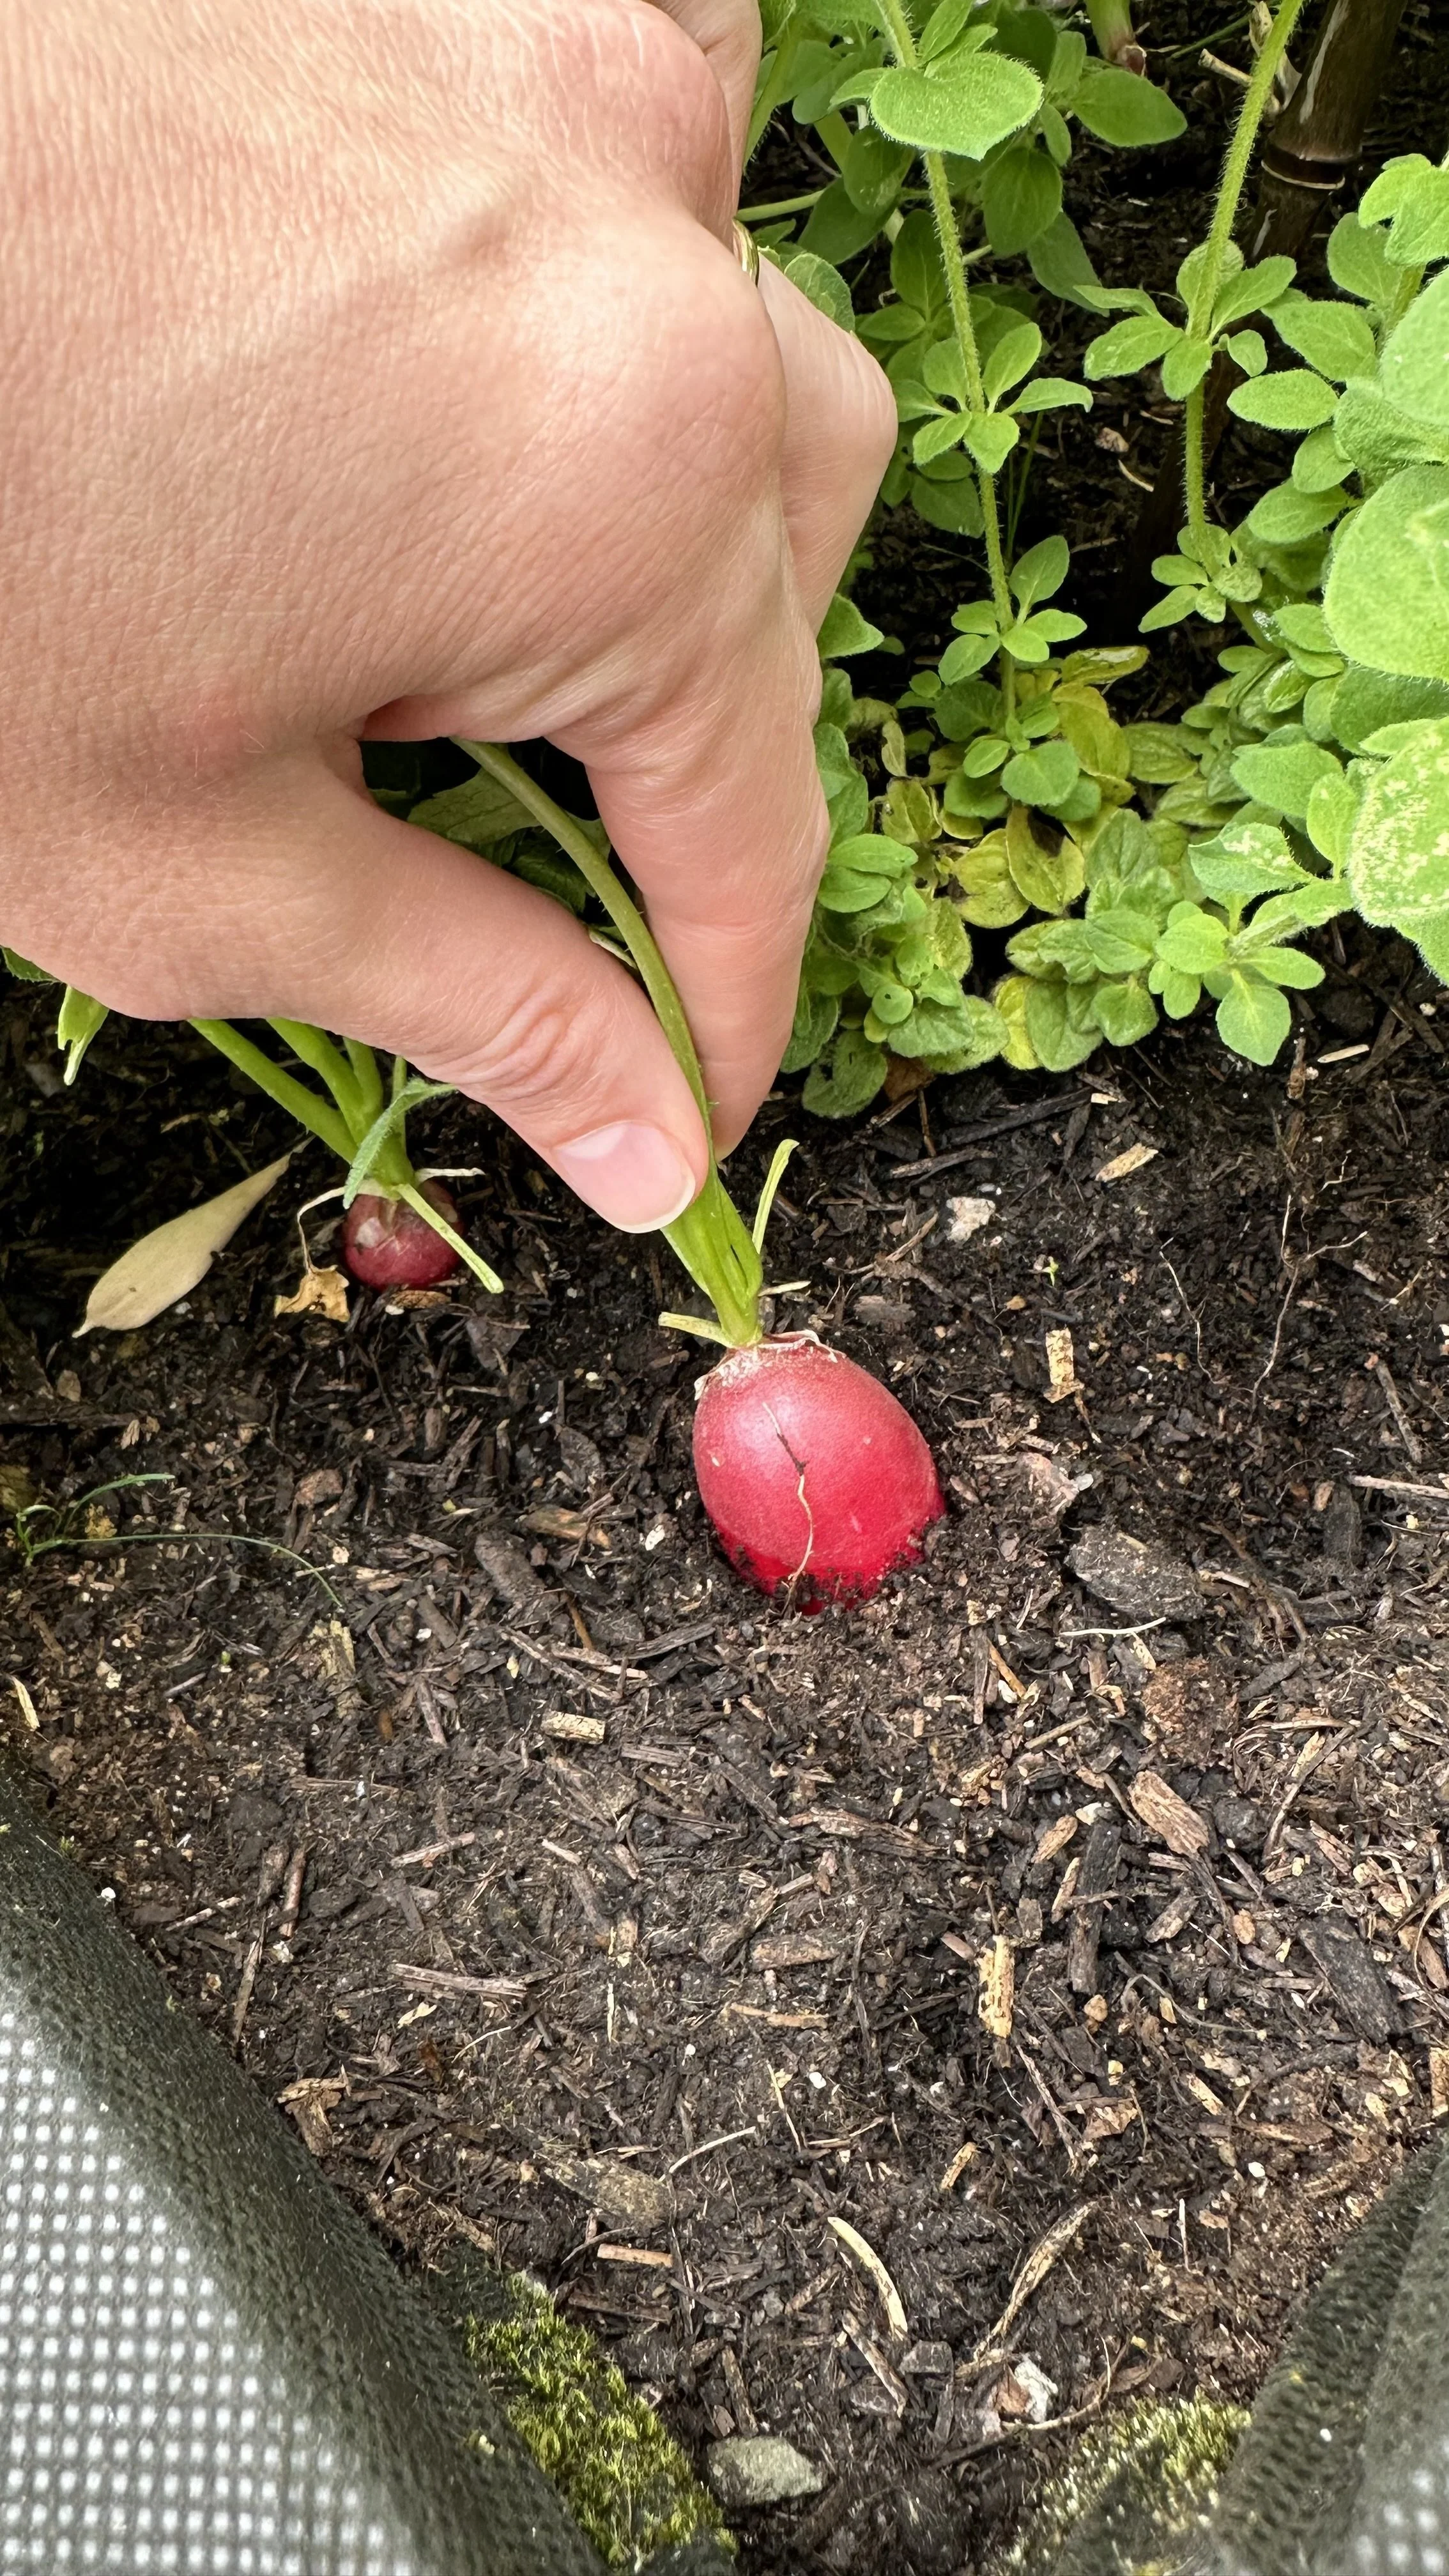
How to Harvest
To harvest radishes, gently pull on the tops while supporting the soil to prevent it from pulling up with the radish.
If they don’t come out easily, you can use a gardening fork to carefully loosen the soil around the radishes.
Inspect the root for firmness and size before pulling; sometimes the top can be misleading.
If you pull a radish and find it's smaller than desired, simply replant it and give it a few more days to grow.
Post-Harvest Handling
After harvesting, remove the tops if you do not plan to use them (radish greens are edible and tasty).
Leaving the tops on will draw moisture from the radishes, reducing their storage life.
Clean the radishes by gently brushing off the soil and washing them under cool water.
Storing Your Radishes
For short-term storage, radishes can be kept in the refrigerator.
Wrap them in a damp cloth or paper towel and place them in a perforated plastic bag in the vegetable drawer.
They should last for a week or two. For long-term storage, radishes can be pickled or stored in sand or sawdust in a cool, moist place like a root cellar.
Common Problems
Sometimes radishes can split, which is often the result of uneven watering or leaving them in the ground too long.
While split radishes are still edible, they may have a rougher texture.
FAQs
Can you grow radishes from radishes?
While you can’t grow a new radish from a cut radish, you can save the seeds from a bolted radish plant to grow new ones.
How can I prevent my radishes from becoming too spicy or woody?
Harvest your radishes when they are young and ensure even watering throughout their growth. Too much heat or over-maturity can lead to spicy, woody radishes.
Can I eat the greens of the radish plant?
Yes, radish greens are edible and nutritious. They can be eaten raw in salads or cooked similarly to spinach or kale.
To wrap-up, growing vegetables like radishes in containers is a rewarding experience that brings the joy of gardening to any size space.
Whether you plant radishes on your balcony, patio, or even within raised beds, the process is simple and the results are gratifying.
Sowing seeds directly into quality potting soil, maintaining even moisture, and ensuring your plants receive adequate sunlight can lead to a bountiful harvest of crisp, flavorful radishes.
Remember, with container gardening, you have the flexibility to manage your plants in micro-environments, such as moving pots to take advantage of the sun's path or to protect from harsh weather.
Embrace the simplicity and satisfaction of planting radishes, and before you know it, you’ll be savoring the taste of your own homegrown produce.
Raised beds or pots on a sunlit patio can become a haven for a variety of radish types, from the peppery Cherry Belle to the elongated French Breakfast.
No matter how you choose to sow your seeds, the act of growing radishes is a grounding one, connecting you to the pleasures of simple, sustainable living.
So, whether you're an experienced gardener or new to the world of growing vegetables, let the humble radish inspire your green thumb and bring a touch of freshness to your table.