Easy Steps to Growing Green Beans in Containers
This article has links to products that I may make commission from.
Welcome to the world of container gardening where even a modest balcony or windowsill can yield a bountiful harvest.
Here we're zeroing in on one of the most popular, versatile, and easy-to-grow vegetables: green beans.
Whether you have a green thumb or are new to the gardening community, this post is packed with expert advice to guide you through growing green beans in containers—from selecting the perfect variety and container to planting, caring, and finally, savoring the fruits of your labor.
Get ready to transform your urban space into a green bean oasis.
To learn more about growing vegetables in containers, check out my guides:
Choosing the Right Container
When venturing into the rewarding world of container gardening, one of the first steps is selecting the appropriate home for your green beans.
The container you choose will be the foundation of your green bean plant's growth and health, so it’s important to get it right.
Size Matters
For green beans, the container's size is critical.
Bush beans thrive in a more compact space, but they still require room for their roots to spread.
A pot with a diameter of at least 12 inches and a similar depth provides ample space for a bush bean plant to flourish.
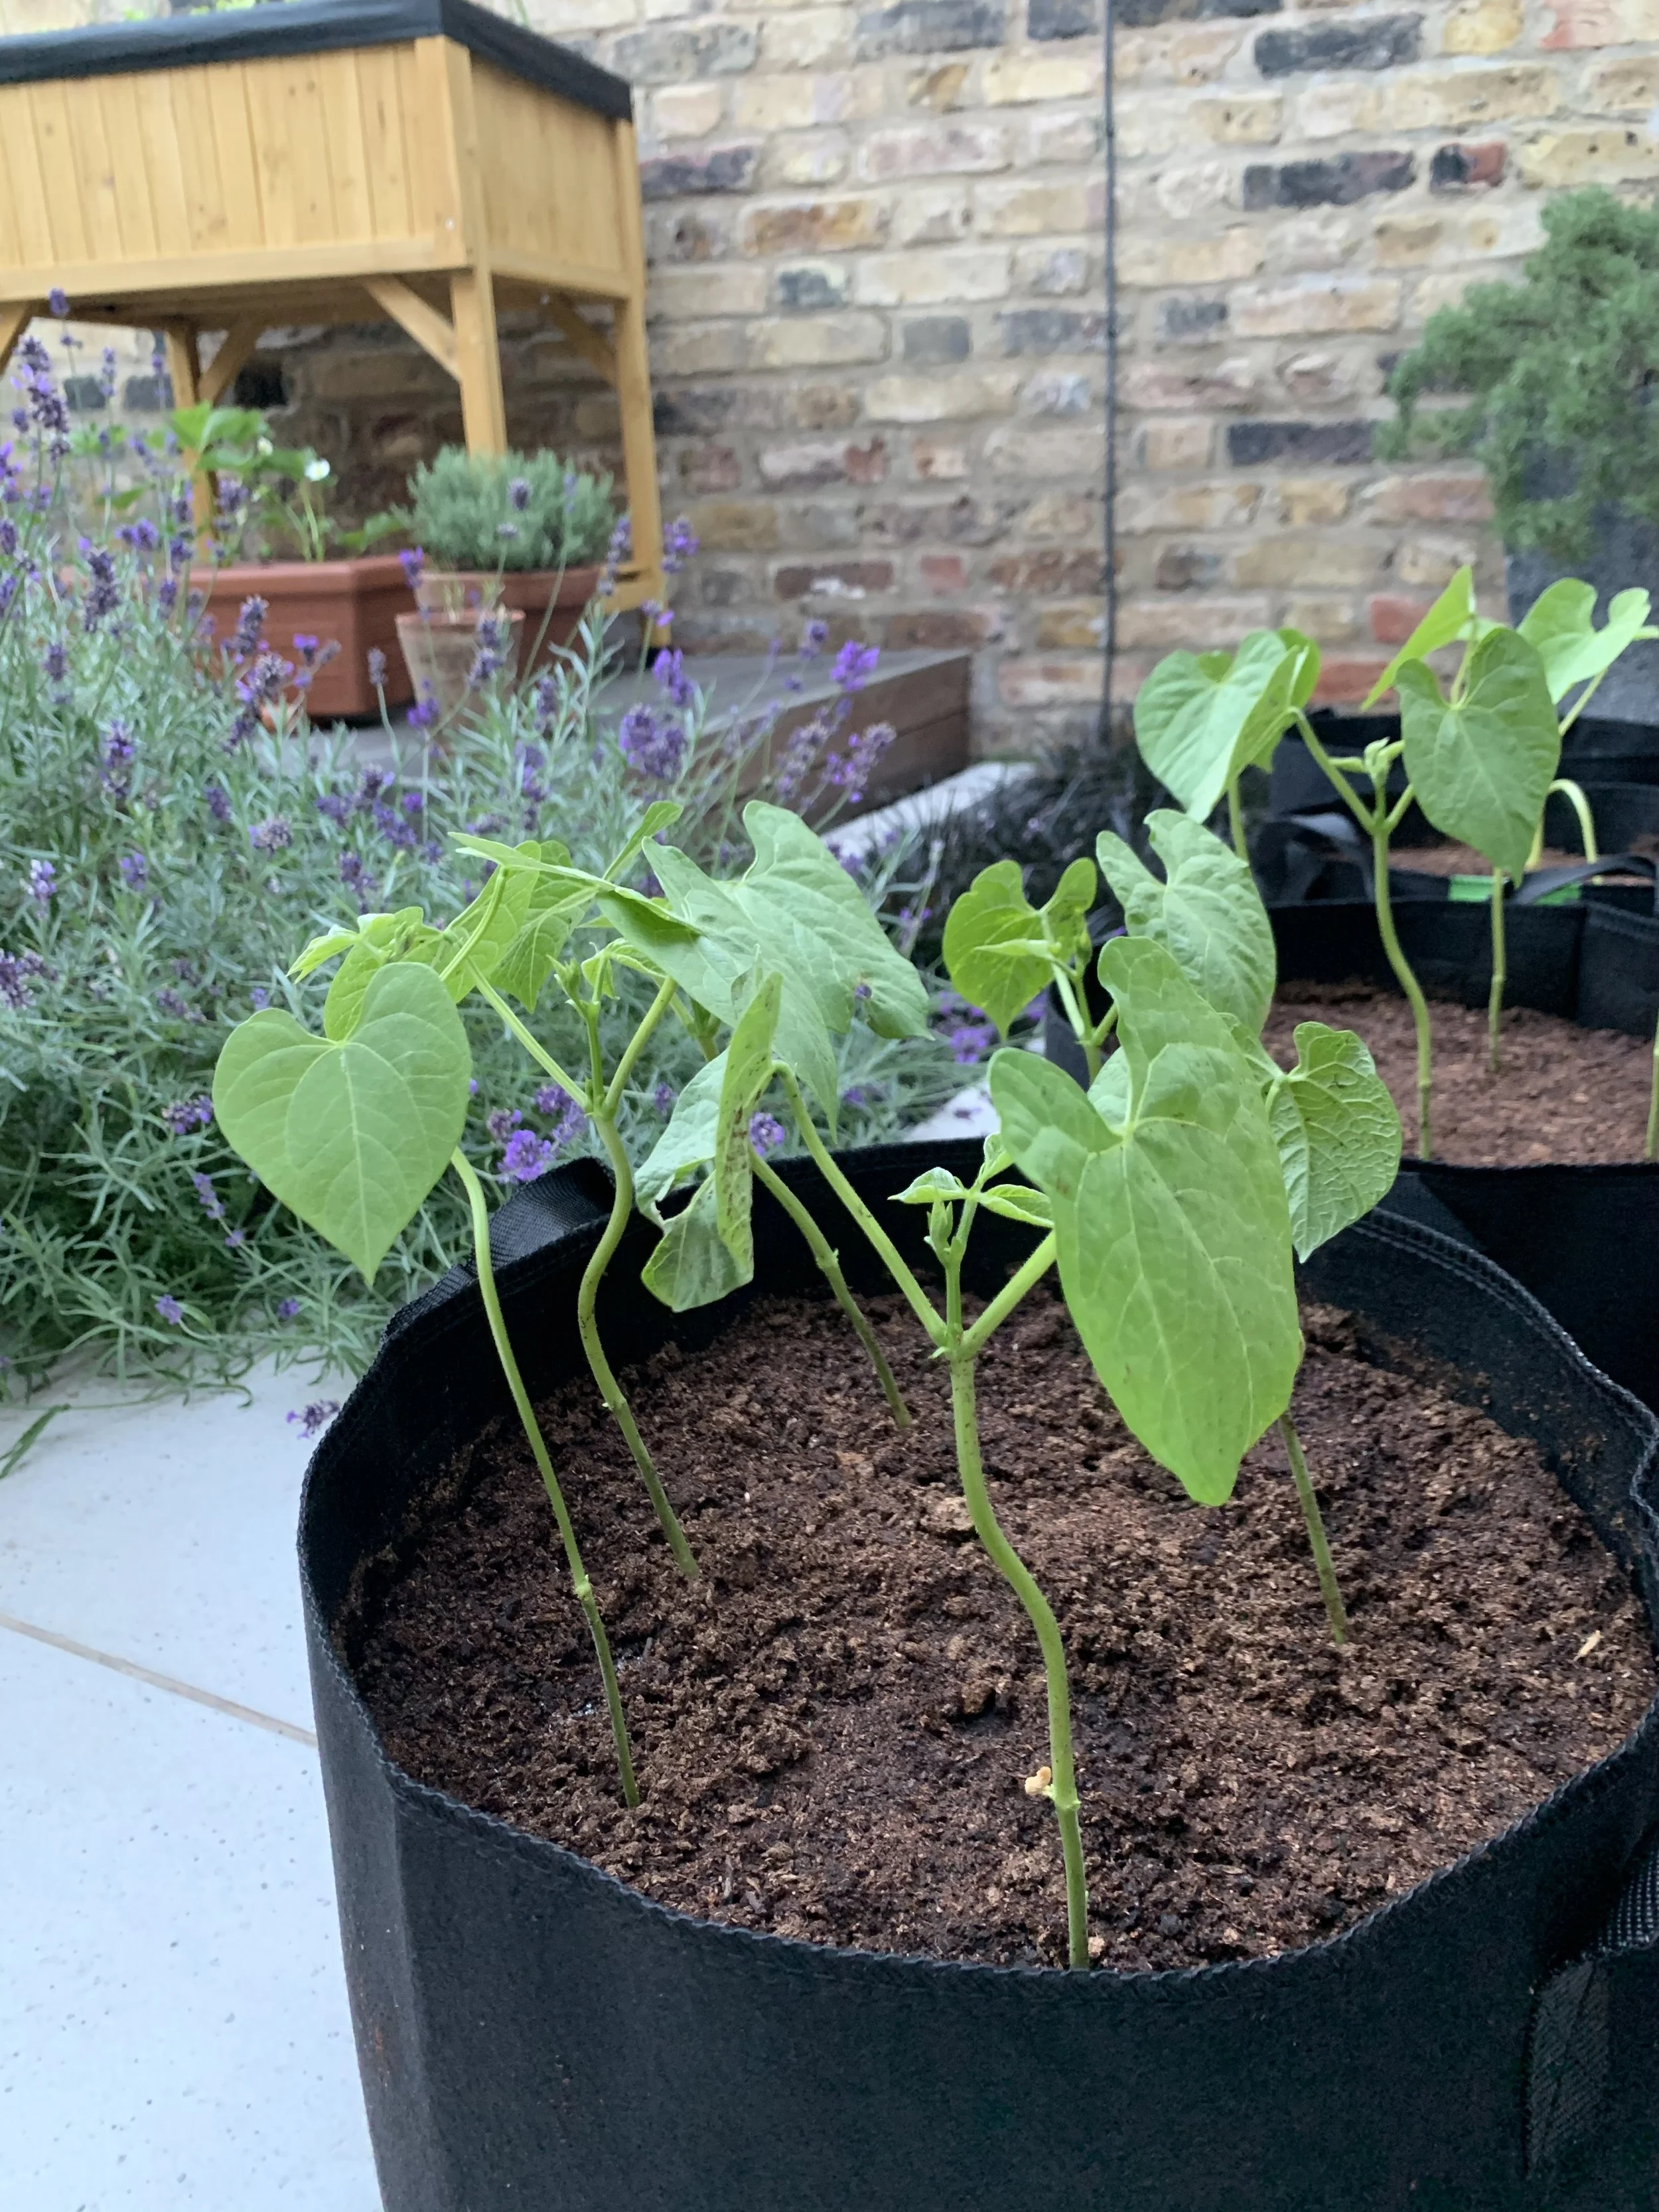
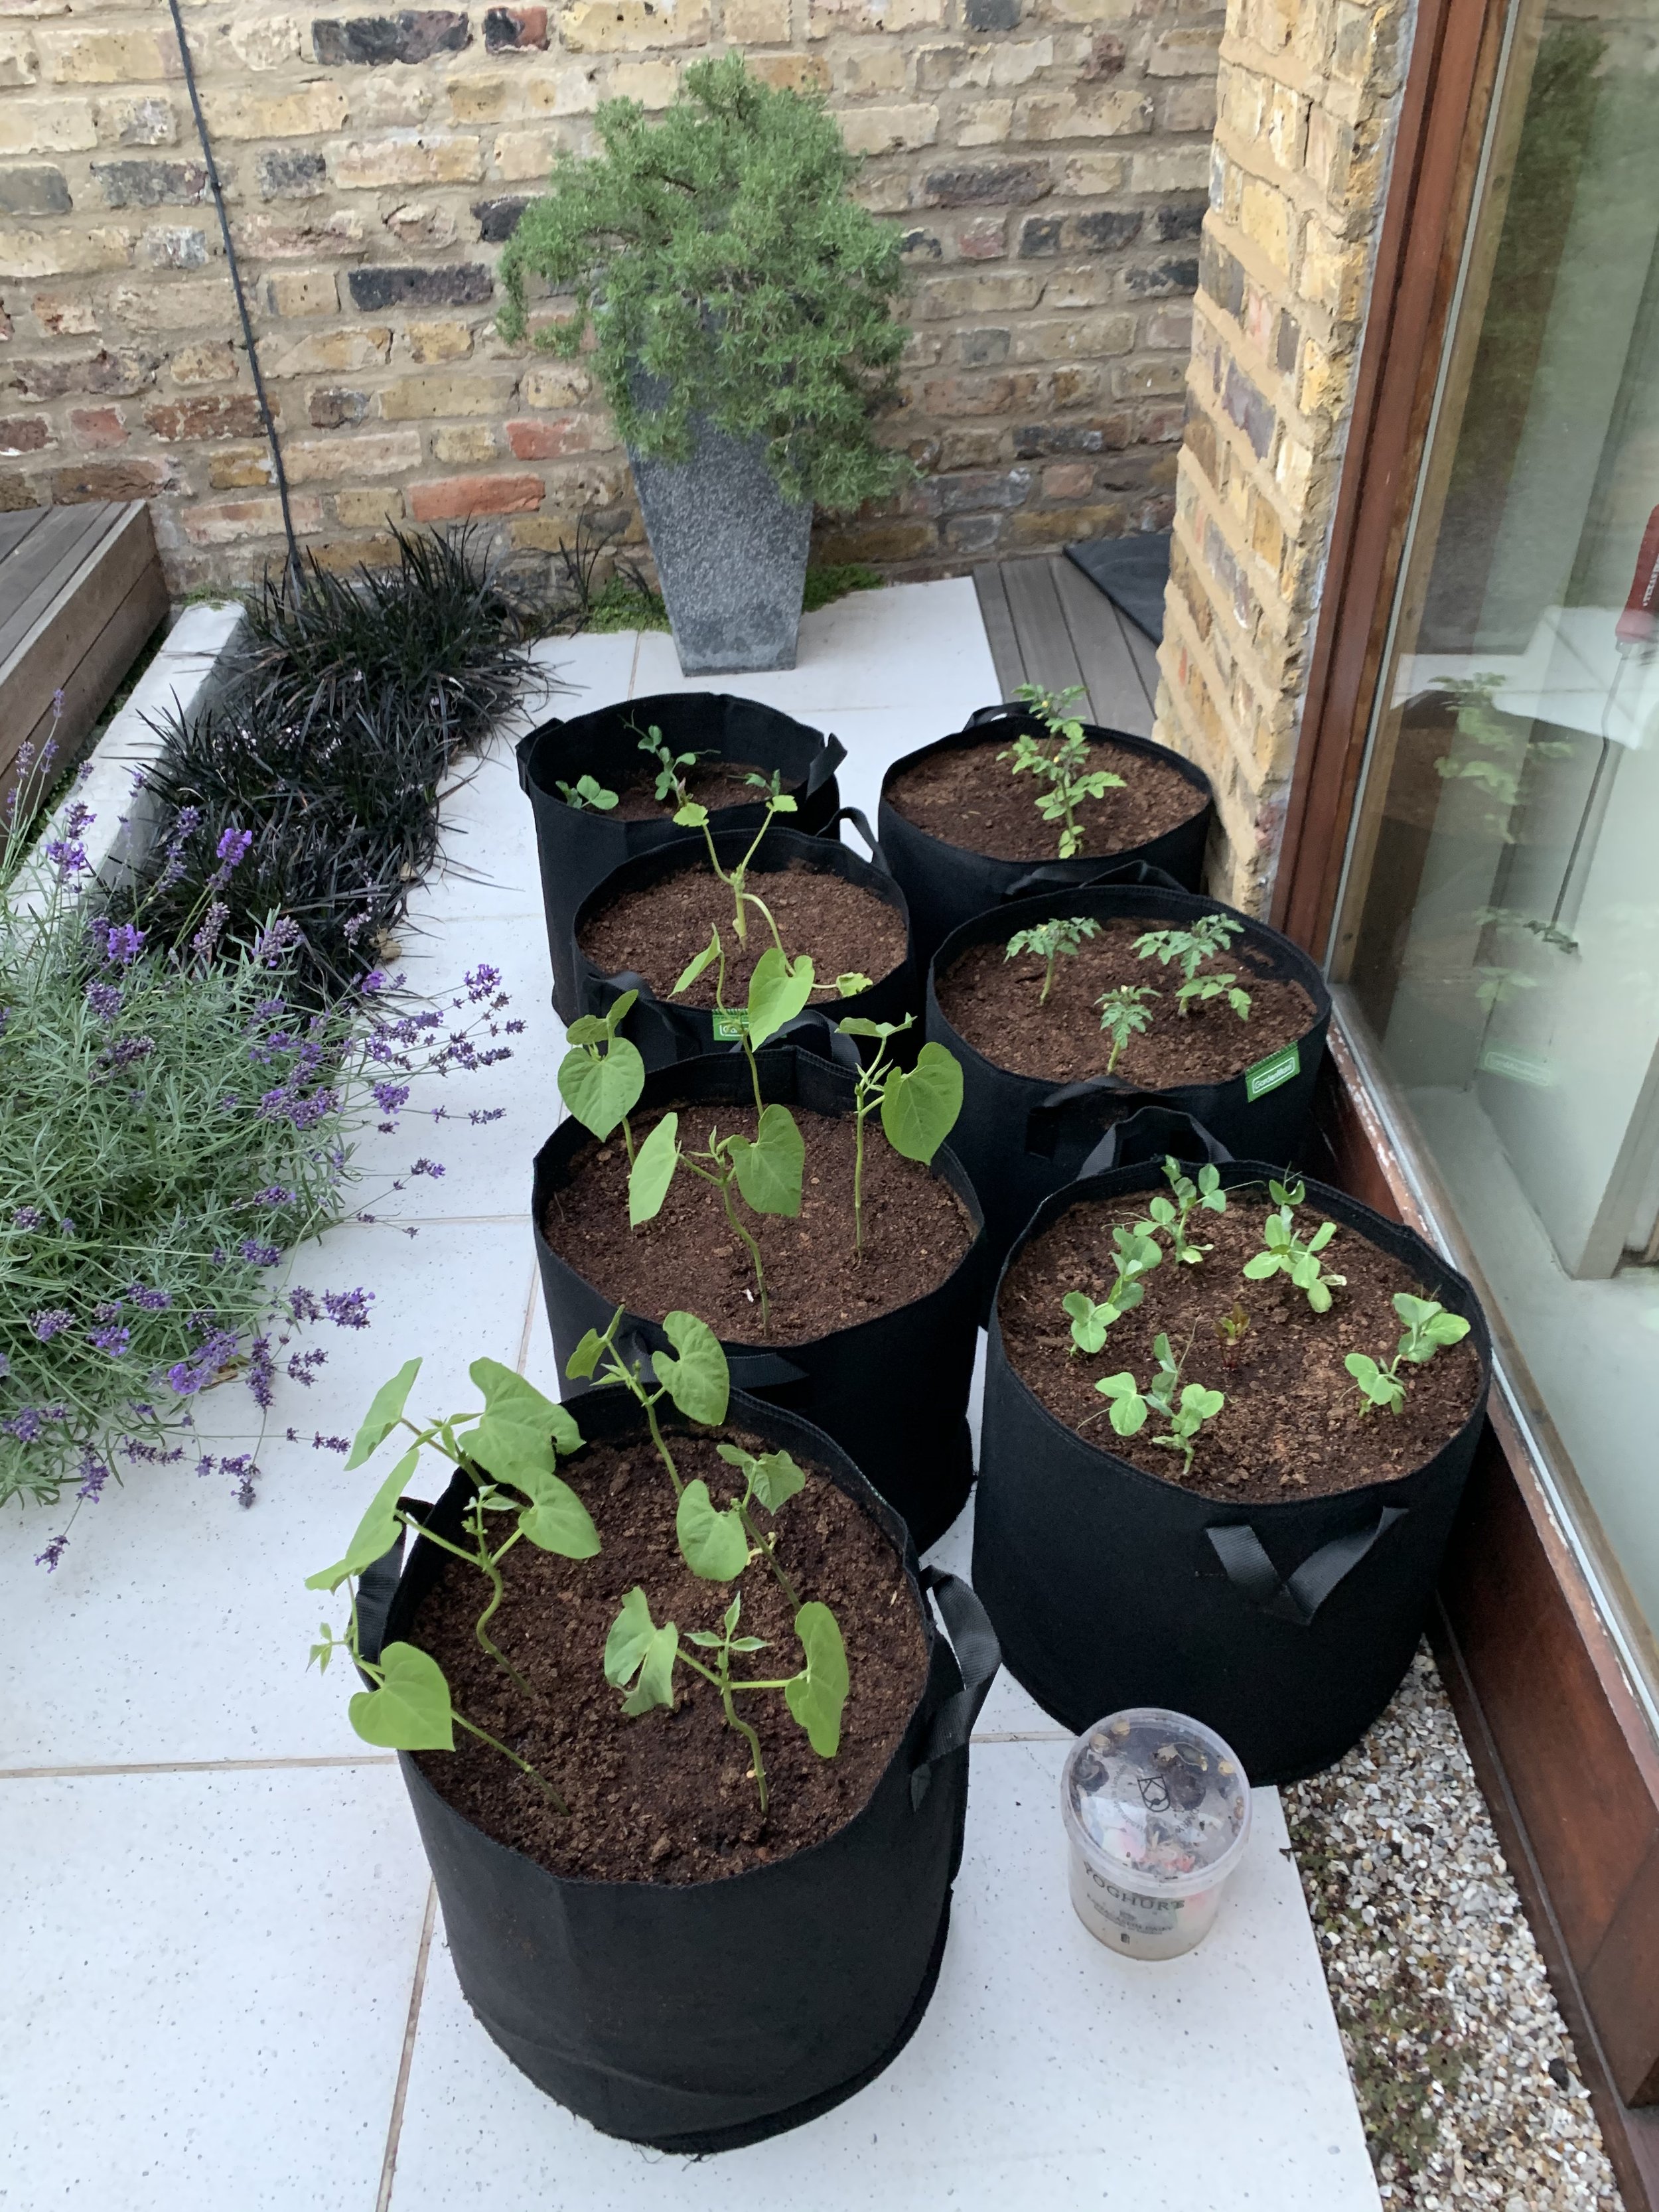
These grow bags that I use are perfect for bush beans:

Pole beans, on the other hand, are climbers; they reach for the sky and need a deeper container to anchor their longer roots.
A depth of 18 to 24 inches is ideal for these towering plants.
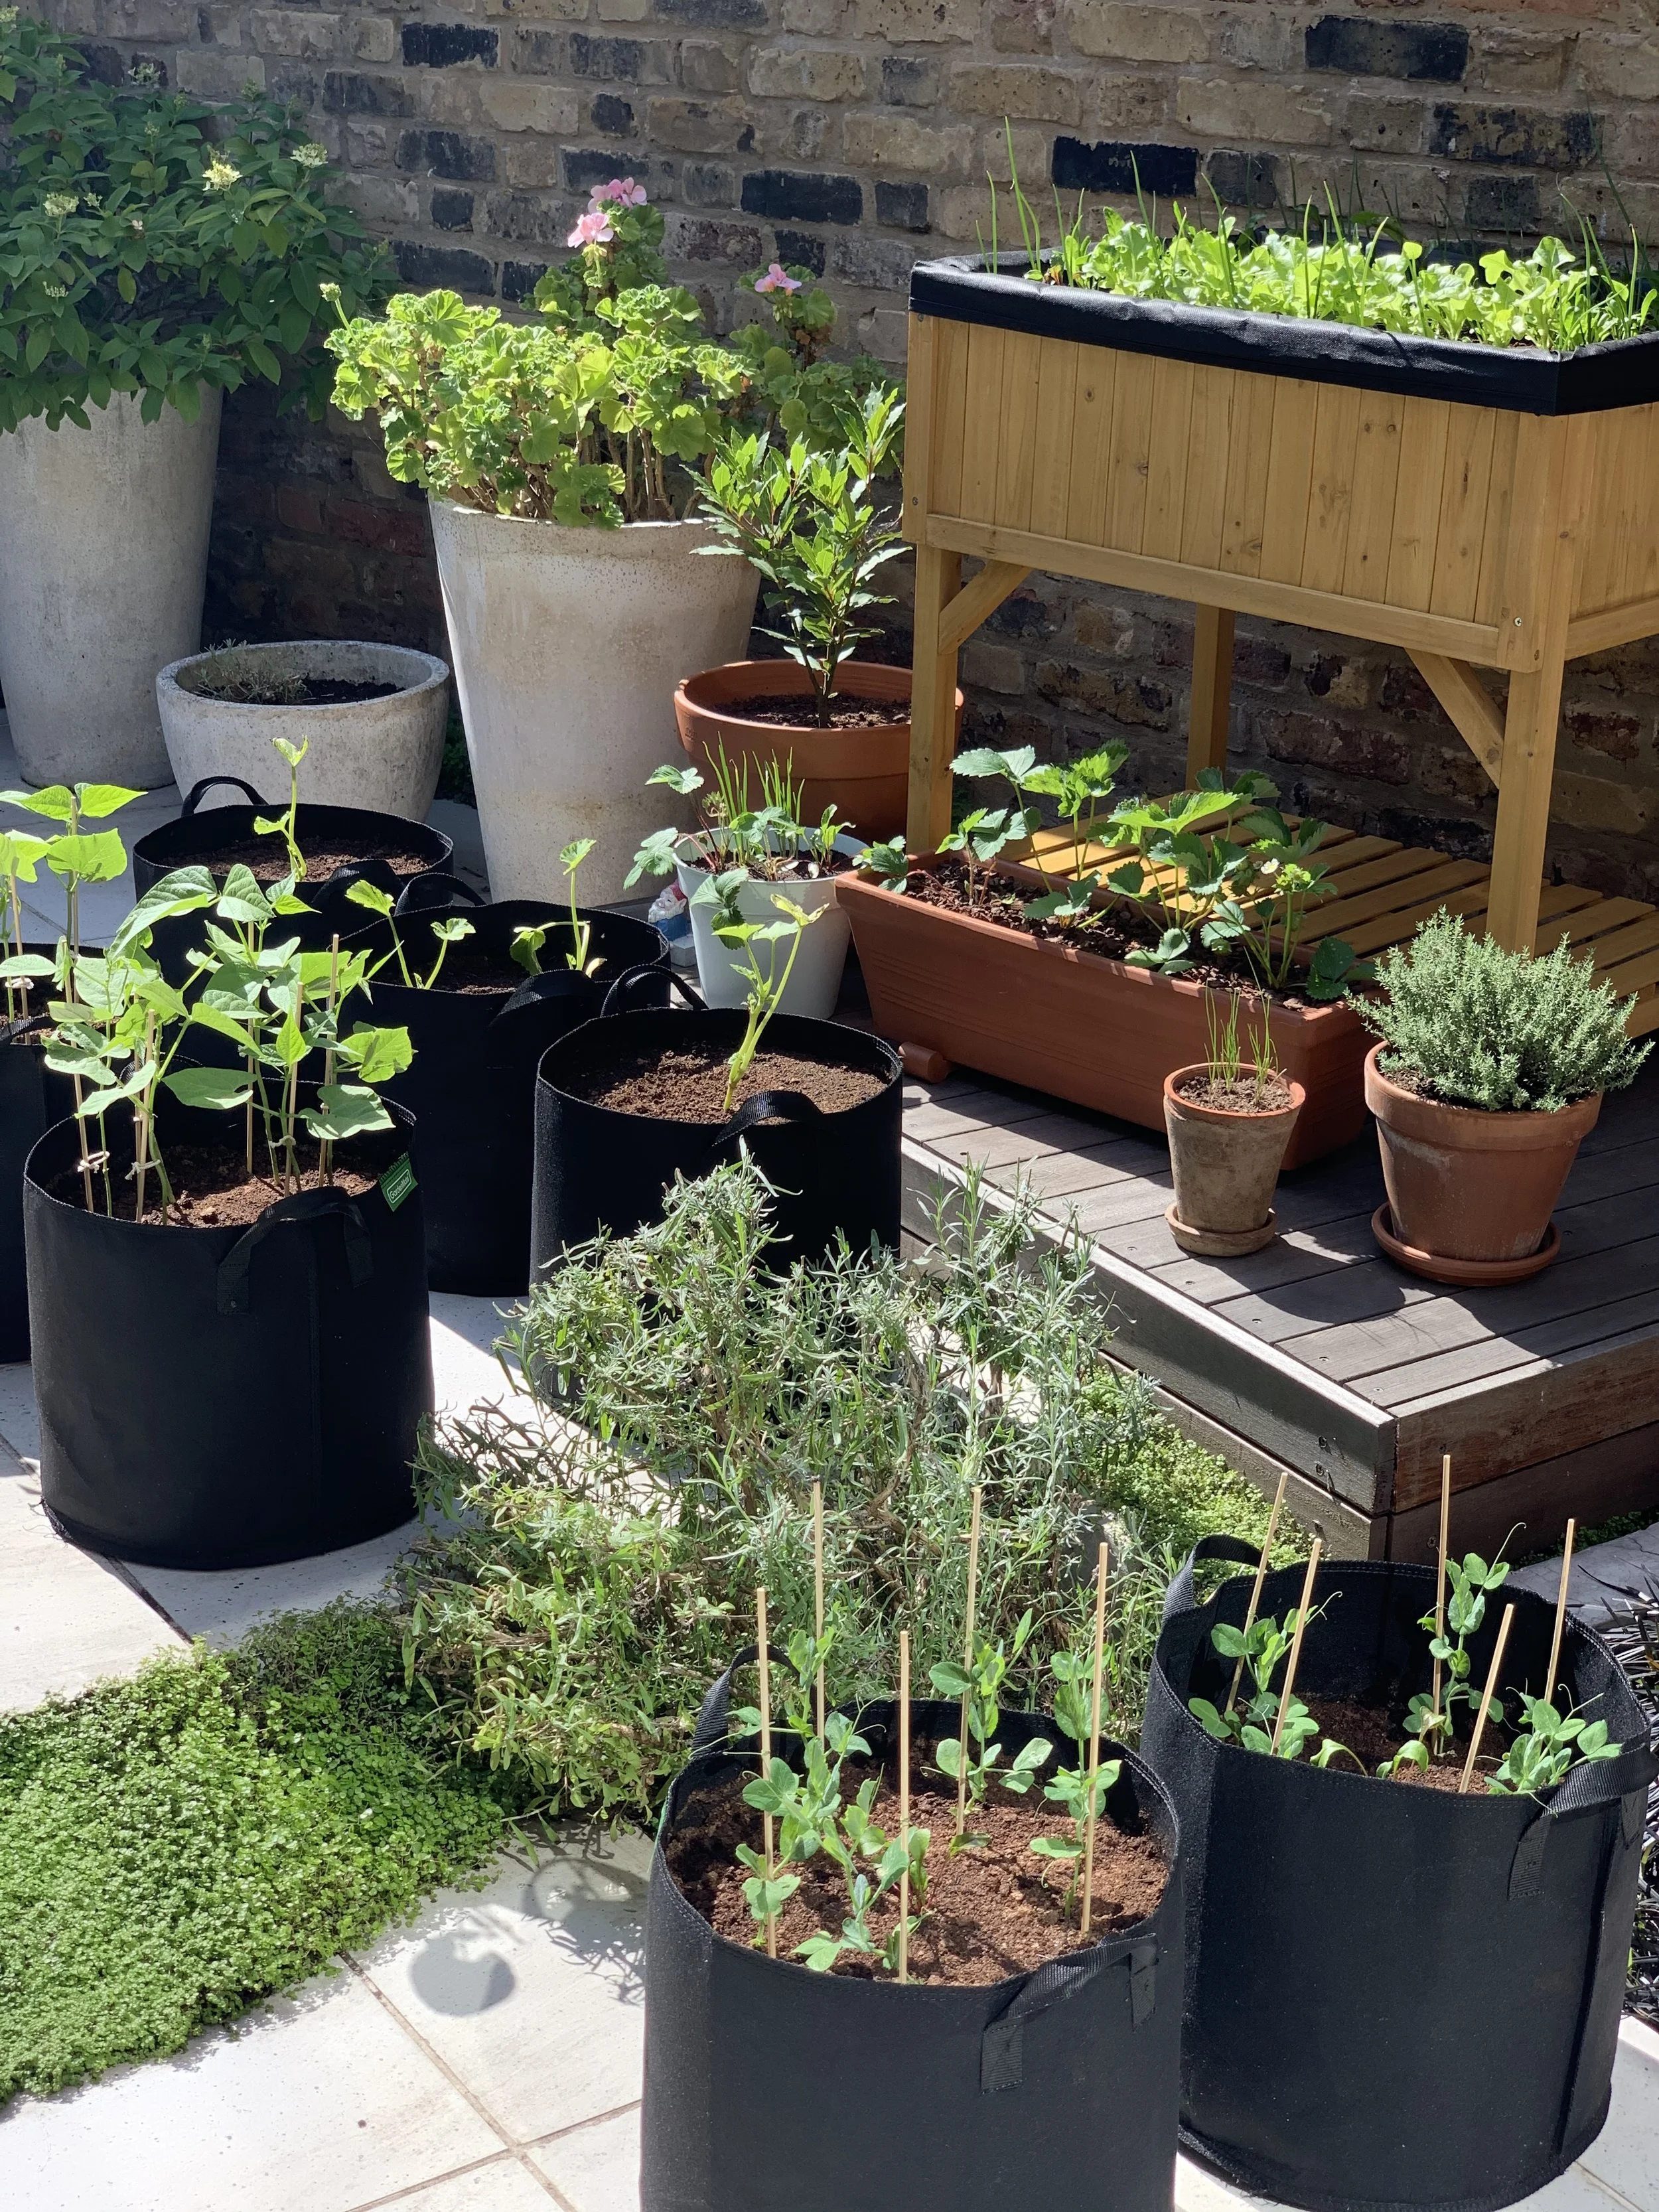
These grow bags are great for growing pole beans:

Material Considerations
Containers come in various materials, each with its advantages.
Plastic pots are lightweight, inexpensive, and retain moisture well, but they can deteriorate over time due to sun exposure.
Clay or terra cotta pots offer a classic look and excellent breathability, promoting healthy root systems.
However, they are heavier and dry out more quickly, which means they require more frequent watering.
Wooden containers provide a rustic aesthetic and good insulation from heat, but they can be susceptible to rot.
Metal pots can heat up quickly in full sun, which could stress the plants, so they may need to be placed in partial shade to mitigate this issue.
Drainage Is Key
Regardless of the material you choose, ensure your container has adequate drainage holes.
Green beans do not like to sit in waterlogged soil, which can lead to root rot and other diseases.
If your chosen pot doesn't have holes, you can drill some yourself. Adding a layer of gravel or broken pottery at the bottom of the pot can also improve drainage.
Color Counts
Believe it or not, the color of your container can also play a role in the health of your green bean plants.
Dark-colored containers absorb more heat, which can encourage growth in cooler climates but may require shading in hotter areas to prevent overheating.
Light-colored containers reflect sunlight, keeping the soil cooler, which is beneficial in warmer regions.
The Right Shape
Green beans, especially pole varieties, need support as they grow.
While any tall container will work for pole beans, consider a container that's wide at the top and narrower at the bottom (a tapered design) if you plan to use a central support like a teepee or pole.
This shape allows the plant to drape over and makes for an attractive display.
Want to learn more about growing in containers? Check out my guides:
Selecting Your Green Bean Variety
The variety of green bean you choose to plant in your container garden will significantly influence your gardening experience and yield.
When selecting seeds, it's essential to consider your climate, the size of your container, and your personal culinary preferences.
Bush Beans or Pole Beans?
First, decide between bush beans and pole beans.
Bush beans are compact and tend to produce their crop all at once, which is great if you're planning on freezing or canning.
They're also self-standing and won't require trellises or staking, making them perfect for smaller spaces or simpler gardening approaches.
Pole beans, in contrast, will give you a prolonged harvest period, producing beans throughout the growing season.
They'll need a trellis or some kind of support to climb, which can be a great use of vertical space in small areas.
However, they do take up more vertical space and can shade out other plants if not managed properly.
Varieties for Every Climate
Consider your local climate when choosing a variety.
Some beans, like 'Blue Lake' and 'Kentucky Wonder,' are versatile and adapt to many different climates, whereas others might be bred for cooler or warmer temperatures.
If you're in a region with intense heat, such as Texas, look for heat-tolerant varieties that can withstand the scorching summer temperatures without wilting.
For those growing green beans in cooler climates, opt for varieties that can tolerate lower temperatures and have a shorter time to maturity, ensuring you can harvest your beans before the first frost.
Here are the ‘Blue Lake’ seeds I recommend:

Here are the ‘Kentucky Wonder’ seeds I recommend:

Dwarf French Beans for Container Success
Dwarf French beans, also known as filet beans or haricots verts, are particularly well-suited for container gardening.
They're smaller and more delicate than standard green beans but packed with flavor.
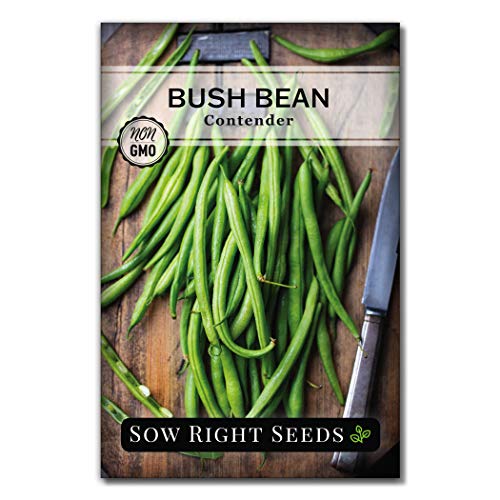
Varieties like 'Maxibel' or 'Contender' are perfect for pots and bring a touch of gourmet to your home garden.
Here are the ‘Maxibel’ seeds I recommend:

Here are the ‘Contender’ bean seeds I recommend:
Heirloom or Hybrid?
Heirloom varieties offer traditional flavors and the fun of saving seeds from year to year, as they'll reproduce true to type.
Hybrids can provide advantages like disease resistance, higher yields, and uniformity in growth, which might be particularly beneficial for new gardeners.
Productivity and Taste
Think about your end goal.
Are you growing beans for hearty family meals, or do you want a tasty snack to enjoy fresh off the vine?
Some varieties are known for their exceptional flavor when eaten raw or lightly cooked, while others hold up better when preserved.
The Perfect Potting Mix
Choosing the perfect potting mix is like creating a gourmet meal for your plants; it must have all the right ingredients in the right proportions.
For green beans growing in containers, the soil environment is crucial to the development of healthy roots and plentiful pods.
Here’s what you need to know to create or select the best potting mix for your green beans.
The Ideal Composition
The best potting mix for green beans must drain well yet retain enough moisture to keep the roots happy.
Look for a mix that includes perlite, and vermiculite in equal parts.
These ingredients work together to hold moisture and allow excess water to drain away, preventing the dreaded root rot.
Here is the potting mix I recommend:

Nutrient-Rich Environment
Green beans are fairly heavy feeders, so they'll need plenty of nutrients throughout the growing season.
A mix that contains a balanced, slow-release fertilizer can provide a steady supply of nutrients.
Alternatively, incorporating compost into your potting mix can offer a rich, organic source of food for your bean plants.
Here is the slow release fertilizer I recommend:

pH Balance Matters
Beans prefer a slightly acidic to neutral pH, somewhere between 6.0 and 7.0.
You can buy a pH testing kit to ensure your potting mix falls within this range.
If it doesn’t, you can adjust the pH by adding lime to increase the pH or sulfur to decrease it.
This is the pH testing kit I use:

Avoiding Soil from the Yard
Resist the temptation to use soil straight from your garden.
It may contain pests, weed seeds, or diseases that could be detrimental to your container plants.
Moreover, garden soil often compacts in pots, which can strangle roots and prevent proper drainage.
Learn more about this in my guide Garden Soil vs. Potting Soil: How to Choose the Right One.
Adding Extra Perks
For an added boost, consider mixing in some organic matter like worm castings, which are a powerhouse of nutrients and can help improve soil structure.
A handful of bone meal can promote strong root development due to its phosphorus content, which is essential for the initial growth phase of your beans.
Here are the worm castings and bone meal I recommend:

Refreshing Old Potting Soil
If you're using potting mix from a previous season, rejuvenate it before planting new beans.
Remove any old roots and debris, then enrich the mix with new compost or a balanced, all-purpose fertilizer.
This will restore the nutrients that previous plants have used up.
Here is the fertilizer I recommend:

Moisture Control
To keep watering consistent, consider adding a soil polymer or coconut coir to your potting mix.
These can absorb several times their weight in water and release it slowly, which is especially helpful in hot climates or if you can't water every day.
Here is the coconut coir I recommend:

Final Touches Before Planting
Once you have your perfect potting mix ready, fill your containers to about an inch from the top to allow room for watering.
Give the soil a good pre-moistening so it’s ready to provide a welcoming environment for your bean seeds or seedlings.
Planting Your Green Bean Seeds
With your containers selected and filled with the perfect potting mix, it's time to transition to the exciting stage of planting your green bean seeds.
Planting is not a complex process, but a few key steps can significantly enhance the success rate of your germination and the overall health of your plants.
Let's walk through the process to ensure you give your green beans the best start possible.
Timing Is Everything
The timing of planting is crucial.
Green beans don’t fare well in cold soil, so it's important to wait until after the last frost date has passed and the soil temperature has reached at least 60°F (15°C).
If you're in a warmer climate, like Texas, where the weather warms up earlier, you can plant in late spring.
In cooler climates, you might have to wait until the beginning of summer.
Seed Depth and Spacing
When planting green bean seeds, depth and spacing are important.
Plant the seeds about 1 inch deep into the soil.
For bush beans, space the seeds 2 inches apart in the pot.
Pole bean seeds should be spaced about 4 inches apart if you’re planting them around a central pole or trellis.
This spacing allows enough room for the plants to grow and mature without competing for nutrients and light.
The Initial Watering
After planting the seeds, water them gently but thoroughly to settle the soil around them.
The goal is to moisten the potting mix without causing the seeds to float or displace.
Consistent moisture is key to germination, so keep the soil damp (but not soggy) during this critical time.
For more watering tips, check out my guide How Often to Water Seedlings.
Temperature and Light
If you’re starting your seeds indoors or if the outdoor temperatures are still a bit cool, you might need to provide additional warmth to encourage germination.
A heat mat can gently warm the soil, or you can place your pots in a sunny, warm location or in a greenhouse.
Thinning Out
Once your green beans sprout and reach a couple of inches tall, it’s time to thin them.
If the plants are too crowded, they won’t grow as vigorously, and they could be more susceptible to diseases due to poor air circulation.
Remove the weakest seedlings, leaving the strongest to grow to maturity.
In containers, you want to aim for one bush bean plant every 3 to 4 inches and one pole bean plant for every 6 to 8 inches.
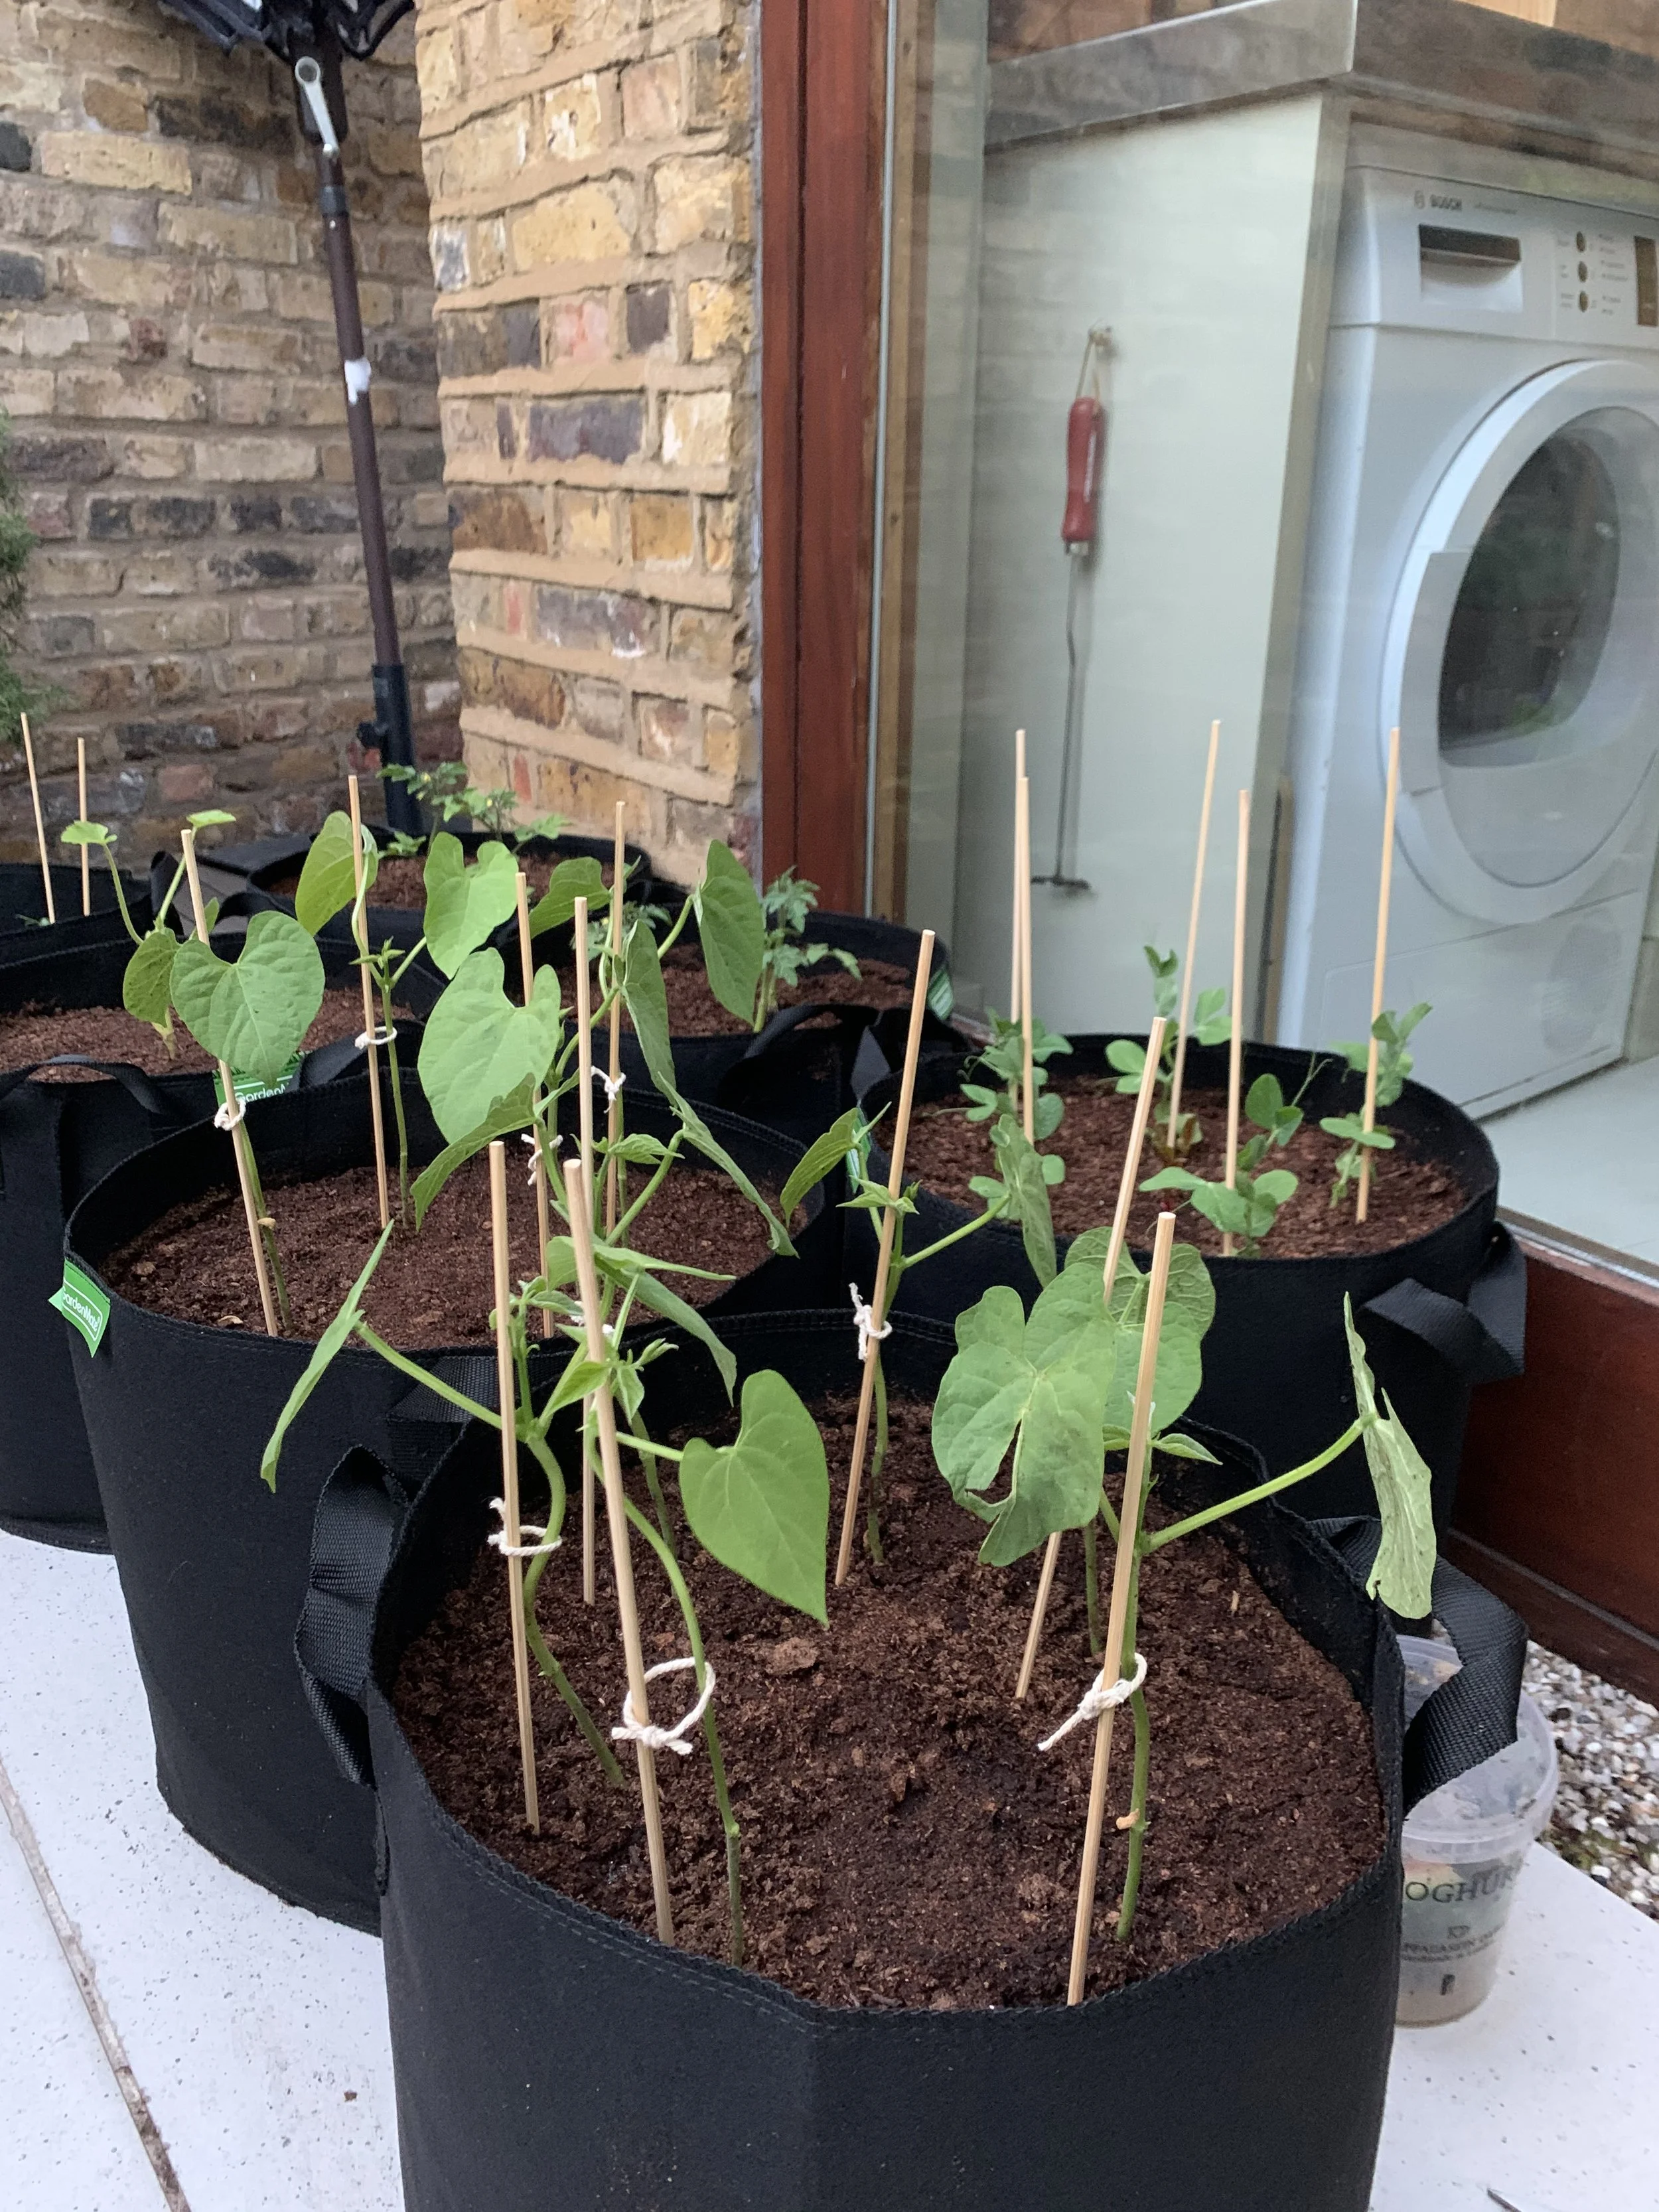
Supporting Pole Beans
If you're growing pole beans, don't forget to insert a trellis or stake into the pot at the time of planting.
Adding support structures after the plants have begun growing can disturb their roots.
Train your young pole beans onto their supports as they grow; they'll naturally start climbing.
This growing cage works great for growing beans in containers:

Observing for Germination
Keep a watchful eye on your pots for signs of germination, which typically happens within 8 to 10 days.
Once you see the first shoots, ensure they receive plenty of sunlight.
If you’re growing your beans indoors, they'll need at least six hours of direct light or the use of grow lights to mimic outdoor conditions.
Caring for Your Bean Plants
Once your green bean seeds have germinated and begun to grow, proper care is essential to ensure your plants remain healthy and productive throughout the growing season.
Here's how to nurture your bean plants in containers, from seedling to harvest.
Sunlight
Green beans require full sun, which means at least 6 to 8 hours of direct sunlight per day.
If you're growing beans indoors, a south-facing window is ideal, or you may need supplemental light from grow lights.
For outdoor container gardens, position your pots where they'll receive ample sunlight without being shaded by trees or buildings.
Watering
Consistent watering is key to growing healthy bean plants.
The goal is to keep the soil moist but not waterlogged.
Over-watering can lead to root rot, while under-watering can stress plants and reduce your harvest.
Water when the top inch of soil feels dry to the touch.
Early morning is the best time to water, as it allows foliage to dry out during the day, reducing the risk of disease.
For this, you can use rainwater collected from a water butt.
For more watering tips, check out my guide How to Use Watering Globes.
Feeding
If you started with a rich potting mix, your green beans might not need additional fertilizer for a while.
However, as they grow and begin to flower and set pods, a boost of nutrients can be beneficial.
Use a balanced, water-soluble fertilizer every 4-6 weeks, following the instructions on the label.
Be cautious not to over-fertilize, which can lead to lush foliage but fewer beans.
This is the balanced fertilizer I recommend using.
Supporting Pole Beans
For pole beans, ensure that the trellis or stake is secure as the plants grow taller and heavier with pods.
Gently guide the vines to the support if they're not climbing on their own.
Avoid handling the plants when they are wet to prevent the spread of disease.
This growing cage works great for growing beans in containers.
Mulching
A layer of organic mulch around your plants can help retain moisture, regulate soil temperature, and suppress weeds.
Use straw, shredded leaves, or grass clippings as mulch, but keep it away from the plant stems to prevent rot.
Check out my guide: The Best Alternatives to Traditional Mulch for Your Garden.
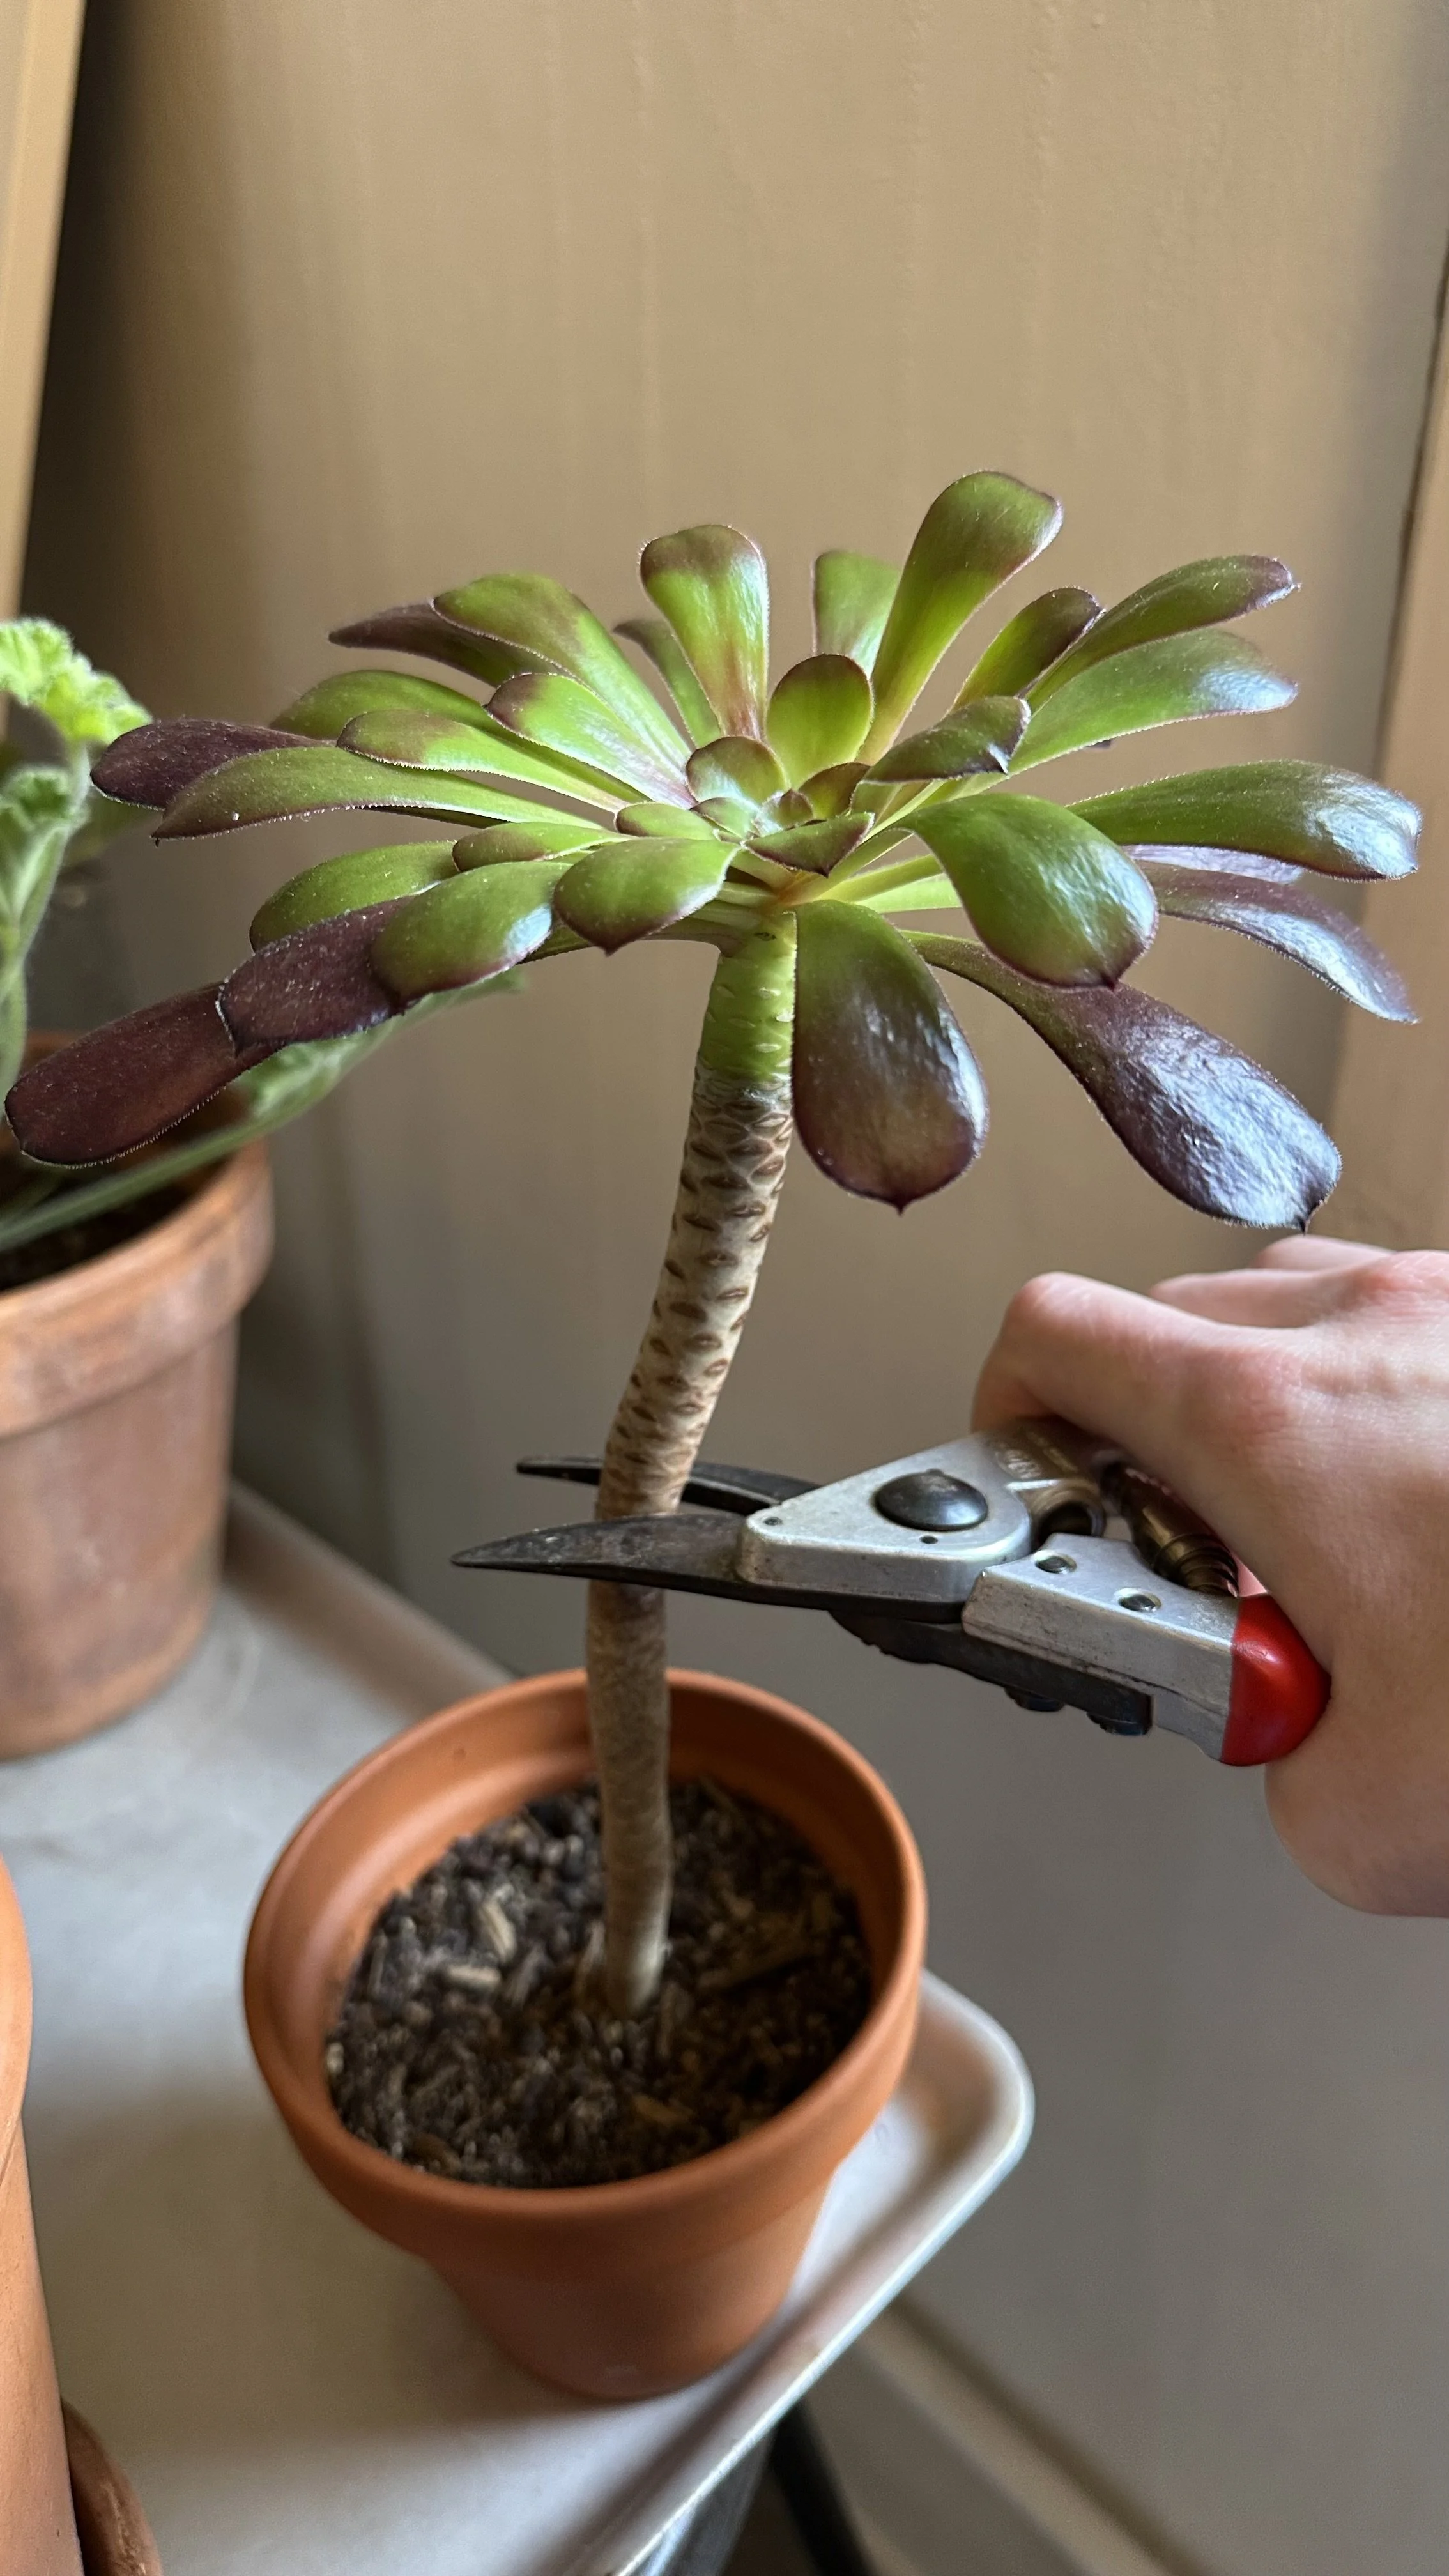
Pruning
Bean plants typically don't require pruning, but if you notice any dead or damaged foliage, remove it to help prevent disease and pests.
Monitoring Growth
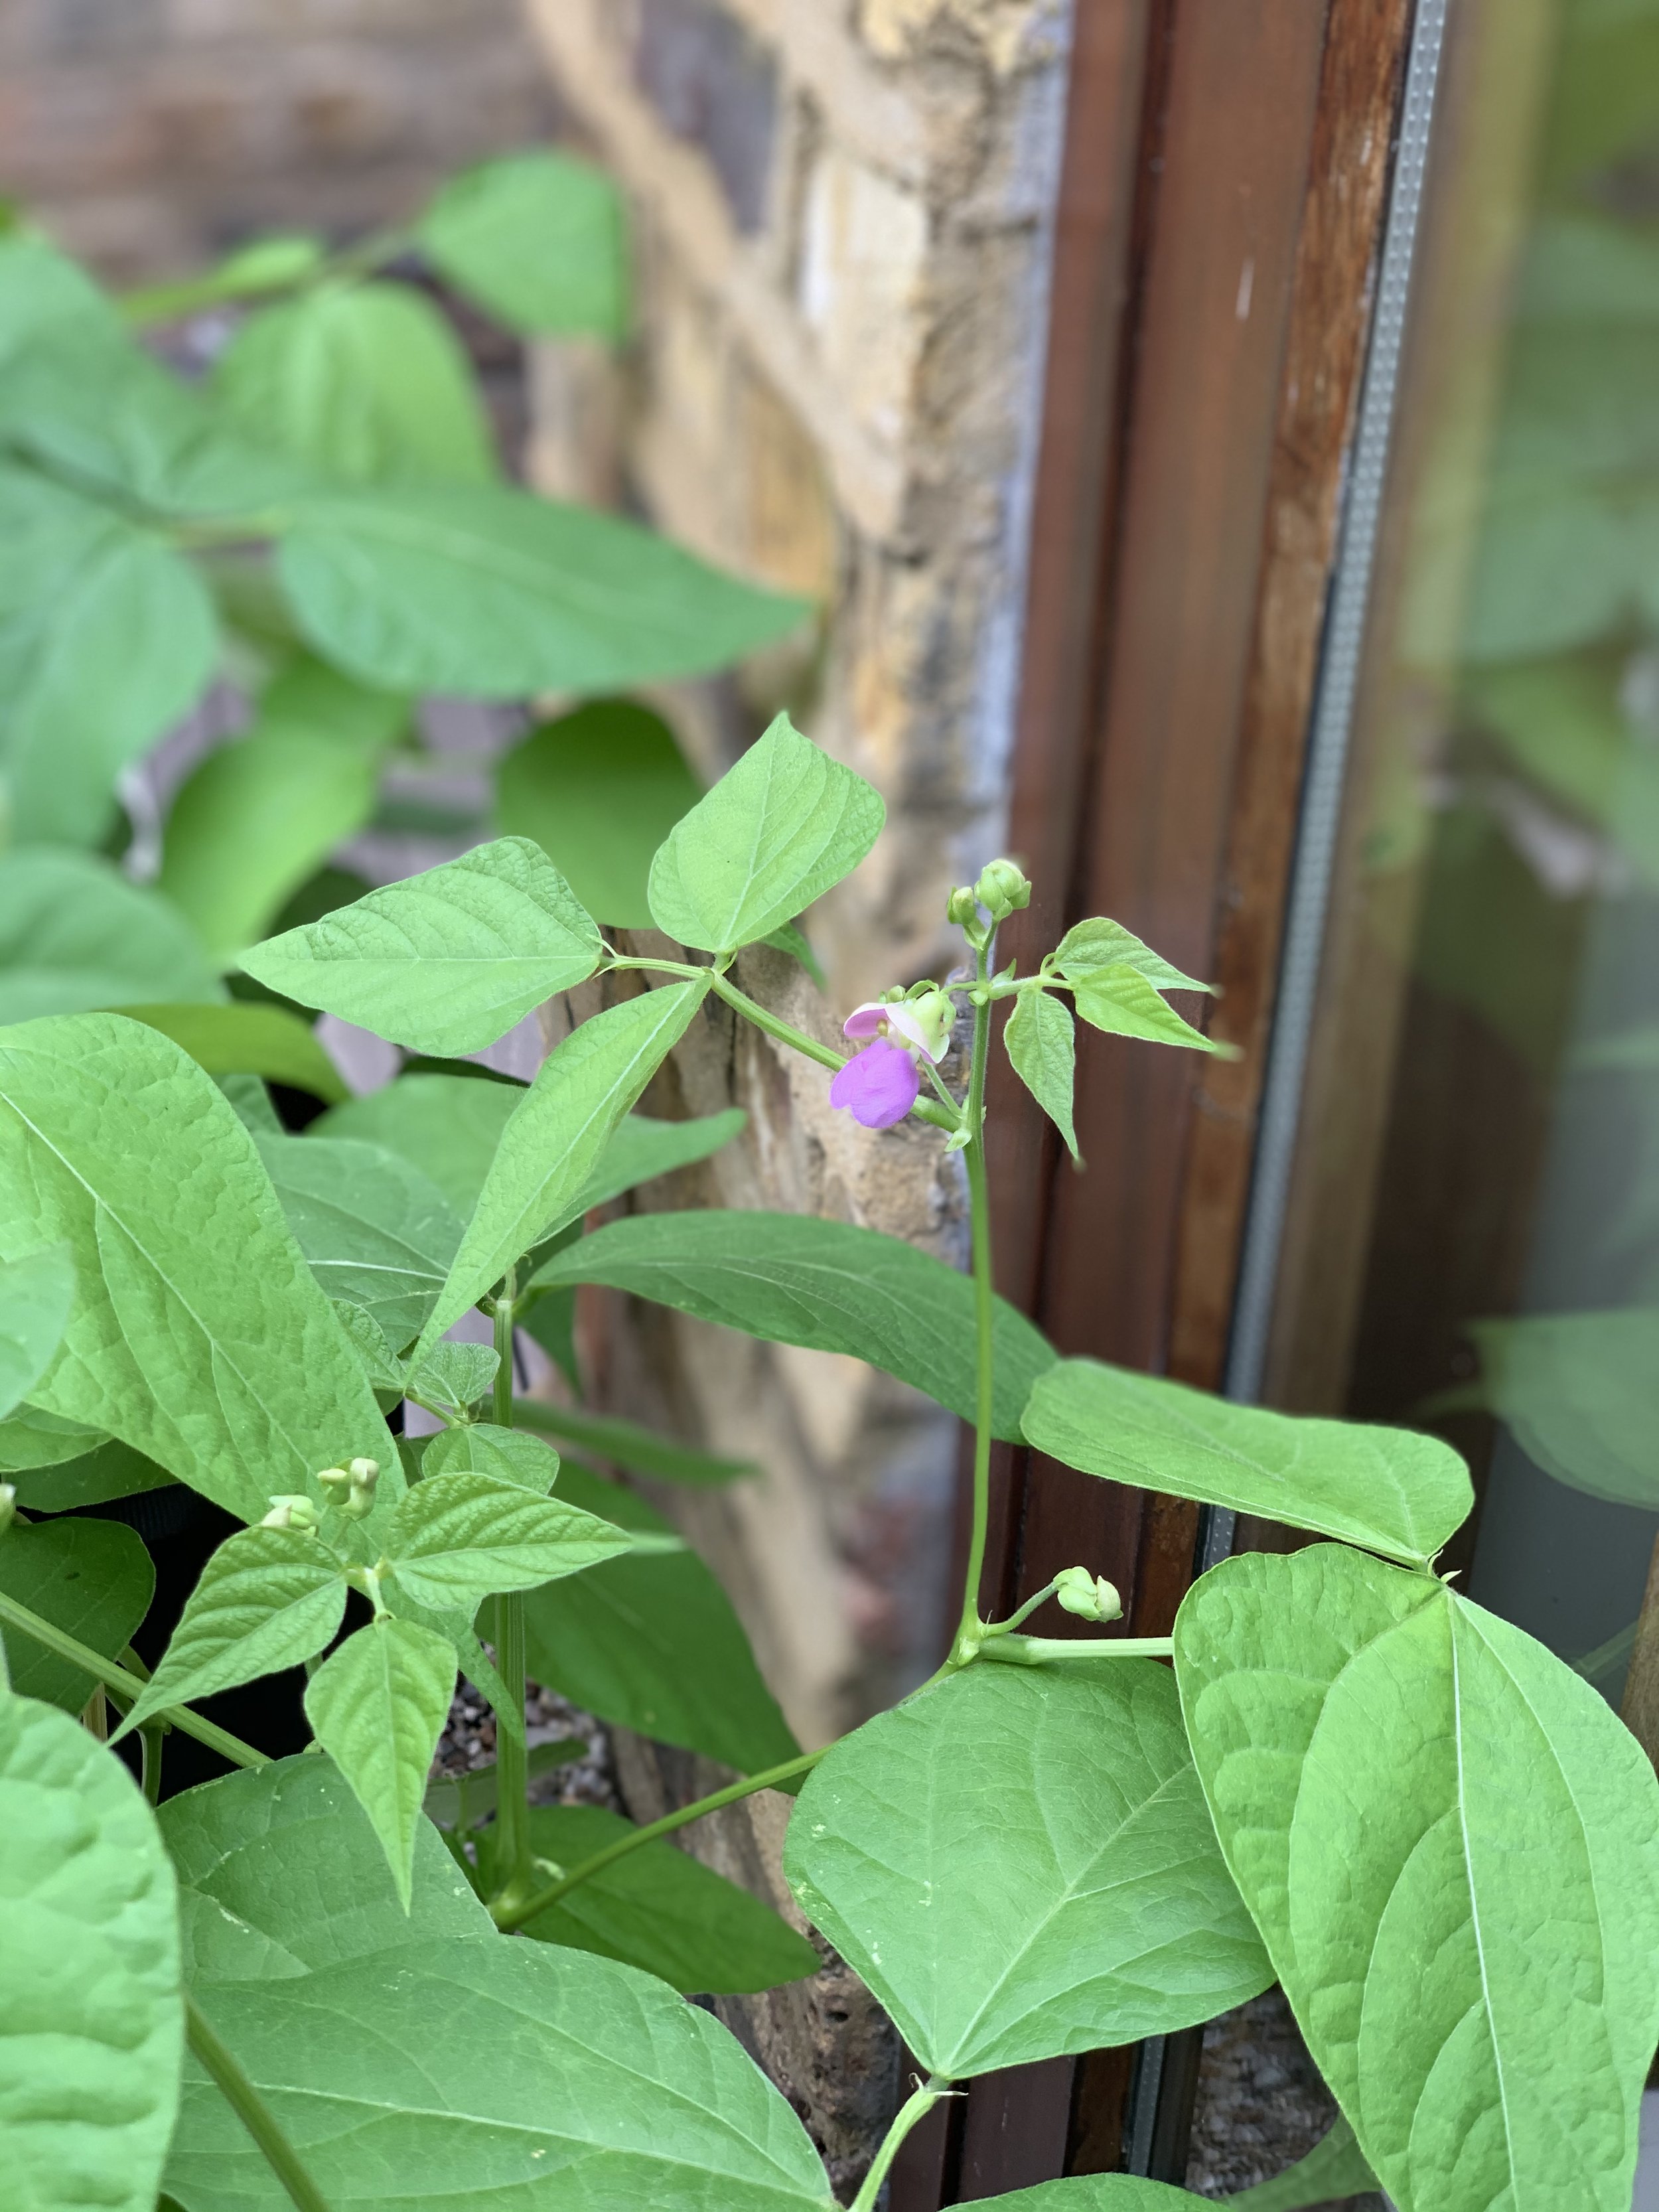
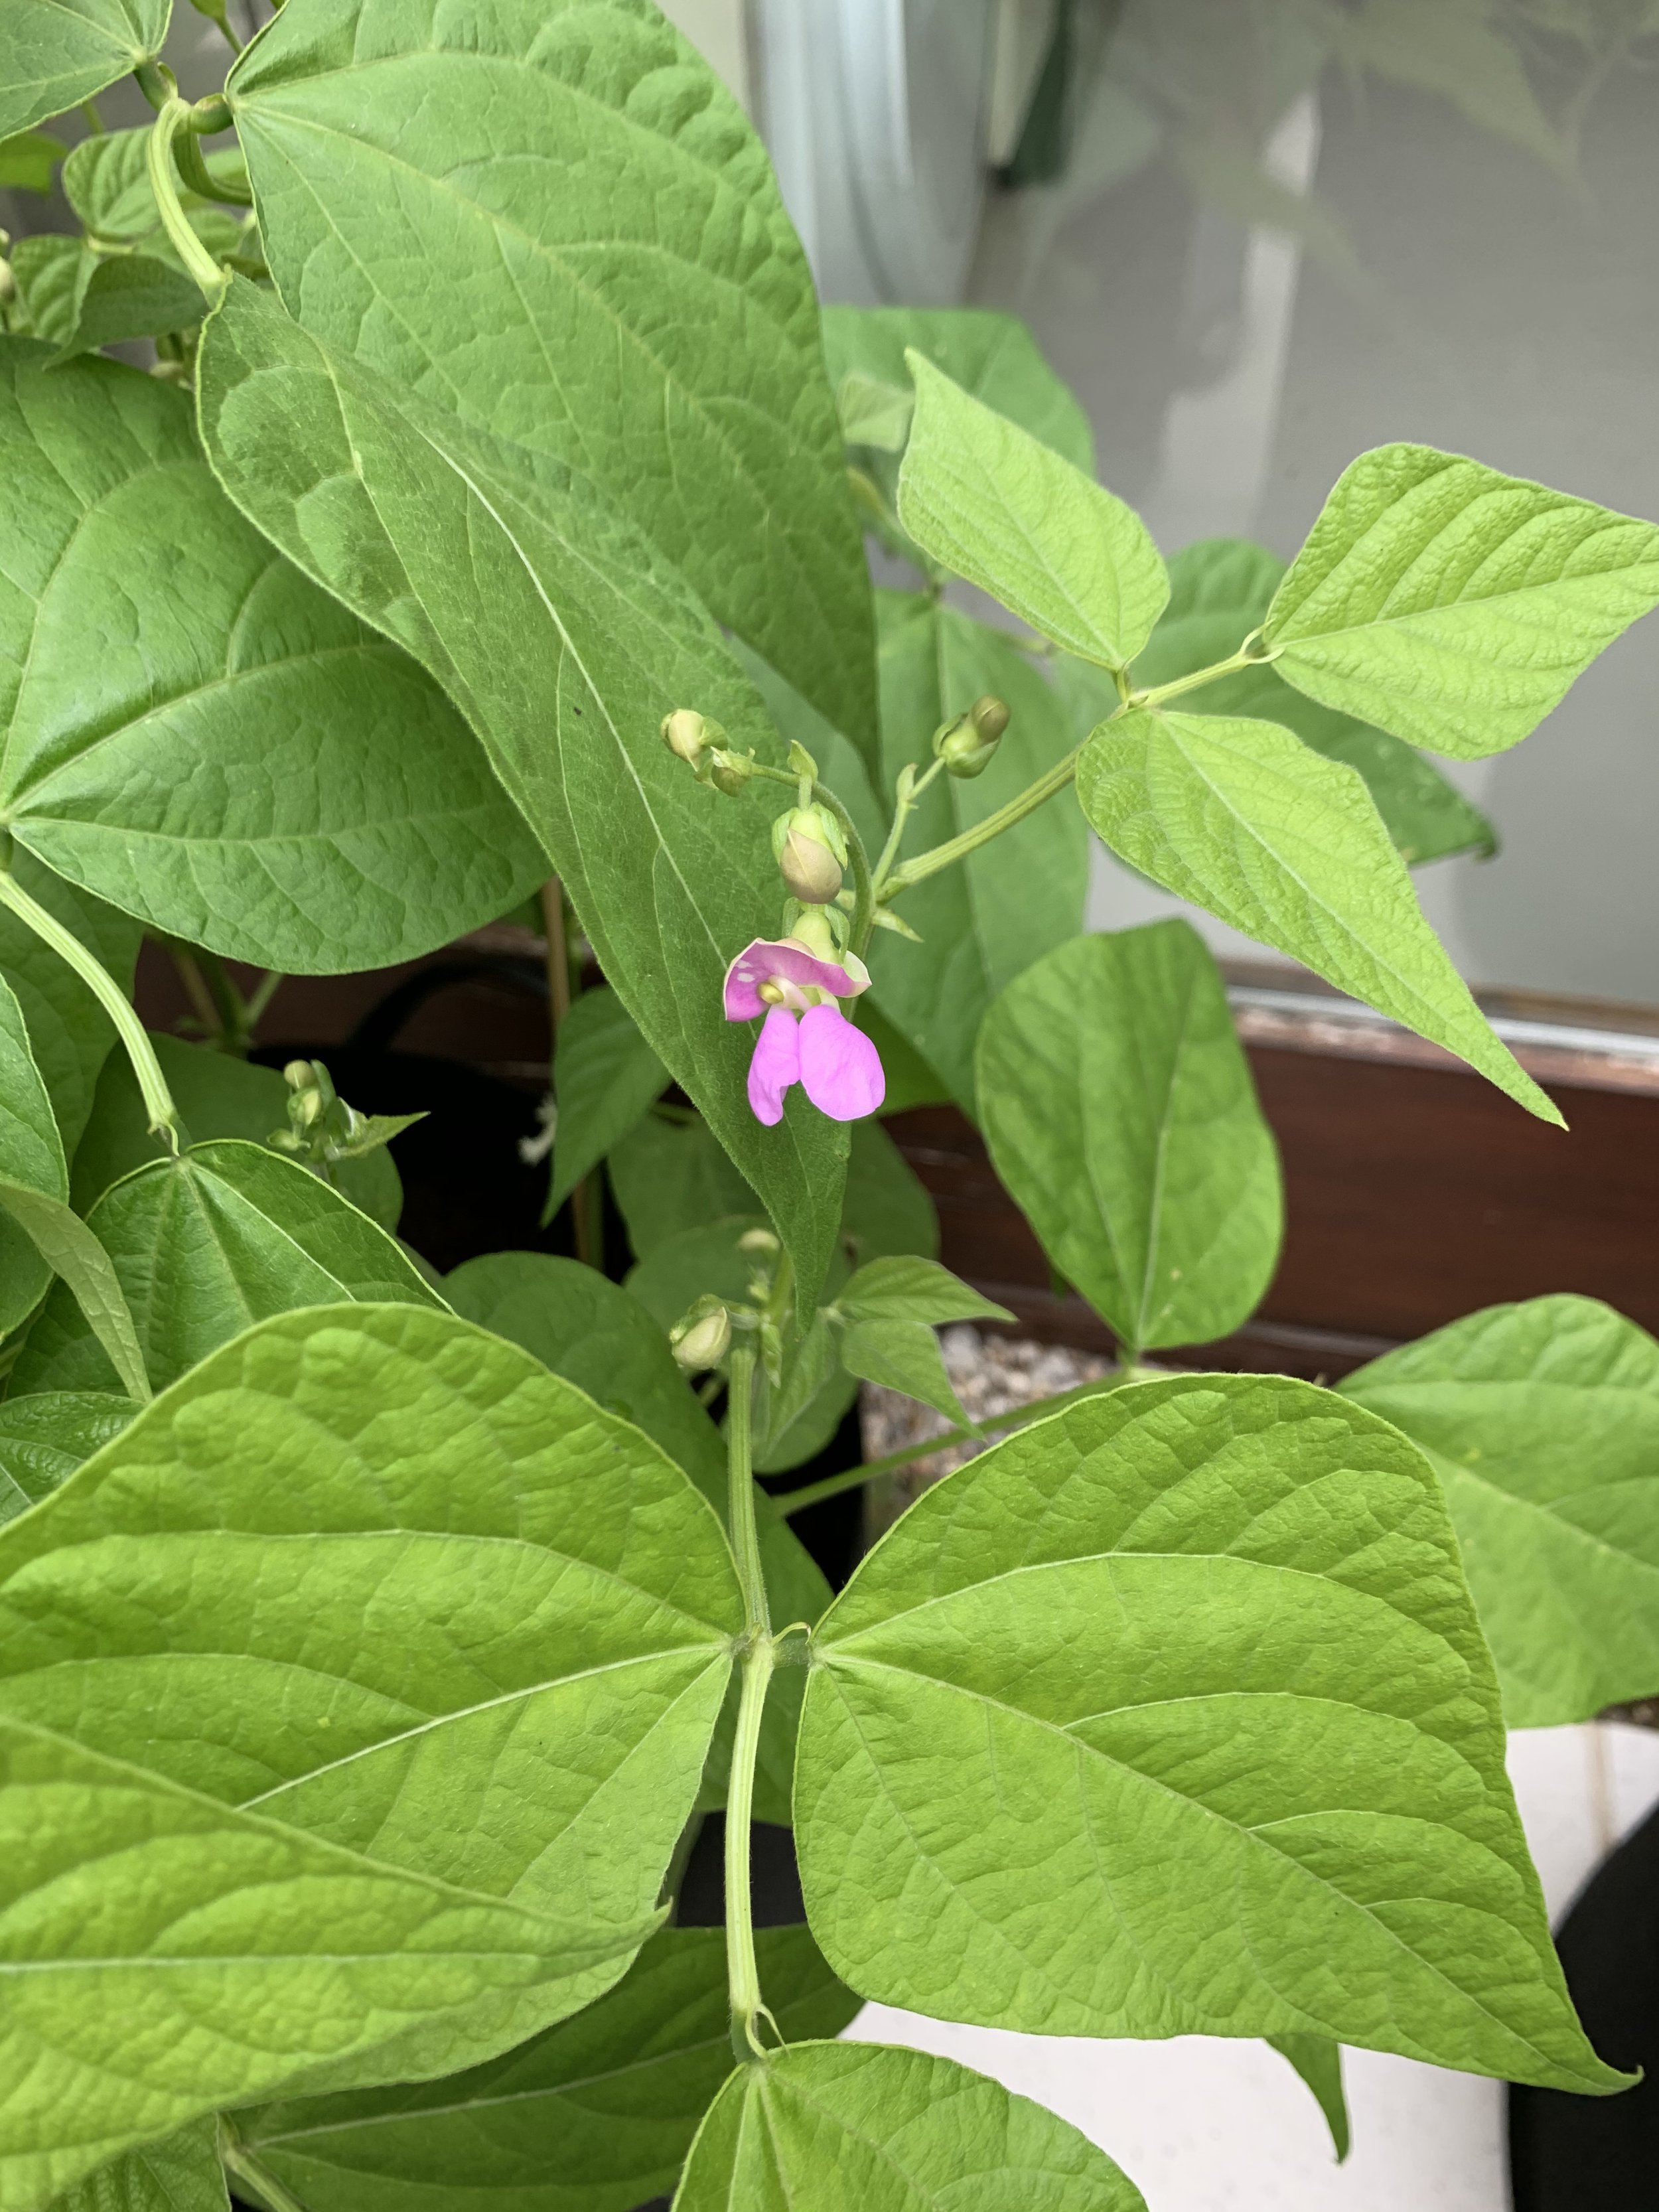
Watch for flowers to appear as your plants mature.
These blooms will turn into the bean pods you're eagerly anticipating.
Beans grow quickly once they start, so check plants every day once they begin to flower.
Consistent Harvesting
Once beans are ready for harvest, picking them frequently can encourage the plants to produce more.
For bush beans, expect a couple of weeks of productive harvesting.
For pole beans, if you pick regularly, they can produce beans all season long.
Harvest by gently pulling or snapping the beans off the plant to avoid damaging the plant.
End-of-Season Care
As the growing season ends, your bean plants will slow down and eventually stop producing.
Remove the spent plants from the containers and compost them if they're disease-free.
Clean your containers and store them for the winter, ready for next year's growing season.
Keeping Pests at Bay
A common challenge in container gardening, just as in traditional gardening, is managing pests.
These unwanted visitors can quickly cause damage to your green bean plants if not kept in check.
Here’s how you can protect your crop and enjoy a bountiful harvest.
Regular Inspections
The first step in pest management is vigilance.
Regularly inspecting your plants, especially the undersides of leaves where pests like to hide, can help you identify any issues early on.
Look for signs of damage, such as holes in the leaves, wilting, or the pests themselves.
Identifying Common Culprits
Green beans can attract several types of pests, including aphids, spider mites, and bean beetles.
Aphids are tiny, soft-bodied insects that can be green, yellow, or black.
Spider mites are even smaller and can cause the leaves to look speckled and yellowish.
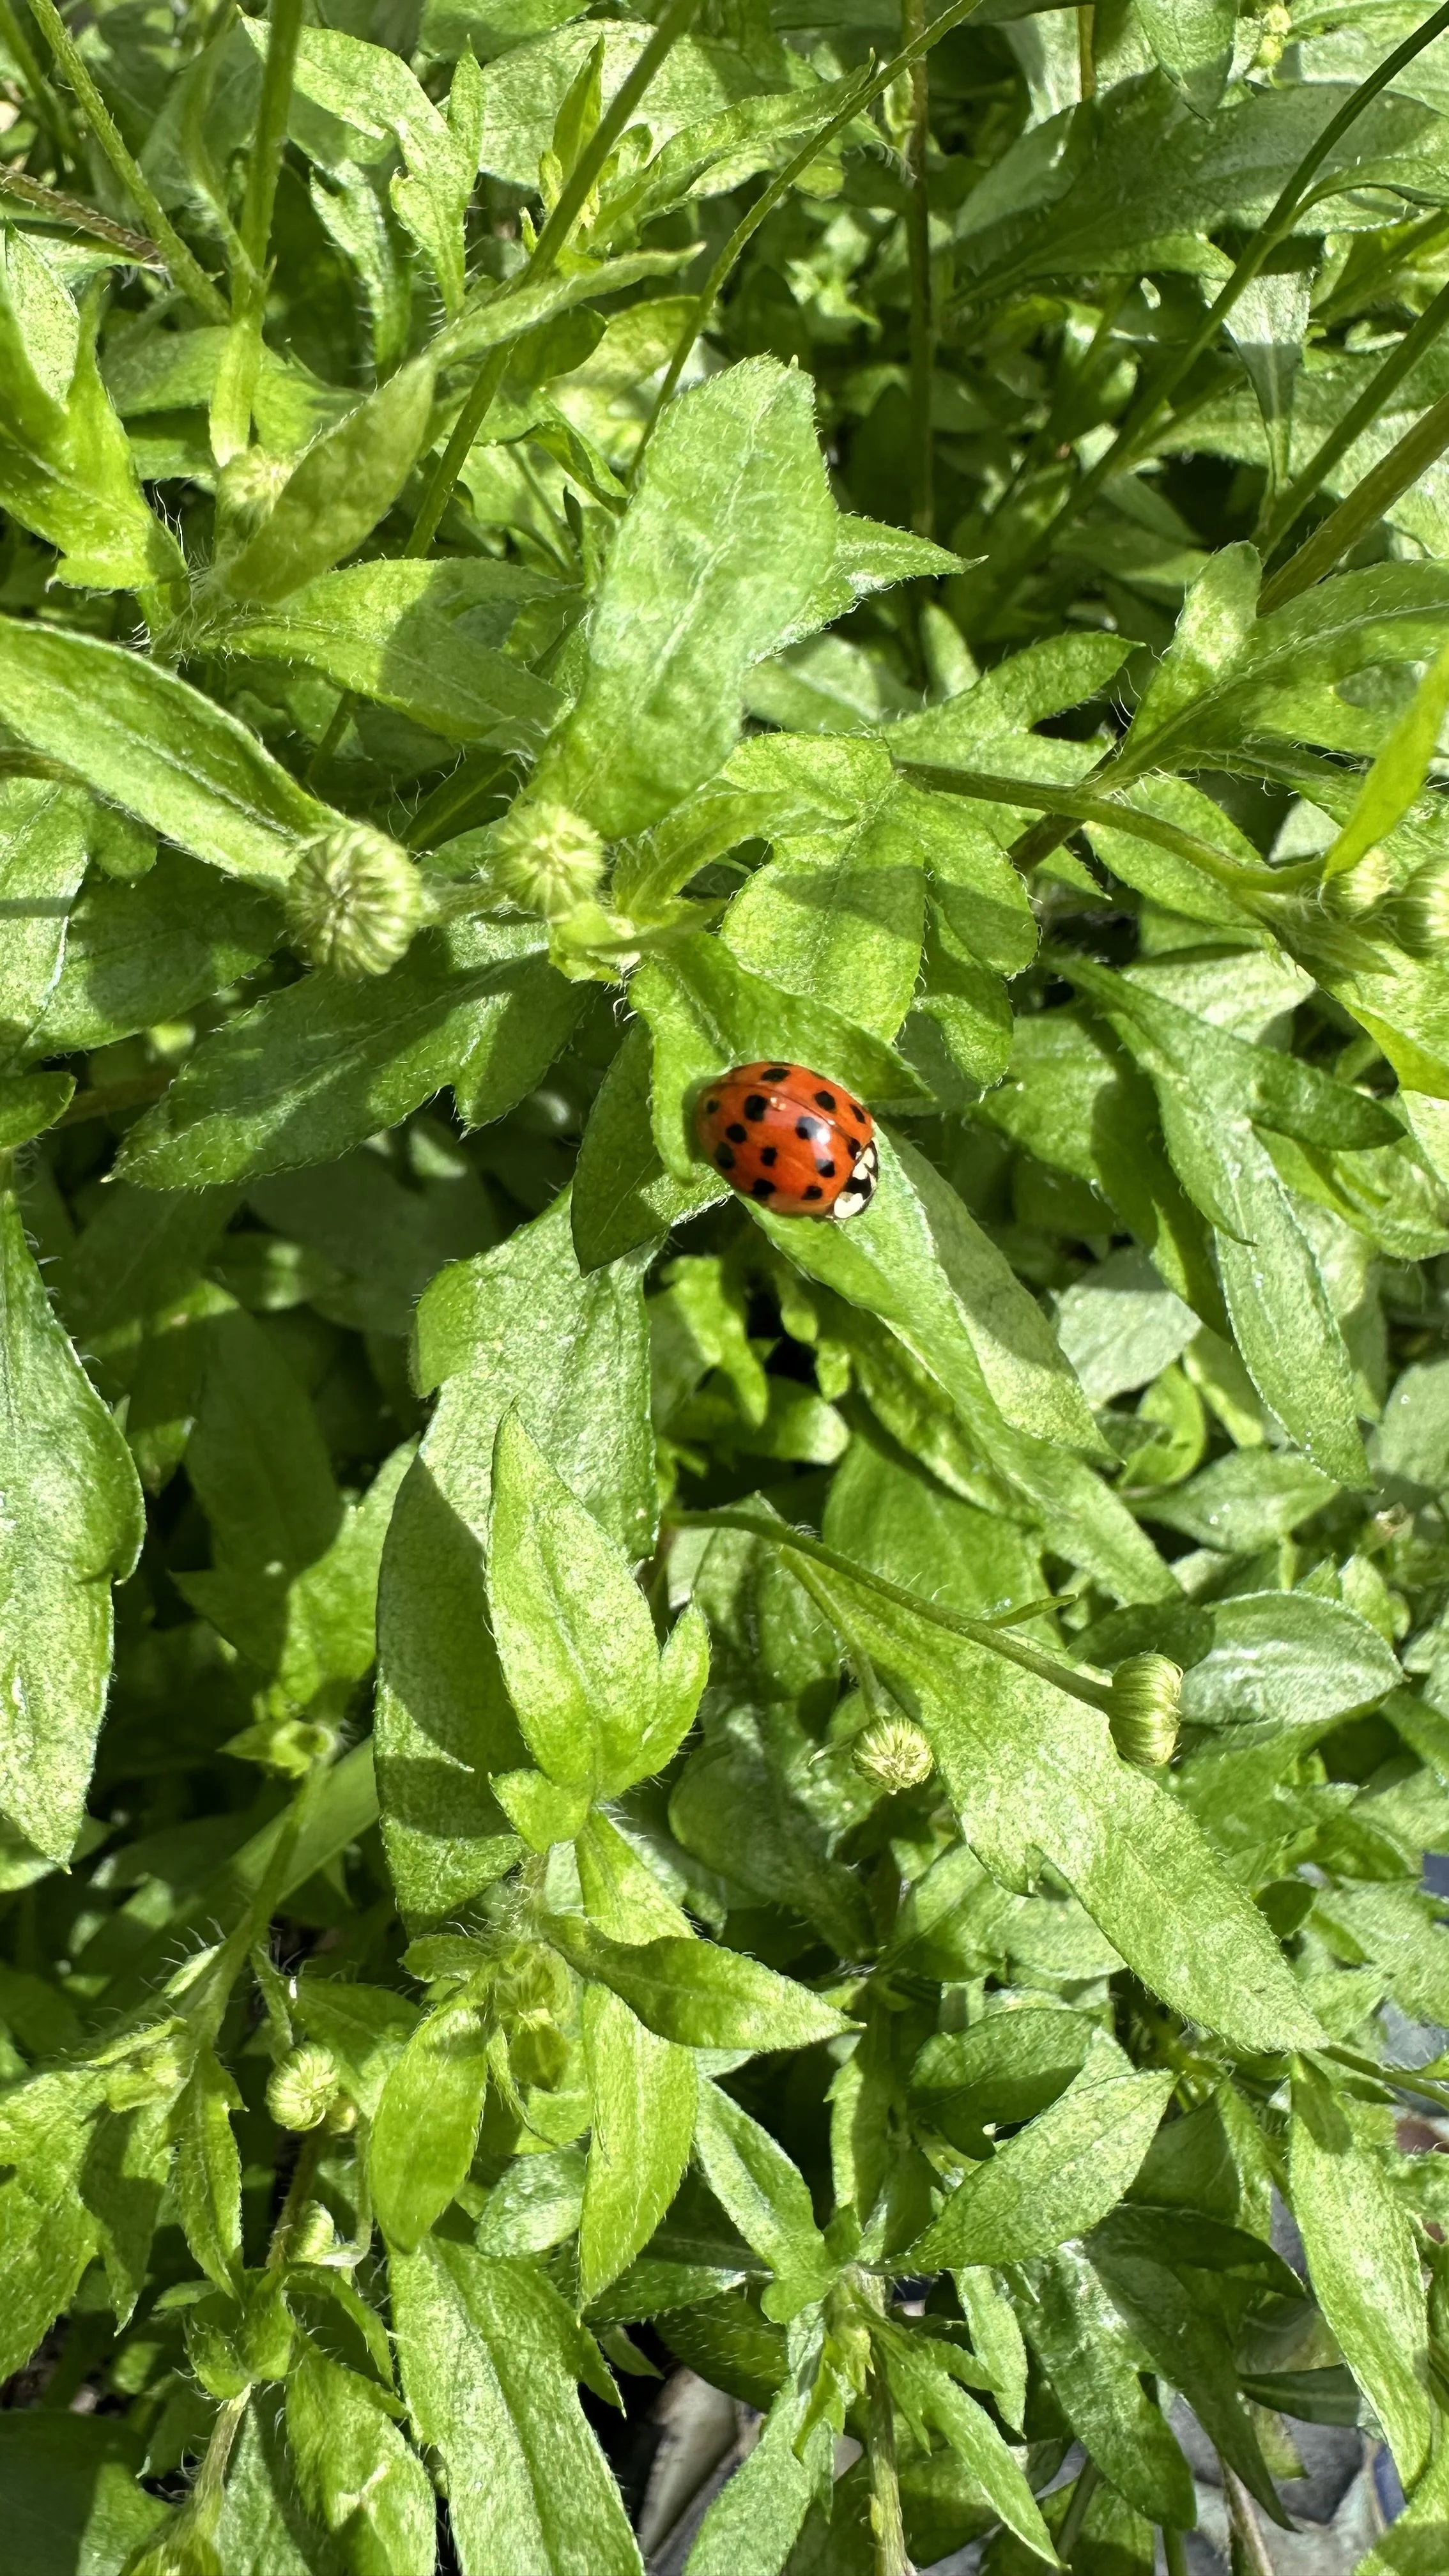
Bean beetles resemble ladybugs but are yellow with black spots.
Organic Control Methods
If you find pests, there are several organic methods to control them:
Insecticidal soaps can be effective against aphids and spider mites.
They are safe to use and don't leave harmful residues. This insecticidal soap works great.
Neem oil is an organic option that works against a variety of pests and also helps manage fungal diseases.
This neem oil is the best:

Diatomaceous earth is a powdery substance that can deter and kill pests with exoskeletons, like beetles.
This is the diatomaceous earth I recommend.
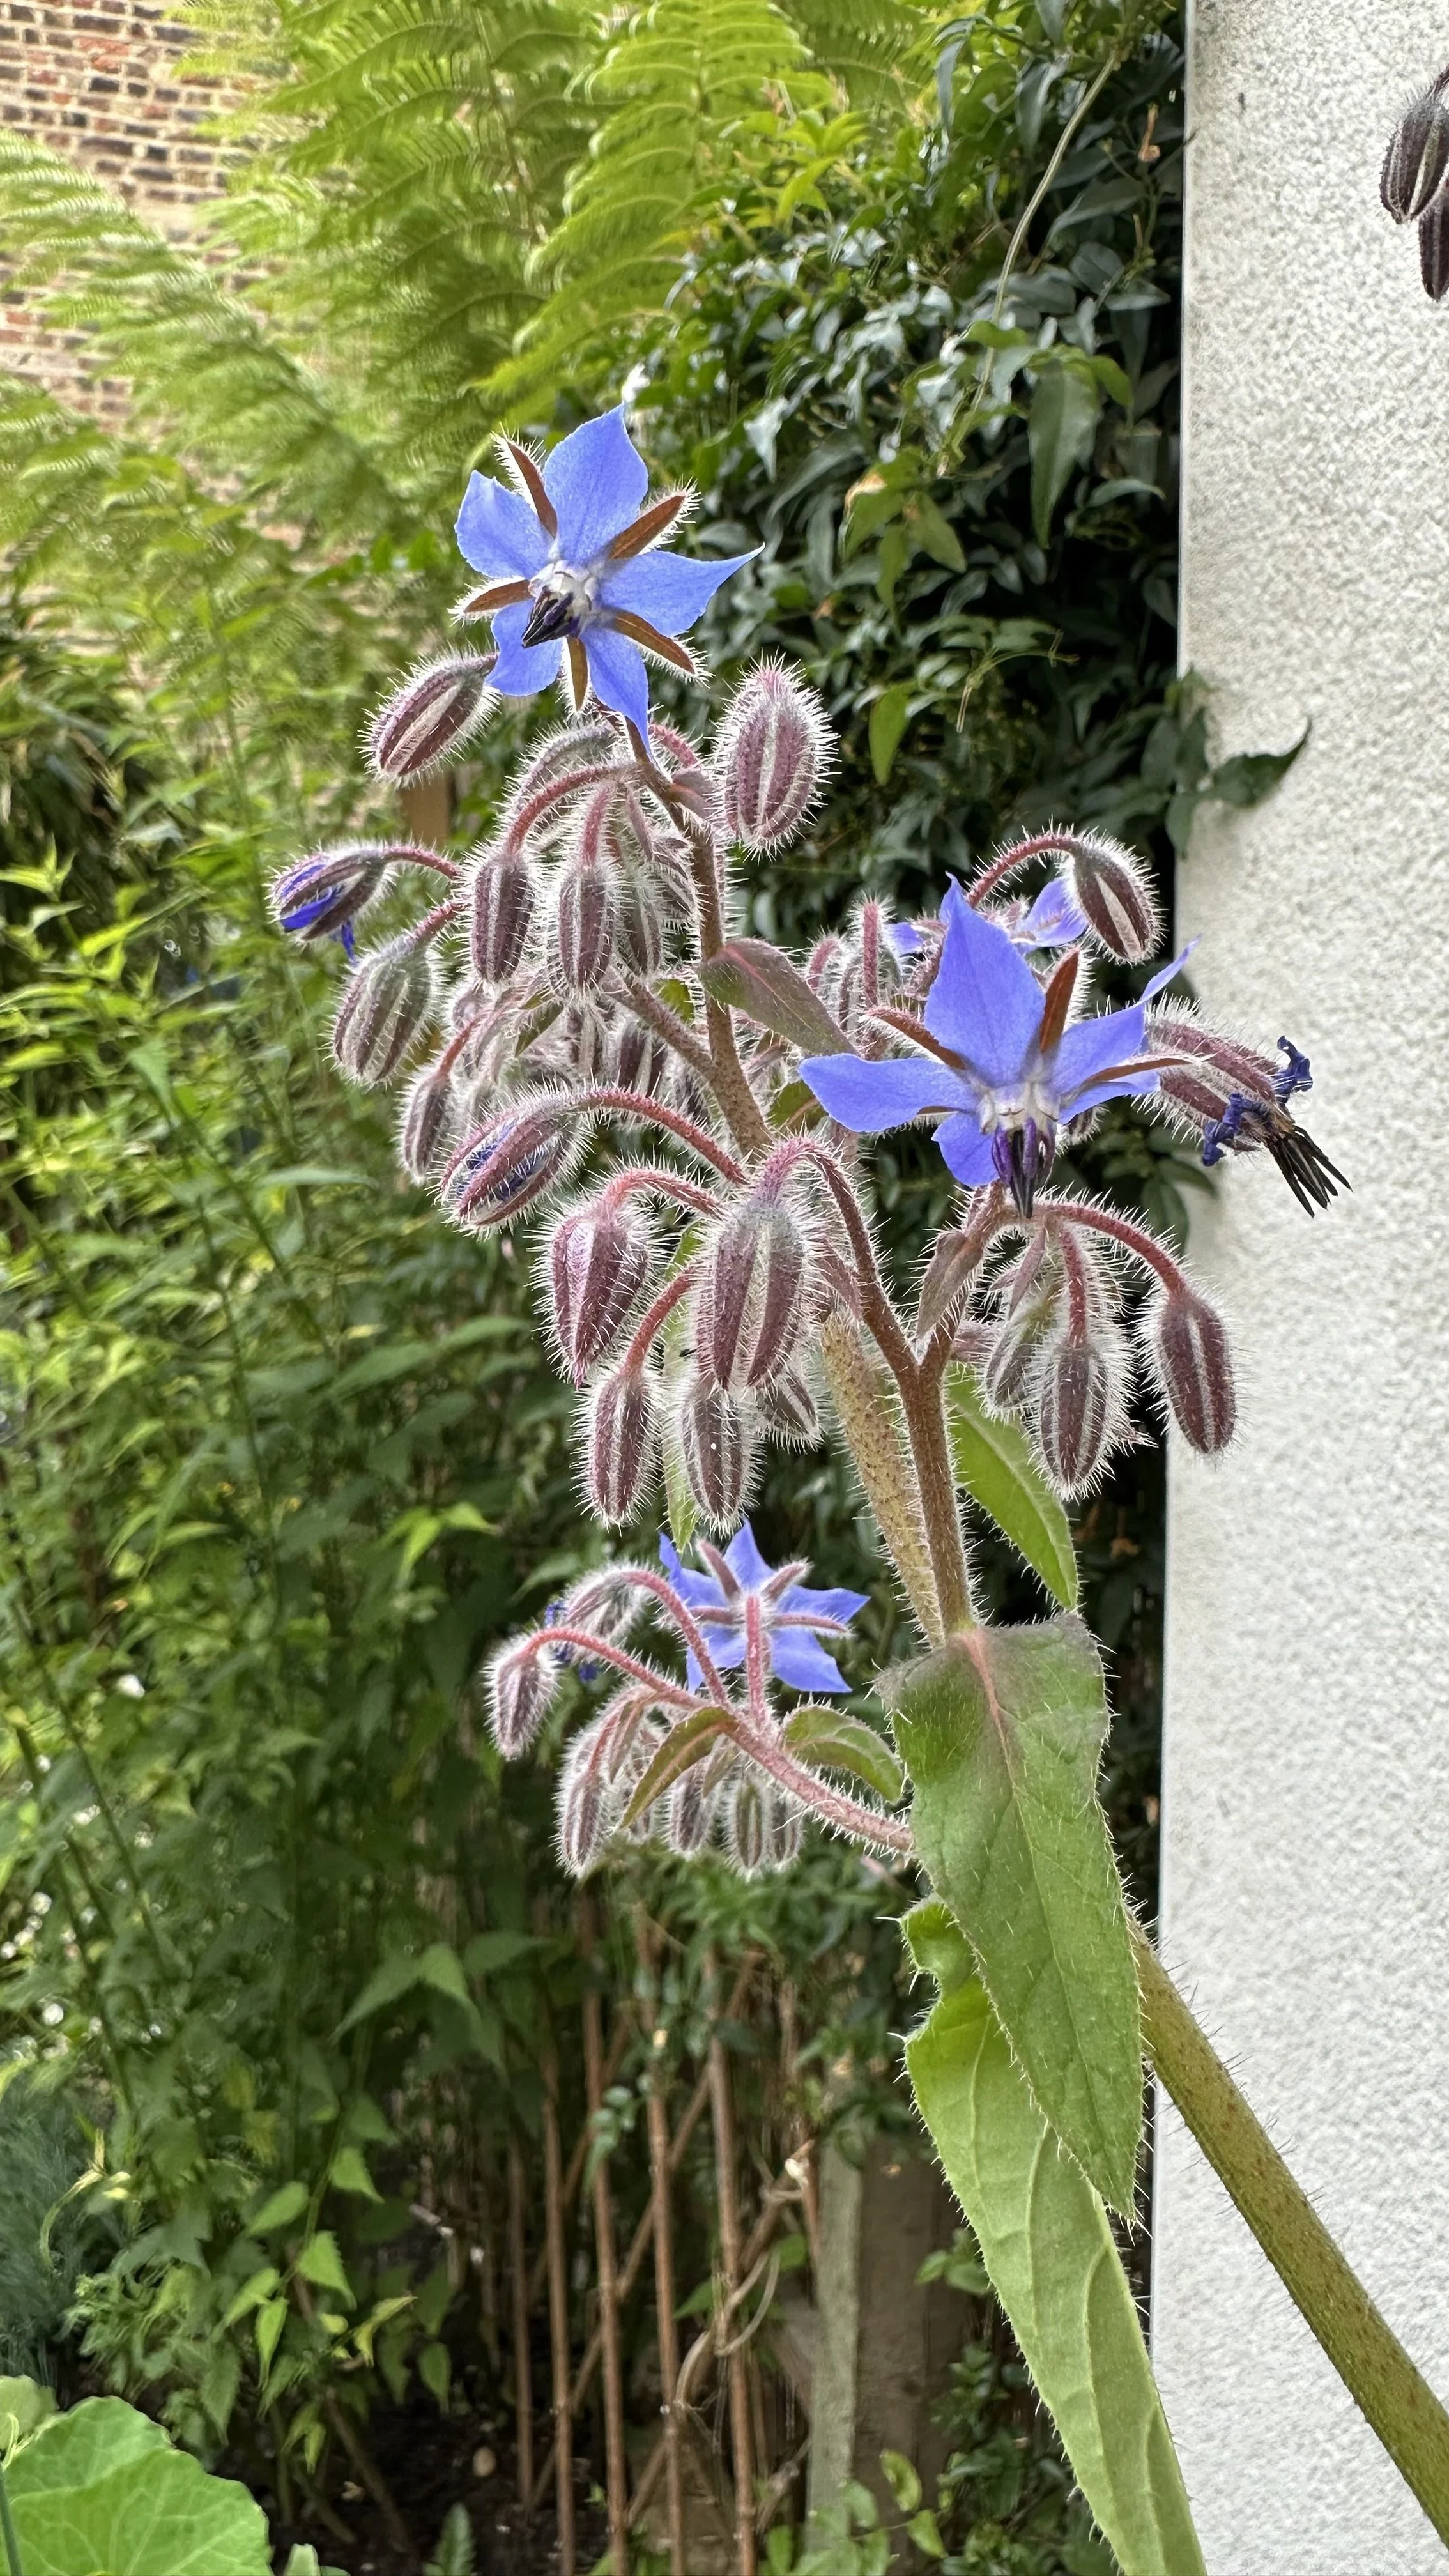
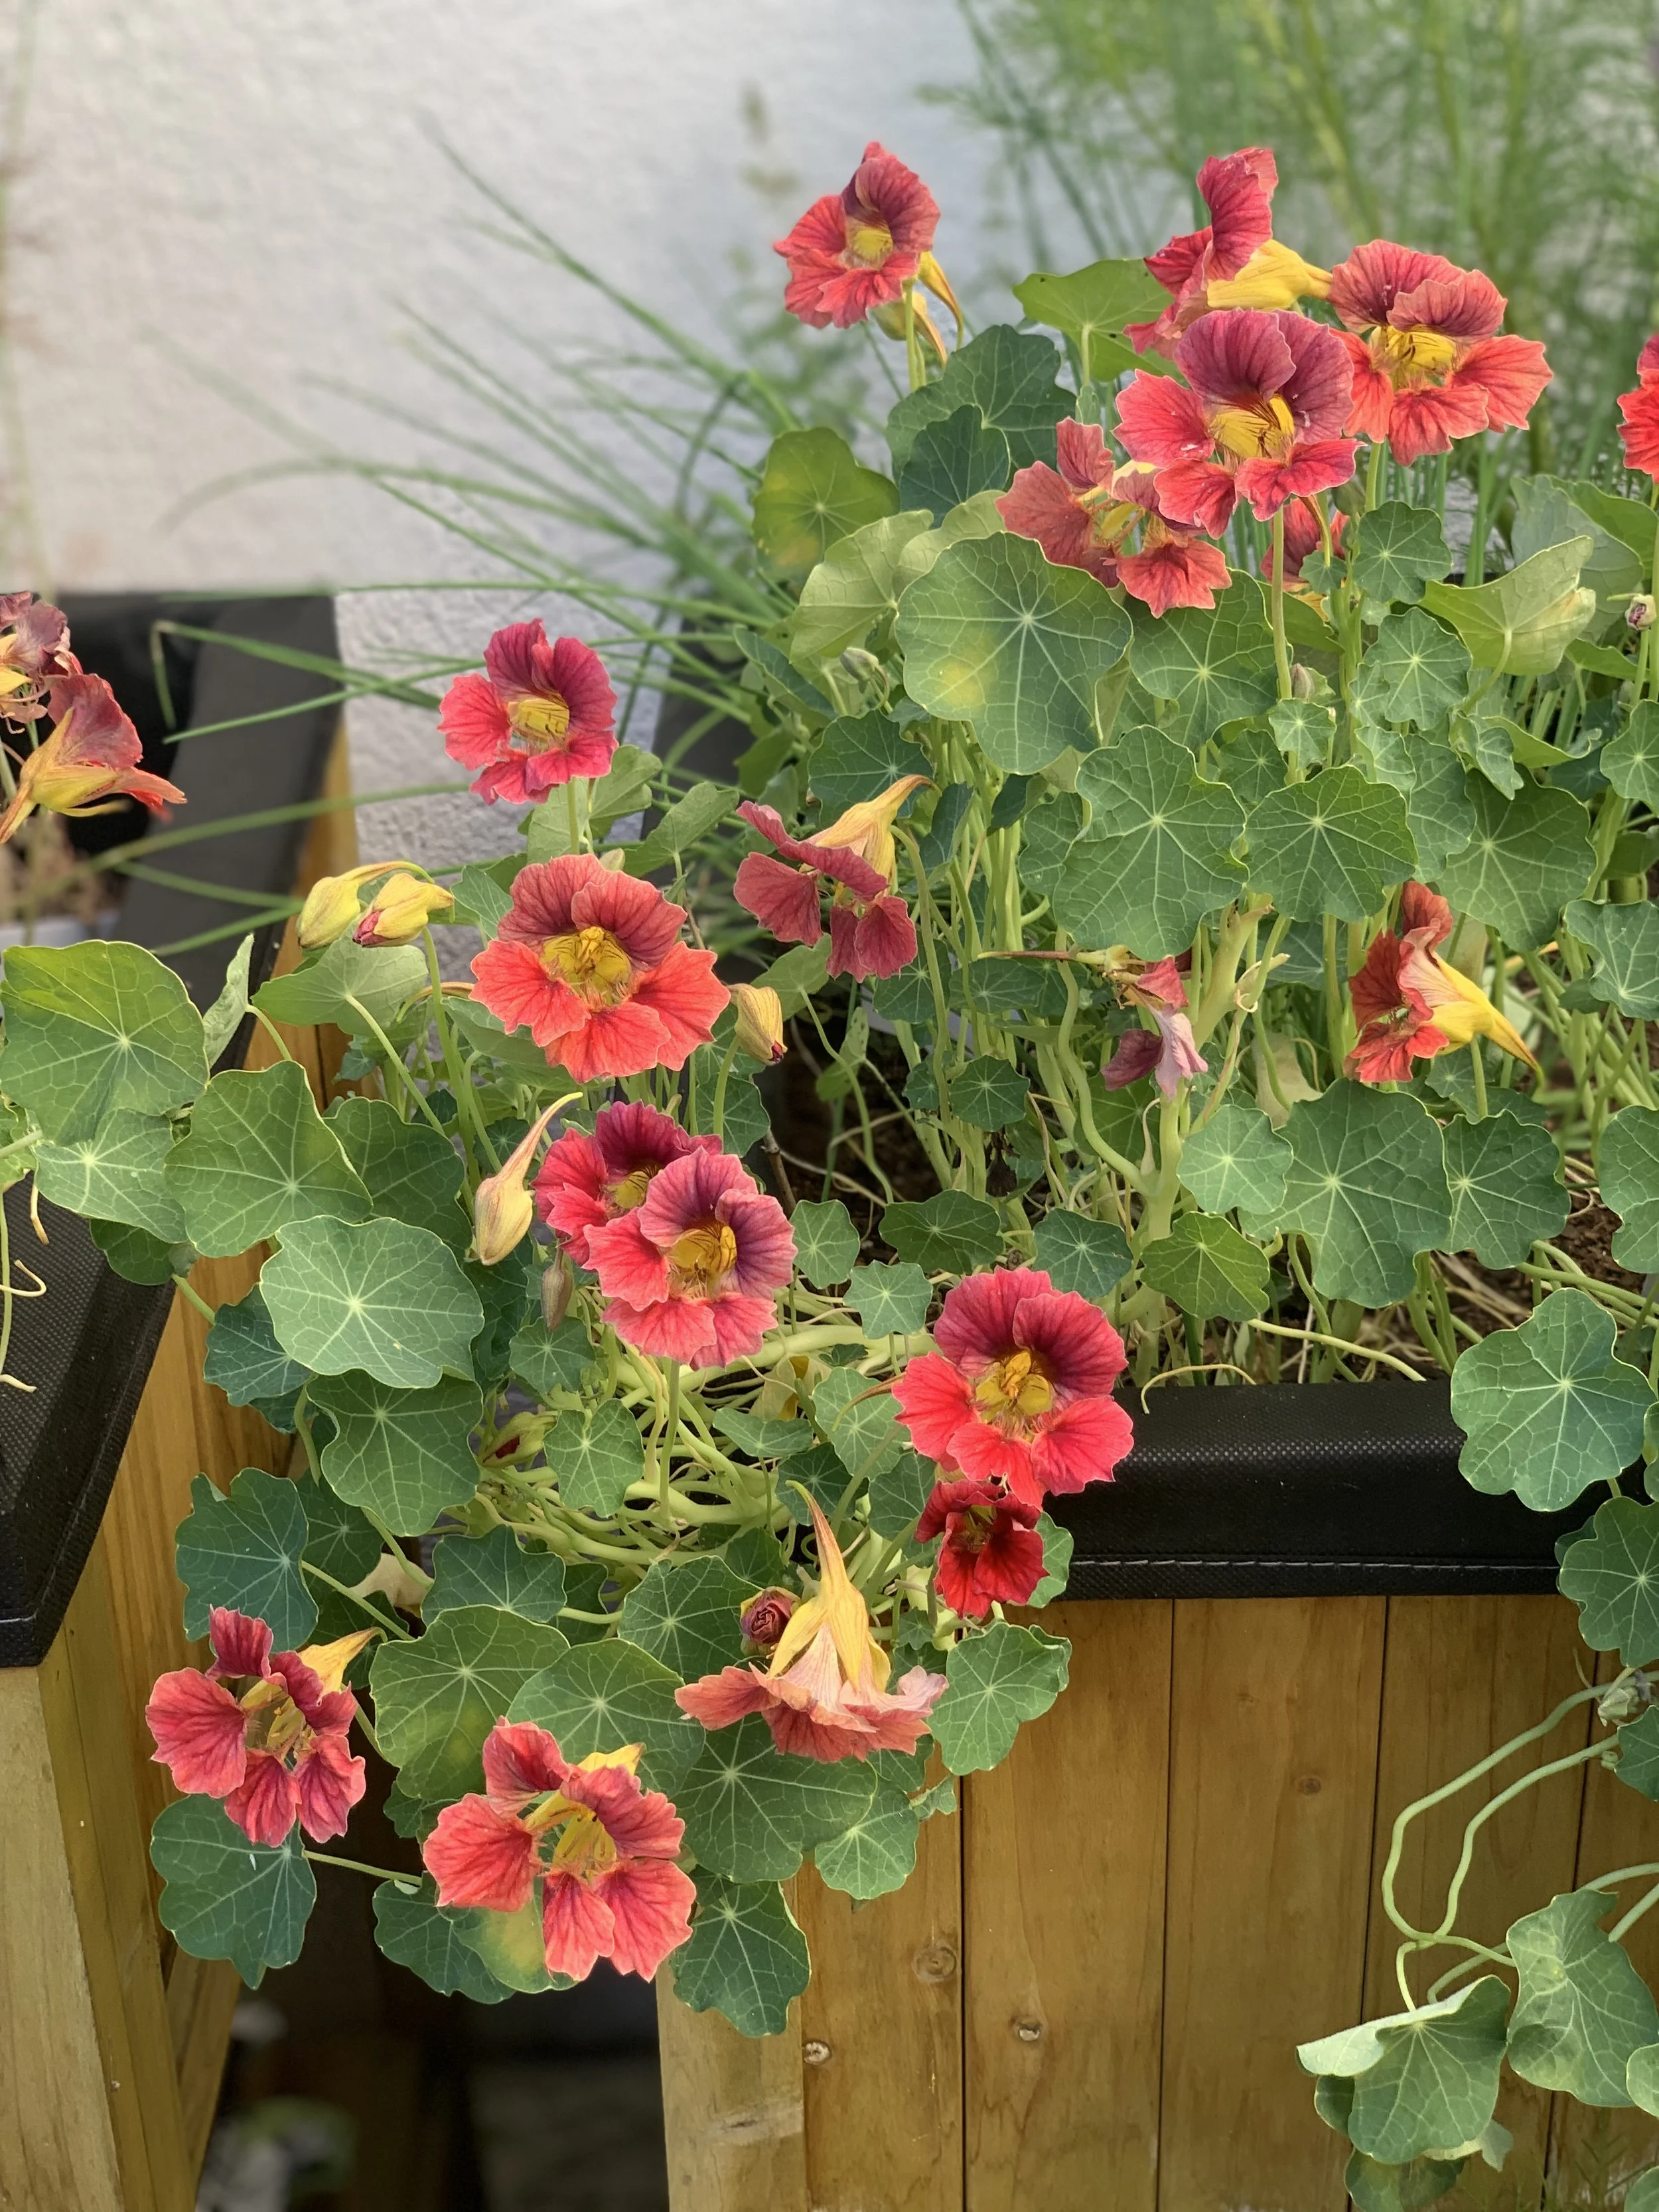
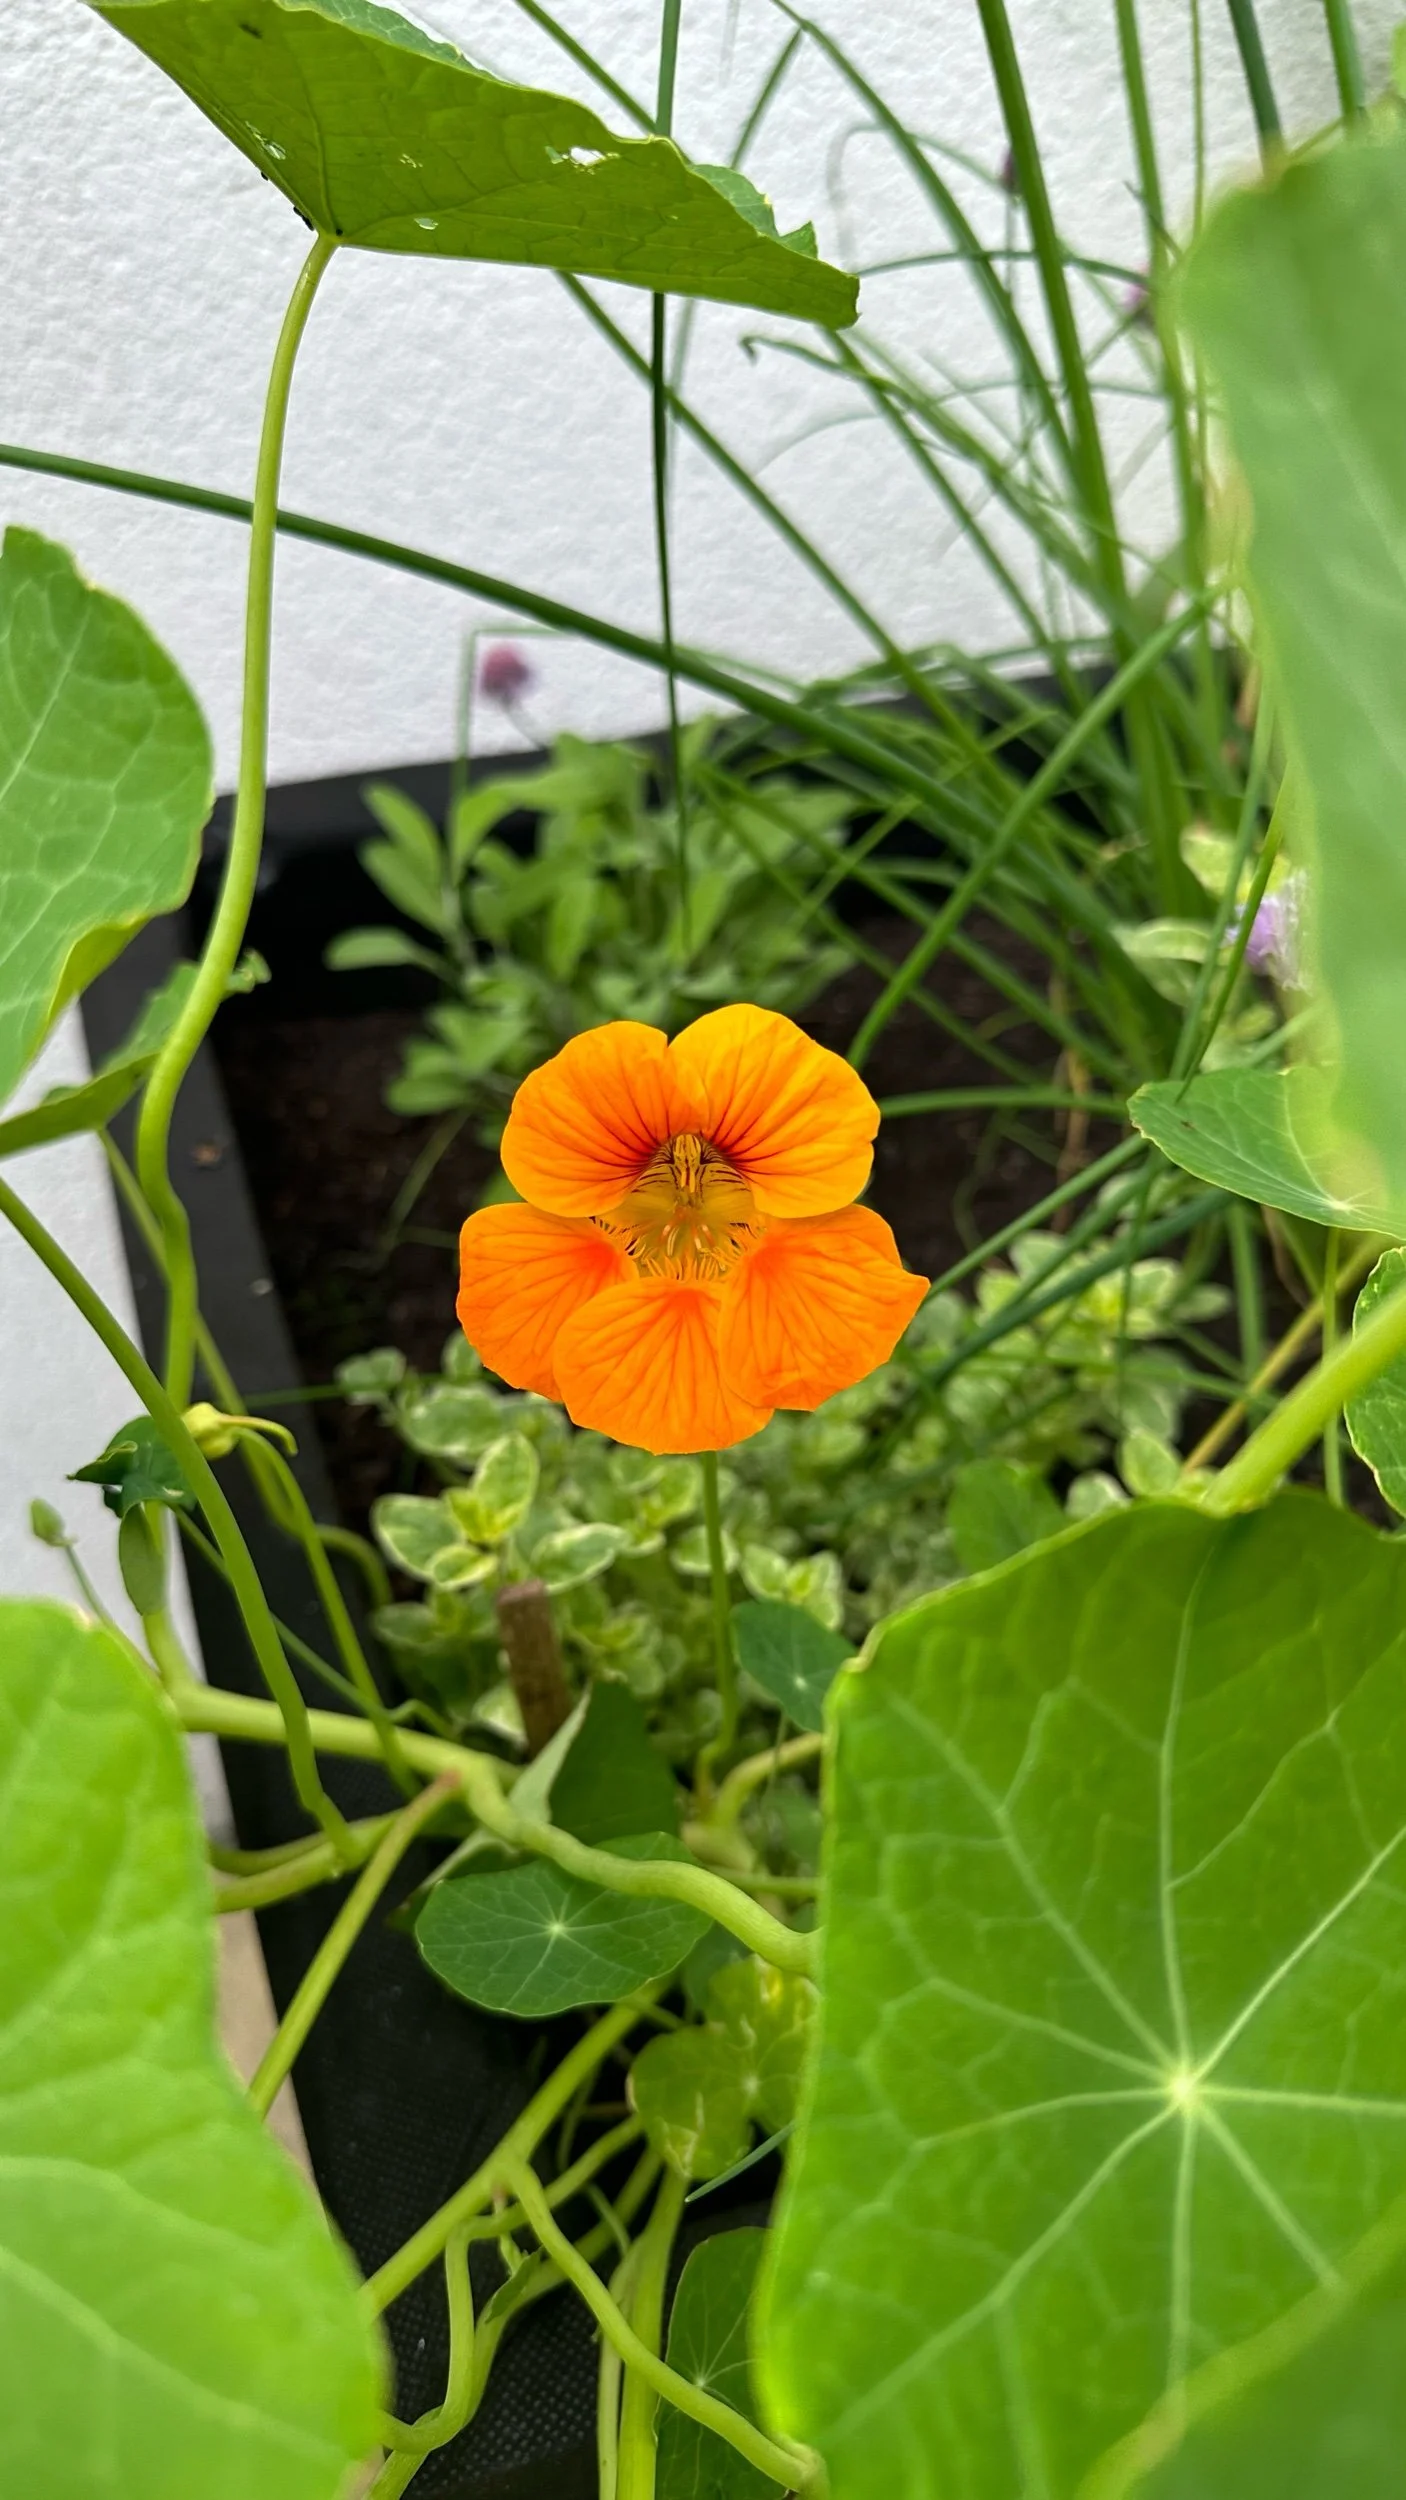
Companion planting with lavender or nasturtiums can deter pests naturally.
Encouraging Beneficial Insects
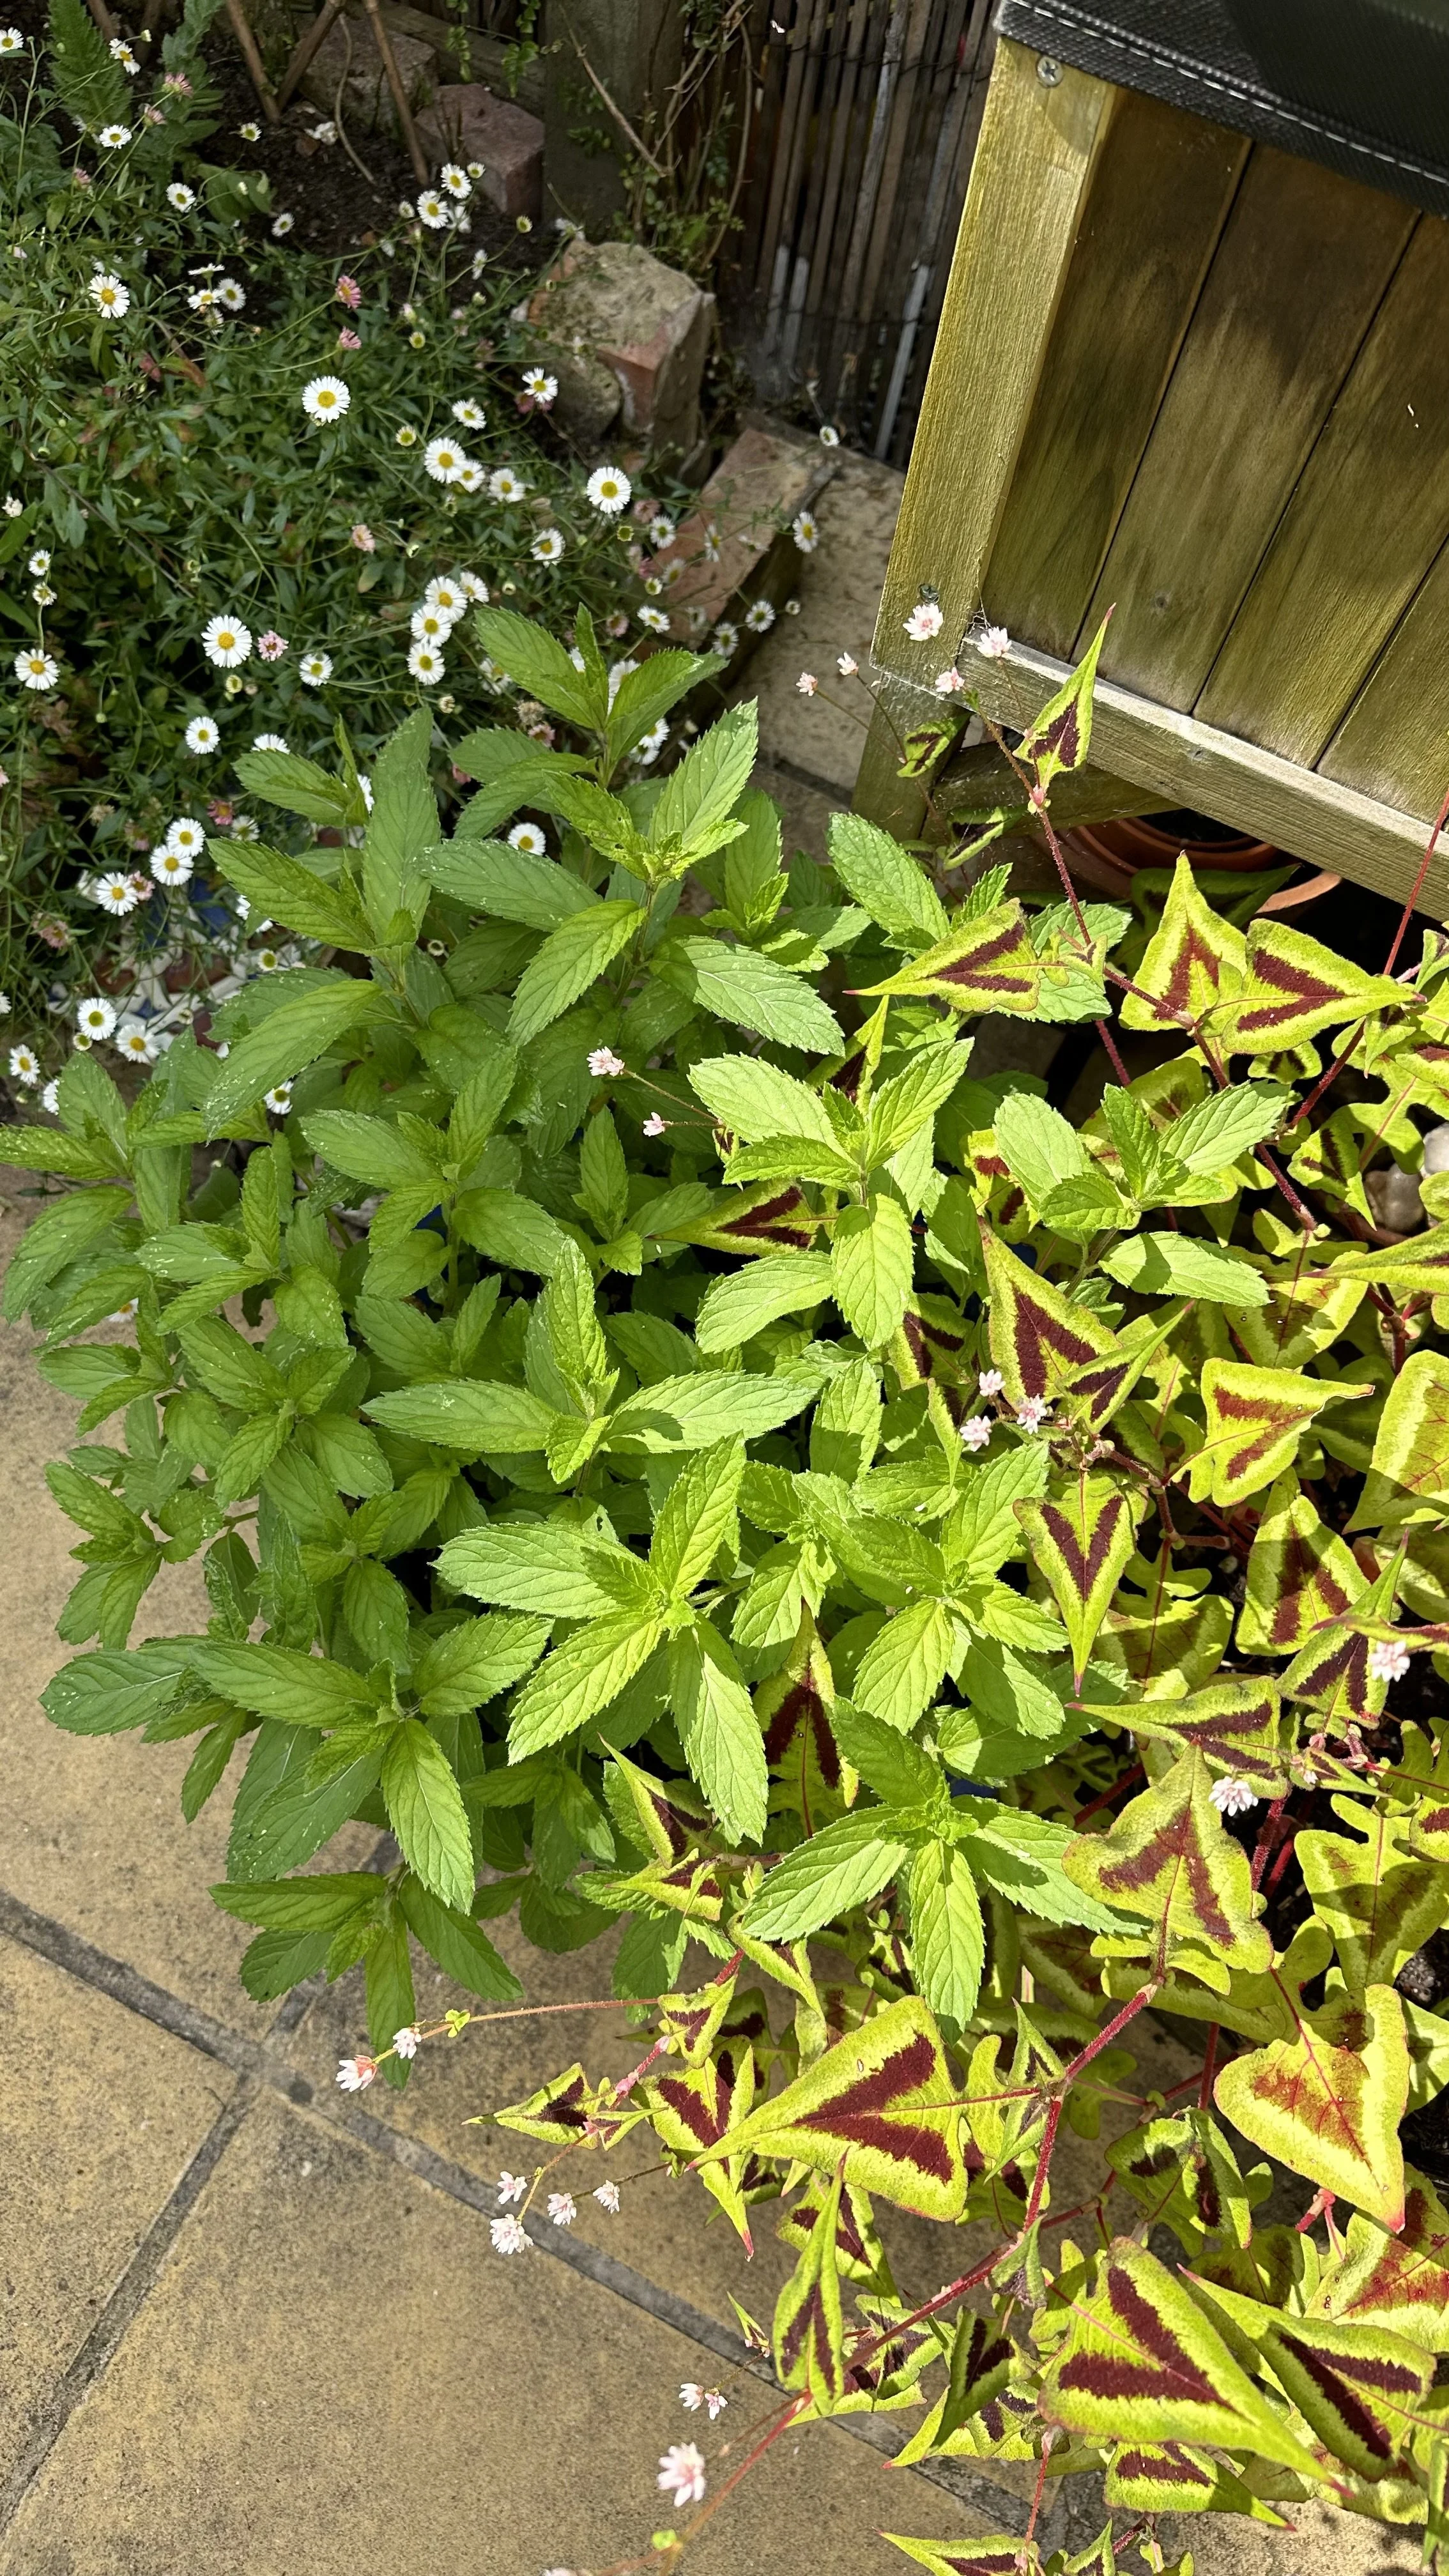
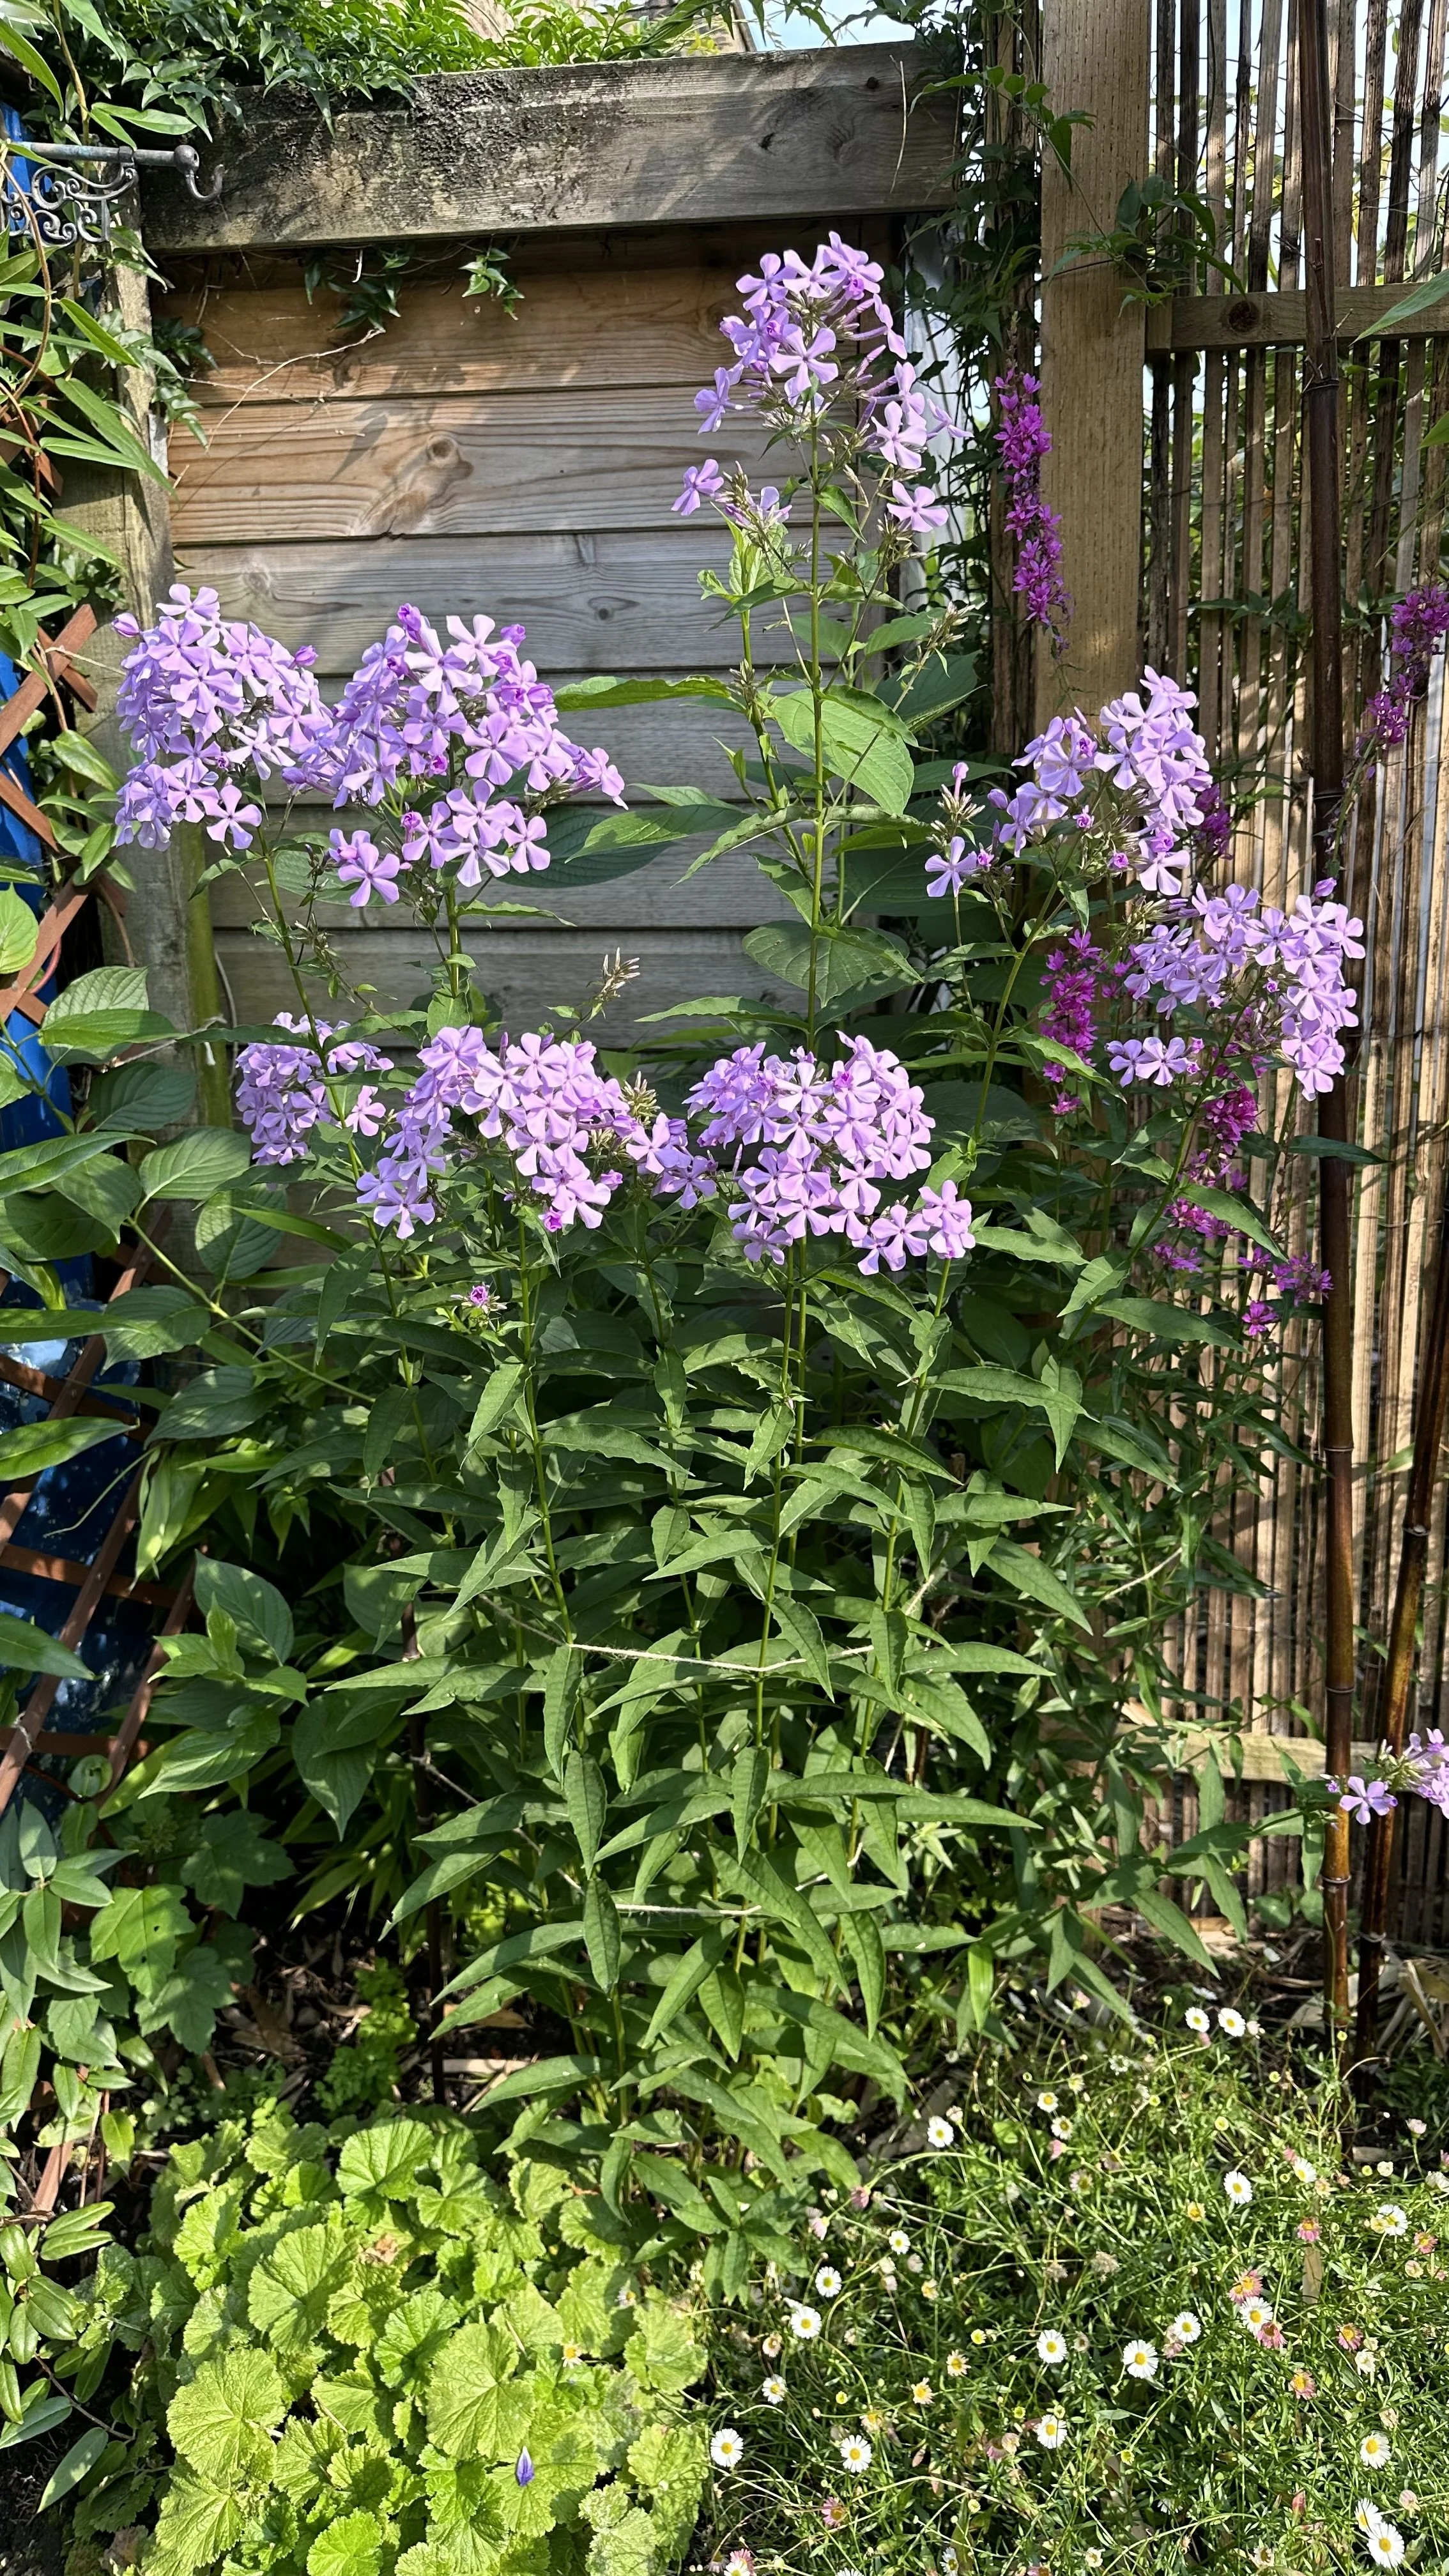
Invite beneficial insects that prey on pests by planting flowers like Erigeron karvinskianus, Zinnias, and Cilantro nearby.
Ladybugs, lacewings, and predatory mites are natural predators of aphids and spider mites and can help keep the population in check.
Physical Removal
If the infestation is not severe, physically removing pests can be effective.
Wipe off aphids with a damp cloth or pick beetles off by hand.
This method can be time-consuming but is completely chemical-free.
Proper Watering Techniques
Watering your plants properly can also help prevent pests.
Many pests are attracted to stressed plants, and both over-watering and under-watering can cause stress.
By maintaining a consistent watering schedule, you can keep your plants healthy and less inviting to pests.
Barrier Methods
Using floating row covers can protect your green beans from a range of flying insects and even some mammals.
These lightweight fabrics allow light and water in but keep pests out.
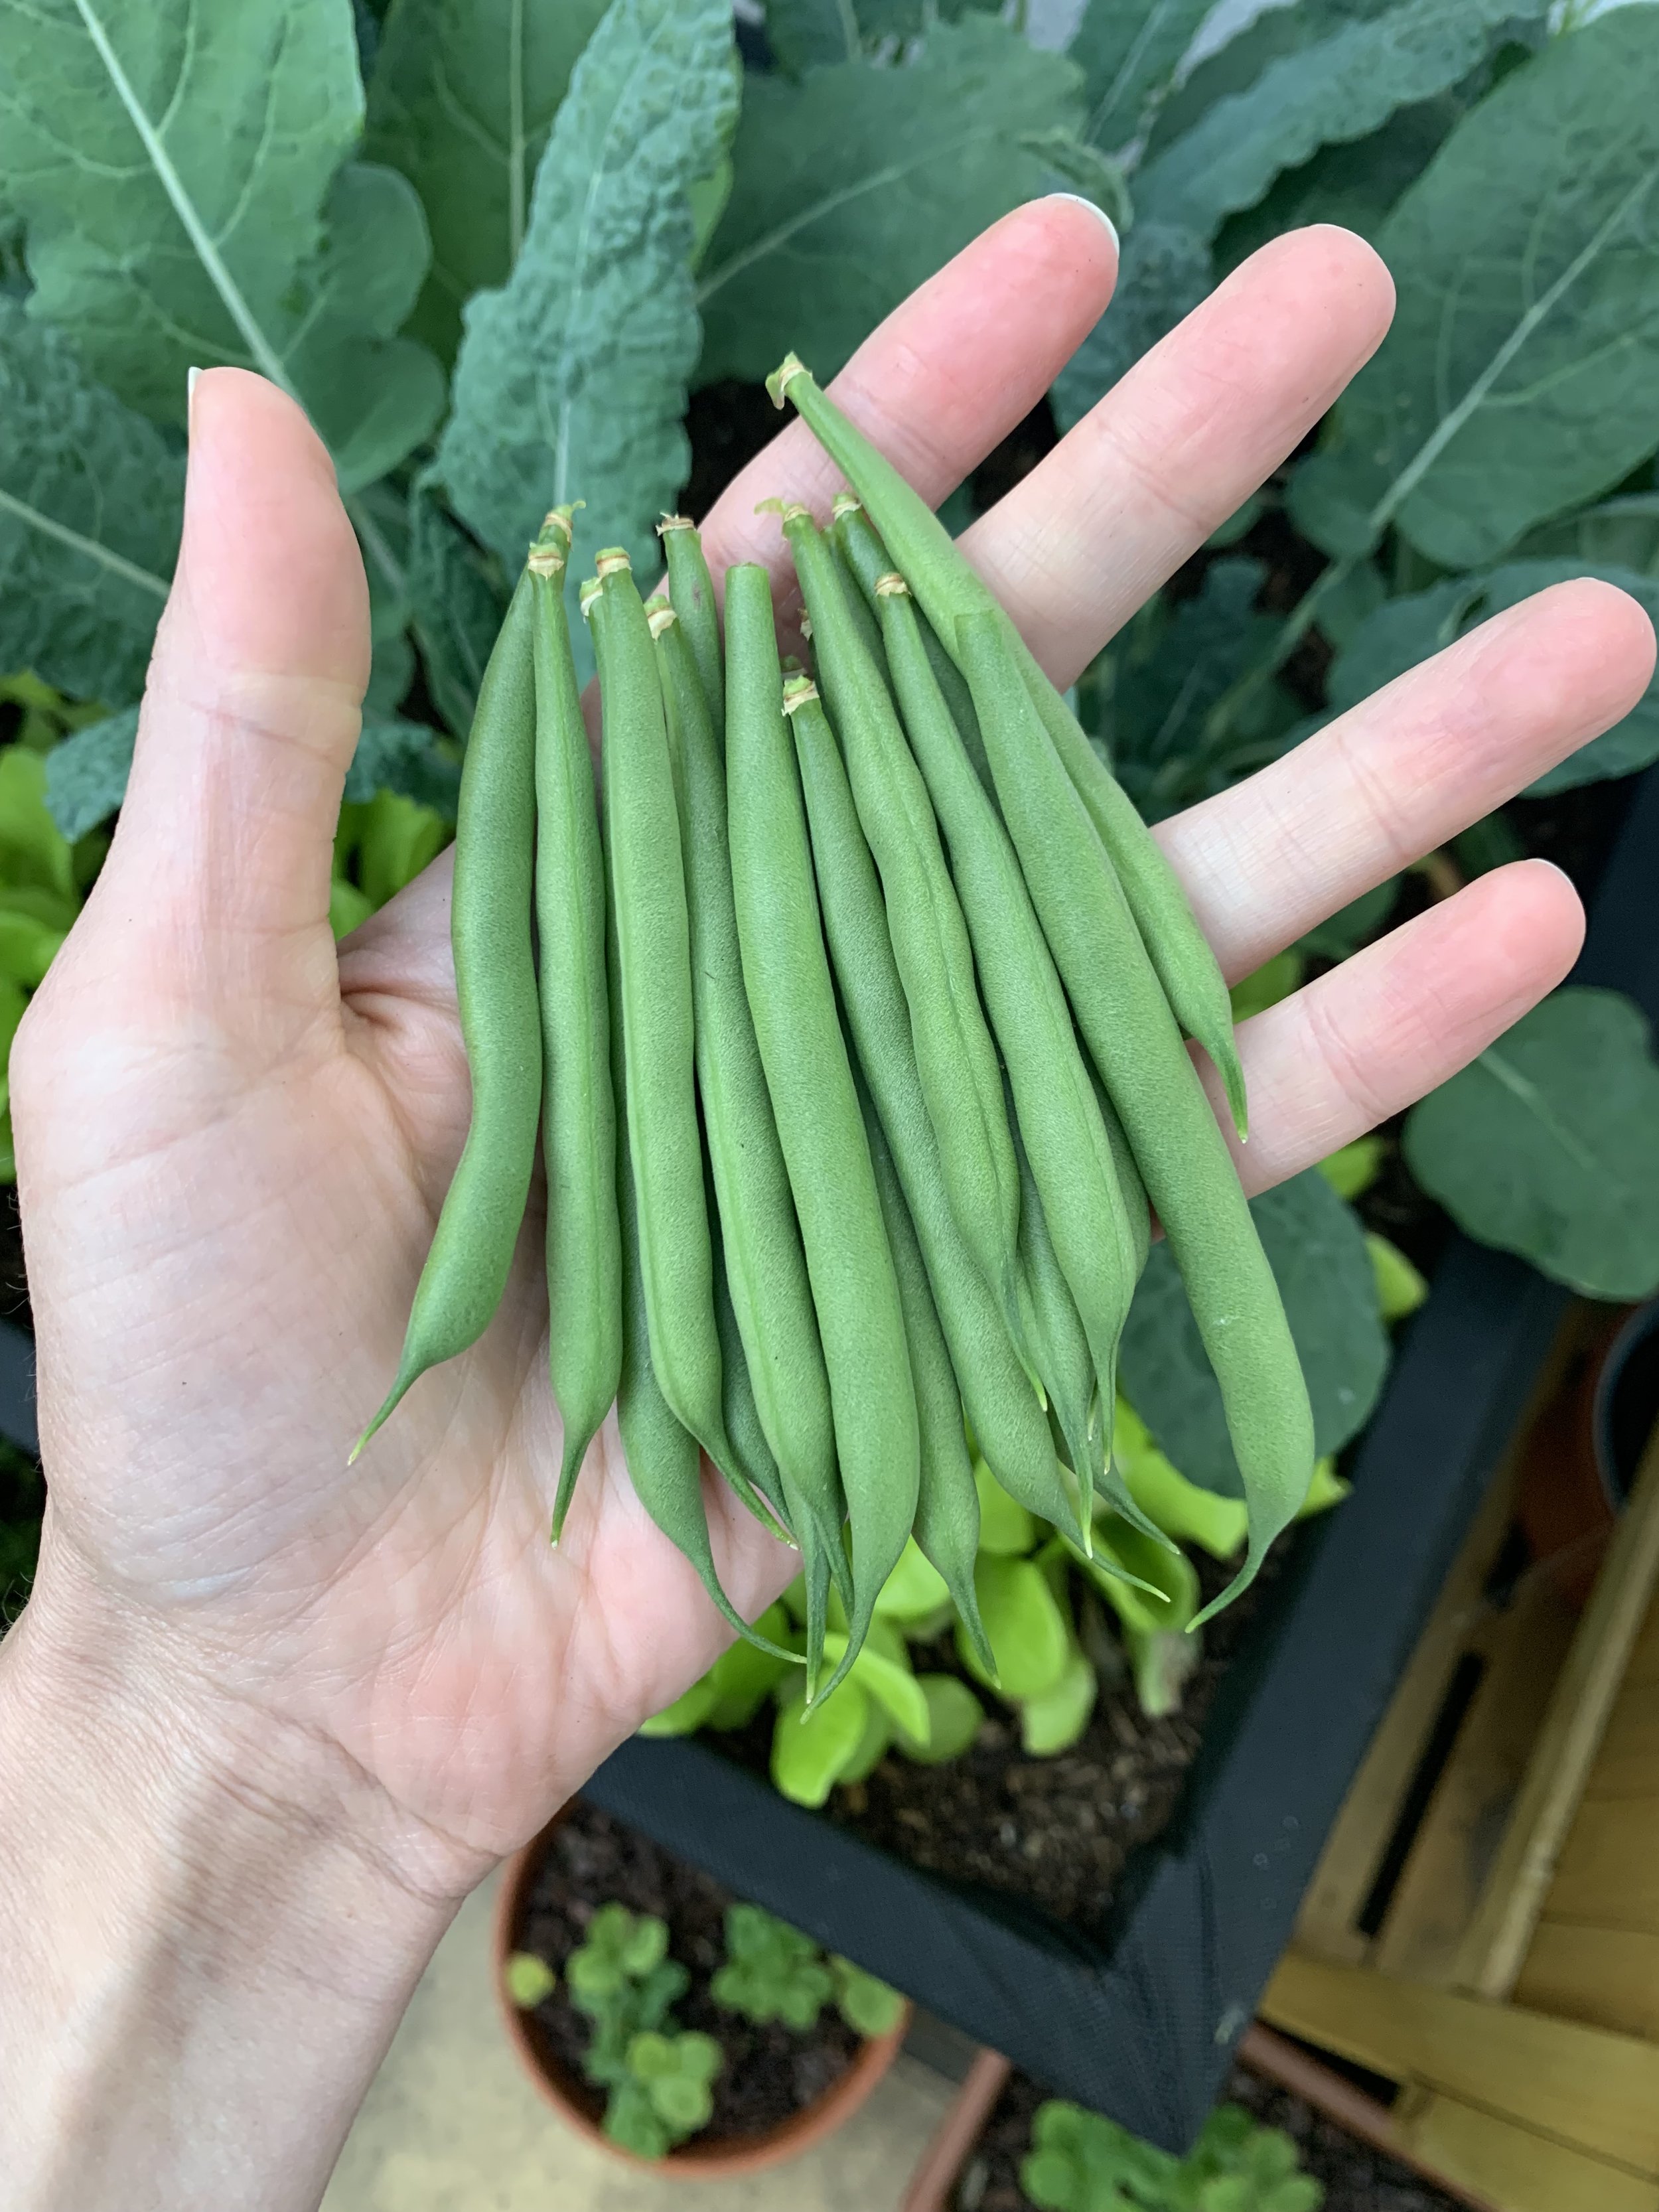
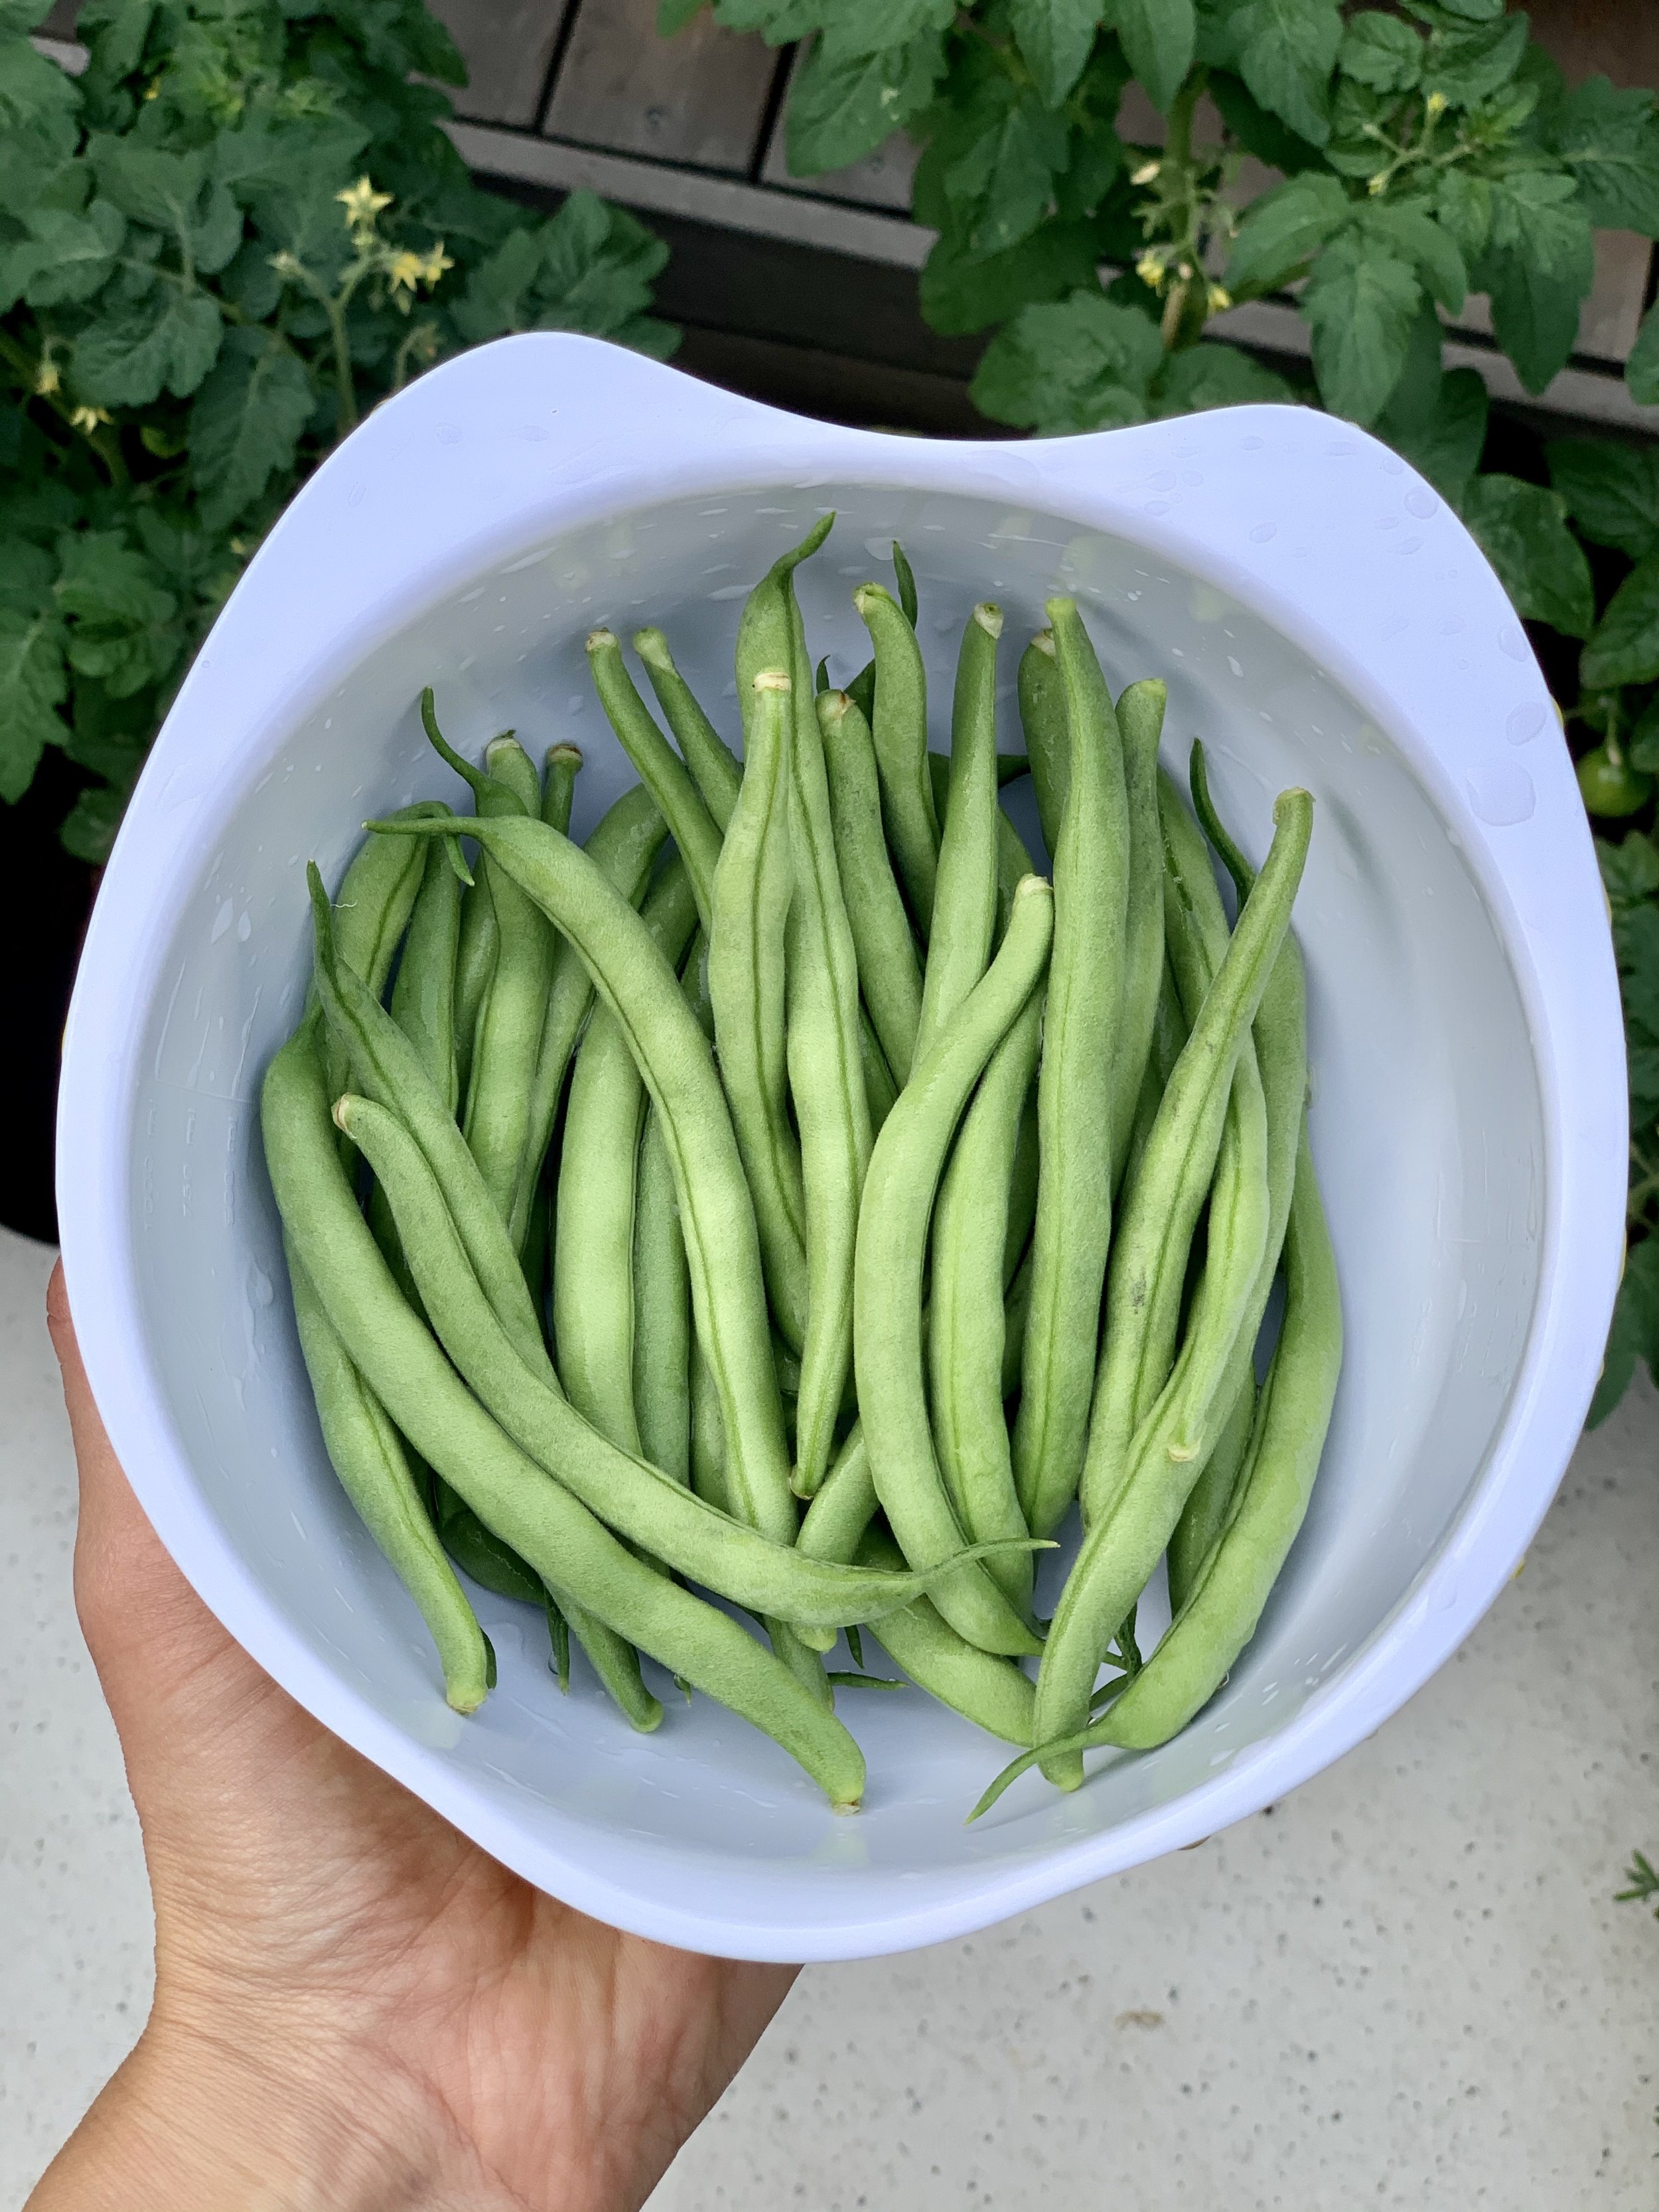
Harvesting Your Green Beans
The arrival of the harvest time is a gratifying period for any gardener.
It's the moment when the fruits of your labor can be literally tasted.
Green beans are known for their generous yield, and when harvested at the right time, they offer a crisp, fresh flavor that is a staple in many summer dishes.
Here's how to harvest your green beans for the best flavor and to encourage continued production throughout the growing season.
Recognizing the Right Time to Harvest
Green beans are at their peak of flavor and tenderness when they are medium-sized and firm to the touch.
The pods should be firm and snappy, and the beans inside should be small.
Overgrown beans can become tough and stringy, so regular checks are necessary.
Depending on the variety, this is typically within 50 to 60 days from planting.
The Harvesting Technique
To harvest the beans, use a gentle hand or snips.
Hold the stem with one hand, and with the other hand, pinch the bean off at the vine, or use scissors to cut it.
Pulling the beans off without supporting the vine can damage the plant and reduce the yield.
Harvest in the morning when the beans are crisp and full of moisture.
Harvest Often
Green beans will continue to produce more beans if they are picked regularly.
This could mean harvesting every day or every other day during the height of the season.
If beans are left on the plant too long, the plant will think it's done its job for the season and will stop producing, so regular harvesting is crucial.
Storing Your Beans
After picking, green beans can be stored in the refrigerator for about a week.
For longer storage, they can be blanched and frozen, canned, or pickled.
Washing the beans before storing can lead to spoilage, so only wash them right before you're ready to eat or preserve them.
FAQs
How many green bean plants can I grow in one container?
The number of plants per container depends on the size of the container and the type of green bean.
For bush beans, a standard 12-inch pot can support about three plants.
For pole beans, which grow vertically, you can plant four to six around a central pole in a similar-sized container, though they'll require a larger container for their root systems as they mature.
How long does it take for green beans to grow?
Green beans usually take about 50 to 60 days from planting to reach maturity and start producing harvestable pods.
However, this can vary slightly depending on the variety and growing conditions.
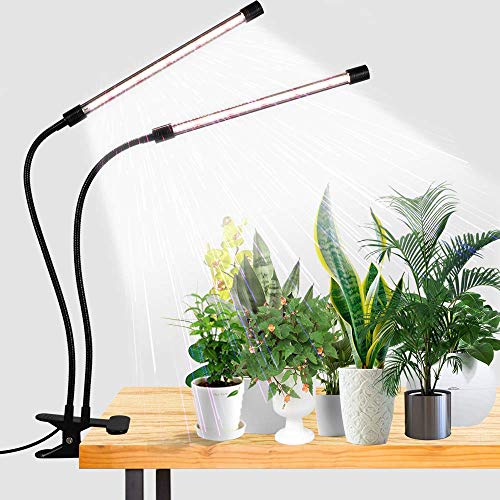
Can I grow green beans indoors?
Yes, you can grow green beans indoors as long as they have sufficient light—either from a sunny window or using grow lights—and you maintain proper care, as you would with an outdoor garden.
Here are the grow lights I recommend:
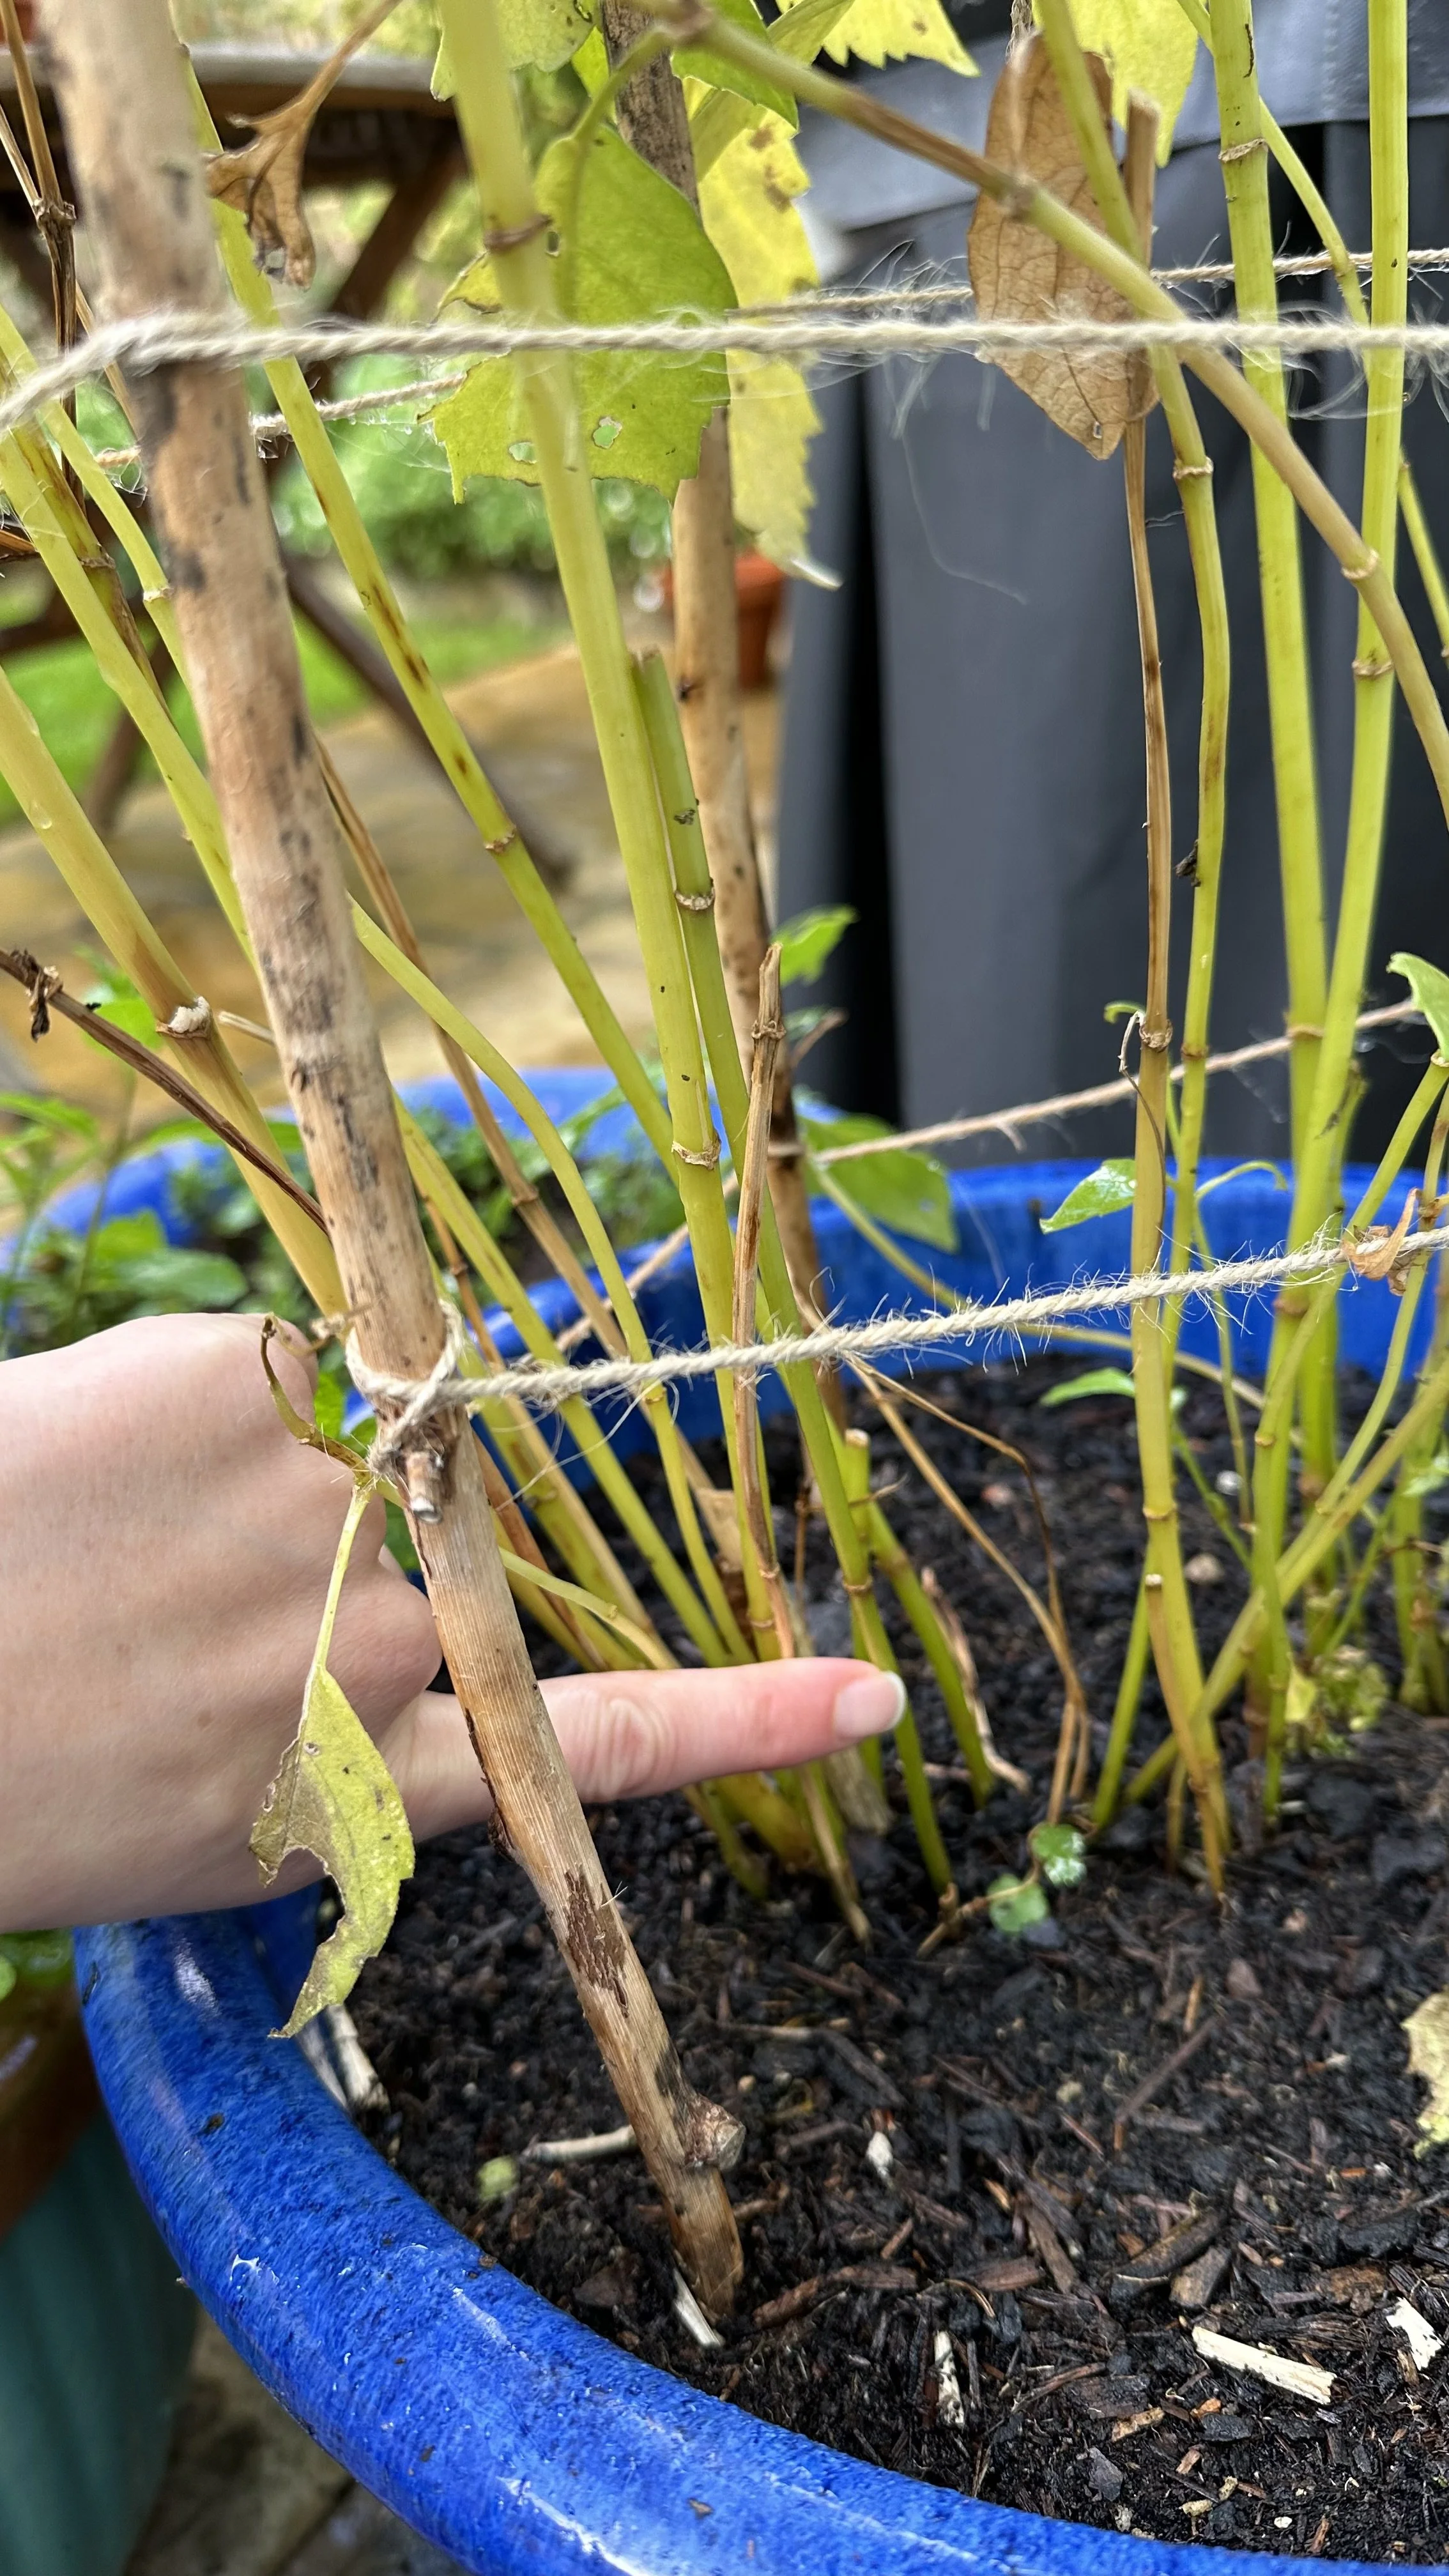
Why are my green bean leaves turning yellow?
Yellowing leaves can be a sign of over-watering, under-watering, a nutrient deficiency, or a disease.
Check your watering schedule, make sure there’s proper drainage, and consider having your soil tested to determine if you need to adjust your fertilization regimen.
Can green beans be grown in shade?
Green beans need full sun to thrive and produce well.
They can grow in partial shade, but this will likely result in a lower yield and possibly leggier plants.
When is the best time to plant green beans in containers?
The best time to plant green beans in containers is after the last frost date when the soil has warmed to at least 60°F (15°C).
In warm climates like Texas, this can be as early as late spring, but in cooler areas, planting might be delayed until early summer.
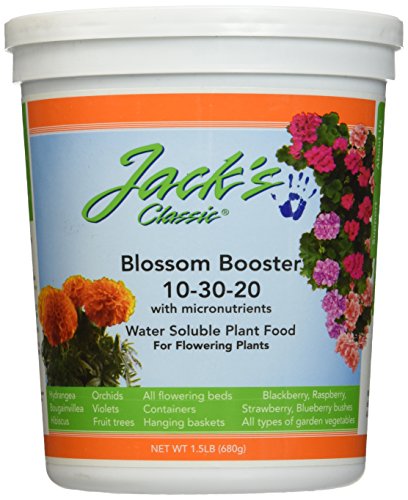
What should I do if my green beans are flowering but not producing beans?
This can be due to a few reasons, including excessive heat, insufficient pollination, or too much nitrogen.
Make sure your plants are not under stress from high temperatures or lack of water, and consider using a bloom booster fertilizer if necessary.
Here is the bloom booster fertilizer I recommend:
How do I save green bean seeds for next year?
Allow some of your healthiest pods to mature fully on the plant until they are dry and brown.
Harvest these pods and store the seeds in a cool, dry place. Make sure they are completely dry before storing to prevent mold.