How to Grow Zinnias in Pots: From Seed to Colorful Blooms
This article has links to products that I may make commission from.
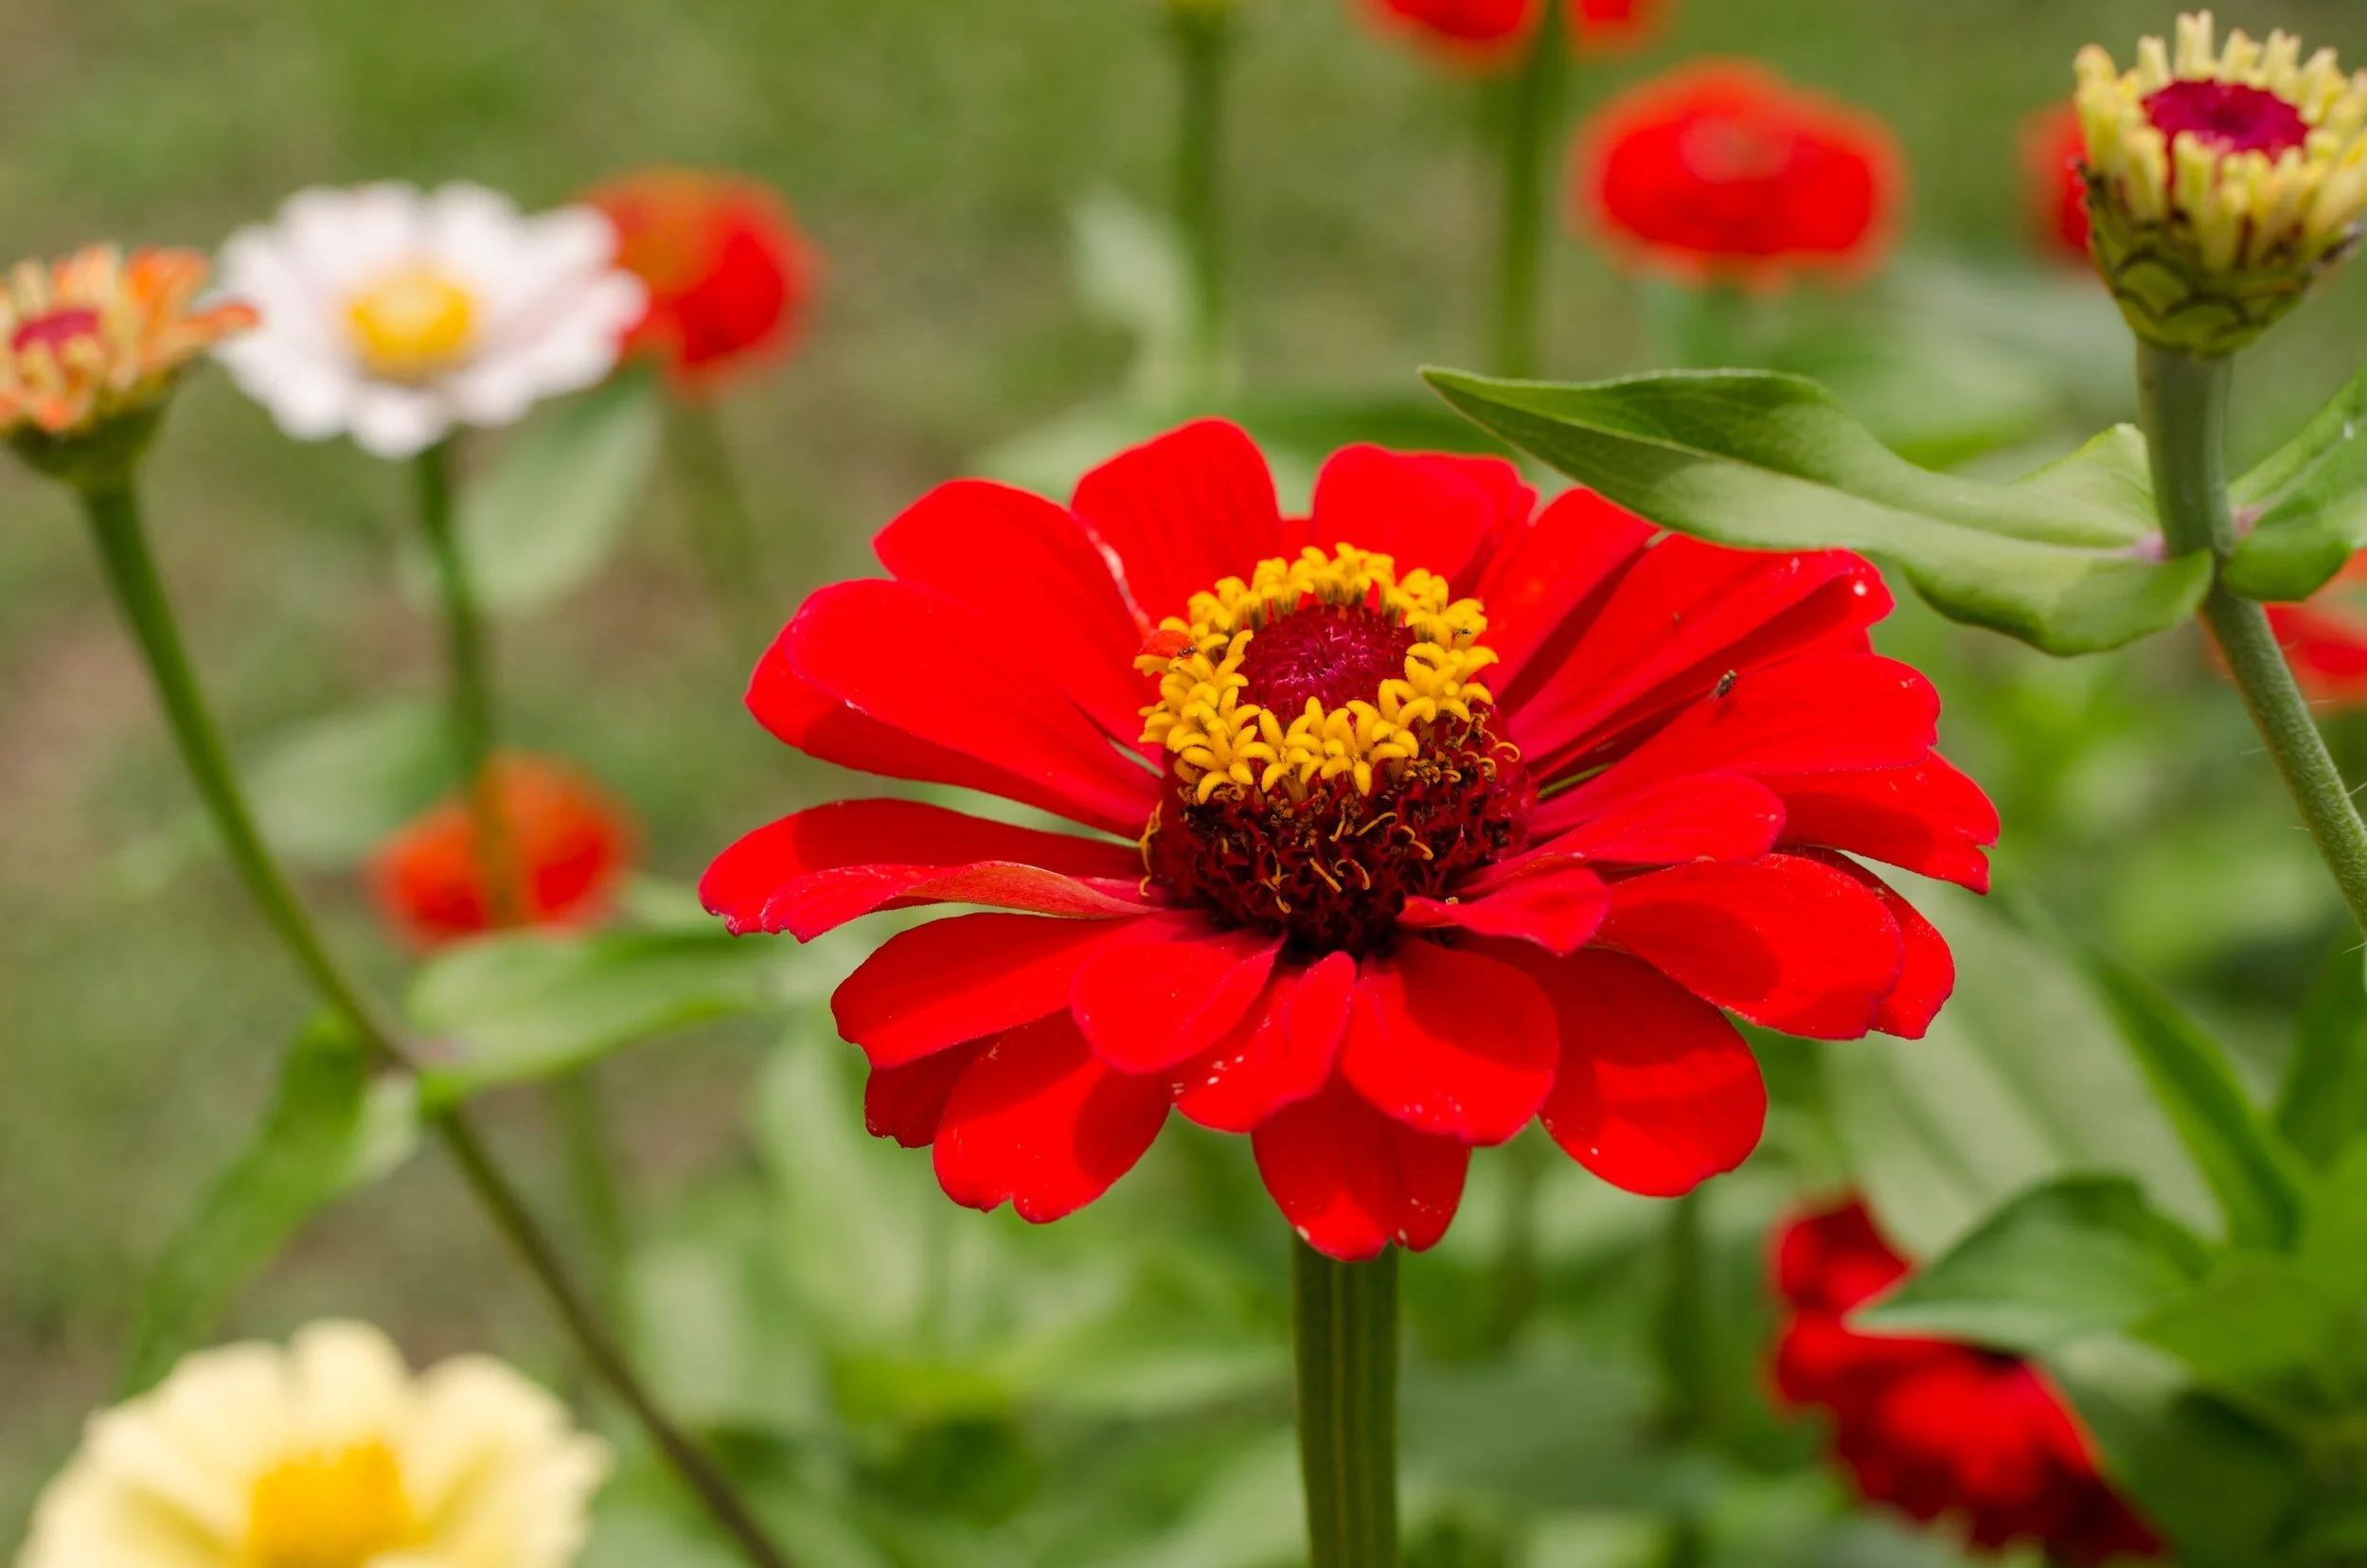
Zinnias are vibrant and colorful flowers that add beauty to any garden.
If you have limited space or lack a traditional garden bed, growing zinnias in pots is an excellent alternative.
Here is a complete guide to successfully cultivating zinnias in containers, from starting seeds indoors to caring for your potted zinnias throughout the growing season.
Let's dive in and discover how you can enjoy the beauty of zinnias in your own space-efficient container garden.
To learn more about growing zinnias, check out my guides:
Selecting the Right Pot and Soil for zinnias
Selecting the right pot and soil is crucial for the successful growth of zinnias in containers.
Pot Size
Choose a pot or container that provides ample space for the zinnia plants to grow.
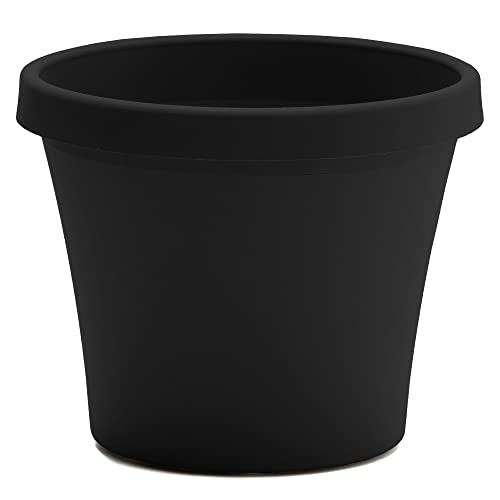
Opt for a pot with a diameter of at least 12 inches to accommodate the root system and allow for proper root development.
Avoid pots that are too small, as they can restrict root growth and lead to stunted plants.
Here is the pot I recommend:
Drainage Holes
Ensure that the pot you select has drainage holes at the bottom.
Proper drainage is essential to prevent waterlogging, which can cause root rot and other issues.
If the pot you like doesn't have drainage holes, you can drill them yourself to facilitate water drainage.
By choosing an appropriate pot size with proper drainage and using a suitable potting soil mix, you provide the zinnia plants with a favorable environment for healthy growth and development.
Remember to check the soil moisture regularly and water the plants accordingly to maintain the ideal moisture level.
Material
Consider the material of the pot based on your specific needs.
Terracotta or clay pots are porous and allow for better air circulation and moisture evaporation.
They can be a good choice if you tend to overwater your plants.
Plastic or resin pots are lightweight and retain moisture well, making them suitable for hot and dry climates or if you prefer less frequent watering.
Soil Type
Use a well-draining potting soil mix when planting zinnias in containers.
Avoid using garden soil, as it can become compacted in containers and hinder drainage.
To learn more about this, check out my guide Garden Soil vs. Potting Soil: How to Choose the Right One.
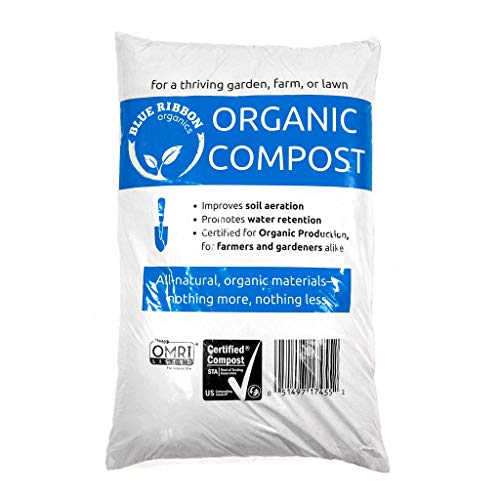
Look for a high-quality potting mix specifically formulated for containers or add organic matter, like garden compost, to improve soil structure and water retention.
Here is the organic potting mix I recommend using:
pH Level
Zinnias prefer slightly acidic to neutral soil conditions with a pH range of 6.0 to 7.5.
Most potting mixes are pH-balanced, but if you're uncertain about the soil pH, you can test it using a soil testing kit.
Adjust the pH, if necessary, by adding amendments like lime to raise it or sulfur to lower it.
Here is the soil test kit I recommend:

Filling the Pot
Fill the pot with the potting soil mix, leaving about an inch of space below the rim to prevent water overflow.
Gently firm the soil without compacting it too much, as it should still allow for good root growth and drainage.
My favorite Zinnia seeds:


Start your own cut flower garden with my guides:

To learn more about growing from seed, check out my guide:
Starting Zinnia Seeds Indoors:
For an early start, begin zinnia seeds indoors about 4 to 6 weeks before the last expected frost date in your area.
Here's a step-by-step guide to help you successfully start zinnia seeds indoors:
Timing
Start seeds indoors about 4 to 6 weeks before the last expected frost date in your area.
If started indoors, this will give the zinnia seedlings enough time to grow and develop before transplanting them outdoors.
Seed Trays or Pots
Use seed trays or small pots with drainage holes to sow the zinnia seeds. These containers should be clean and sterile to prevent the risk of diseases.
Here are my favorite seed trays:

Seed Starting Mix
Fill the trays or pots with a high-quality seed starting mix.
Avoid using regular garden soil, as it can be too heavy and may not provide the ideal conditions for germination.
To learn more check out my guide: The Best Seed Starting Mix.
This is the best seed starting mix:

Moisten the Soil
Before sowing the seeds, moisten the seed starting mix with water.
Ensure that the soil is evenly moist but not waterlogged.
Sowing the Seeds
Place the zinnia seeds on top of the moist soil.
Zinnia seeds are relatively large and can be sown individually or spaced a few inches apart, depending on the size of the container.
Lightly press the seeds into the soil, but do not bury them too deeply.
A planting depth of around 1/4 inch is sufficient.
Covering and Labeling
Once the seeds are planted, lightly cover them with a thin layer of seed starting mix or vermiculite.
This helps to retain moisture and provides a stable environment for germination.
Label the trays or pots with the zinnia variety and the date of sowing to keep track of your seeds.
For more inspiration, check out my guide:
Warmth and Light
Zinnia seeds require warmth to germinate.
Place the seed trays or pots in a warm location with temperatures around 70-75°F (21-24°C).
You can use a heating mat or place them near a heat source to provide the necessary warmth.
Additionally, zinnias need plenty of light to grow healthy seedlings.
Provide them with 12-16 hours of bright light per day. If natural light is limited, consider using fluorescent grow lights.
Here is the heating mat for seed starting I recommend:

Watering
Keep the soil consistently moist but not overly wet. Use a spray bottle or a gentle watering can to avoid displacing the seeds or creating puddles.
Mist the soil surface whenever it starts to dry out.
Be careful not to overwater, as excessive moisture can lead to damping-off, a fungal disease that affects seedlings.
For more watering tips, check out my guide How Often to Water Seedlings.
Germination
Zinnia seeds usually germinate within 7 to 10 days, but it can vary depending on the variety and environmental conditions.
Once the seedlings emerge, remove any covering and continue to provide them with adequate light and warmth.
Transplanting
When the seedlings have developed a couple of sets of true leaves and the risk of frost has passed, they are ready to be transplanted into larger pots or containers or directly into the garden bed.
Harden off the seedlings by gradually exposing them to outdoor conditions before transplanting to reduce shock.
To learn more about growing flowers in pots, check out my guides:
How to Grow Hellebores in Pots

Transplanting Zinnia Seedlings
Once the danger of frost has passed and the seedlings have developed a couple of sets of true leaves, it's time to transplant them into larger pots or containers. Transplanting zinnia seedlings is an important step in their growth process.
Here's a guide on how to transplant zinnia seedlings into larger pots or containers or directly into the garden bed:
Timing
Wait until the danger of frost has passed and the seedlings have developed a couple of sets of true leaves before transplanting.
This is typically when the seedlings are around 3 to 4 inches tall.
Preparing the Transplanting Site
If you plan to transplant the seedlings into larger pots or containers, make sure the containers are clean and have drainage holes.
Watering
Before transplanting, thoroughly water the seedlings in their original pots.
This helps keep the soil around the roots moist and facilitates easier removal from the pots.
For this you can use rainwater collected from a water butt.
Gently Removing Seedlings
Carefully remove the seedlings from their original pots, taking care not to damage the delicate roots.
You can use a small trowel or your fingers to gently loosen the soil around the seedling and lift it from the pot.
Planting Seedlings
Place each seedling in its respective hole, ensuring that the top of the root ball is level with or slightly below the soil surface.
Backfill the hole with soil, gently firming it around the roots to eliminate air pockets.
Watering and Mulching
After transplanting, water the seedlings thoroughly to settle the soil around the roots and provide moisture.
Apply a layer of organic mulch, such as straw or wood chips, around the base of the seedlings to help conserve moisture and suppress weed growth.
Check out my guide: The Best Alternatives to Traditional Mulch for Your Garden.
Caring for Transplanted Seedlings
Place the transplanted seedlings in a location that receives full sun, as zinnias thrive in bright sunlight.
Ensure that the soil remains consistently moist but not waterlogged, especially during the first few weeks after transplanting.
Monitor the seedlings for any signs of stress or disease and take appropriate action if needed.
Hardening Off
If transplanting the seedlings outdoors, it's essential to gradually expose them to outdoor conditions before transplanting to reduce shock.
Start by placing them outdoors in a sheltered location for a few hours each day, gradually increasing their exposure to direct sunlight and longer periods outdoors over the course of a week or two.
Grow more flowers in pots with my guides:

Sun Exposure for Zinnias
How much sun do zinnias need?
Zinnias thrive in full sun, requiring a minimum of 6 to 8 hours of direct sunlight each day.
When selecting a location for your zinnias, choose a spot that receives ample sunlight.
Full sun exposure promotes robust growth, encourages abundant flowering, and enhances the intensity of the flower colors.
Here are some tips for providing optimal sun exposure to your zinnias:
Location
Place your potted zinnias or plant them in a garden bed in a location that receives maximum sunlight.
Avoid spots shaded by trees, buildings, or other tall structures that can block the sun.
Orientation
If possible, orient your containers or garden beds so that they face south or west.
This ensures that zinnias receive sunlight for the most extended period during the day.
Zinnias work wonderfully in a west facing garden.
Sun Protection
While zinnias thrive in full sun, extremely intense heat or scorching afternoon sun in certain regions can be stressful for the plants.
If you experience excessively hot conditions, provide some shade during the hottest parts of the day, especially in the afternoon.
This can be achieved using shade cloth, umbrellas, or by moving the pots temporarily to a shadier location.
For more inspiration, check out my guides:
Watering Zinnias
Proper watering is crucial for the health and vitality of zinnias.
Here are some watering guidelines to follow:
Moisture Levels
Zinnias prefer consistently moist but not waterlogged soil.
Water deeply when the top inch of soil feels dry to the touch.
Stick your finger into the soil to check the moisture level before watering.
Avoid letting the soil completely dry out, as it can stress the plants and negatively impact their growth and flowering.
Watering Frequency
The frequency of watering will depend on various factors such as climate, pot size, and soil type.
Generally, zinnias in containers may require more frequent watering than those in garden beds.
Water your zinnias thoroughly, allowing the water to reach the root zone.
Discard any excess water that collects in saucers or trays to prevent waterlogged roots.
Morning Watering
It's best to water zinnias in the morning.
This allows the foliage and soil to dry out during the day, reducing the risk of fungal diseases, such as powdery mildew.
Watering in the morning also ensures that the plants have sufficient moisture to endure the heat of the day.
For more watering tips, check out my guide How to Use Watering Globes.
Mulching
Apply a layer of organic mulch around the base of your zinnias, leaving a small gap around the stems to prevent moisture-related issues.
Mulching helps retain soil moisture, reduce weed growth, and regulate soil temperature.
Here is my favorite mulch to use for zinnias:

Remember to adjust your watering practices based on weather conditions.
During periods of intense heat or drought, you may need to increase watering frequency to keep the soil consistently moist.
By providing your zinnias with adequate sunlight and watering them appropriately, you can help them thrive, promote healthy growth, and enjoy a profusion of vibrant blooms throughout the growing season.
Looking for more container gardening inspiration?
The Best Trailing Plants for Window Boxes

Deadheading zinnias
Deadheading refers to the removal of spent or faded flowers from the zinnia plants.
This process encourages the production of new blooms, prevents seed formation, and improves the overall appearance of the plant.
Here's how to deadhead zinnias in pots:
Regular Inspection
Regularly inspect your zinnia plants for flowers that have wilted, faded, or started to develop seed heads.
These are the flowers you'll target for deadheading.
Removing Spent Flowers
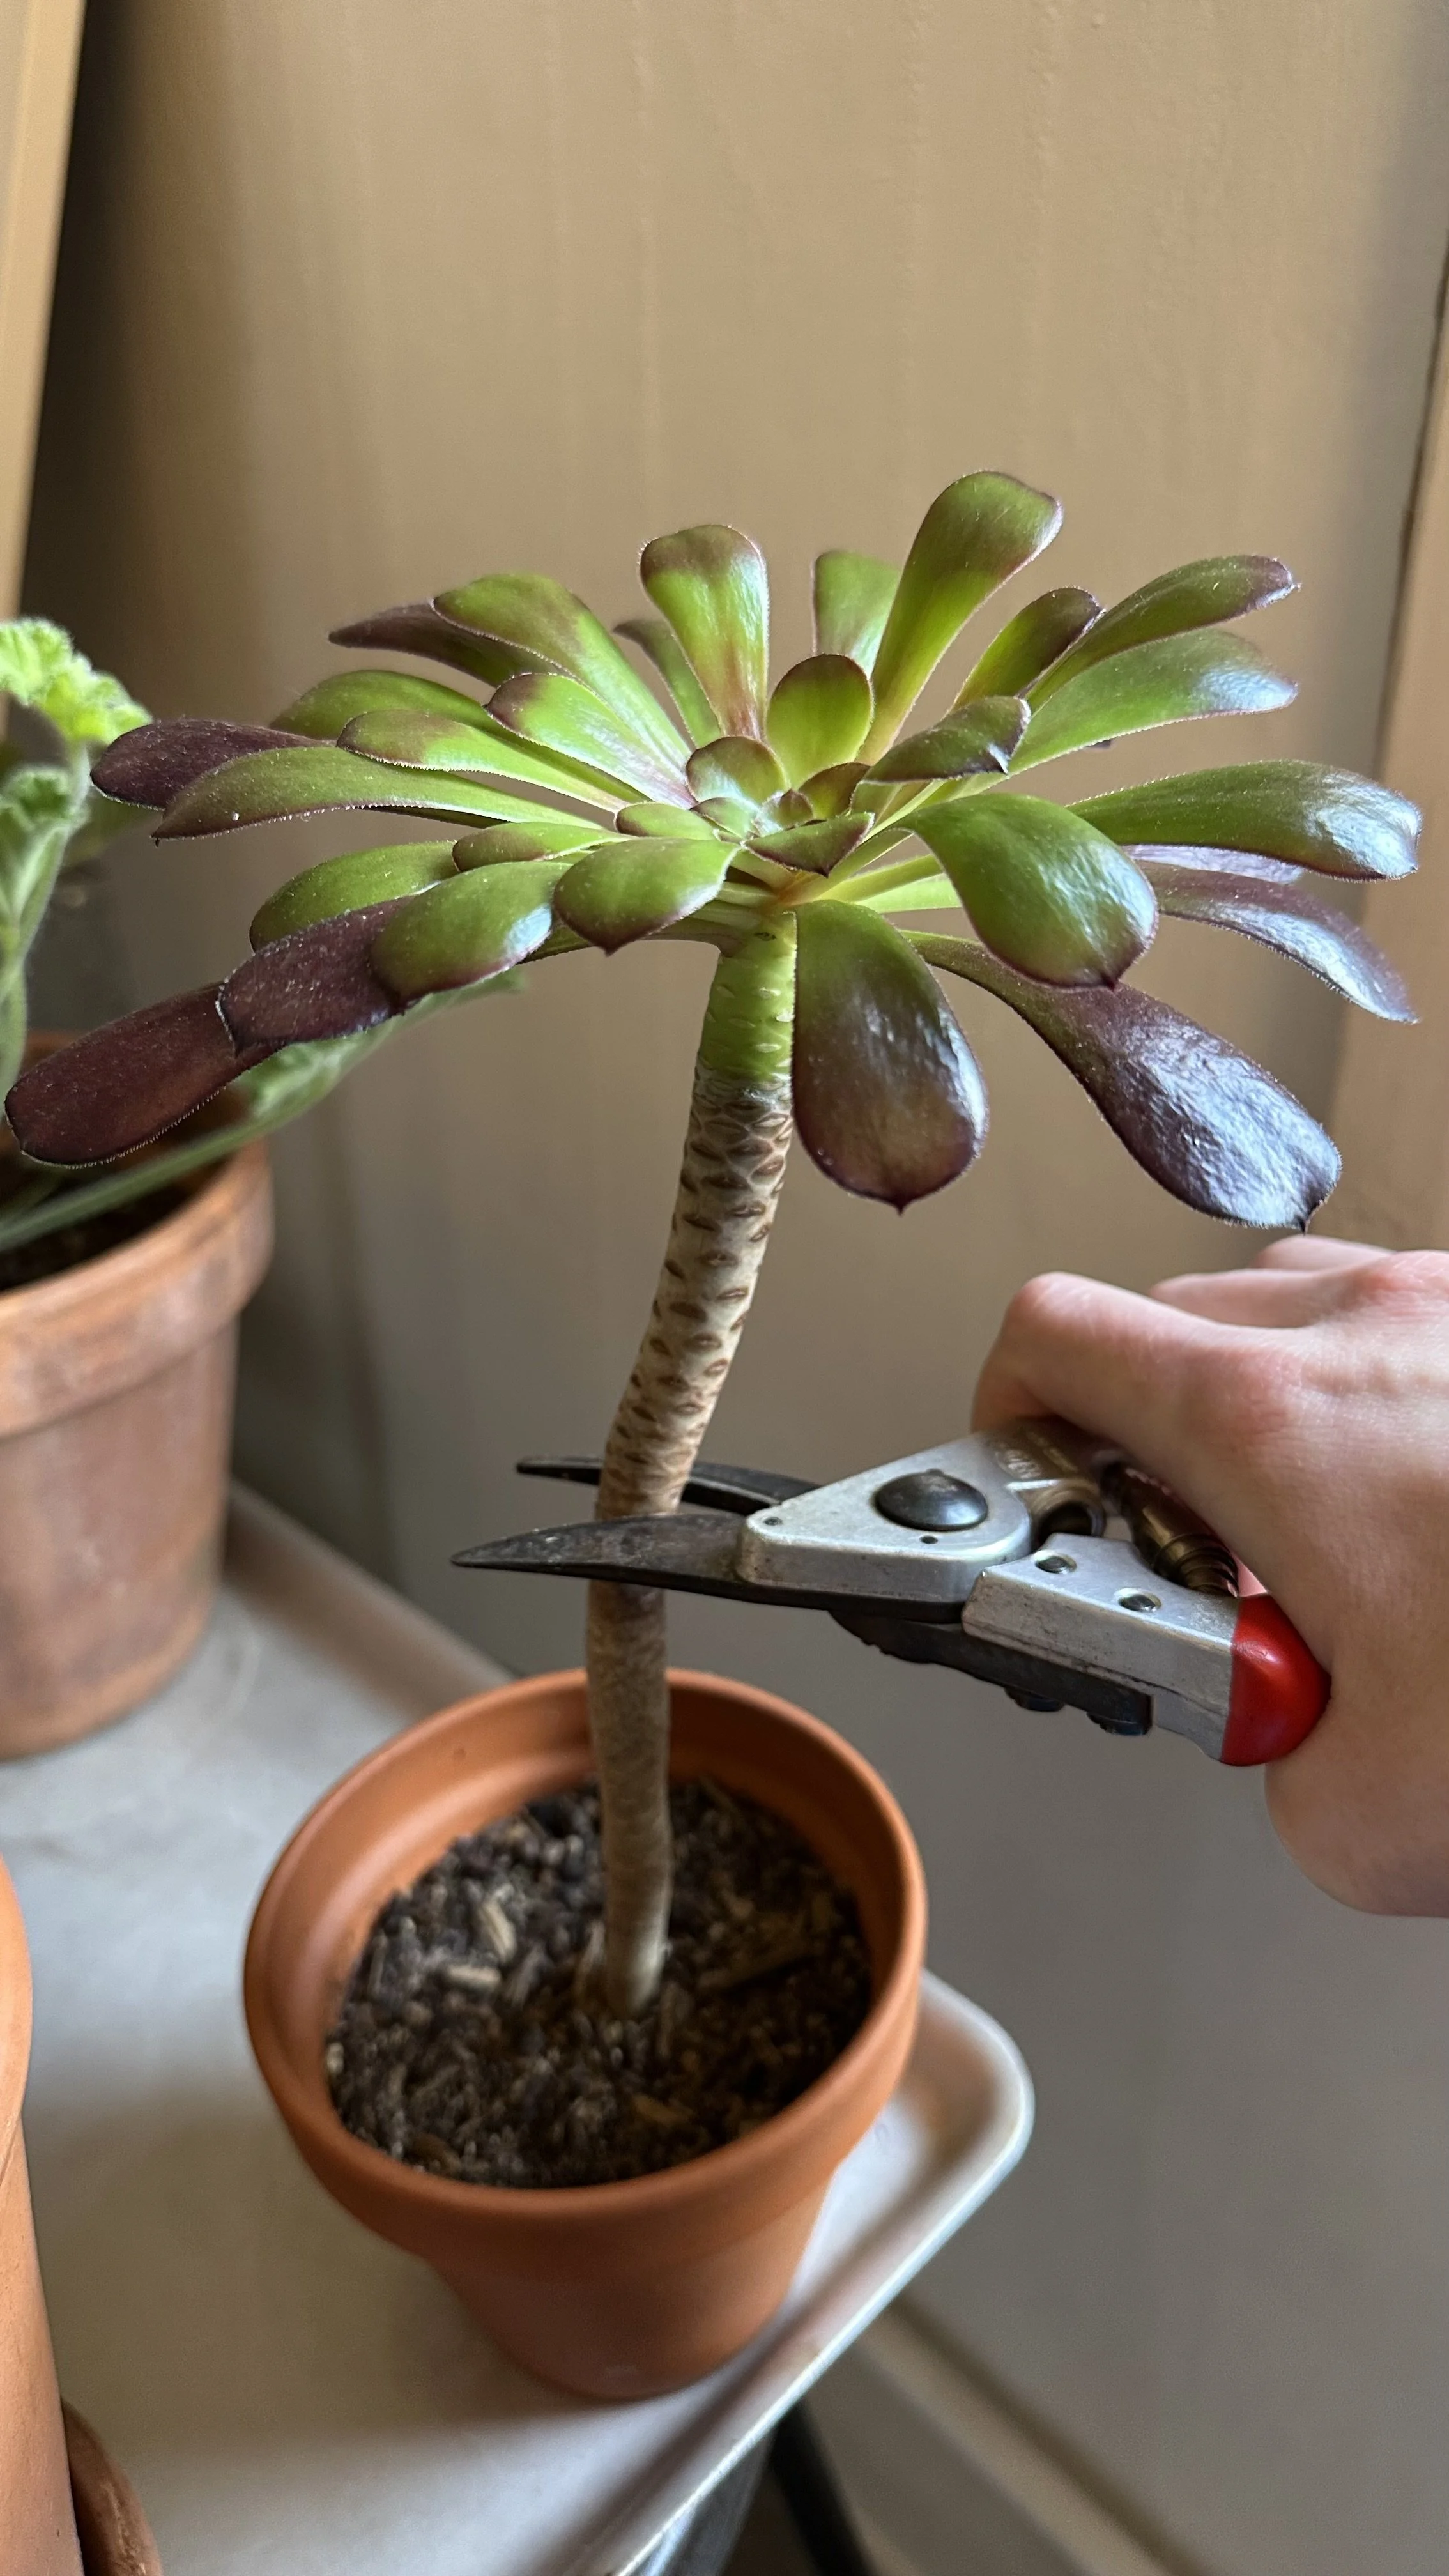
To deadhead zinnias, locate the base of the faded flower just above the first set of healthy leaves.
Use sharp pruning shears or scissors to make a clean cut at this point.
Alternatively, you can pinch off the faded flowers using your fingers.
This method is suitable for smaller zinnia varieties.
These pruning shears are perfect for the job:

Removing Seed Heads
If any seed heads have started to form, it's best to remove them as well.
Zinnias that are allowed to produce seeds may slow down flower production.
Cut or pinch off the seed heads before they mature fully.
Regular Deadheading
Make it a routine to deadhead your zinnias every few days or as needed throughout the growing season.
This will encourage continuous blooming and prevent the plant from putting energy into seed production.
For more tips and ideas, check out my guides:
General Care for Zinnias
Apart from deadheading, here are some general care tips to keep your zinnias healthy and vibrant:
Watering
As mentioned earlier, water your zinnias when the top inch of soil feels dry.
Deep, thorough watering is preferred to ensure the roots receive enough moisture.
Avoid overwatering, as zinnias are susceptible to root rot.
Fertilizing
Zinnias benefit from regular fertilization to promote healthy growth and abundant blooms.
Apply a balanced, water-soluble fertilizer every two to three weeks or use a slow-release granular fertilizer according to the manufacturer's instructions.
Here is my favorite slow release fertilizer for zinnias:

Supporting Tall Varieties
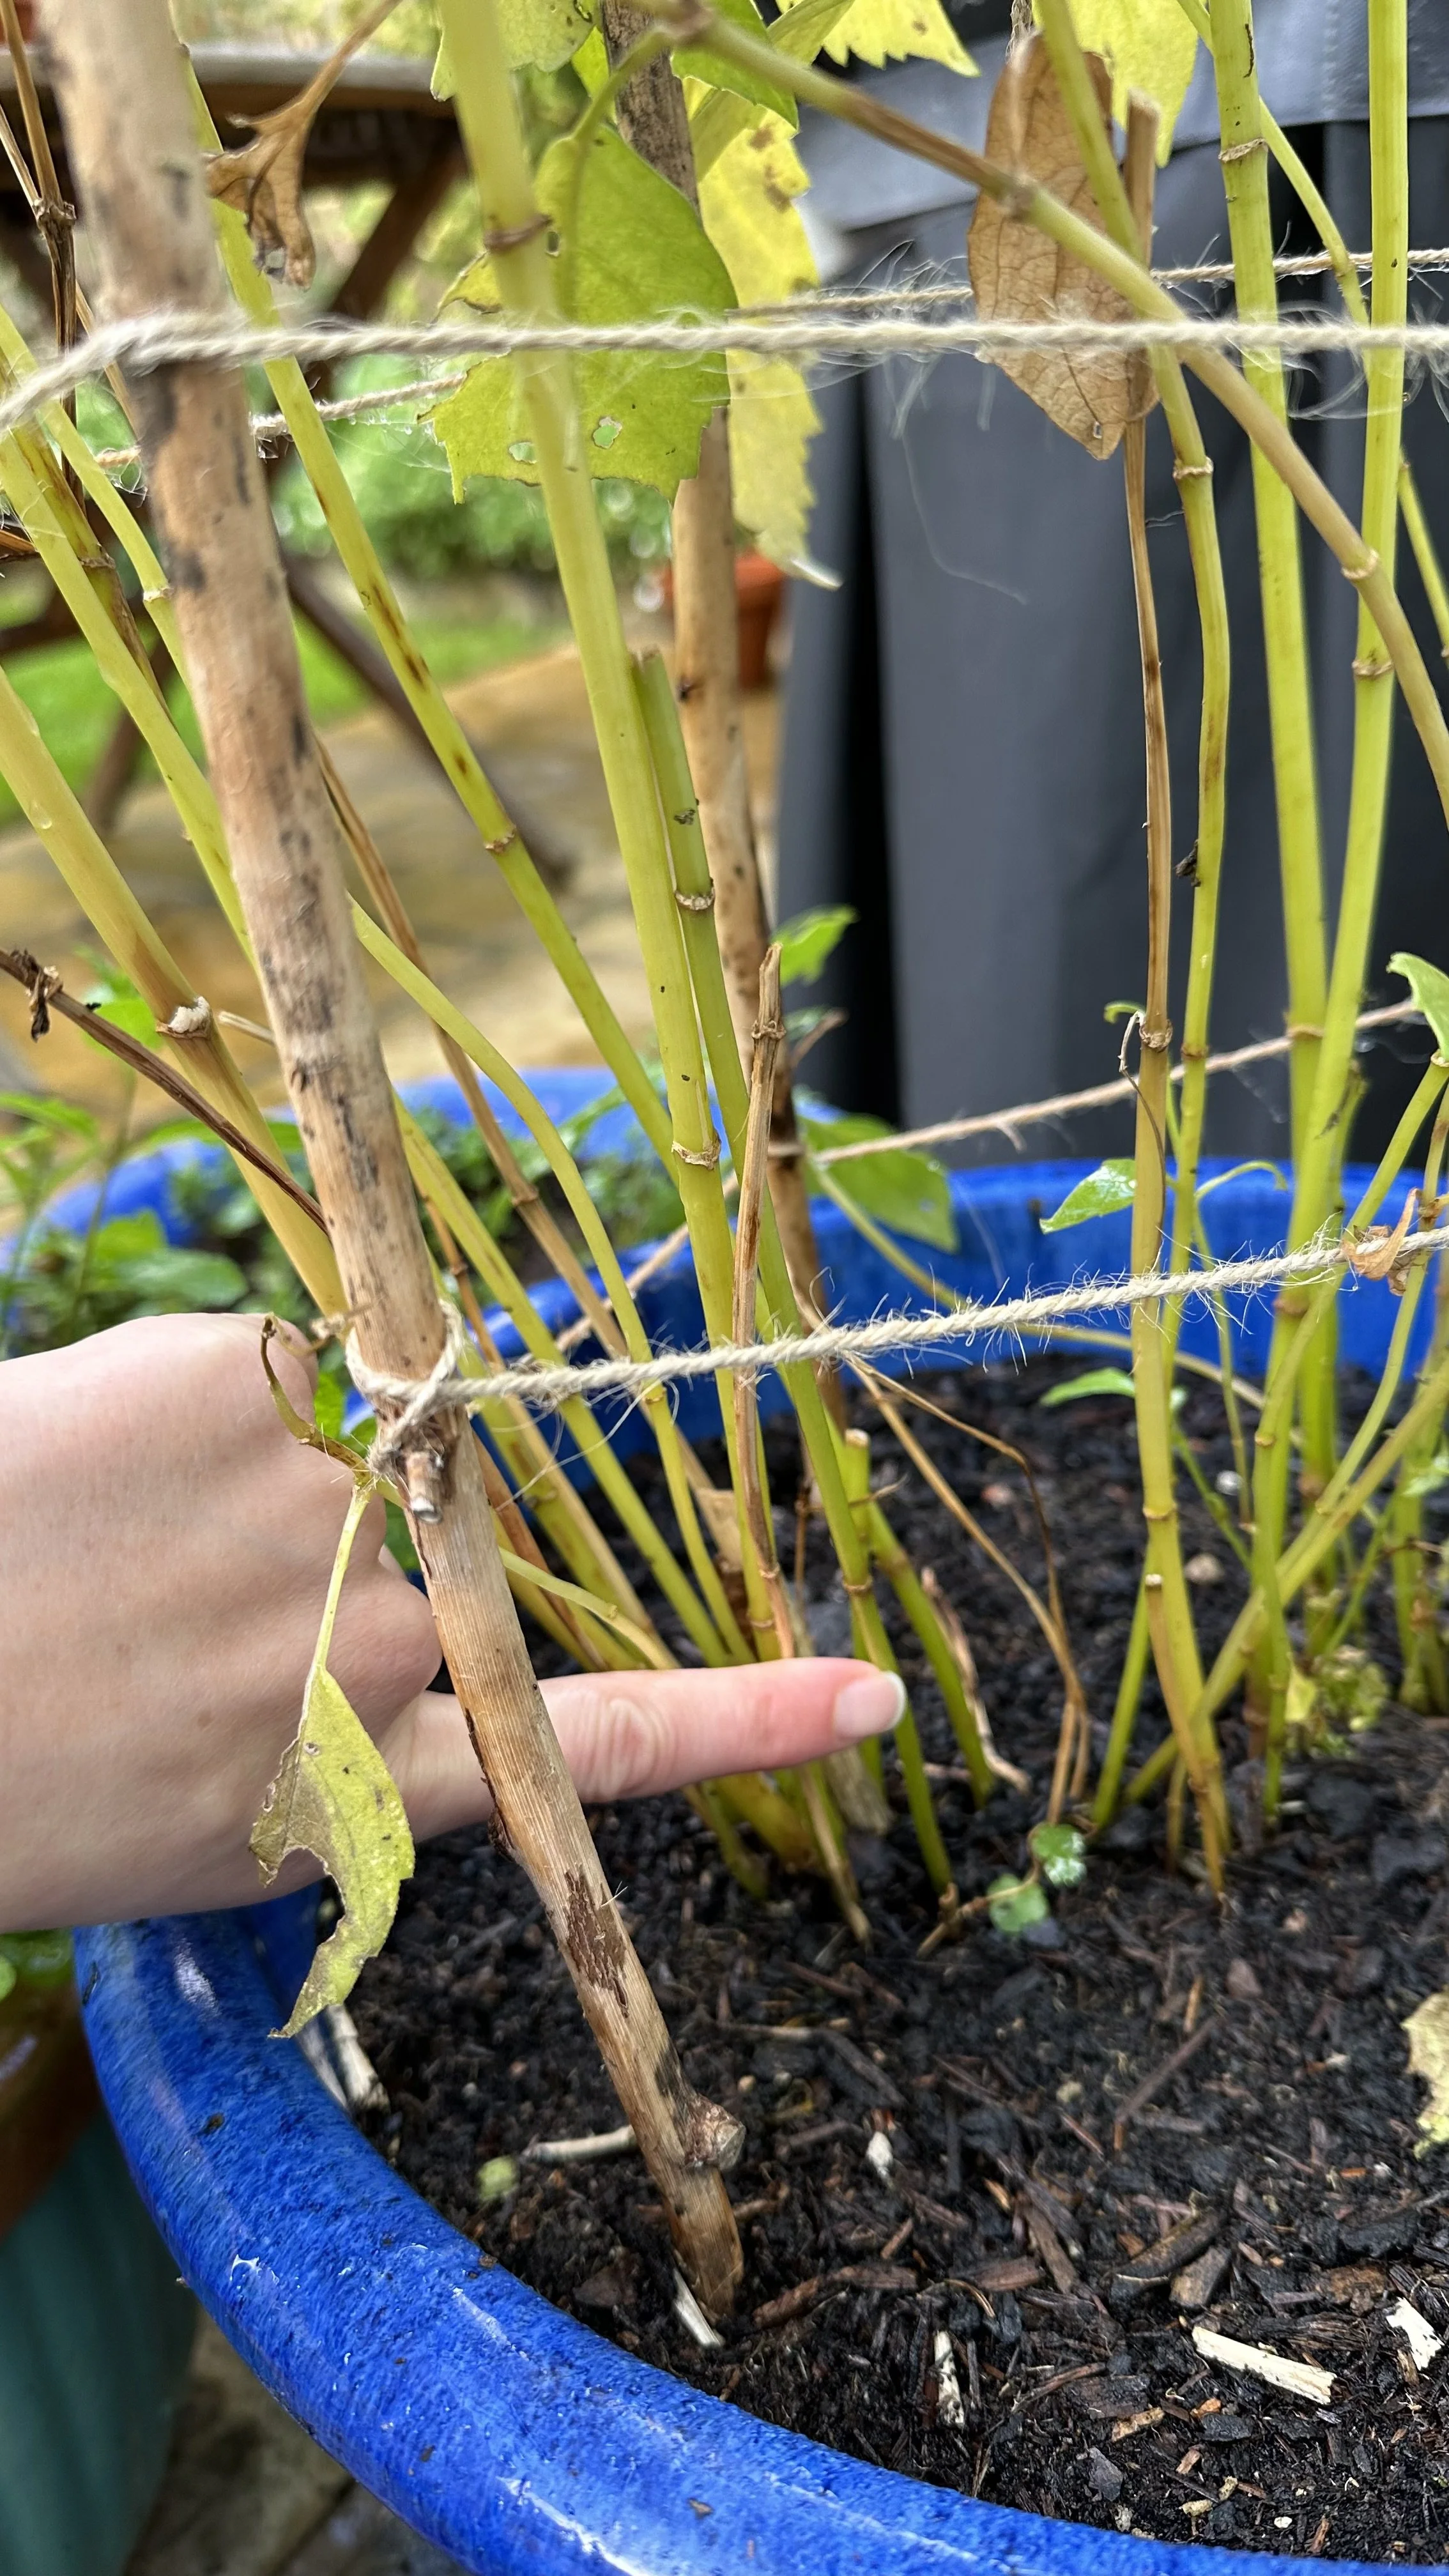
If you're growing tall or giant zinnias, provide support to prevent them from toppling over.
Install stakes or a cage around the plants early in the growing season to provide stability and prevent wind damage.
Here are the supports I recommend for zinnias:

Air Circulation
Good air circulation around zinnia plants is essential for preventing fungal diseases, such as powdery mildew.
Avoid overcrowding by providing adequate spacing between plants to allow for proper air movement.
Pest and Disease Control
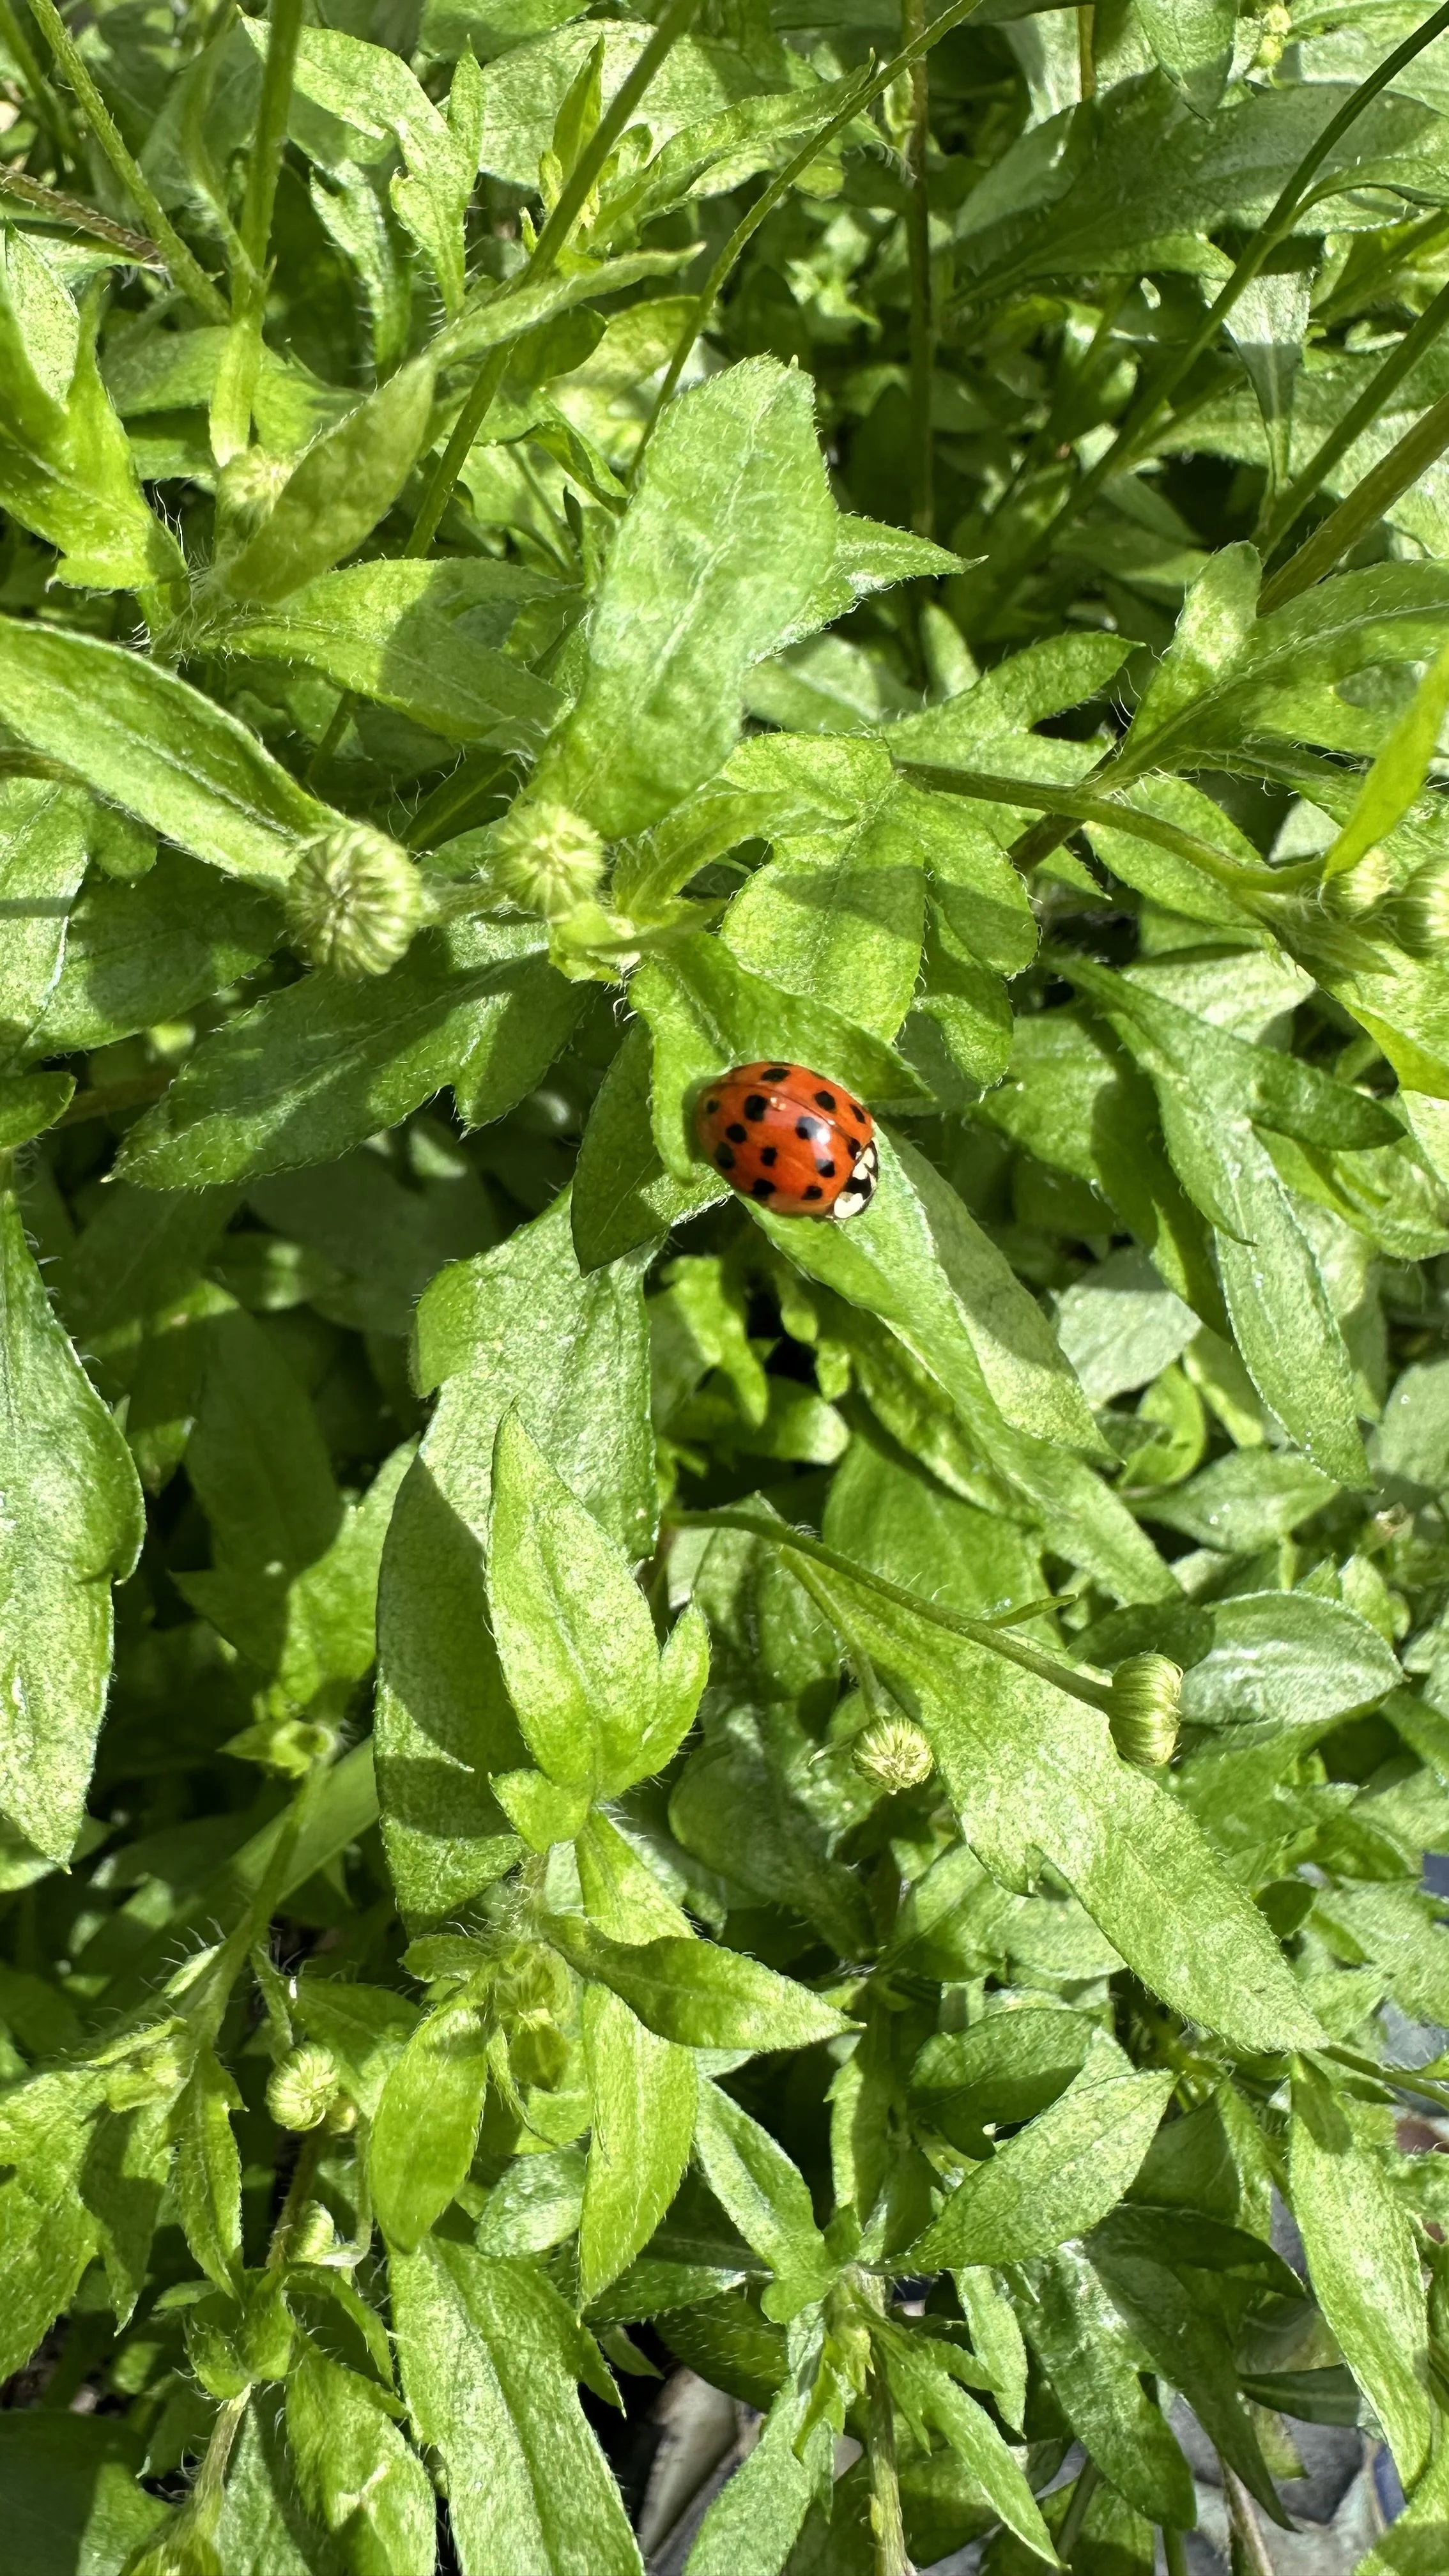
Monitor your zinnias for common pests like aphids, spider mites, and caterpillars.
If you notice any infestations, take appropriate measures such as using insecticidal soap or organic pest control methods.
Harvesting Cut Flowers
Zinnias make excellent cut flowers.
To enjoy them indoors, harvest the flowers early in the morning when they are at their freshest.
Cut the stems at a 45-degree angle and immediately place them in a vase of water.
By practicing regular deadheading, providing proper watering, fertilization, and addressing any pest or disease issues, you can ensure the continued health, beauty, and prolific blooming of your zinnia plants.

What are the best zinnias for containers?
When it comes to selecting zinnias for container gardening, there are several varieties that perform exceptionally well.
Here are my favorite zinnias that are well-suited for growing in containers with links to buy each of them.
Zahara Series:
The Zahara series is known for its disease-resistant and compact plants that produce abundant blooms.
These zinnias come in various colors, including vibrant red, orange, yellow, and white.
They have a bushy growth habit and reach a height of around 12 to 18 inches, making them ideal for containers.

Profusion Series:
The Profusion series is another excellent choice for container gardening.
These zinnias offer a profusion of blooms throughout the season and come in a range of colors, including cherry, apricot, and white.
They have a compact and uniform growth habit, reaching a height of about 10 to 12 inches.

Pinwheel Series:
The Pinwheel series features stunning, double-flowered zinnias that add a touch of elegance to container displays.
These zinnias have large, showy flowers with intricate patterns and come in a variety of colors.
They grow to a height of approximately 12 to 18 inches, making them suitable for medium to large containers.

Dreamland Series:
Dreamland zinnias are compact and produce medium-sized, fully double flowers.
They are available in a wide range of colors, including shades of pink, orange, red, and white.
Dreamland zinnias grow to a height of about 12 to 18 inches, making them perfect for container gardens.

Magellan Series:
Magellan zinnias are known for their large, dahlia-like flowers and strong branching habit.
They come in vibrant shades of red, orange, pink, and yellow.
Magellan zinnias reach a height of around 12 to 18 inches and are well-suited for container cultivation.

Thumbelina Series:
Thumbelina zinnias are compact and have small, double flowers in various colors, including pink, orange, yellow, and red.
They grow to a height of about 6 to 8 inches, making them suitable for smaller containers or as part of mixed container displays.

When selecting zinnias for container gardening, consider the mature size of the plants, as well as their growth habit and flower color.
Choose compact varieties that are well-suited to the size of your containers, and opt for disease-resistant varieties whenever possible.
With these selections, you can enjoy the beauty of zinnias in your container gardens, adding vibrant colors and charming blooms to your outdoor spaces.
Wrap-up
Growing zinnias in pots allows you to enjoy the beauty of these vibrant flowers even in limited spaces.
With proper care, adequate sun exposure, and attention to watering and maintenance, your home grown zinnias will reward you with a stunning display of colorful blooms throughout the growing season.
Start your zinnia container gardening adventure today and add a touch of beauty to your patio, balcony, or windowsill.