How Long Does it Take for Seeds to Germinate?
This website is reader-supported - thank you! This post may contain affiliate links. As an Amazon Associate, I earn from qualifying purchases at no extra cost to you.
Stepping into the world of gardening by starting seeds indoors is a great move for anyone looking to fill their space with vibrant blooms or fresh vegetables.
This guide sheds light on the journey from selecting the right seed packet to nurturing sprouting seedlings, ensuring you have the knowledge and confidence needed to start your gardening adventure.
I will share with you the essentials of seed germination, the optimal timing for indoor planting, and effective tips for caring for your seedlings as they grow into robust plants ready to thrive outdoors.
To learn more about caring for seedlings, check out my guides:
How long it takes for seeds to germinate
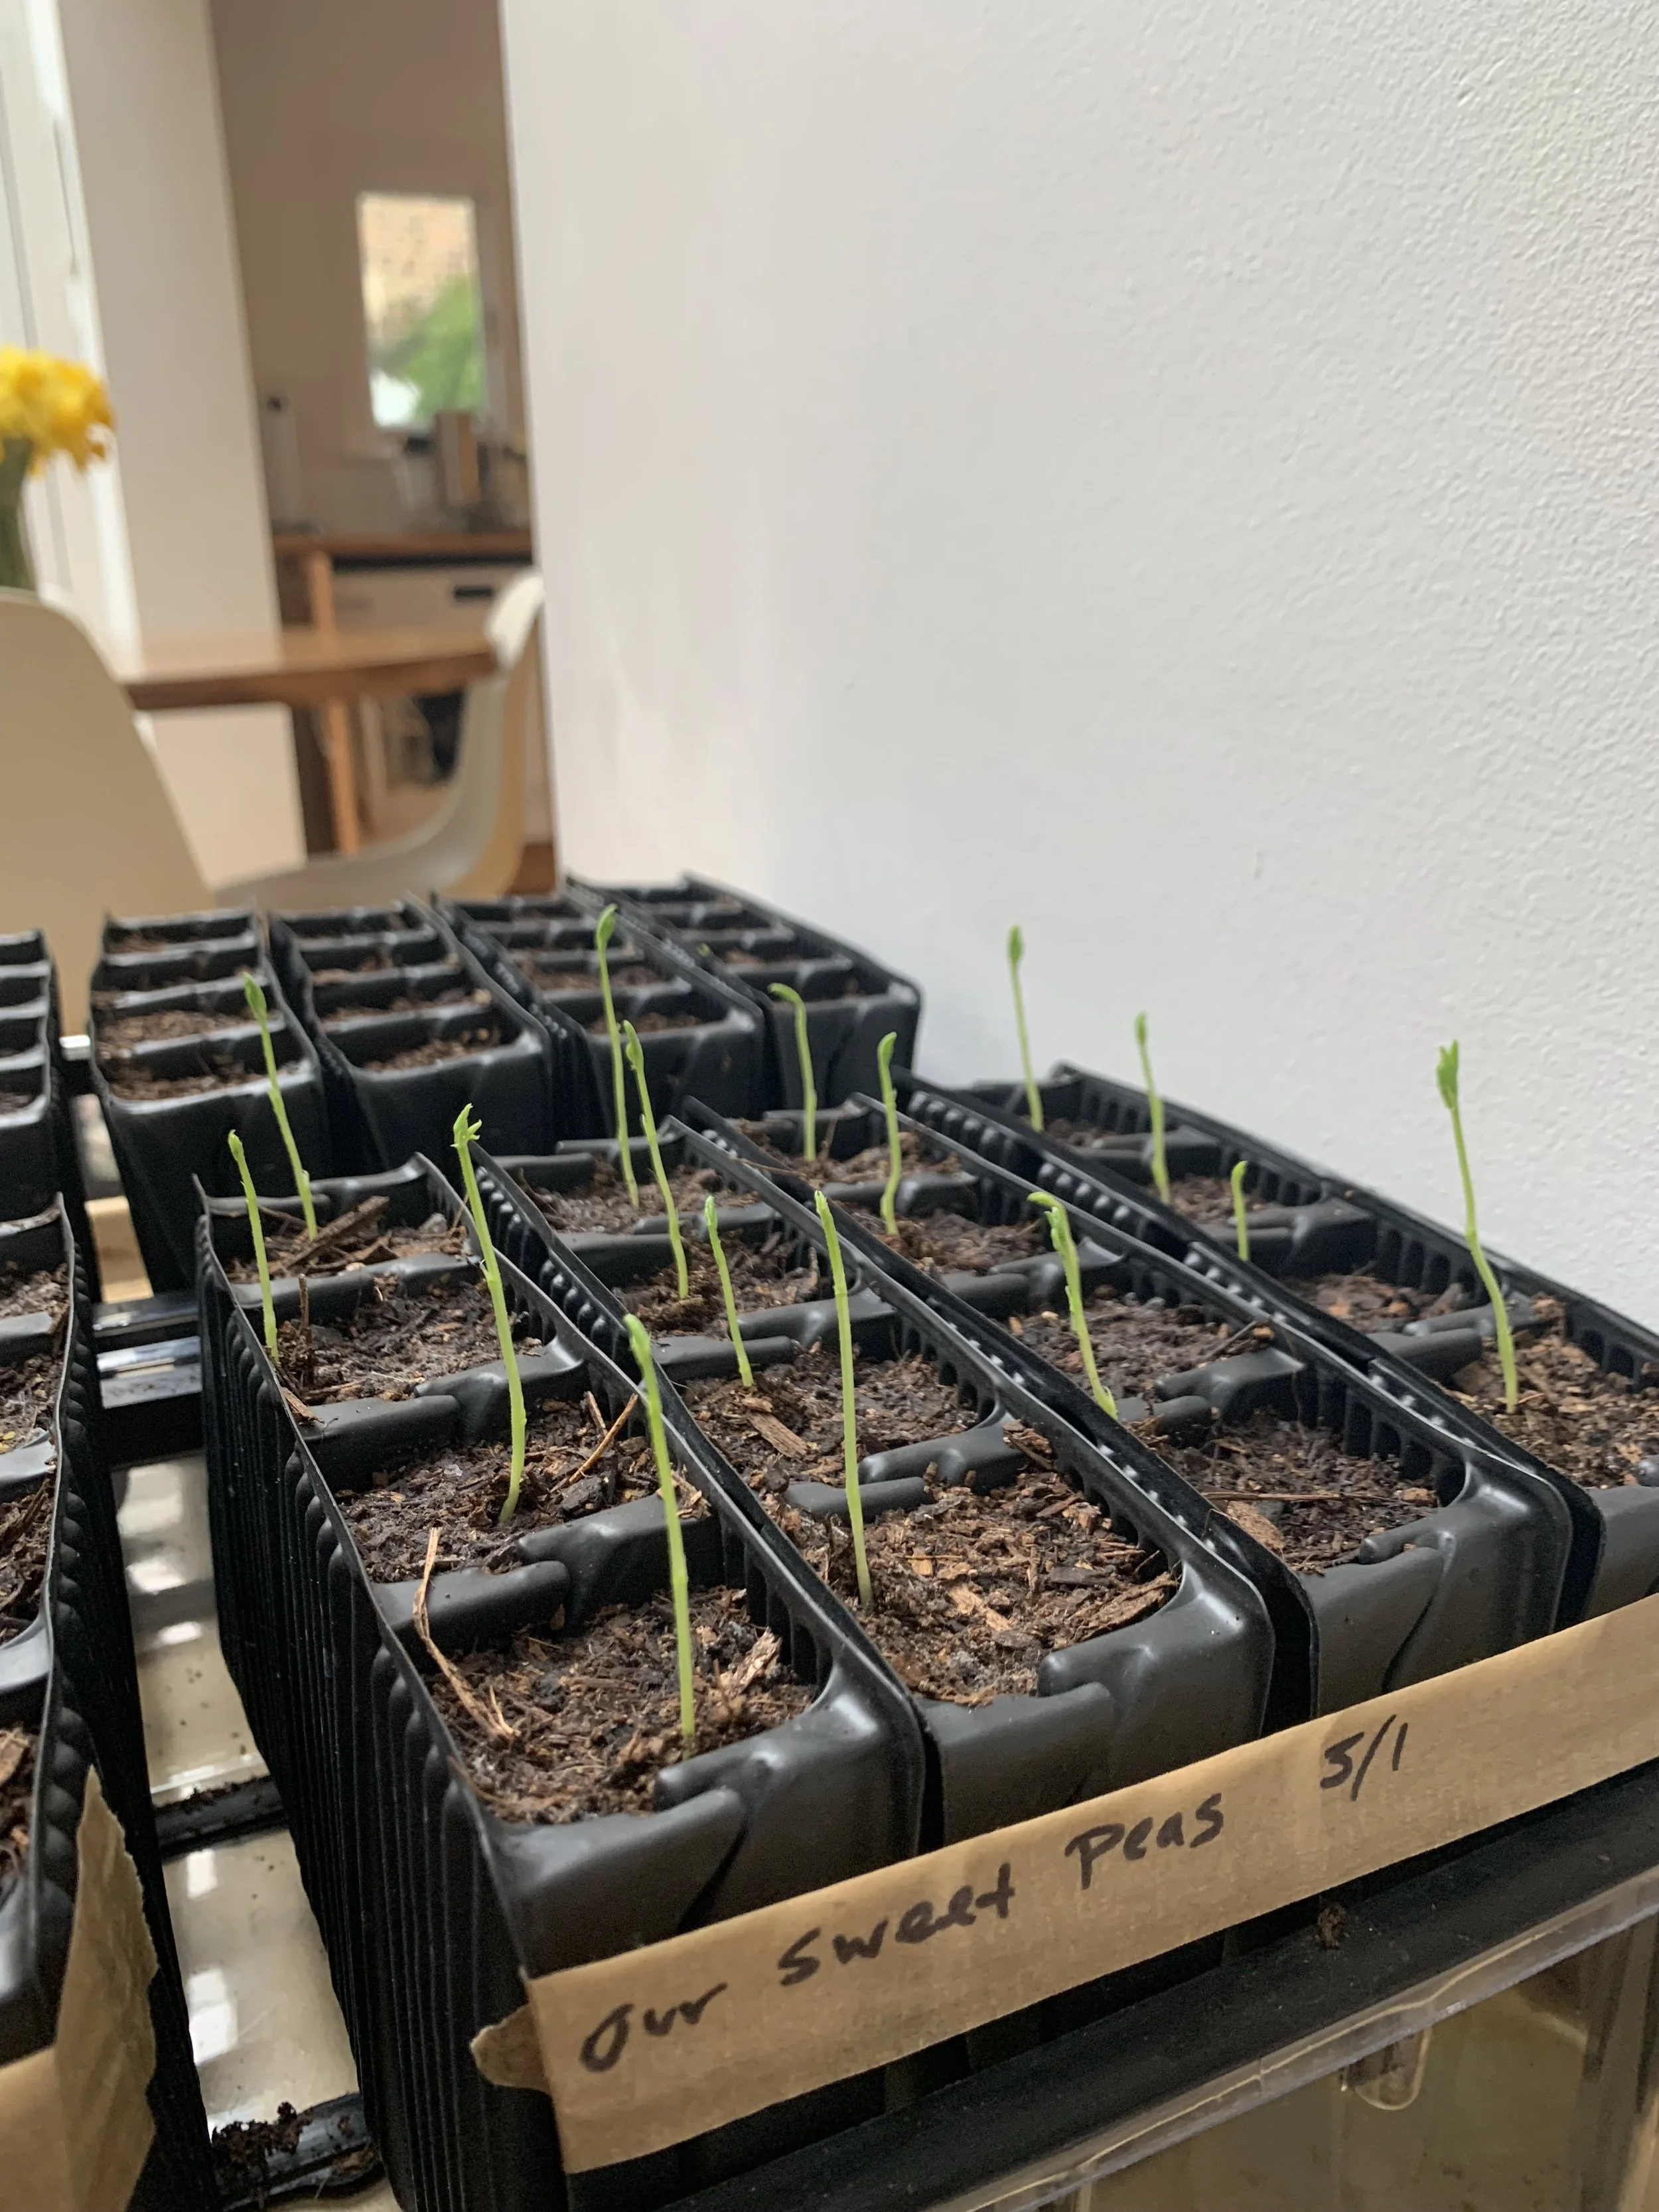
The anticipation of waiting for seeds to sprout can be both exciting and a bit nerve-wracking.
Understanding the typical germination times can help set your expectations and guide your gardening schedule.
Let's explore the factors that influence germination times and what you can expect for different types of seeds.
General Timelines for Seed Germination
Germination times can vary significantly from one plant species to another.
Quick Germinators:
Some seeds sprout rapidly, within 3-7 days under optimal conditions.
Examples include most salad greens like lettuce and spinach, radishes, and certain herbs like basil.
Moderate Germinators:
Many vegetables and flowers fall into this category, taking 1-2 weeks to germinate.
This group includes tomatoes, peppers, and carrots.
Slow Germinators:
Some seeds naturally take longer to break dormancy and start growing, often 2-4 weeks or more.
Examples include parsley and some perennial flowers like geums.
Factors Affecting Germination Time
Temperature:
Soil temperature plays a crucial role in germination.
Seeds have optimal temperature ranges, and being outside of this range can slow down or prevent germination.
For example, peppers germinate best at warmer temperatures (70-85°F or 21-29°C), which is why they can take longer, especially if the soil is cooler.
Moisture:
Consistent moisture is critical for germination, but too much can cause seeds to rot.
Ensuring your seeds are moist but not waterlogged is a delicate balance.
For more on how to do this, check out my guide How Often to Water Seedlings.
Seed Age:
Older seeds may have lower germination rates and take longer to germinate, if at all.
Always check the expiration date on your seed packets.
Plant Variety:
Even within the same species, different varieties can have different germination times.
Special Cases and Techniques
Pre-Treatment:
Some seeds require special treatment to germinate, such as stratification (cold treatment) or scarification (breaking the seed coat).
These processes can add time to the germination process but are necessary for the seed to sprout.
Paper Towel Germination Test:
If you're unsure about the viability of your seeds or want to speed up germination, you can perform a germination test using a damp paper towel and a plastic bag.
This method can also give you a good indication of how long seeds take to germinate in a controlled environment.
Understanding the Longest Germination Times
Some seeds, especially those of certain trees or perennials, can take several months to germinate.
Patience is key in these cases, as these long germination periods are a natural part of the plant's lifecycle.
To make seed germination easier, check out my guide:
The Ultimate Guide to Choosing the Best Electric Propagators
To learn more about when to start sowing seeds, check out my guides:
When to Start Tomato Seeds Indoors
Getting Started with Indoor Seed Starting
Seed starting might seem daunting at first, but with the right approach, it can be really easy.
Here's a step-by-step guide to ensure you're well-prepared to start your seeds indoors:
1. Gather Your Supplies:
Before you begin, make sure you have all the necessary supplies.
Here's a checklist to get you started:
Seed Starting Mix:
Choose a high-quality seed starting mix that is light and sterile to avoid diseases affecting your young seedlings.
Avoid using garden soil, as it can be too heavy and may contain pathogens.
Learn more about this in my guide Garden Soil vs. Potting Soil: How to Choose the Right One.
Here is the seed starting mix I recommend:

Containers:
You can use anything from specially designed seed trays to recycled containers like yogurt cups or egg cartons.
Just ensure they have drainage holes at the bottom.
Here is my favorite seed tray that I recommend:
Seeds:
Select your desired seeds based on what you'd like to grow.
Consider the growing conditions and space you have available, as well as how long the plants take to mature.
These are my favorite seeds to grow:

For more growing tips, check out my guide:
Labels:
It's easy to forget what you've planted where, so use labels to keep track of different plant varieties.
These are the best waterproof labels:
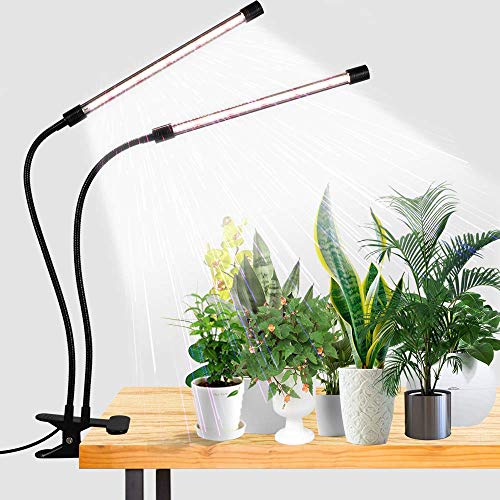
Light Source:
Seedlings need plenty of light to grow strong and healthy.
A sunny south-facing window may work, but for best results, consider using grow lights placed a few inches above the seedlings.
Here are the grow lights I recommend:
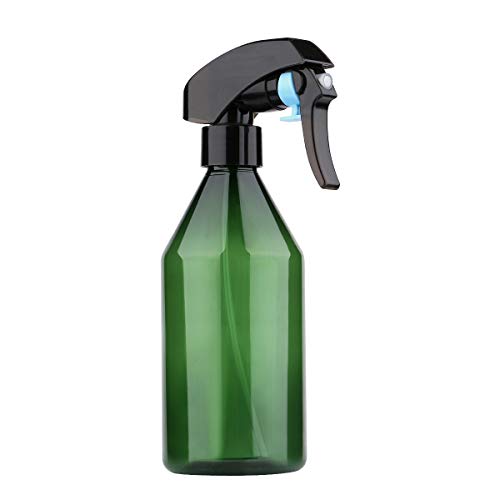
Watering Can or Spray Bottle:
Seedlings need to be kept moist but not waterlogged.
A spray bottle can gently water the seeds without disturbing them, while a watering can with a fine rose is ideal for slightly older seedlings.
For more watering tips, check out my guide How Often to Water Seedlings.
Here is a great spray bottle that I recommend:
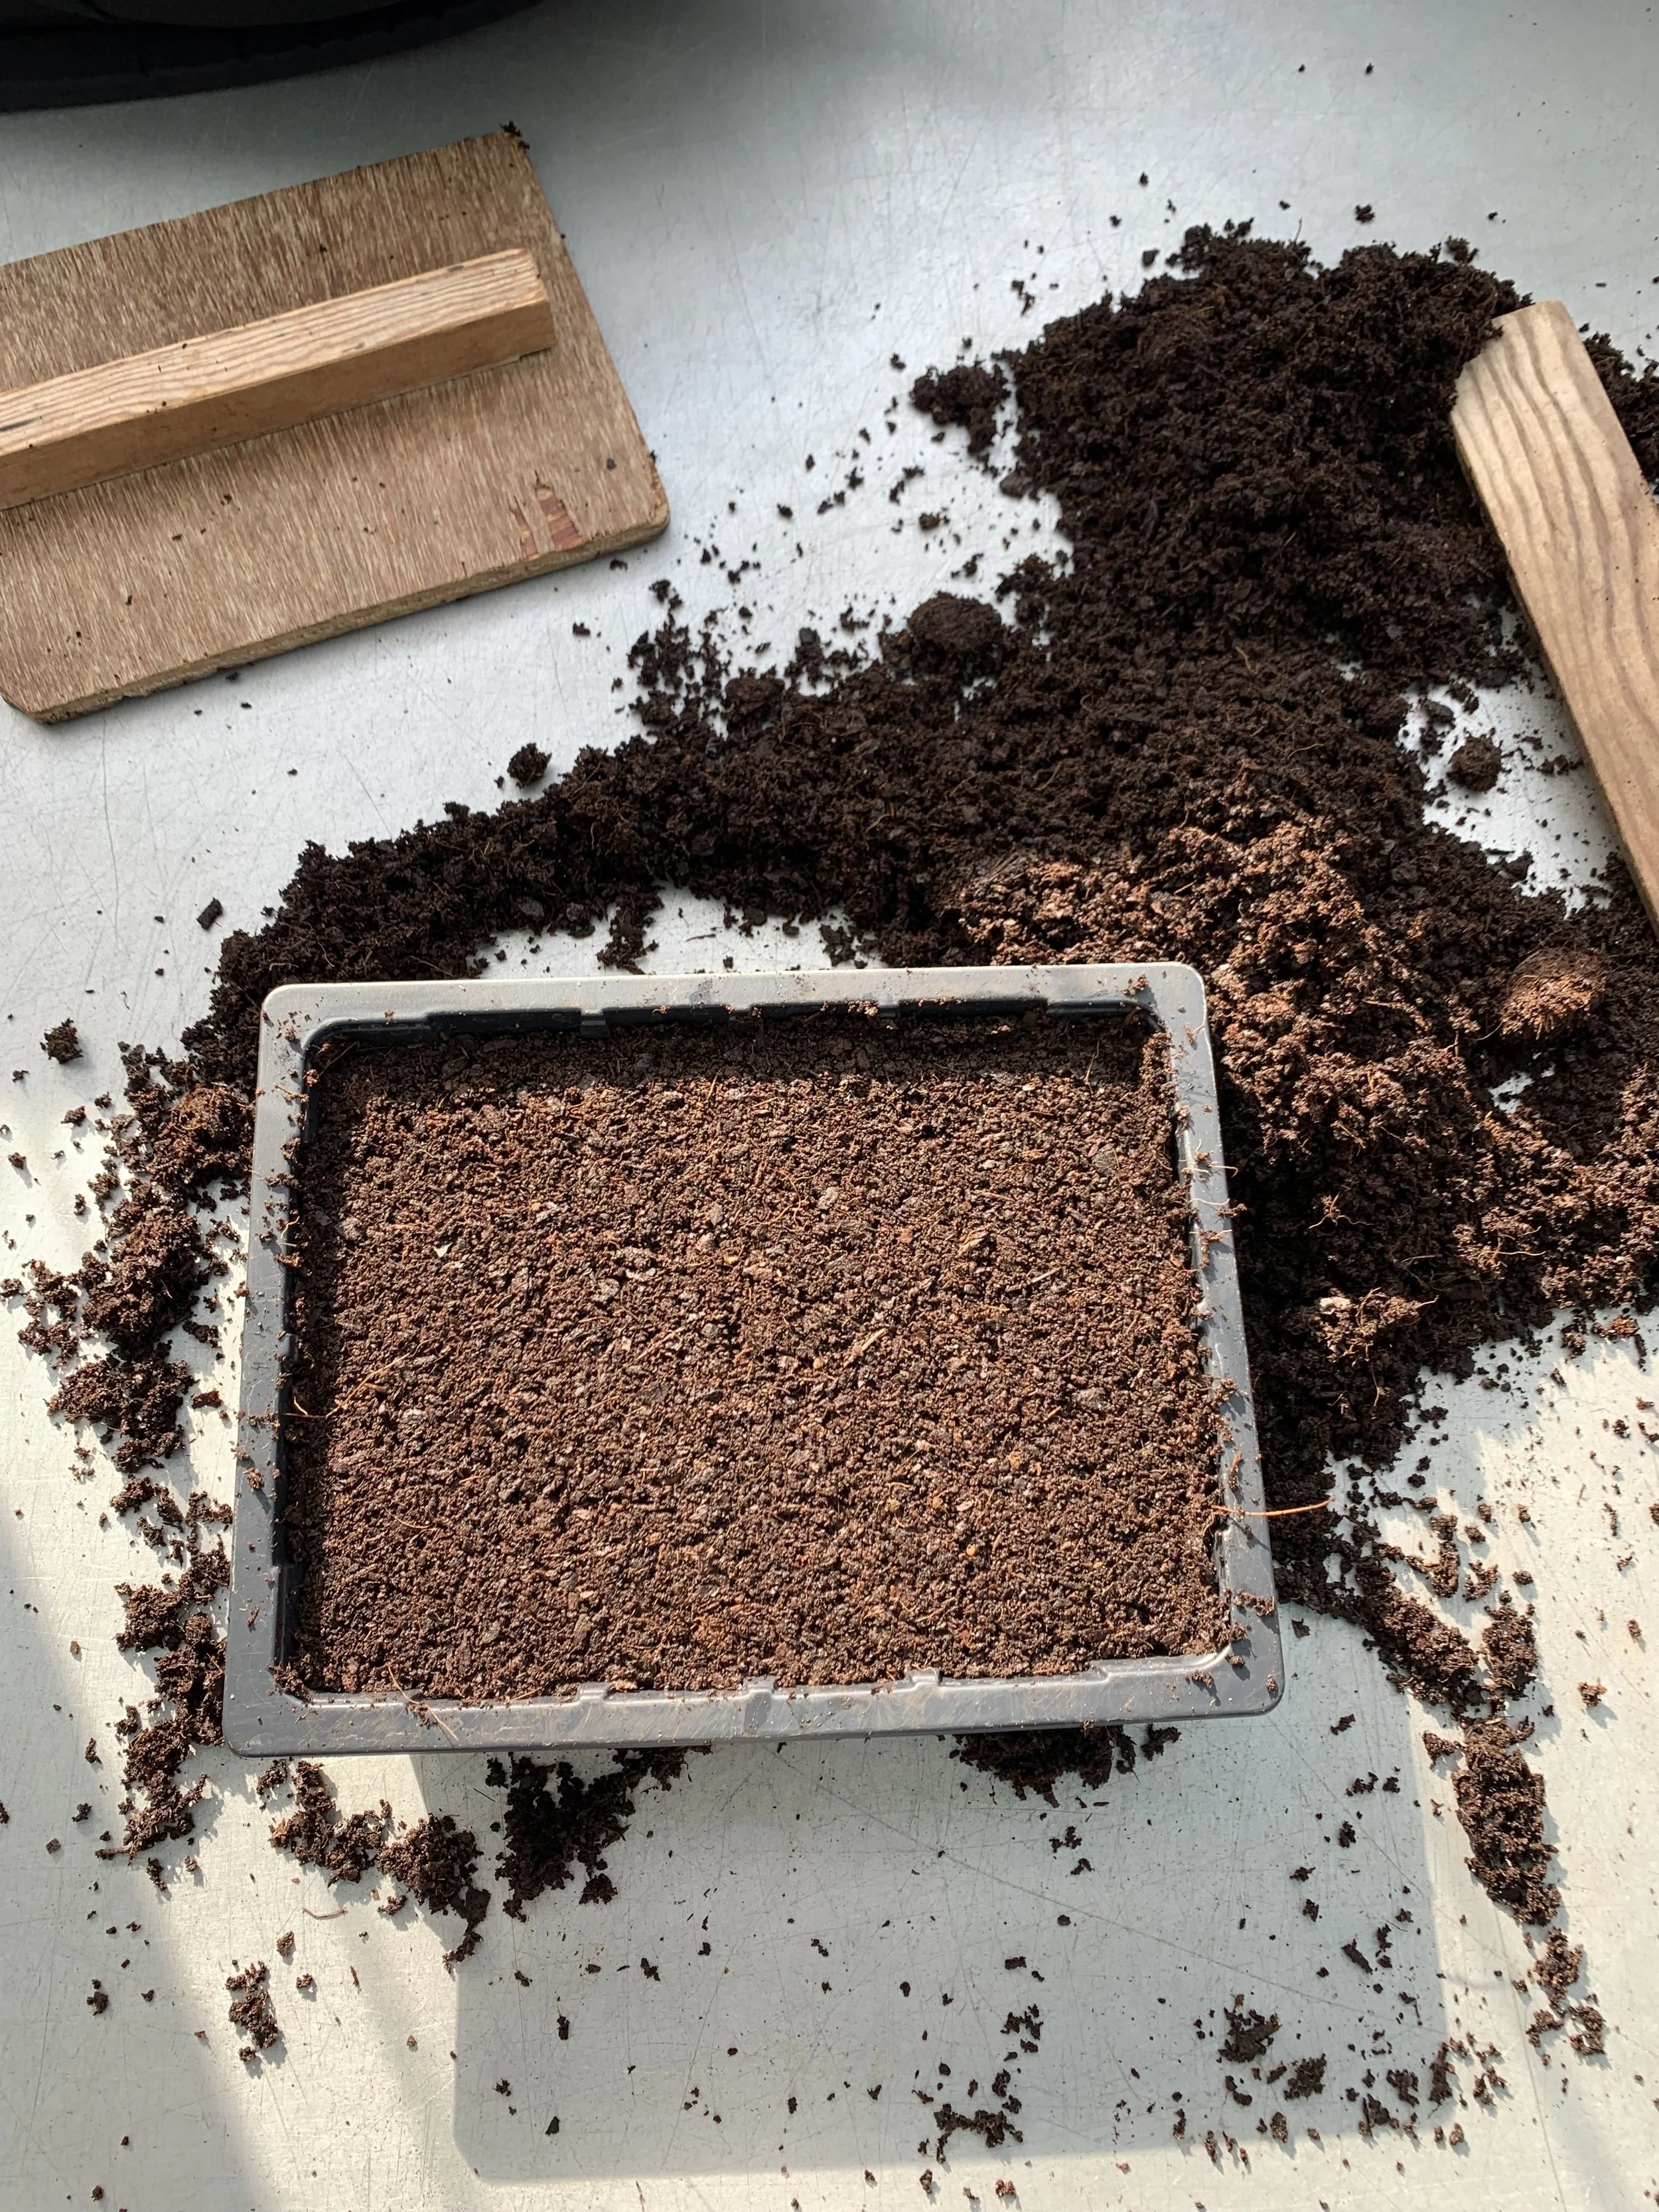
2. Prepare Your Seed Starting Mix and Containers:
Moisten your seed starting mix with water until it's damp but not soggy.
Fill your containers with the mix, leaving a little space at the top.
If you're reusing containers, make sure to clean them thoroughly to prevent the spread of diseases.
3. Sow Your Seeds:
Refer to the seed packet for specific planting instructions, including depth and spacing.
Some seeds need to be covered with soil, while others require light to germinate and should not be covered.
Use a dibber or your finger to make holes in the soil mix, drop the seeds in, and gently cover them if necessary.
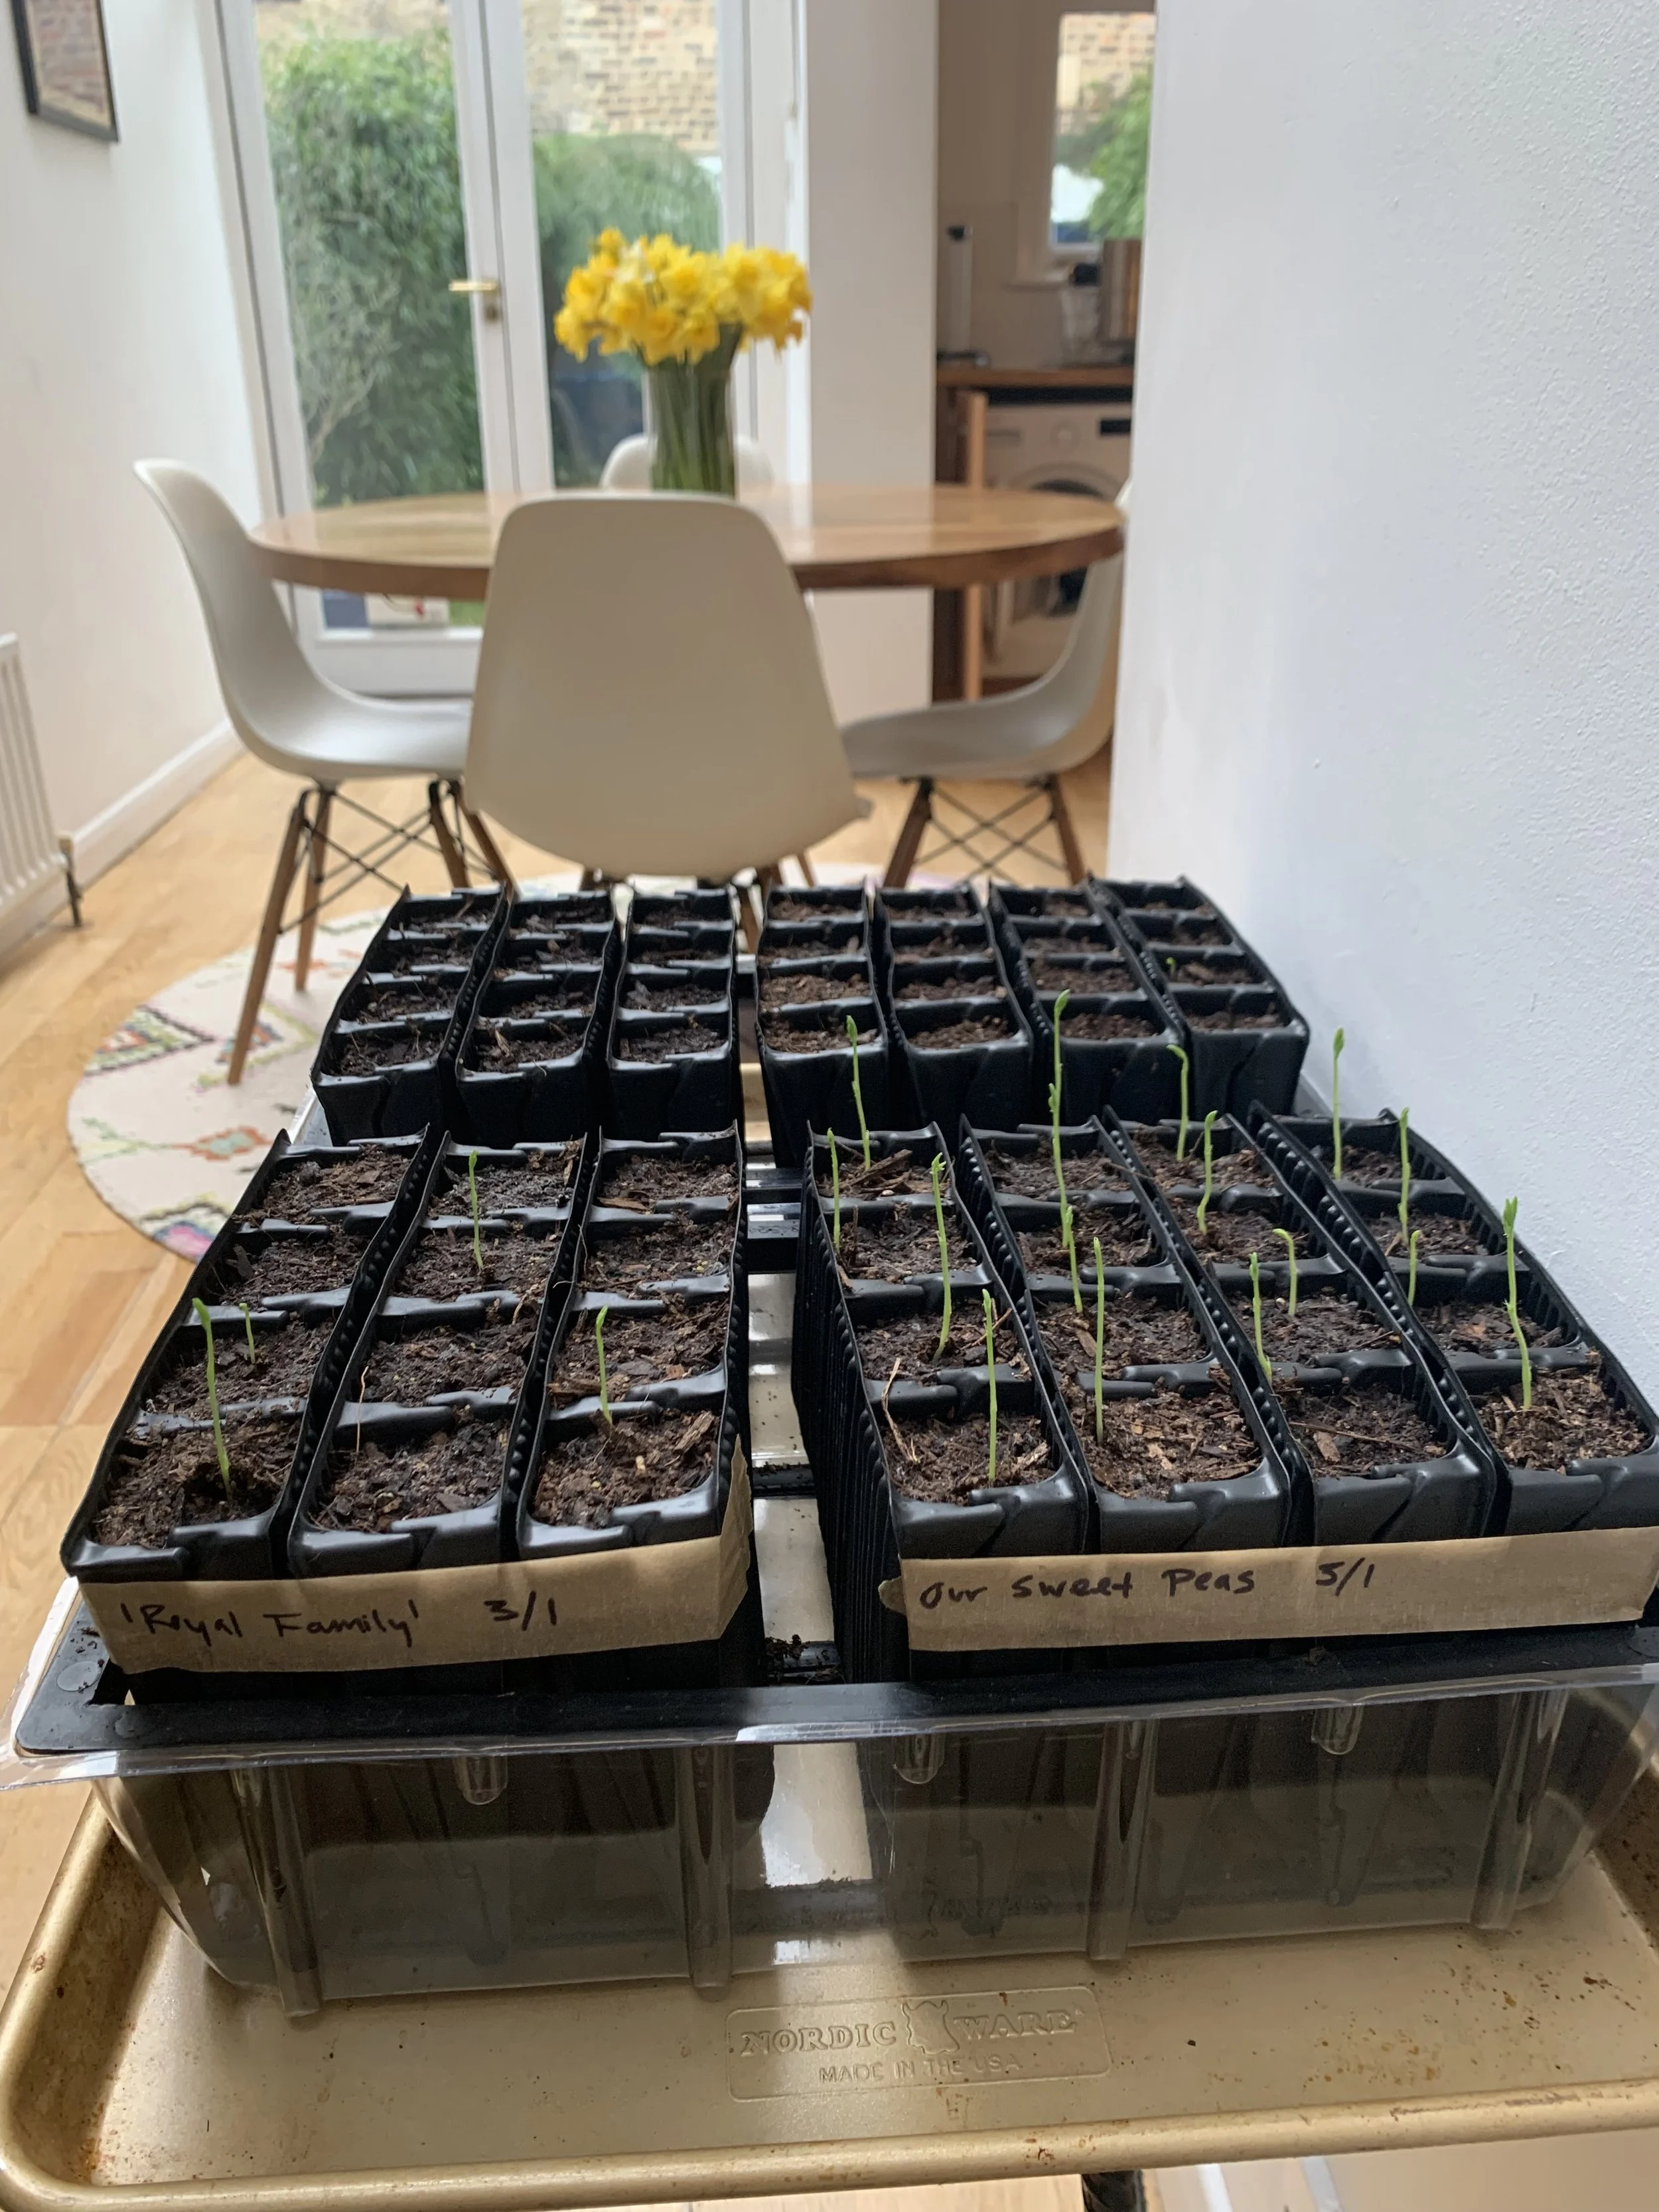
4. Create a Humid Environment:
Cover your containers with a clear plastic bag or a plastic dome to keep the humidity high, which helps with seed germination.
This mimics the effect that a greenhouse would have.
Make sure to remove the cover as soon as you see the seedlings emerge to prevent mold growth.
5. Provide Light and Monitor Temperature:
Place your seed trays in a warm, bright spot.
Most seeds germinate best at temperatures between 65-75°F (18-24°C).
If you're using a heating mat, follow the instructions to avoid overheating the seeds.
This is the heating mat I recommend:

6. Watering and Care:
Keep the soil consistently moist but not waterlogged.
Use a spray bottle for gentle watering, ensuring the soil surface doesn't dry out.
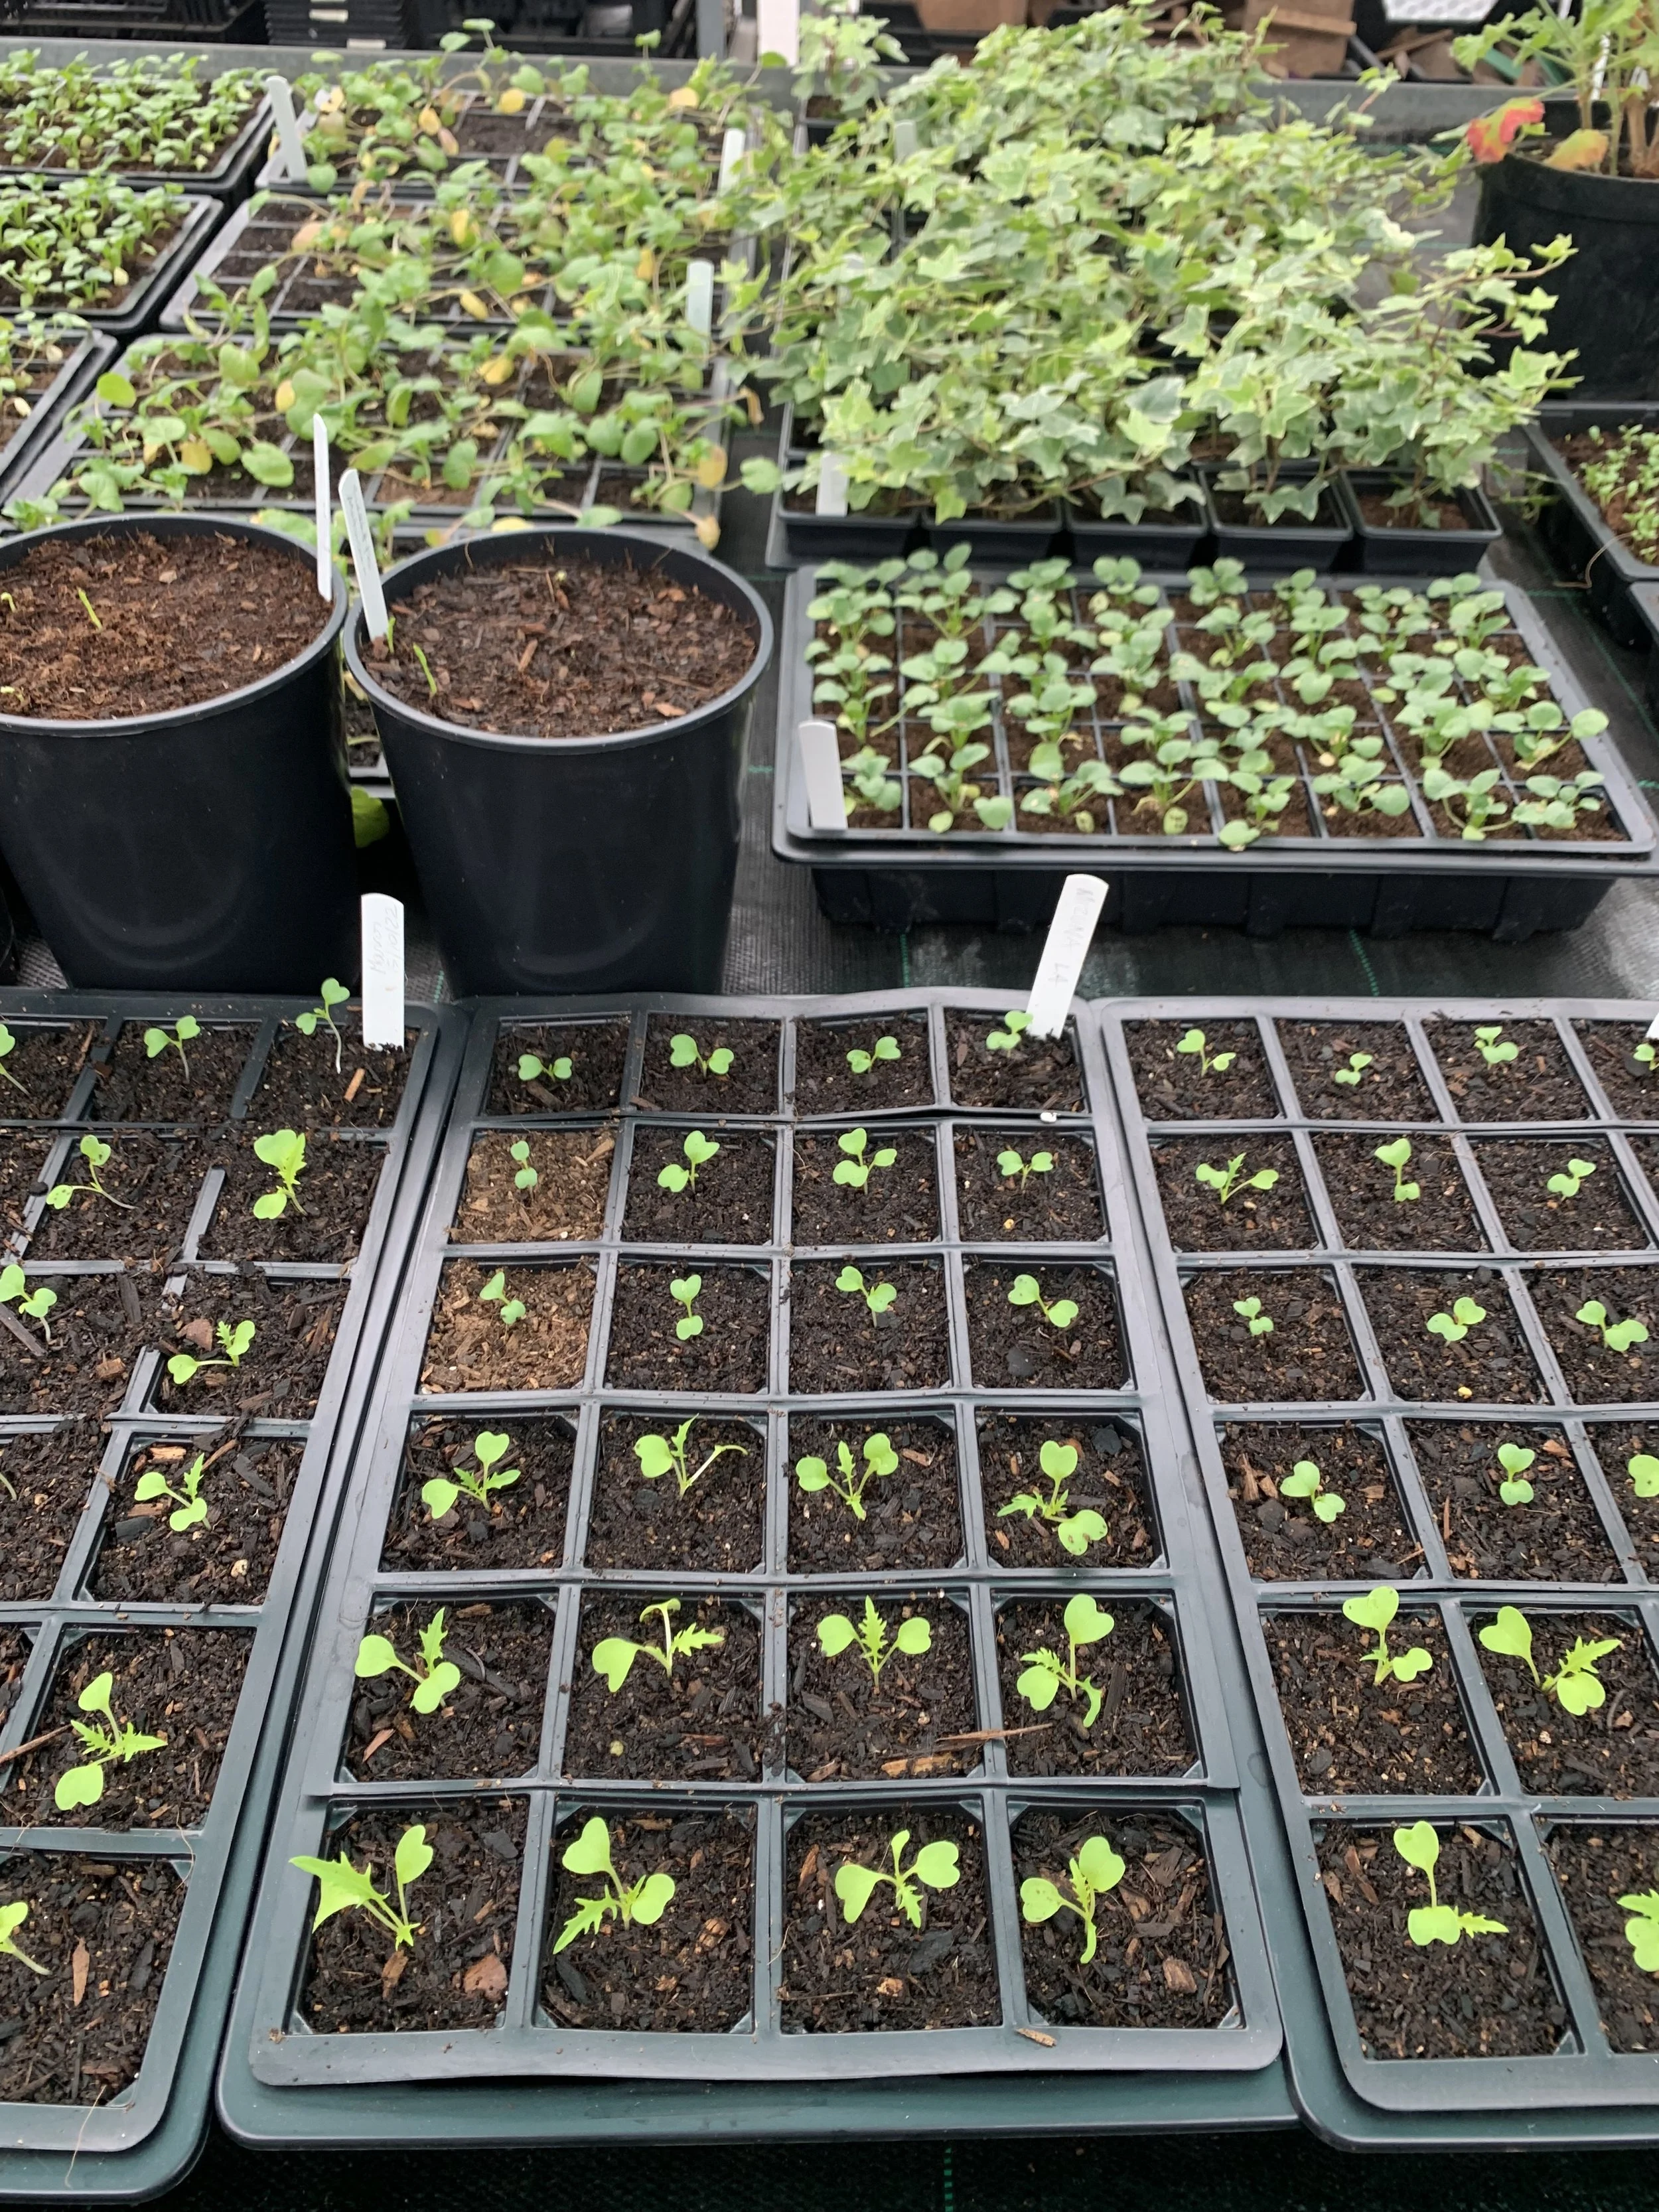
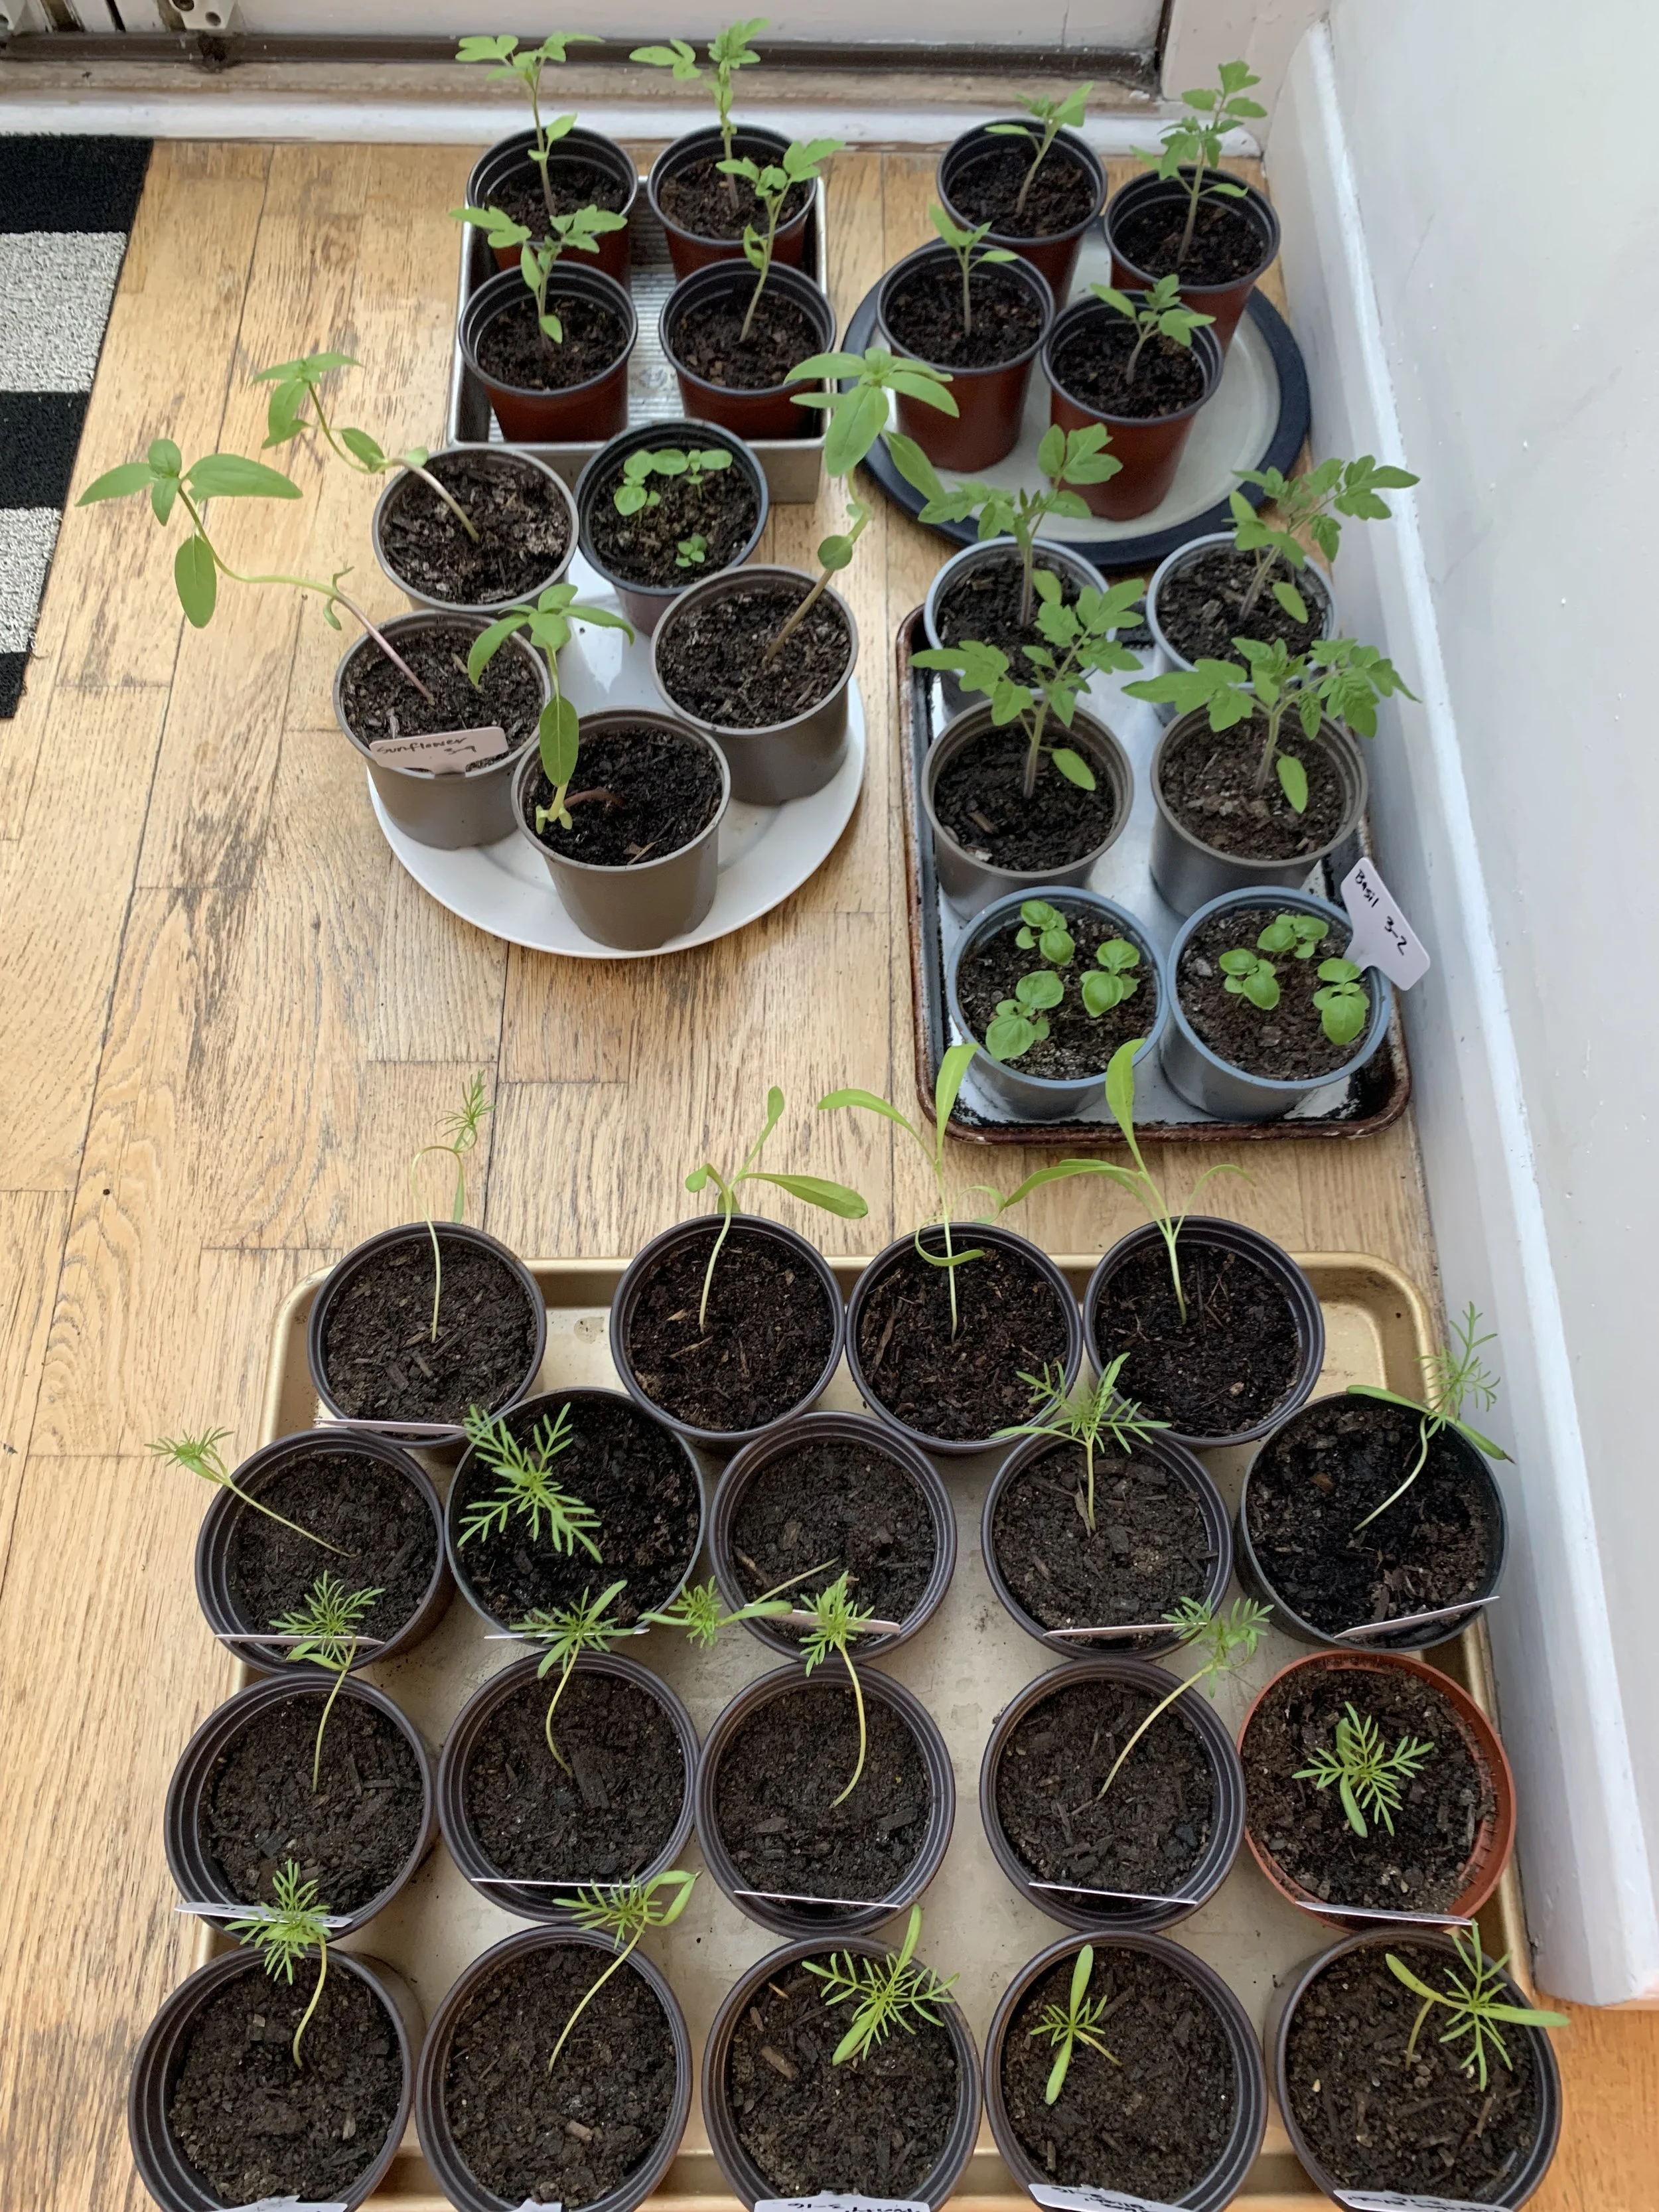
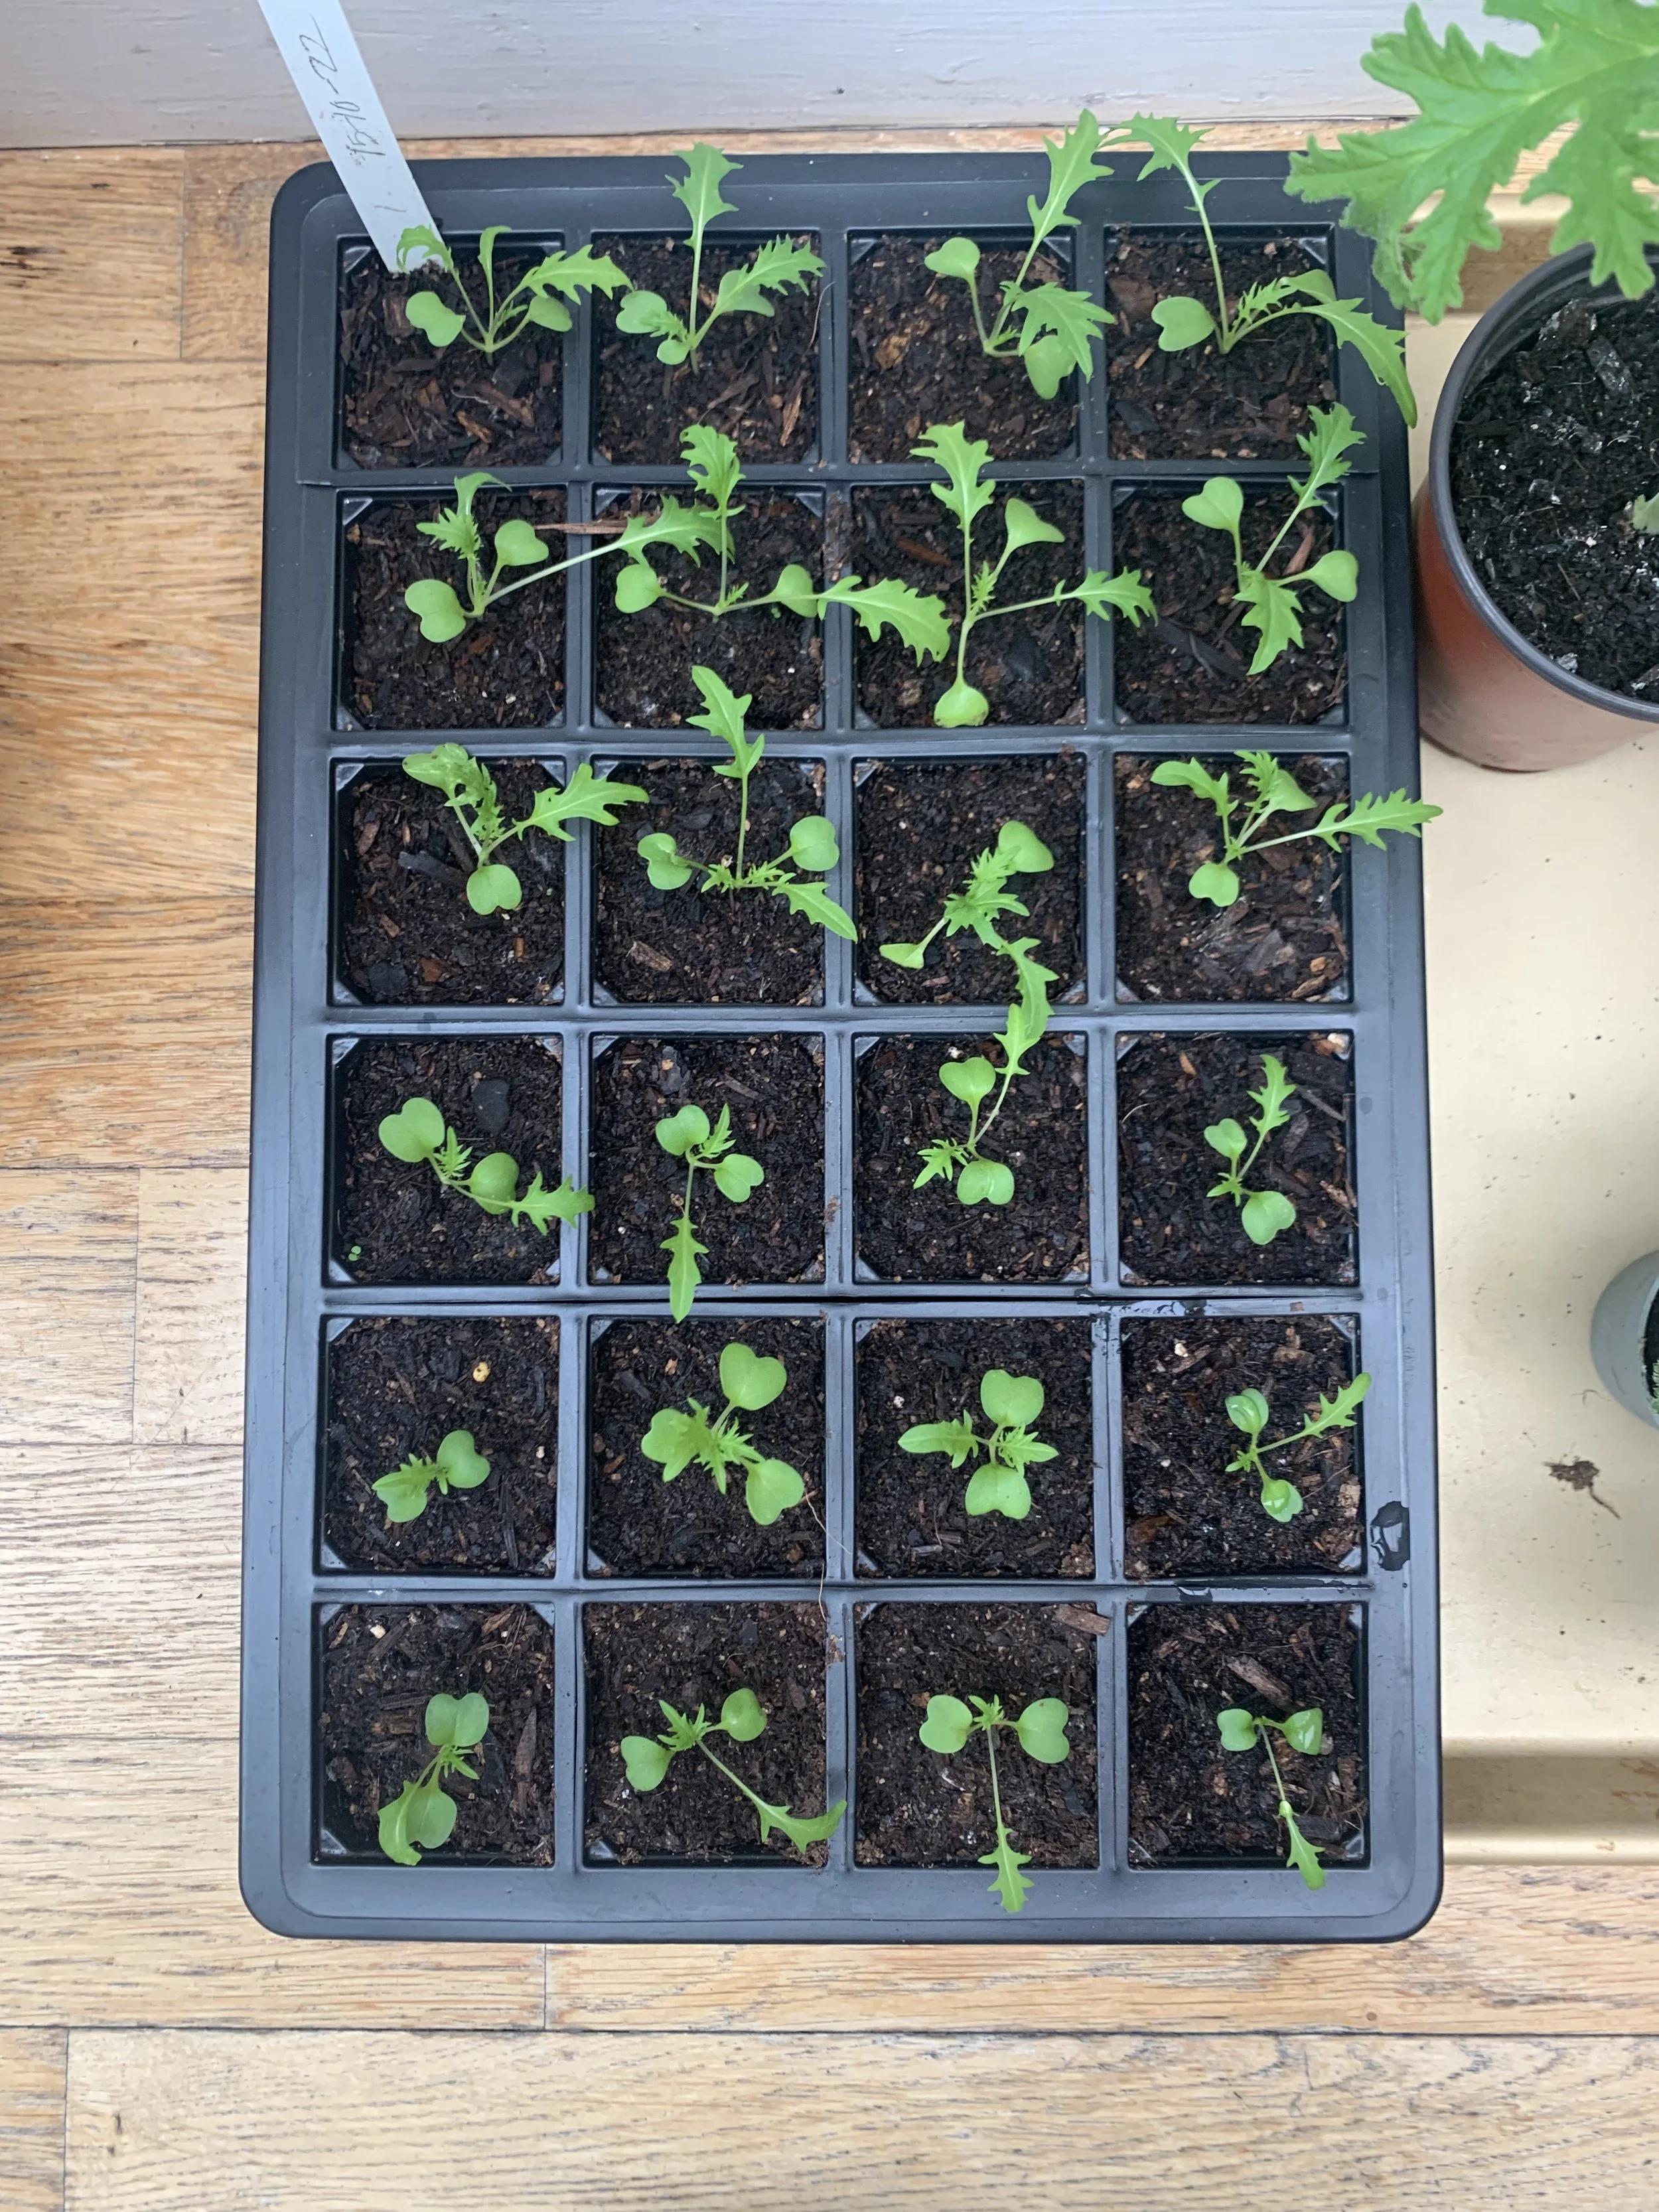
As your seedlings grow, monitor their progress and thin them out if necessary.
7. Transplanting:
Once your seedlings have developed their second set of true leaves, they're ready to be transplanted into larger pots if they won't be moved to the garden soon.
This gives them more room to grow and develop stronger root systems.
8. Hardening Off:
Before planting your seedlings outside, they need to be acclimated to outdoor conditions.
Begin by placing them outside in a sheltered area for a few hours each day, gradually increasing their exposure to sunlight and outdoor temperatures over a week or so.
Check out my guides:
Learn more about growing from seed with my guides:
What is Seed Germination?
Seed germination is the process by which a seed breaks its dormancy, sprouts, and begins to grow into a new plant.
This process starts when the seed absorbs water, swelling and breaking through its outer shell.
Inside the seed is an embryo, which contains the genetic blueprint of the plant, and the endosperm, which provides the necessary nutrients for the seed's early growth stages.
Once the seed has sprouted, it begins to grow roots downward to anchor itself and absorb water and minerals from the soil, while its shoot grows upward toward the light to start photosynthesis.
Key Conditions for Germination:
Several factors influence the success of seed germination, creating the right environment is crucial.
Moisture:
Seeds need to absorb water to begin the germination process.
This triggers the seed to break dormancy and start growing.
However, it's important to balance moisture levels to prevent seeds from rotting.
Temperature:
Most seeds have an optimal temperature range for germination.
This can vary widely between plant species, reflecting their natural habitats.
Generally, a warm environment is conducive to germination, with temperatures between 65-75°F (18-24°C) being ideal for many common garden plants.
Oxygen:
Seeds require oxygen for respiration during germination.
Ensuring that your seed-starting medium is loose and well-aerated can facilitate this need.
Light:
Some seeds need light to germinate, while others require darkness.
The seed packet usually indicates the light requirements for germination.
For those that need light, placing seeds on the surface of the soil or under a thin layer of soil can help.
Germination Time:
Germination time varies by plant species and can be influenced by the environmental conditions provided.
Some seeds, like radishes, can sprout within a few days, while others, like parsley, may take several weeks.
Troubleshooting Germination Issues:
If seeds fail to germinate, consider factors like moisture, temperature, and the age of the seeds.
Seeds that are too old may have reduced viability.
For more easy garden tips, check out my guides:
Does Fertilizer Go Bad? The Reality of Fertilizer Shelf Life
Why Start Seeds Indoors?
Starting seeds indoors is more than just a gardening tactic; it's a strategic move that can significantly enhance the health, yield, and longevity of your garden.
But what makes this method so advantageous?
1. Beat the Weather:
One of the most compelling reasons to start seeds indoors is to get a jump on the growing season.
By sowing seeds indoors weeks before the last frost date, you extend the growing period for your plants.
This is particularly beneficial for gardeners in cooler climates, where the growing season is shorter.
By the time the weather warms up and the threat of frost has passed, your seedlings will be robust and ready for transplanting outdoors.
Check out my guide: When to Start Tomato Seeds Indoors.
2. Controlled Environment:
Starting seeds indoors allows for a level of control over the growing environment that is simply not possible outdoors.
You can manage soil temperature, moisture levels, and light exposure with precision, creating the ideal conditions for seed germination and early seedling growth.
This controlled start can lead to healthier, more vigorous plants that are better equipped to withstand pests, diseases, and variable outdoor conditions once they're transplanted.
3. Wide Variety of Plants:
When you start seeds indoors, you're not limited by your local garden center's selection.
You have the freedom to choose from a vast array of seeds available in catalogs or online, including heirloom varieties, exotic plants, or specific cultivars with traits tailored to your taste and garden conditions.
This diversity can make your garden truly unique and personalized.
4. Economical:
Starting your garden from seeds is cost-effective.
Seed packets are generally inexpensive, especially when compared to buying young plants from nurseries.
With one packet of seeds, you can grow multiple plants, offering a higher return on your investment.
It's an economical way to fill your garden with abundance without breaking the bank.
For more cost-saving gardening tips, check out my guides:
FAQs
How do I know when to start seeds indoors?
Check the seed packet for the recommended start time, usually indicated in weeks before the last frost date of your area.
Calculate backwards from your local last frost date to determine when to start seeds indoors.
Can all seeds be started indoors, or are some better sown directly in the garden?
Not all seeds are suitable for starting indoors.
Some plants, like root vegetables (carrots, beets) and plants sensitive to transplanting (squashes, cucumbers), are better sown directly into the garden.
Most others, especially those with a long growing season (tomatoes, peppers), benefit from an indoor start.
What should I do if my seeds aren't germinating?
Ensure the seeds have the right conditions: correct temperature, consistent moisture, and, if required, light.
Check if the seeds are too old or if they need special treatment like soaking or scarification.
Adjusting these factors can often kickstart germination.
How can I ensure my seedlings are healthy and ready to transplant outdoors?
Provide sufficient light (16-18 hours of grow lights if sunlight is not strong), keep the soil moist but not soggy, and maintain a temperature of 65-75°F (18-24°C).
Begin fertilizing with a half-strength liquid fertilizer once they develop their second set of true leaves.
Harden off the seedlings by gradually exposing them to outdoor conditions over a week before transplanting to reduce shock.
As we wrap up our guide on starting seeds indoors, it's clear that the journey from potting mix to vibrant garden is a fulfilling one.
By carefully choosing the right potting mix, understanding how to properly germinate seeds, and mastering the nuances of planting depth and air circulation, you're not just planting seeds—you're cultivating a future of filled with fresh vegetables and flowers.
Successful gardening starts with the basics: good soil, precise planting, and the right environment.
So, plant your seeds with care, and watch as your garden transforms into a testament to the love and attention you've invested.
Pin this post to save it for later!