Easy Flowers to Grow from Seed
This website is reader-supported - thank you! This post may contain affiliate links. As an Amazon Associate, I earn from qualifying purchases at no extra cost to you.
If you're looking to brighten up your garden without breaking the bank, growing flowers from seed is the way to go.
It’s a rewarding and cost-effective method that lets you choose from a wide variety of blooms.
In this guide, we'll explore some of the easiest flowers to grow from seed, along with tips and tricks to ensure your success.
From vibrant sunflowers to delicate sweet peas, you'll discover how simple and enjoyable it can be to grow your own beautiful flowers from seed.
For more tips, check out my guides:

Preparing to Grow Flowers from Seed
Growing flowers from seed starts with proper preparation.
This ensures that your flowers have the best possible chance of thriving.
Here are the key steps to prepare for growing flowers from seed:
Understanding the Last Frost Date
The last frost date is crucial for timing your planting.
This date refers to the average last day in spring when frost is expected in your area.
Planting before this date can expose your seeds or seedlings to frost damage, which can stunt growth or kill the plants.
To find your local last frost date, the Old Farmer’s Almanac is a great guide.
Just put in your zip code to see your expected last frost date.
Knowing this date helps you plan when to start seeds indoors and when to transplant them outdoors.
Start your own cut flower garden with my guide:
Choosing the Right Growing Conditions
Different flowers have different growing requirements, but most need full sun, well-drained soil, and consistent moisture.
Full Sun:
Most flowers thrive in full sun, which means they need at least 6-8 hours of direct sunlight each day.
Choose a spot in your garden that receives plenty of sunlight.
A south-facing, west-facing, or south-west facing garden location is often the best.
Well-Drained Soil:
Flowers generally prefer soil that drains well to prevent root rot.
If your soil is heavy clay or stays waterlogged, improve its structure by adding organic matter such as compost.
This helps the soil retain moisture while also allowing excess water to drain away.
Evenly Moist Soil:
While flowers need their soil to be moist, it's important to avoid waterlogging.
The soil should stay evenly moist but not soggy.
Using mulch around your plants can help retain moisture and reduce the frequency of watering.
For more flower garden inspiration, check out my guides:
Selecting Seeds and Planning
When selecting seeds, consider factors like your local climate, the amount of sunlight in your garden, and the type of soil.
Choose seeds that are well-suited to your area's growing conditions for the best results.
Sowing Seeds Indoors vs. Outdoors:
Some seeds can be sown directly into the garden soil after the last frost date, while others benefit from being started indoors.
Starting seeds indoors can give you a head start on the growing season, especially for plants that require a long growing period.
Check out my guide: When to Start Tomato Seeds Indoors.
Timing:
Plan when to start your seeds based on the growing instructions for each flower type.
Typically, seeds are started indoors 6-8 weeks before the last frost date.
For seeds that can be sown directly outdoors, wait until the soil has warmed up sufficiently after the last frost.
Preparing the Soil:
Before planting, prepare your garden bed by removing weeds and loosening the soil.
Incorporate organic matter to improve soil structure and fertility.
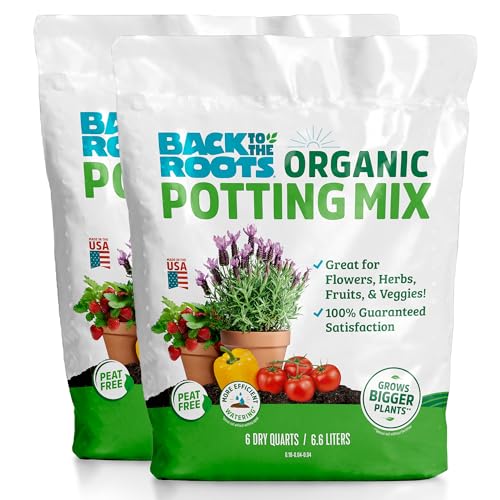
For container gardening, use a high-quality potting mix.
Here is the potting mix I recommend:
For more flowering growing tips, check out my guides:
The Easiest Flowers to Grow from Seed
Growing flowers from seed can be both rewarding and really straightforward.
Here are some of the easiest flowers to grow from seed, complete with tips on how to get the best results for each.

Sunflowers
Sunflowers (Helianthus annuus) are tall, bright flowers that can grow several feet high.
They are known for their large, cheerful blooms that follow the sun across the sky.
Growing Tips:
When to Sow:
Sow sunflower seeds directly into the garden after the last spring frost.
Learn more in my guide: The Best Time to Plant Sunflowers.
How to Sow:
Plant the seeds about an inch deep and spaced 6-12 inches apart, depending on the variety.
Growing Conditions:
Sunflowers need full sun and well-drained soil. They are fairly drought-tolerant once established.
Watering:
Water the seeds regularly until they sprout. Once established, sunflowers require minimal watering.
Learn more about harvesting sunflowers in my guide: When to Harvest Sunflower Seeds.
Recommended Variety:
Here are the sunflower seeds I recommend growing:


Sweet Peas
Sweet Peas (Lathyrus odoratus) are vining plants known for their beautiful, fragrant flowers.
They come in a variety of colors and are perfect for trellises, fences, and arches.
Learn more about growing sweet peas with my guide: Creative Support Ideas for Thriving Sweet Peas.
Growing Tips:
When to Sow:
Start the seeds indoors about six weeks before the last frost date or sow directly outdoors as soon as the soil can be worked.
Learn more with my guide: Sweet Peas: When to Plant Seeds.
How to Sow:
Soak the seeds overnight to speed up germination.
Plant them about an inch deep.
Growing Conditions:
Sweet Peas need full sun and rich, well-drained soil.
They benefit from a support structure to climb on.
Watering:
Keep the soil evenly moist, but be careful not to overwater.
Recommended Variety:
Here are the sweet pea seeds I recommend growing:

For more tips, check out my guides:
No Dig Gardening Method: Grow More with Less Effort

Marigolds
Marigolds (Tagetes spp.) are vibrant, hardy flowers that come in shades of yellow, orange, and red.
They are great for borders, containers, and companion planting in vegetable gardens.
Learn more with my guide: How to Pair Marigold Companion Plants.
Growing Tips:
When to Sow:
Sow seeds directly outdoors after the last frost date or start them indoors 6-8 weeks before the last frost.
Learn more with my guide: How to Grow Marigolds from Seed.
How to Sow:
Plant the seeds about 1/4 inch deep and thin them out as they grow to prevent overcrowding.
Growing Conditions:
Marigolds thrive in full sun and well-drained soil.
Watering:
Water regularly, keeping the soil evenly moist but not waterlogged.
Recommended Variety:
Here are the marigold seeds I recommend growing:


Zinnias
Zinnias (Zinnia elegans) are colorful, long-blooming flowers that attract butterflies and are perfect for cut flower arrangements.
They come in a wide range of colors and sizes.
Learn more about growing zinnias with my guide: Zinnia Companion Plants: Enhancing Biodiversity.
Growing Tips:
When to Sow:
Sow seeds directly outdoors after the last frost date or start them indoors 4-6 weeks before the last frost.
How to Sow:
Plant the seeds about 1/4 inch deep and space them 6-18 inches apart, depending on the variety.
Check out my guide: How to Grow Zinnias in Pots: From Seed to Colorful Blooms.
Growing Conditions:
Zinnias prefer full sun and well-drained soil.
Learn more about harvesting zinnia seeds with my guide: How to Harvest and Preserve Vibrant Zinnia Seeds.
Watering:
Keep the soil moist but not soggy.
Avoid overhead watering to prevent fungal diseases.
Recommended Variety:
Here are the zinnia seeds I recommend growing:


Cosmos
Cosmos (Cosmos bipinnatus) are tall, airy plants with daisy-like flowers in shades of pink, white, and crimson.
They are great for wildflower gardens and attract pollinators.
To learn more about wildflower gardens, check out my guide: How to Create a Wildflower Front Yard.
Growing Tips:
When to Sow:
Sow seeds directly outdoors after the last frost date.
Also, check out my guide: Container Cosmos: How to Grow Cosmos in Small Spaces.
How to Sow:
Plant the seeds about 1/4 inch deep and thin to 12-18 inches apart.
Growing Conditions:
Cosmos thrive in full sun and can tolerate poor, well-drained soil.
Watering:
Water moderately, allowing the soil to dry out between waterings.
Recommended Variety:
Here are the cosmos seeds I recommend growing:


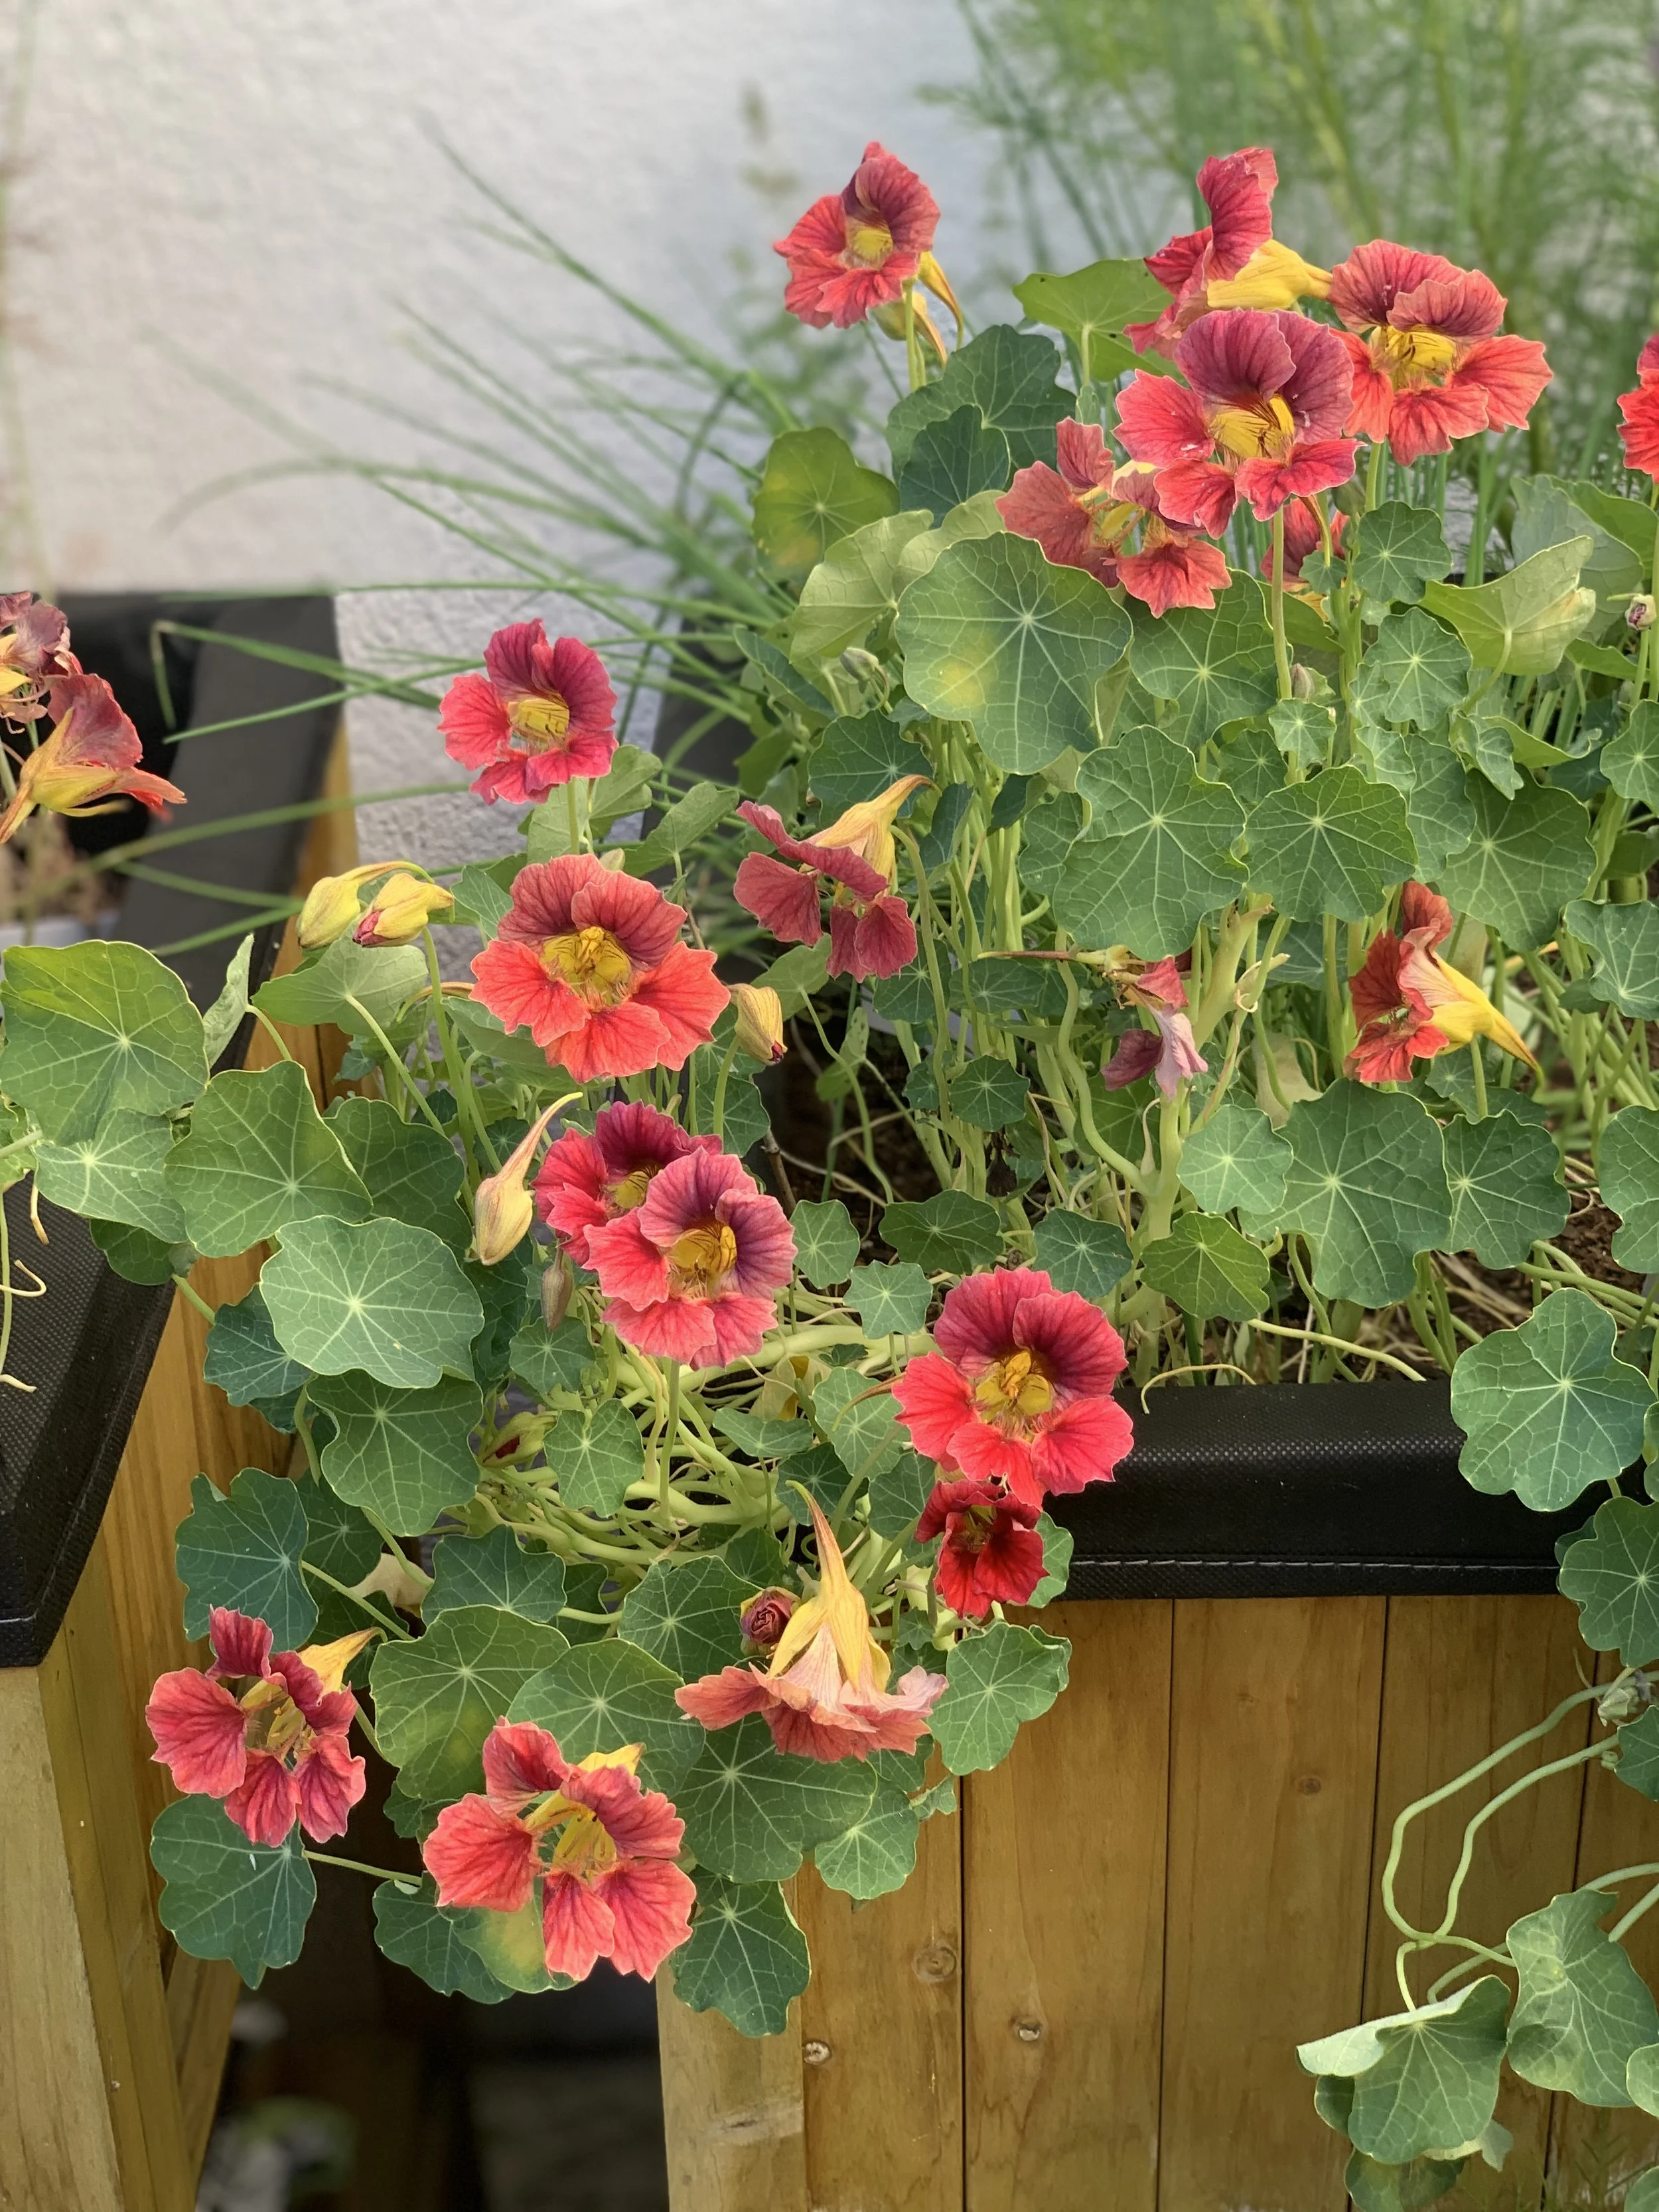
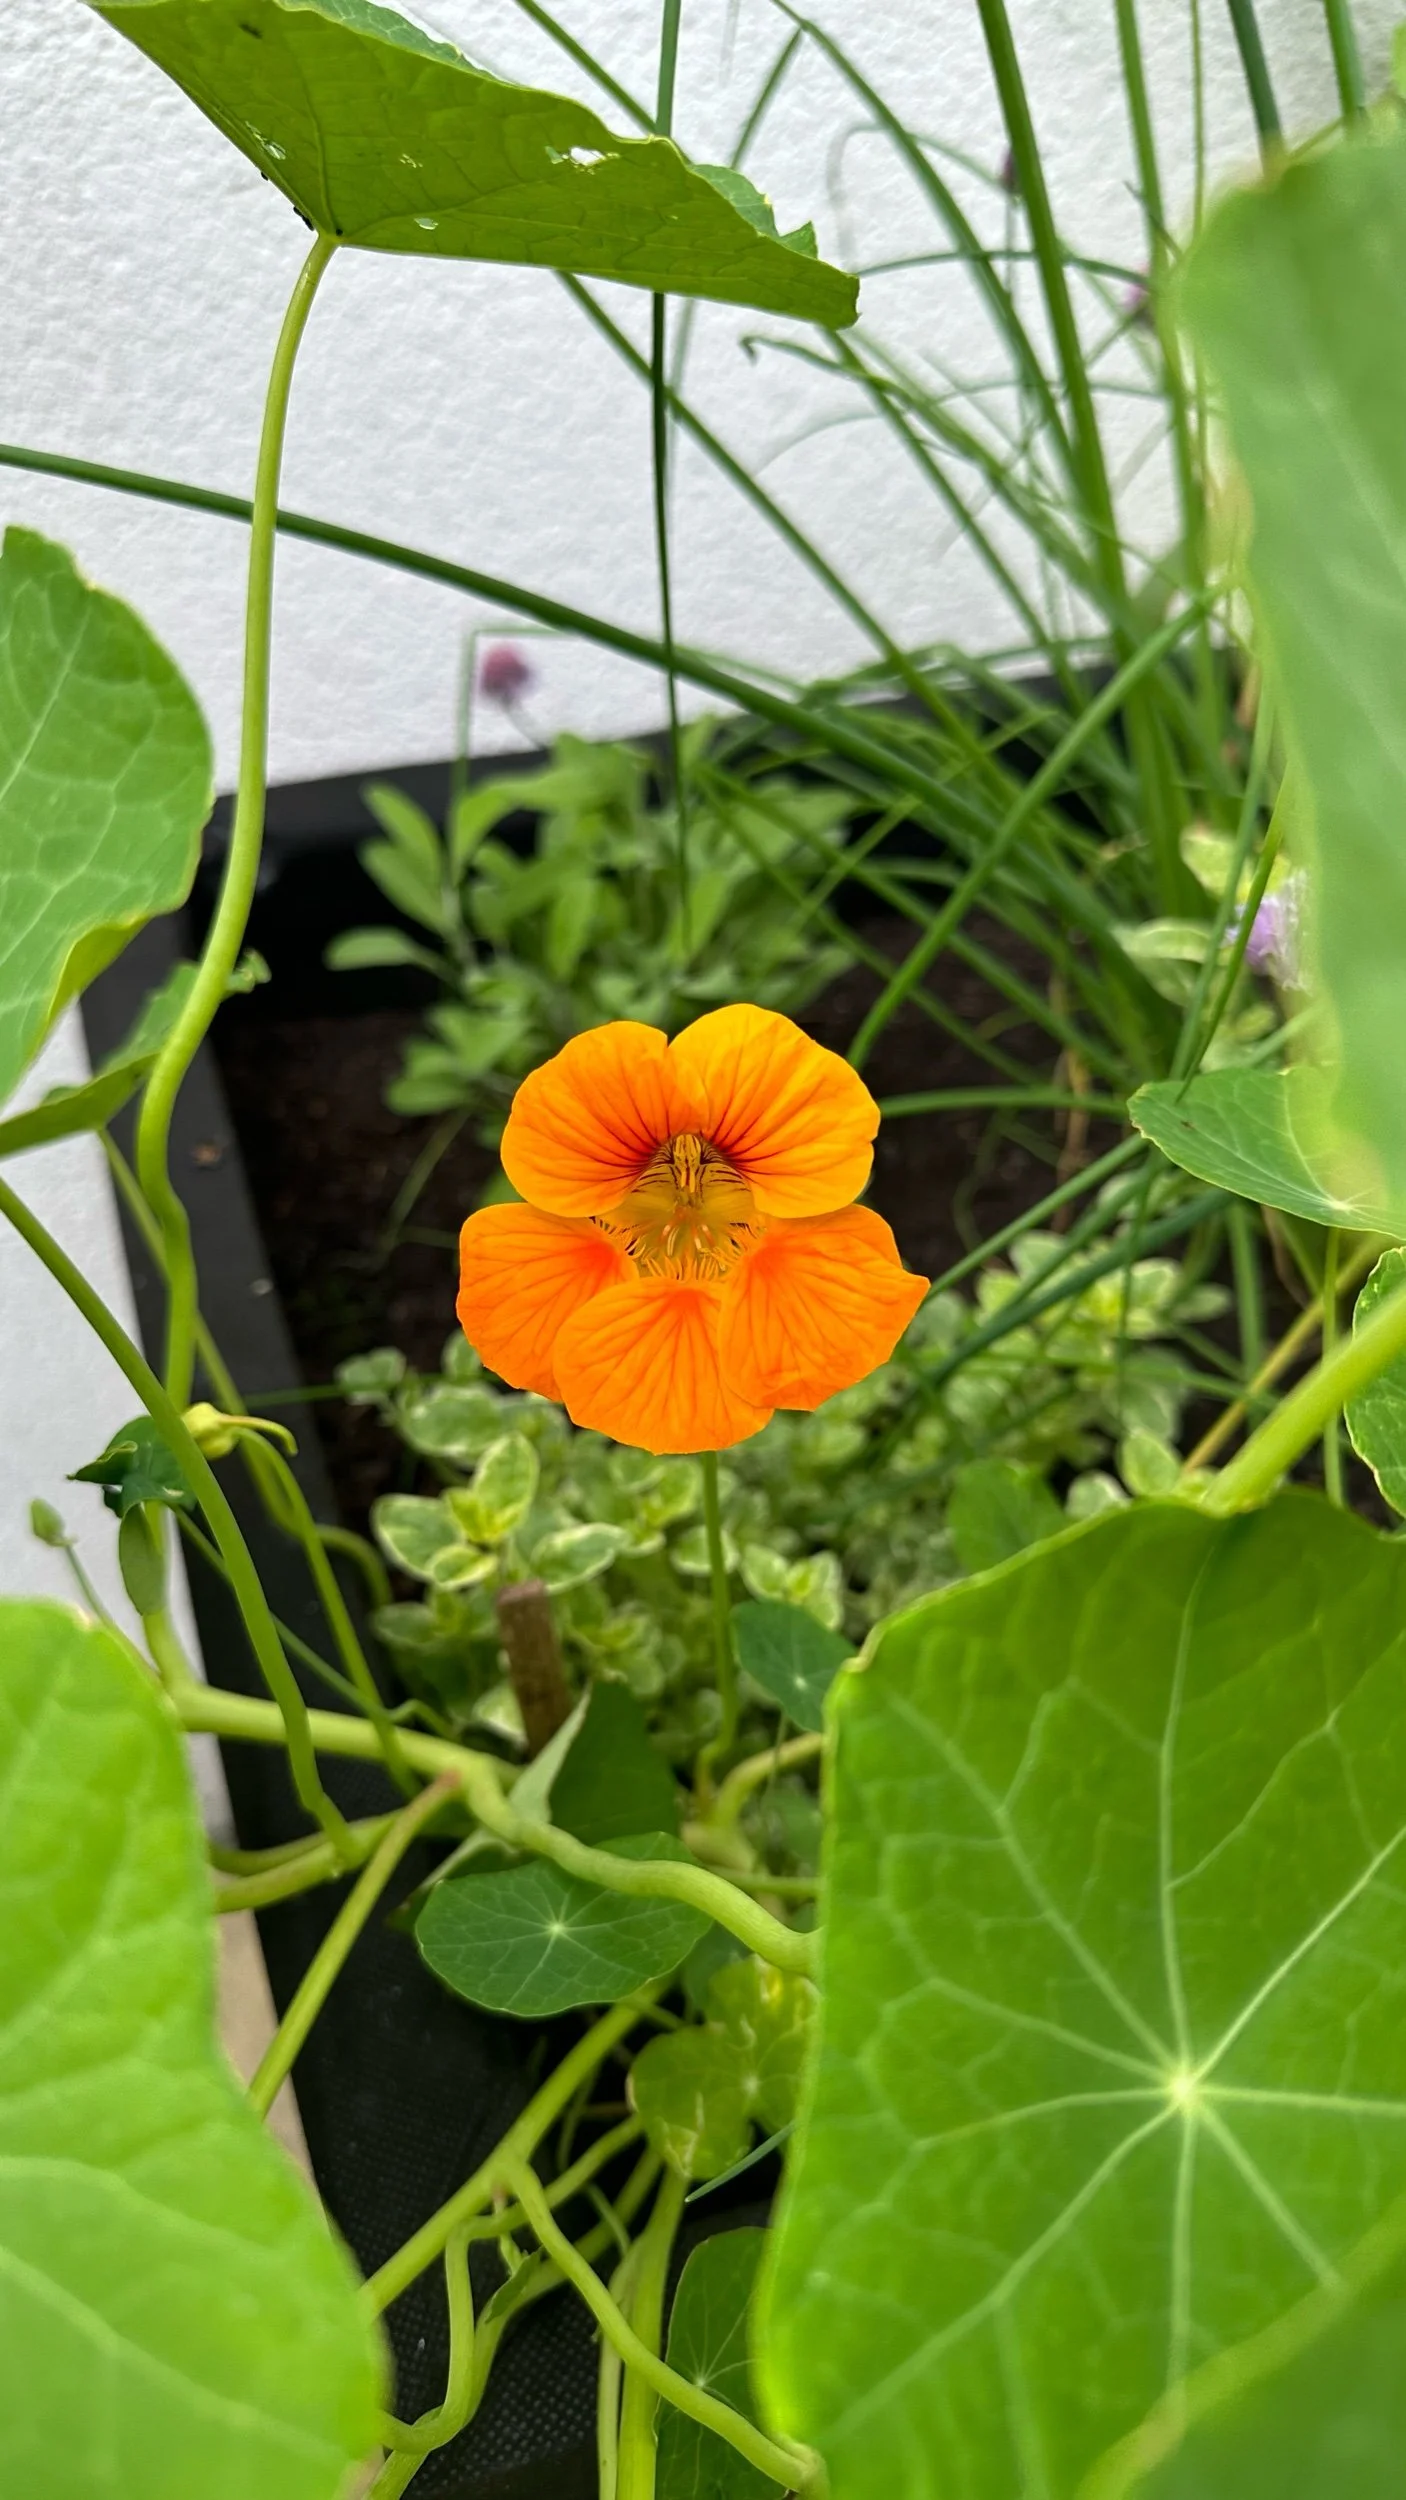
Nasturtiums
Nasturtiums (Tropaeolum majus) are vibrant, trailing or bushy plants with brightly colored flowers in shades of red, orange, and yellow.
They are edible and can be used to add color and peppery flavor to salads.
Check out my guide: Utilizing Nasturtium Companion Plants for Natural Pest Control.
Growing Tips:
When to Sow:
Sow seeds directly outdoors after the last frost date or start them indoors 4-6 weeks before the last frost.
How to Sow:
Plant the seeds about 1/2 inch deep and space them 10-12 inches apart.
Growing Conditions:
Nasturtiums prefer full sun but can tolerate partial shade. They thrive in poor to average, well-drained soil.
Watering:
Keep the soil moderately moist. Nasturtiums do well with less fertile soil and minimal fertilization, which encourages more blooms.
Care:
These plants are relatively low-maintenance and resistant to pests. Deadheading spent flowers will encourage continuous blooming.
Recommended Variety:
Here are the nasturtium seeds I recommend growing:


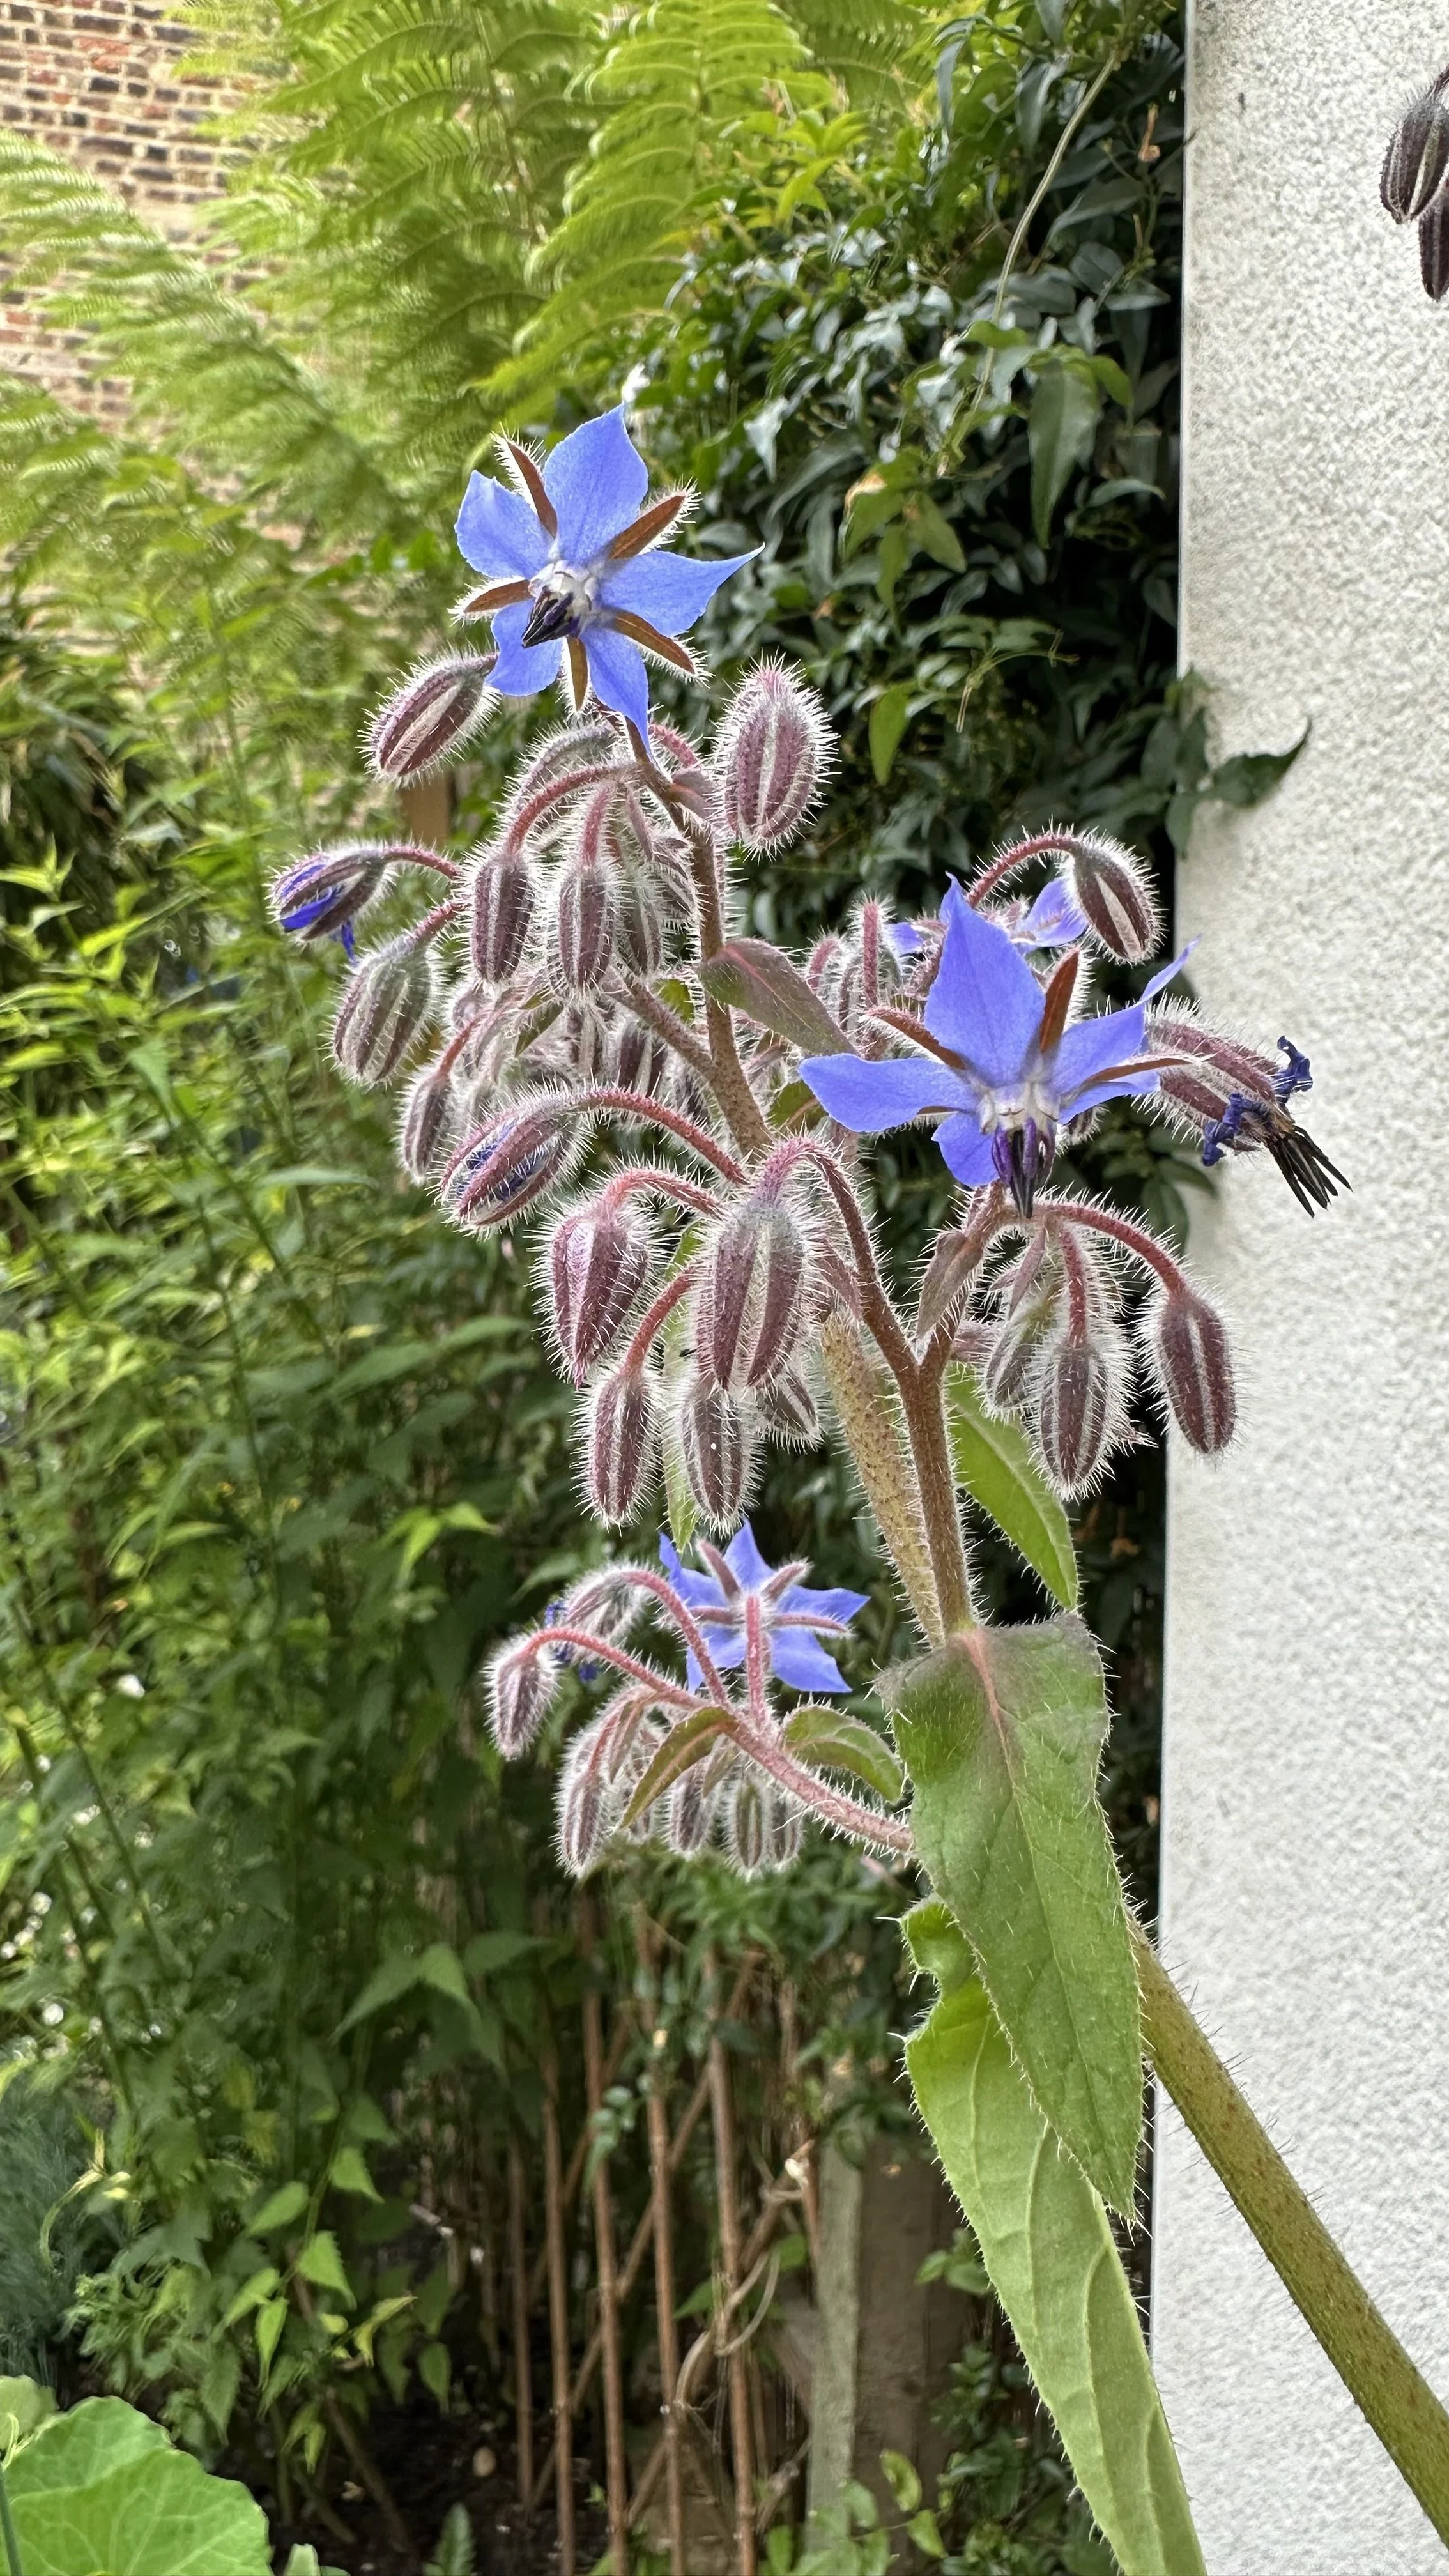
Erigeron Karvinskianus
Erigeron Karvinskianus, also known as Mexican Fleabane or Santa Barbara Daisy, is a charming perennial that produces a profusion of small, daisy-like flowers in white and pink.
It’s a versatile plant that works well in rock gardens, borders, and containers.
To learn more, check out my guide: Erigeron Karvinskianus: Growing Ground Cover for Pollinators.
Growing Tips:
When to Sow:
Sow seeds directly outdoors after the last frost date or start them indoors 6-8 weeks before the last frost.
How to Sow:
Sprinkle the seeds on the soil surface and press them lightly into the soil without covering them, as they need light to germinate.
Growing Conditions:
Erigeron Karvinskianus thrives in full sun to partial shade and well-drained soil.
It’s quite drought-tolerant once established.
Watering:
Water regularly until established, then water sparingly.
These plants prefer slightly dry conditions and do not tolerate waterlogged soil.
Care:
This plant is low-maintenance and can spread to form a ground cover.
Prune back after the main flowering period to encourage new growth and more blooms.
Recommended Variety:
Here are the seeds I recommend growing:


How to Start Seeds Indoors
Starting seeds indoors is a fantastic way to get a head start on the growing season, especially if you live in an area with a short growing period.
Here’s a step-by-step guide to help you successfully start your seeds indoors.
Necessary Supplies
Before you begin, gather all the necessary supplies:
Seeds:
Choose high-quality seeds from reputable sources.
Here are some of my favorite flowers to grow from seed:
Seed Starting Trays or Pots:
You can use seed trays recycled containers.
Here are the seed trays I recommend using:

Seed Starting Mix:
Use a light, sterile seed starting mix rather than garden soil to prevent disease and promote healthy root development.
Check out my guide: The Best Seed Starting Mix.
Here is the seed starting mix I recommend:

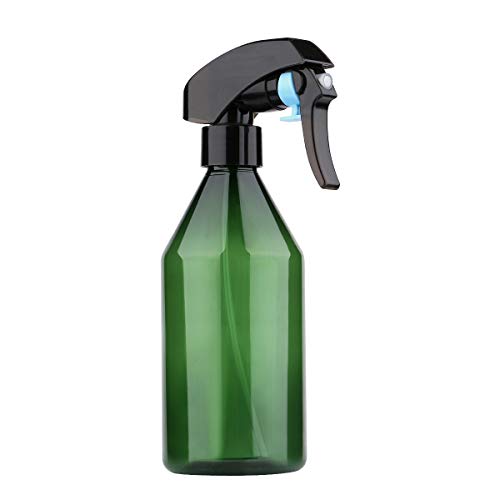
Watering Can or Spray Bottle:
A gentle way to water your seeds without disturbing them.
Check out my guide: How Often to Water Seedlings.
Here is the spray bottle I like to use:
Labels:
To keep track of what you’ve planted and when.
Here are the ones I use:

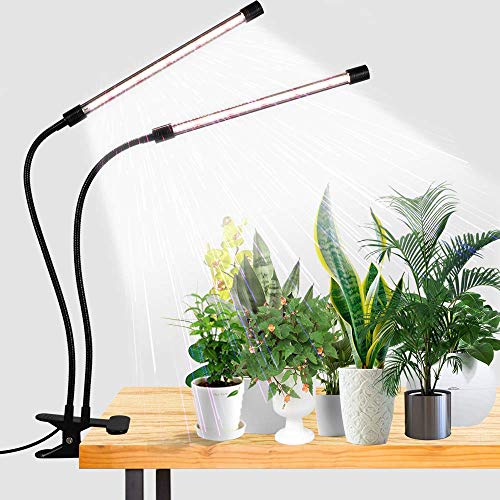
A Sunny Window or Grow Lights:
Seeds need plenty of light to grow strong and healthy.
Here are the grow lights I recommend:
Steps to Start Seeds Indoors
Fill the Trays or Pots with Seed Starting Mix:
Moisten the seed starting mix slightly before filling your containers. This makes it easier to work with and ensures it’s evenly moist.
Fill the containers to about 1/4 inch below the rim, and lightly press the mix down to remove air pockets.
Sow the Seeds:
Check the seed packet for specific sowing depth and spacing instructions.
Make small indentations in the mix with your finger or a dibbler and place the seeds in the indentations.
Cover the seeds lightly with more seed starting mix, as directed.
Some seeds need light to germinate and should be sown on the surface of the soil and lightly pressed down instead of being covered.
Water the Seeds:
Use a spray bottle or a fine-mist watering can to gently water the seeds.
Ensure the mix is moist but not soggy.
Cover the trays with a clear plastic dome or plastic wrap to retain moisture and warmth, creating a mini greenhouse effect.
Provide Adequate Light:
Place the trays in a sunny window that gets at least 6-8 hours of light per day.
If natural light is insufficient, use grow lights positioned a few inches above the trays.
Adjust the lights as the seedlings grow to maintain the proper distance.
Keep the lights on for 12-16 hours a day to mimic the natural growing conditions.
Maintain Optimal Conditions:
The ideal temperature for most seeds to germinate is between 65-75°F (18-24°C).
If your home is cooler, consider using a heat mat under the seed trays. Check out my guide: The Ultimate Guide to Choosing the Best Electric Propagators.
Once the seeds germinate and sprout, remove the plastic cover to improve air circulation and reduce the risk of disease.
Thin out the seedlings if they are overcrowded, leaving the strongest ones to grow.
Tips for Maintaining Optimal Conditions
Keep the Soil Moist:
Check the soil daily and water as needed to keep it evenly moist.
Avoid letting the soil dry out completely or become waterlogged.
Rotate Trays:
If you’re using natural light, rotate the trays daily to ensure all seedlings receive even light and don’t grow towards the light source (become leggy).
Check out my guide: Leggy Tomato Seedlings: Causes and Solutions.

For more tips, check out my guide:
Transplanting Seedlings Outdoors
Transplanting seedlings outdoors is a crucial step in the process.
It involves moving your young plants from the controlled indoor environment to your garden or containers outside.
Here’s a detailed guide to ensure your seedlings make a successful transition.
Timing the Transplant
Timing is critical when it comes to transplanting seedlings.
Here are the key factors to consider:
Last Frost Date:
Wait until after the last frost date in your area to ensure your seedlings aren’t damaged by unexpected cold weather.
This is especially important for tender annuals and vegetables.
Seedling Maturity:
Ensure your seedlings are mature enough to be transplanted.
They should have at least two to three sets of true leaves (the leaves that appear after the initial seed leaves).
Weather Conditions:
Choose a cloudy day or transplant in the late afternoon to reduce transplant shock.
Avoid transplanting on hot, sunny days or during periods of strong winds.
Hardening Off Seedlings
Hardening off is the process of gradually acclimating indoor-grown seedlings to outdoor conditions.
This step is essential to prevent shock and ensure healthy growth.
Start Slowly:
About a week to ten days before transplanting, begin by placing the seedlings outdoors in a sheltered, shaded spot for a few hours each day.
Gradually increase their exposure to sunlight and the amount of time they spend outside each day.
Increase Exposure:
Over the course of several days, gradually move the seedlings to a sunnier location.
Reduce watering slightly to encourage the seedlings to develop stronger root systems, but don’t let them dry out completely.
Nighttime Conditions:
Bring the seedlings indoors at night if temperatures drop significantly or if there’s a risk of frost.
After about a week, the seedlings should be able to stay outside overnight unless temperatures are expected to be particularly cold.
Transplanting Techniques
Transplanting involves moving the seedlings from their indoor containers to the garden bed. Here’s how to do it effectively:
Water the Seedlings:
Water the seedlings thoroughly a few hours before transplanting.
This helps reduce transplant shock and makes it easier to remove the seedlings from their pots.
Dig the Holes:
Dig holes in your garden bed slightly larger than the root ball of each seedling.
Space the holes according to the plant’s specific requirements, which you can usually find on the seed packet or plant label.
Remove the Seedlings:
Carefully remove the seedlings from their pots by gently squeezing the sides of the container and tipping them out.
If they’re in biodegradable pots, you can plant the entire pot in the ground.
Handle the seedlings by their leaves, not their stems, to avoid damaging the delicate stems.
Plant the Seedlings:
Place each seedling in its hole at the same depth it was growing in the pot.
For some plants, like tomatoes, you can bury part of the stem to encourage additional root growth.
Backfill the hole with soil, gently firming it around the base of the seedling to eliminate air pockets.
Water Thoroughly:
After planting, water the seedlings thoroughly to help settle the soil around the roots.
This initial watering is crucial for reducing transplant shock.
This is a great way to use rainwater collected in a water butt. Learn more: Water Butts: Sustainable Water Storage for Your Garden.
Post-Transplant Care
Proper care after transplanting is essential to help your seedlings establish themselves in their new environment.
Mulch:
Apply a layer of mulch around the seedlings to retain soil moisture, suppress weeds, and regulate soil temperature.
Keep the mulch a few inches away from the plant stems to prevent rot.
Check out my guide: The Best Alternatives to Traditional Mulch for Your Garden.
Watering:
Keep the soil evenly moist for the first few weeks after transplanting.
This helps the seedlings establish strong root systems.
Avoid overwatering, as soggy soil can lead to root rot.
For more watering tips, check out my guide: How to Use Watering Globes.
Protection:
If the weather is unexpectedly hot, sunny, or windy, provide temporary shade or wind protection for the seedlings using garden fabric or light row covers.
Monitoring:
Keep an eye out for pests and diseases.
Remove any weeds that appear, as they can compete with your seedlings for nutrients and water.
Quick FAQs
What is the last frost date and why is it important?
The last frost date is the average date of the last spring frost in your area.
It's important because planting too early can expose seeds and seedlings to frost damage.
How do I find out my local frost date?
You can find your local frost date by checking the Old Farmer’s Almanac and inputting your zip code.
Can I sow flower seeds directly outdoors?
Yes, many flowers can be sown directly outdoors after the last frost date.
This method is often easier and less time-consuming than starting seeds indoors.
What are the easiest perennial flowers to grow from seed?
Some of the easiest perennial flowers to grow from seed include Erigeron Karvinskianus and Echinacea.
These varieties are hardy and low-maintenance.
How often should I water my flower seeds?
Keep the soil evenly moist, not waterlogged.
Depending on the weather and soil type, this might mean watering once or twice a day until the seeds germinate.
For more, check out my guide: How Often to Water Seedlings.
Growing flowers from seed is an amazing way to fill your garden with vibrant blooms and cut flowers, all while saving money and enjoying the process of nurturing plants from their earliest stages.
By selecting easy flowers to grow from seed, you'll ensure a beautiful and thriving garden with minimal effort.
Remember to pay attention to your spring frost date to time your planting perfectly, and make sure your soil is well-drained to prevent waterlogging and root issues.
With a bit of care and attention, you'll be rewarded with a garden that brings joy year after year.
Pin this post to save it for later!