How to Grow Marigolds from Seed
This website is reader-supported - thank you! This post may contain affiliate links. As an Amazon Associate, I earn from qualifying purchases at no extra cost to you.
Learning how to grow marigolds from seed is an easy and rewarding way to add vibrant pops of color to your garden.
In this guide, I’ll walk you through everything you need to know, from choosing the right variety and preparing your soil to seed starting techniques and plant care.
Get ready to enjoy stunning marigold blooms all season long.
Learn more about growing marigolds with my guide:
Choosing the Right Marigold Variety
Selecting the appropriate marigold variety for your garden is essential to ensure that your plants thrive.
Here are the three main types of marigolds:
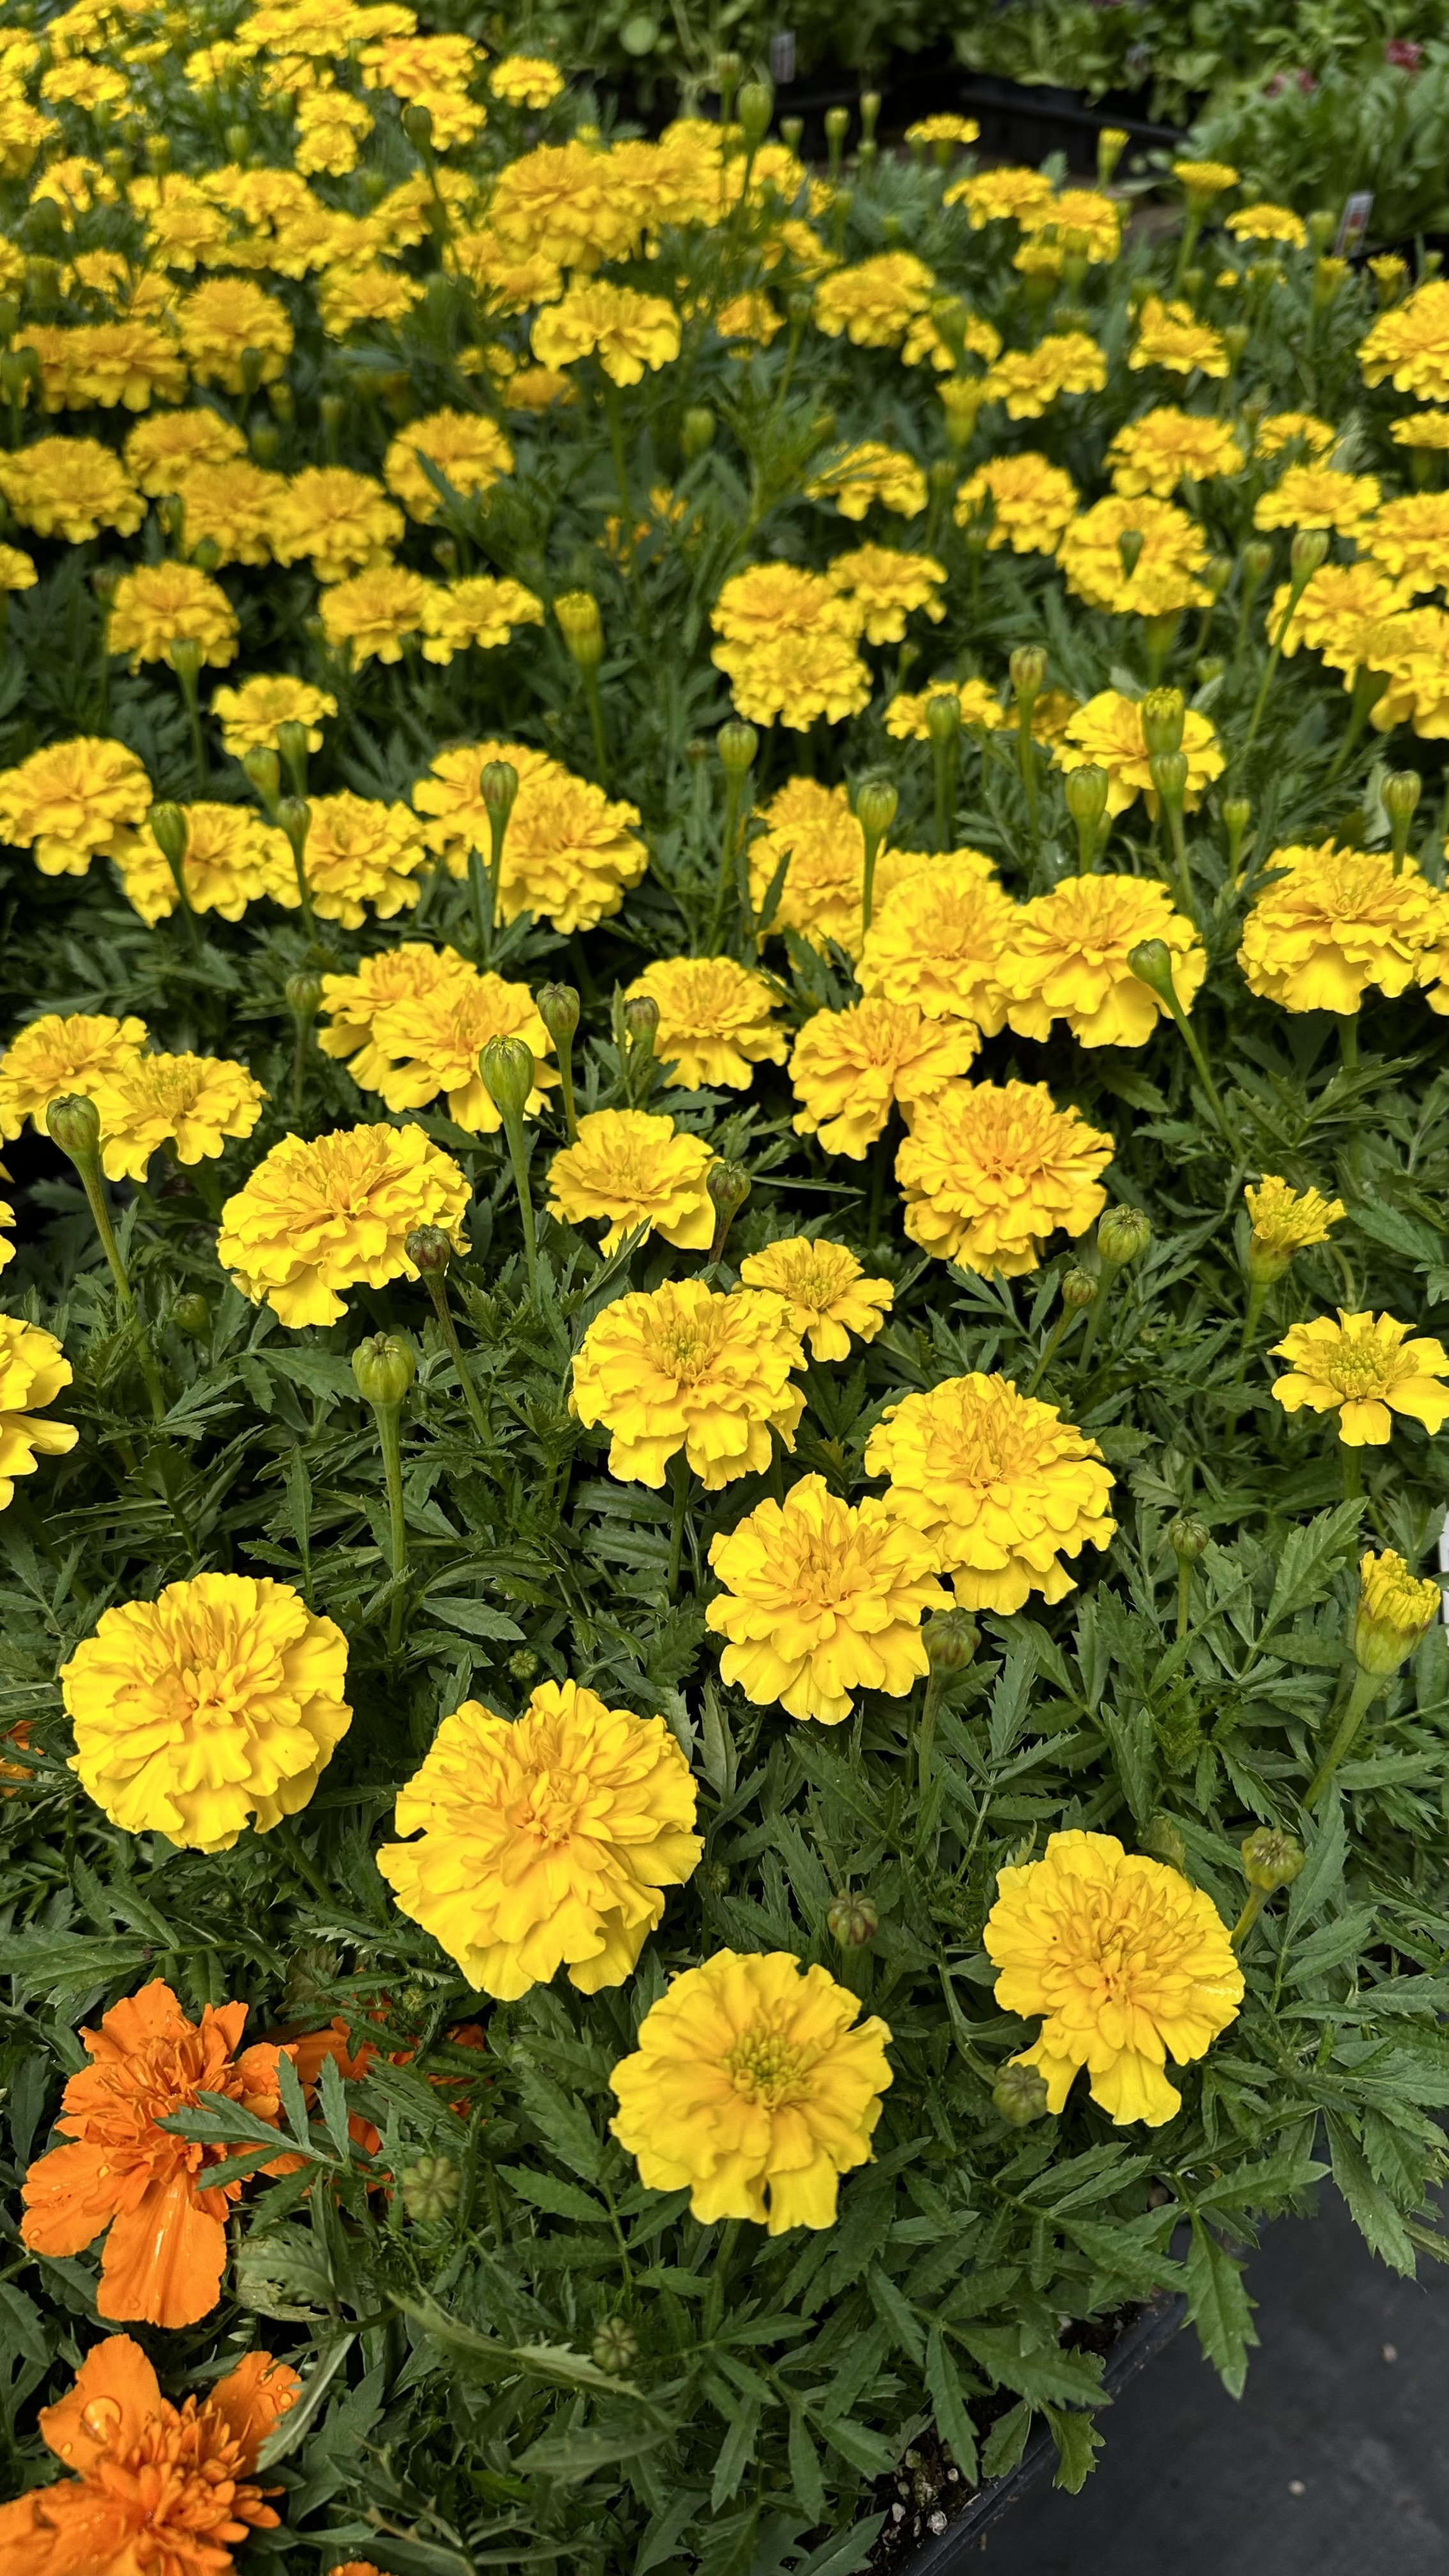
African Marigolds (Tagetes erecta)
Appearance:
African marigolds are known for their large, pom-pom-like blooms that can reach up to 4 inches in diameter.
They typically come in shades of yellow and orange.
Height:
These marigolds are the tallest of the three varieties, growing up to 36 inches high.
Climate:
They prefer hot, sunny conditions and are more heat-tolerant than other varieties.
Uses:
Their height makes them excellent for the back of garden beds or as a striking focal point in large containers.
Variety to Try:
'Crackerjack' has stunning orange blooms.
Here are the seeds I recommend:

French Marigolds
Appearance:
French marigolds are smaller and bushier, with flowers that range in size from 1 to 2 inches in diameter.
They come in a wider variety of colors, including red, orange, yellow, and bi-colored.
Height:
They are more compact, usually growing between 6 to 12 inches tall.
Climate:
French marigolds are more tolerant of cooler temperatures and can adapt to a wider range of growing conditions.
Uses:
Their compact size makes them perfect for borders, edging, and small containers.
They are also commonly used as companion plants due to their pest-repellent properties.
Varieties to Try:
'Bonanza' has stand-out orange blooms.
Here are the seeds I recommend:

‘Boy O’ Boy' includes a mixture of orange, red and yellow flowers.
Here are the seeds I recommend:

Signet Marigolds
Appearance:
Signet marigolds are distinguished by their delicate, fern-like foliage and small, single flowers that have a dainty and elegant look.
The flowers are typically yellow or orange.
Height:
These marigolds are smaller, generally growing between 9 to 12 inches tall.
Climate:
They thrive in sunny conditions and well-drained soil but are also quite hardy.
Uses:
Signet marigold petals are edible and often used in salads and culinary dishes for their citrusy flavor.
They are also excellent for edging and adding a light, airy texture to the garden.
Varieties to Try:
'Gem' series, including 'Lemon Gem' and 'Tangerine Gem'.
Here are the ‘Lemon Gem’ seeds I recommend:

Here are the ‘Tangerine Gem’ seeds I recommend:
Equip your urban green space with my recommend top tier tools.
Choosing Marigold Variety Based on Climate and Purpose
Climate Considerations:
If you live in a hotter climate, African marigolds (Tagetes erecta) are ideal due to their heat tolerance.
In cooler climates, French marigolds adapt better and extend the blooming season.
Purpose in the Garden:
For height and impact, African marigolds are the go-to choice.
For borders, edging, and containers, French marigolds are perfect due to their compact size.
For culinary uses and a more delicate appearance, signet marigolds are ideal.
For more growing tips, check out my guides:

Preparing to Sow Marigold Seeds
Proper preparation is crucial for successfully growing marigolds from seed.
Here’s a detailed guide to help you get started:
Knowing Your Last Frost Date
Marigolds are sensitive to frost, so knowing the last frost date in your area is essential for timing your planting.
Here’s how to use this information:
Check The Old Farmer’s Almanace.
The Old Farmer’s Almanac is a great easy resource for figuring out your last frost date.
Simply input your zip code into their tool to determine the date.
Plan Your Planting Schedule:
Marigold seeds can be sown indoors 6-8 weeks before the last frost date.
For direct sowing outdoors, wait until after the last frost when the soil has warmed up.
Choosing the Right Location
Marigolds thrive in specific conditions, so selecting the right spot in your garden is key:
Full Sun:
Marigolds need at least 6 hours of direct sunlight daily to flourish.
Choose a sunny location in your garden — a south-facing or west-facing garden location is best.
Well-Draining Soil:
Marigolds prefer well-draining soil to prevent root rot.
If your garden soil is heavy clay or tends to stay wet, consider raised beds or amend the soil with organic matter to improve drainage.

How to Grow Marigolds from Seed Indoors
Starting marigold seeds indoors can give you a head start on the growing season, ensuring robust and healthy plants when it’s time to transplant them outdoors.
Here's a detailed step-by-step guide to help you grow marigolds from seed indoors:
Step 1: Gather Materials
Before you begin, make sure you have all the necessary materials:
Seed Trays or Small Pots:
Seed trays with cells or small pots are ideal for starting seeds.
Here are the seed trays I recommend using:

Seed-Starting Mix:
Use a light, well-draining seed-starting mix rather than garden soil, which can be too heavy and may contain weed seeds or pathogens.
To learn more about this, check out my guide: Garden Soil vs. Potting Soil: How to Choose the Right One.
Here is the seed starting mix I recommend:

Marigold Seeds:
Choose your preferred variety of marigold seeds.
These ‘Crackerjack’ seeds are one of my favorites:
Spray Bottle:
For gentle watering.
Here is the spray bottle I use:

Labels:
To keep track of different varieties if you’re planting more than one.
Here are the labels I use:

Step 2: Fill the Trays
Prepare the Seed-Starting Mix:
Moisten the seed-starting mix with water until it is damp but not soggy.
The mix should hold together when squeezed but not release water.
Fill the Trays:
Fill your seed trays or pots with the moistened seed-starting mix, leaving about half an inch from the top.
Gently tap the trays to settle the mix and remove air pockets.
Step 3: Sow the Seeds
Plant the Seeds:
Place one or two marigold seeds on the surface of the soil in each cell or pot.
Marigold seeds are relatively large and easy to handle.
Cover the Seeds:
Lightly cover the seeds with a thin layer of the seed-starting mix or vermiculite.
The covering should be no more than 1/4 inch deep.
Marigold seeds need light to germinate, so don’t bury them too deeply.
Here is the vermiculite I recommend:

Step 4: Watering
Initial Watering:
Use a spray bottle to gently mist the soil surface until it is evenly moist.
Avoid using a watering can, as the force of the water can dislodge the seeds.
Maintaining Moisture:
Cover the trays with plastic wrap or a clear plastic dome to retain humidity and moisture.
This creates a mini-greenhouse effect, ideal for seed germination.
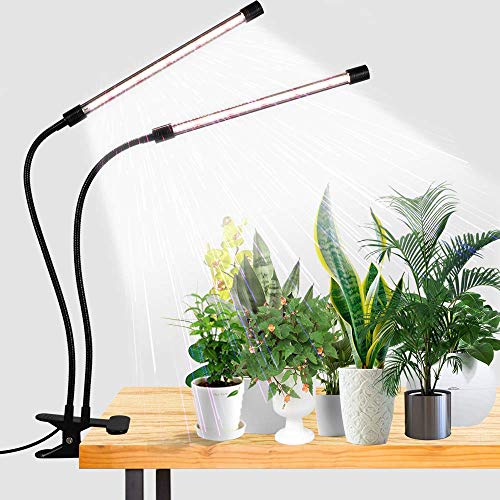
Step 5: Provide Light and Warmth
Light Requirements:
Place the trays in a location where they will receive plenty of light.
A sunny windowsill that receives direct sunlight for most of the day is ideal.
Alternatively, use fluorescent grow lights placed a few inches above the trays.
Marigold seeds require 14-16 hours of light daily for optimal growth.
Here are the grow lights I recommend using:
Temperature:
Maintain a warm temperature around 70-75°F (21-24°C).
You can use a heat mat under the trays if necessary to provide consistent warmth.
Here is the heat mat I recommend:

Step 6: Germination and Care
Germination:
Marigold seeds typically germinate within 5-7 days.
As soon as you see the seedlings emerge, remove the plastic cover to prevent damping off (a fungal disease that affects seedlings).
Watering Seedlings:
Keep the soil consistently moist but not waterlogged.
Water from the bottom by placing the trays in a shallow dish of water, allowing the soil to soak up the moisture.
This helps prevent overwatering and encourages strong root development.
Thinning:
Once the seedlings have grown their first set of true leaves (the second set of leaves), thin them out so that only the strongest seedling remains in each cell or pot.
This prevents overcrowding and ensures each plant has enough space to grow.
Step 7: Transplanting
Hardening Off:
Before transplanting your seedlings outdoors, gradually acclimate them to outdoor conditions.
Start by placing them outside in a sheltered location for a few hours each day, gradually increasing the time over a week or two.
This process is known as hardening off and helps the seedlings adjust to changes in temperature, light, and wind.
Transplanting:
After the last frost date and once the seedlings have been hardened off, they are ready to be transplanted into the garden.
Choose a sunny location with well-draining soil.
Dig holes slightly larger than the root balls of the seedlings, spacing them 8-10 inches apart.
Gently place the seedlings in the holes, backfill with soil, and water thoroughly.

How to Grow Marigolds from Seed Outdoors
Growing marigolds from seed outdoors is a straightforward process that can yield vibrant, colorful blooms throughout the growing season.
Here’s a detailed guide to help you get started:
Step 1: Prepare the Soil
Select the Site:
Choose a sunny location that receives at least 6 hours of direct sunlight daily, a south-facing or west-facing location is best.
Marigolds thrive in full sun and well-drained soil.
Clear the Area:
Remove any weeds, rocks, and debris from the planting area.
Clear soil ensures that marigold seedlings won't face competition for nutrients and space.
Loosen the Soil:
Use a garden fork or tiller to loosen the soil to a depth of about 6 inches.
This helps with root penetration and improves drainage.
Here is the garden fork I recommend for the job:

Amend the Soil:
If your soil is heavy clay or lacks fertility, mix in organic matter such as compost or well-rotted manure to improve soil structure and nutrient content.
Here is the organic compost I recommend using:

Step 2: Sow the Seeds
Timing:
Wait until after the last frost date when the soil has warmed up.
Marigold seeds need warm soil to germinate, so ensure the temperature is consistently above 60°F (15°C).
Sow the Seeds:
Scatter the marigold seeds evenly over the prepared soil.
For a more organized planting, you can create shallow furrows with a rake and plant the seeds in rows.
Depth and Spacing:
Lightly press the seeds into the soil or cover them with a very thin layer of soil, about 1/4 inch deep.
Marigold seeds require light for germination, so avoid planting them too deep. Space the seeds about 1 inch apart in rows or scatter them thinly if planting in a bed.
Label the Area:
If planting different varieties, label each section to keep track of the types you’ve planted.
Step 3: Watering
Initial Watering:
Gently water the soil immediately after sowing to ensure the seeds have good contact with the soil.
Use a fine spray or a watering can with a rose attachment to avoid washing away the seeds.
Maintaining Moisture:
Keep the soil consistently moist but not waterlogged during the germination period.
Marigold seeds typically germinate within 5-7 days.
If the weather is dry, you may need to water more frequently to keep the soil moist.
Learn more about watering with my guide: How Often to Water Seedlings.
Step 4: Thinning the Seedlings
Germination:
Once the seeds germinate and the seedlings are a few inches tall, it’s time to thin them out to prevent overcrowding and promote healthy growth.
Thinning:
Thin the seedlings to ensure they are spaced about 8-10 inches apart.
This spacing allows enough room for the marigold plants to grow and develop fully without competing for resources.
Step 5: Ongoing Care
Watering:
Marigolds prefer evenly moist soil but can tolerate short periods of drought once established.
Water the plants deeply once or twice a week, depending on rainfall and temperature.
Avoid overwatering, as marigolds prefer slightly dry conditions once they are established.
To learn more about watering, check out my guide: How to Use Watering Globes.
Mulching:
Apply a thin layer of mulch around the seedlings to help retain soil moisture, suppress weeds, and regulate soil temperature.
Keep the mulch away from the base of the plants to prevent rot.
Here is the mulch I recommend:

Fertilizing:
Marigolds generally do well in average soil and don’t require heavy fertilization.
If desired, you can apply a balanced, slow-release fertilizer once or twice during the growing season to support vigorous growth and blooming.
Here is the slow-release fertilizer I recommend:

Weeding:
Regularly weed the planting area to prevent competition for nutrients and water.
Be careful not to disturb the marigold roots while weeding.
Step 6: Disease and Pest Management
Powdery Mildew:
Ensure good air circulation around the plants by spacing them properly and watering at the base to avoid wetting the foliage.
If powdery mildew appears, remove affected leaves and consider using an organic fungicide if the problem persists.
Pest Control:
Marigolds are known for their pest-repellent properties and attract beneficial insects that help control garden pests.
However, keep an eye out for aphids and spider mites. If infestations occur, use insecticidal soap or neem oil as a treatment.
Here is the neem oil I recommend:


Caring for Your Marigold Plants
Proper care is essential to ensure your marigold plants thrive and produce abundant, vibrant blooms.
Here’s a detailed guide on how to care for your marigolds:
Watering
Initial Watering:
After planting, water the marigold seedlings thoroughly to help them establish their roots.
This is a great way to use rainwater collected in water butts.
To learn more, check out my guide: Water Butts: Sustainable Water Storage for Your Garden.
Consistent Moisture:
Keep the soil consistently moist, especially during dry periods.
Marigolds prefer slightly dry conditions once established but need regular watering until they are well-rooted.
Watering Technique:
Water at the base of the plants to keep the foliage dry, which helps prevent fungal diseases.
Use a soaker hose or drip irrigation for efficient watering.
Here is the soaker hose I recommend:

Frequency:
Water deeply once or twice a week, depending on the weather and soil conditions.
Avoid overwatering, as marigolds can be susceptible to root rot in waterlogged soil.
Soil Requirements
Soil Fertility:
Marigolds aren’t particularly fussy about soil fertility but perform best in moderately fertile soil.
You can mix in some balanced, slow-release fertilizer at planting time to provide nutrients.
Soil pH:
Aim for a slightly acidic to neutral pH (6.0 to 7.0).
Most garden soils fall within this range, but you can test your soil if you’re unsure.
Here is the soil pH tester I use:

Preventing and Treating Common Diseases
Marigolds are generally hardy and disease-resistant, but they can still encounter problems.
Here’s how to prevent and address common issues:
Powdery Mildew:
This fungal disease appears as a white, powdery coating on the leaves.
To prevent it, ensure good air circulation by spacing plants properly and watering at the base.
If you notice powdery mildew, remove affected leaves and consider using an organic fungicide if the problem persists.
Root Rot:
Caused by overwatering and poorly draining soil, root rot can be fatal to marigolds.
To prevent it, plant marigolds in well-draining soil and avoid excessive watering.
If root rot occurs, improve drainage and reduce watering frequency.
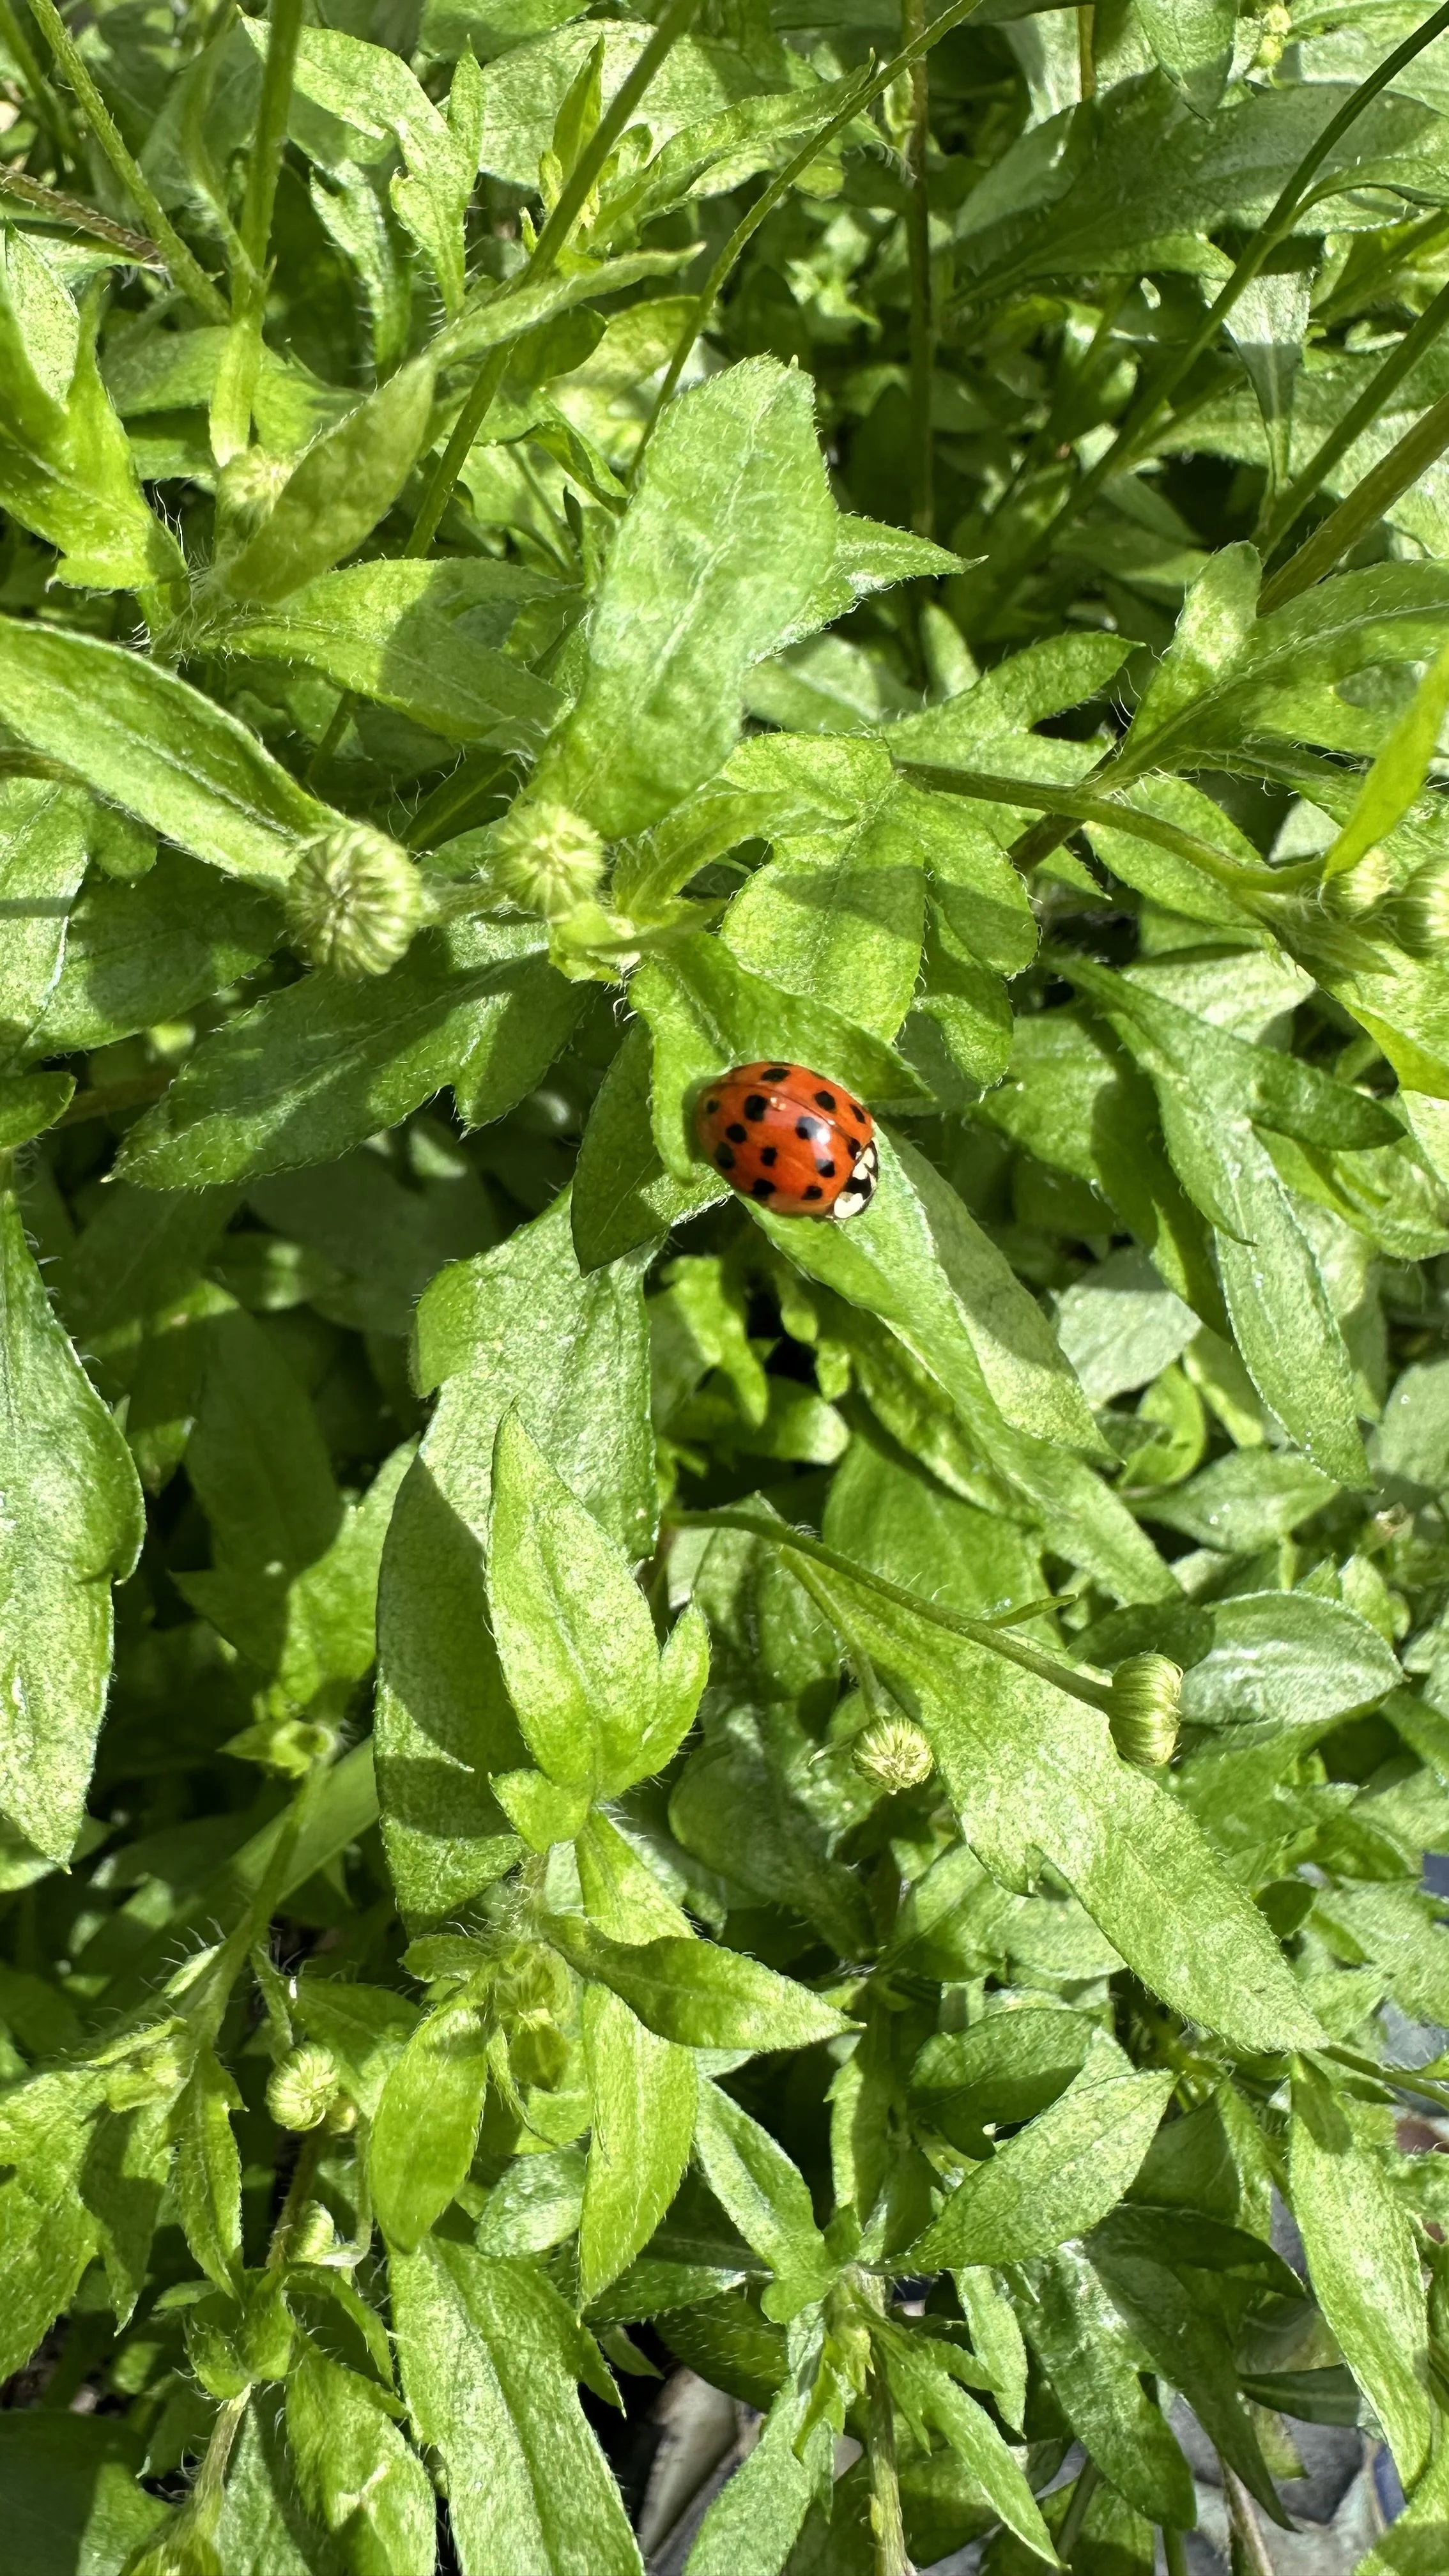
Encouraging Beneficial Insects and Pest Control
Marigolds are known for their pest-repellent properties and their ability to attract beneficial insects.
Here’s how to maximize these benefits:
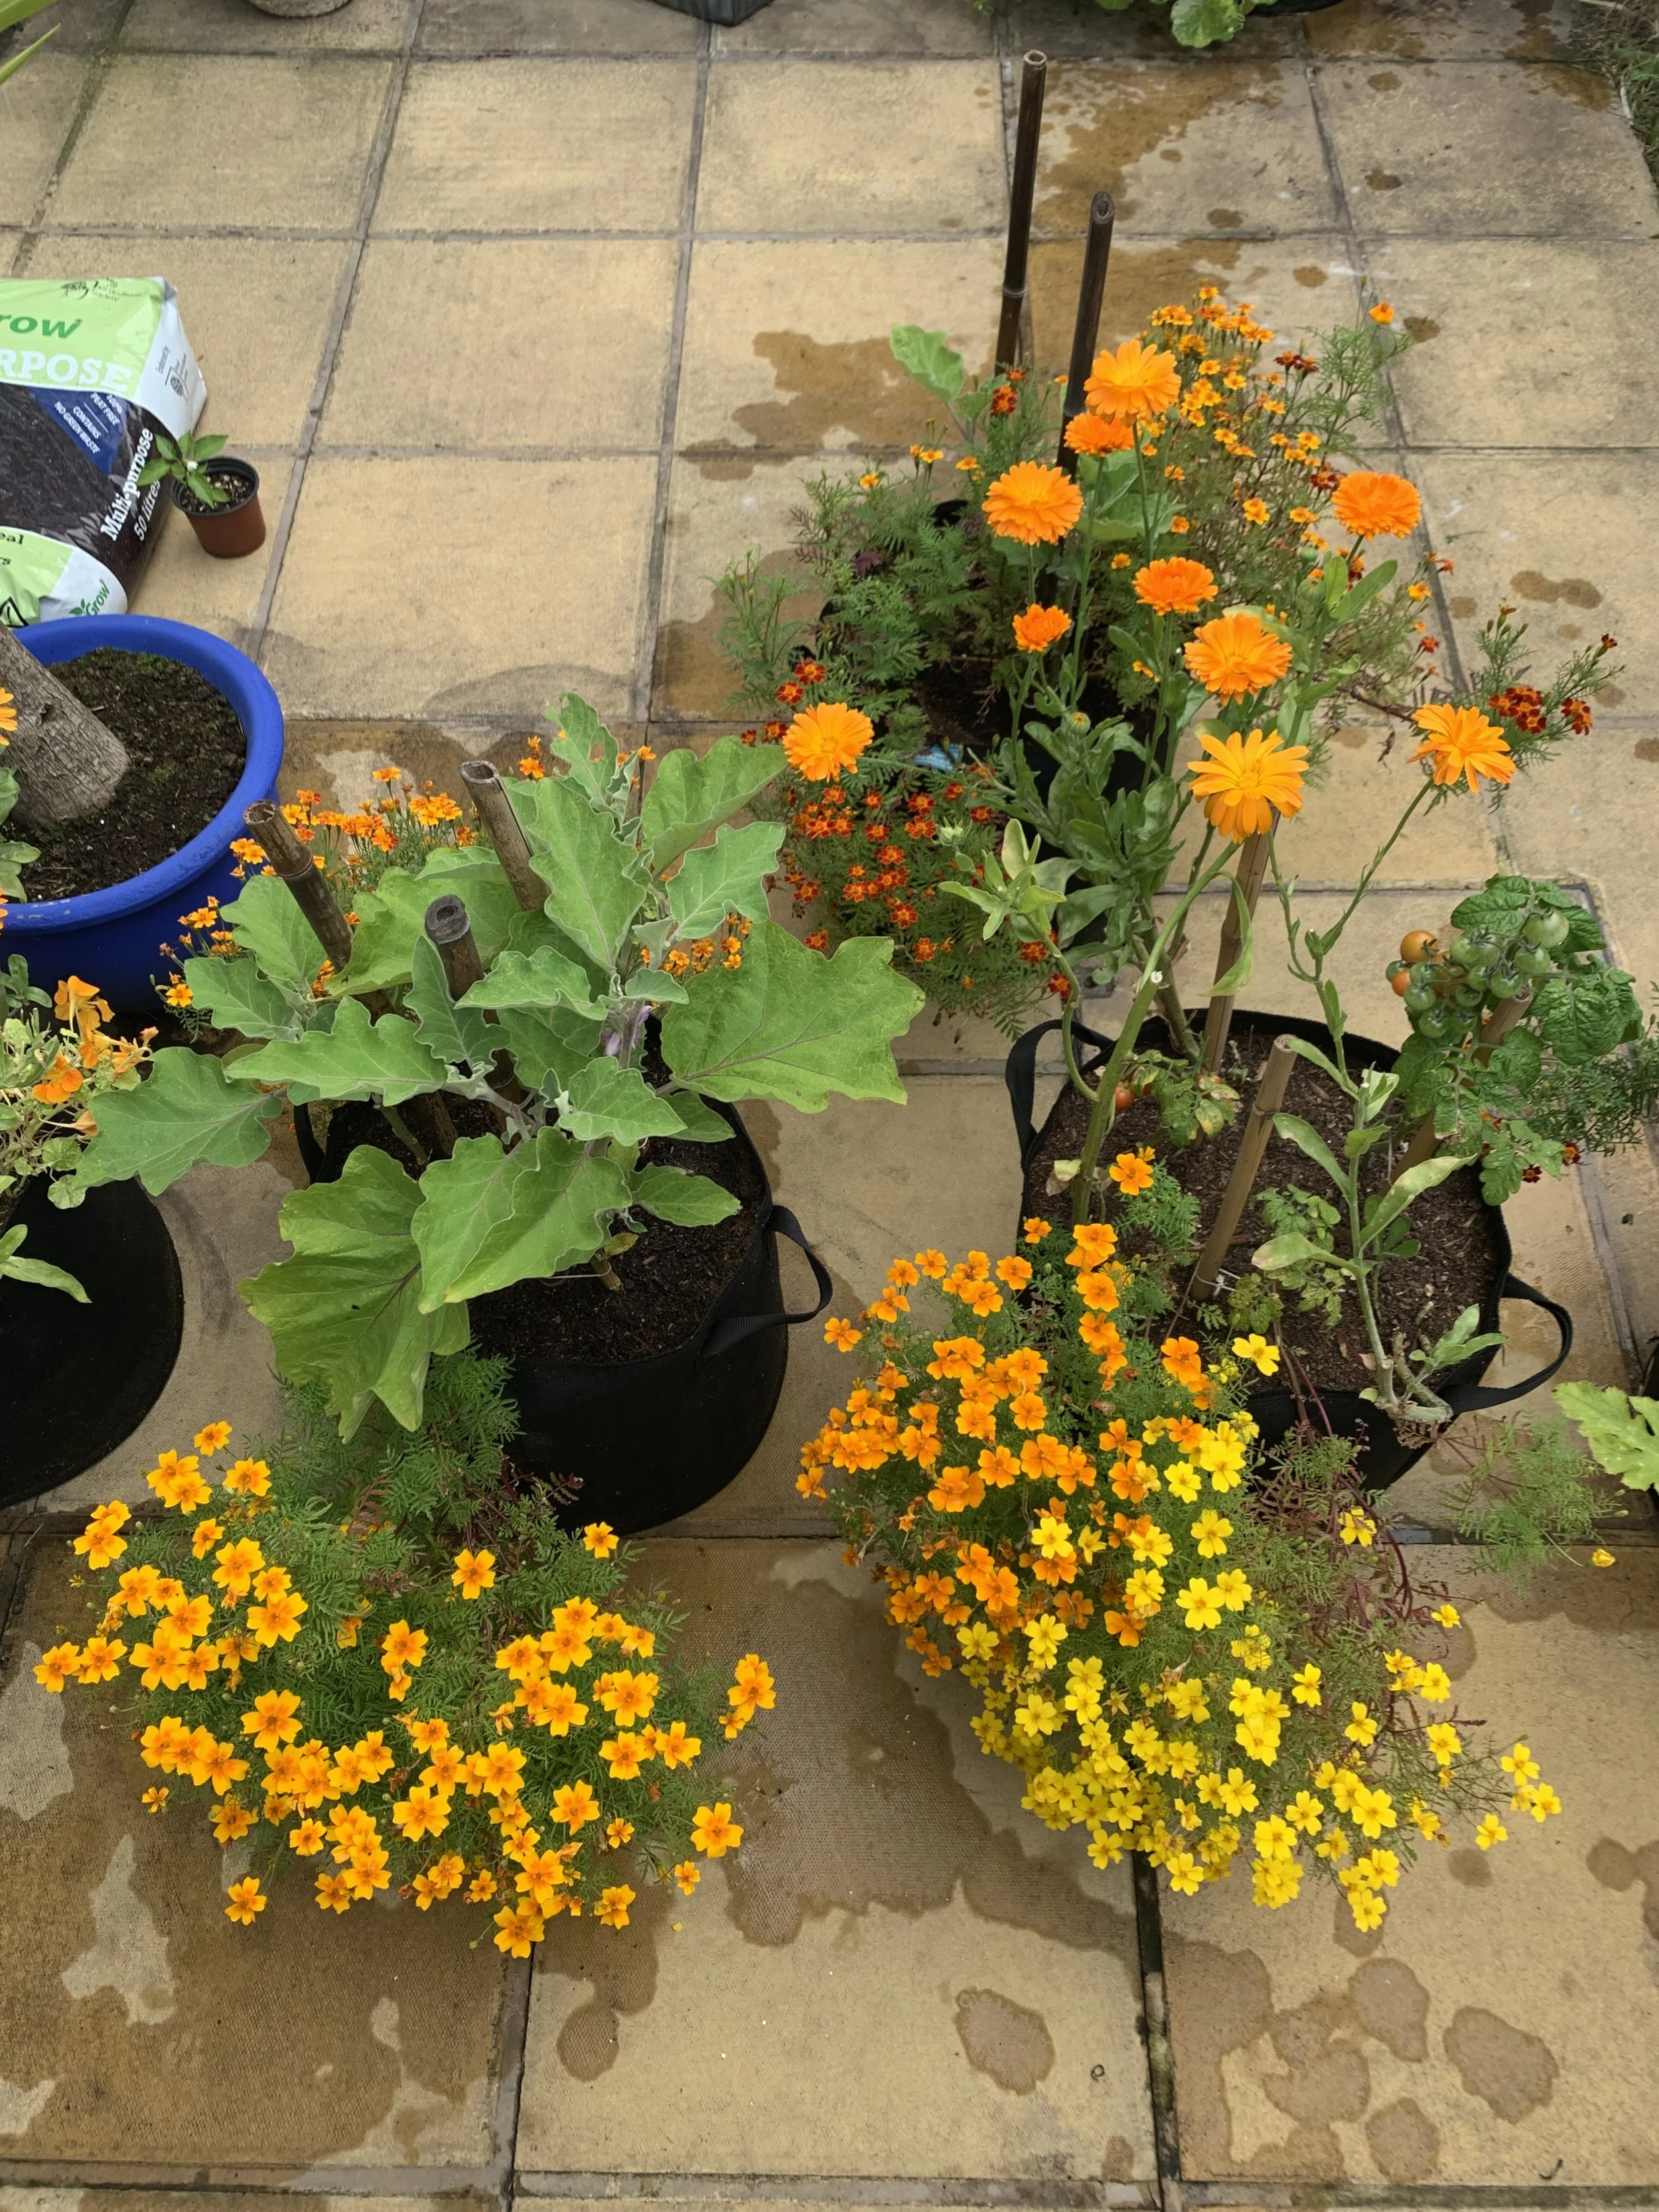
Companion Planting:
Plant marigolds near vegetables and other plants that are prone to pests.
Marigolds can repel nematodes, aphids, and whiteflies, protecting nearby plants.
To learn more about companion planting, check out my guides: Utilizing Nasturtium Companion Plants for Natural Pest Control and The Best Companion Plants for Tomatoes.
Attracting Beneficial Insects:
Marigolds attract beneficial insects such as ladybugs, lacewings, and parasitic wasps, which help control pests like aphids and caterpillars.
Monitoring for Pests:
Regularly inspect your marigold plants for signs of pests, such as aphids, spider mites, and snails.
Early detection and treatment are crucial to prevent infestations.
Organic Pest Control:
If pests become a problem, use organic methods such as insecticidal soap, neem oil, or diatomaceous earth.
Avoid using broad-spectrum pesticides, which can harm beneficial insects.
Deadheading and Pruning
Deadheading:
Regularly remove spent flowers (deadheading) to encourage continuous blooming.
Pinch or snip off the faded flowers just above the next set of leaves or buds.
This prevents the plant from putting energy into seed production and encourages more flowers.
Pruning:
If marigold plants become leggy or overgrown, you can prune them back to promote bushier growth.
Trim back about one-third of the plant’s height, making clean cuts just above a set of leaves.
Harvesting Seeds
Collecting Seeds:
If you want to save seeds for the next growing season, allow some flowers to fully mature and form seed heads.
Once the seed heads are dry and brown, gently collect them and store the seeds in a cool, dry place.
Storing Seeds:
Store harvested seeds in a paper envelope or a small, breathable container.
Label the container with the variety and date collected.
Keep the seeds in a cool, dark place until you’re ready to plant them next season.
Check out my guides: How to Store Dried Flowers and How Long Do Dried Flowers Last?

Harvested marigold seeds.
Harvesting and Enjoying Marigold Flowers
Harvesting marigold flowers is a simple yet rewarding process.
These vibrant blooms can be used for decorative purposes, culinary uses, and even for seed saving.
Here’s how to make the most of your marigold flowers:
When and How to Harvest Marigold Flowers
Timing:
Marigold flowers are ready to harvest when they are fully open and vibrant.
This usually occurs from late spring to early fall, depending on your climate and the specific marigold variety.
Morning is the best time to harvest flowers, as they are at their freshest and most hydrated.
Tools and Preparation:
Use clean, sharp scissors or garden shears to avoid damaging the plant.
Have a basket or a shallow container ready to place the harvested flowers in, ensuring they don’t get crushed.
Harvesting:
Select the flowers you want to harvest, looking for those that are fully open with no signs of wilting or pest damage.
Cut the stem about 4-6 inches below the flower head. This gives you a longer stem to work with for arranging or drying.
Be sure to leave some flowers on the plant to continue blooming and attracting beneficial insects.
Using Marigolds in the Garden and Home
Decorative Uses:
Drying:
To dry marigolds for long-term use, hang them upside down in a warm, dark, and well-ventilated area.
Once dried, they can be used in dried flower arrangements or as natural confetti.
Culinary Uses:
Edible Flowers:
Signet marigolds, in particular, have edible petals with a slightly citrusy flavor.
They can be used to add color and flavor to salads, desserts, and beverages.
Garnishes:
Sprinkle marigold petals over dishes as a vibrant garnish.
They add a pop of color to soups, pasta, and even cocktails.
Seed Saving
Collecting Seeds:
Allow some marigold flowers to remain on the plant until they fade and dry.
The center of the flower will form a seed head containing numerous seeds.
Once the seed head is completely dry and brown, gently break it apart to release the seeds.
Cleaning and Storing Seeds:
Separate the seeds from the chaff (the dried flower parts) by gently blowing away the lighter chaff or using a fine sieve.
Store the cleaned seeds in a paper envelope or small breathable container.
Label the container with the variety and date of collection.
Keep the seeds in a cool, dry place to ensure they remain viable for the next planting season.
Deadheading for Continued Blooms
Deadheading:
Regularly removing spent flowers, known as deadheading, encourages the plant to produce more blooms.
This process redirects the plant’s energy from seed production back to flower production.
Pinch or cut off the spent flowers just above the next set of leaves or buds.
This not only promotes more blooms but also keeps the plant looking tidy and attractive.
Quick FAQs
How long does it take for marigolds to germinate?
Marigold seeds typically germinate within 5-7 days under ideal conditions, with soil temperatures between 70-75°F (21-24°C).
Keep the soil consistently moist using a spray bottle to maintain the right moisture level.
Marigold seeds need light for germination, so cover them lightly with soil or vermiculite.
When to plant marigold seeds outside?
Plant marigold seeds outside after the last frost date when the soil has warmed up to above 60°F (15°C).
Check your area's average last frost date to determine the safe planting time.
For direct sowing, scatter seeds over prepared soil, lightly press them in, and keep the soil moist until seedlings emerge.
How long does it take for marigolds to grow?
Marigolds generally take about 8-10 weeks from sowing to bloom, depending on the variety and growing conditions.
After germination, seedlings develop leaves within a week and start forming buds as they mature.
Regular deadheading promotes continuous blooming throughout the season.
What are the common marigold diseases and how to treat them?
Common marigold diseases include powdery mildew and root rot.
Prevent powdery mildew by ensuring good air circulation and watering at the base; treat it by removing affected leaves and using an organic fungicide if needed.
Avoid root rot by planting in well-draining soil and avoiding overwatering; improve drainage and reduce watering if root rot occurs.
How to grow marigolds in containers?
To grow marigolds in containers, choose a pot with good drainage, use quality potting mix, and place the container in full sun.
Water regularly to keep the soil moist but not waterlogged, and use a balanced, slow-release fertilizer.
Monitor soil moisture closely, as containers can dry out faster than garden beds.
Growing marigolds from seed is a rewarding and straightforward process that brings vibrant color to your gardens.
Whether you choose to sow marigold seeds directly outdoors or start them indoors, varieties like Tagetes erecta offer stunning blooms and numerous benefits.
With proper seed starting techniques and consistent care, you'll enjoy a beautiful display of marigold flowers throughout the season.
Pin this post to save it for later!