When to Harvest Butternut Squash
This article has links to products that I may make commission from.
Butternut squash is a delicious winter squash that I look forward to every year.
If you're growing butternut squash in your garden, knowing the right time to harvest it is essential for both optimal flavor and storage.
Here I will take you through the various stages of butternut squash ripening, when and how to harvest them, and the best practices for storage.
To learn more about growing squash, check out my guide:
Growing Pumpkins in Containers: A Complete Urban Garden Guide
Growing Butternut Squash
Before we delve into the harvesting process, it's important to understand the basics of growing butternut squash.
Butternut squash plants require full sun, well-drained soil, and ample space to spread.
They can be grown from seeds or transplants, and it's important to provide them with regular watering and adequate fertilizer throughout the growing season.
Climate and Soil Requirements
Butternut squash thrives in warm climates and requires a long growing season of approximately 75 to 100 days.
The ideal temperature for germination is between 70-95°F (21-35°C), and the plants prefer daytime temperatures between 80-85°F (27-29°C) and nighttime temperatures above 60°F (15°C).
The soil should be well-drained, fertile, and rich in organic matter.
Before planting, work compost or well-rotted manure into the soil to improve its fertility and drainage.
Planting
Butternut squash can be started from seeds or transplants.
If starting from seeds, plant them directly into the garden after the danger of frost has passed and the soil temperature is consistently above 60°F (15°C).
Plant the seeds about 1 inch deep, spacing them 2-3 feet apart in rows that are 6-8 feet apart.
If using transplants, start them indoors 3-4 weeks before the last expected frost and transplant them once the soil has warmed up.
Here are my favorite butternut squash seeds to grow:
Watering and Fertilizing
Butternut squash requires regular and consistent watering, especially during dry periods.
Water deeply to encourage strong root development, but avoid over-watering, as it can lead to root rot.
This is a great oppotunity to use a sustainable water source like water butts.
Mulching around the plants can help retain moisture and suppress weed growth.
Fertilize the plants with a balanced organic fertilizer at planting time and side-dress with additional fertilizer when the plants begin to vine and produce fruits.
Support and Space
Butternut squash plants have long, sprawling vines, so it's beneficial to provide support for them to grow on.
You can use trellises, cages, or allow the vines to spread along the ground.
If using a trellis, make sure it's sturdy enough to support the weight of the developing fruits.
Space the plants adequately to allow for good air circulation and prevent the spread of diseases.
Each plant typically requires 20-50 square feet of space.
This is a really cool metal squash tunnel trellis that works great for supporting butternut squash:
Pest and Disease Management
Butternut squash plants can be susceptible to various pests and diseases.
Common pests include squash bugs, cucumber beetles, and vine borers.
Regularly inspect your plants for any signs of infestation and take appropriate measures such as handpicking pests or using organic pest control methods.
Diseases that can affect butternut squash include powdery mildew, downy mildew, and various fungal infections.
Proper spacing, good air circulation, and practicing crop rotation can help prevent diseases.
For more tips, check out my guide:
When is Butternut Squash Ripe?
Determining when your butternut squash is ripe and ready for harvest is crucial.
Unlike some fruits, butternut squash does not continue to ripen after it's picked, so it's important to wait until it reaches its prime.
How to tell if butternut squash is ripe
Look for these indicators to determine if your butternut squash is ripe:
Mature squash with hard, tough skin.
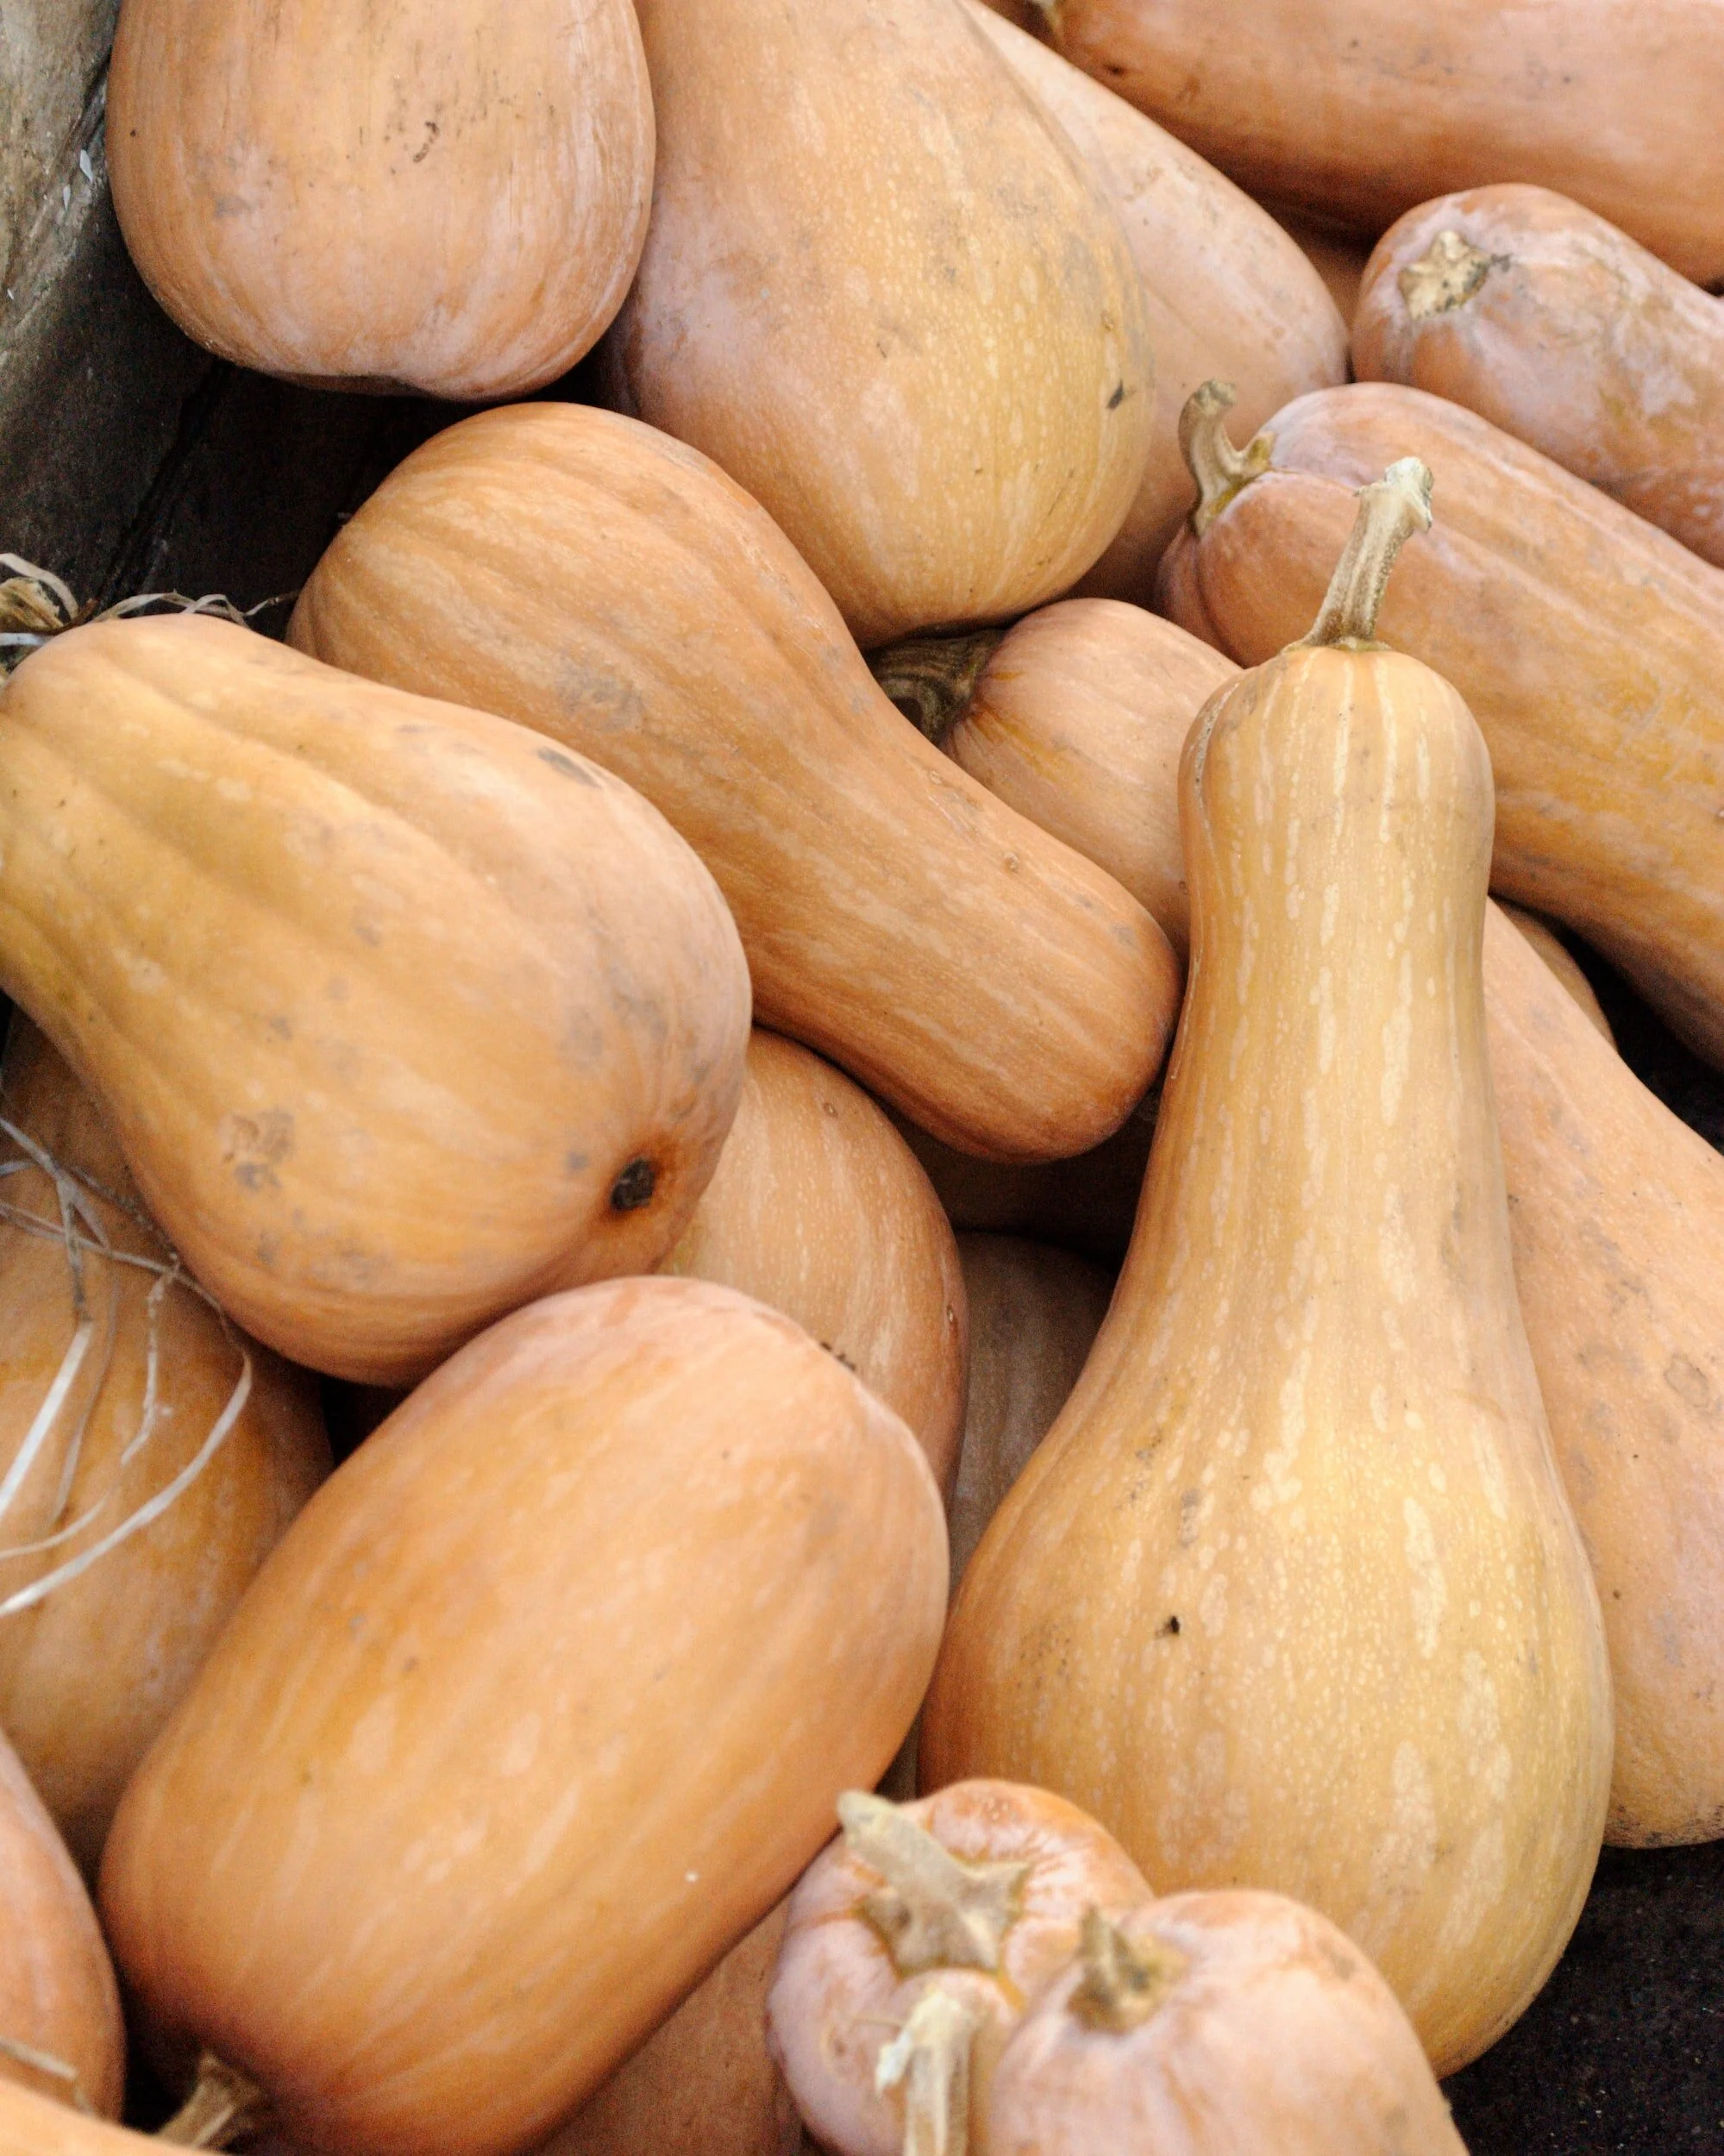
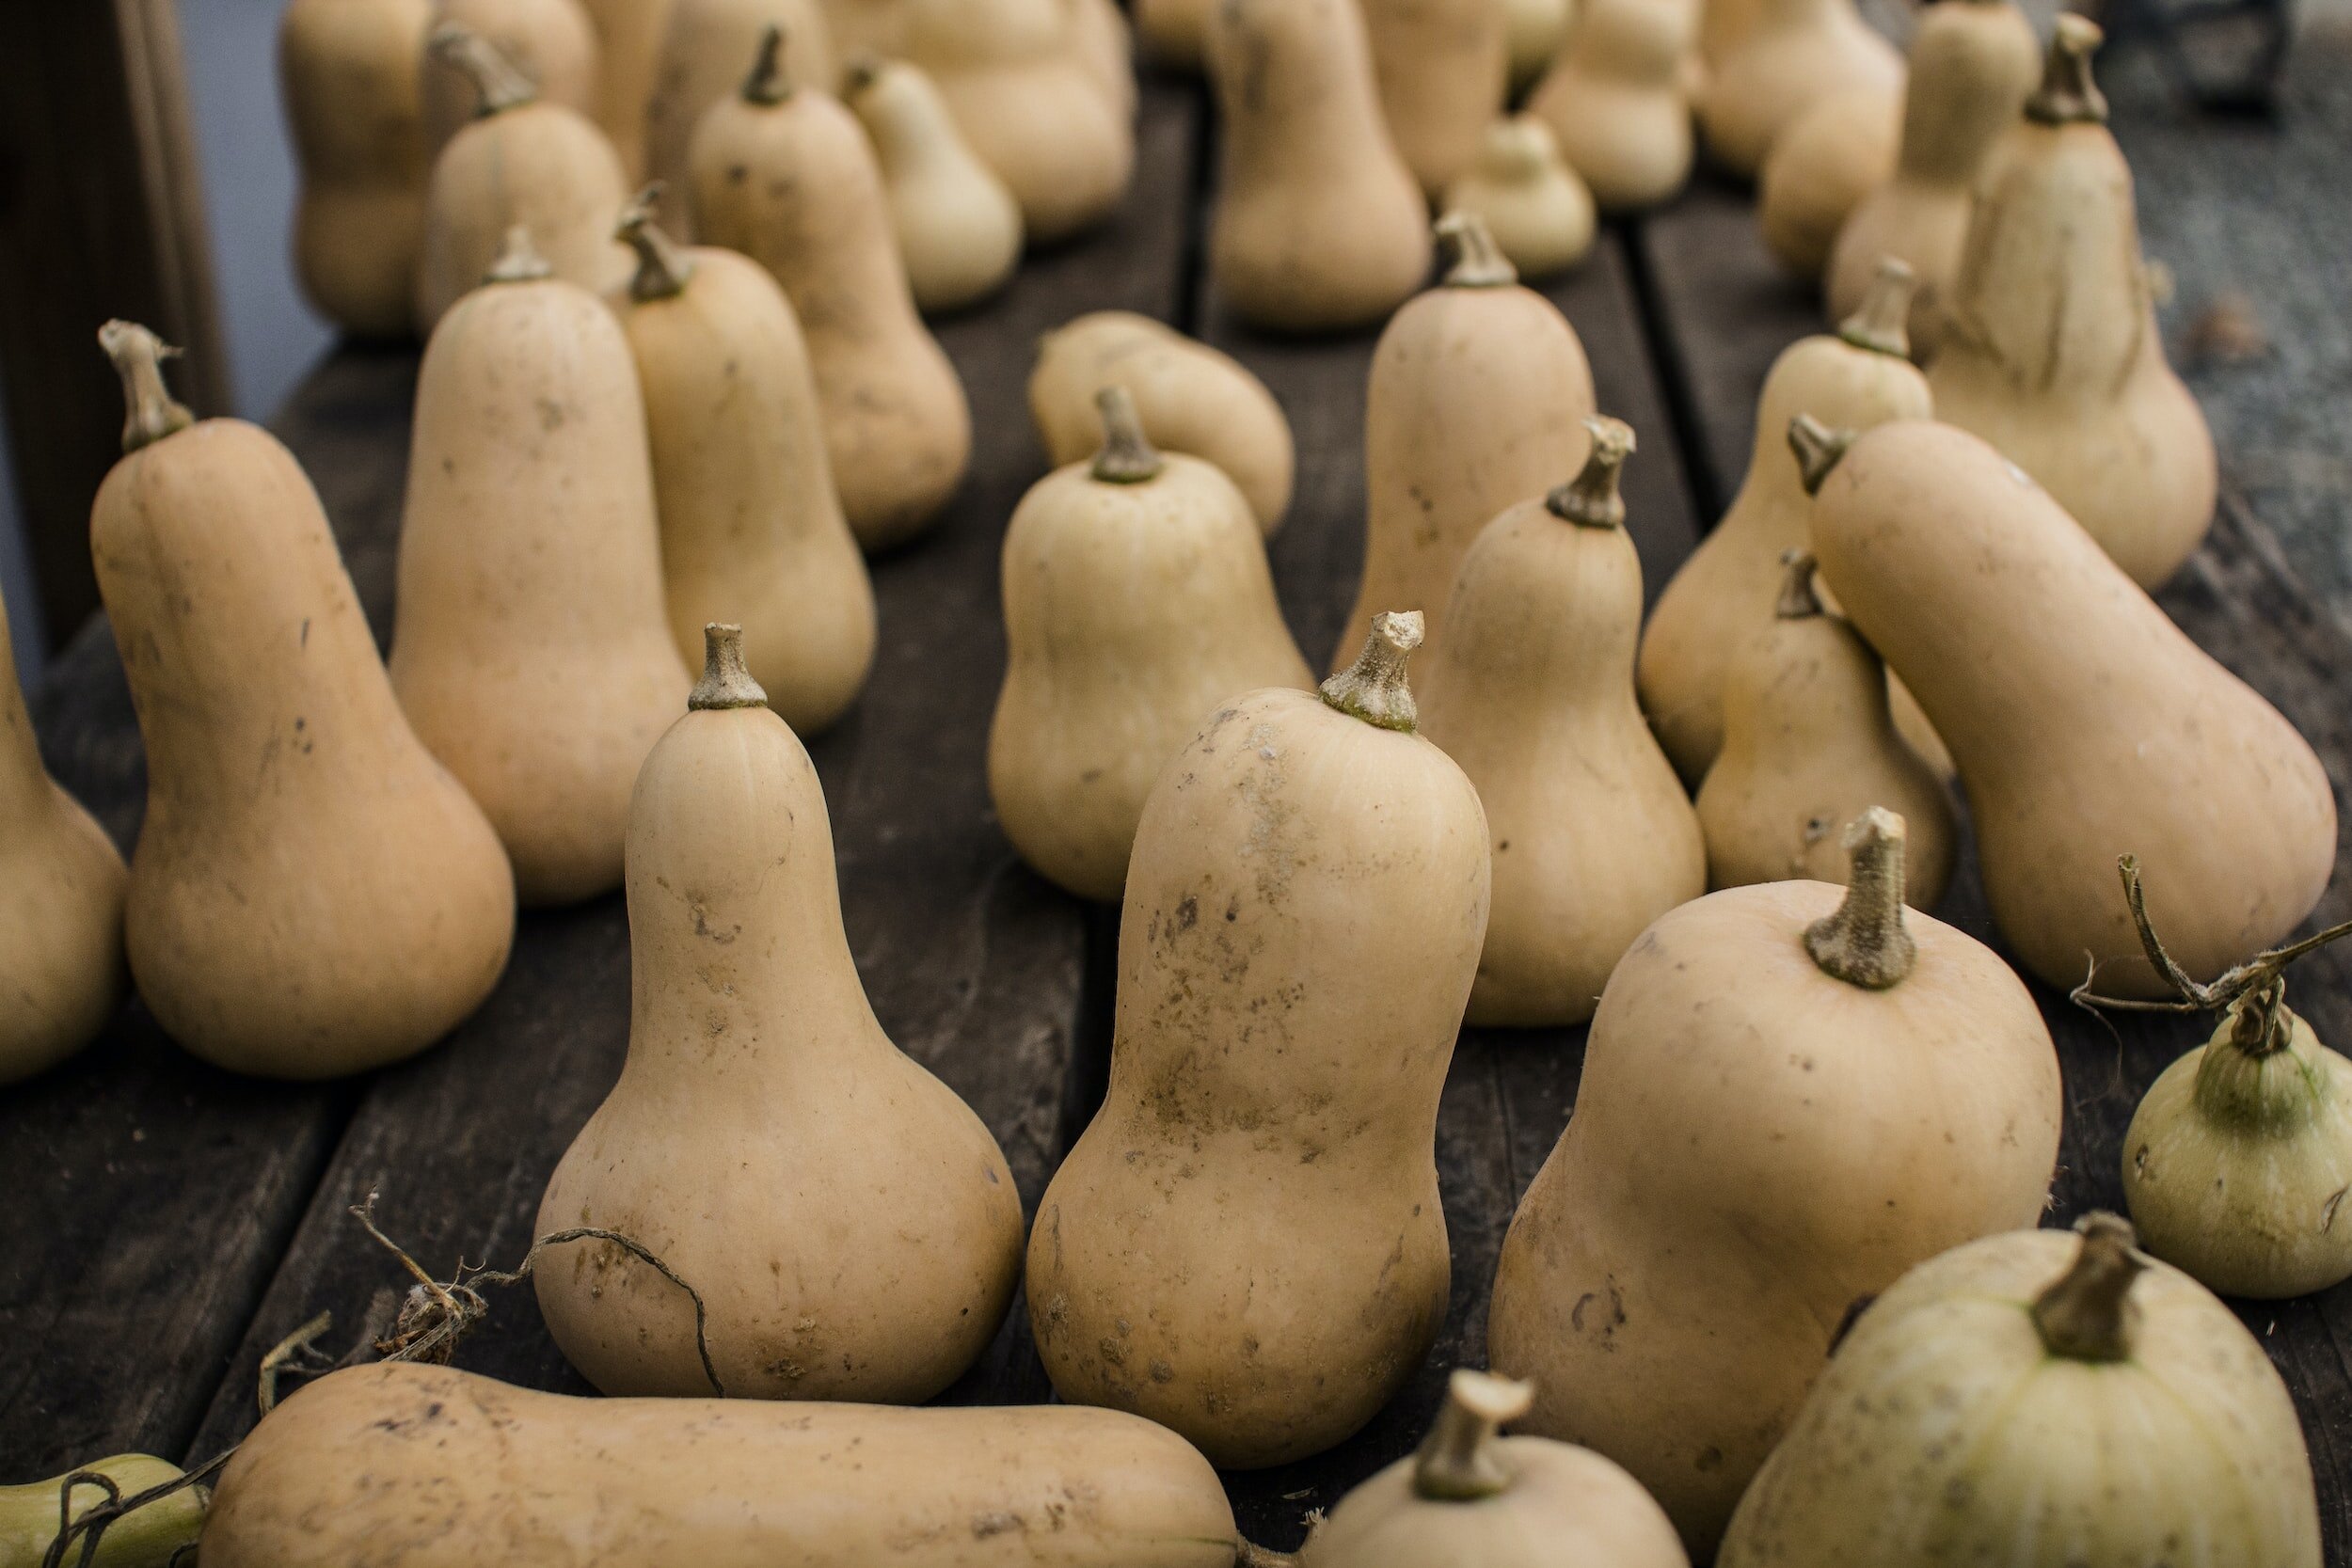
Rich, deep color, typically tan or beige.
Fully developed stem that is dry and corky.
Timeframe
Butternut squash typically takes between 80 to 100 days from planting to reach maturity.
The exact timing can vary depending on factors such as weather conditions, growing region, and specific variety.
It's important to monitor the progress of your squash as it approaches the expected harvest period.
Color and Texture
When butternut squash is ripe, its skin color changes from green to a rich, tan or beige hue.
The skin should feel hard and firm to the touch, indicating that the fruit has reached maturity.
Avoid harvesting squash with a shiny or glossy appearance, as this can be a sign of immaturity.
Stem and Vine
Inspect the stem of the squash before harvesting.
When the squash is ripe, the stem should be fully developed, dry, and corky.
A mature stem indicates that the fruit has received sufficient nutrients and has completed its growth cycle.
Also, check the vine of the plant. If the vine has started to wither or die back, it's a good indication that the squash is nearing readiness for harvest.
Size and Weight
The size of butternut squash can vary, but a mature squash is usually around 8 to 12 inches long and weighs between 2 to 5 pounds (0.9 to 2.3 kg).
However, it's important to note that size alone is not the best indicator of ripeness.
Focus on the other factors mentioned above, such as skin color, texture, stem, and vine condition, to determine if the squash is truly ripe.
Tapping Test
Another method to check if a butternut squash is ripe is by gently tapping it with your knuckles.
A ripe squash will produce a hollow sound, while an unripe one will sound dull.
However, this method is less reliable than evaluating the other indicators mentioned earlier.
It's essential to wait until your butternut squash is fully ripe before harvesting to ensure optimal flavor and storage potential.
If you're unsure about the ripeness, it's better to wait a little longer than to harvest too early.
For more harvest tips, check out my guides:
Butternut Squash Ripening Stages
Butternut squash goes through several ripening stages as it matures on the vine.
Here are the typical ripening stages of butternut squash:
Immature Stage
At this stage, the squash is still developing and not yet ready for harvest.
The skin is green, and the fruit feels relatively soft to the touch. The stem is green and pliable.
Transition Stage
As the butternut squash continues to mature, it enters the transition stage.
The skin begins to change color, transitioning from green to a pale tan or beige hue.
The fruit starts to harden, but it is not fully mature. The stem may start to show signs of browning or drying.
Mature Stage
This is the ideal stage for harvesting butternut squash.
The skin has fully changed to a rich tan or beige color. It is firm and hard to the touch.
The stem is fully developed, dry, and corky. The vine may start to wither or die back, indicating that the squash is ready for harvest.
Overripe Stage
If butternut squash is left on the vine past its mature stage, it can become overripe.
The skin may become dull or wrinkled, and the flesh inside can become stringy and fibrous.
Overripe squash may not store well and may have a less desirable texture and flavor.
It's important to monitor the progress of your butternut squash as it matures and harvest it at the appropriate stage.
Waiting for the squash to reach its mature stage ensures optimal flavor, texture, and storage potential.
Harvesting too early or too late can result in underdeveloped or overripe squash.
Use the indicators such as skin color, texture, stem condition, and vine health to determine the ripeness of the squash before harvesting.
For more harvest tips, check out my guides:
Harvesting Butternut Squash
Timing is key when it comes to harvesting butternut squash.
Harvesting too early can result in unripe squash, while waiting too long may lead to over-mature fruit.
Tips for a successful harvest
Wait until the vines have died back and the skin of the squash has hardened.
Cut the fruit off the vine, leaving a few inches of stem attached.
Handle the squash carefully to avoid any bruising or damage.
Timing
Harvesting butternut squash at the right time is crucial to ensure that it is mature, flavorful, and has good storage potential.
Wait until the squash has reached full maturity before harvesting.
This typically occurs when the fruit is fully grown, the skin has hardened, and the vine has started to wither or die back.
The average harvesting time for butternut squash is around 80 to 100 days after planting.
Harvesting Technique
To harvest butternut squash, follow these steps:
Use a sharp knife or garden shears to cut the fruit from the vine.
These garden shears are perfect for the job:
Leave a few inches of stem attached to the squash. The stem helps protect the fruit and prevents disease entry.
Avoid twisting or pulling the fruit, as it can damage the stem or the squash itself.
Handle the squash carefully to prevent any bruising or injury, as damaged squash is more prone to spoilage during storage.
Harvesting Individual Squash
You can harvest individual squash as they mature.
Inspect each fruit and determine if it has reached the desired ripeness based on the color, texture, stem condition, and other indicators mentioned earlier.
Harvesting individual squash allows you to enjoy them at different times and prevents overcrowding on the vine, promoting further growth of other squash.
Harvesting the Entire Vine
Alternatively, you can also harvest the entire vine of butternut squash at once if the majority of the fruits have reached maturity.
This is particularly useful if you anticipate an impending first frost or if you prefer to process or store all the squash together.
Cut the main vine of the plant close to the ground, and then carefully remove the fruits from the vine.
Curing
After squash harvesting, it's beneficial to cure the butternut squash before storing.
Curing helps toughen the skin, extend the shelf life, and improve the flavor.
Place the harvested squash in a warm, dry area with good air circulation, such as a well-ventilated room or covered porch.
Allow them to cure for about two weeks.
During this time, the squash skins will harden further.
Storage
Once the butternut squash has been properly cured, store it in a cool, dry place with temperatures ranging from 50-55°F (10-13°C).
A basement, pantry, or root cellar can be suitable storage locations.
Avoid storing squash near fruits like apples or pears, as they release ethylene gas, which can cause spoilage.
Inspect the stored squash periodically and remove any that show signs of rot or decay to prevent it from spreading to the others.
Ready to grow more squash? Check out my guide:
Growing Pumpkins in Containers: A Complete Urban Garden Guide
Can you Harvest Butternut Squash Early?
Yes, it is possible to harvest butternut squash early, but it's generally not recommended.
Here’s what can happen if you harvest butternut squash too early:
Immature Squash
If you harvest butternut squash too early, the fruits will not have reached their full maturity.
Immature or unripe butternut squash may not have developed the desired sweetness, flavor, and texture that is characteristic of fully ripe squash.
They may be watery, less flavorful, and have a less developed seed cavity.
Storage Potential
When you harvest butternut squash early, it can affect its storage potential.
Immature squash has thinner skins, which make them more prone to damage, rot, and decay during storage.
They may not have the same level of toughness and resistance to spoilage as fully mature squash.
Ripening Off the Vine
If you do harvest butternut squash early and find that the flavor is not fully developed, you can attempt to ripen them off the vine.
Place the harvested squash in a warm and dry area with good air circulation, similar to the curing process.
However, it's important to note that the flavor and quality of the squash may not fully develop even with off-vine ripening.
Reasons for Early Harvest
In some cases, you may need to harvest butternut squash early due to external factors such as an impending frost, severe pest or disease infestation, or plant health issues.
If the squash is in danger of being damaged or lost, it may be necessary to harvest them early to salvage what you can.
Use of Early Harvested Squash
If you do harvest butternut squash early, you can still use them in certain ways.
While they may not have the same flavor and texture as fully mature squash, they can be used in recipes where their firmness and mild flavor are suitable. For example, you can incorporate them into soups, stews, or roasted dishes.
Just keep in mind that the taste and texture may not be as desirable as with fully ripened squash.
In general, it's best to wait until butternut squash reaches its full maturity before harvesting to ensure optimal flavor, storage potential, and overall quality.
However, if circumstances necessitate an early harvest, you can still make use of the squash in various ways, understanding that they may not have the same flavor profile as fully ripened squash.
For more harvest tips, check out my guides:
Curing and Storing Butternut Squash:
To ensure your butternut squash harvest lasts through the winter months, it's important to cure and store them properly.
Curing Butternut Squash
Curing is an essential step after harvesting butternut squash.
It helps toughen the skin, increase the sweetness and flavor, and extends the storage life of the squash.
Here is how to cure butternut squash:
After harvesting butternuts, gently wipe off any excess dirt or debris from the squash.
Do not wash them with water, as moisture can promote spoilage.
Place the squash in a single layer in a warm and dry location with good air circulation.
The curing area should have temperatures between 75-85°F (24-29°C) and relative humidity around 50-70%.
Arrange the squash so that they do not touch each other, allowing air to circulate freely around each fruit.
Leave the squash to cure for approximately two weeks.
During this time, the skin will harden, and the flavors will develop and intensify.
Store Butternut Squash
Proper storage conditions are crucial to maintain the quality and freshness of your cured butternut squash.
Follow these guidelines for successful storage:
Choose a cool and dry storage area with temperatures between 50-55°F (10-13°C).
Basements, pantries, or root cellars are often suitable locations.
Make sure the storage area has good ventilation to prevent moisture buildup and discourage the growth of mold or rot.
Place the cured squash on shelves, slatted crates, or in mesh bags, allowing air to circulate around each fruit.
Avoid stacking or piling the squash, as this can cause pressure points and lead to spoilage.
Regularly inspect the stored squash and remove any that show signs of decay or rot.
One rotten squash can quickly spread to others and compromise the entire storage batch.
Storage Duration
When properly cured and stored, butternut squash can last for several months.
The exact storage duration can vary depending on the condition of the squash at harvest and the storage environment.
Generally, you can expect well-cured butternut squash to remain in good condition for 3-6 months.
Freezing or Preserving
If you have an abundance of butternut squash or want to prolong its shelf life further, you can consider freezing or preserving the squash.
You can peel and cube the squash before freezing, or cook and puree it for future use in soups, stews, or baked goods.
Properly packaged and sealed, frozen butternut squash can last for 8-12 months.
Remember that butternut squash should be consumed promptly once you notice any signs of deterioration or decay.
By curing and storing your butternut squash properly, you can enjoy the delicious taste of this winter staple well beyond the harvest season.
For more harvest tips, check out my guides:
The Art of Harvesting Tomatoes: When and How to Pick the Perfect Fruit
How to Harvest Butternut Squash Seeds?
Harvesting butternut squash seeds is relatively simple.
Here's a step-by-step guide on how to harvest and save the seeds from butternut squash:
Select Mature Squash
Choose a fully mature butternut squash for seed harvesting.
Look for squash that has a hardened, tan or beige skin and a dry stem.
Make sure the squash has been on the vine for the recommended period of 80 to 100 days.
Prepare the Squash
Wash the exterior of the squash with clean water to remove any dirt or debris.
Use a sharp knife to cut the squash in half lengthwise.
Scoop out the Seeds
Use a spoon or your hands to scoop out the seeds and the surrounding pulp from the center of the squash.
Place the seeds and pulp in a bowl or colander.
Separate the Seeds
Separate the seeds from the pulp.
You can do this by gently pulling the seeds away from the stringy pulp with your fingers.
Try to remove as much pulp as possible, but don't worry if a small amount remains.
Rinse the Seeds
Place the seeds in a colander or strainer and rinse them under running water.
Use your fingers to remove any remaining pulp. Be thorough but gentle to avoid damaging the seeds.
Dry the Seeds
Spread the rinsed seeds out in a single layer on a clean, non-stick surface such as a baking sheet or a plate lined with paper towels.
Allow the seeds to air dry for a week or two. Place them in a warm, dry location with good air circulation.
Avoid direct sunlight, as it can bleach the seeds.
Seed Storage
Once the butternut squash seeds are completely dry, store them in a cool, dry, and dark place.
Airtight containers such as glass jars or envelopes work well for seed storage. Be sure to label the container with the variety and the date of collection.
Seed Viability
It's important to note that the viability of butternut squash seeds can vary.
As a general guideline, try to use the seeds within 3 to 4 years for best germination rates.
However, keep in mind that the older the seeds, the lower the germination rate may be.
Conclusion
Growing and harvesting butternut squash can be a rewarding experience, providing you with a bounty of delicious winter squash.
By understanding the stages of ripening, proper harvesting techniques, and appropriate storage methods, you can enjoy your butternut squash for months to come.
Happy gardening and bon appétit!
Ready to learn more about harvesting the bounty from your vegetable garden? Check out my guides:
