Harvesting Chamomile: From Garden to Teacup
This website is reader-supported - thank you! This post may contain affiliate links. As an Amazon Associate, I earn from qualifying purchases at no extra cost to you.
Chamomile is hands-down one of my favorite herbs to grow and harvest.
There’s something so peaceful about those tiny, delicate flowers with their mild, apple-like scent that instantly feels calming.
I love how versatile chamomile is—whether it’s for a cozy cup of tea or even just a dried bouquet for decoration.
If you’ve got chamomile growing in your garden, learning how to harvest it the right way means you’ll get to enjoy all those benefits.
Let me walk you through how I make the most of my chamomile harvest, step by step.
To learn more about growing herbs that are great for making tea, check out my guides:
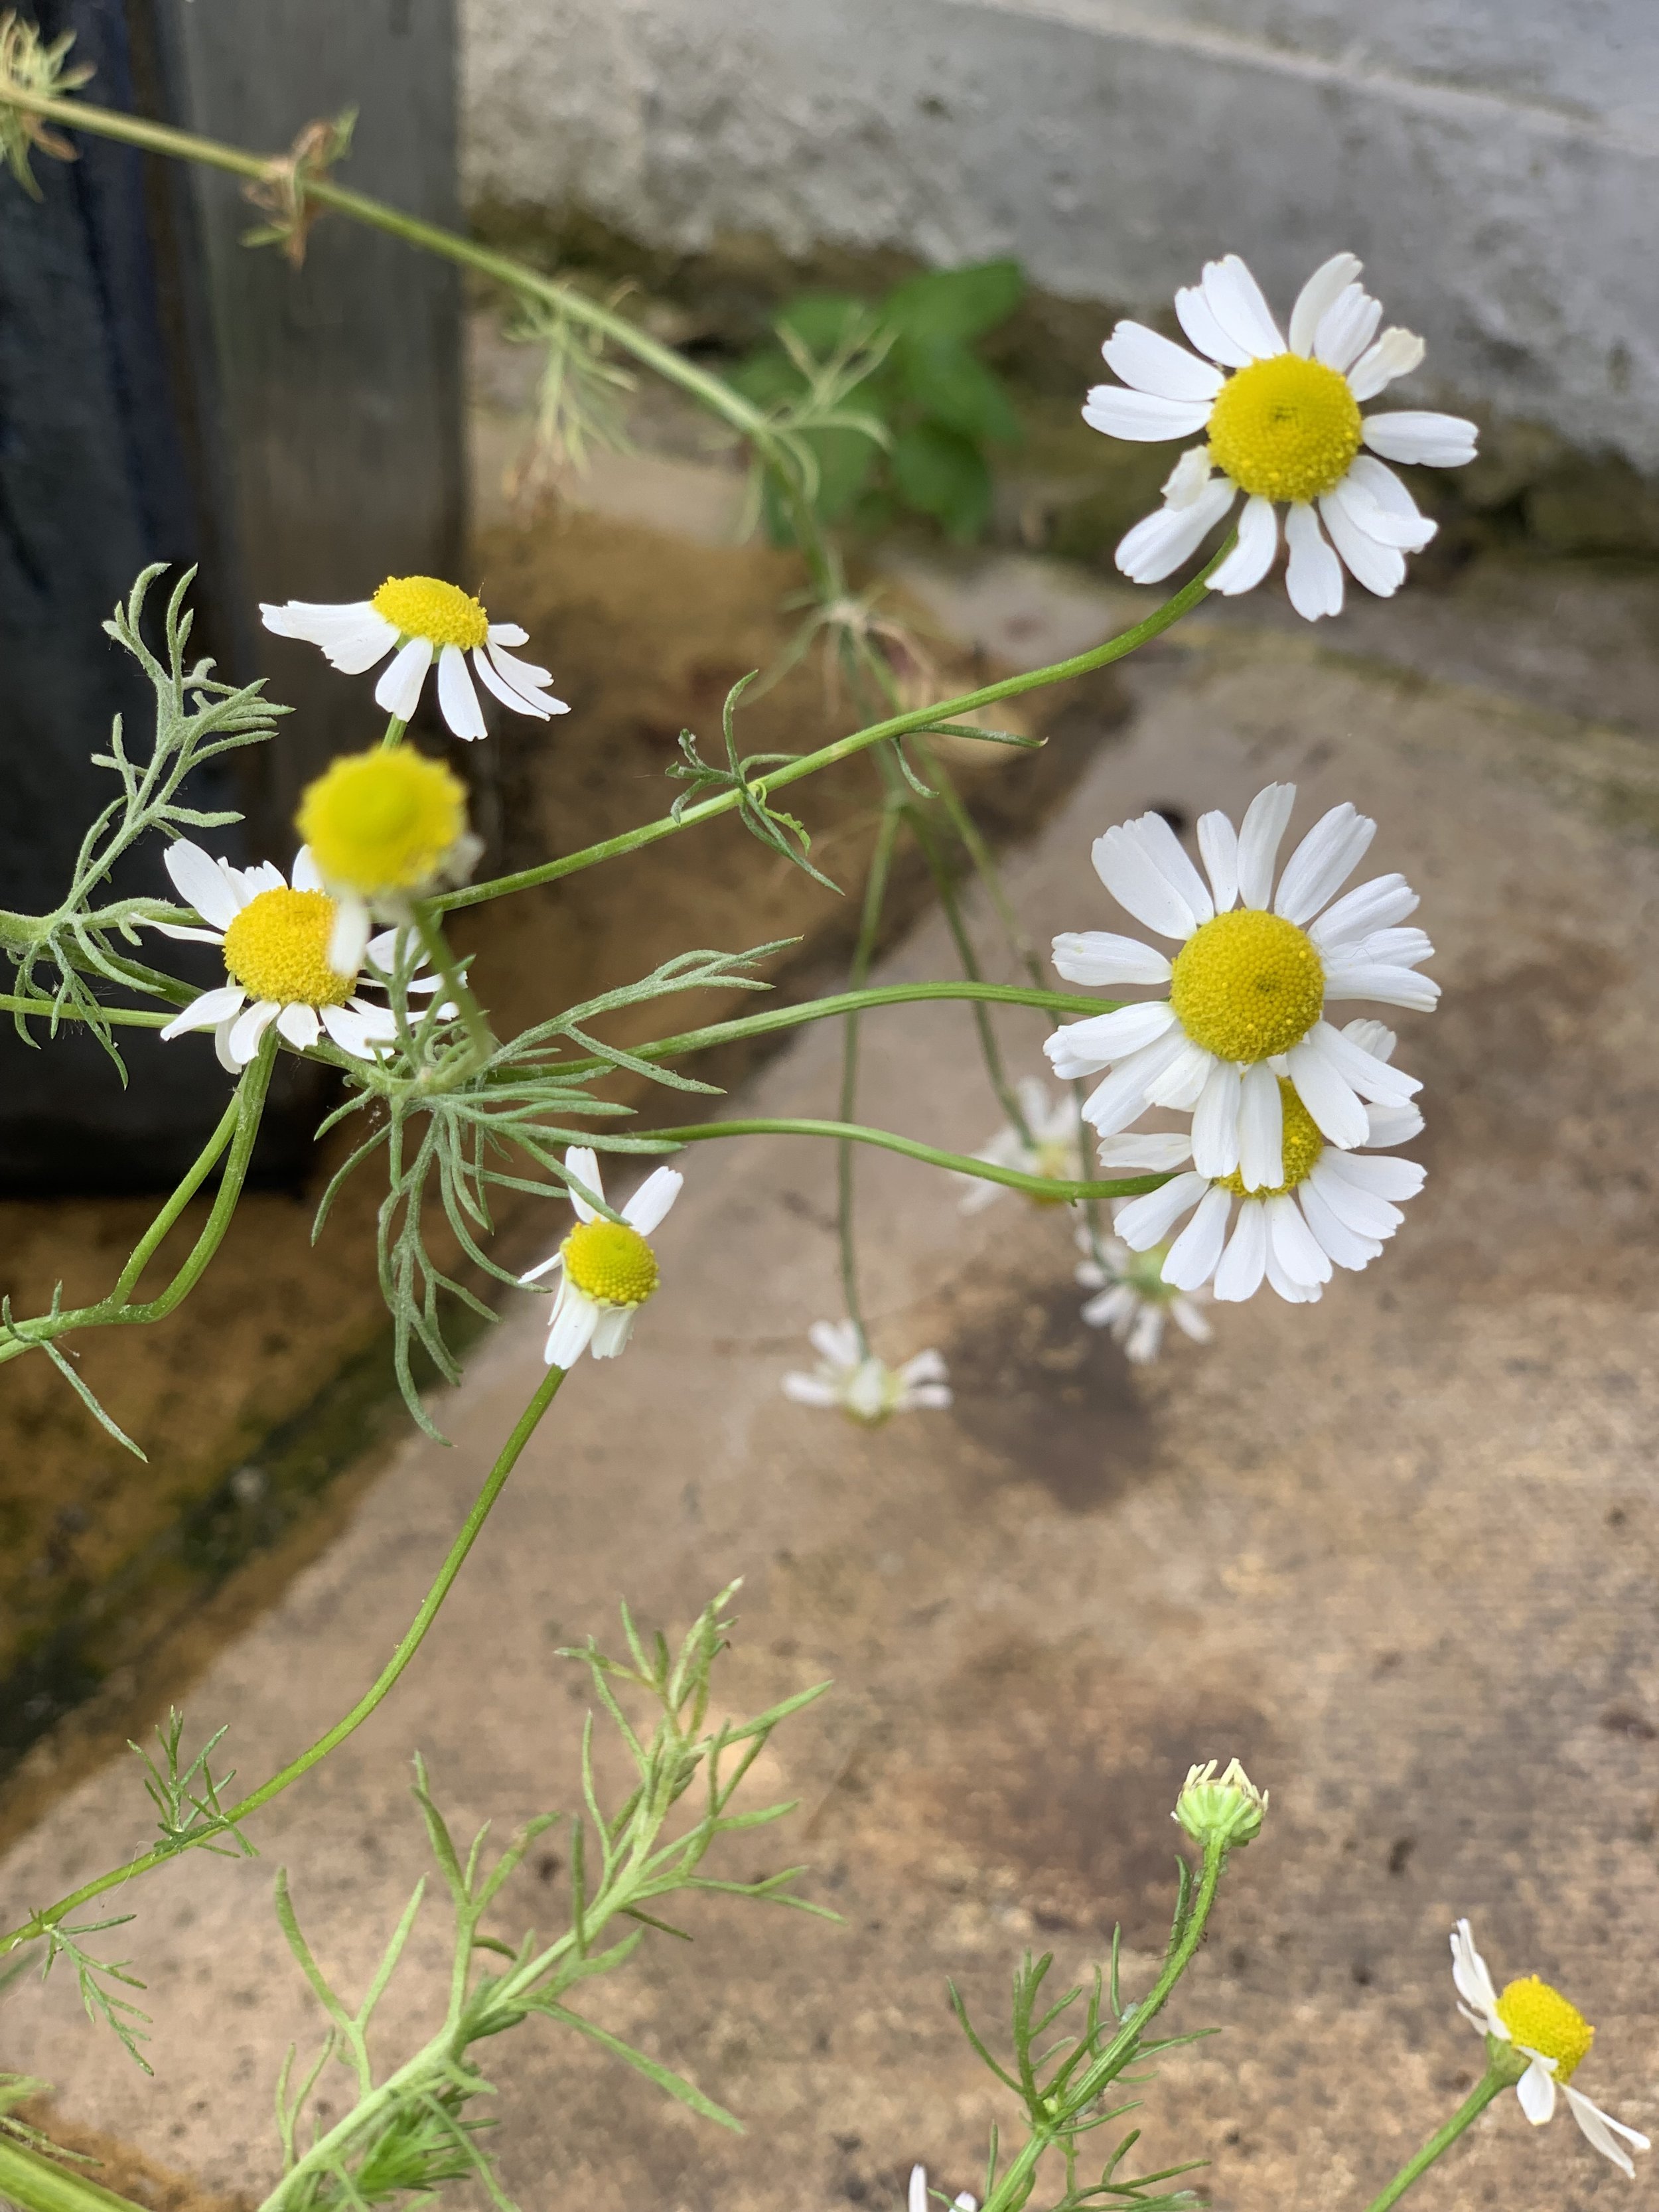
When to Harvest Chamomile Flowers
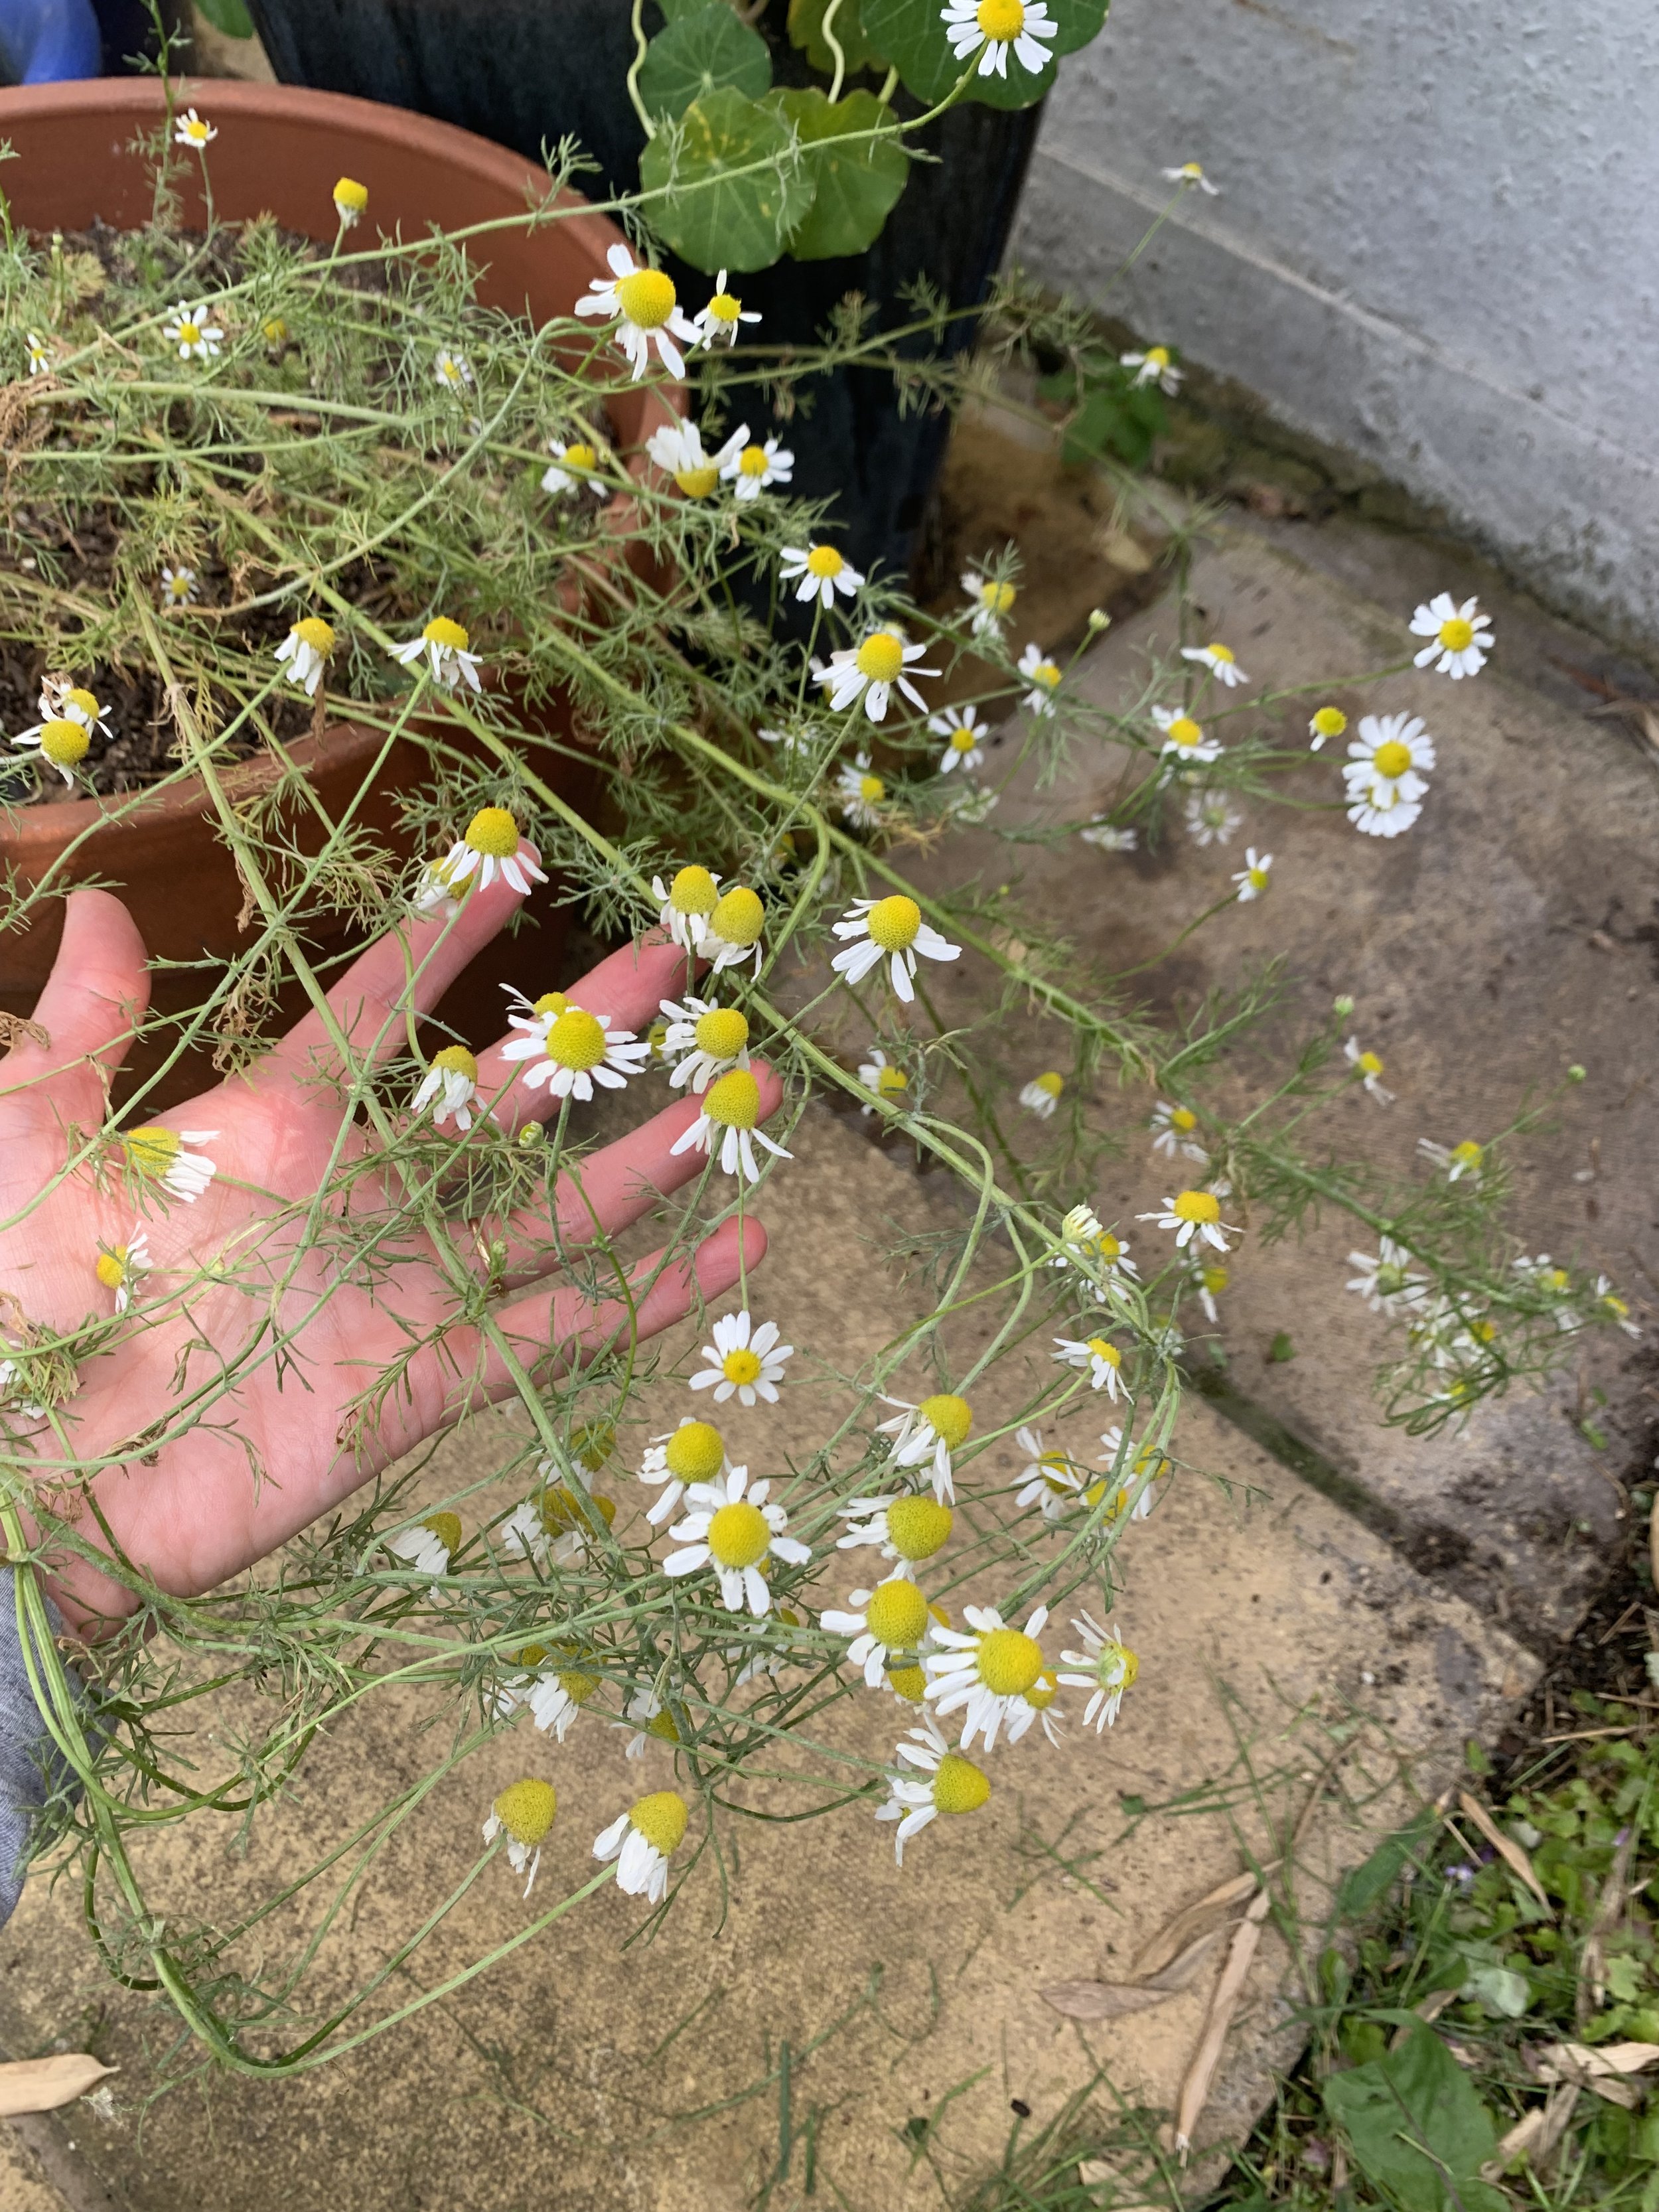
Timing really makes all the difference with chamomile.
I’ve found the sweet spot for harvesting is early in the morning, after the dew has dried off but before the sun gets too intense.
It’s the perfect moment when the flowers are fresh and full of life.
Keep an eye out for fully open flower heads—those with crisp, white petals that lie flat or curve slightly downward.
If the petals have started to curl backward, it’s a sign the flowers might be a little past their prime.
Trust me, this small detail can make a big difference in the quality of your harvest.
For more harvesting tips, check out my guides:
How to Harvest Chamomile Flowers
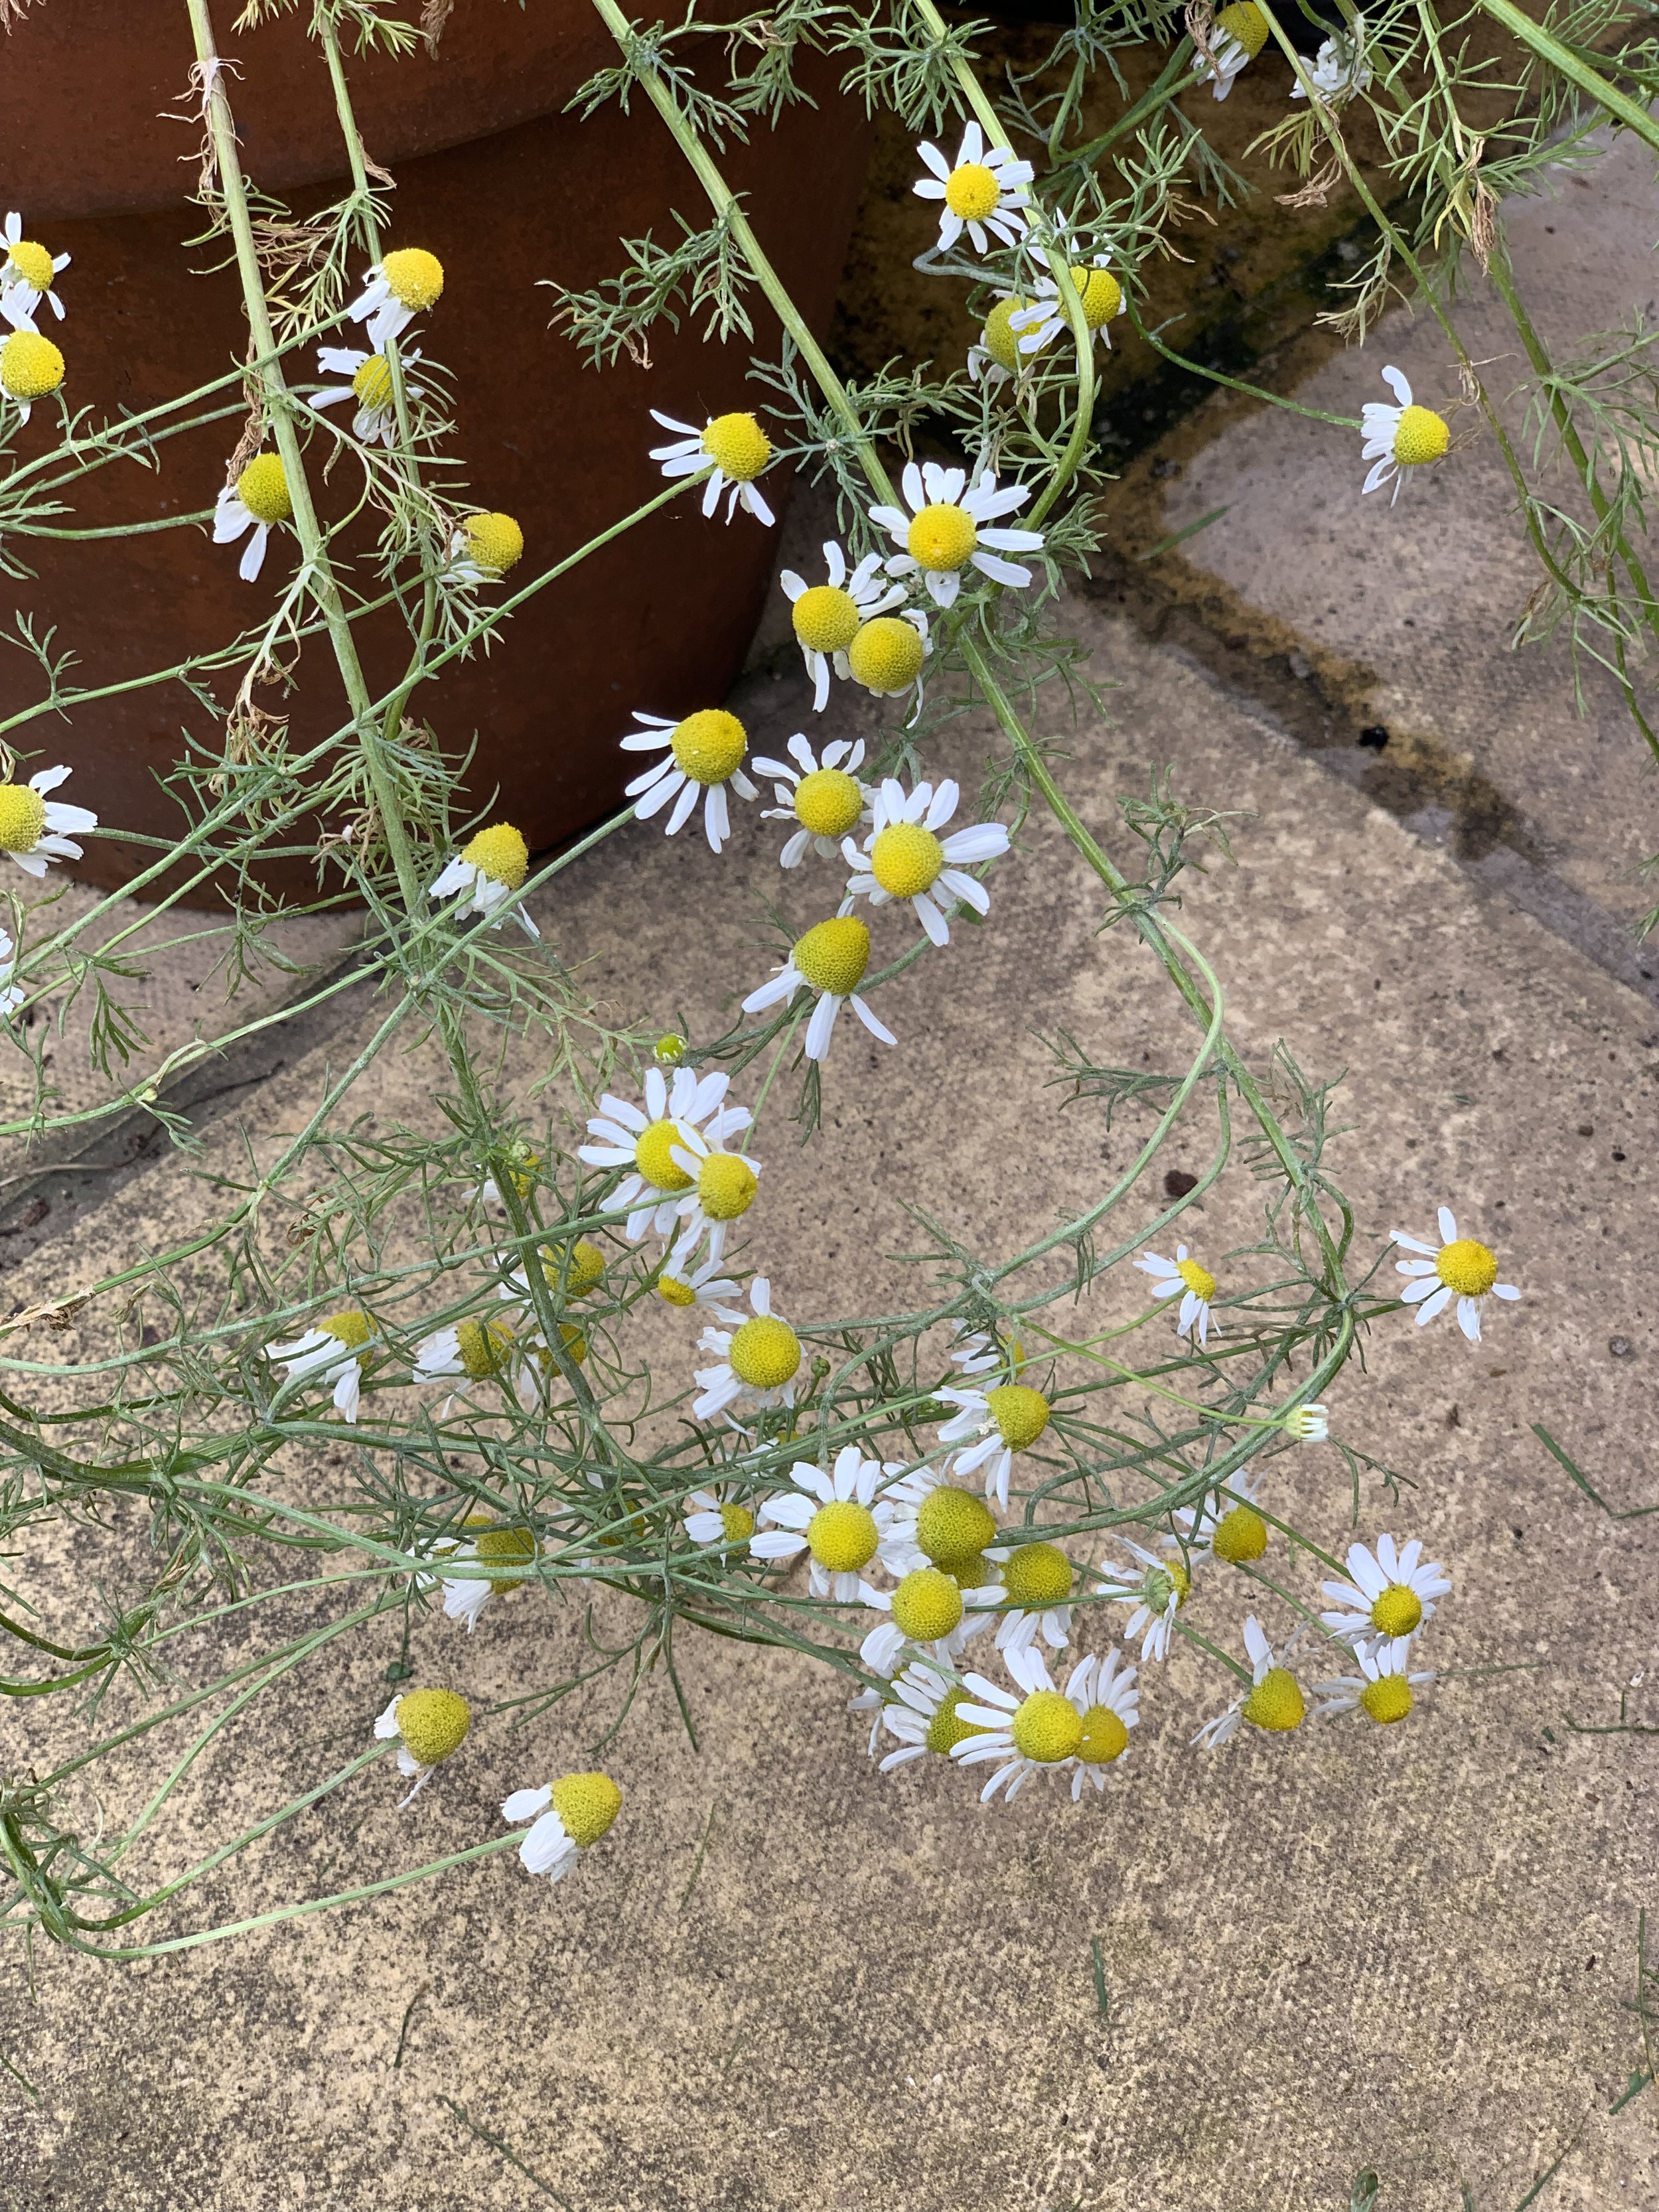
Use the Right Tools:
You can use your fingers or small scissors to harvest the flower heads.
Personally, I love using my hands and it’s surprisingly quick.
The flowers pop off easily, so it’s really satisfying.
Pick Individual Flower Heads:
Here’s my trick: gently pinch the stem just below the flower between your thumb and forefinger, then pop the flower off with a smooth motion.
It’s quick, simple, and ensures you’re only harvesting the flower heads, leaving the plant to keep producing.
Avoid Damaging the Plant:
Be mindful and gentle.
Chamomile plants are pretty resilient, but yanking on them can do more harm than good.
When handled with care, the plant will reward you with weeks of fresh blooms.
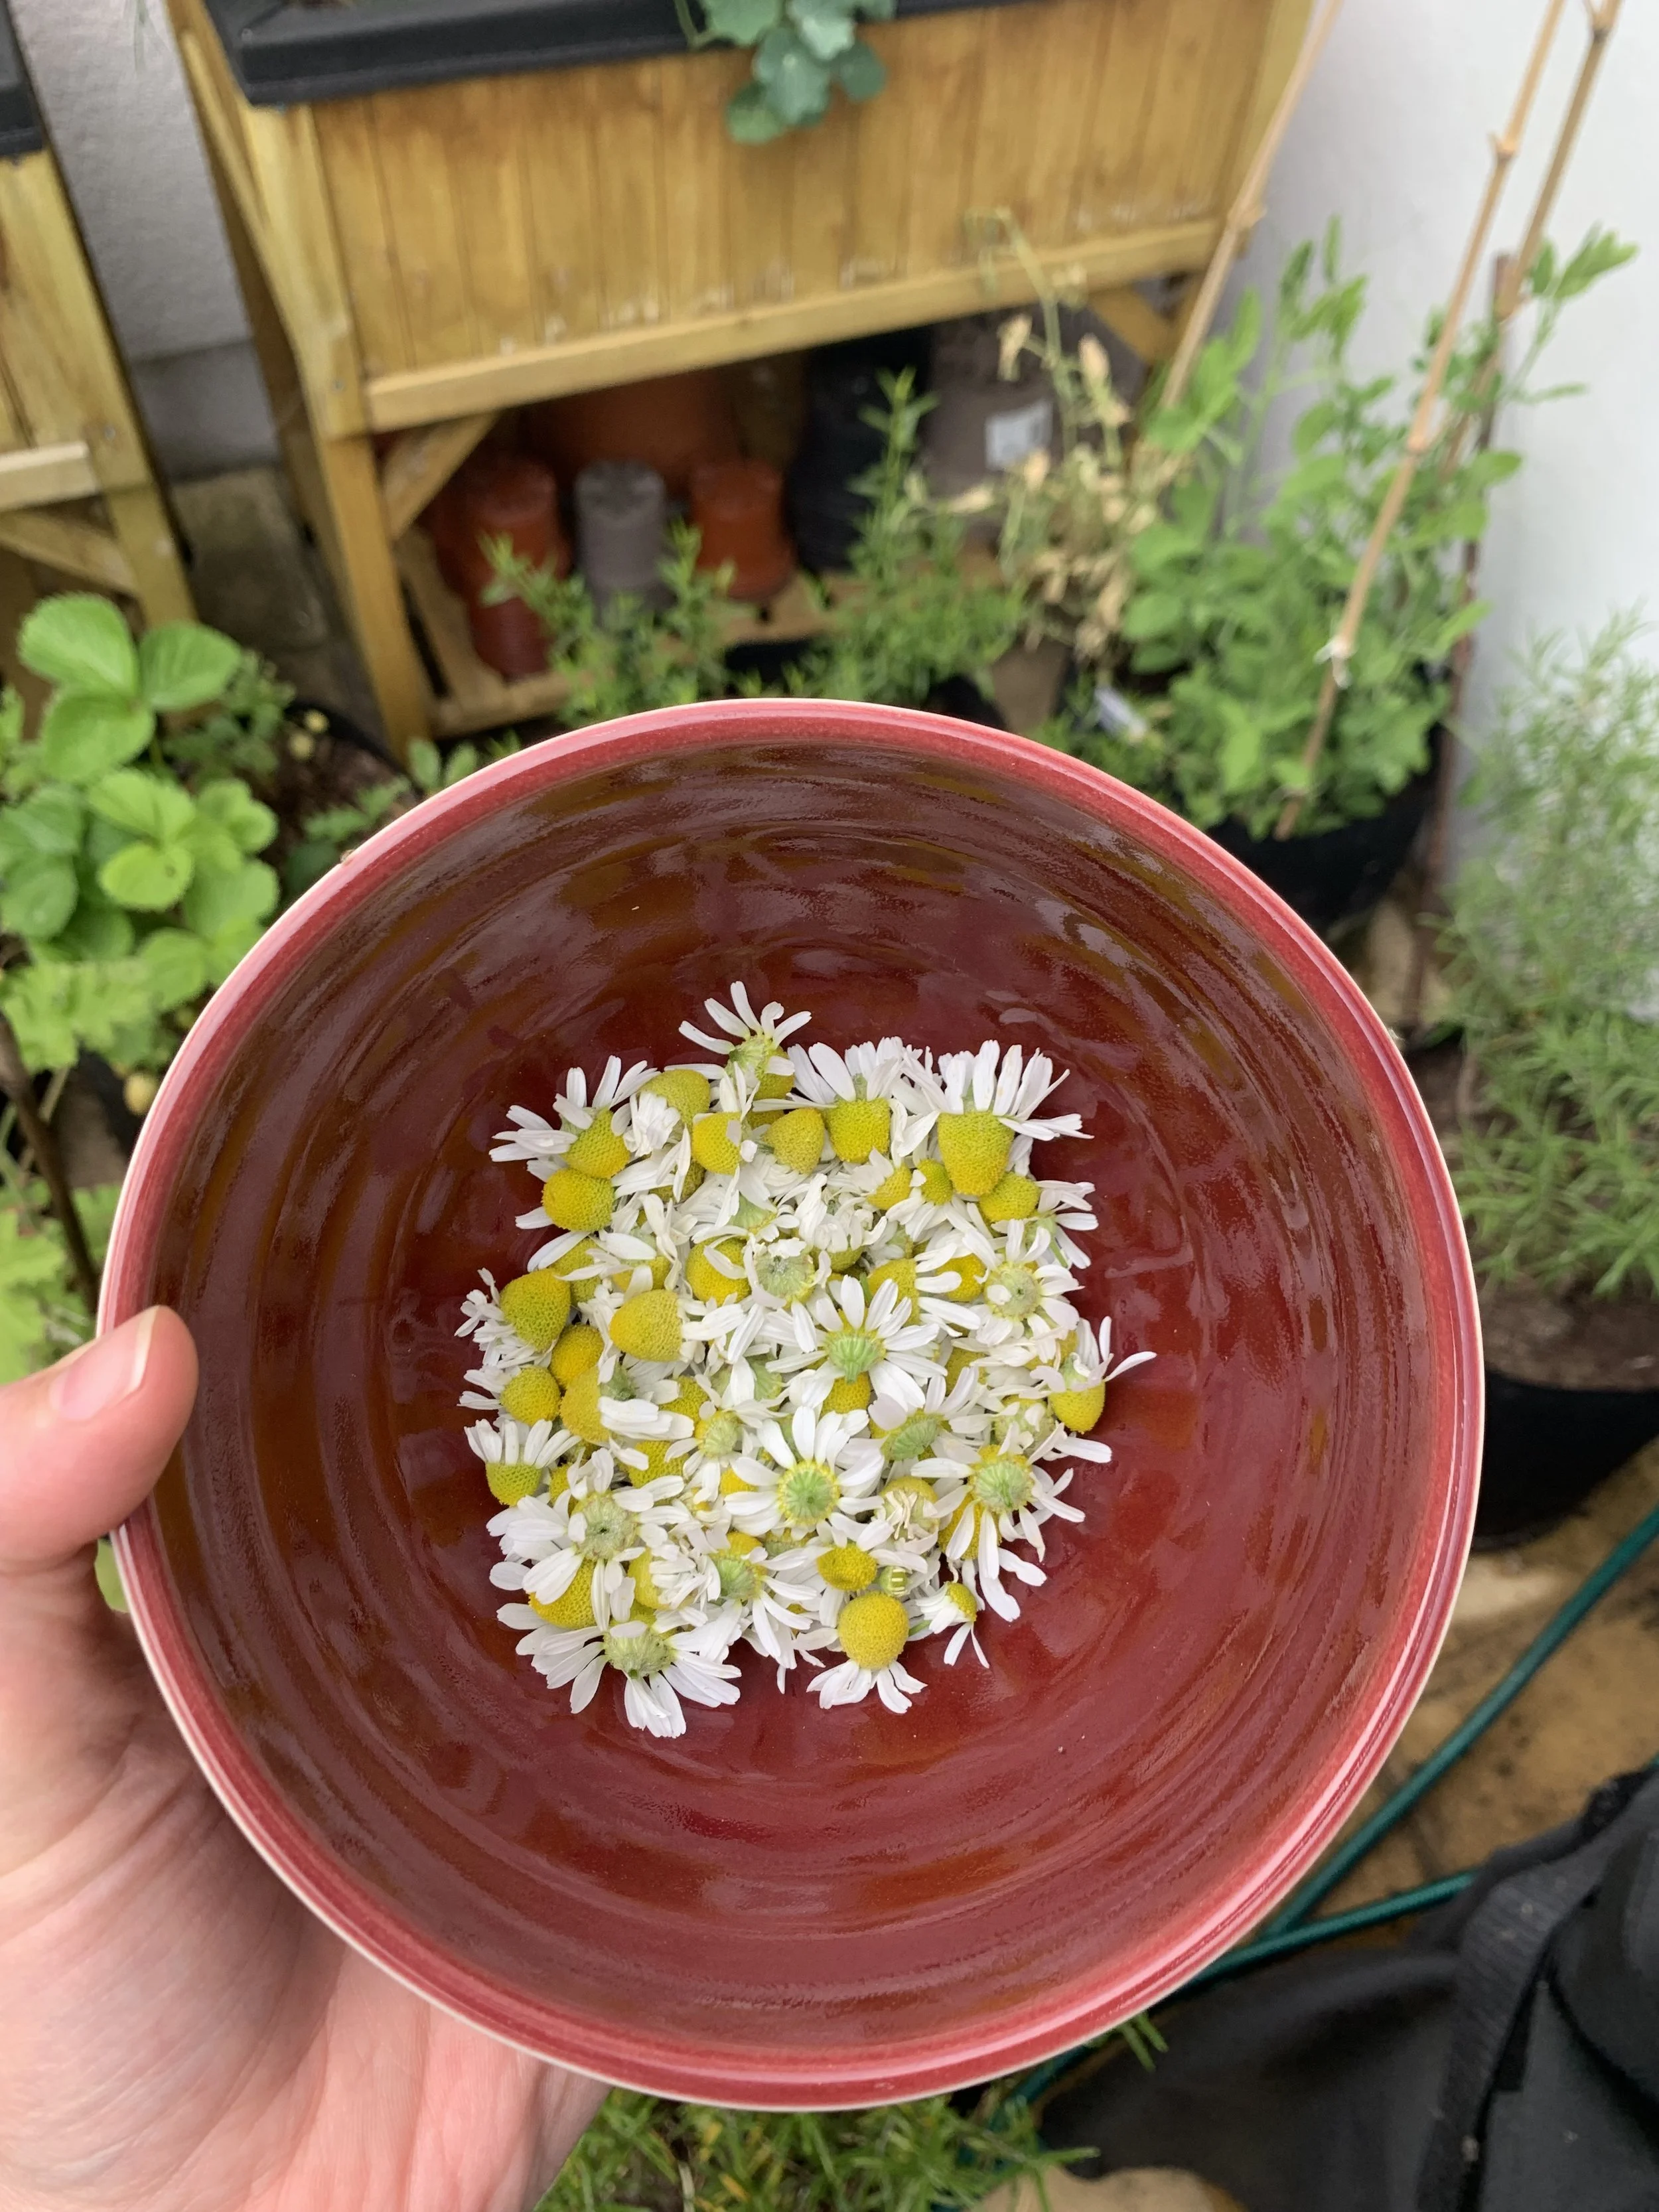
Collect in a Basket or Tray:
A great way to harvest is to keep a shallow basket handy to gather the flowers.
It keeps them from getting squished and allows some airflow, which helps prevent wilting.
Plus, it’s a lovely way to see your harvest build up as you go.

For more herb gardening tips, check out my guides:
Quick Tips for Harvesting Chamomile
Harvest Regularly:
Chamomile thrives on regular harvesting.
Every time you pick those sweet little flower heads, it signals the plant to keep producing more blooms.
It’s like the plant’s way of rewarding your efforts with an even bigger harvest.
Grow Both Varieties:
If you have space, try growing both German and Roman chamomile.
German chamomile is the go-to for harvesting flowers because it’s annual and produces lots of blooms, while Roman chamomile’s perennial nature makes it a wonderful ground cover that smells amazing every time you brush past it.
Use the Whole Plant:
While the flowers are definitely the main attraction, don’t overlook the leaves!
They’re subtly fragrant and can add a unique twist to teas or garnishes.
You can mix the leaves and flowers for a little variety in your homemade blends.
For more edible garden ideas, check out my guides:
Drying Chamomile Flowers
Once you’ve harvested your chamomile, it’s time to dry it—and trust me, this part is just as satisfying as the picking.
Watching those delicate flowers transform into perfectly preserved ingredients for tea, skincare, or decoration always feels magical.
Proper drying locks in that subtle flavor and all the medicinal goodness, so let’s do it step by step.
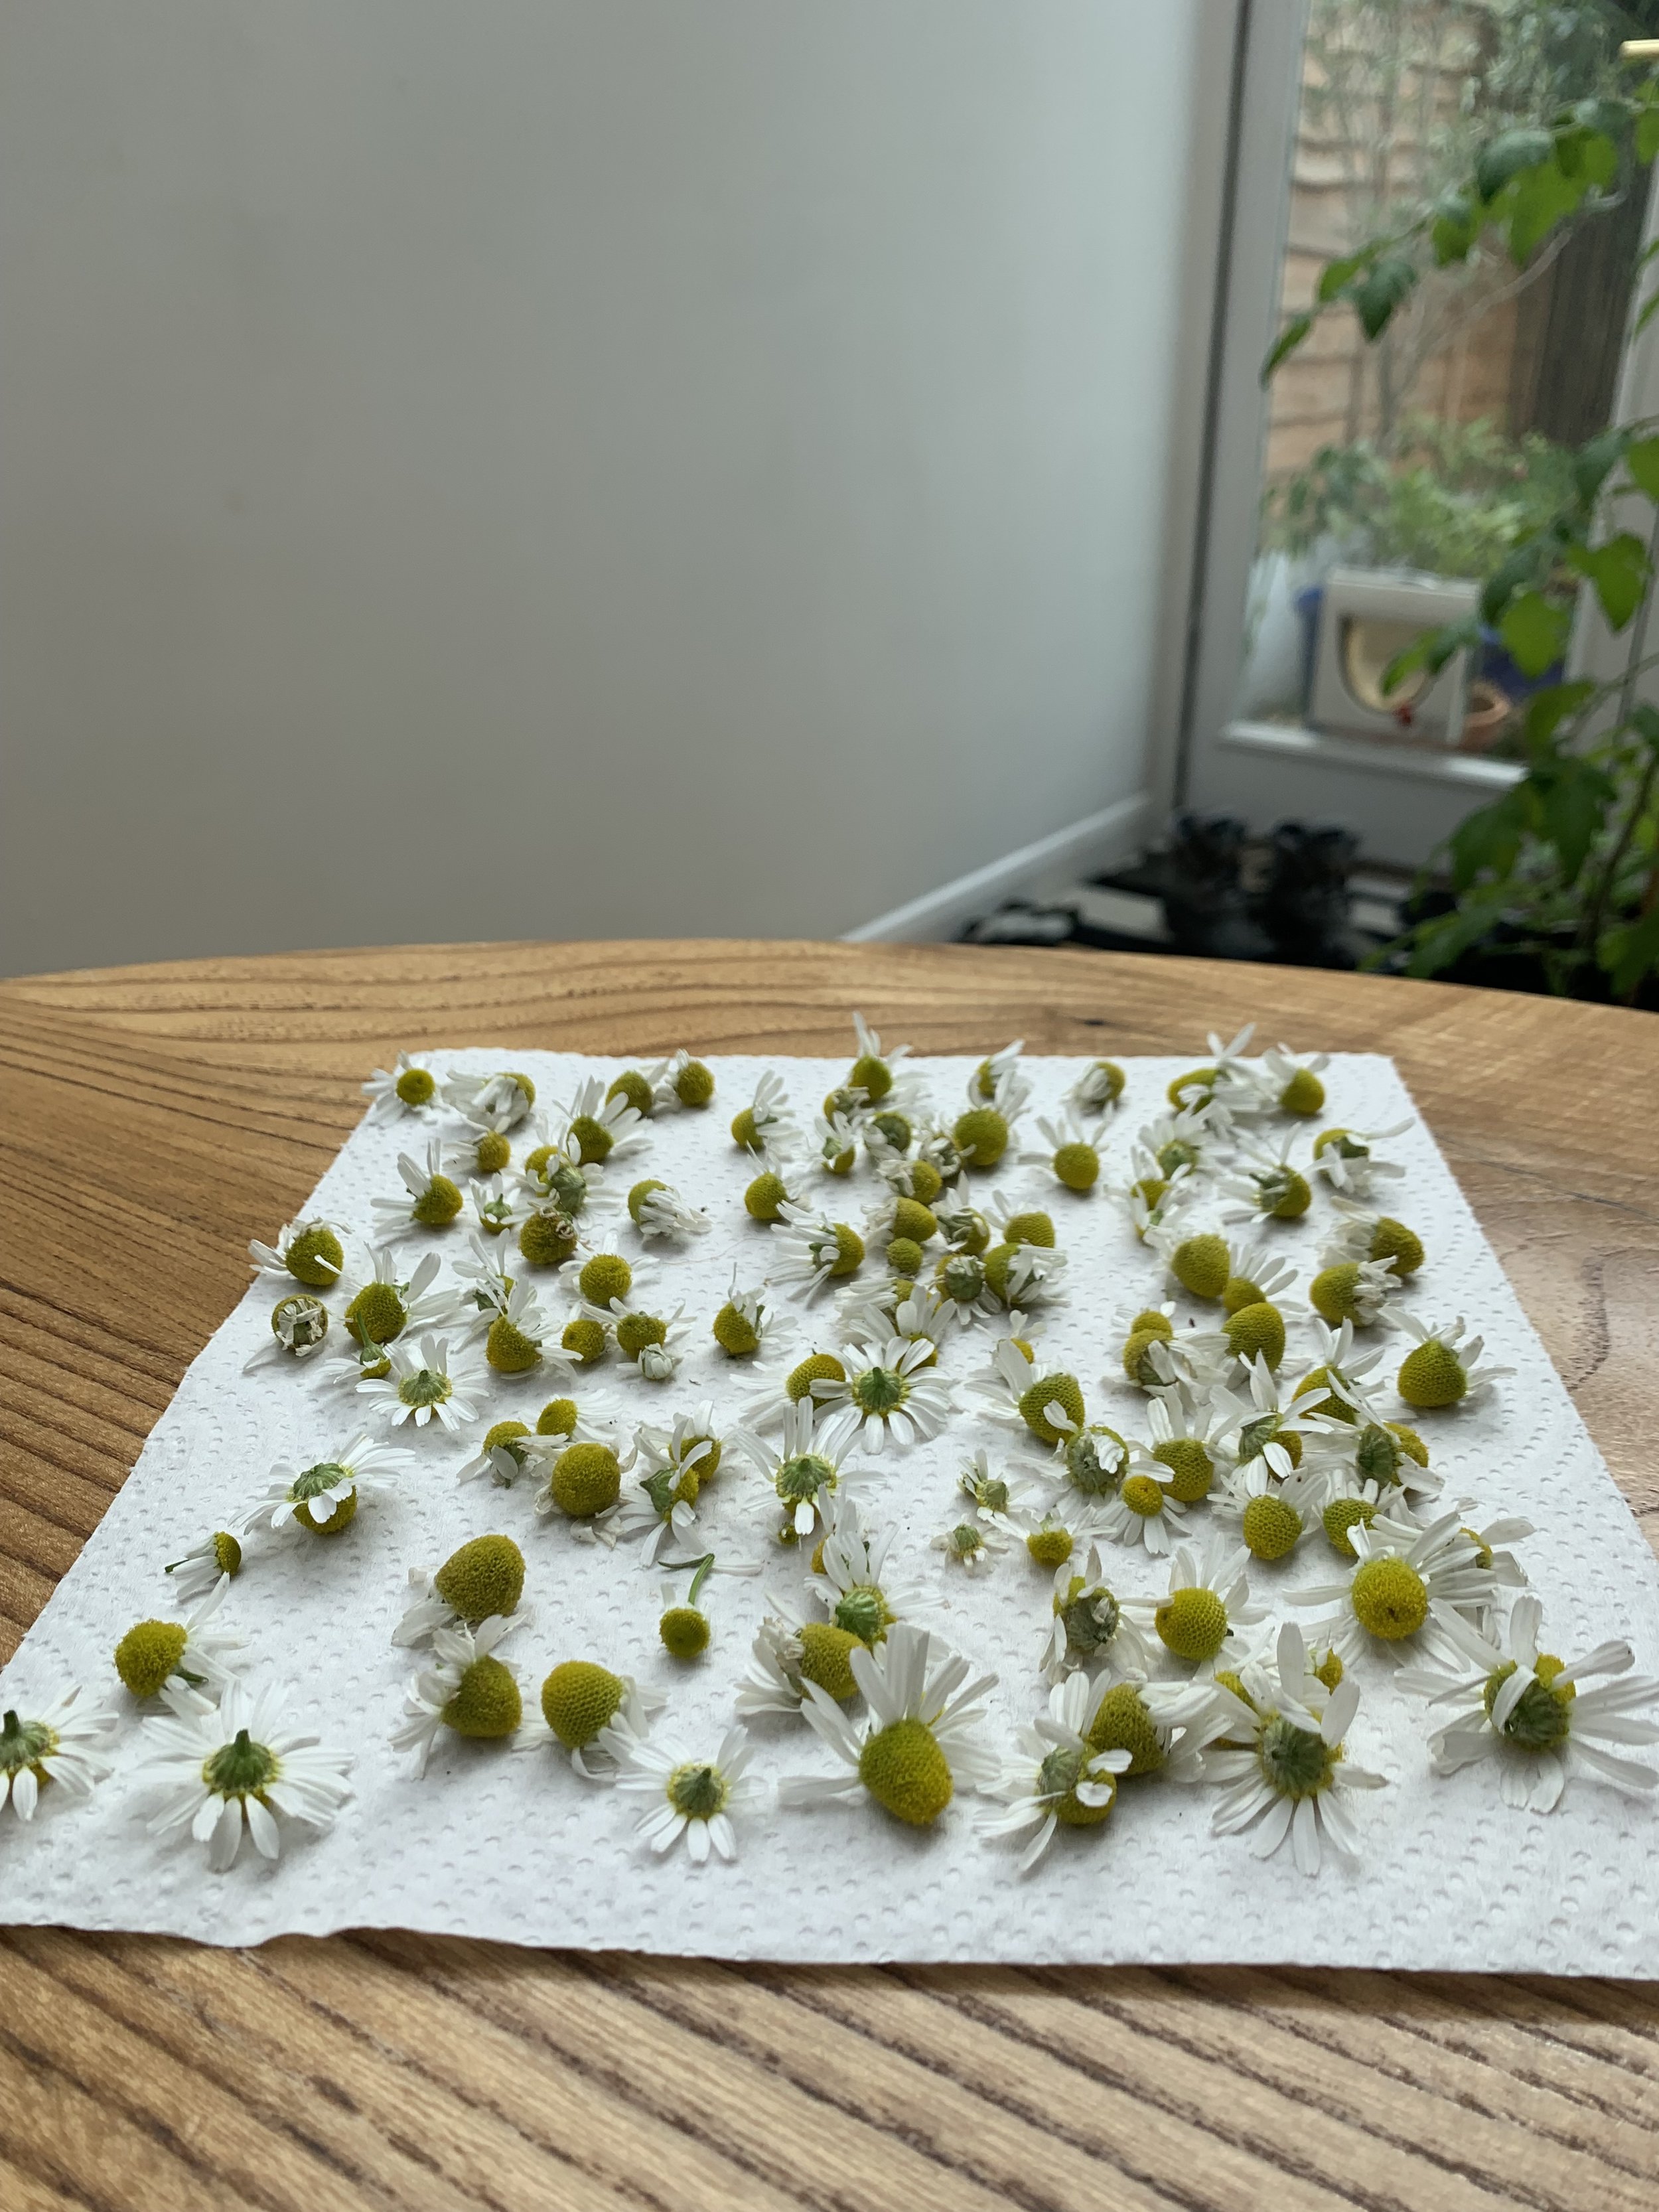
Air Drying:
Spread your flowers out in a single layer on something breathable like a clean screen, drying rack, or even a paper towel if that’s what you have on hand.
Make sure to place them in a cool, dark spot with plenty of airflow—good circulation is key!
Avoid direct sunlight at all costs because it can zap the flowers’ natural benefits and color.
I like to check on them every couple of days, gently fluffing them around to make sure they’re drying evenly.
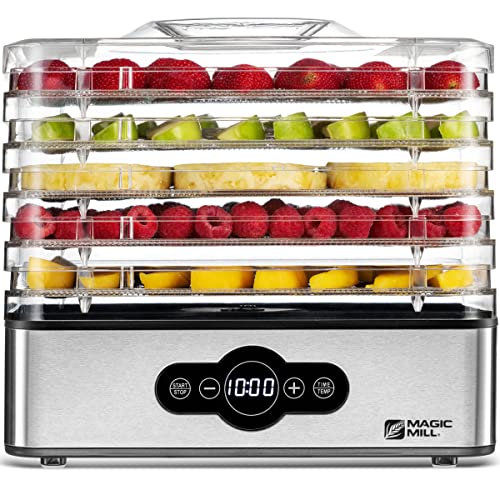
Using a Dehydrator:
When you’re short on time or working with a big batch of chamomile, a dehydrator can be your go-to tool.
It’s like having an extra set of hands in the drying process!
Set it to a low temperature (around 95°F or 35°C) to gently dry the flowers while preserving their delicate aroma.
What’s great about a dehydrator is how consistent and reliable it is—you just pop the blossoms in, let them dry until they’re perfectly crisp, and you’re done.
If you grow a lot of chamomile, this method can save you so much time and effort, and it’s especially helpful when you need to process a big harvest quickly.
Check for Dryness:
You’ll know the flowers are perfectly dried when they crumble easily between your fingers.
If there’s any hint of moisture left, give them a bit more time—better to be patient now than risk mold later.
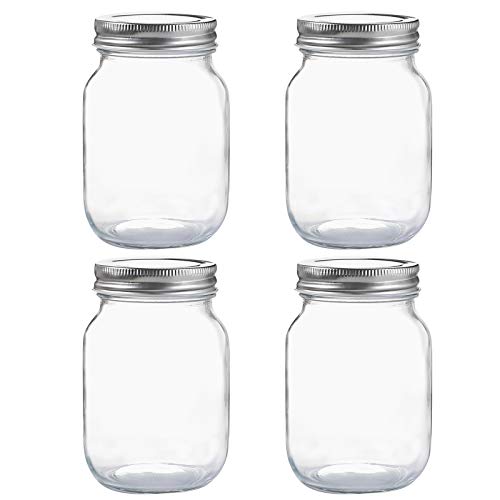
Store Properly:
Once the flowers are completely dry, carefully place them in an airtight container to keep them fresh for as long as possible.
Mason jars are my go-to because they’re sturdy and seal tightly.
I always add a little label with the harvest date, which not only helps me track how fresh the batch is but also makes the process feel so satisfying and organized.
Keeping the jar in a cool, dark spot is key to preserving the delicate scent and properties of the dry chamomile flowers.
Every time I open the jar, I’m reminded of the day I picked those blossoms, and it always feels like a little connection back to the garden.
To learn more about preserving flowers from your garden, check out my guides:
What to Do with Chamomile Flowers
Once your flowers are dried, the possibilities are endless!
Here are a few of my favorite ways to use chamomile:
Chamomile Tea:
There’s nothing quite like brewing your own chamomile tea.
To make it, just scoop a tablespoon of dried chamomile flowers into a tea strainer or infuser.
Pour freshly boiled water over the flowers and let them steep for about 5 minutes.
I like to cover my cup while it steeps to trap all those soothing oils and flavors.
When it’s ready, strain the flowers and sip slowly.
You can enjoy it plain, or add a drizzle of honey or a squeeze of lemon if you’re feeling fancy.
Homemade Skincare:
Chamomile’s soothing properties make it a perfect ingredient for skincare.
You can infuse the dried flowers in oil to create a calming salve or mix it into a DIY lotion.
It feels like a little spa moment at home.
Decorative Touches:
Dried chamomile flowers add a nice touch to potpourri, sachets, or even homemade candles.
They’re not just functional—they’re beautiful, too.
You could also include them in gift packages for an extra personal touch.
For more inspiration, check out my guides:
Types of Chamomile
Chamomile comes in two main varieties: German chamomile and Roman chamomile.
Each has its own unique characteristics and uses, so here’s what you should know about both.
German Chamomile:
This is the most common type for harvesting flowers and making tea.
German chamomile is an annual plant that grows tall and produces an abundance of blooms.
The flowers have a sweet, slightly apple-like scent, and they’re perfect for drying and using in teas.
It’s the variety I always reach for when I’m looking to harvest a large amount of chamomile.
Here are the seeds I recommend:

Roman Chamomile:
Unlike German chamomile, Roman chamomile is a low-growing perennial, making it a wonderful ground cover.
Its flowers are smaller, but they’re just as fragrant.
Roman chamomile is great for fresh arrangements or dried wreaths.
It also works beautifully in teas, but since it produces fewer flowers, it is often paired with other herbs for a blended brew.
If you have space, growing both varieties can give you the best of both worlds—a steady supply of flowers for tea and plenty of greenery and blooms to enhance your garden.
Here are the seeds I recommend:

For more harvesting tips, check out my guide:
FAQs
Do you have to dry chamomile to make tea?
No, you don’t have to dry chamomile to make tea.
Fresh flowers work beautifully and give a mild, slightly sweeter flavor.
That said, drying them allows you to save a stash for later, so you can enjoy chamomile tea whenever you want without having to pick fresh flowers each time.
How do you harvest chamomile seeds?
Once the flowers have fully bloomed and start to dry on the plant, they’ll form seeds.
Carefully snip the dried flower heads and place them in a bowl or paper bag.
Gently rub the flower heads between your fingers, and you’ll see the tiny seeds fall out.
It’s a bit of a patient process, but collecting your own seeds is so rewarding!
Can you harvest chamomile leaves?
Yes, absolutely!
While the flowers are the star of the show, the leaves have a subtle herbal flavor and can be used fresh or dried.
You can toss a few leaves into tea blends or use them as a garnish for a bit of extra flair.
How long does chamomile tea last?
If you store dried chamomile flowers in an airtight container away from heat and light, they can last up to a year.
For the freshest flavor and potency, though, I try to use mine within six months.
There’s just something about a fresh cup of chamomile tea that hits differently!
Wrap-Up
Harvesting chamomile can become one of the most rewarding parts of your gardening routine.
I love how this herb can transition effortlessly from the garden to the kitchen, with blossoms that are perfect for tea or even infused into essential oils.
Growing chamomile is one of my favorite things, and it’s so versatile that it fits into any garden setup.
I’m always amazed at how much beauty and utility these tiny blossoms bring to my space.
Here’s to many cups of homegrown chamomile tea!
Want to grow more herbs this year? Check out my guides:
Pin this post to save it for later!