How to Grow Hostas from Seed
This article has links to products that I may make commission from.
Hostas, with their beautiful foliage and shade-loving nature, are a must-have in many gardens.
Yet, while it is easy to purchase these plants from nurseries, there's a unique satisfaction that comes from growing them from seed.
The process of sowing hosta seeds and diving into the world of seed starting can be tricky but equally rewarding.
My guide to growing hostas from seed will walk you through every step of cultivating hostas from the tiny seed to the full, leafy splendor they are known for.
To learn more about growing hosta, check out my guide:
To learn more about growing from seed, check out my guide:
Understanding Hostas
Hostas, sometimes referred to as 'Plantain Lilies' or 'Lancet Plant,' are native to northeast Asia but have been popular in Western gardens for many years.
One of the primary reasons for their popularity is their adaptability.
Let's dive deeper into understanding these wonderful plants:
Appearance and Varieties:
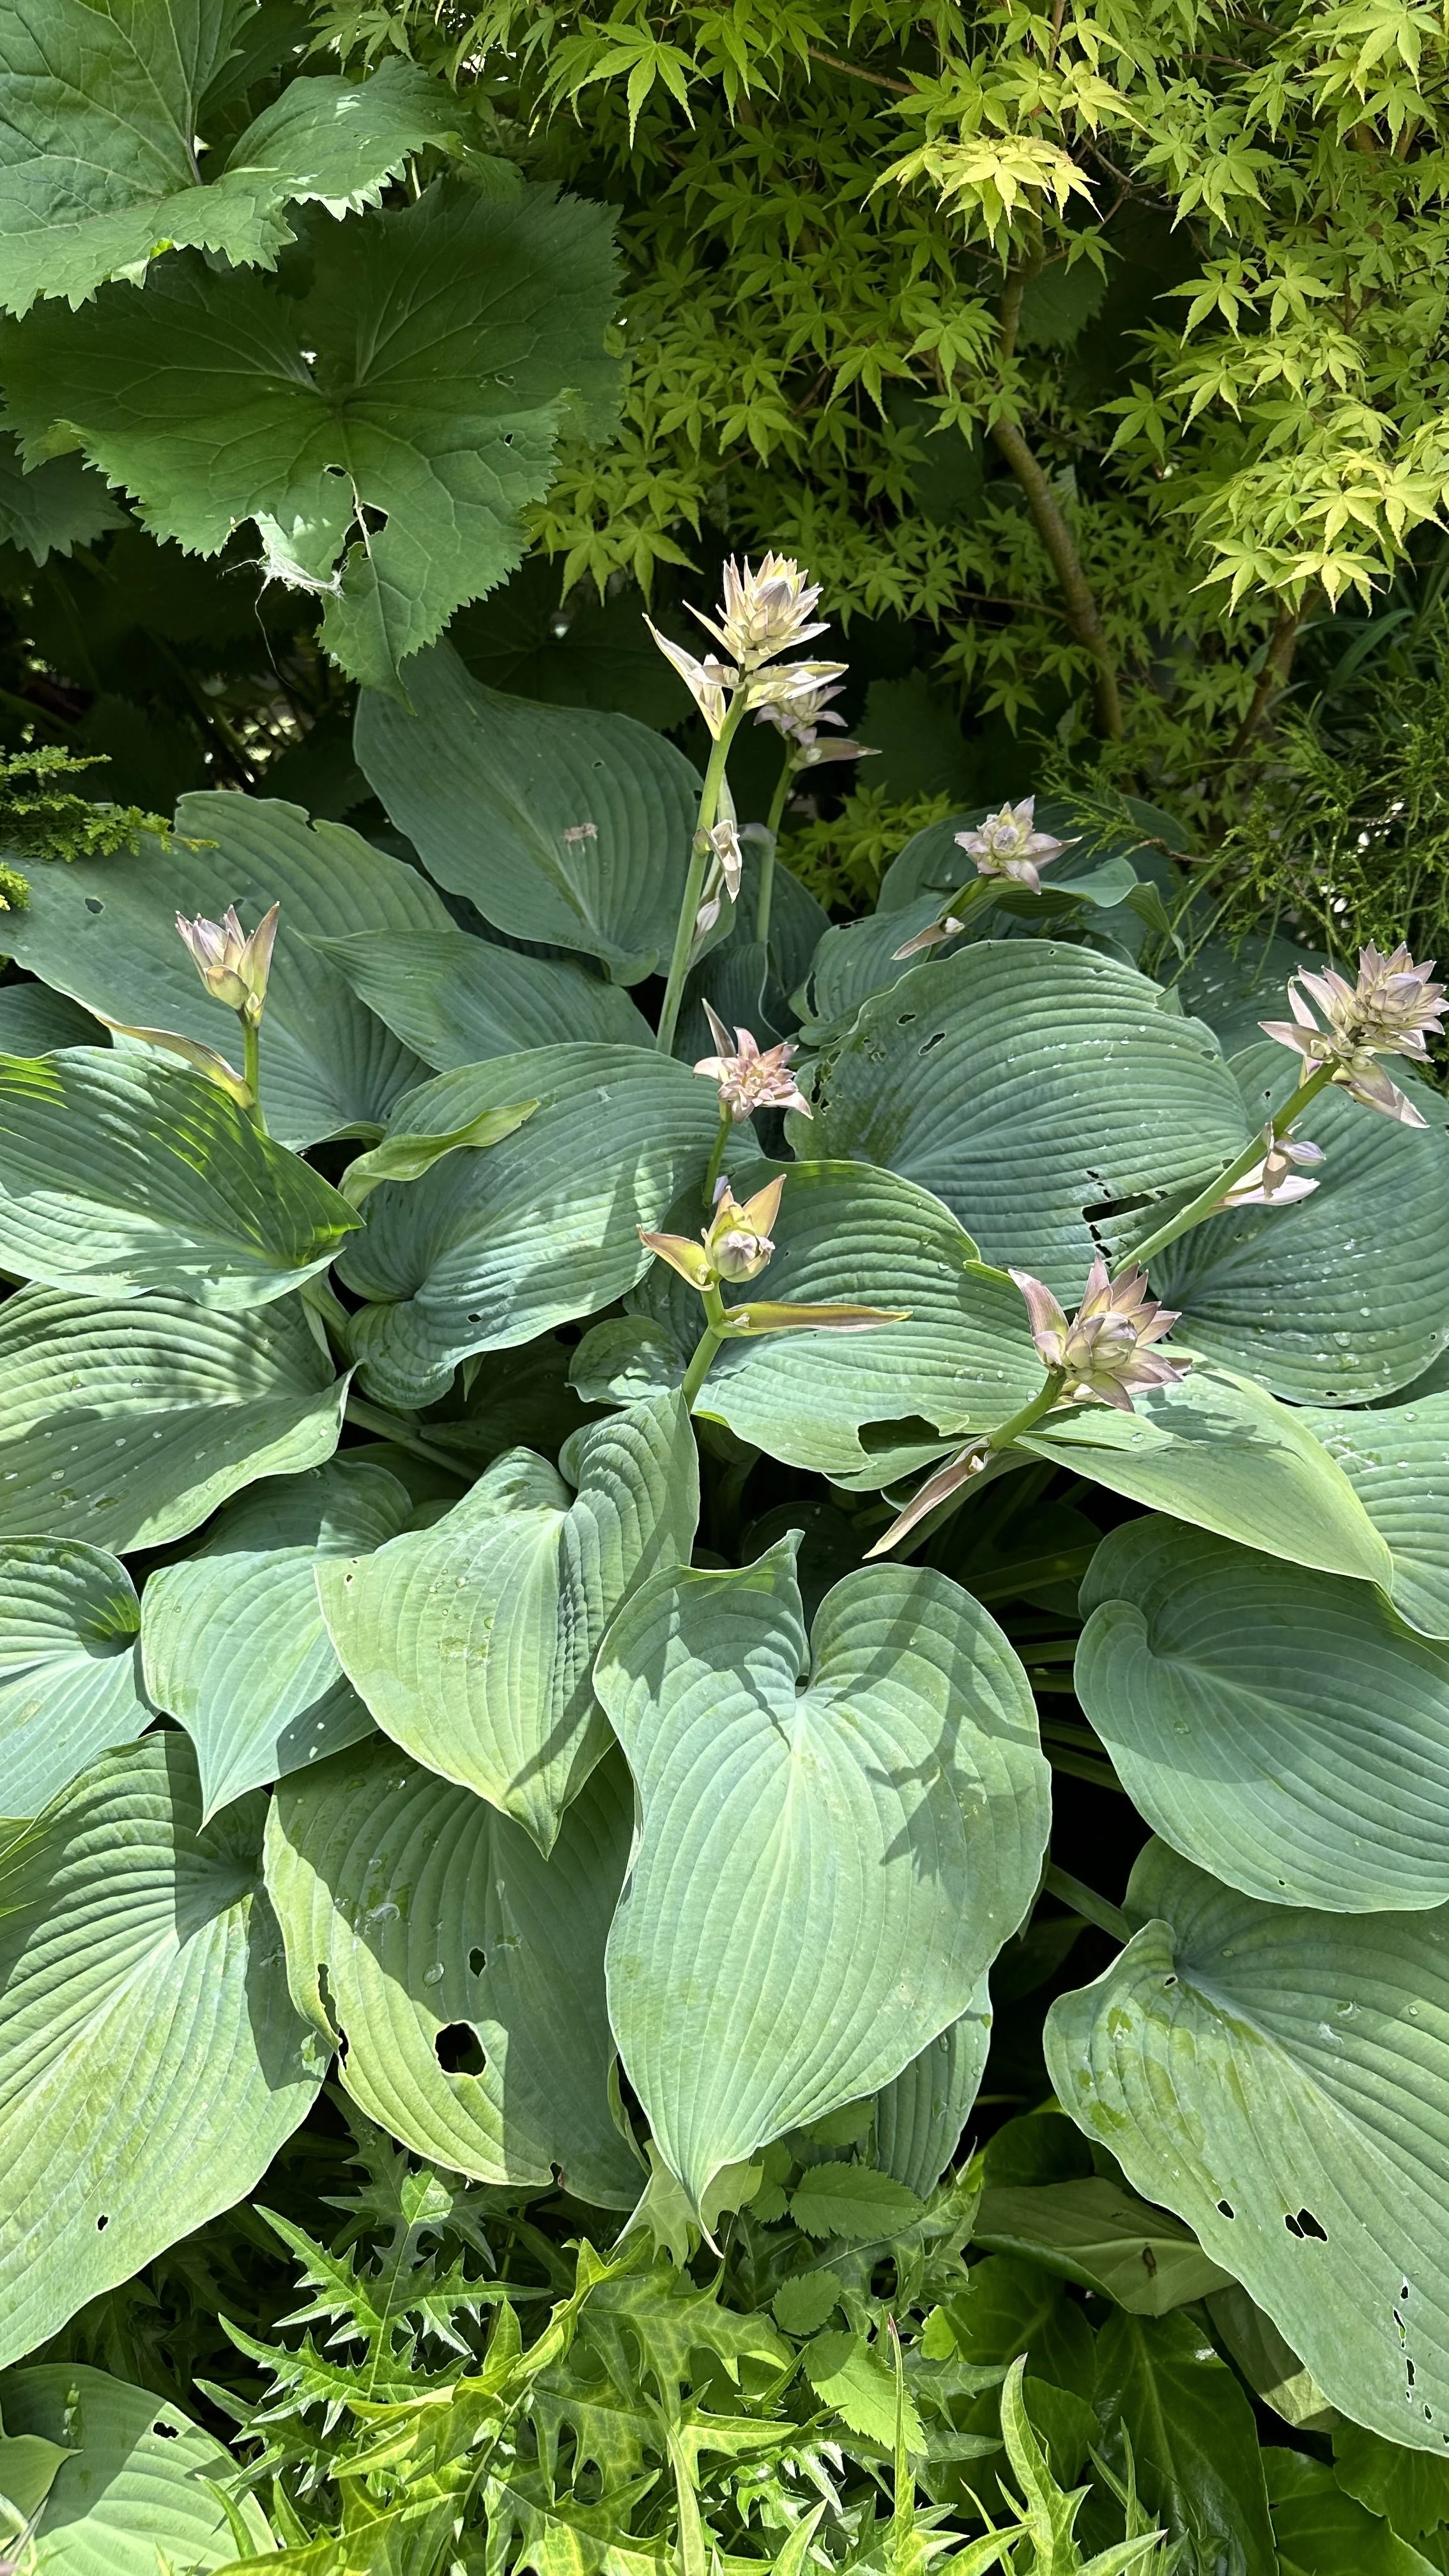
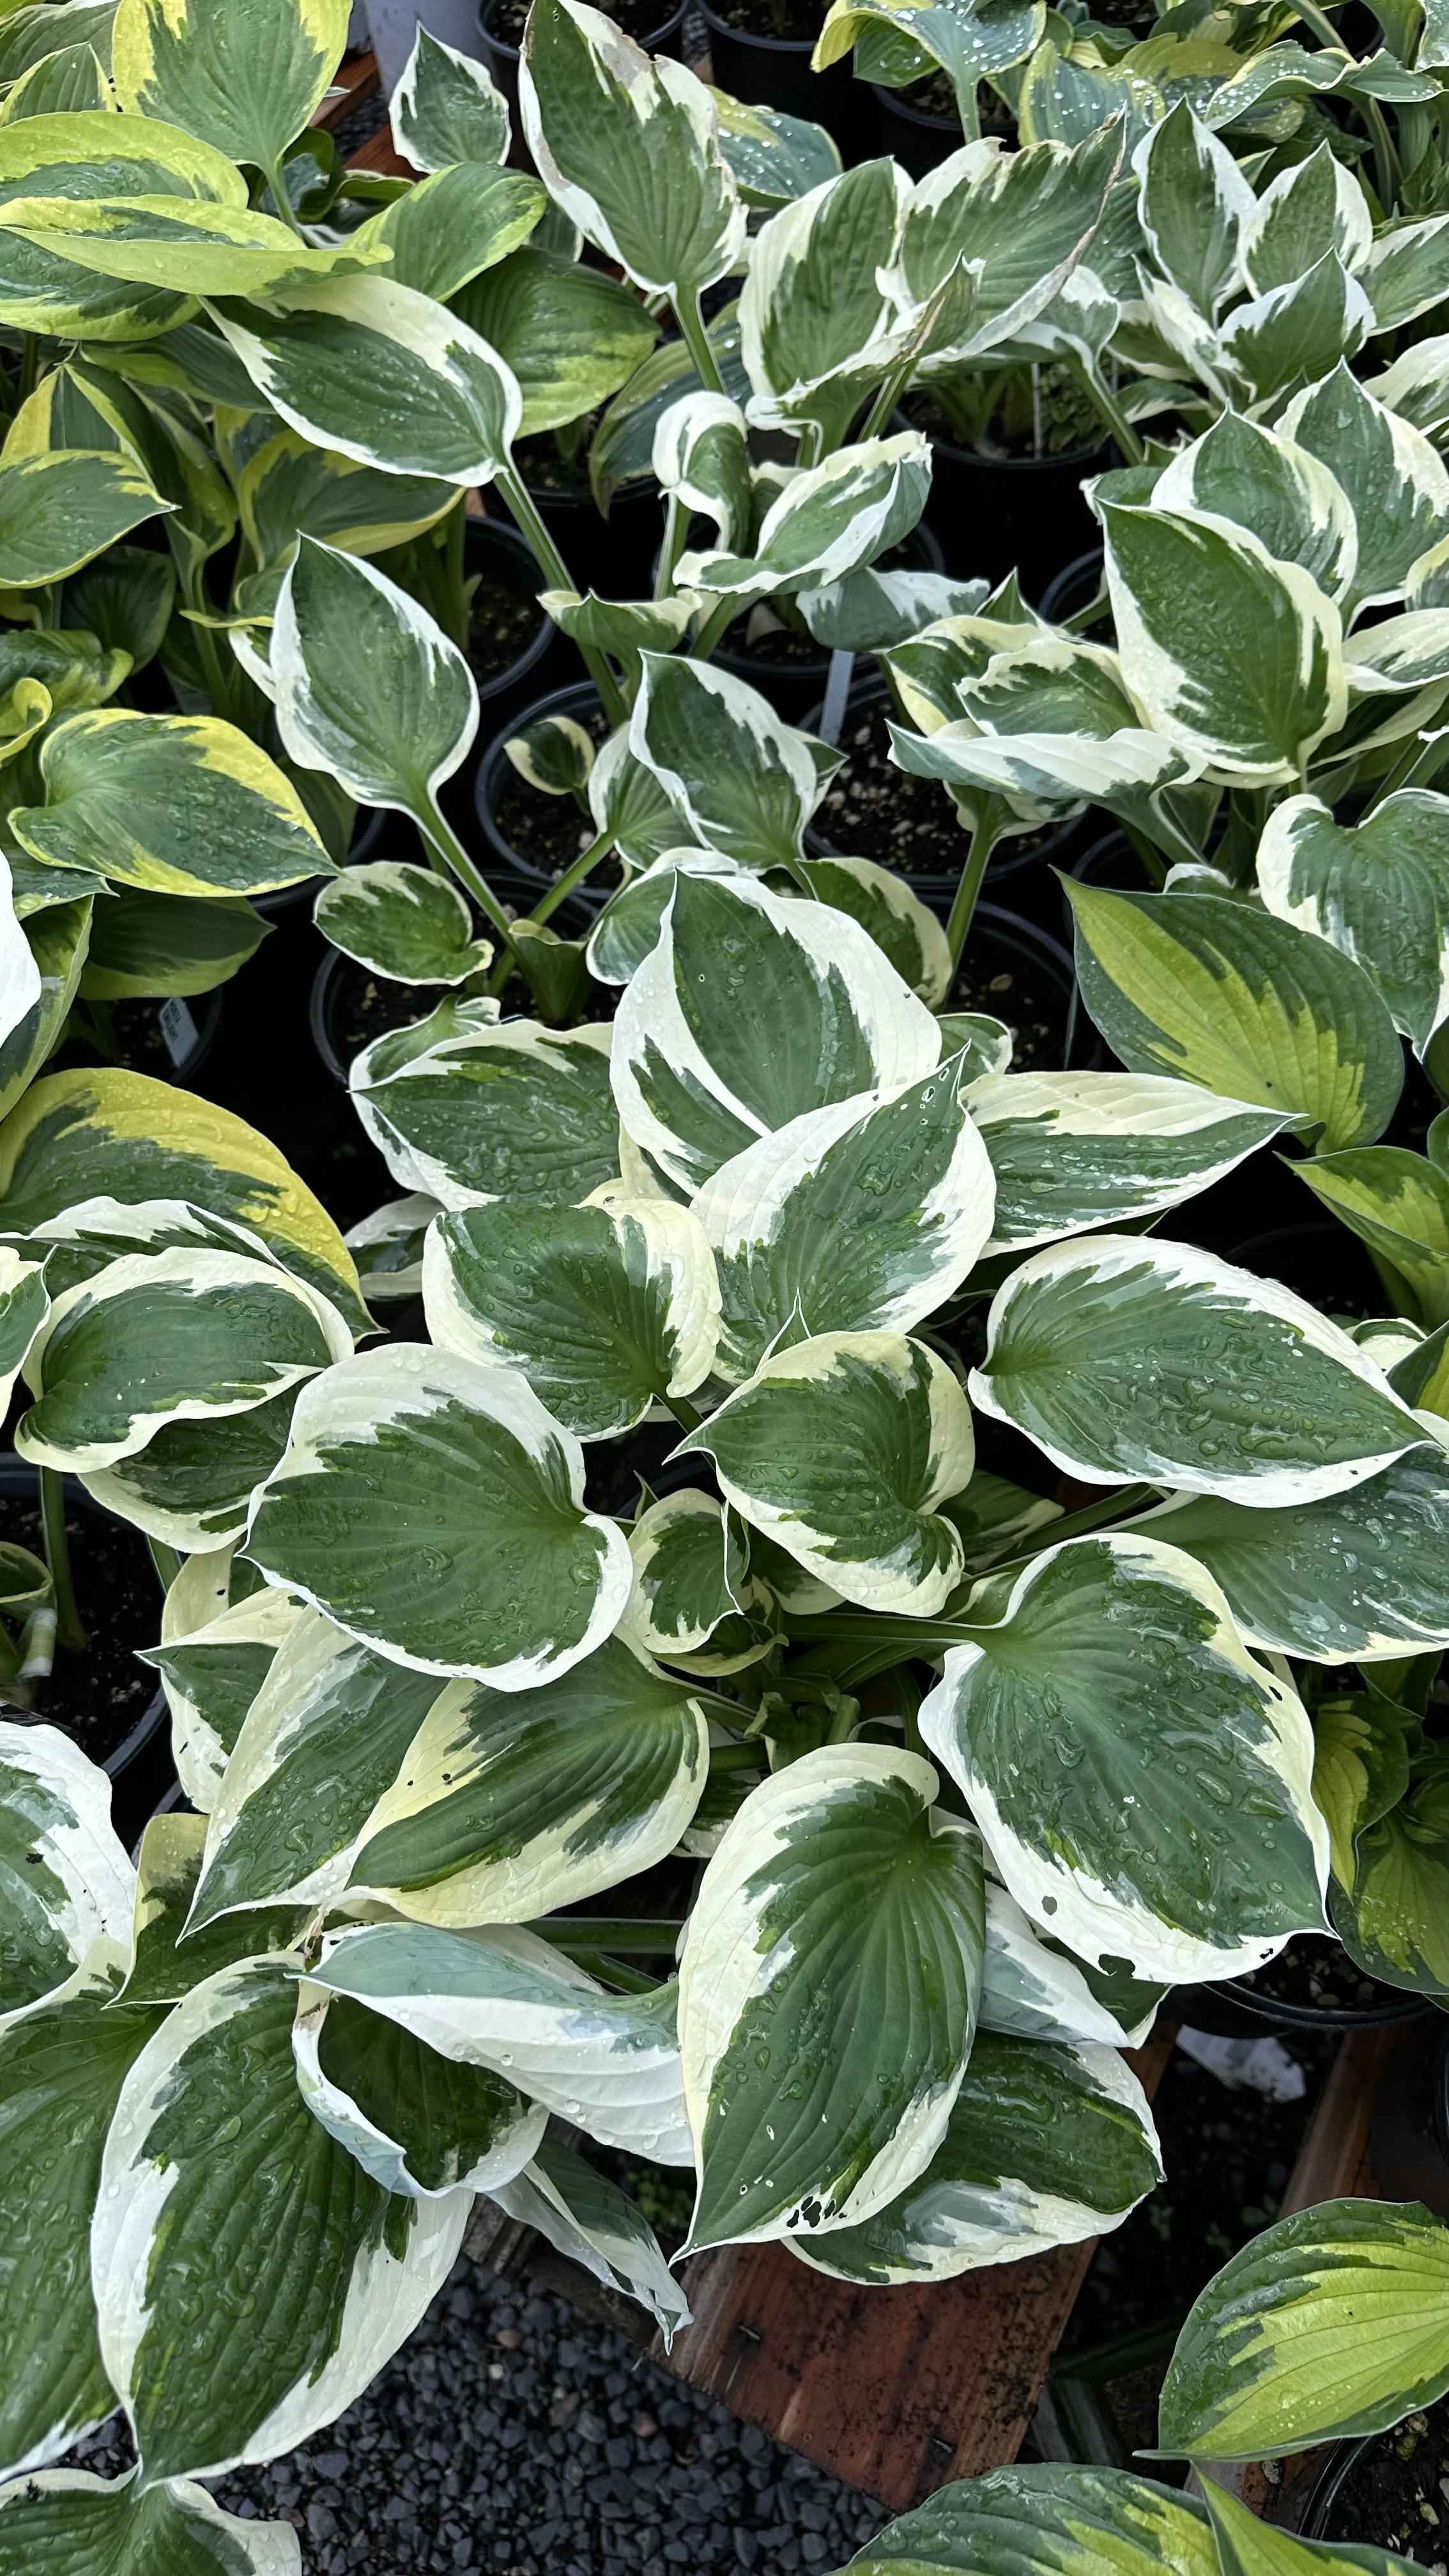
Hostas are known for their stunning foliage, which comes in a spectrum of greens, blues, yellows, and even variegated patterns.
The leaves themselves can range from smooth and shiny to deeply textured or puckered.
Depending on the variety, the leaves can be lance-shaped, heart-shaped, or almost round.
They also produce tall flower spikes, with blossoms that vary in color from white to lavender and deep purple.
Size and Growth:
Hostas come in a wide range of sizes.
While some dwarf varieties might only grow a few inches tall, larger types can reach heights of 2-3 feet or more with a similar spread.
When you plant hosta seeds, remember that they might take a few years to reach maturity and exhibit their full size and beauty.
Habitat and Preferences:
Hostas thrive in shady conditions, which is often found in east facing and north east facing gardens.
In their natural habitat, they're often found under forest canopies or along stream banks.
In gardens, they are ideal for areas that receive partial to full shade. However, some varieties can tolerate a bit of morning sun.
Flowers and Reproduction:
Beyond their ornamental leaves, hostas also produce tubular flowers that bloom in late spring to early summer.
These flowers often attract hummingbirds.
After flowering, hostas produce seed pods. These pods contain the hosta seeds, which can be harvested and sown to produce new plants.
Benefits in the Garden:
Hostas aren't just decorative; they're functional too.
Their dense foliage can suppress weeds, retain soil moisture, and prevent soil erosion.
They're also relatively resistant to pests, though slugs and snails can sometimes be a concern.
Check out my guide: Top Slug Resistant Plants to Transform Your Garden.
Culinary Uses:
An interesting fact about hostas is that they're edible!
Young shoots and leaves can be consumed and are often used in Japanese cuisine, where they're known as 'urui.'
They can be sautéed, boiled, or added to salads.
Looking for more shady garden inspiration? Check out my guides:
Clematis for Shade: The Best Shade Tolerant Varieties
Seed Selection
Choosing the right seeds is the first crucial step in the journey of growing hostas.
While it might seem like a simple task, understanding the nuances can make a significant difference in your gardening success.
Here are some factors and tips to consider:
Variety Matters:
There are hundreds of hosta varieties, each with its unique attributes ranging from size, color, texture, and even flower color.
Look for descriptions or images that resonate with your garden’s aesthetic or specific requirements.
For instance, if you have a shaded border, you might want a taller variety, while a rock garden might call for a dwarf hosta.
Seed Viability:
Like all seeds, the germination rate for hosta seeds decreases over time.
Always check the packaging for a 'packed for' or 'sell by' date.
The fresher the seeds, the higher the chances of successful germination.
If in doubt, opt for suppliers that provide a germination percentage or guarantee.
Origin and Adaptability:
Some hosta varieties might be better suited for specific climates or conditions.
When purchasing seeds, it's beneficial to consider where the variety is native to or typically grown.
This can give you an idea of its adaptability to your garden’s conditions.
Special Features:
Some hosta varieties have unique features, like resistance to slugs and snails or a particular kind of variegation.
If you have specific requirements or challenges in your garden, look for varieties that address those needs.
Here are the hosta seeds I recommend growing:
For more shade garden inspiration, check out my guides:
Preparing for Planting
Embarking on your journey of growing hostas from seeds requires thorough preparation.
Proper groundwork ensures that your seeds have the best environment to sprout, grow, and flourish.
Here's a detailed look into the preparatory steps:
Soil Preparation:
Texture and Drainage:
Hostas prefer well-draining soil.
A heavy clay soil can retain too much water, leading to root rot.
If your garden soil is clayey, consider amending it with organic matter or coarse sand to improve drainage.
Nutrient Levels:
While hostas are relatively forgiving, they'll appreciate a fertile soil enriched with organic compost or well-decomposed manure.
This ensures they have the nutrients they need for strong growth.
Soil pH:
Hostas thrive in slightly acidic to neutral pH levels (6.0 to 7.5).
Before planting, consider testing your soil’s pH. If needed, you can adjust it using lime (to raise pH) or sulfur (to lower pH).
Here is the soil pH test kit I recommend using:
Pot Selection:
Drainage:
Ensure your chosen containers have sufficient drainage holes.
Stagnant water can be detrimental to seed germination and young seedlings.
Material:
While plastic pots retain moisture well, terracotta pots offer better breathability.
The choice largely depends on your watering habits and the environment.
Size:
Begin with small pots or seed trays, which allow for better moisture control and easier management of seedlings.
These are my favorite small pots for seedlings:
Stratification:
What is it?
Stratification is a process that mimics the natural winter conditions many seeds need to break dormancy and germinate.
How to Stratify:
To cold stratify hosta seeds, place them in a damp paper towel.
Then, store them inside a zip-lock bag in the refrigerator.
This cold treatment should last for about 4-6 weeks.
Tracking:
Label your seeds clearly, noting the date of stratification start.
This ensures you don't lose track of time and gives you a timeframe for when to begin planting.
Location Considerations:
Indoor Starting:
If you're starting your seeds indoors, choose a location that's free from direct drafts, temperature fluctuations, and has good air circulation.
A room with ambient light is ideal.
Outdoor Sowing:
If you're planting directly outdoors, select a site that gets dappled sunlight or is in partial shade.
Ensure it's sheltered from strong winds and is accessible for regular watering and care.
Planting Hostas from Seed
Proper sowing techniques increase the chances of successful germination and healthy growth.
Follow these guidelines to ensure you get the most out of your hosta seeds:
Timing:
Indoor Planting:
Start sowing your stratified seeds indoors about 6-8 weeks before the last expected frost in your area.
This gives the seedlings ample time to develop before transplanting outdoors.
Outdoor Direct Sowing:
If you're in a milder climate and want to sow directly outdoors, do so after the risk of frost has passed and the soil has warmed.
Seed Depth:
How Deep:
Hosta seeds should be planted shallowly.
A depth of about 1/8 to 1/4 inch is ideal.
Light aids in the germination of hosta seeds, so they shouldn't be buried too deeply.
Spacing:
If sowing in trays, scatter seeds lightly, allowing space for each seedling.
If sowing directly in pots or the ground, you can thin out the seedlings later.
Moisture:
Watering Technique:
Use a gentle mist or a watering can with a fine rose to moisten the soil without displacing the seeds.
For this, you can use rainwater collected from a water butt.
Consistency:
The soil should remain consistently moist, but not soggy.
Check the soil daily and water as needed to maintain optimal moisture.
For more watering tips, check out my guide How Often to Water Seedlings.
Temperature:
Optimal Range:
Hosta seeds germinate best at temperatures between 65°F to 70°F (18°C to 21°C).
If starting seeds indoors, consider using a heat mat to maintain a consistent temperature.
Avoid Fluctuations:
Rapid temperature fluctuations can hinder germination. Ensure your seeds are in a stable environment.
Light:
Indoor Planting:
If you're sowing indoors, place your pots or trays in a bright location.
A south-facing windowsill or under grow lights can provide the necessary light for germination.
Outdoor Sowing:
While mature hostas love shade, the seeds benefit from dappled sunlight during the germination process.
Choose a location that gets filtered sunlight.
Monitoring Growth:
Emergence:
With proper care, you should start seeing seedlings emerging in 2-4 weeks.
Remember, patience is key. Some might take longer, especially if the seeds weren't stratified.
True Leaves:
Once your seedlings develop their first true leaves (not the initial sprouts), it's an indication that they're strengthening and will soon be ready for transplanting or thinning.
Taking Care of Hosta Seedlings
Once your hosta seeds have sprouted and you see those green shoots emerge, it's time to ensure their healthy growth and development.
Young seedlings, while resilient, require specific care to ensure they mature into strong plants.
Watering:
Frequency:
Young hosta seedlings prefer consistent moisture.
Water when the top layer of soil feels dry to the touch, but be cautious not to overwater, as this can lead to root rot.
For more watering tips, check out my guide How to Use Watering Globes.
Method:
Using a misting spray or a watering can with a fine nozzle helps provide gentle hydration without disturbing the delicate seedlings.
Light:
Adjustment:
As the seedlings grow, they'll require more light to avoid becoming leggy (tall and spindly).
Ensure they receive at least 6-8 hours of indirect light daily.
Grow Lights:
If natural light is insufficient, especially during winter months, consider using grow lights to supplement.
Here are my favorite grow lights for starting seeds indoors:
Thinning:
Purpose:
Thinning helps eliminate competition for resources and ensures robust growth.
Overcrowded seedlings can compete for light, water, and nutrients.
Method:
Gently remove the weaker or smaller seedlings, allowing the stronger ones to thrive.
Use scissors to snip them off at soil level to avoid disturbing the roots of neighboring seedlings.
Transplanting:
When:
Once your seedlings have at least two sets of true leaves and have reached a manageable size, they're ready for transplanting.
Potting Up:
If you're not ready to transplant them into the garden, consider "potting up" or moving them to larger pots.
This gives the roots more space to grow and prevents them from becoming root-bound.
Feeding:
Nutrition:
Seedlings benefit from a balanced, water-soluble fertilizer diluted to half the recommended strength.
Feed them every 2-3 weeks to ensure they get the nutrients required for growth.
Over-fertilizing:
Be cautious. Over-fertilizing can cause salt buildup in the soil, harming the delicate seedlings.
Protection:
Pests:
Watch out for common pests like aphids, slugs, and snails. Employ natural deterrents or insecticidal soaps if needed.
Diseases:
Ensure good air circulation and avoid waterlogged soil to prevent fungal diseases like damping off.
Acclimatization:
Hardening Off:
Before transplanting your hostas outdoors, they'll need to be acclimated to the outdoor environment.
This process, known as hardening off, involves gradually exposing the seedlings to outdoor conditions over a week or two to toughen them up and reduce transplant shock.
To learn more about growing hostas, check out my guide:
Companion Plants for Hostas
Companion planting is the art and science of pairing different plants together for mutual benefit.
When it comes to hostas, which are often celebrated for their lush foliage and shade-loving nature, choosing the right companions can elevate the beauty of a garden while also supporting the health and vigor of the plants.
Here's my curated list of some of the best companion plants for hostas:
Ferns:
Why:
Ferns share hostas' love for shade and their delicate fronds create a beautiful textural contrast with the broad leaves of hostas.
Learn more ferns in my guide: Evergreen Ferns for Year-Round Interest.
My recommendation:
Fern ‘Autumn Fern’ for vibrant orange color in fall:
Astilbe:
Why:
Astilbe provides feathery plumes of flowers that rise above its foliage, offering a contrast in both texture and color against hosta leaves.
Astilbes are a great low maintenance plant.
Learn more about shade plants in my guide: The Best Low Maintenance Shade Plants.
My recommendation:
Astilbe ‘Rheinland’ for its bubblegum pink flowers:
Heuchera (Coral Bells):
Why:
With their diverse and vibrant foliage colors ranging from lime green to deep burgundy, they can provide a striking contrast next to the more subdued tones of hostas.
My Recommendation:
Heuchera ‘Black Sea’ for its dark purple foliage:
Bleeding Heart (Dicentra):
Why:
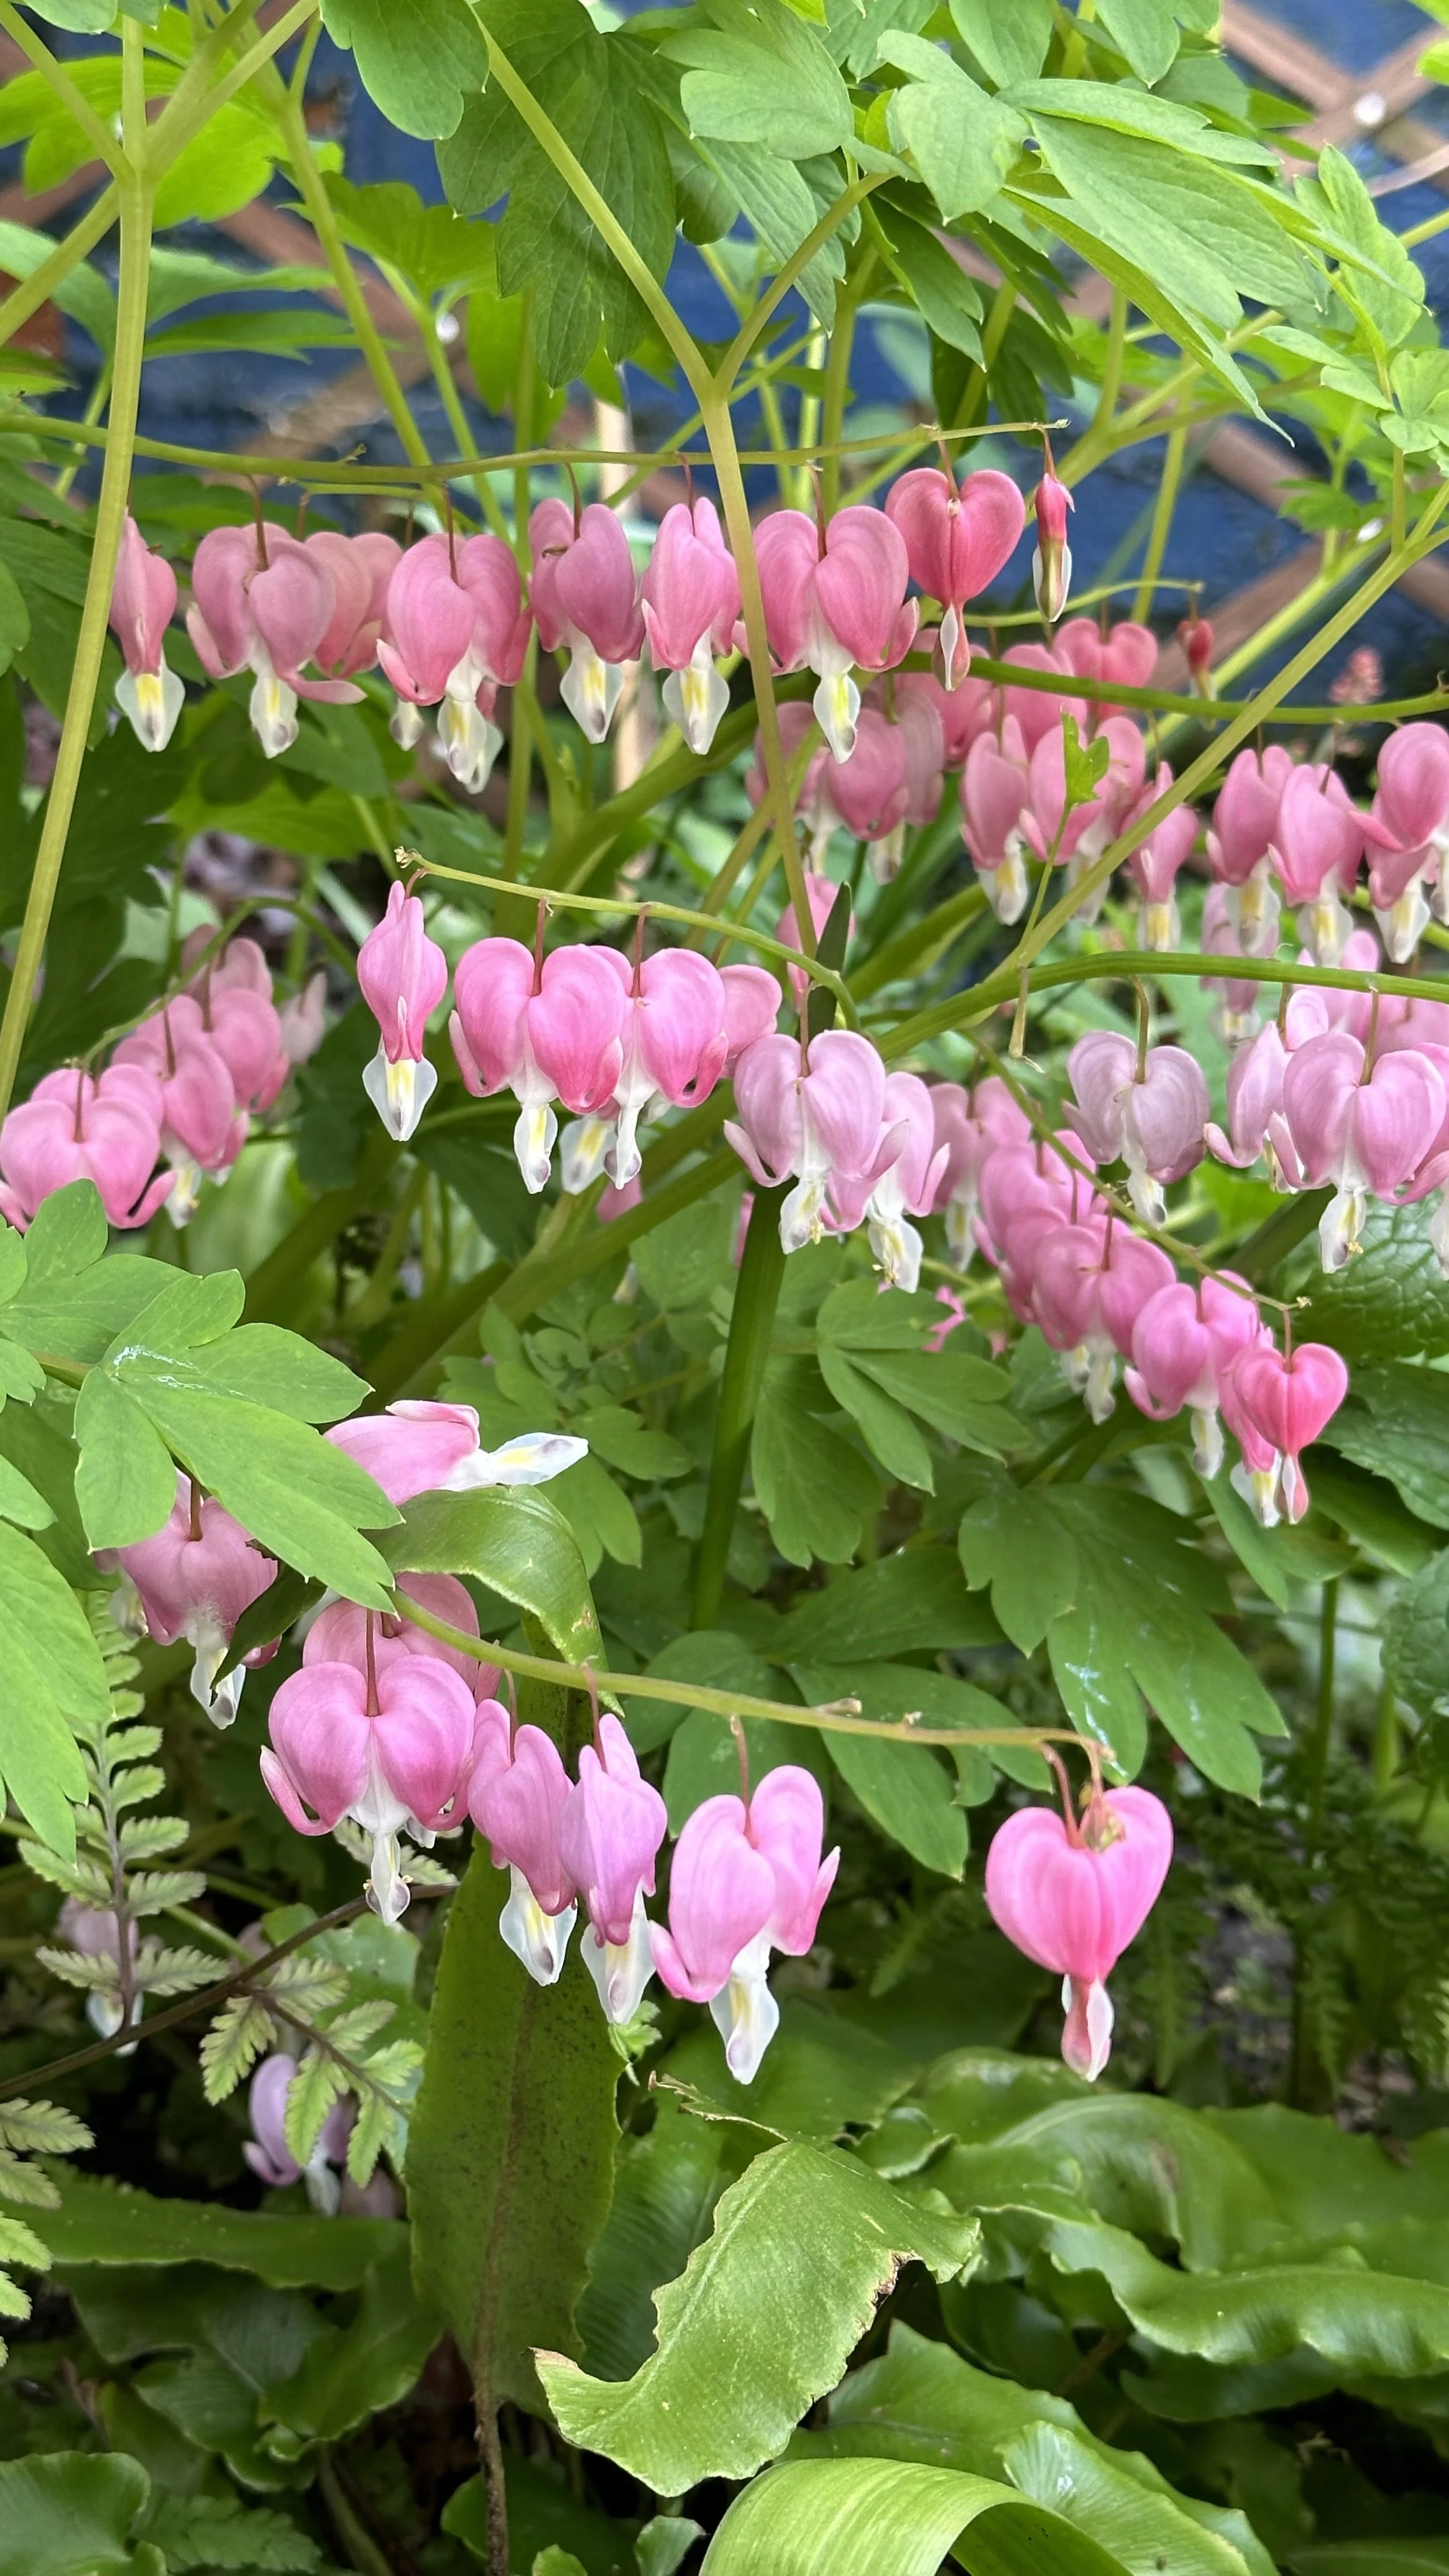
The romantic, arching sprays of heart-shaped flowers of the bleeding heart plant complement the hosta's leafy display.
To learn more, check out my guide: How to Grow Bleeding Heart.
My Recommendation:
The classic old-fashioned bleeding heart for its dramatic size:
Hellebores:
Why:
Blooming in late winter to early spring, hellebores offer flowers when most of the garden is still asleep, providing interest before hostas fully emerge.
Learn more about caring for Hellebores in my guide: What To Do With Hellebores in Summer.
My recommendation:
Helleborus ‘Ivory Prince’ for its bright white flowers:
Preparing Hostas for Winter
Hostas are hardy plants, but giving them a bit of attention in the autumn can ensure they withstand winter's chill and come back even stronger in the spring.
Here's a guide to preparing your hostas for the winter months:
Watering:
Deep Watering:
Before the ground freezes, give your hostas a deep watering.
This ensures the roots have ample moisture, especially in regions where winters are dry.
Foliage Care:
Natural Yellowing:
As the days shorten and temperatures drop, you'll notice hosta leaves begin to yellow and wilt.
This is a natural part of their lifecycle.
Trimming Back:
Once the first hard frost hits and leaves have completely yellowed or browned, trim them back to ground level.
This not only tidies up the garden but also reduces hiding spots for pests like slugs.
Mulching:
Purpose:
Mulch acts as an insulator, protecting hosta roots from the freeze-thaw cycles that can heave and damage them.
Application:
Apply a 2-4 inch layer of mulch over the hosta bed after the ground has frozen.
Material:
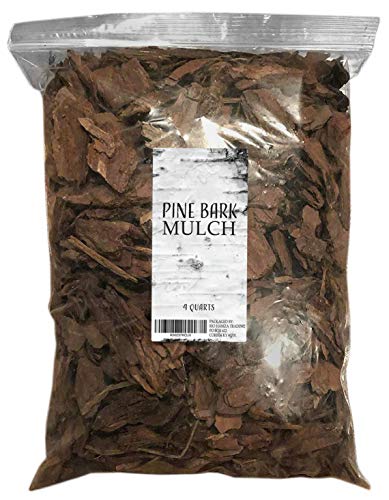
Use organic mulch like chopped leaves, straw, or pine bark.
Avoid using whole leaves as they can mat down and create a soggy environment that's conducive to rot.
Here is a great pine bark mulch I recommend:
Pest Prevention:
Slugs and Snails:
These pests love hostas.
By removing spent leaves and adding a layer of mulch, you can reduce their hiding spots.
Natural Deterrents:
Sprinkling crushed eggshells around hostas can deter slugs and snails.
Protecting New Plantings:
Extra Care:
Hostas that were planted in the fall might not have fully established roots.
These new plantings can benefit from an extra layer of mulch for added insulation.
Check out my guide: The Best Alternatives to Traditional Mulch for Your Garden.
Container Hostas:
Insulation:
Hostas in pots are more vulnerable to cold than those in the ground.
If possible, bury the pot in the ground or move it to a protected location, such as a garage or shed, once the plant goes dormant.
Watering:
Ensure the soil in the pot is moist but not waterlogged before winter storage.
Planning for Spring:
Marking:
If you've cut back your hostas entirely, it's a good idea to mark where they're planted so you don't accidentally dig them up or overplant in the spring.
FAQs
How long does it take to grow a hosta from seed?
Typically, hostas grown from seed will take 4-6 weeks to germinate.
However, it can take several years for them to mature into full-sized plants.
Can you plant hosta seeds directly in the ground?
While it's possible, it's not typically recommended.
Starting hosta seeds indoors allows for a controlled environment, which can result in better germination rates and healthier seedlings.
If you do sow directly outdoors, ensure it's after the risk of frost has passed and in a shaded, moist location.
Can you grow hostas indoors?
While hostas are typically outdoor plants, they can be grown indoors in containers, especially as young plants.
However, for long-term growth, they will thrive best outdoors in their preferred shaded conditions.
When is the best time to plant hostas?
Spring and early fall are the best times to plant hostas.
These periods provide moderate temperatures and ample moisture, ensuring the plants establish themselves before extreme weather conditions.
When is the best time to prepare hostas for winter?
Begin preparing hostas for winter in late fall, after the first few frosts when the plant's foliage starts to die back.
