Growing Oregano in a Pot: A Simple Guide
This website is reader-supported - thank you! This post may contain affiliate links. As an Amazon Associate, I earn from qualifying purchases at no extra cost to you.
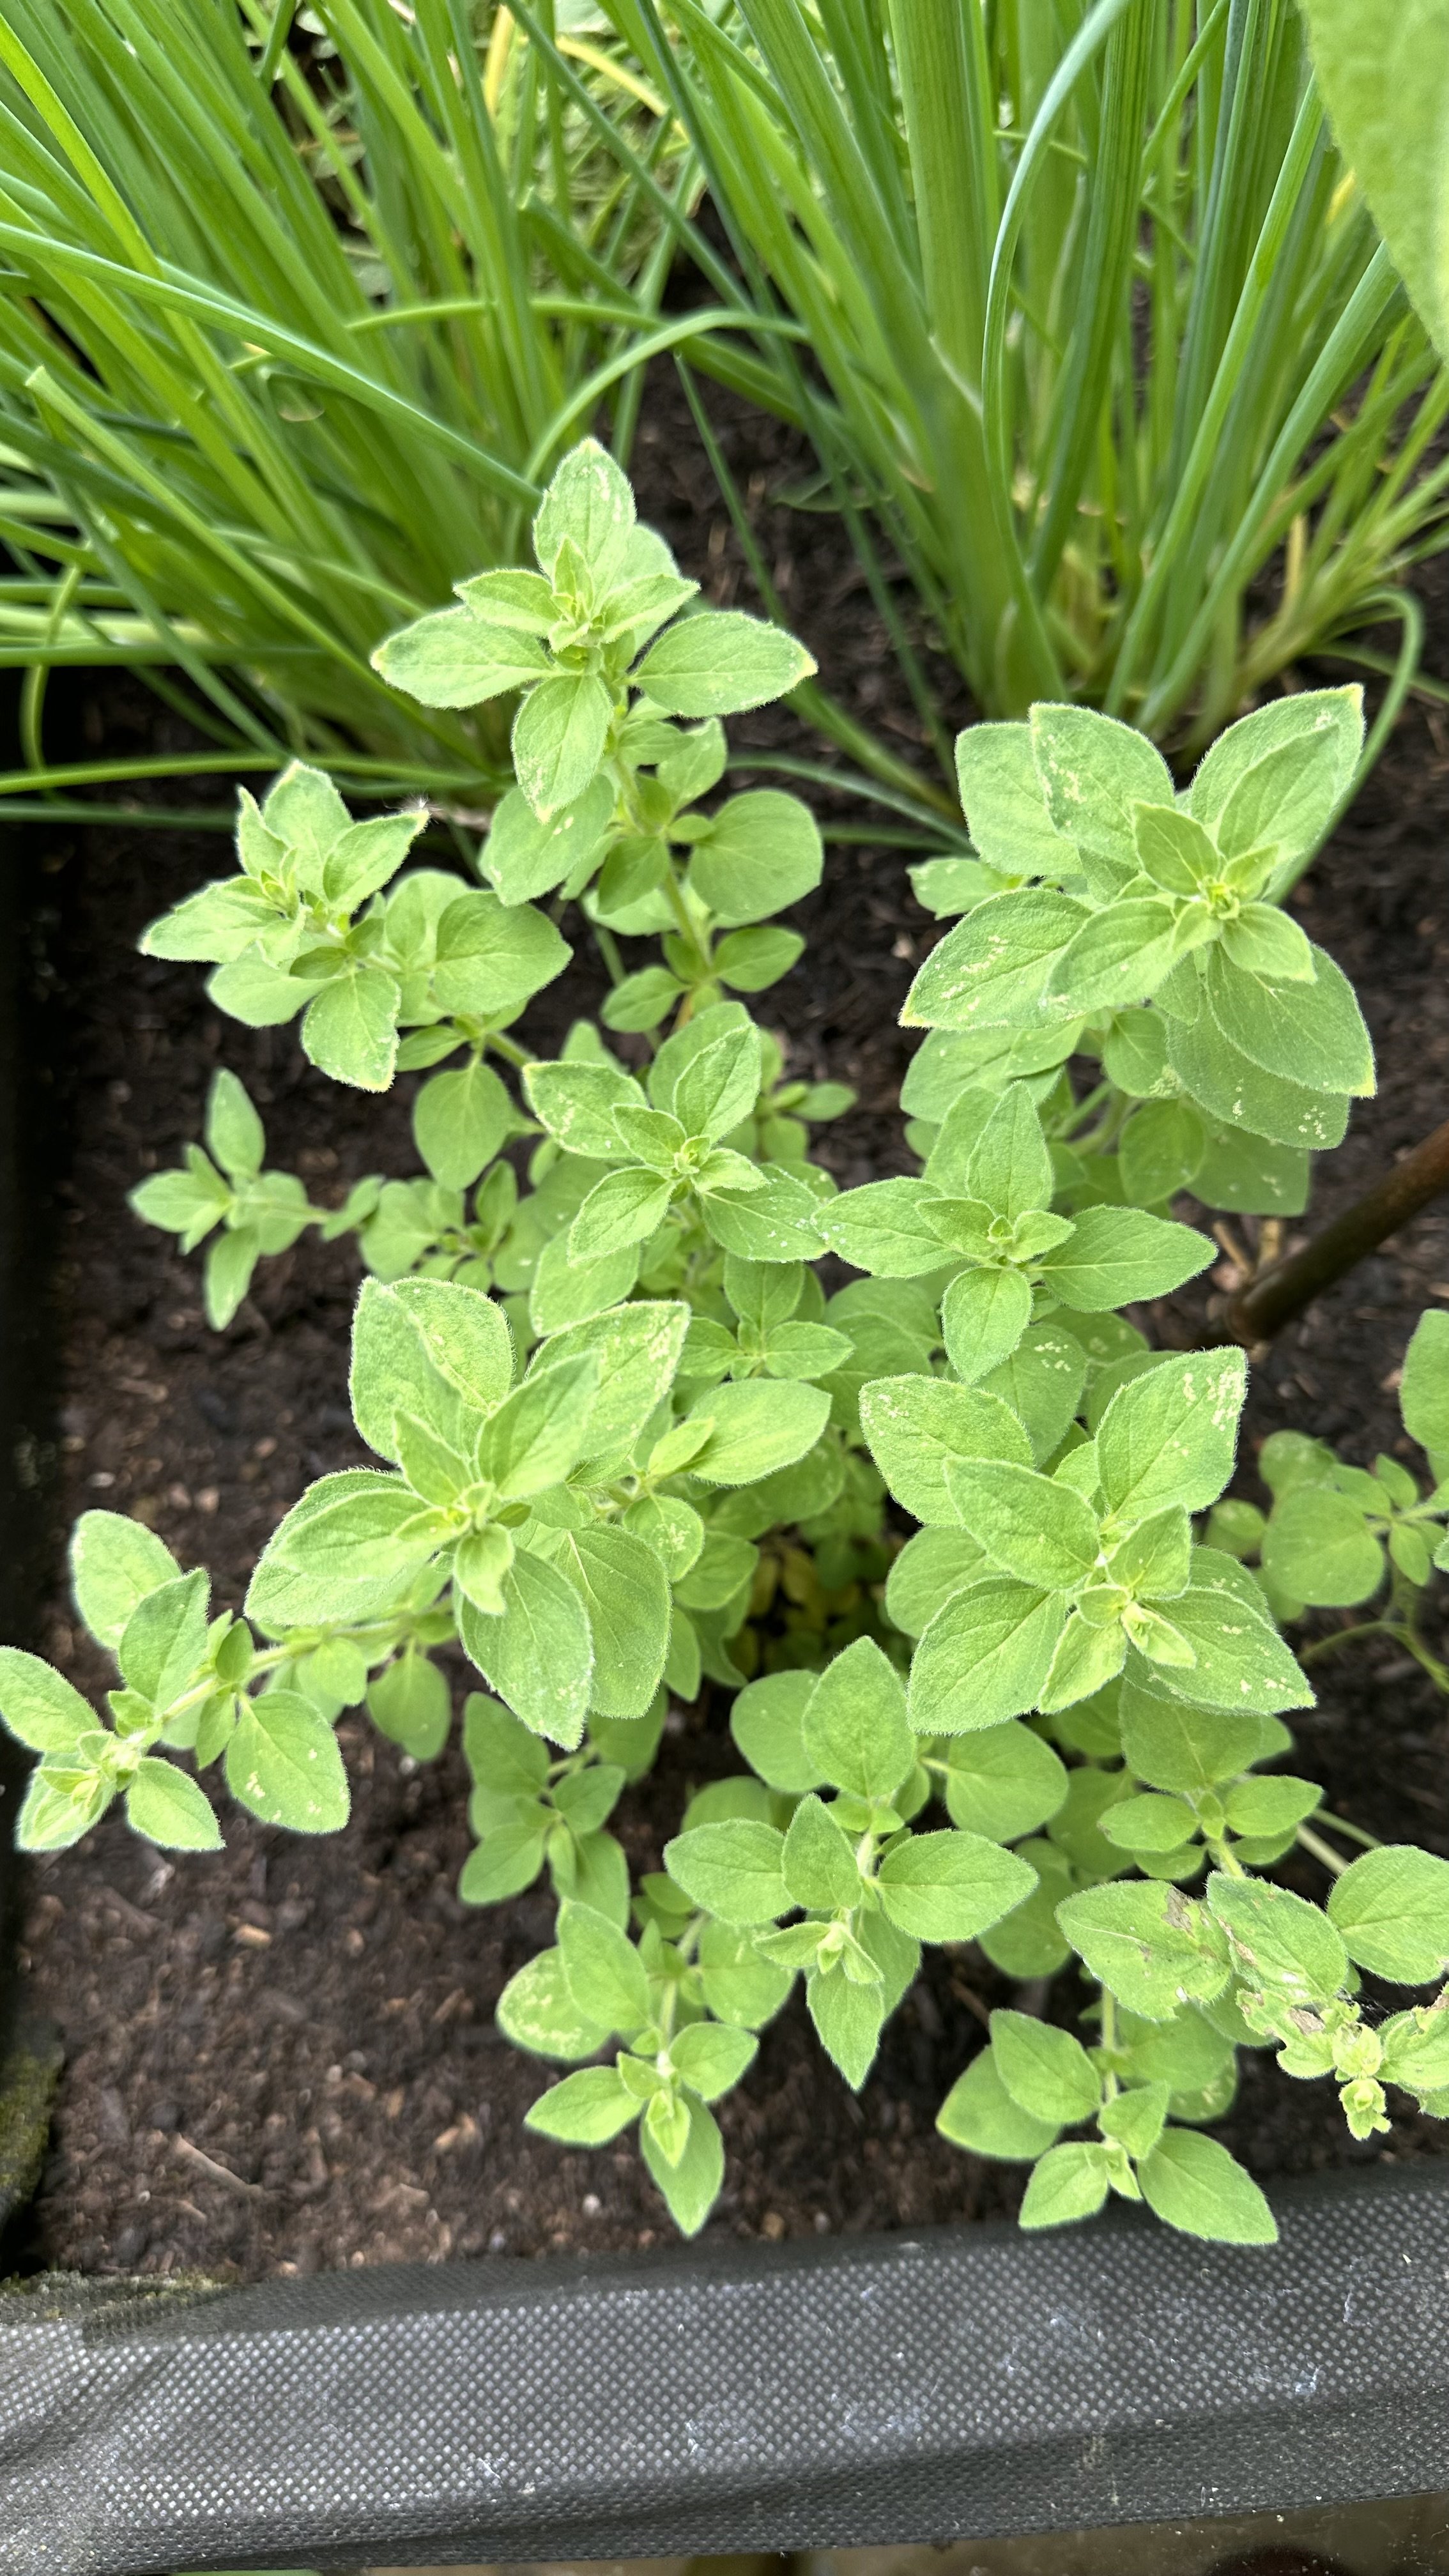
Growing oregano in a pot is something I highly recommend for anyone looking to expand their herb garden.
Oregano, known for its flavorful leaves, can be a fantastic addition to your kitchen, bringing a touch of the Mediterranean to your dishes.
In this guide I aim to provide you with what you need to know in order to create the ideal growing conditions for your potted oregano.
Understanding the specific needs of oregano will ensure that your herb thrives, producing lush, fragrant leaves ready for harvest.
Let's explore how to cultivate oregano in pots, ensuring a big supply of fresh herbs right at your fingertips.
To learn more about growing oregano, check out my guides:
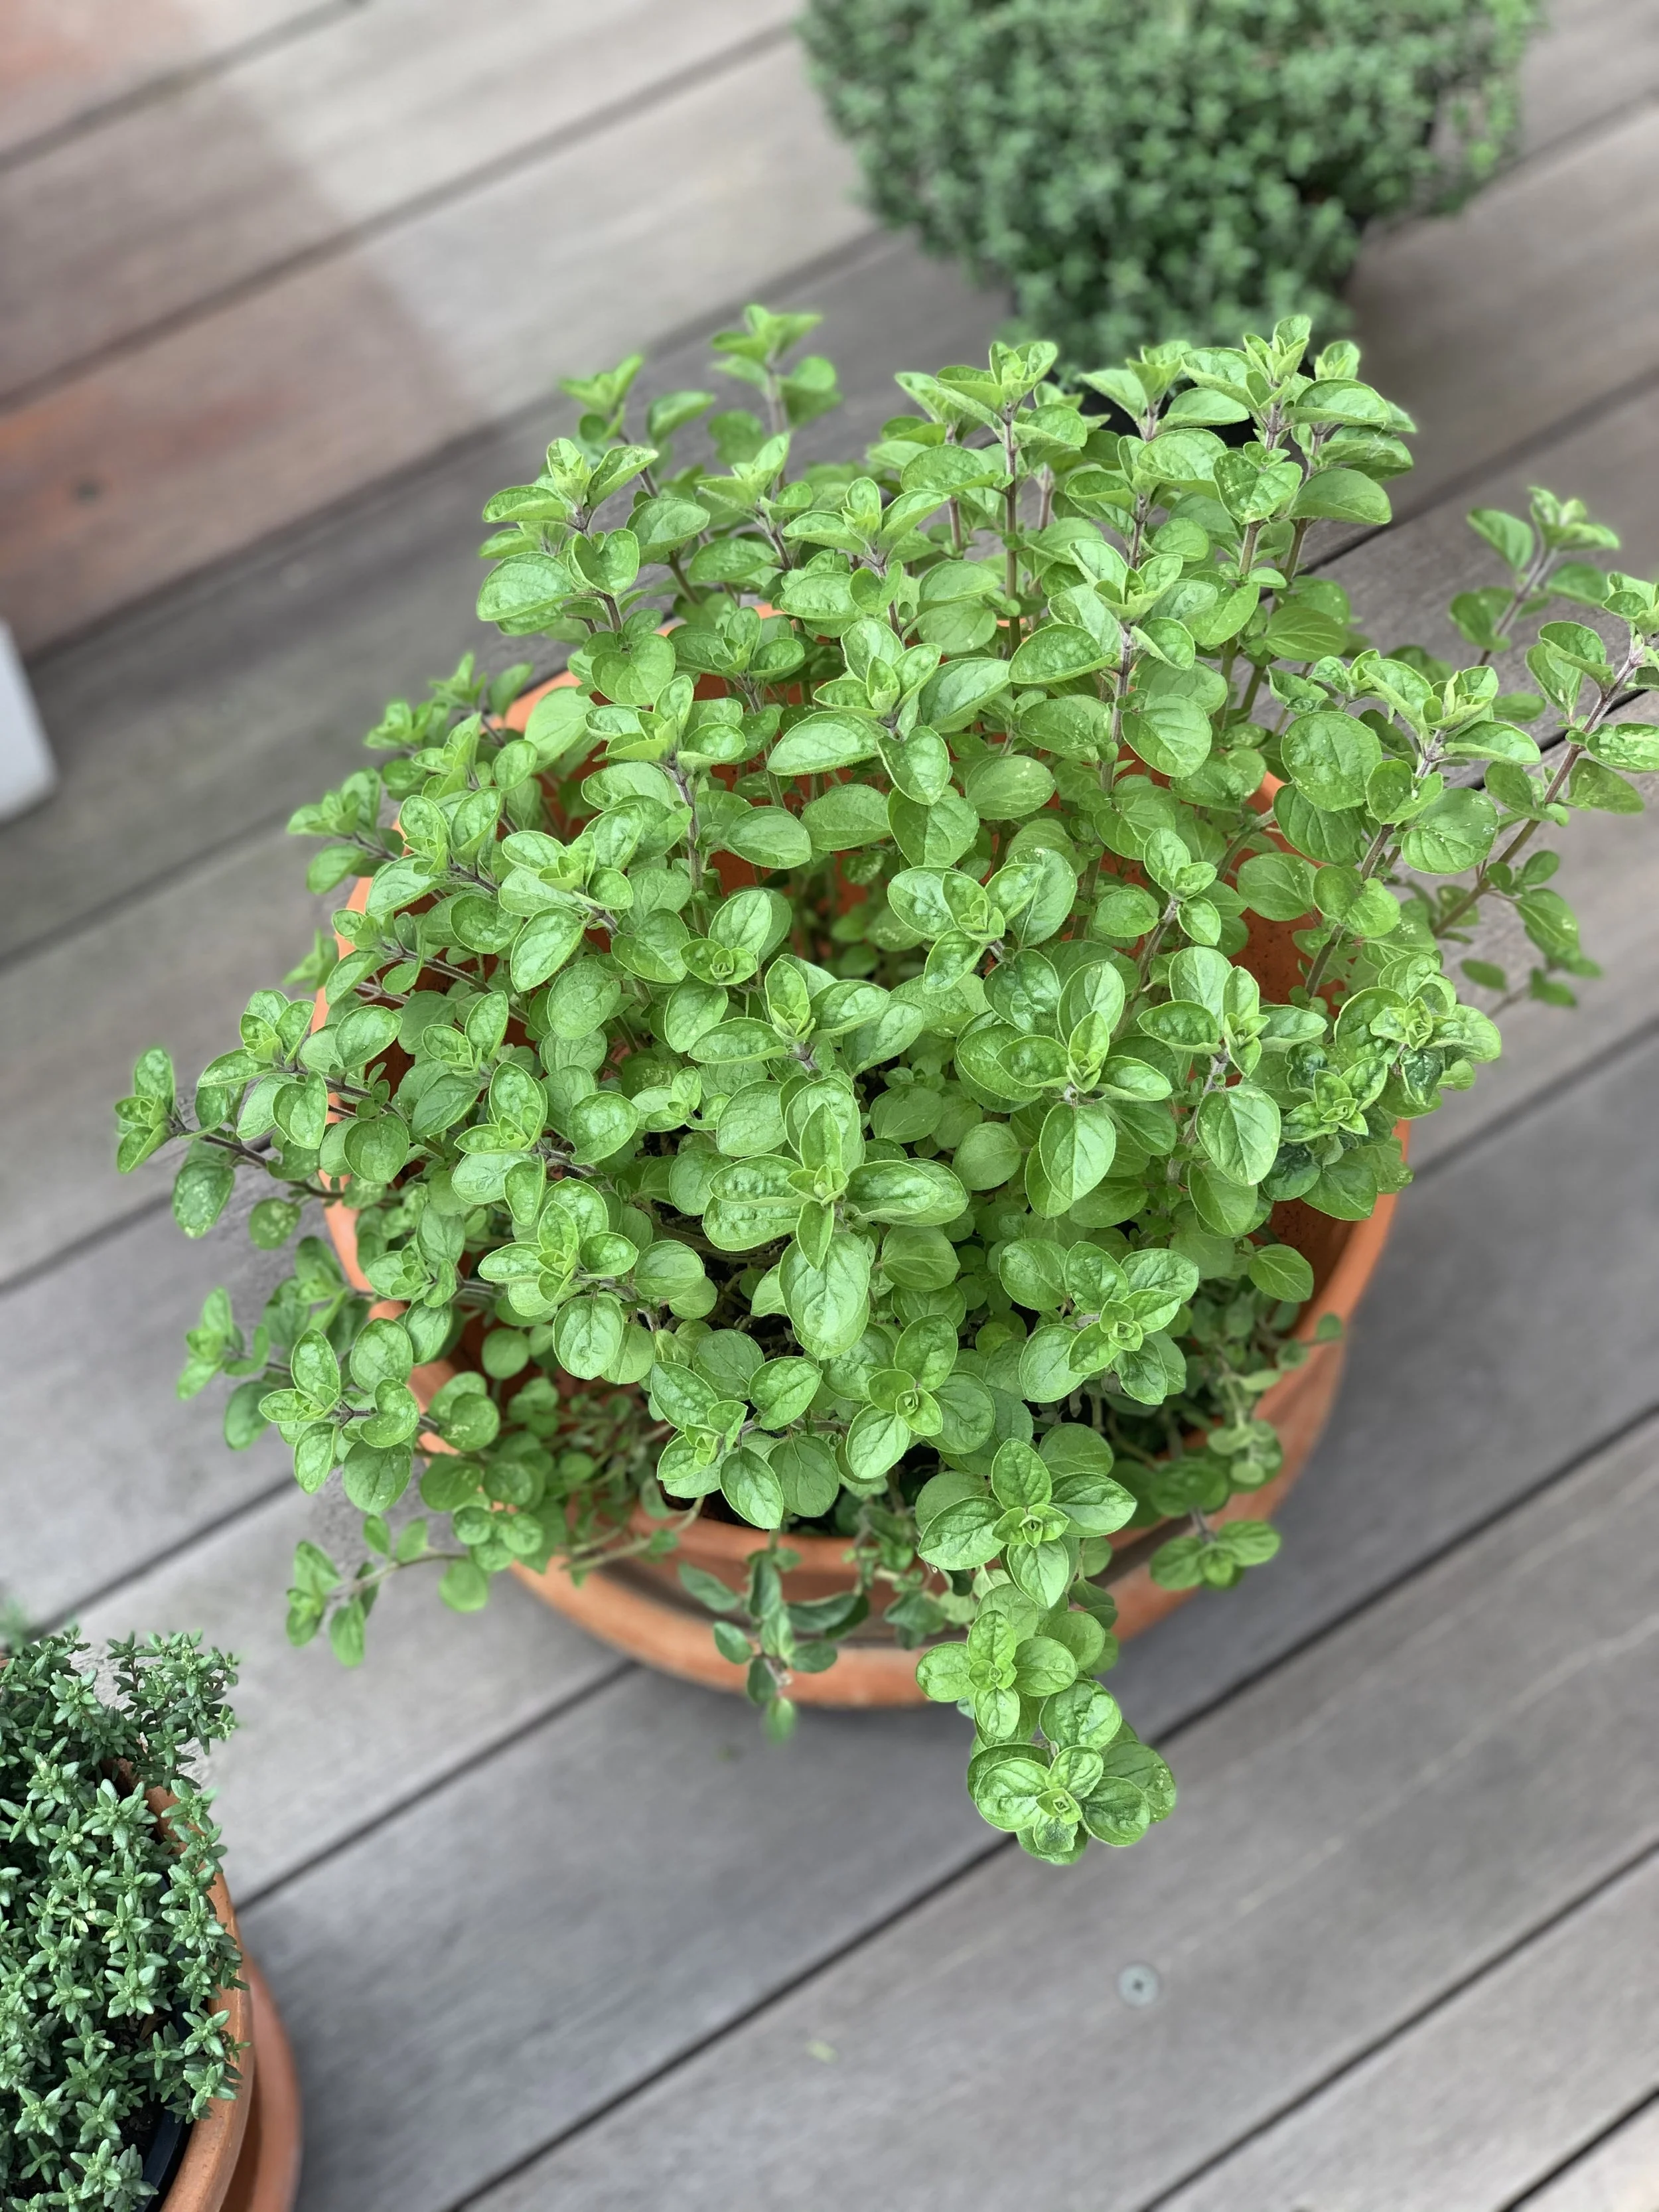
Oregano is one of my favorite things to grow in my herb garden.
Choosing Your Oregano
When it comes to growing oregano, the variety you choose can significantly influence both the flavor of your dishes and the success of your container garden.
Oregano, known as Origanum vulgare, comes in several varieties, each with its unique characteristics and culinary uses.
Here’s what you need to know to select the best oregano variety for your potted herb garden.
Greek Oregano (Origanum vulgare hirtum):
Often hailed as the true oregano for cooking, Greek oregano boasts a strong, pungent flavor, making it a staple in Mediterranean cuisine.
Its robust taste is ideal for seasoning meats, sauces, and of course, Greek salads.
Here is the greek oregano I recommend growing:

Italian Oregano (Origanum x majoricum):
A hybrid between oregano and marjoram, Italian oregano combines the sweetness of marjoram with the intensity of oregano.
It's versatile in the kitchen, complementing a wide range of dishes from pasta sauces to grilled vegetables.
Here is the Italian oregano I recommend growing:

Cuban Oregano (Coleus amboinicus):
Cuban oregano, with its thick, fuzzy leaves and strong, pungent aroma, stands out as a robust herb that adds a bold flavor to a variety of dishes.
Here is the Cuban oregano I recommend growing:

Want to learn more about herb gardening? Check out my guides:
Starting Your Oregano
After choosing the variety that best suits your taste and gardening goals, you’ll need to decide how to start your oregano.
You have a few options:
Seeds:
Oregano can be grown from seeds, although it may take longer to establish than starting with cuttings or a young plant.
It’s an economical choice and offers a sense of accomplishment from seeing your plants grow from the very beginning.
If growing from seed, here are the oregano seeds I recommend growing:

Cuttings:
Growing oregano from cuttings is a faster method and ensures your new plants will have the same characteristics as the parent plant.
This method is perfect for those who already have access to an oregano plant.
To learn how to do this, check out my guide: Propagate Oregano: How to Multiply Your Herbs.
Young Plants:
Purchasing young oregano plants online is the quickest way to start your herb garden.
It allows you to skip the initial waiting period associated with seeds and cuttings, providing an instant addition to your potted garden.
Tip for Selection
Think about the types of dishes you enjoy cooking and select a variety that matches your culinary style.
Greek oregano is a must for lovers of bold flavors, while Italian oregano offers a more versatile profile.
Want to learn more about growing herbs in pots? Check out my guide:

Planting Your Oregano: Step-by-Step Guide
Planting oregano is a straightforward process, but paying attention to detail can significantly enhance the health and yield of your herb.
Here’s how to plant your oregano for the best results, regardless of whether you start with seeds, cuttings, or a nursery-grown plant.
Step 1: Select the Right Pot
Oregano doesn't require a deep pot, but it does need room to spread as it grows.
A pot with a minimum diameter of 12 inches and a similar depth is a good start.
This size provides ample space for root development and helps prevent the soil from becoming too moist, which could lead to root rot.
Ensure the pot has drainage holes at the bottom to allow excess water to escape, maintaining healthy soil conditions.
Here is the pot I recommend:

Step 2: Use Well-Drained Soil
Oregano thrives in soil that mimics its native Mediterranean environment—light, well-drained, and relatively low in nutrients.
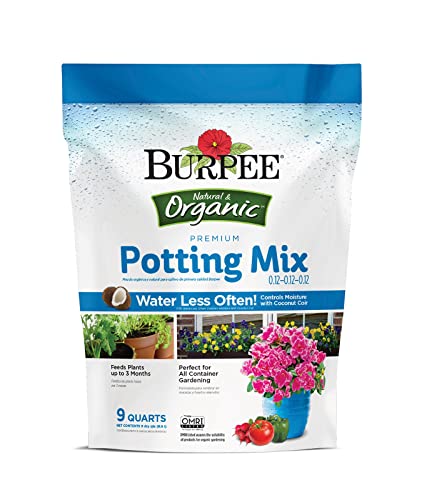
You can create an ideal potting soil mix by combining two parts potting soil, one part coarse sand or perlite, and one part compost.
This mixture ensures good drainage and provides enough organic matter to support growth without retaining excessive moisture.
Here is the potting soil and perlite I recommend:

Step 3: Planting
Starting with Seeds:
Fill your pot with the prepared soil mix, leaving about an inch of space below the rim.
Sprinkle the oregano seeds evenly over the soil surface.
Cover them lightly with a thin layer of soil—no more than a quarter inch deep.
Gently water the soil, ensuring it's moist but not waterlogged.
Place the pot in a warm, sunny location.
Seeds typically germinate in 7 to 14 days.
Starting with Cuttings:
Take a 4-6 inch cutting from a healthy oregano plant.
Remove the leaves from the bottom half of the cutting.
Dip the cut end in rooting hormone powder (optional) to encourage root growth.
Make a hole in the moist soil with your finger or a pencil, and insert the cutting about 2 inches deep.
Gently firm the soil around it.
Keep the soil moist and place the pot in a bright, indirect light area until roots develop, usually within 2 to 3 weeks.
Starting with a Young Plant:
Gently remove the plant from its container, being careful not to damage the root ball.
Dig a hole in the center of the pot that's big enough to accommodate the root ball.
Place the plant in the hole and backfill with soil, pressing down lightly to eliminate air pockets.
Water thoroughly to settle the soil around the roots.
Step 4: Positioning
After planting, position your oregano pot in a location that receives at least 6 to 8 hours of direct sunlight daily.
A west facing garden aspect would work well.
If you’re growing it indoors, a south-facing window is ideal.
Oregano can also benefit from outdoor time during warmer months, but be sure to acclimate it gradually to prevent shock.
Step 5: Aftercare
Watering:
Water your oregano when the top inch of soil feels dry to the touch.
Overwatering can lead to root diseases, so ensure good drainage and allow the soil to dry slightly between waterings.
For more watering tips, check out my guide How to Use Watering Globes.
Feeding:
Oregano doesn’t need much fertilizer.
A light application of a balanced, slow-release fertilizer at planting time is generally sufficient for the growing season.
Here is the slow-release fertilizer I recommend:

For more herb gardening tips, check out my guide:
To learn more about starting an herb garden, check out my guide:
Caring for Your Potted Oregano
Proper care is crucial for your oregano to flourish, whether it's basking on a sunny windowsill or thriving outdoors.
Here are detailed tips on sunlight exposure, watering, pruning, and overwintering your potted oregano.
Sunlight and Temperature
Oregano is a sun-loving herb that requires at least 6-8 hours of direct sunlight daily to develop its full flavor.
Oregano prefers a warm climate but can tolerate cooler temperatures down to about 50°F (10°C).
However, it should be protected from frost and extreme cold.
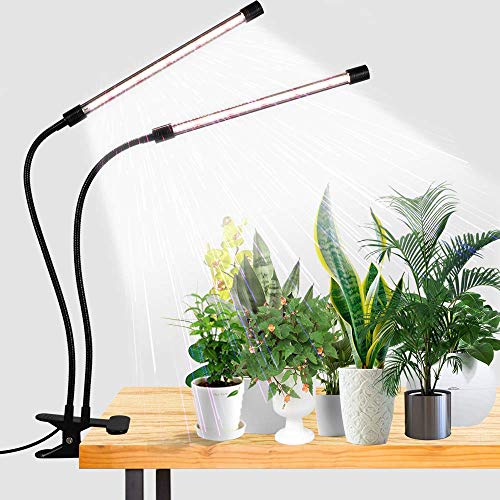
In the absence of sufficient natural light, consider using grow lights to supplement light exposure.
Here are the grow lights I recommend using.
Watering and Humidity
Oregano prefers to be on the drier side rather than waterlogged.
Allow the top inch of soil to dry out before watering again.
Overwatering can lead to root rot and other fungal diseases.
When you water, do so thoroughly, ensuring excess water drains out of the pot.
Oregano does not require high humidity; average indoor conditions are usually adequate.
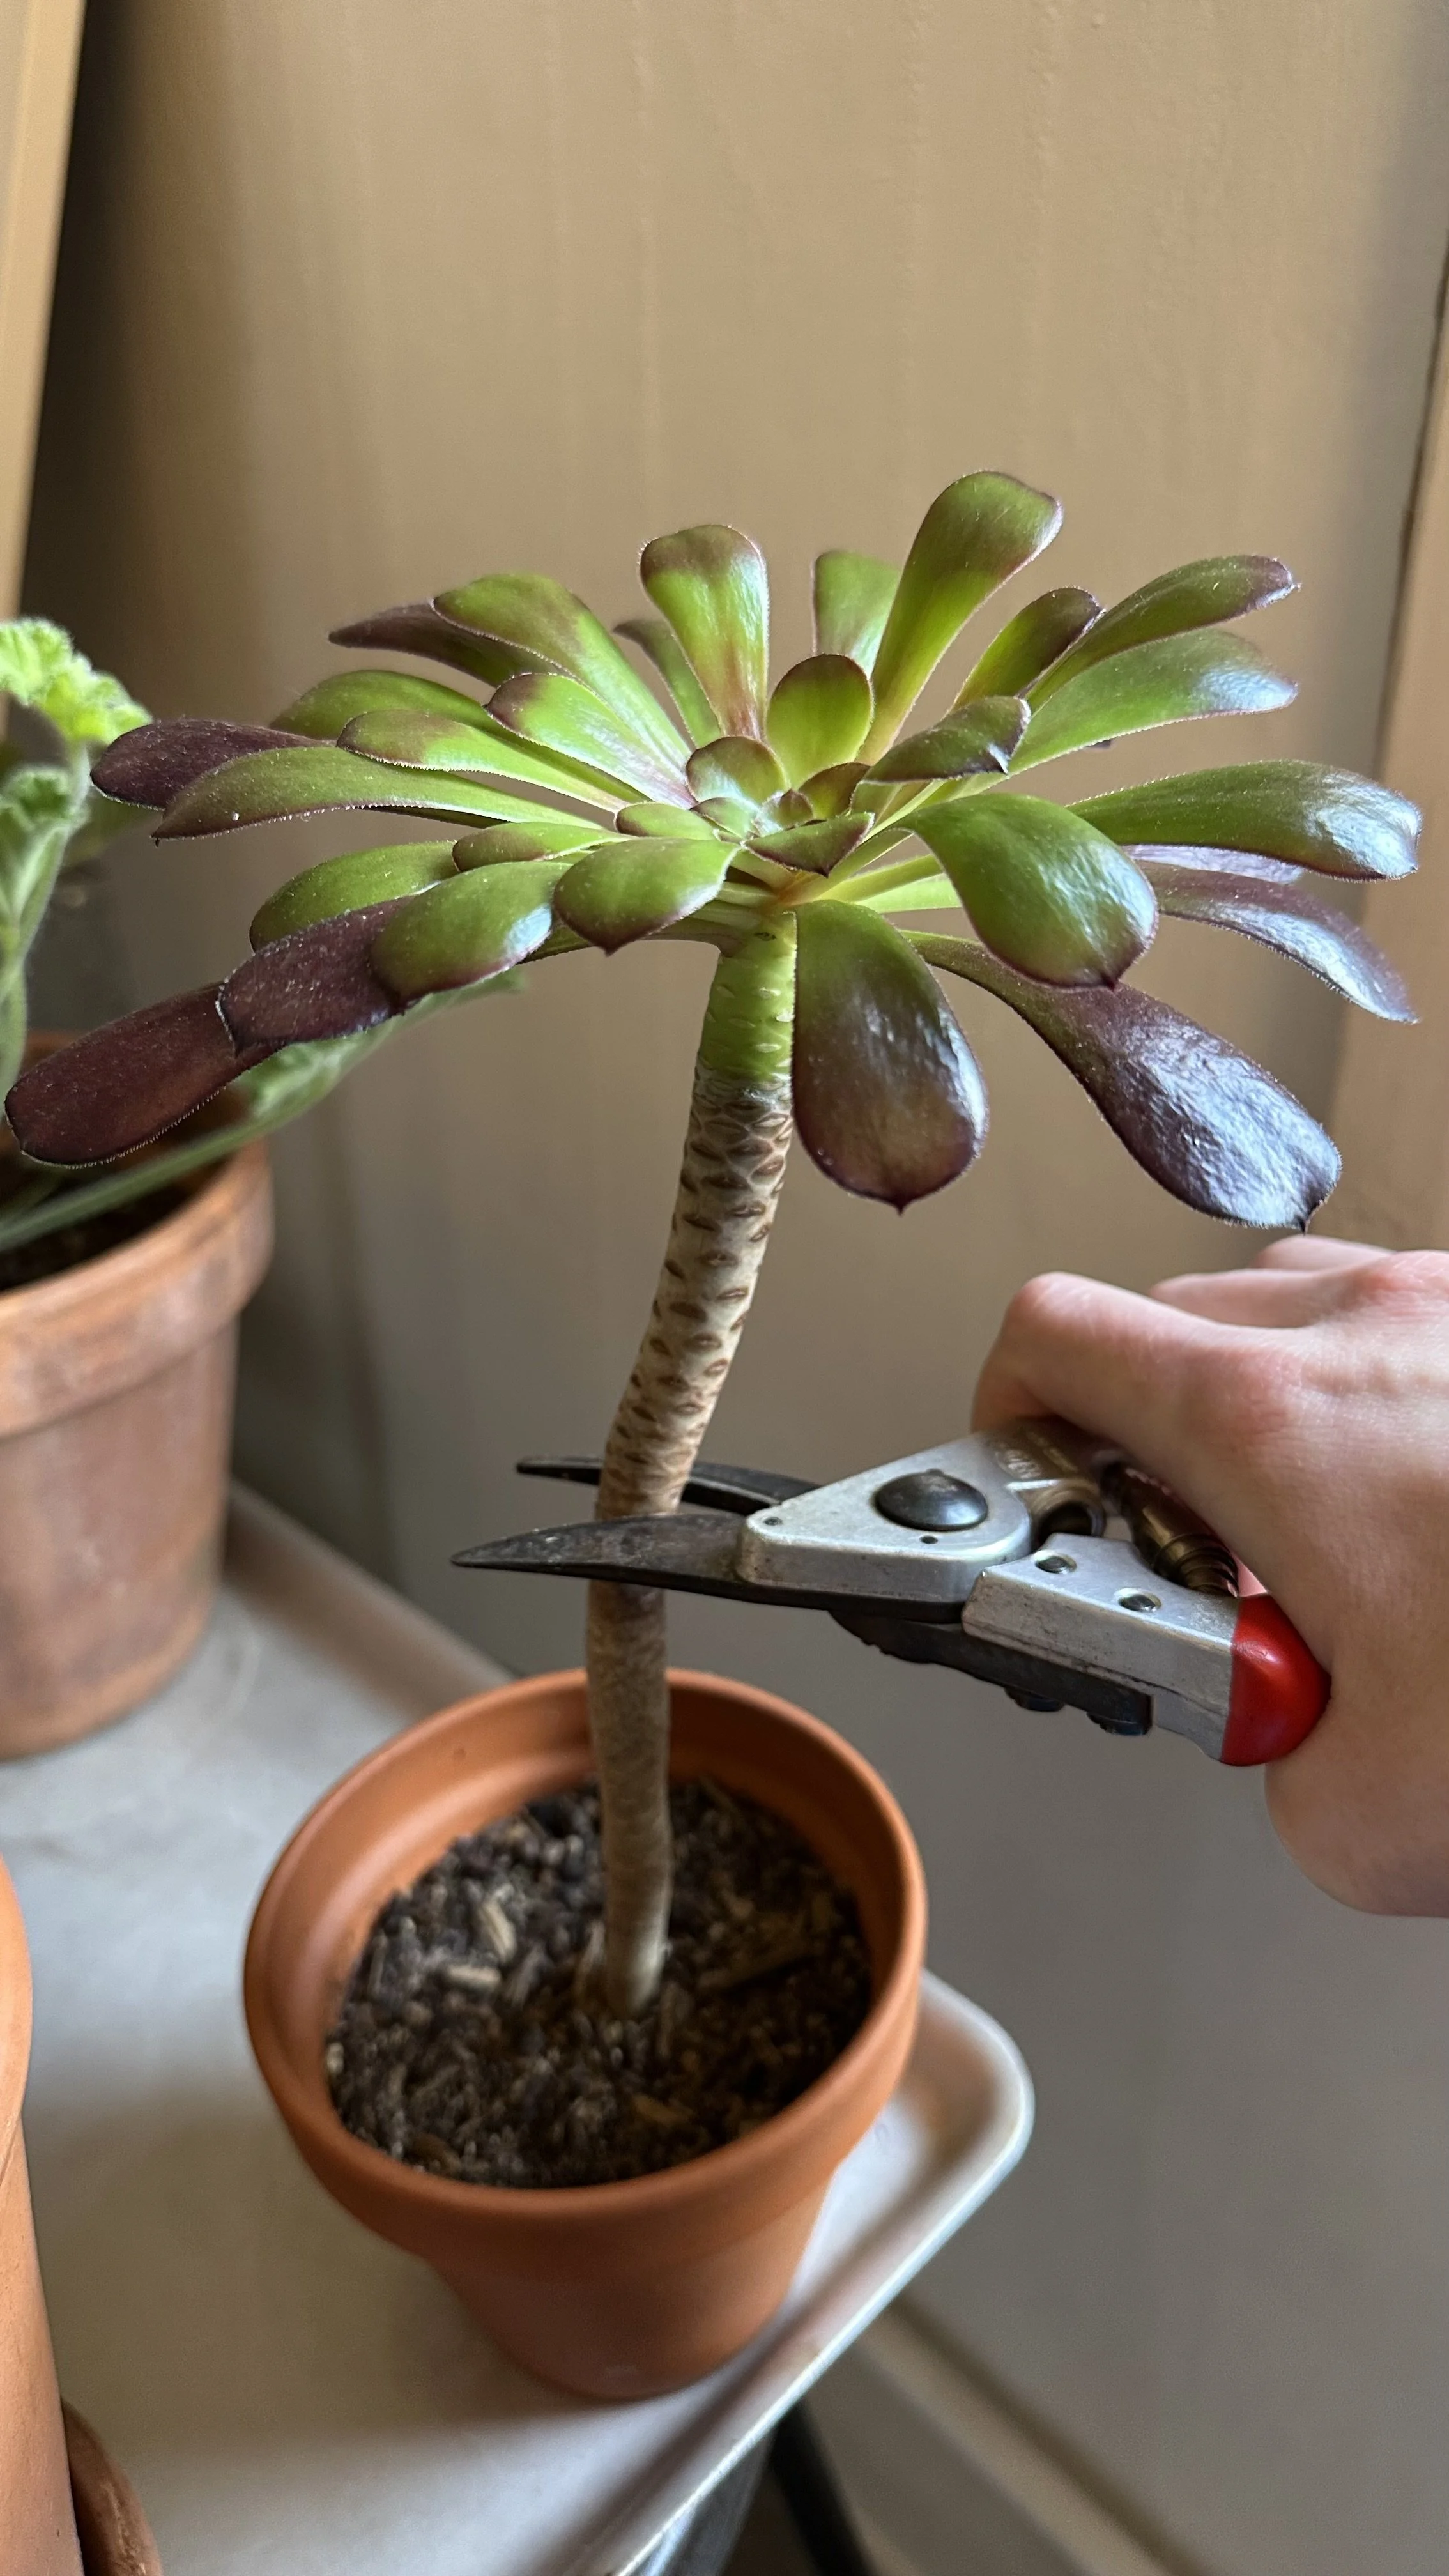
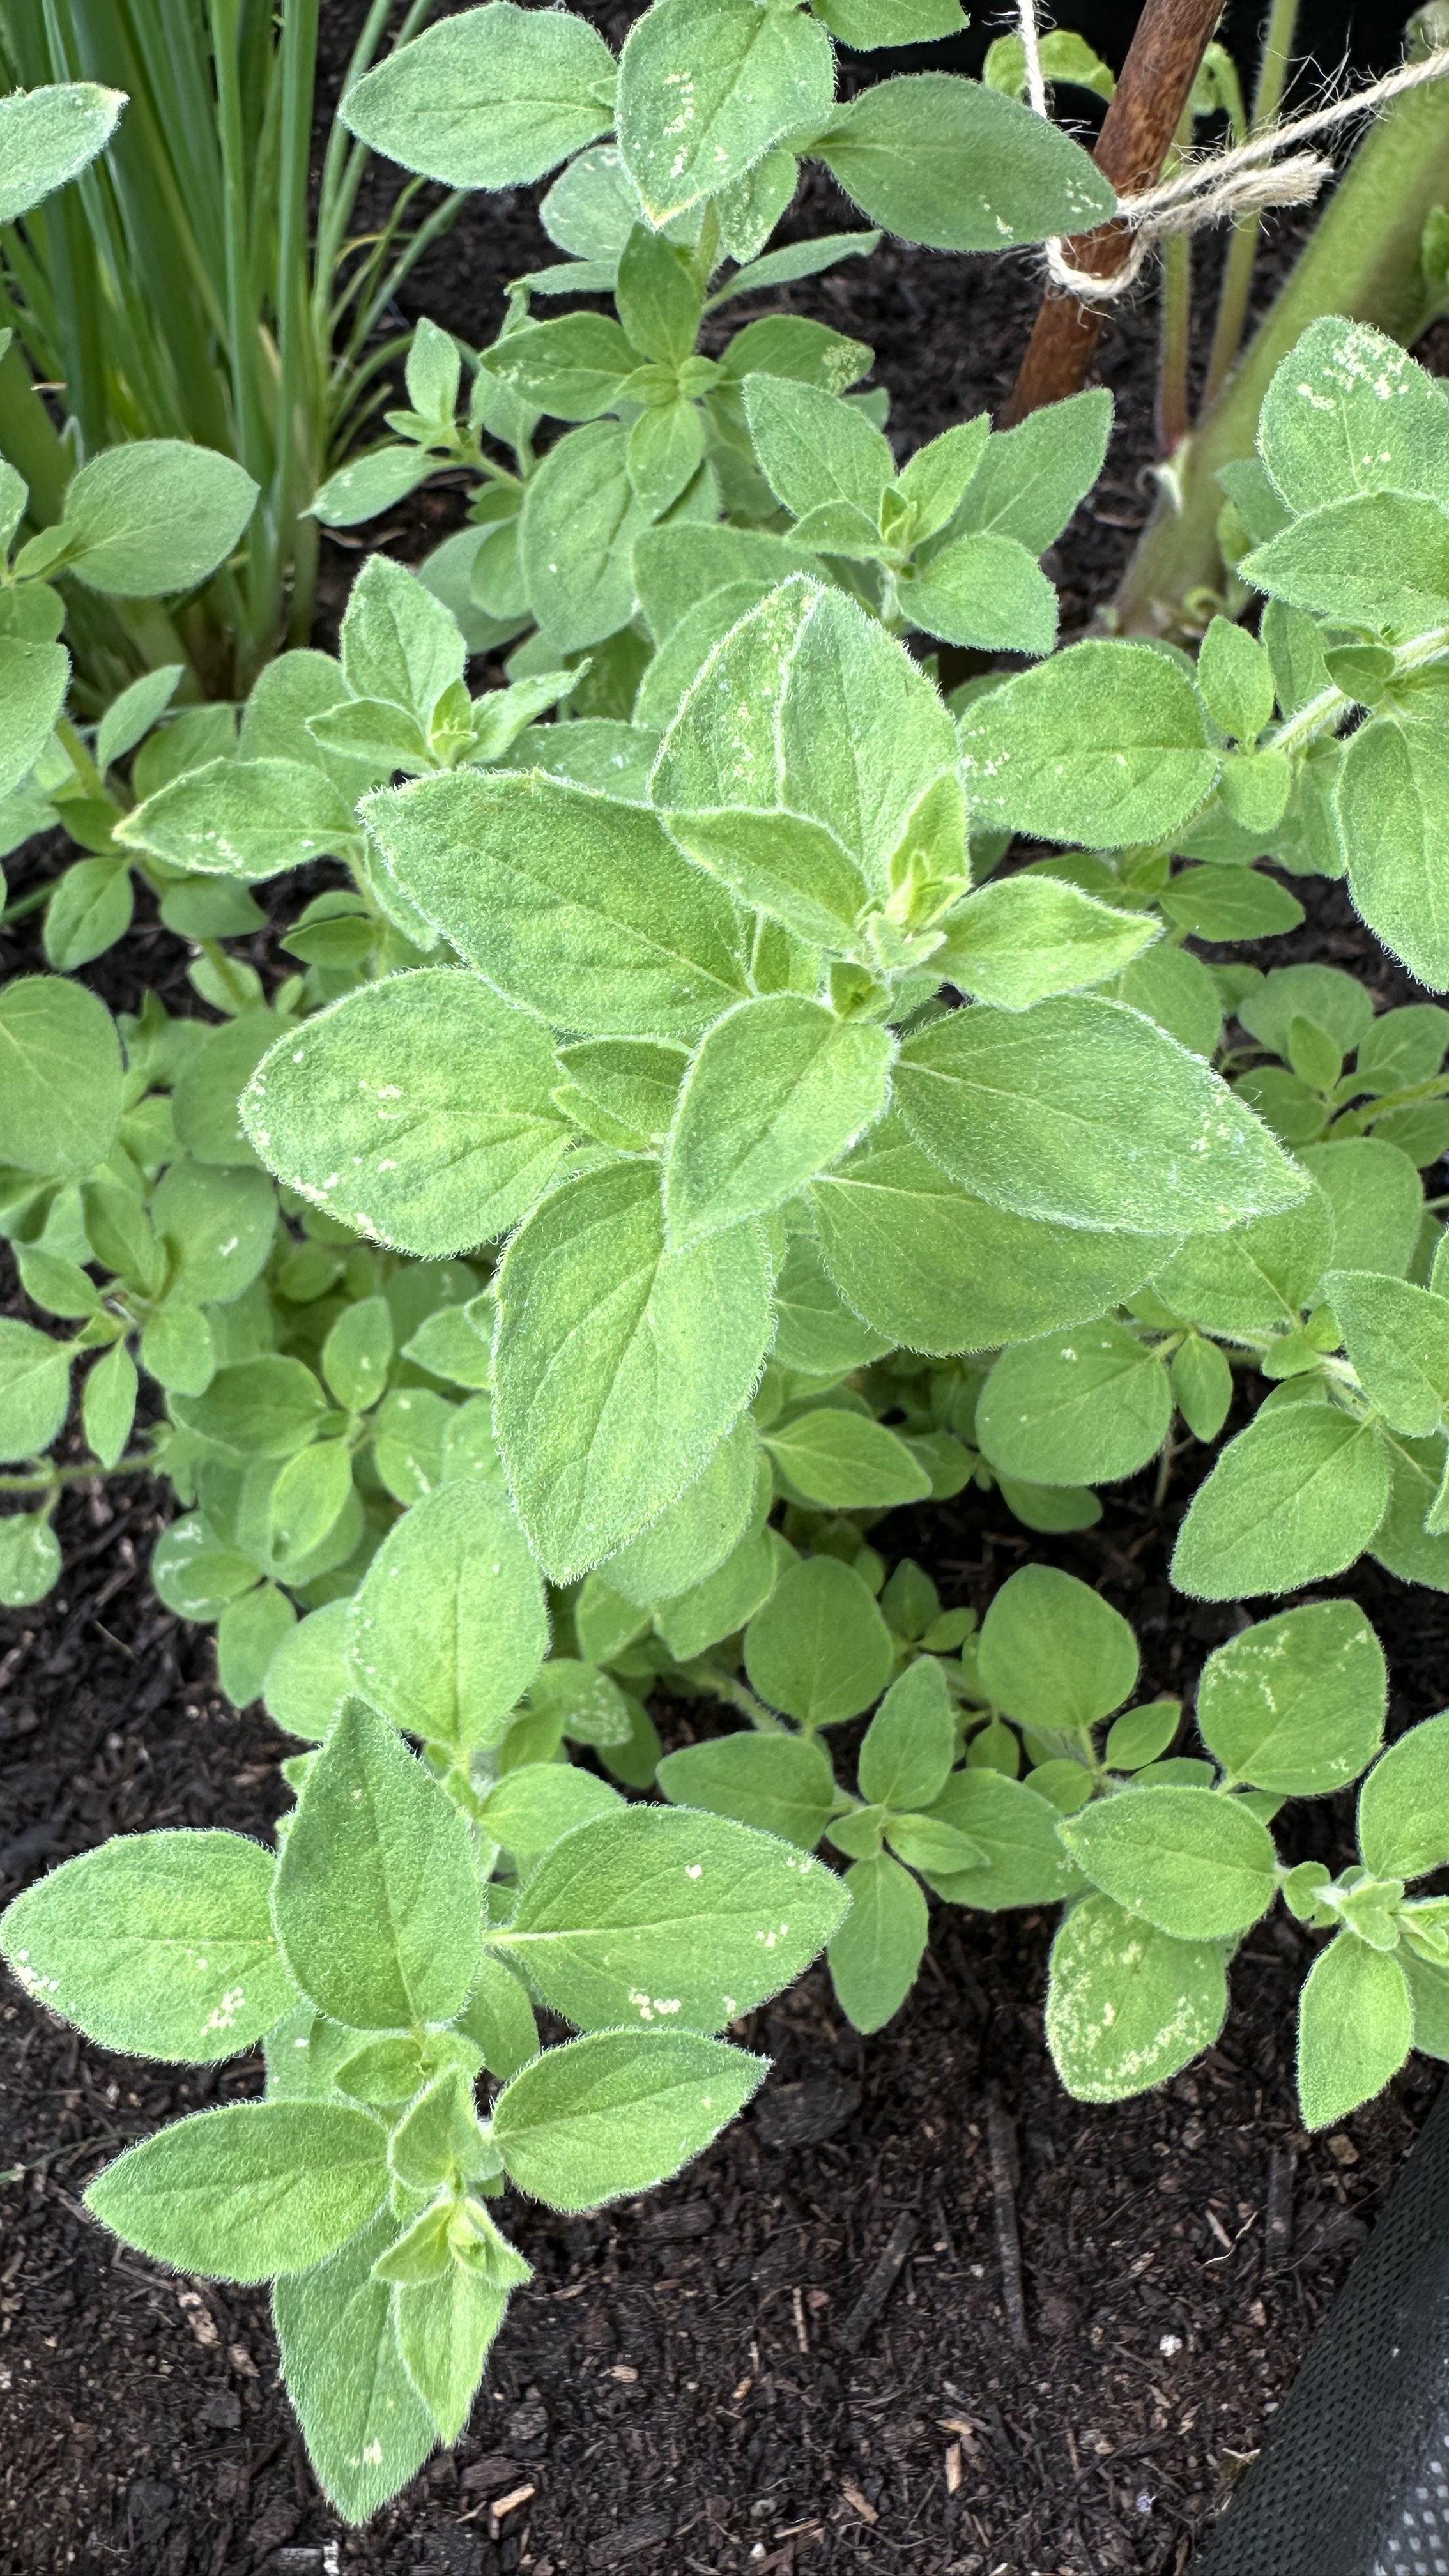
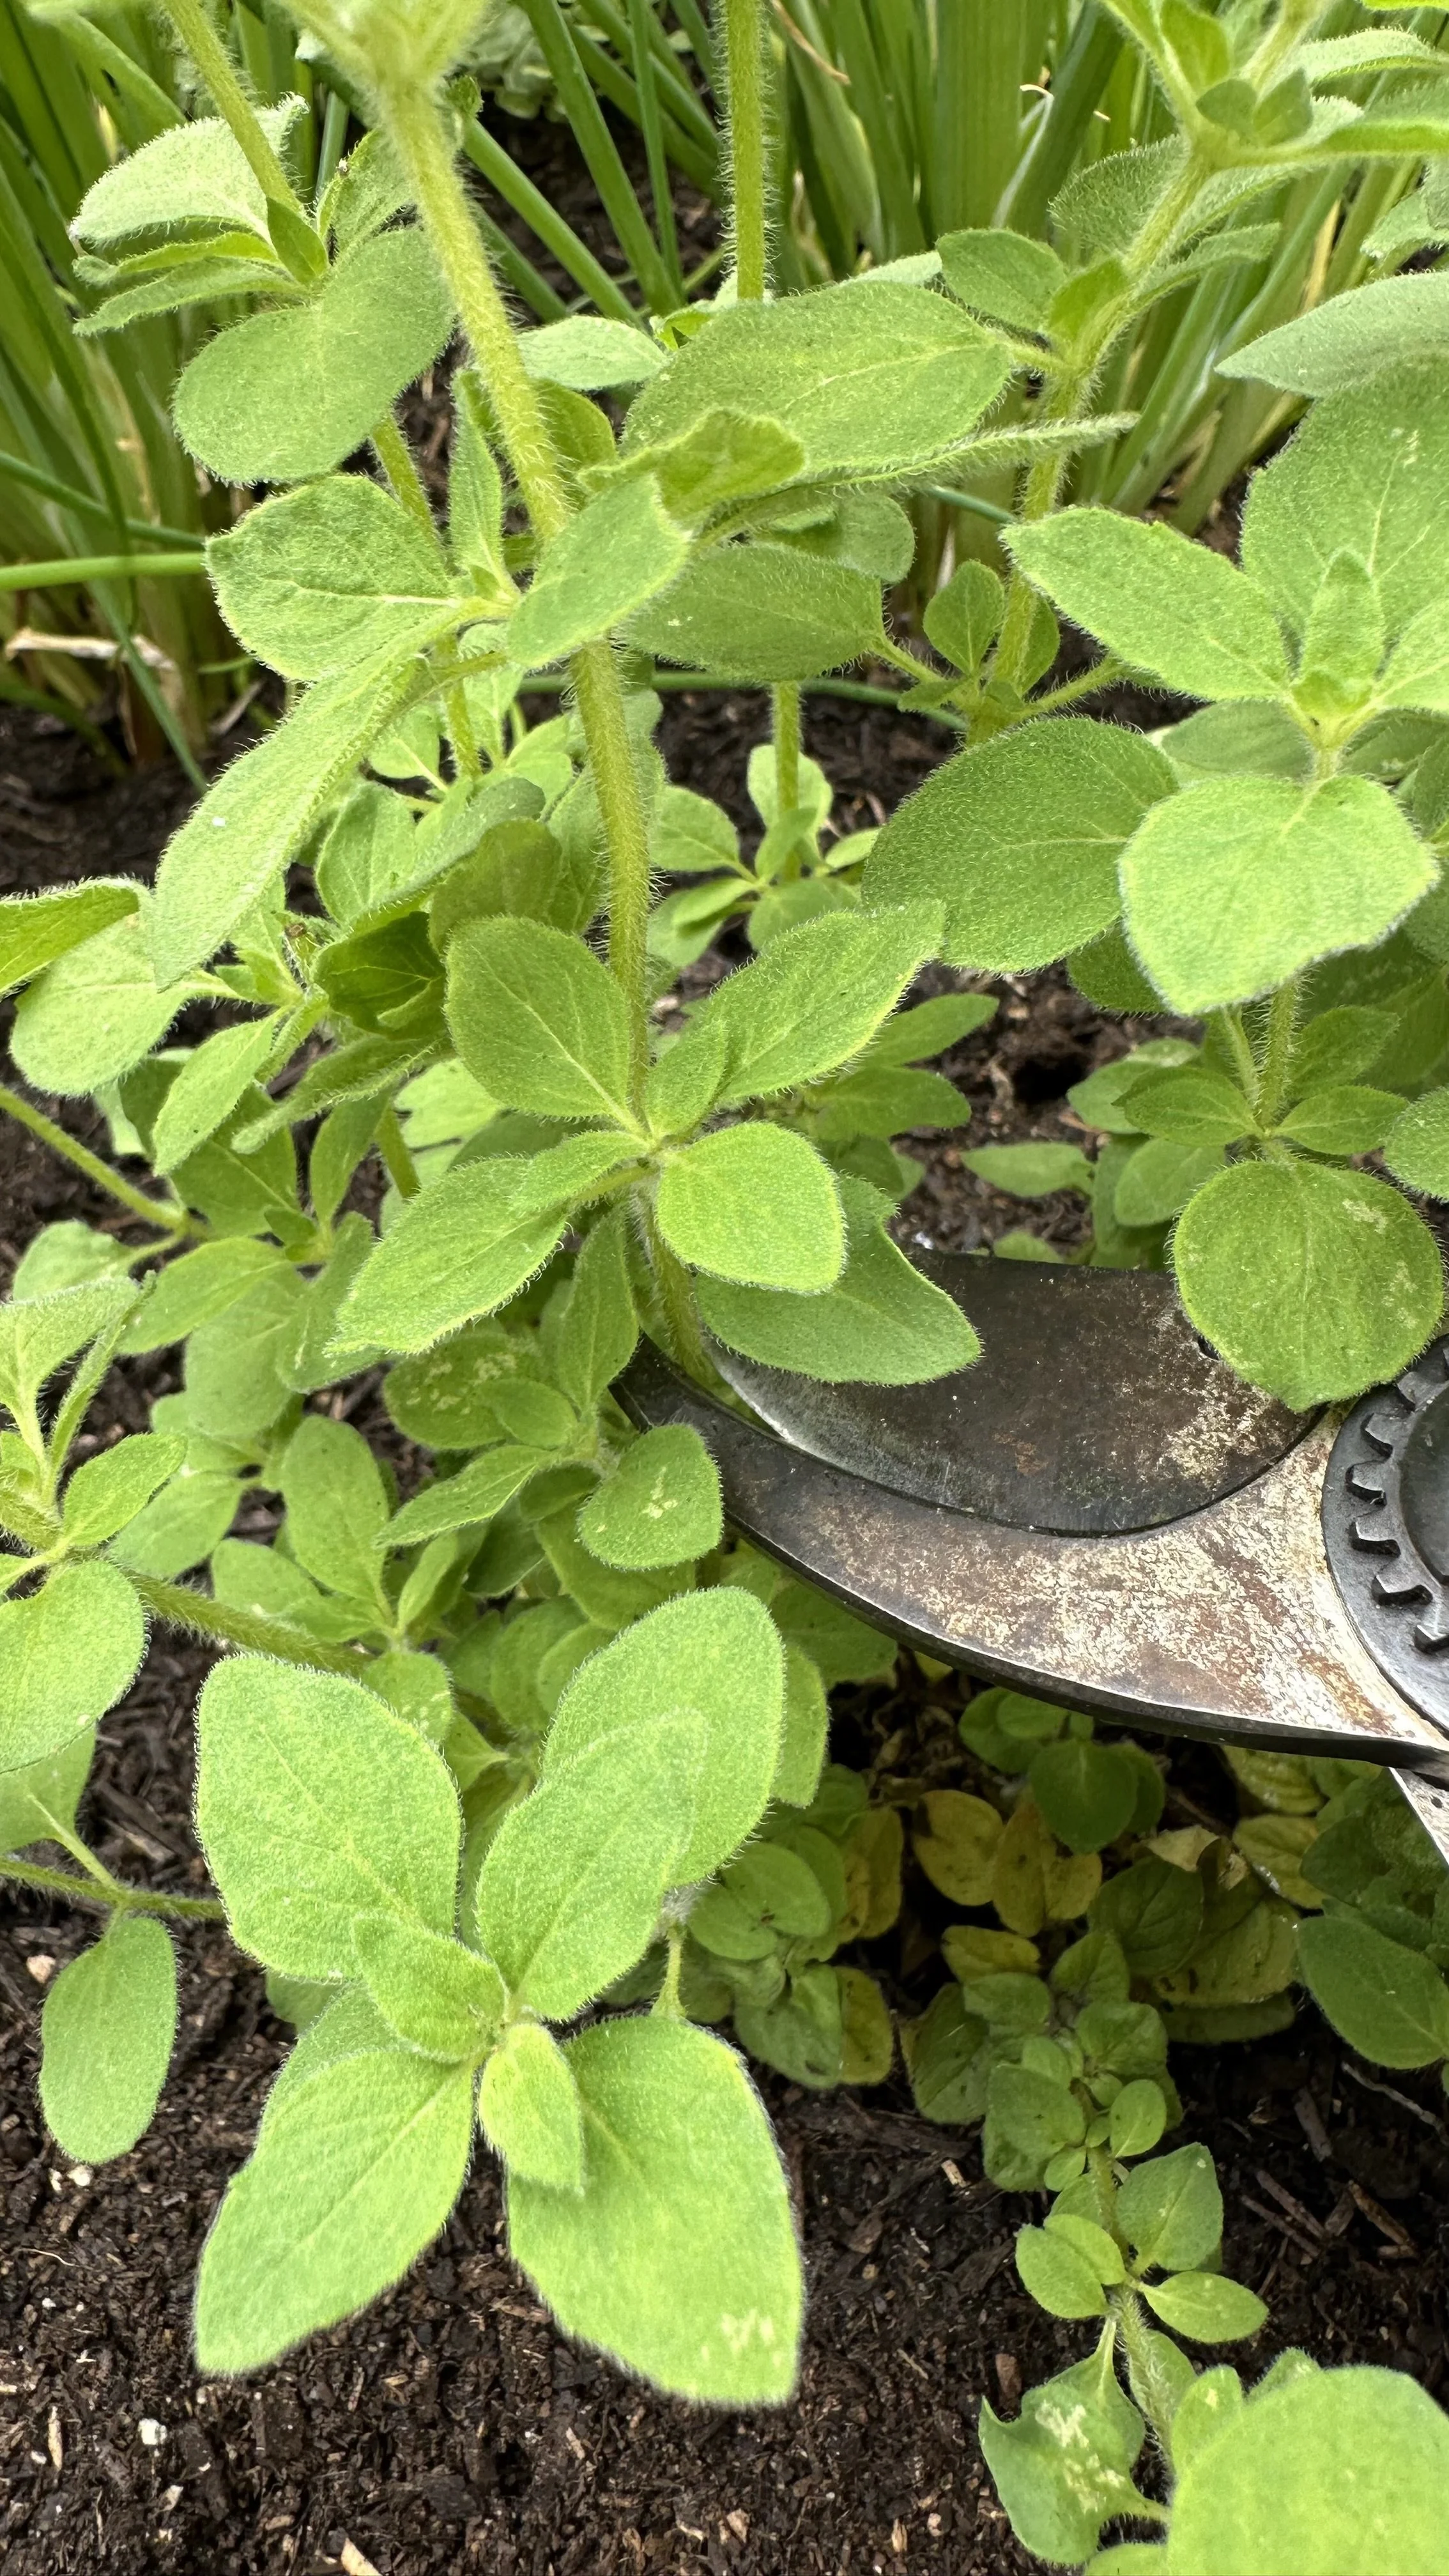
Pruning and Harvesting
Regular pruning not only keeps your oregano plant bushy and healthy but also encourages the growth of new, flavorful leaves.
Pinch off the tips of growing stems to promote branching.
If flowers develop, trim them back to focus the plant's energy on leaf production.
For harvesting, snip stems just above a leaf node or pair of leaves early in the morning, when the plant's essential oils are most concentrated.
You can begin harvesting when the plant has reached 4-6 inches in height.
Remember, frequent harvesting encourages more growth, so don't be shy about using your oregano in the kitchen.
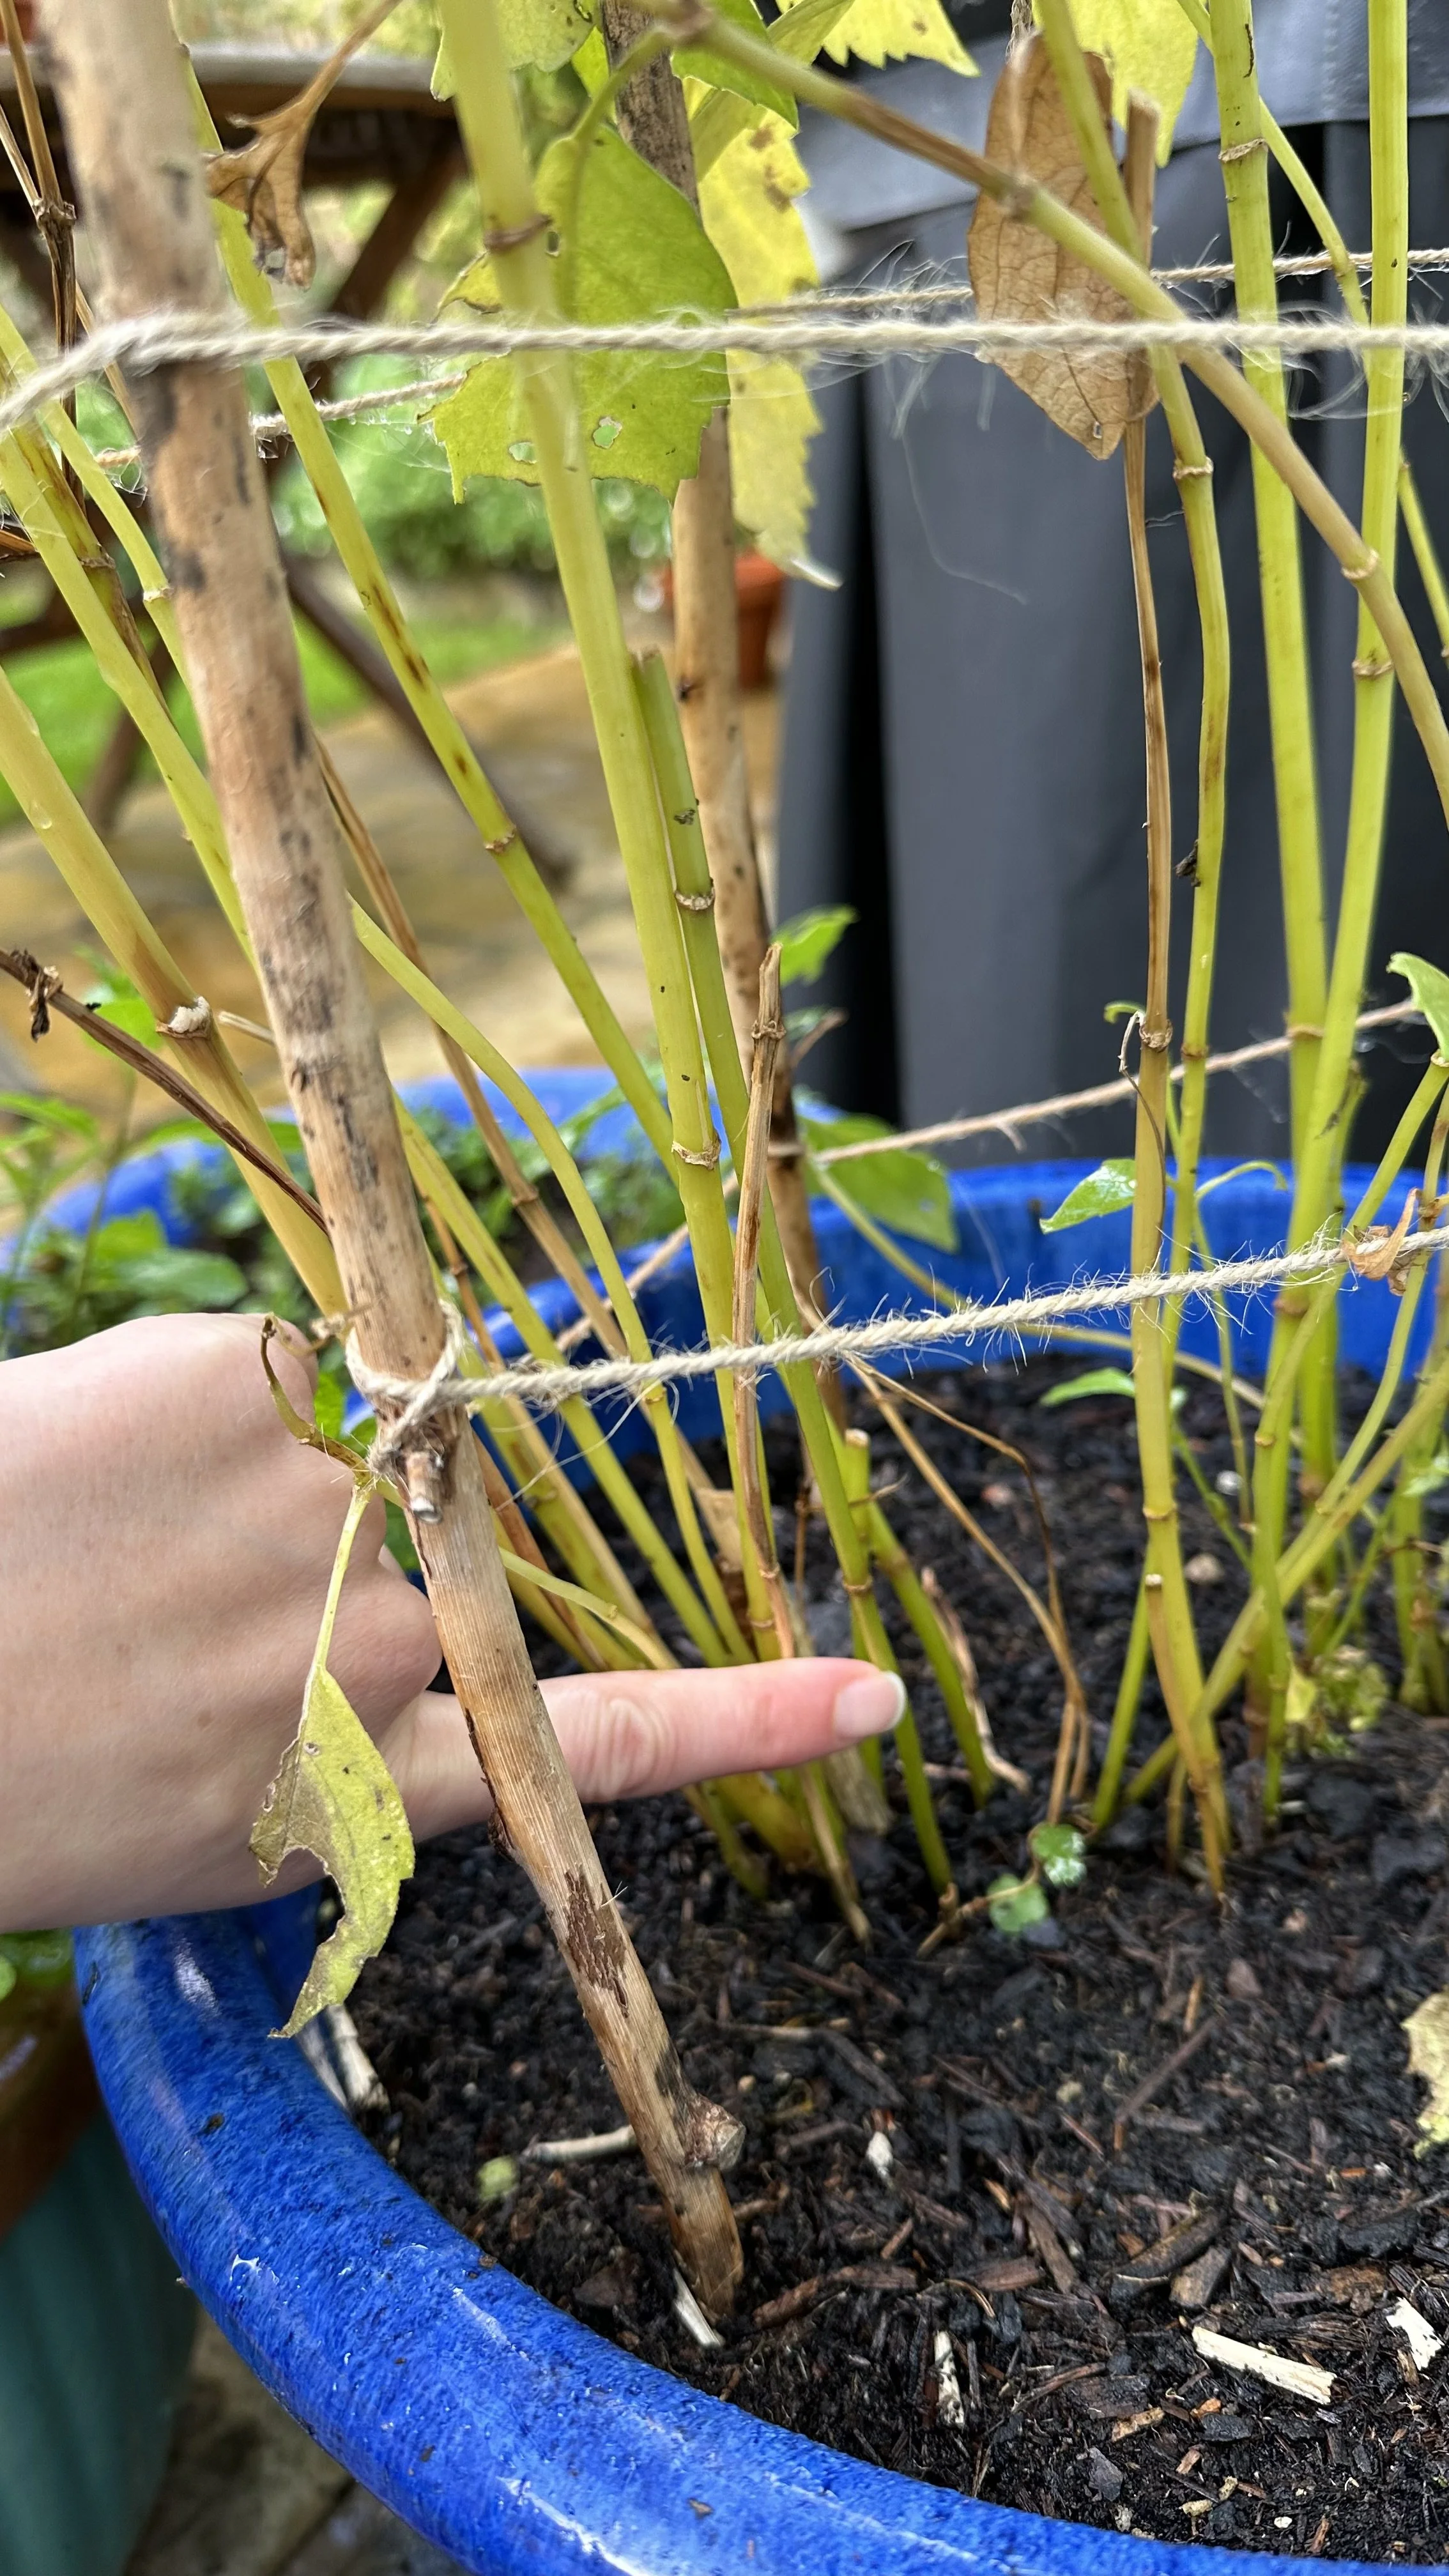
Overwintering
If you live in a region with cold winters, bring your oregano indoors before the first frost.
Place it in a sunny spot and reduce watering, allowing the soil to dry out more between waterings.
Some leaf drop is normal as the plant adjusts to indoor conditions.
If the indoor air is dry, consider placing the pot on a pebble tray filled with water to increase humidity around the plant, or use a humidifier.
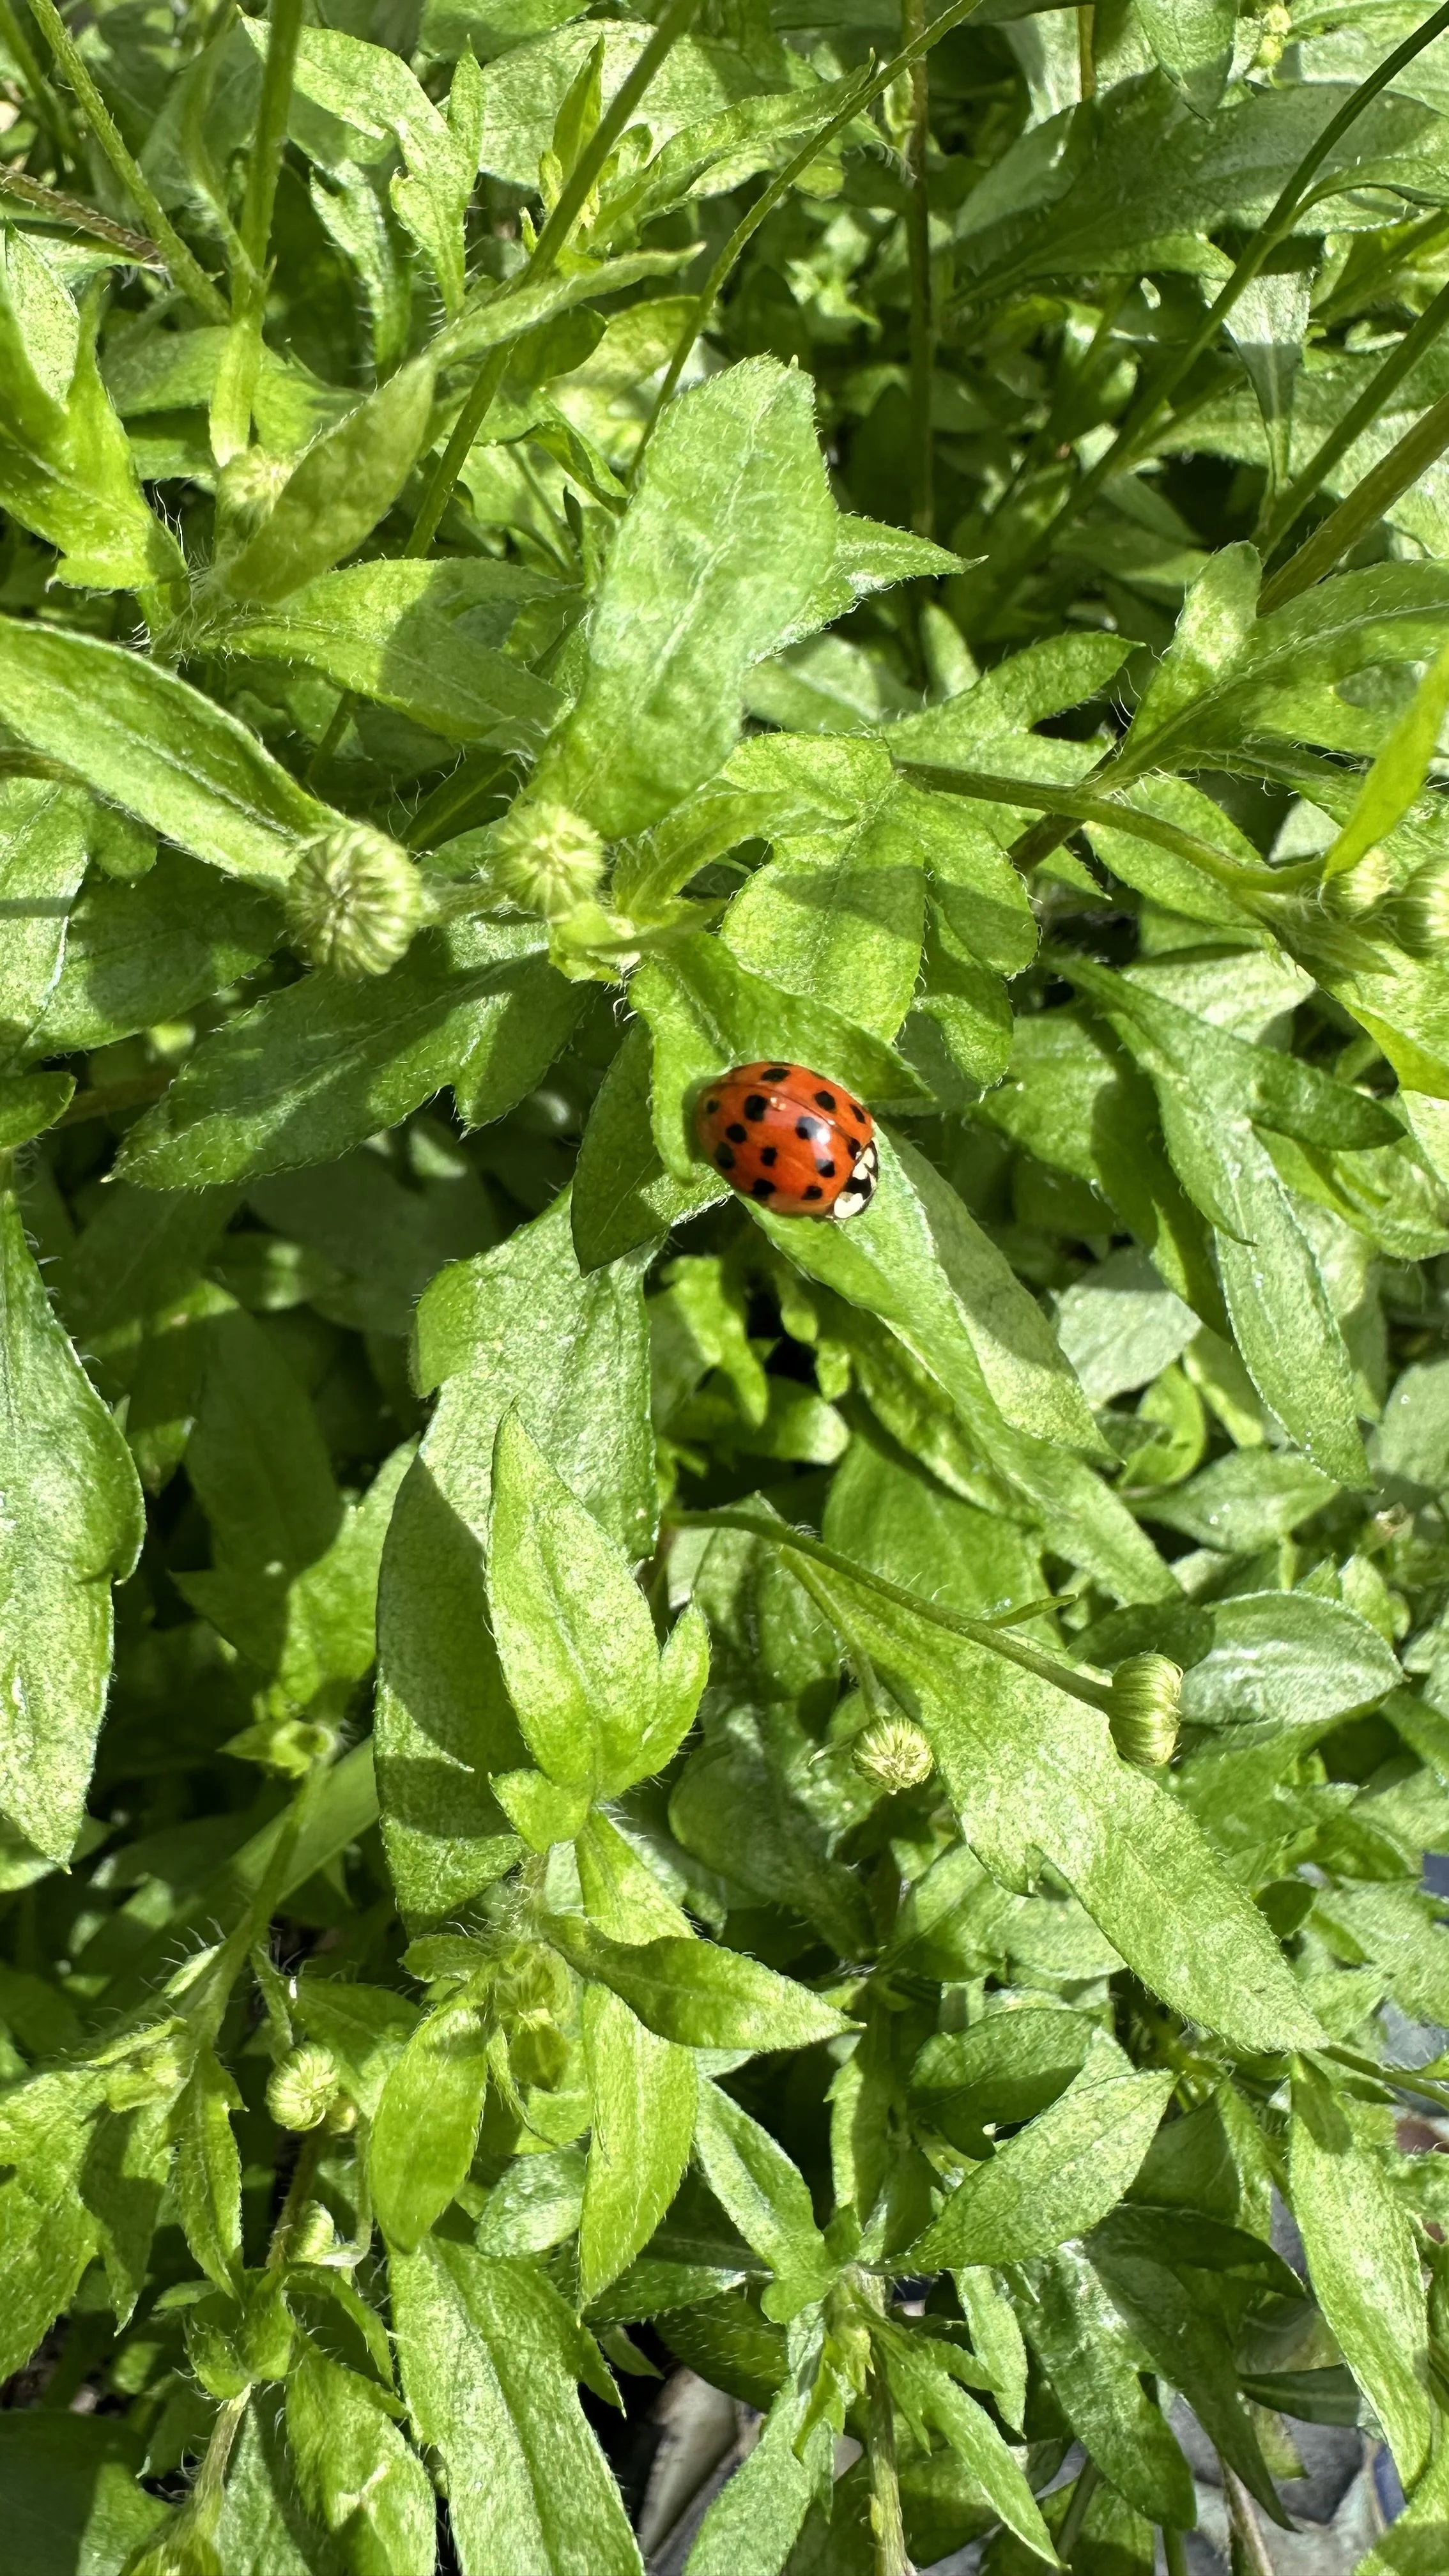
Pest and Disease Management
Oregano is relatively resistant to pests and diseases, especially when provided with the right growing conditions.
However, keep an eye out for common pests such as aphids and spider mites, particularly when grown indoors.
Use a gentle insecticidal soap or neem oil to manage infestations.
Prevent fungal diseases by ensuring good air circulation around the plant and avoiding overhead watering.
For more watering tips, check out my guide Water Butts: Sustainable Water Storage for Your Garden.
Equip your urban green space with my recommend top tier garden tools.
Drying Oregano Leaves: Preserving Your Harvest
After you've successfully grown and harvested your oregano, you may find yourself with more fresh leaves than you can use immediately.
Drying oregano is an excellent way to preserve its flavor for future use.
Here's how to dry oregano leaves efficiently, ensuring you retain their potent aroma and taste:
Method 1: Air Drying
Air drying is one of the simplest and most traditional methods for drying herbs, including oregano.
This method works best in a warm, dry, and well-ventilated area.
Harvest:
Choose healthy, green oregano stems in the morning, after the dew has evaporated but before the sun is at its peak.
Prepare:
Gently wash the stems in cool water to remove any dirt or insects.
Pat them dry with a clean towel or let them air dry completely.
Bundle:
Gather the stems into small bunches and secure them at the base with a rubber band or string.
Ensure the bunches are not too dense, allowing air to circulate freely among the leaves.
Hang:
Hang the oregano bunches upside down in a warm, airy room out of direct sunlight.
You can use a drying rack, a clothes hanger, or any setup that allows air to circulate around the herbs.
Wait:
Depending on the humidity and air circulation, it can take 1-2 weeks for the oregano to dry completely.
The leaves should feel crispy and crumble easily when they're ready.
Method 2: Oven Drying
If you're short on time or live in a humid climate, oven drying is a faster alternative.
However, it requires careful monitoring to prevent the leaves from burning.
Preheat:
Set your oven to the lowest possible temperature, ideally below 180°F (80°C).
Prepare:
After washing and drying your oregano stems, strip the leaves from the stems.
Spread the leaves in a single layer on a baking sheet lined with parchment paper.
Dry:
Place the baking sheet in the oven.
Keep the oven door slightly ajar to allow moisture to escape and to maintain a low temperature.
Monitor:
Check the leaves every 30 minutes, stirring them gently to ensure even drying.
Depending on your oven, it may take 1-4 hours for the leaves to dry completely.
Storage
Once dried, gently crumble the oregano leaves, discarding any stems or tough parts.
Store the dried oregano in an airtight container, away from direct sunlight and moisture.
Here are the storage containers I recommend:

Properly dried and stored oregano can retain its flavor for up to a year, making it a great way to enjoy the fruits of your gardening labor well beyond the growing season.
By following these steps, you can easily dry your oregano leaves, preserving their aroma and flavor for your culinary needs.
To learn more about drying herbs, check out my guide:
Quick FAQs
Does oregano need full sun?
Oregano thrives in full sun, requiring at least 6-8 hours of direct sunlight each day to develop its robust flavor.
Full sun exposure ensures the plant produces the essential oils that give oregano its distinctive taste.
While oregano can tolerate partial shade, its growth, vigor, and flavor intensity are maximized in full sun.
For gardeners growing oregano indoors, placing the pot near a south-facing window or supplementing with grow lights can meet the plant's light requirements.
How do you cut oregano so it keeps growing?
To cut oregano while encouraging continued growth, use sharp scissors or pruning shears to snip stems just above a leaf node or set of leaves.
This method encourages the plant to branch out, leading to a fuller and bushier oregano plant.
Regular harvesting stimulates new growth, ensuring a continuous supply of fresh oregano.
Aim to cut only about one-third of the plant at a time, allowing it to recover and grow back even more vigorously.
How do you pick oregano so it keeps growing?
Picking oregano in a way that promotes growth involves harvesting the top leaves and stems while leaving the lower parts of the plant intact.
Gently pinch off or cut the stems above a pair of leaves to encourage the development of two new stems from the point of cutting.
This method not only helps maintain the plant's health and productivity but also prevents it from getting leggy.
Regular picking, especially before the plant flowers, ensures that oregano continues to produce fresh, flavorful leaves throughout the growing season.
Wrap-up
In wrapping up our journey of growing oregano in a pot, it's clear that this herb is a great addition to the kitchen garden.
From the moment you plant oregano after the last frost of spring, to choosing the ideal pot with well-drained soil, every step brings you closer to a flourishing herb that's as beautiful to look at as it is delicious.
Oregano's ability to act as a ground cover in raised beds or containers highlights its adaptability in the garden.
As you eagerly anticipate the moment to harvest oregano, the journey doesn't end there.
The process of drying the leaves ensures that you can savor the rich, aromatic flavor of oregano throughout the year, adding a touch of freshness to your meals long after the growing season has passed.
Growing oregano in a pot is a testament to the joys of gardening, regardless of the size of your garden.
Pin this post to save it for later!