Growing Asparagus in Raised Beds: Easy Steps
This website is reader-supported - thank you! This post may contain affiliate links. As an Amazon Associate, I earn from qualifying purchases at no extra cost to you.
Growing asparagus in raised beds is incredible rewarding, but requires a bit of patience and proper planning.
When you have planted asparagus in raised beds, you are really setting yourself up for a productive asparagus harvest.
Understanding asparagus needs, such as adequate sunlight, well-drained soil, and consistent care, is essential.
While it takes three years for asparagus plants to fully mature, the wait is worth it for the delicious spears that will return year after year.
This guide will walk you through everything you need to know about growing asparagus raised beds, from initial planting to bountiful harvests.
To learn more about growing asparagus, check out my guide:
Why Choose Raised Beds for Growing Asparagus?
Choosing raised beds for growing asparagus comes with several advantages that make it an ideal option for your garden.
Here’s why raised beds are particularly beneficial for growing asparagus:
Improved Drainage
Asparagus plants thrive in well-drained soil.
Raised beds naturally improve drainage, preventing the waterlogging that can lead to root rot.
This is especially important in regions with heavy clay soils or high rainfall.
By elevating the planting area, you ensure excess water can easily drain away, keeping the roots healthy and happy.
To learn more about growing in raised beds, check out my guide:
What to Put on the Bottom of a Raised Garden Bed
Enhanced Soil Quality
One of the key benefits of raised beds is the ability to control the soil composition.
You can fill your raised bed with a customized mix of high-quality soil and organic matter, tailored specifically for asparagus.
This ensures the plants get the nutrients they need for optimal growth.
Amending the soil in a traditional garden can be labor-intensive, but with raised beds, it’s much easier to create the perfect growing environment.
Reduced Weed Competition
Raised beds help reduce weed problems significantly.
Since the bed is elevated and often filled with fresh soil, there’s less likelihood of weed seeds infiltrating the area.
Additionally, the defined borders of a raised bed make it easier to manage and remove any weeds that do appear, reducing competition for nutrients and water with your asparagus plants.
Easier Maintenance
Gardening in raised beds is generally more ergonomic and less physically demanding.
The elevated height means less bending and stooping, which can be a significant advantage for gardeners with back or knee issues.
This ease of access makes planting, weeding, watering, and harvesting more comfortable and enjoyable.
Better Soil Temperature Control
Raised beds warm up faster in the spring compared to ground-level gardens.
This can be particularly beneficial for asparagus, which is one of the first crops to emerge in the spring.
The warmer soil temperatures encourage quicker growth, allowing you to start harvesting sooner.
Pest and Disease Management
Elevating your garden bed can help reduce pest problems.
Many ground-dwelling pests find it more challenging to access plants in raised beds.
Additionally, the improved drainage and soil conditions help prevent many soil-borne diseases that can plague asparagus in traditional gardens.
Versatility in Placement
Raised beds offer flexibility in garden design.
You can place them in the most advantageous locations for sunlight, which is crucial for asparagus plants that require full sun to produce robust spears.
If your garden space is limited or uneven, raised beds provide a solution that maximizes growing potential in any area.
Longevity and Productivity
Asparagus is a perennial vegetable, meaning it will produce year after year if properly cared for.
A well-constructed raised bed can provide a stable and long-lasting environment for your asparagus plants.
With the right setup, your raised bed can yield productive asparagus crops for 15 years or more.
To learn more about growing in a raised bed, check out my guides:

Baby asparagus.
Preparing Your Raised Bed for Asparagus
Proper preparation of your raised bed is crucial for ensuring a healthy and productive asparagus crop.
Here’s a step-by-step guide to getting your raised bed ready for planting asparagus:
Selecting the Right Location
Choose a sunny location for your raised bed, as asparagus plants need at least 6-8 hours of direct sunlight each day.
A spot that receives morning sun is ideal because it helps dry the plants off early, reducing the risk of disease.
Building the Raised Bed
Construct your raised bed with durable materials such as untreated cedar, redwood, or composite wood.
The bed should be at least 12 inches deep to provide ample room for the deep-rooted asparagus.
While the width can vary, a 4-foot wide bed is recommended for ease of access from both sides.
Preparing the Soil
Asparagus thrives in well-drained, nutrient-rich soil.
Follow these steps to prepare the soil in your raised bed:
Remove Weeds:
Clear the area of any existing weeds to minimize competition for nutrients and water.
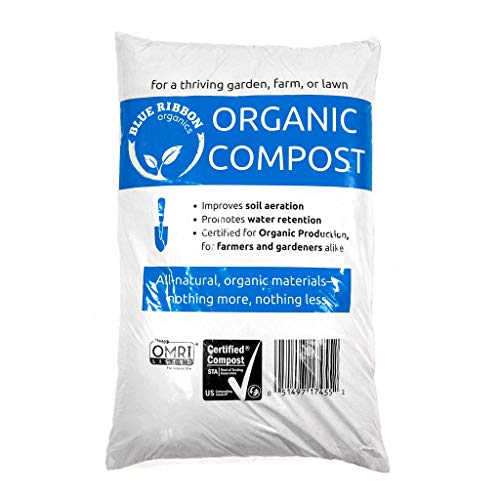
Add Organic Matter:
Mix in plenty of organic matter such as compost, aged manure, or leaf mold.
This will improve soil structure, fertility, and moisture retention.
Here is the compost I recommend using:
Adjust pH Level:
Asparagus prefers a slightly acidic to neutral pH (6.5-7.0).
Test your soil and amend it if necessary with lime to raise the pH or sulfur to lower it.
Here is the easy soil pH tester I recommend using:

Incorporate Fertilizers:
Before planting, work in a balanced fertilizer or a slow-release granular fertilizer to provide essential nutrients.
A formula like 10-10-10 (NPK) is suitable.
Here is the fertilizer I recommend:

Setting Up Supports
Consider adding supports or stakes if you live in a windy area.
Asparagus ferns can grow tall and may need additional support to prevent them from falling over and damaging the crowns.
Marking the Planting Area
Clearly mark where you have planted the asparagus crowns to avoid disturbing them during the growing season.
This will help you distinguish them from weeds or other plants.

Planting Asparagus Crowns
Planting asparagus crowns correctly is a crucial step to ensure the long-term health and productivity of your asparagus bed.
Here’s a detailed guide on how to plant asparagus crowns in raised beds:
Timing Your Planting
The best time to plant asparagus crowns is in the early spring, as soon as the soil can be worked.
This timing allows the crowns to establish themselves before the growing season gets into full swing.
In warmer climates, you may plant in late winter.
Selecting Quality Crowns
Choose healthy, one-year-old asparagus crowns.
Ensure the crowns are firm and free from disease or rot.
The best varieties are ‘Jersey Knight’ and ‘Mary Washington’.
Here are the ‘Jersey Knight’ crowns I recommend:

Here are the ‘Mary Washington’ asparagus crowns I recommend:

Preparing the Trenches
After preparing your raised bed soil, it’s time to dig trenches for planting the crowns:
Depth and Spacing:
Dig trenches that are 6-8 inches deep and space them 12-18 inches apart.
The depth allows the crowns to be buried gradually as they grow.
Length of Trenches:
Depending on the size of your raised bed, the trenches can run the length of the bed.
Ensure you leave enough space between rows to allow for maintenance and growth.
Placing the Crowns
Proper placement of the crowns is essential for their development:
Spacing the Crowns:
Place each crown in the trench, spacing them about 12-18 inches apart.
This spacing gives each plant enough room to grow without competing for resources.
Spreading the Roots:
Spread the roots out in the trench like the spokes of a wheel.
This encourages the roots to grow outward and downward, providing a stable foundation for the plants.
Covering the Crowns
Covering the crowns correctly helps them establish strong shoots and roots:
Initial Covering:
Initially cover the crowns with 2-3 inches of soil.
This light covering allows the young shoots to emerge more easily.
Gradual Filling:
As the asparagus spears grow, gradually fill in the trench with soil.
Add a few inches of soil at a time, being careful not to bury the emerging spears too deeply all at once.
Continue this process until the trench is level with the surrounding soil.
This gradual covering encourages robust growth and helps prevent diseases.
Watering the Bed
After planting, water the bed thoroughly to settle the soil around the roots.
Maintain consistent moisture, especially during the first growing season.
Asparagus plants require regular watering to establish a strong root system.
Mulching for Protection
Mulching helps retain moisture, suppress weeds, and regulate soil temperature:
Applying Mulch:
Apply a 2-3 inch layer of organic mulch, such as straw, shredded leaves, or compost, around the plants.
Avoid covering the emerging spears directly with mulch.
Maintaining Mulch:
Replenish the mulch as needed throughout the growing season to maintain its effectiveness.
Here is the mulch I recommend:

First Year Care:
The first year is all about establishing the plants rather than harvesting:
Avoid Harvesting:
Do not harvest any spears in the first year.
Allow all the shoots to grow into ferns.
These ferns will feed the root system, ensuring strong plants for future harvests.
Monitoring Growth:
Regularly check for pests and diseases.
Treat any issues promptly to prevent them from spreading.
Long-Term Care:
With proper care, your asparagus bed will be productive for many years:
Fertilizing:
In subsequent years, apply a balanced fertilizer in early spring and again after the last harvest to support ongoing growth.
Maintenance:
Keep the bed weed-free, and continue to mulch to conserve moisture and improve soil health.

Harvesting Asparagus
Harvesting asparagus is one of the most rewarding parts of growing this vegetable.
However, it requires patience and proper technique to ensure a bountiful and sustainable harvest.
Here’s a detailed guide on how to harvest asparagus:
Timing Your First Harvest
First Year:
In the first year after planting, do not harvest any spears.
Allow the plants to grow into ferns.
This process helps establish strong roots and a healthy plant.
Second Year:
In the second year, you can harvest lightly.
Only take a few spears per plant and limit the harvest period to about two weeks.
This ensures the plants continue to build strength.
Third Year and Beyond:
Starting in the third year, you can begin to harvest more generously.
The harvest period can extend up to six to eight weeks.
Identifying Ready-to-Harvest Spears
Size:
Harvest spears when they are 6-8 inches tall.
The diameter can vary, but typically, spears should be about the thickness of a pencil.
Appearance:
Look for tightly closed tips.
Asparagus spears with open or feathery tips are overgrown and can become tough.
Harvesting Technique
Cutting Method:
Use a sharp knife or garden shears to cut the spears.
Cut at or just below the soil surface.
Be careful not to damage nearby emerging spears.
Snap Method:
Alternatively, you can snap the spears by hand.
Hold the spear near the base and bend it until it snaps.
This method naturally breaks the spear at its most tender point.
Frequency of Harvest
Daily Check:
During the peak of the season, asparagus can grow quickly.
Check your bed daily and harvest any spears that have reached the ideal size.
Consistent Harvesting:
Regularly harvesting spears encourages more growth.
If left unharvested, the spears will grow into ferns, signaling the plant to slow down production.
Post-Harvest Care:
Fertilizing:
After the final harvest, apply a balanced fertilizer to support the plants as they grow into ferns.
This feeding helps replenish the nutrients used during the harvest period.
Here is the fertilizer I recommend after harvest:

Extending the Harvest Period
Sequential Planting:
If you have multiple beds or sections, you can stagger the planting times to extend the overall harvest period.
Covering:
In cooler climates, using row covers or cloches can extend the growing season by protecting the plants from late frosts and early cold spells.
Here is the cover I recommend:

Dealing with Overgrown Spears
Ferns:
If spears grow too tall before you can harvest them, allow them to develop into ferns.
These ferns are essential for the plant’s health, as they photosynthesize and store energy in the roots for the next season.
Removing Old Ferns:
At the end of the growing season, after the ferns have turned brown and died back, cut them down to soil level.
This helps prevent diseases and pests from overwintering in the bed.
Storage and Use
Fresh Use:
For the best flavor and texture, use asparagus spears as soon as possible after harvesting.
Fresh spears can be stored in the refrigerator for up to a week.
Stand them upright in a jar with a little water, covering the jar with a plastic bag.
Preservation:
Asparagus can be preserved by blanching and freezing.
Blanching involves briefly boiling the spears and then plunging them into ice water before freezing.
This method preserves the color and texture of the spears.
Common Harvesting Issues
Thin Spears:
Thin spears can be a sign of young plants, poor soil nutrition, or insufficient watering.
Ensure your plants are well-fertilized and watered.
Deformed Spears:
Spears that are crooked or misshapen can result from inconsistent watering or pest damage.
Regular maintenance and pest control can help prevent these issues.
Special Tips for Growing Asparagus in Different Climates
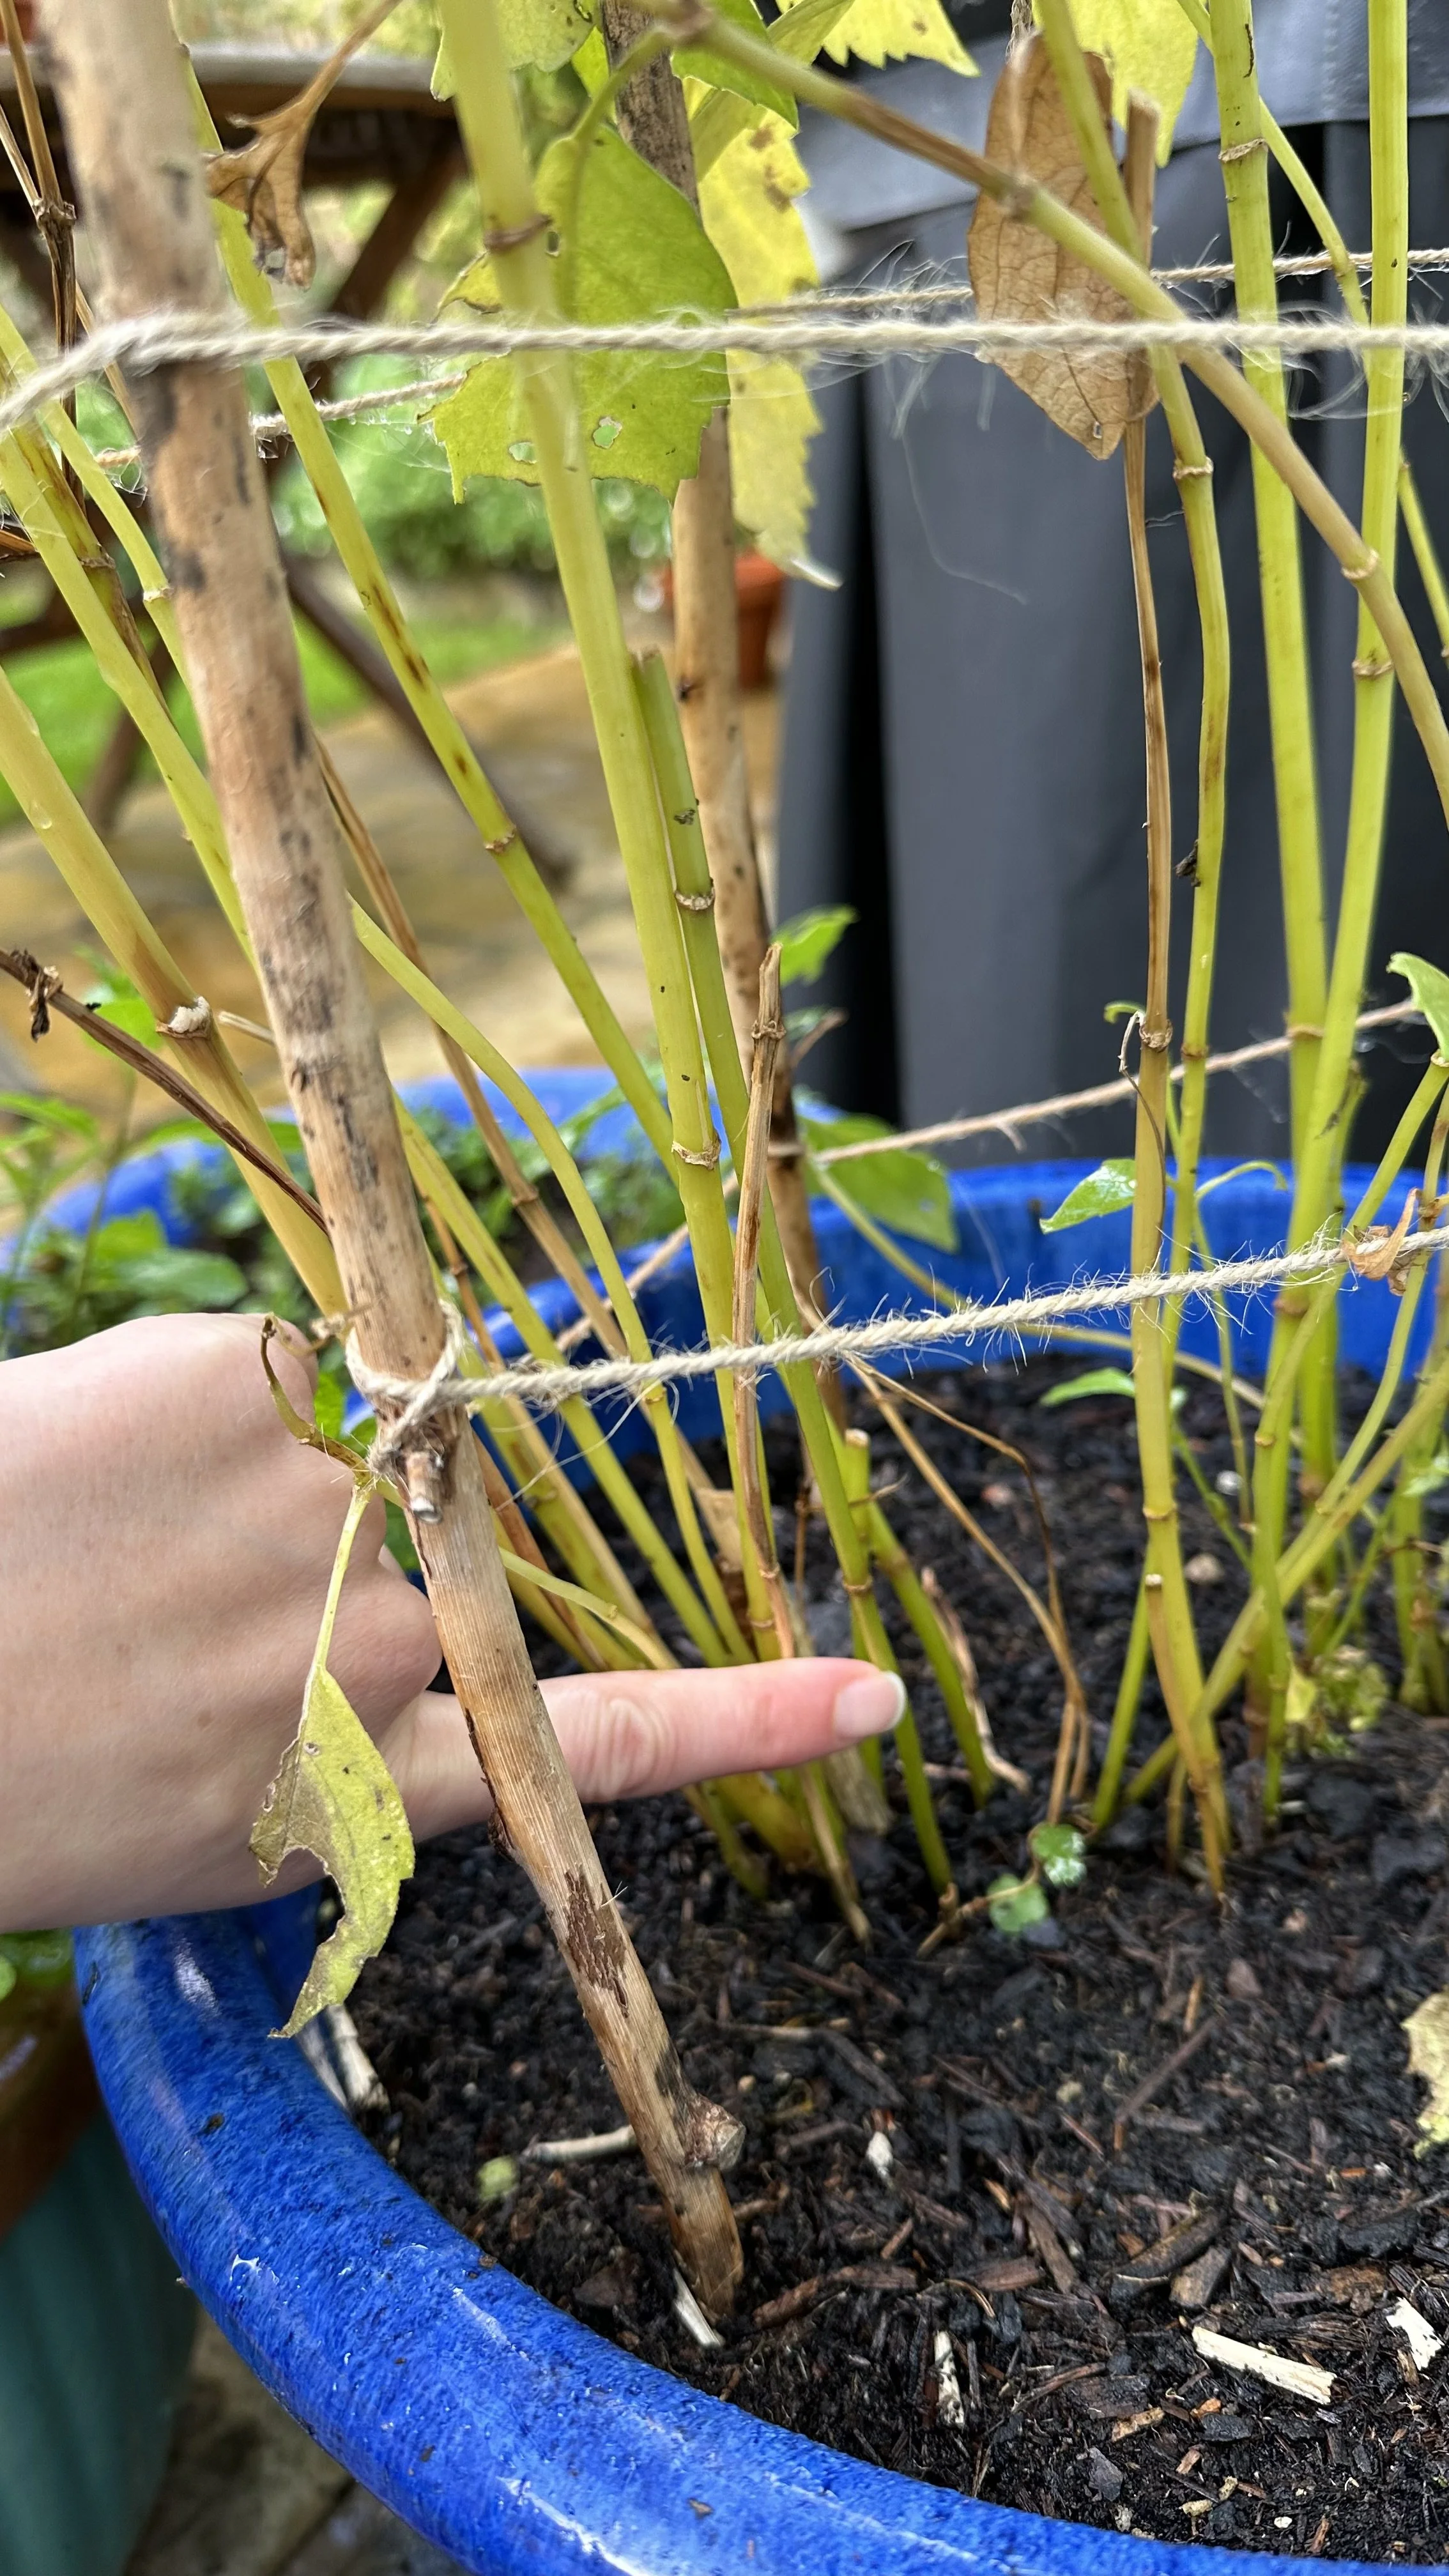
In Pots:
If space is limited, you can grow asparagus in large pots.
Ensure the pots are deep enough for the roots.
In Florida:
Asparagus can be grown in Florida, but it may require some shade during the hottest part of the day to prevent stress.
Wintering:
In colder climates, cover your asparagus bed with mulch or straw to protect it during winter.
Quick FAQs
How deep to plant asparagus crowns in raised beds?
Asparagus crowns should be planted 6-8 inches deep in raised beds to ensure proper root development.
Gradually fill in the trench as the plants grow to support strong spear emergence.
How many asparagus crowns in a 4x8 raised bed?
You can plant around 10-12 asparagus crowns in a 4x8 raised bed, spacing them 12-18 inches apart.
This spacing allows each plant enough room to grow without competing for resources.
What size should a raised bed be for asparagus?
A raised bed for asparagus should be at least 12 inches deep and wide enough to accommodate the number of crowns you wish to plant, typically 4 feet wide for ease of access.
This depth provides ample space for the deep-rooted asparagus to thrive.
Can you grow asparagus in pots?
Yes, asparagus can be grown in large pots that are at least 18 inches deep, which provides sufficient space for the root system.
Ensure the pots have good drainage to prevent waterlogging.
How do you plant asparagus roots in raised beds?
Plant asparagus roots by digging a trench 6-8 inches deep, placing the crowns with roots spread out, and covering them gradually as they grow.
This method encourages robust growth and helps prevent diseases.
How do you care for asparagus in the first year?
In the first year, focus on watering consistently, mulching to retain moisture, and avoiding harvesting to allow the plants to establish strong roots.
This patience will result in healthier plants and better harvests in subsequent years.
How deep are asparagus roots?
Asparagus roots can grow quite deep, often reaching depths of up to 6 feet in well-draining soil.
This deep rooting helps the plants access nutrients and water from deeper soil layers.
Does asparagus spread?
Yes, asparagus can spread over time as it establishes a stronger root system and produces more crowns.
This natural expansion can lead to a more productive bed over the years.
How do you protect asparagus in winter?
In colder climates, cover your asparagus bed with mulch or straw to protect it from freezing temperatures.
This insulation helps prevent root damage and ensures healthy growth in the spring.
Pin this post to save it for later!