Bulb Lasagne in 4 Easy Steps
This website is reader-supported - thank you! This post may contain affiliate links. As an Amazon Associate, I earn from qualifying purchases at no extra cost to you.
Have you ever made a bulb lasagne?
It might sound like a dish you'd find in an Italian restaurant, but in the gardening world, it's an amazing way to create a layered display of spring flowers.
A bulb lasagne involves planting different types of flowering bulbs in layers within a container, allowing them to bloom at different times and providing a continuous display of colors throughout the spring.
Creating a bulb lasagne is an easy and effective way to brighten up your garden or patio —and it only takes 4 easy steps.
Learn more about growing bulbs with my guides:

Materials Needed for bulb lasagne
Before you start, gather your materials.
Having everything ready will make the planting process smoother.
Here’s what you’ll need:
Flower Bulbs:
The key to a successful bulb lasagne is choosing a variety of bulbs that bloom at different times.
This ensures a continuous display of flowers throughout the spring.
Good choices include:
Tulips:
These are great for late spring blooms.
Here are the tulip bulbs I recommend:
Daffodils:
Perfect for mid-spring, daffodils are hardy and bring a pop of yellow.
Here are the daffodil bulbs I recommend:

Grape Hyacinths:
These small, early spring bulbs add a lovely touch of blue.
Here are the grape hyacinth bulbs I recommend:

Container:
Choose a container that’s large enough to accommodate multiple layers of bulbs.
It should be at least 12 inches deep to allow for the different planting depths of the bulbs.
Make sure the container has adequate drainage holes to prevent water from pooling at the bottom, which can cause bulb rot.
If the container doesn’t have enough holes, you can drill some additional ones.
This container works great for bulb lasagnas:

Compost:
Use high-quality, well-draining compost.
This will provide the nutrients the bulbs need to grow and bloom.
You can mix in some bulb fertilizer to give them an extra boost.
Here is the bulb fertilizer I recommend:

Garden Tools:
Having the right tools on hand will make the planting process much easier.
Essential tools include:
Trowel: For digging and planting the bulbs.
Watering Can: To water the bulbs after planting.
Gloves: To protect your hands while working with the soil and bulbs.
These are the gloves I recommend:

Additional Materials:
When potting up bulbs, these are also really great to have on hand:
Mulch:
A layer of mulch on top can help retain moisture and keep the soil temperature consistent.
To learn more about mulch, check out my guide: The Best Alternatives to Traditional Mulch for Your Garden.
Here is the mulch I recommend:

Labels:
If you’re planting multiple containers or different varieties of bulbs, labeling them can help you keep track of what’s planted where.
To learn more about growing bulbs, check out my guides:
Can I Plant Tulip Bulbs in the Spring?
How to Plant a Bulb Lasagne: Step-by-Step
1. Prepare the Container
Choose the Right Container
Select a container that is at least 12 inches deep to accommodate the multiple layers of bulbs.
The width can vary, but a larger container will allow for more bulbs and a more impressive display.
Drainage Holes:
Ensure your container has adequate drainage holes at the bottom.
These holes prevent water from pooling and causing the bulbs to rot.
If your container doesn’t have enough holes, you can drill additional ones using a drill with a masonry bit for ceramic or a regular bit for plastic.
Potting Grit:
To further improve drainage, consider adding a layer of potting grit or small stones at the bottom of the container.
This helps to keep the water from sitting directly around the bulbs' roots.
To learn more about growing bulbs, check out my guides:

2. Planting the First Layer
Select Your Bulbs
Choose large bulbs such as tulips, daffodils, or alliums for the first layer.
These bulbs usually have the longest stems and need the most room to grow.
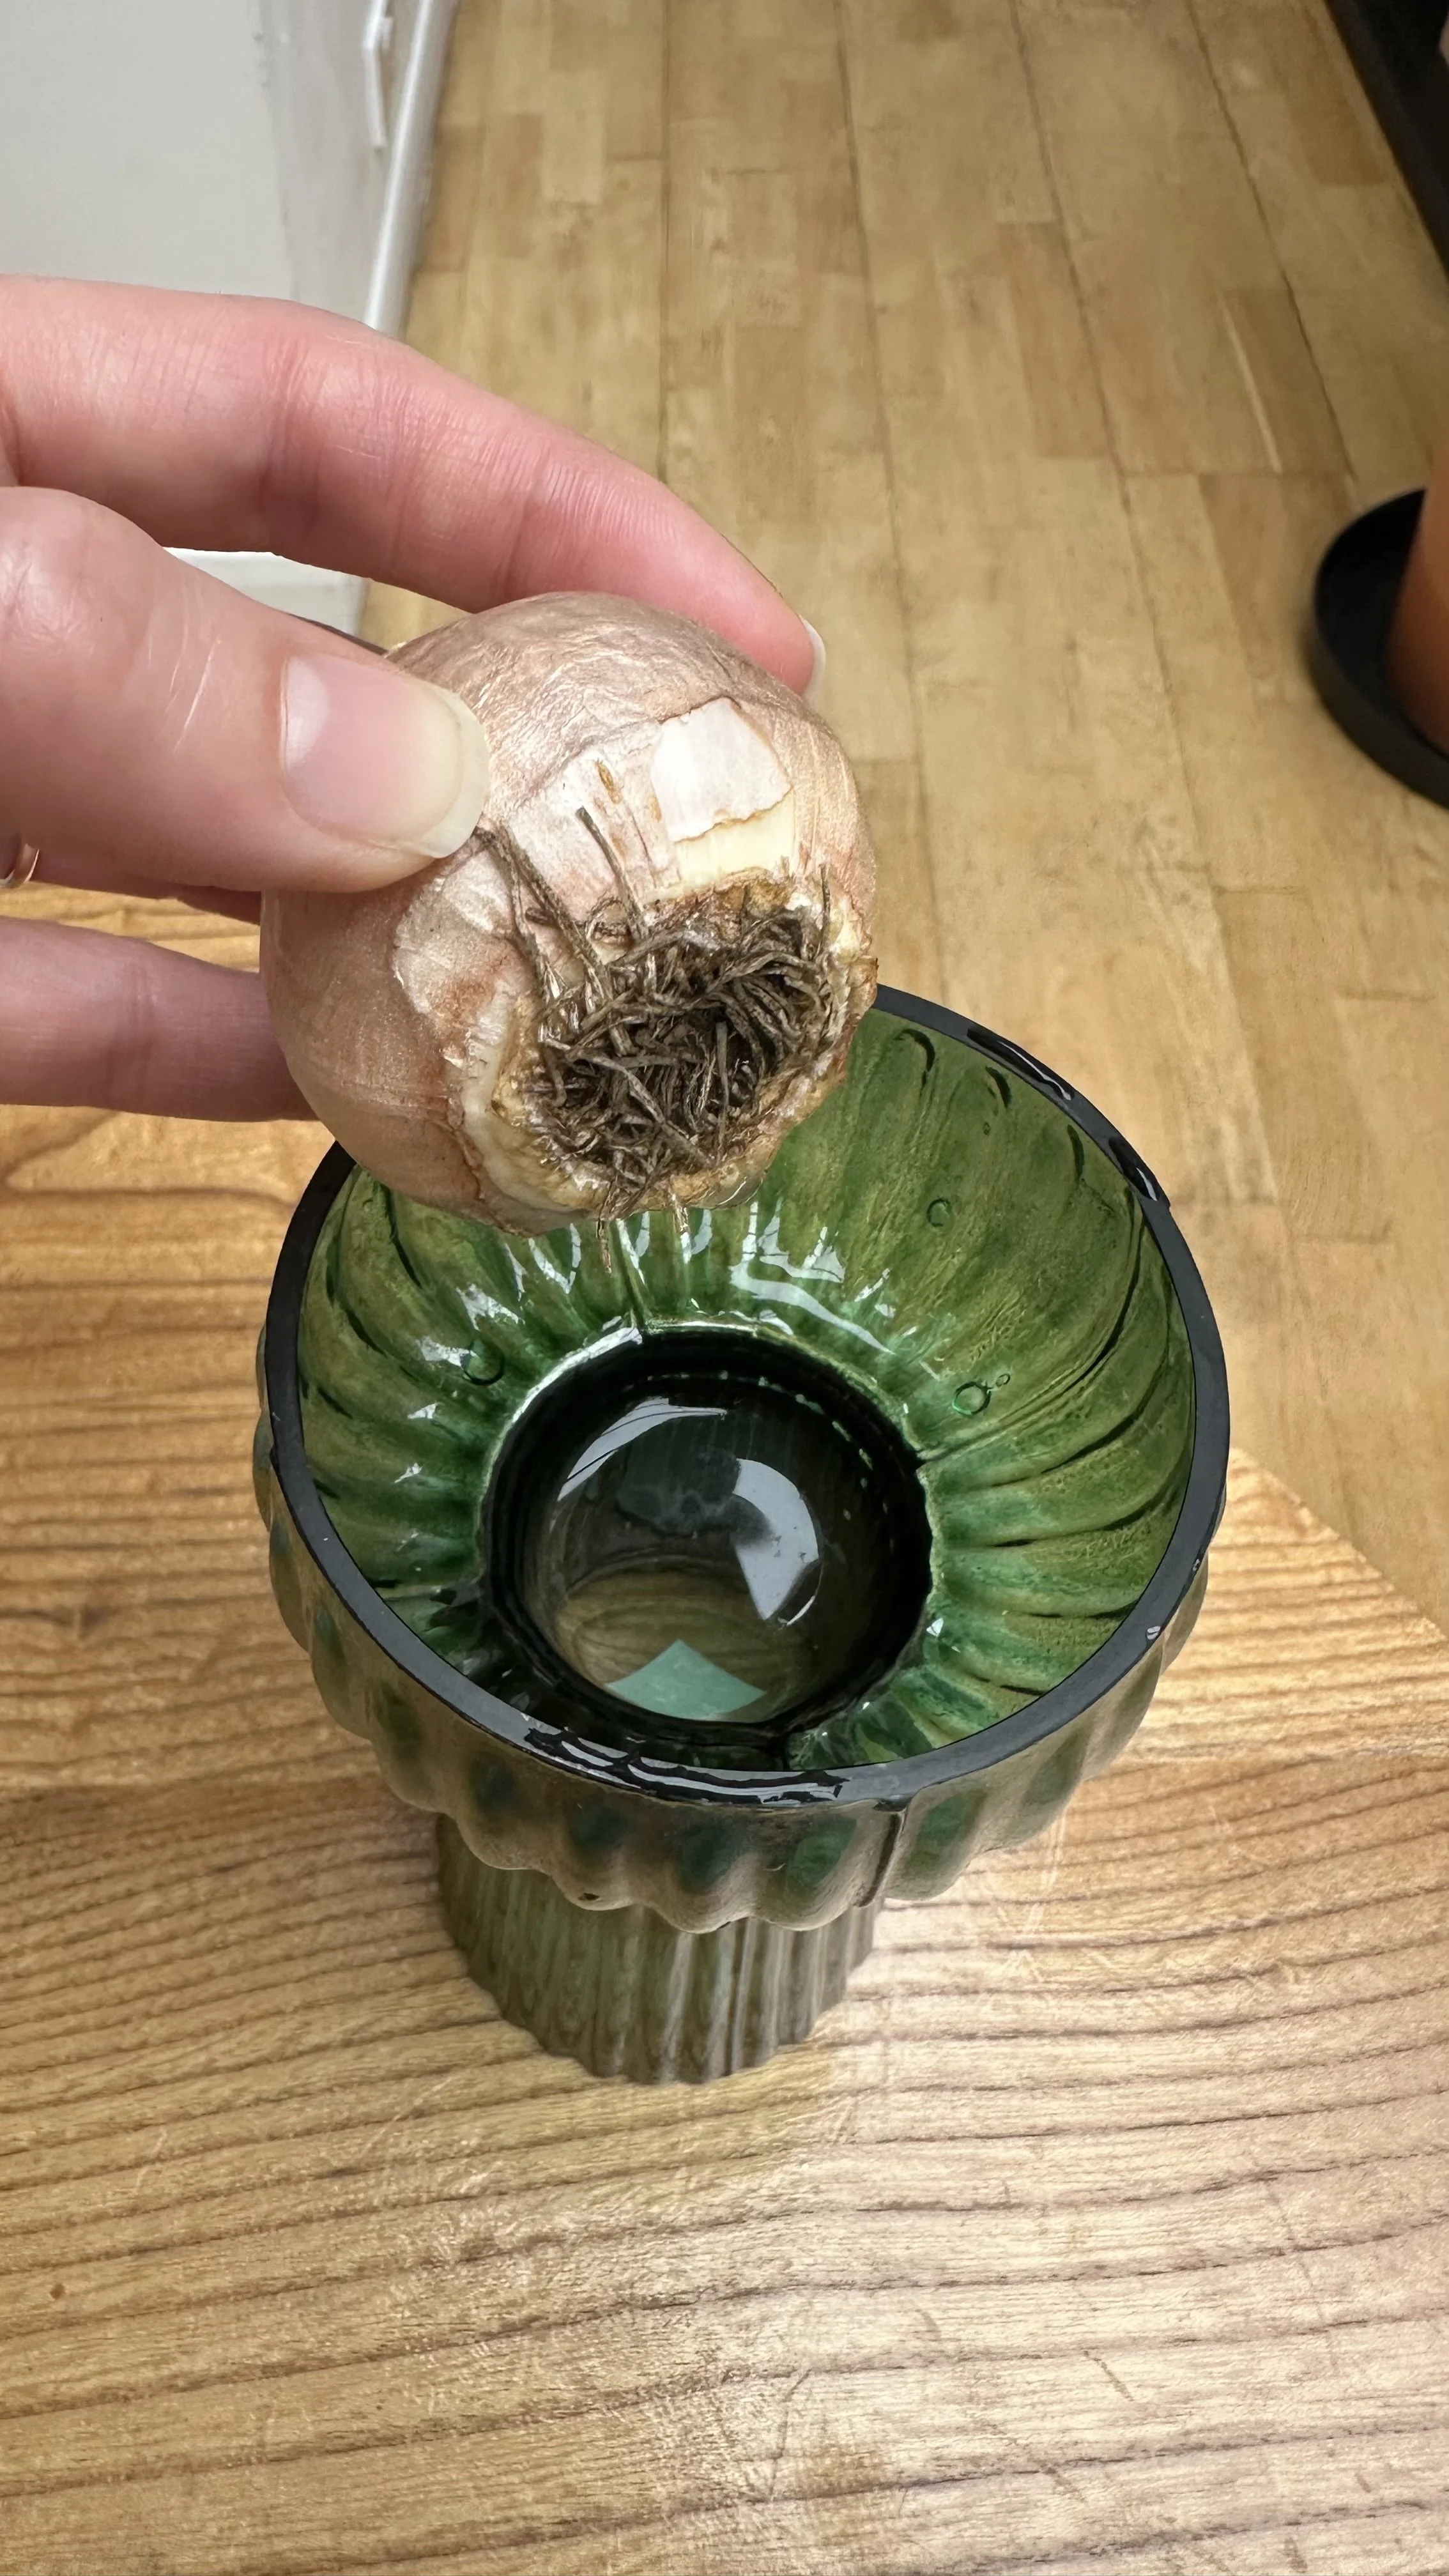
Ensure the bulbs are firm, free from mold, and have no signs of damage.
Healthy bulbs are crucial for successful growth.
Prepare the Compost Layer
Start with a layer of high-quality compost at the bottom of the container.
This layer should be about 3-4 inches deep, providing a good base for the bulbs.
Fertilizer
Mix in some bulb fertilizer with the compost to give the bulbs a nutrient boost.
Here is the one I recommend:
Spacing
Place the bulbs with their pointed ends facing upwards.
Space them a few inches apart to ensure they have enough room to grow.
Crowding bulbs can lead to poor air circulation and disease.
Depth
Plant the bulbs at the recommended depth, which is typically about 6-8 inches for large bulbs.
This depth helps protect the bulbs from frost and encourages strong root development.
Cover with Compost
After positioning the bulbs, cover them with a layer of compost about 2-3 inches deep.
This ensures the bulbs are adequately buried and have enough soil to support root growth.
Smooth the compost layer to create an even surface.
This makes it easier to plant the next layer and ensures the bulbs are evenly covered.
Water the First Layer
Water the first layer thoroughly after planting.
This helps settle the compost around the bulbs and ensures good soil contact.
Proper watering is crucial for the bulbs to start developing roots.
Tips for Success:
Avoid Planting Too Close to the Container’s Edge:
Leave a small gap between the bulbs and the container's edge.
This prevents the roots from becoming crowded and allows for better growth.
Check for Adequate Drainage:
Make sure the container drains well after watering.
Poor drainage can lead to bulb rot, so it’s important that excess water can escape easily.
For more bulb tips, check out my guides:

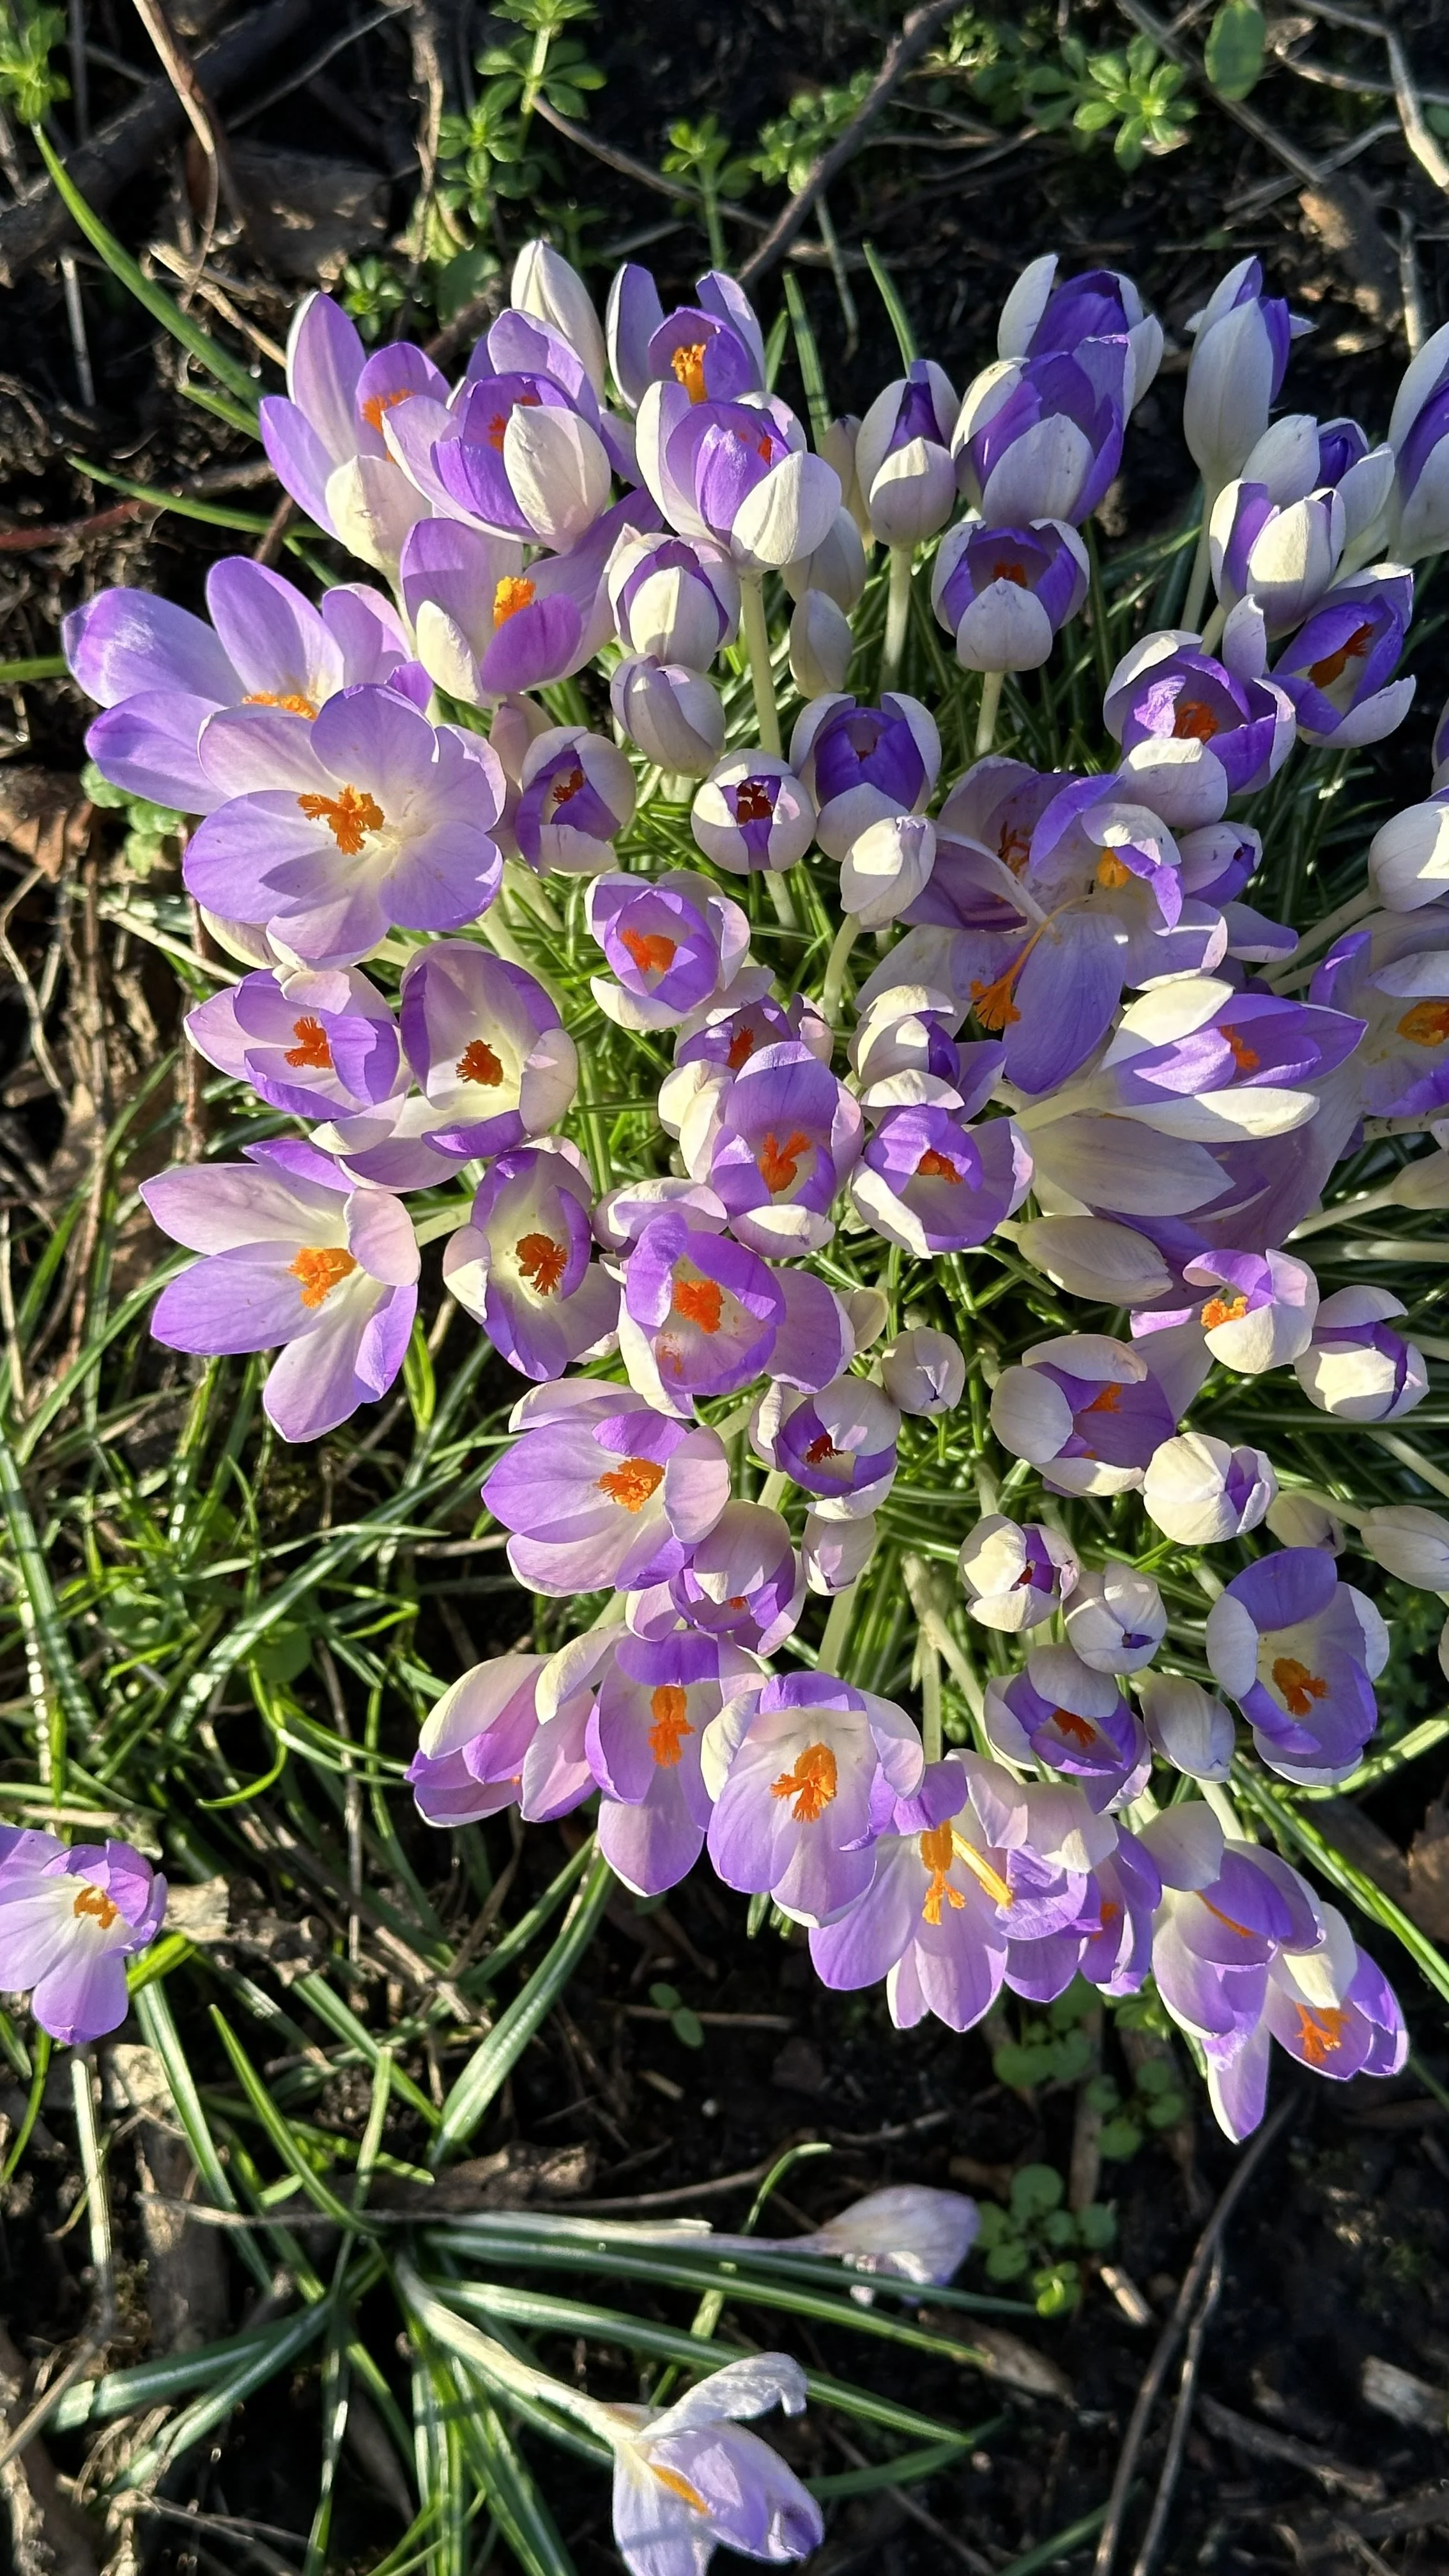
Iris reticulata is a great bulb for a bulb lasagne and will appear first in spring.
3. Adding the Middle Layer
The middle layer of your bulb lasagne is crucial for ensuring a staggered and continuous bloom throughout the spring.
This layer typically consists of medium-sized bulbs that bloom after the first layer but before the top layer.
Here’s a detailed guide on how to add the middle layer effectively:
Medium-Sized Bulbs
Choose bulbs such as daffodils or hyacinths for the middle layer.
These bulbs usually bloom in mid-spring, bridging the gap between the earliest and latest bloomers.
Healthy Bulbs
Ensure the bulbs are firm and free from mold or damage.
Spacing
Place the medium-sized bulbs with their pointed ends facing upwards.
Space them a few inches apart, ensuring they are not directly above the bulbs in the first layer to avoid overcrowding.
Depth
Plant the bulbs at the recommended depth, which is typically about 4-6 inches for medium-sized bulbs.
This depth provides enough soil coverage for proper root development and protection from the elements.
Second Cover Layer:
After positioning the middle layer bulbs, cover them with another layer of compost, about 2-3 inches deep.
This ensures the bulbs are adequately buried and have enough soil to support their growth.
Level the Compost:
Smooth the compost layer to create an even surface.
This prepares the container for the final, top layer of bulbs.
Water the Middle Layer
Water the container again after planting the middle layer.
Proper watering is crucial for root development.
Tips for Success:
Avoid Overcrowding
Ensure the bulbs have enough space to grow.
Overcrowding can lead to competition for nutrients and water, reducing the overall health and bloom quality.
Check Bulb Orientation:
Make sure all bulbs are planted with their pointed ends facing up.
This orientation is important for proper sprouting and growth.

4. Finishing with the Top Layer
The top layer of your bulb lasagne is the final step in creating a beautiful, multi-layered floral display.
This layer typically consists of the smallest and earliest blooming bulbs, which add an initial burst of color to your container.
Here’s how to finish the top layer effectively:
Small Bulbs
Choose small bulbs such as crocuses, grape hyacinths, or iris reticulata for the top layer.
These bulbs usually bloom first, providing an early splash of color in late winter or early spring.
Spacing
Place the small bulbs with their pointed ends facing upwards.
Space them a few inches apart, ensuring they are not directly above the bulbs in the middle layer to avoid overcrowding.
Depth
Plant the bulbs at the recommended depth, which is typically about 2-4 inches for small bulbs.
This shallow depth is sufficient for these early bloomers and allows them to sprout quickly.
Final Cover Layer
After positioning the top layer bulbs, cover them with the final layer of compost.
Make sure to leave a small gap, about 1-2 inches, between the surface of the compost and the rim of the container.
This gap prevents soil from spilling over when watering.
Level the Compost:
Smooth the compost layer to create an even surface.
This ensures that all bulbs are adequately covered and have a consistent growing medium.
Water the Top Layer
Water the container thoroughly after planting the top layer.
This helps to settle the compost around the bulbs and ensures good soil contact.
Mulch (Optional)
Adding a thin layer of mulch on top of the compost can help to retain moisture and regulate soil temperature.
This is especially useful if you live in an area with fluctuating temperatures.
Positioning the Container
Place the container in a location that gets adequate sunlight.
Most bulbs need sunlight to grow and bloom, so choose a spot that receives at least a few hours of direct sunlight each day, such as a south-facing or west-facing spot in the garden.
Tips for Success:
Regular Monitoring
Keep an eye on the moisture level of the compost.
The soil should be kept moist but not waterlogged.
Adjust your watering schedule based on the weather and the needs of the bulbs.
Protection from Pests
If you notice any signs of pests, take action.
Bulbs can be attractive to rodents and insects, so using a protective covering or natural deterrents can help safeguard your bulbs.

Caring for Your Bulb Lasagne
Proper care for your bulb lasagne is crucial to ensure a vibrant and long-lasting display of flowers.
Once you've planted your bulbs, ongoing maintenance will keep them healthy and blooming beautifully.
Here’s a detailed guide on how to care for your bulb lasagne:
Watering and Maintenance
Ongoing Watering:
Throughout the growing season, keep the soil consistently moist.
Water the container whenever the top inch of soil feels dry to the touch.
Be careful not to overwater, as excessive moisture can cause bulb rot.
Rainfall Considerations:
If your container is outdoors and it rains frequently, you might not need to water as often.
Conversely, during dry spells, you’ll need to water more frequently.
Feeding and Fertilizing
Initial Feeding:
If you added bulb fertilizer when planting, this will provide the necessary nutrients for the bulbs to start growing.
Additional Fertilizer:
As the bulbs start to sprout and grow, you can feed them with a balanced, slow-release fertilizer.
Avoid Over-Fertilizing:
Too much fertilizer can harm the bulbs.
It’s better to under-fertilize than overdo it.
Sunlight Requirements
Placement:
Place the container in a location that receives plenty of sunlight.
Most spring bulbs need full to partial sunlight to grow and bloom well.
Light Adjustments:
If the bulbs appear to be stretching or leaning towards the light, rotate the container periodically to ensure even growth.
Temperature and Weather Protection
Cold Weather:
If you live in an area with harsh winters, consider moving the container to a sheltered location or adding a layer of mulch to insulate the bulbs.
Alternatively, you can wrap the container with bubble wrap or burlap for added protection.
Heat Protection:
In areas with hot climates, ensure the container is not in direct, intense sunlight for prolonged periods, which can dry out the soil and stress the bulbs.
Post-Flowering Care
Deadheading:
After the flowers have faded, remove spent blooms to prevent the bulbs from putting energy into seed production.
This helps the bulbs store energy for the next growing season.
Learn more with my guide: Deadheading Tulips: How to Do It Right.
Foliage Maintenance:
Allow the foliage to die back naturally.
The leaves continue to photosynthesize and provide energy to the bulbs.
Only remove the foliage once it has turned yellow and dried out.
What to Do After Flowering
Leaving Bulbs in the Container:
You can leave the bulbs in the container and see if they return next year.
Reduce watering once the foliage has died back, and store the container in a cool, dry place during the dormant period.
Removing and Storing Bulbs:
If you prefer, you can carefully remove the bulbs from the container.
Allow them to dry out for a few days, then store them in a cool, dry place until the next planting season.
Ensure they are stored in a breathable container, like a paper bag, to prevent moisture buildup.
Common Issues and Solutions
Pests and Diseases:
Watch for signs of pests like aphids or slugs, and use appropriate treatments if necessary.
If you notice any disease, such as mold or rot, remove affected bulbs and dispose of them to prevent the spread.
Overcrowding:
If the bulbs become too crowded, they may not bloom as well.
Every few years, consider dividing and replanting them to give them more space to grow.

Tips and Tricks:
Choosing the Best Bulbs
Select a mix of early, mid, and late-season bulbs to ensure continuous blooms.
For example, plant tulips for late spring, daffodils for mid-spring, and grape hyacinths for early spring.
Common Mistakes to Avoid
Avoid planting bulbs too shallow or too deep, and ensure the container has good drainage.
Bulbs need proper spacing to grow well, so don't overcrowd them.
Quick FAQs
What is the lasagne bulb method?
The lasagne bulb method involves layering different types of bulbs in a container so they bloom in succession, providing continuous flowers throughout the season.
This technique maximizes the blooming period and makes the most of limited space.
When to plant bulb lasagna?
The best time to plant a bulb lasagne is in the fall, before the first frost.
This allows the bulbs to establish roots before the winter.
Planting in the fall ensures a beautiful display in the spring.
What are the best bulbs for lasagna?
The best bulbs for a lasagne planting include a mix of early, mid, and late-season bloomers like tulips, daffodils, and grape hyacinths.
These bulbs are reliable and provide a beautiful, staggered blooming period.
Wrap-Up
Creating bulb lasagnes is a fantastic way to enjoy a succession of beautiful blooms throughout the spring.
By mastering the art of bulb planting, you can design stunning displays that bring continuous color and joy to your garden or patio.
Using the three layers method ensures that your bulbs will bloom in a coordinated sequence, providing a long-lasting floral show.
With careful planning and attention to detail, your layered bulb planting will be the highlight of the season.
Pin this post to save it for later!