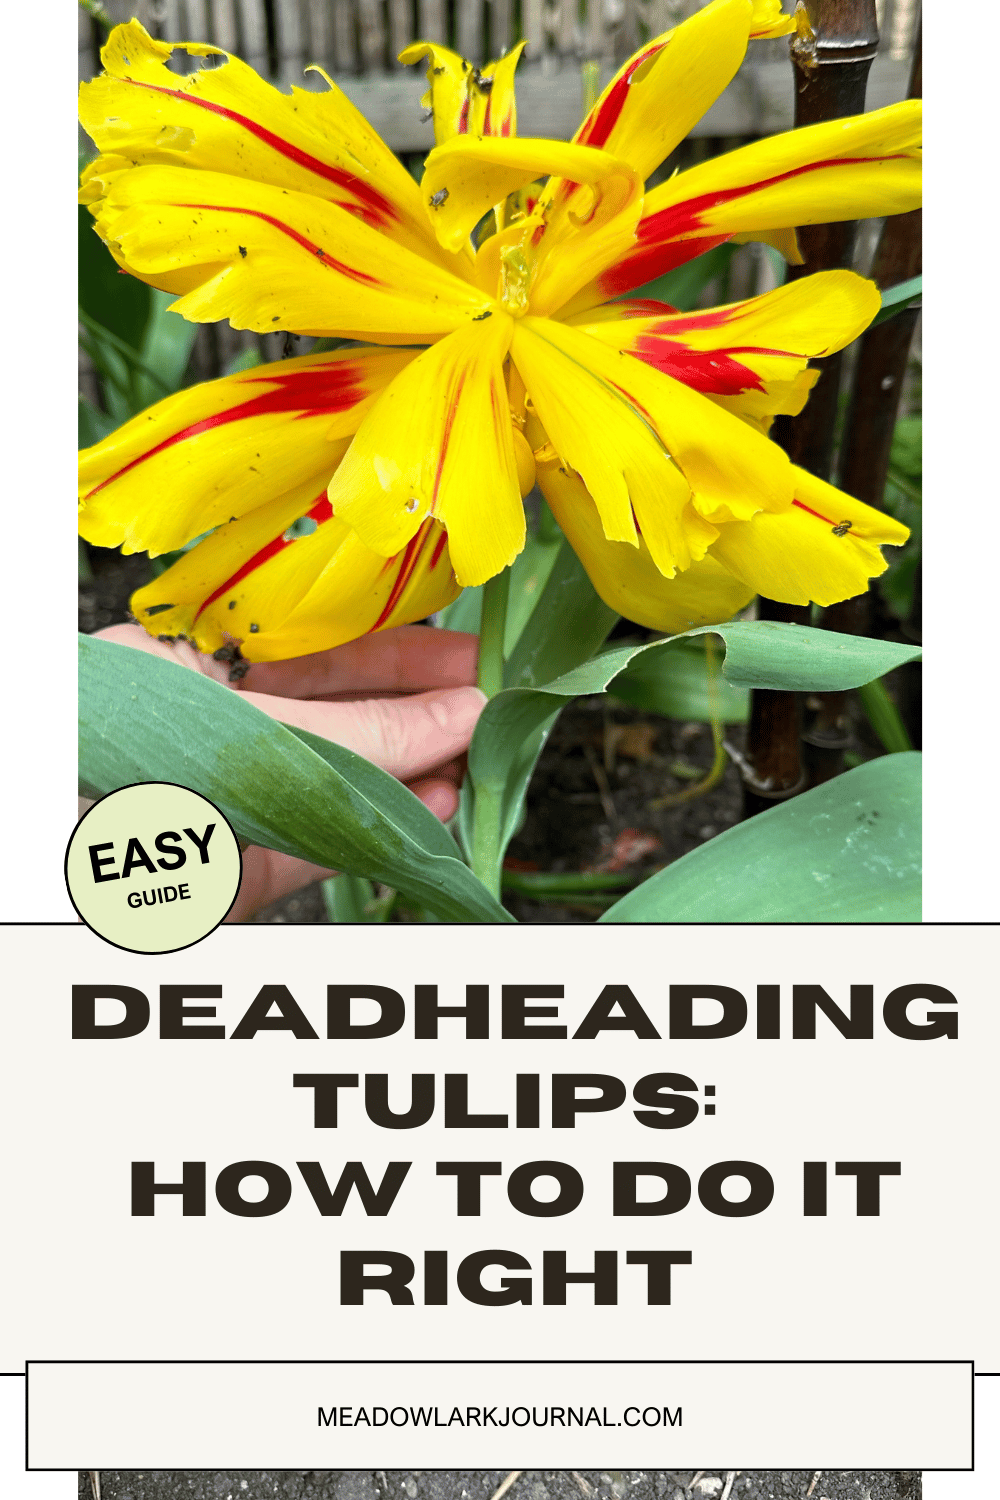
Deadheading Tulips: How to Do It Right
This website is reader-supported - thank you! This post may contain affiliate links. As an Amazon Associate, I earn from qualifying purchases at no extra cost to you.
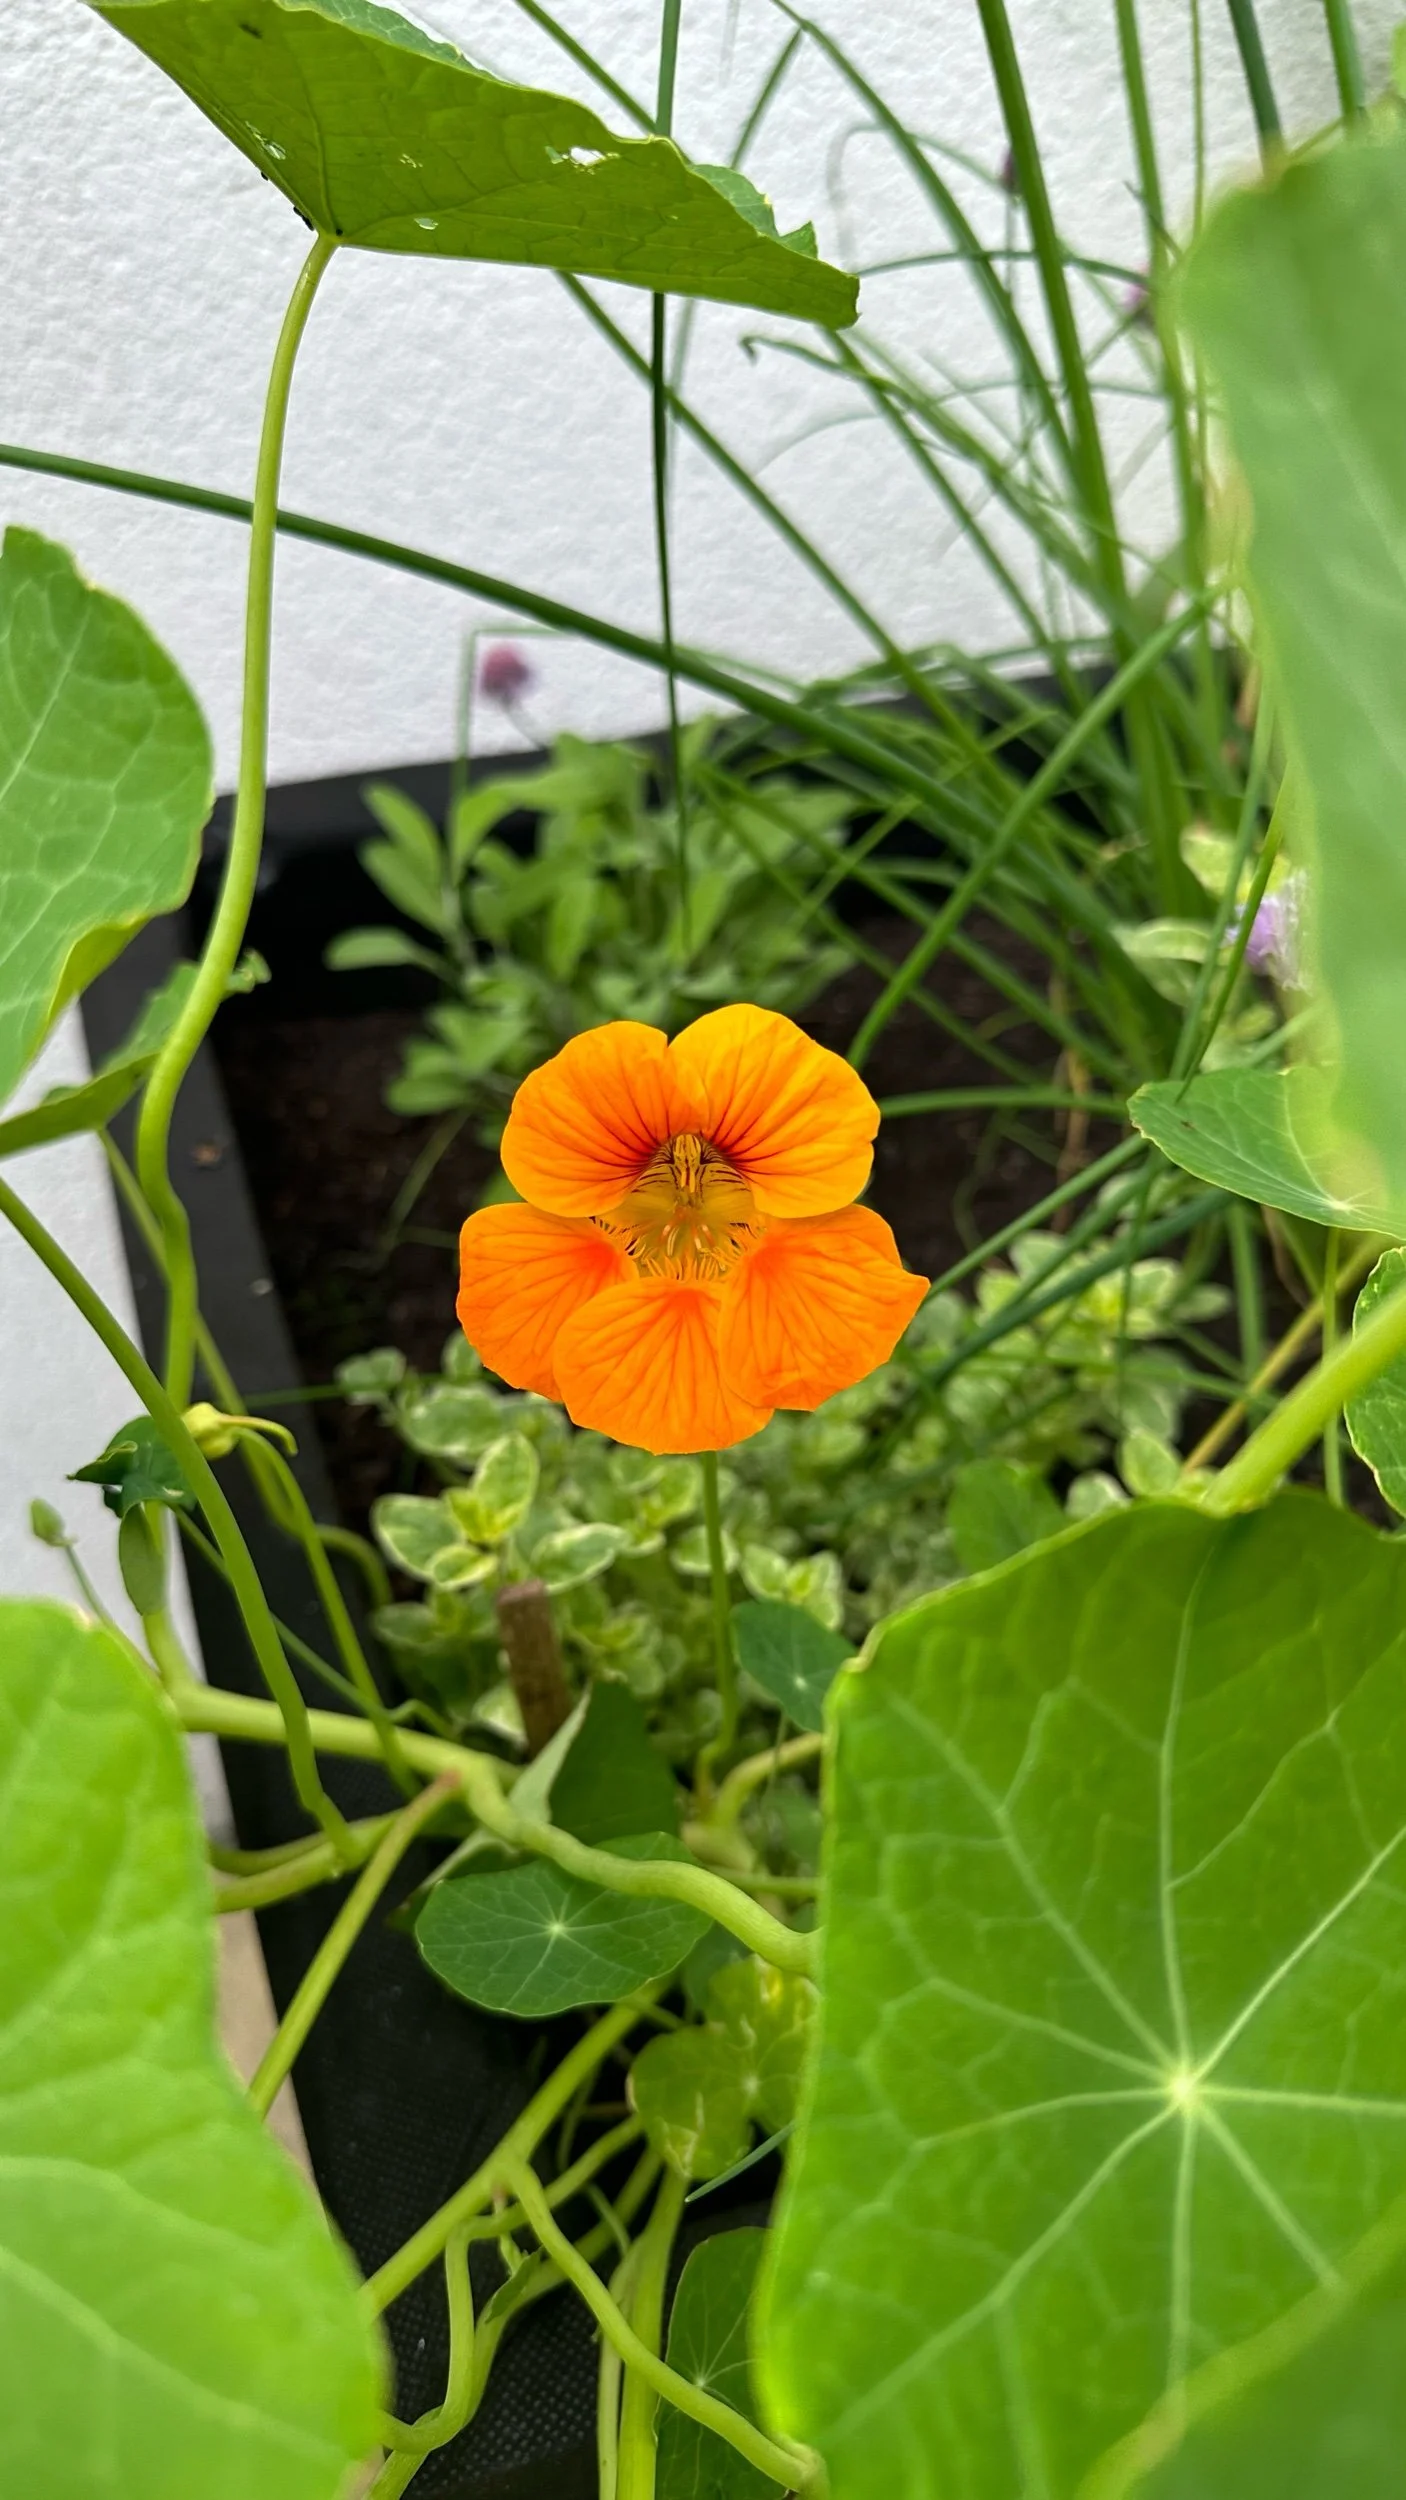
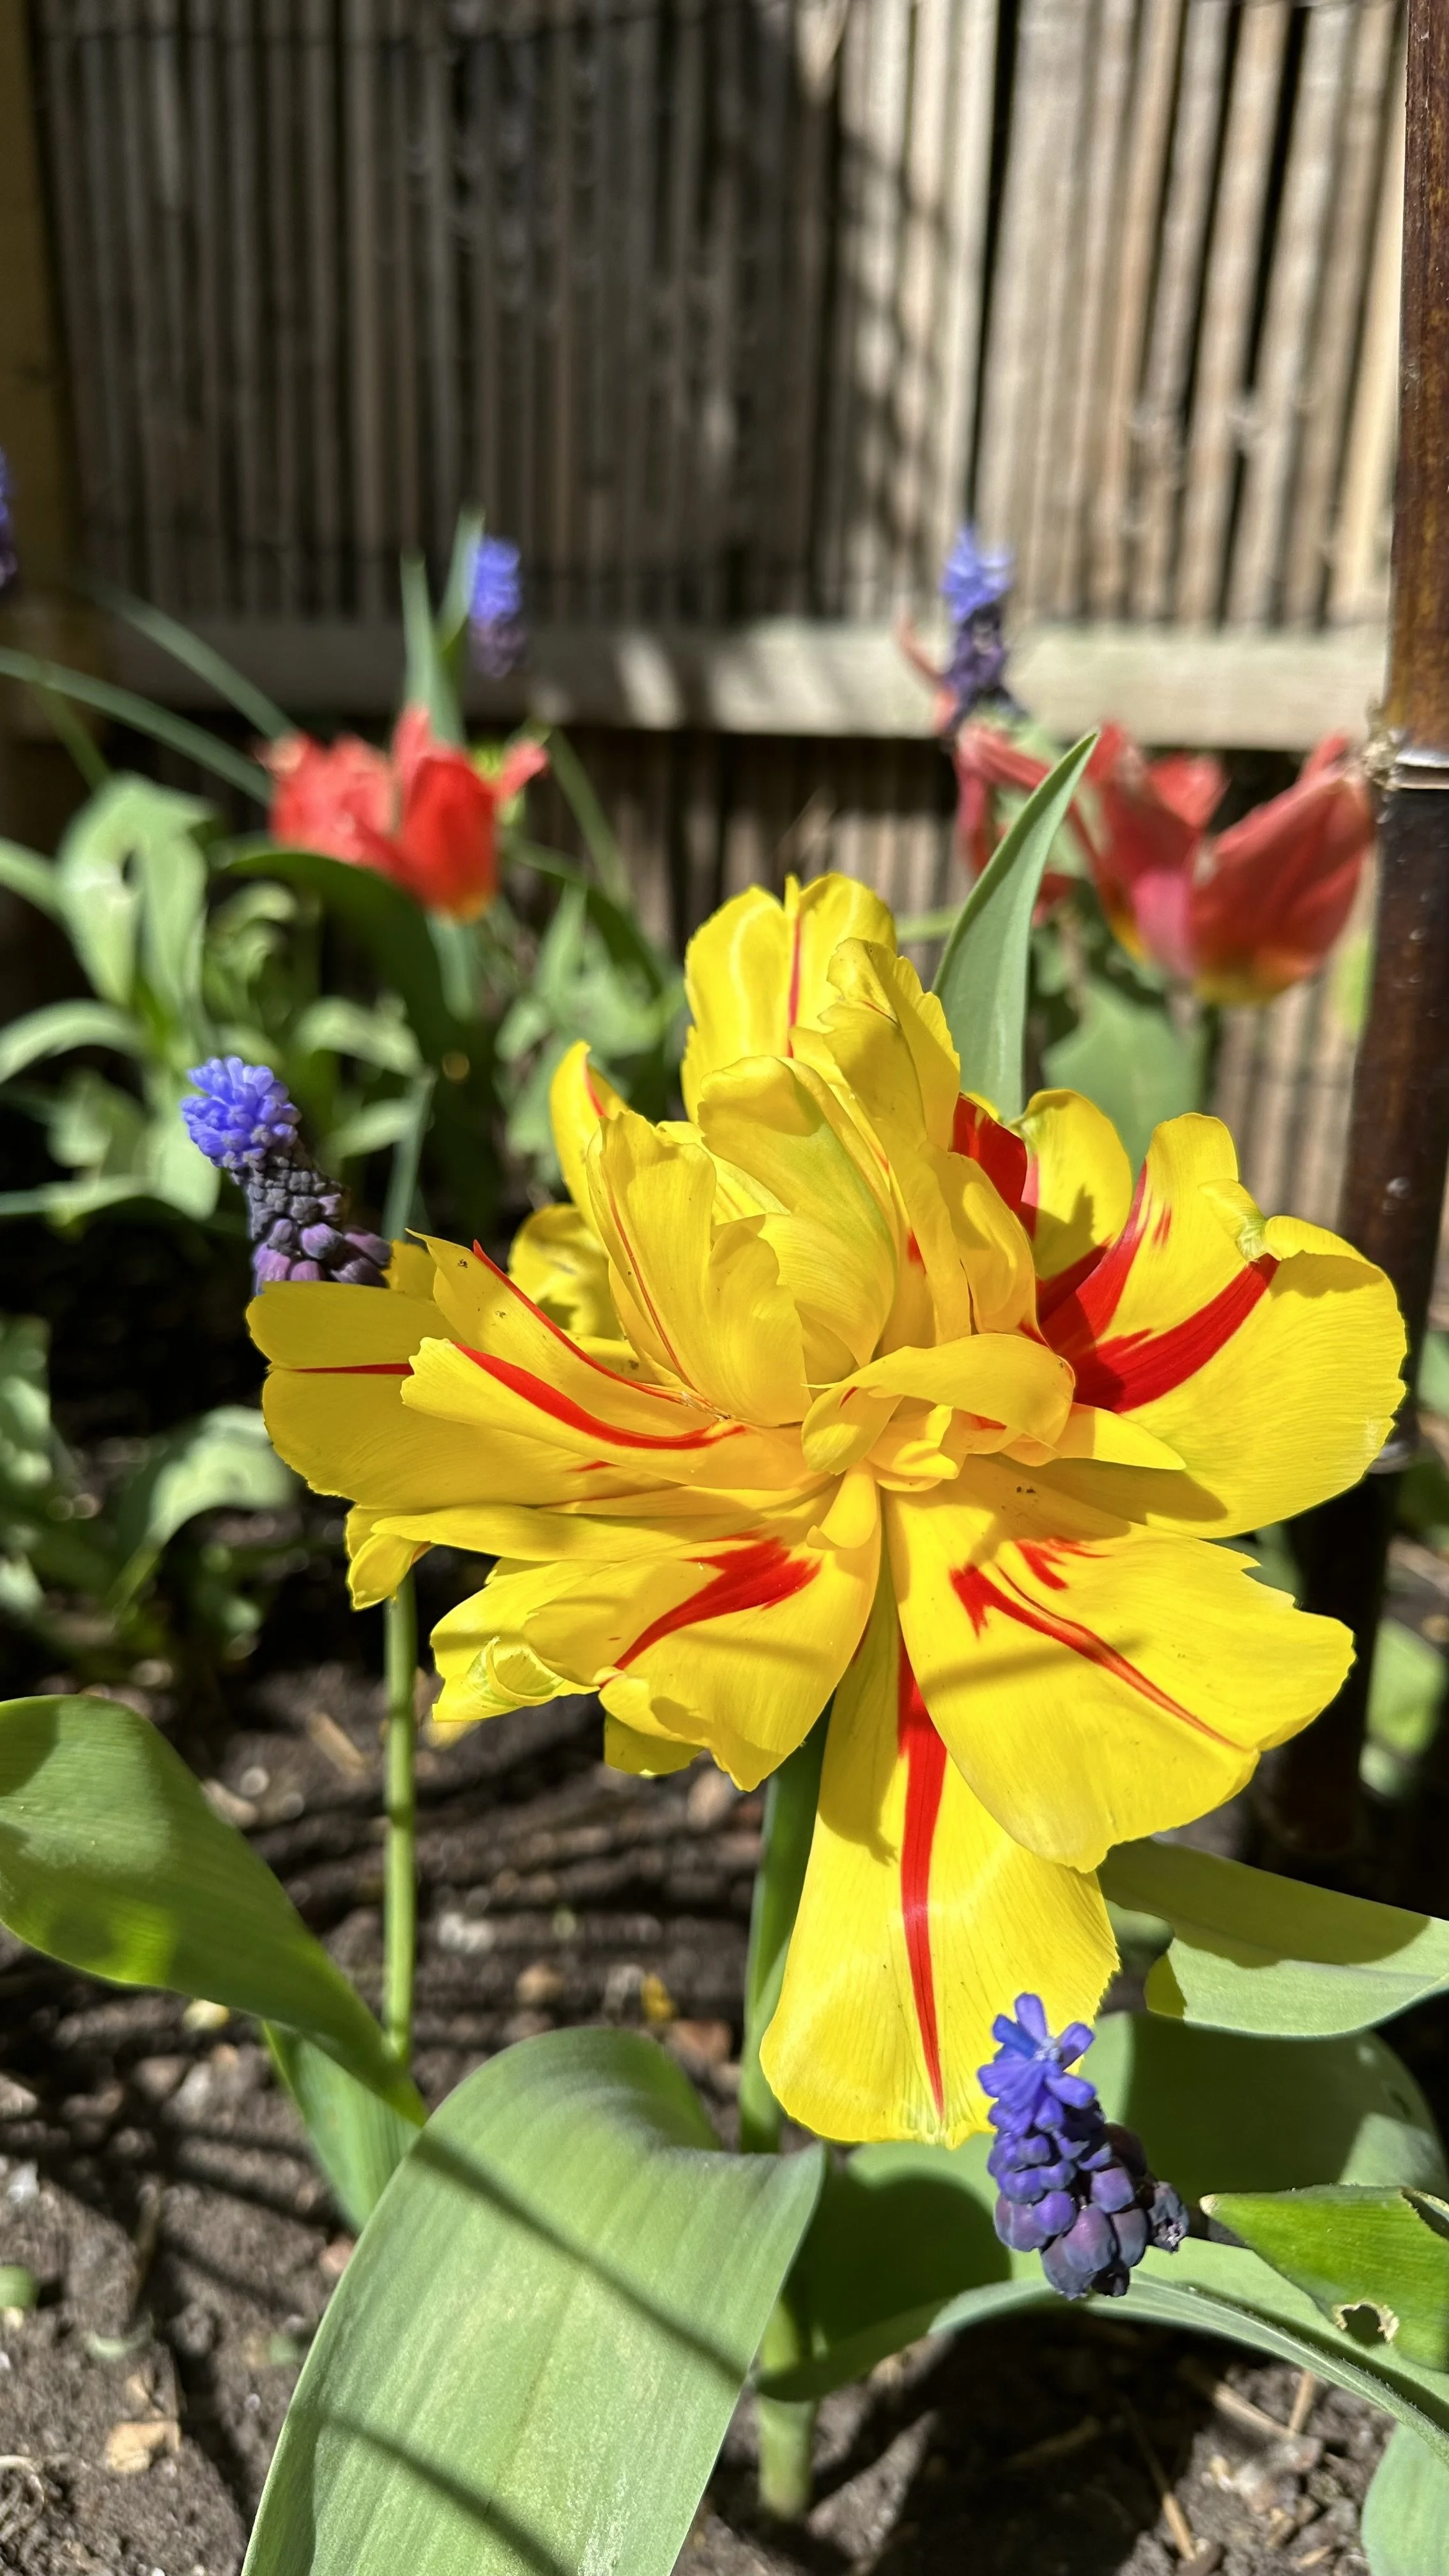
Spring brings with it the promise of renewal.
And among the first plants that bring color to my garden are tulips, along with longer days and more sunshine.
Yet, as the petals begin to fade, my attention often shifts from admiration to care, ensuring my tulips will return with equal if not greater beauty the following year.
This guide is tailored for those who want their tulips to return each year and focuses on the critical post-bloom care of tulips.
From the art of deadheading to the steps ensuring vigorous growth in seasons to come, let's explore how to best support tulips after their springtime show.
To learn more about tulips, also check out my guides:
The What and Why of Deadheading Tulips
When I first started gardening I fell in love with tulips.
Their colors, shapes, and the way they transformed my backyard was amazing.
But as each bloom began to wilt and fade, I learned that my role in their life cycle was far from over.
This is where deadheading comes into play.
What is Deadheading?
Deadheading isn't just about keeping your garden tidy.
For tulips, it involves carefully removing the spent flowers shortly after they've bloomed and begun to decline.
It's a simple process - a gentle snip here and there, but it's like setting the stage for next year's performance.
Why Deadhead Tulips?
The rationale behind deadheading tulips (or any flower, for that matter) is all about energy conservation and focus.
Imagine you've just run a marathon; you're going to want to rest and recharge, right?
Well, tulips aren't much different.
After blooming, their instinct is to start producing seeds, which is energy-intensive.
By deadheading, we're essentially redirecting that energy.
It's like saying to the tulip, "Let's skip the marathon after-party this year. Save your energy for next season's race."
Energy Redistribution
When you remove a spent tulip flower, the plant doesn't retire for the season.
Instead, it shifts its energy underground to the bulb.
This is the tulip's powerhouse, where all the nutrients and energy are stored to fuel next year's growth and blooming.
Think of it as the tulip saving money for a big future purchase - in this case, a spectacular bloom.
Health and Vigor
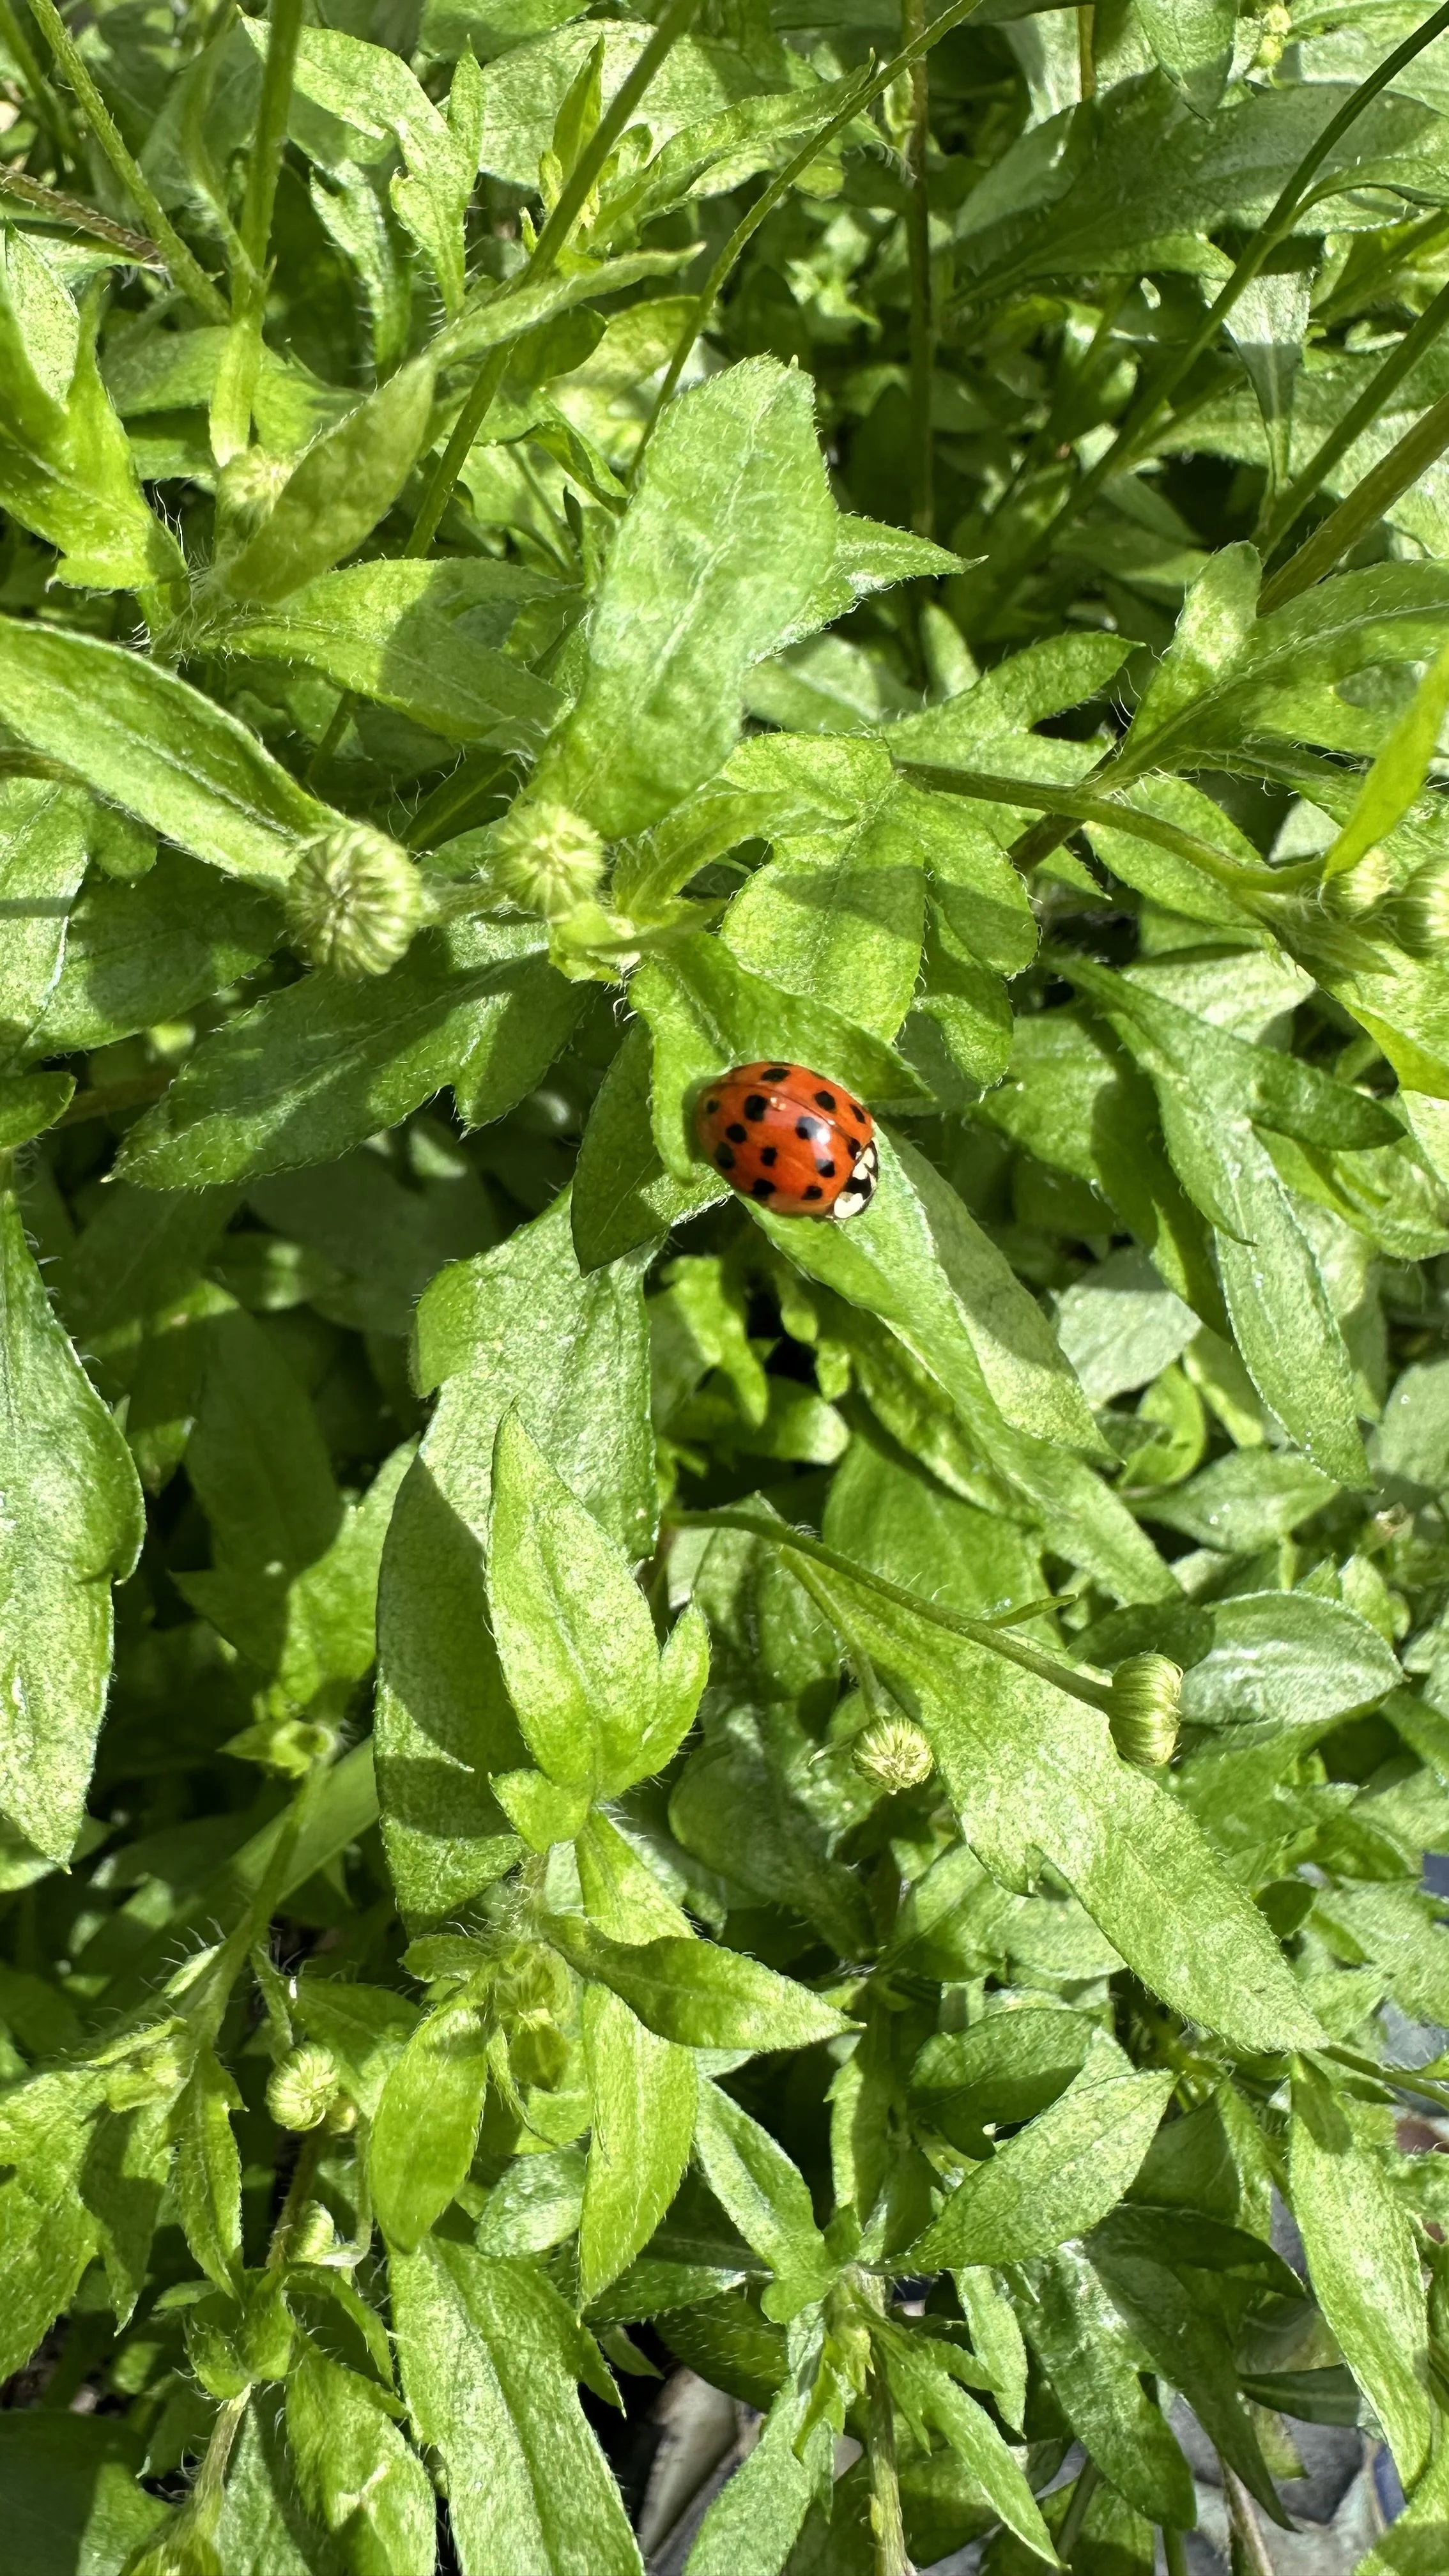
There's also the aspect of health and vigor.
By deadheading, you're helping prevent diseases and pests that are often attracted to decaying plant matter.
It's a bit like cleaning up after a party; you don't want to leave a mess behind that could attract unwelcome guests.
Aesthetic Benefits
On a personal note, deadheading has always been a meditative practice for me.
There's something satisfying about tidying up the garden, making room for new growth, and planning for the future.
And let's not forget the aesthetic benefits - a garden free of wilted, brown flowers is much more inviting.
To learn more about deadheading, check out my guide:
How to Deadhead Your Tulips:
Deadheading your tulips isn't just about snipping off the old blooms.
Here’s how to do it:
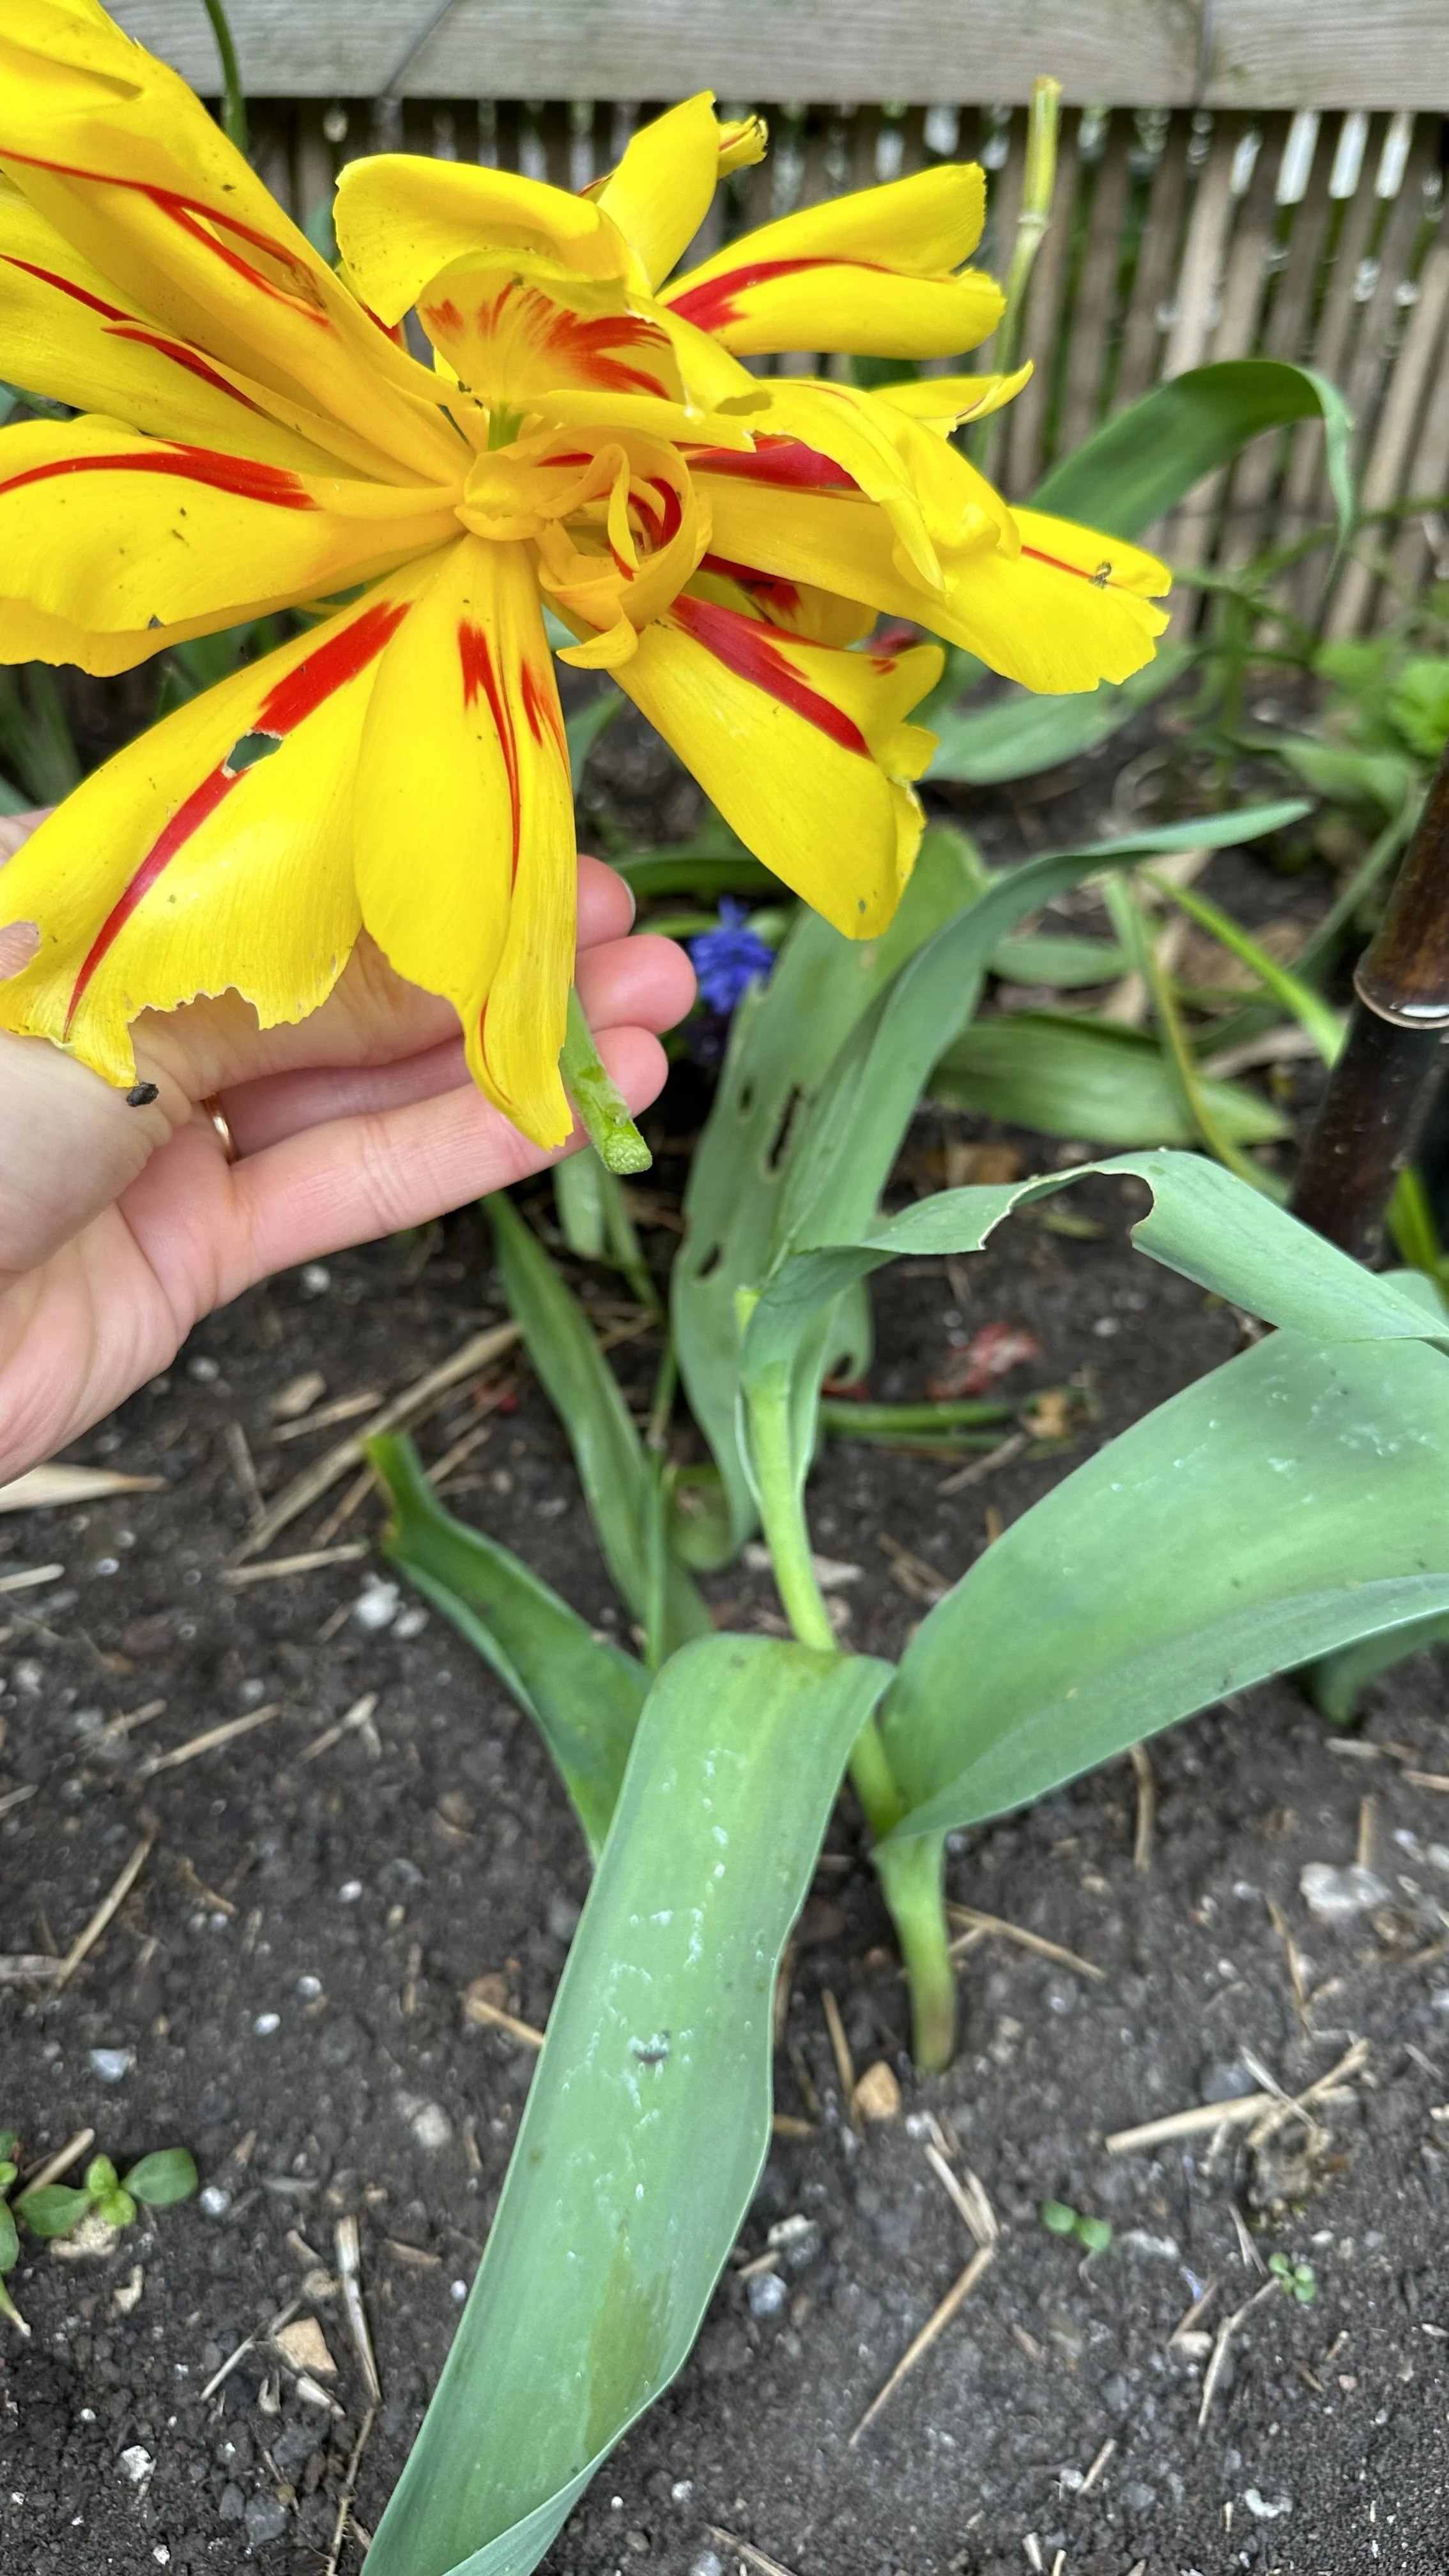
Step 1: Timing is Everything
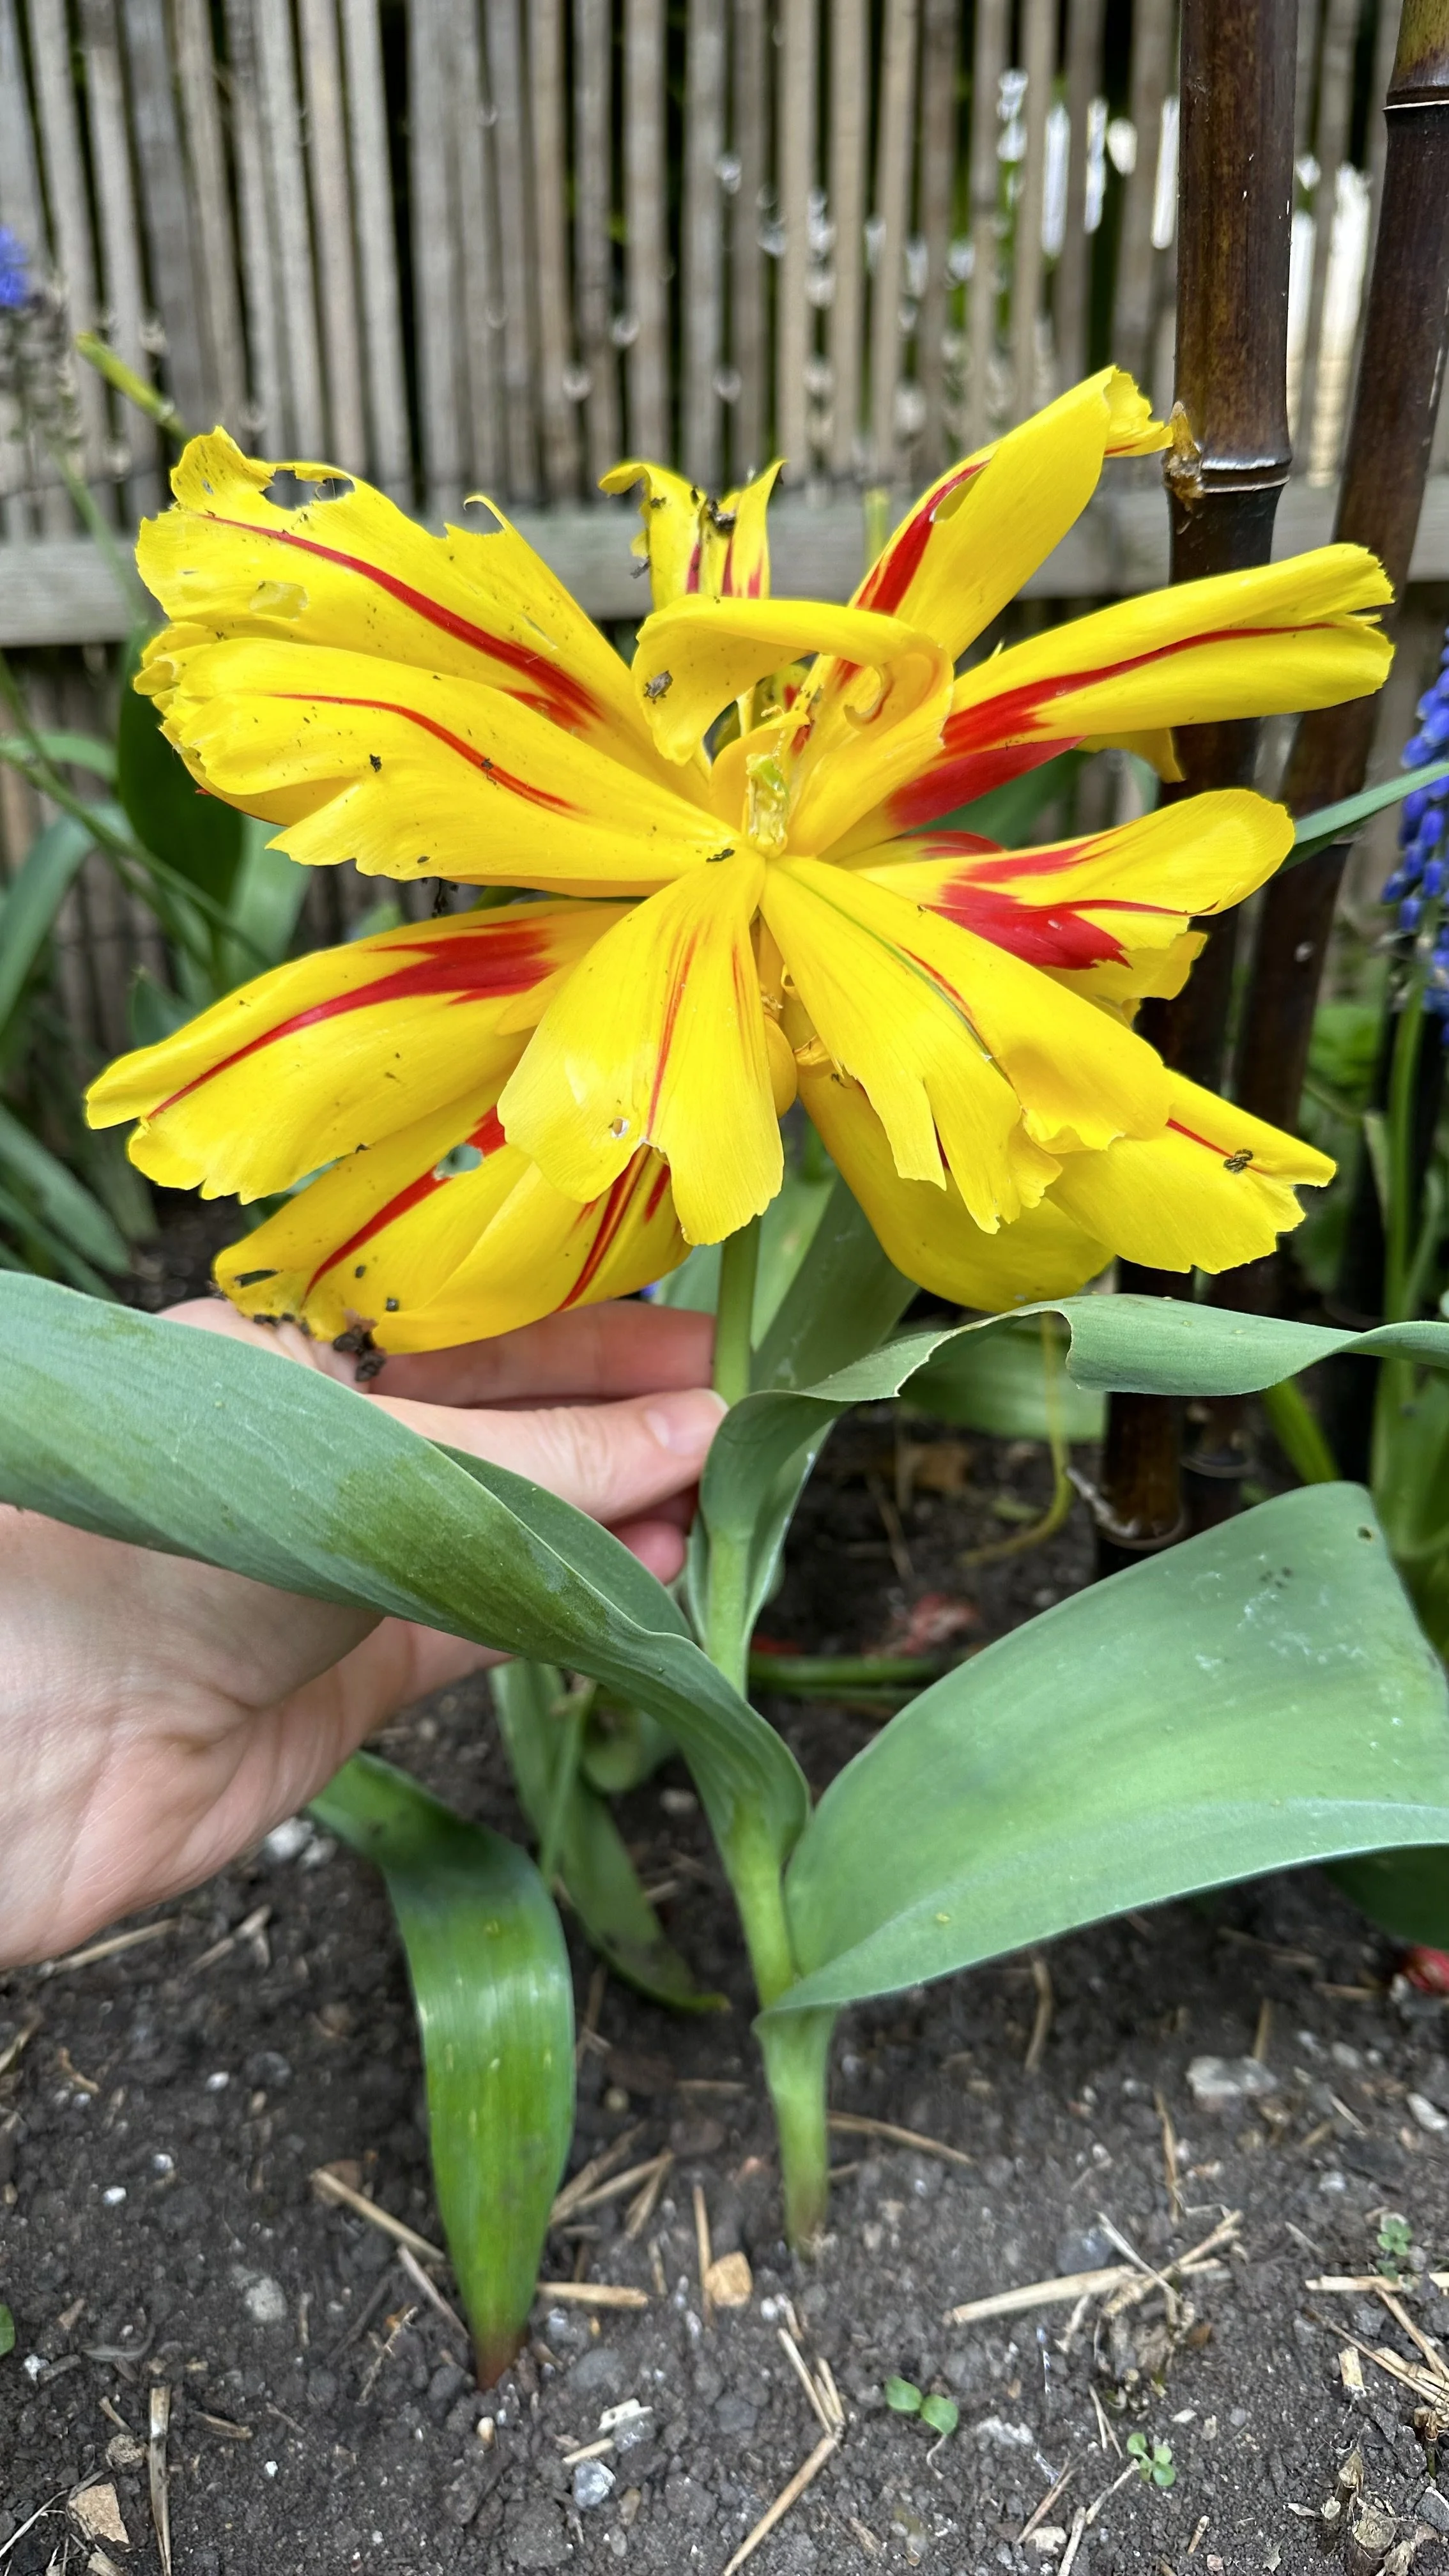
First off, timing is crucial.
You'll want to wait until the tulip's flower has fully bloomed and the petals begin to wilt and drop.
This usually happens a few days to a week after the bloom has peaked.
The flower should look decidedly spent, signaling that it's time to step in with your gardening shears.
Step 2: The Right Tools for the Job
Before you make the cut, ensure you have the right tools.
A pair of sharp, clean shears is ideal.
Cleanliness is key here, as dirty tools can introduce disease to your plants.
I like to give my tools a quick wipe with an alcohol swab before I start deadheading.
Here are the garden shears that are perfect for the job:

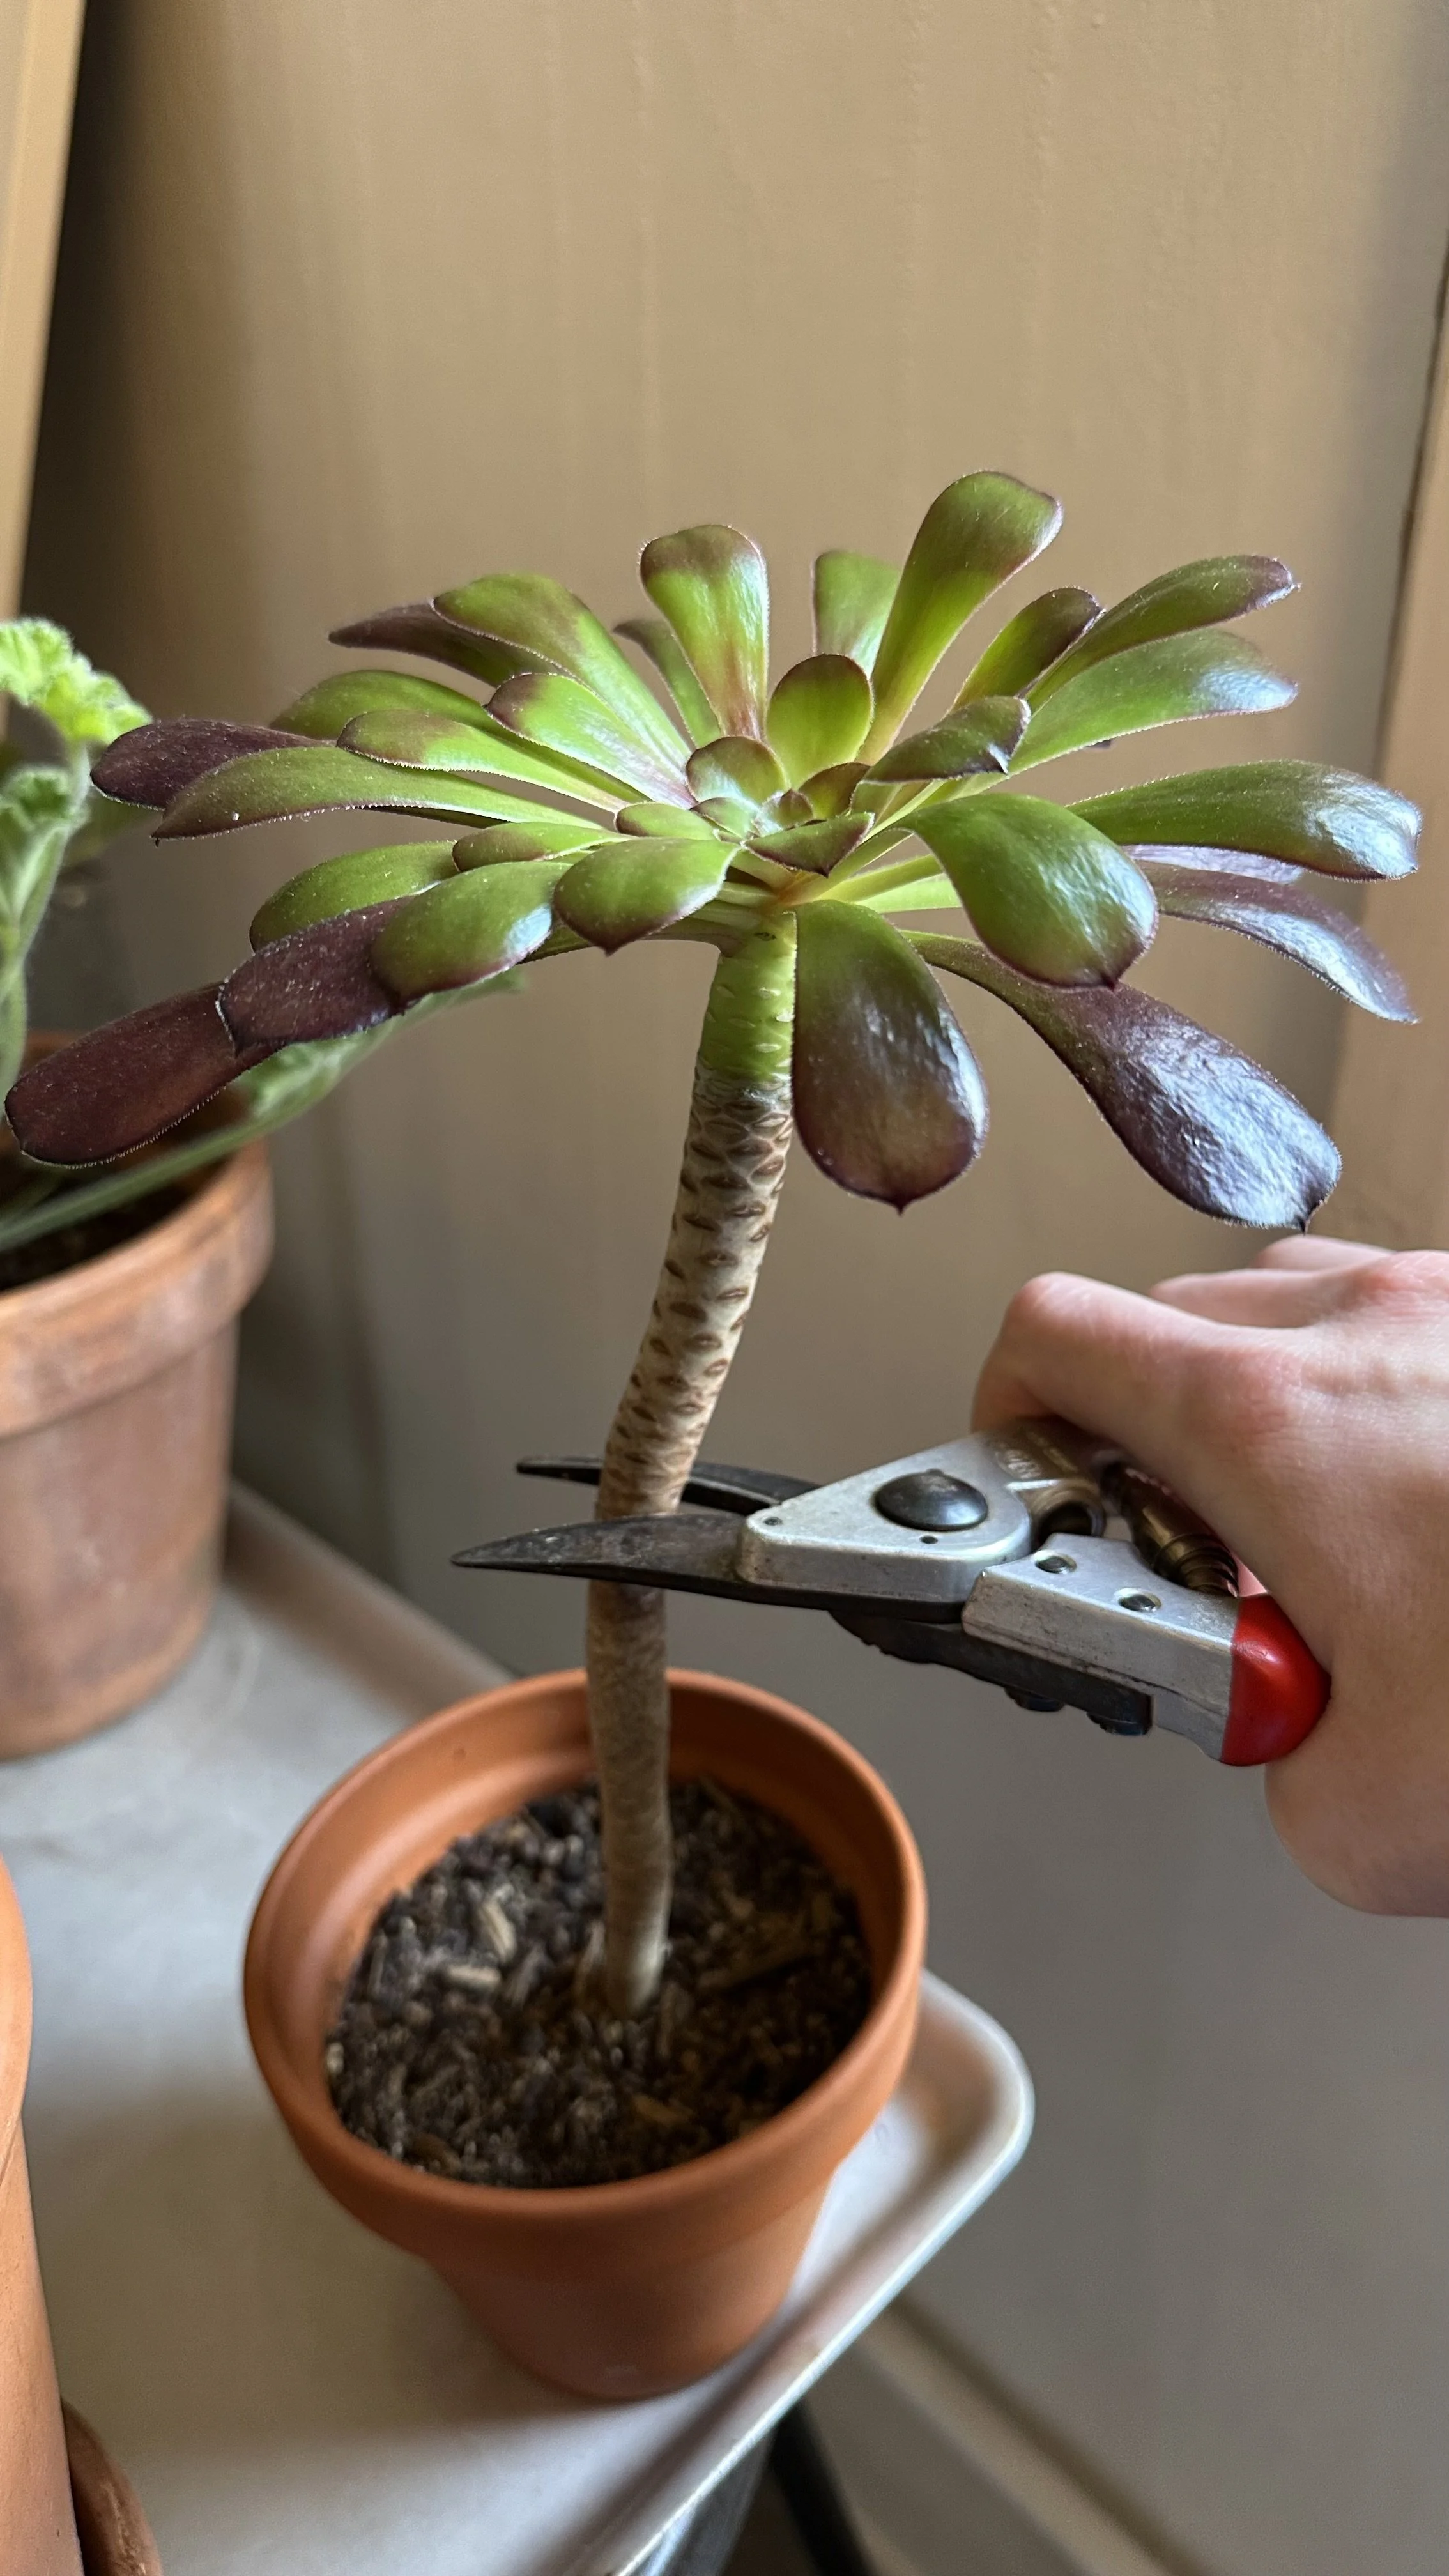
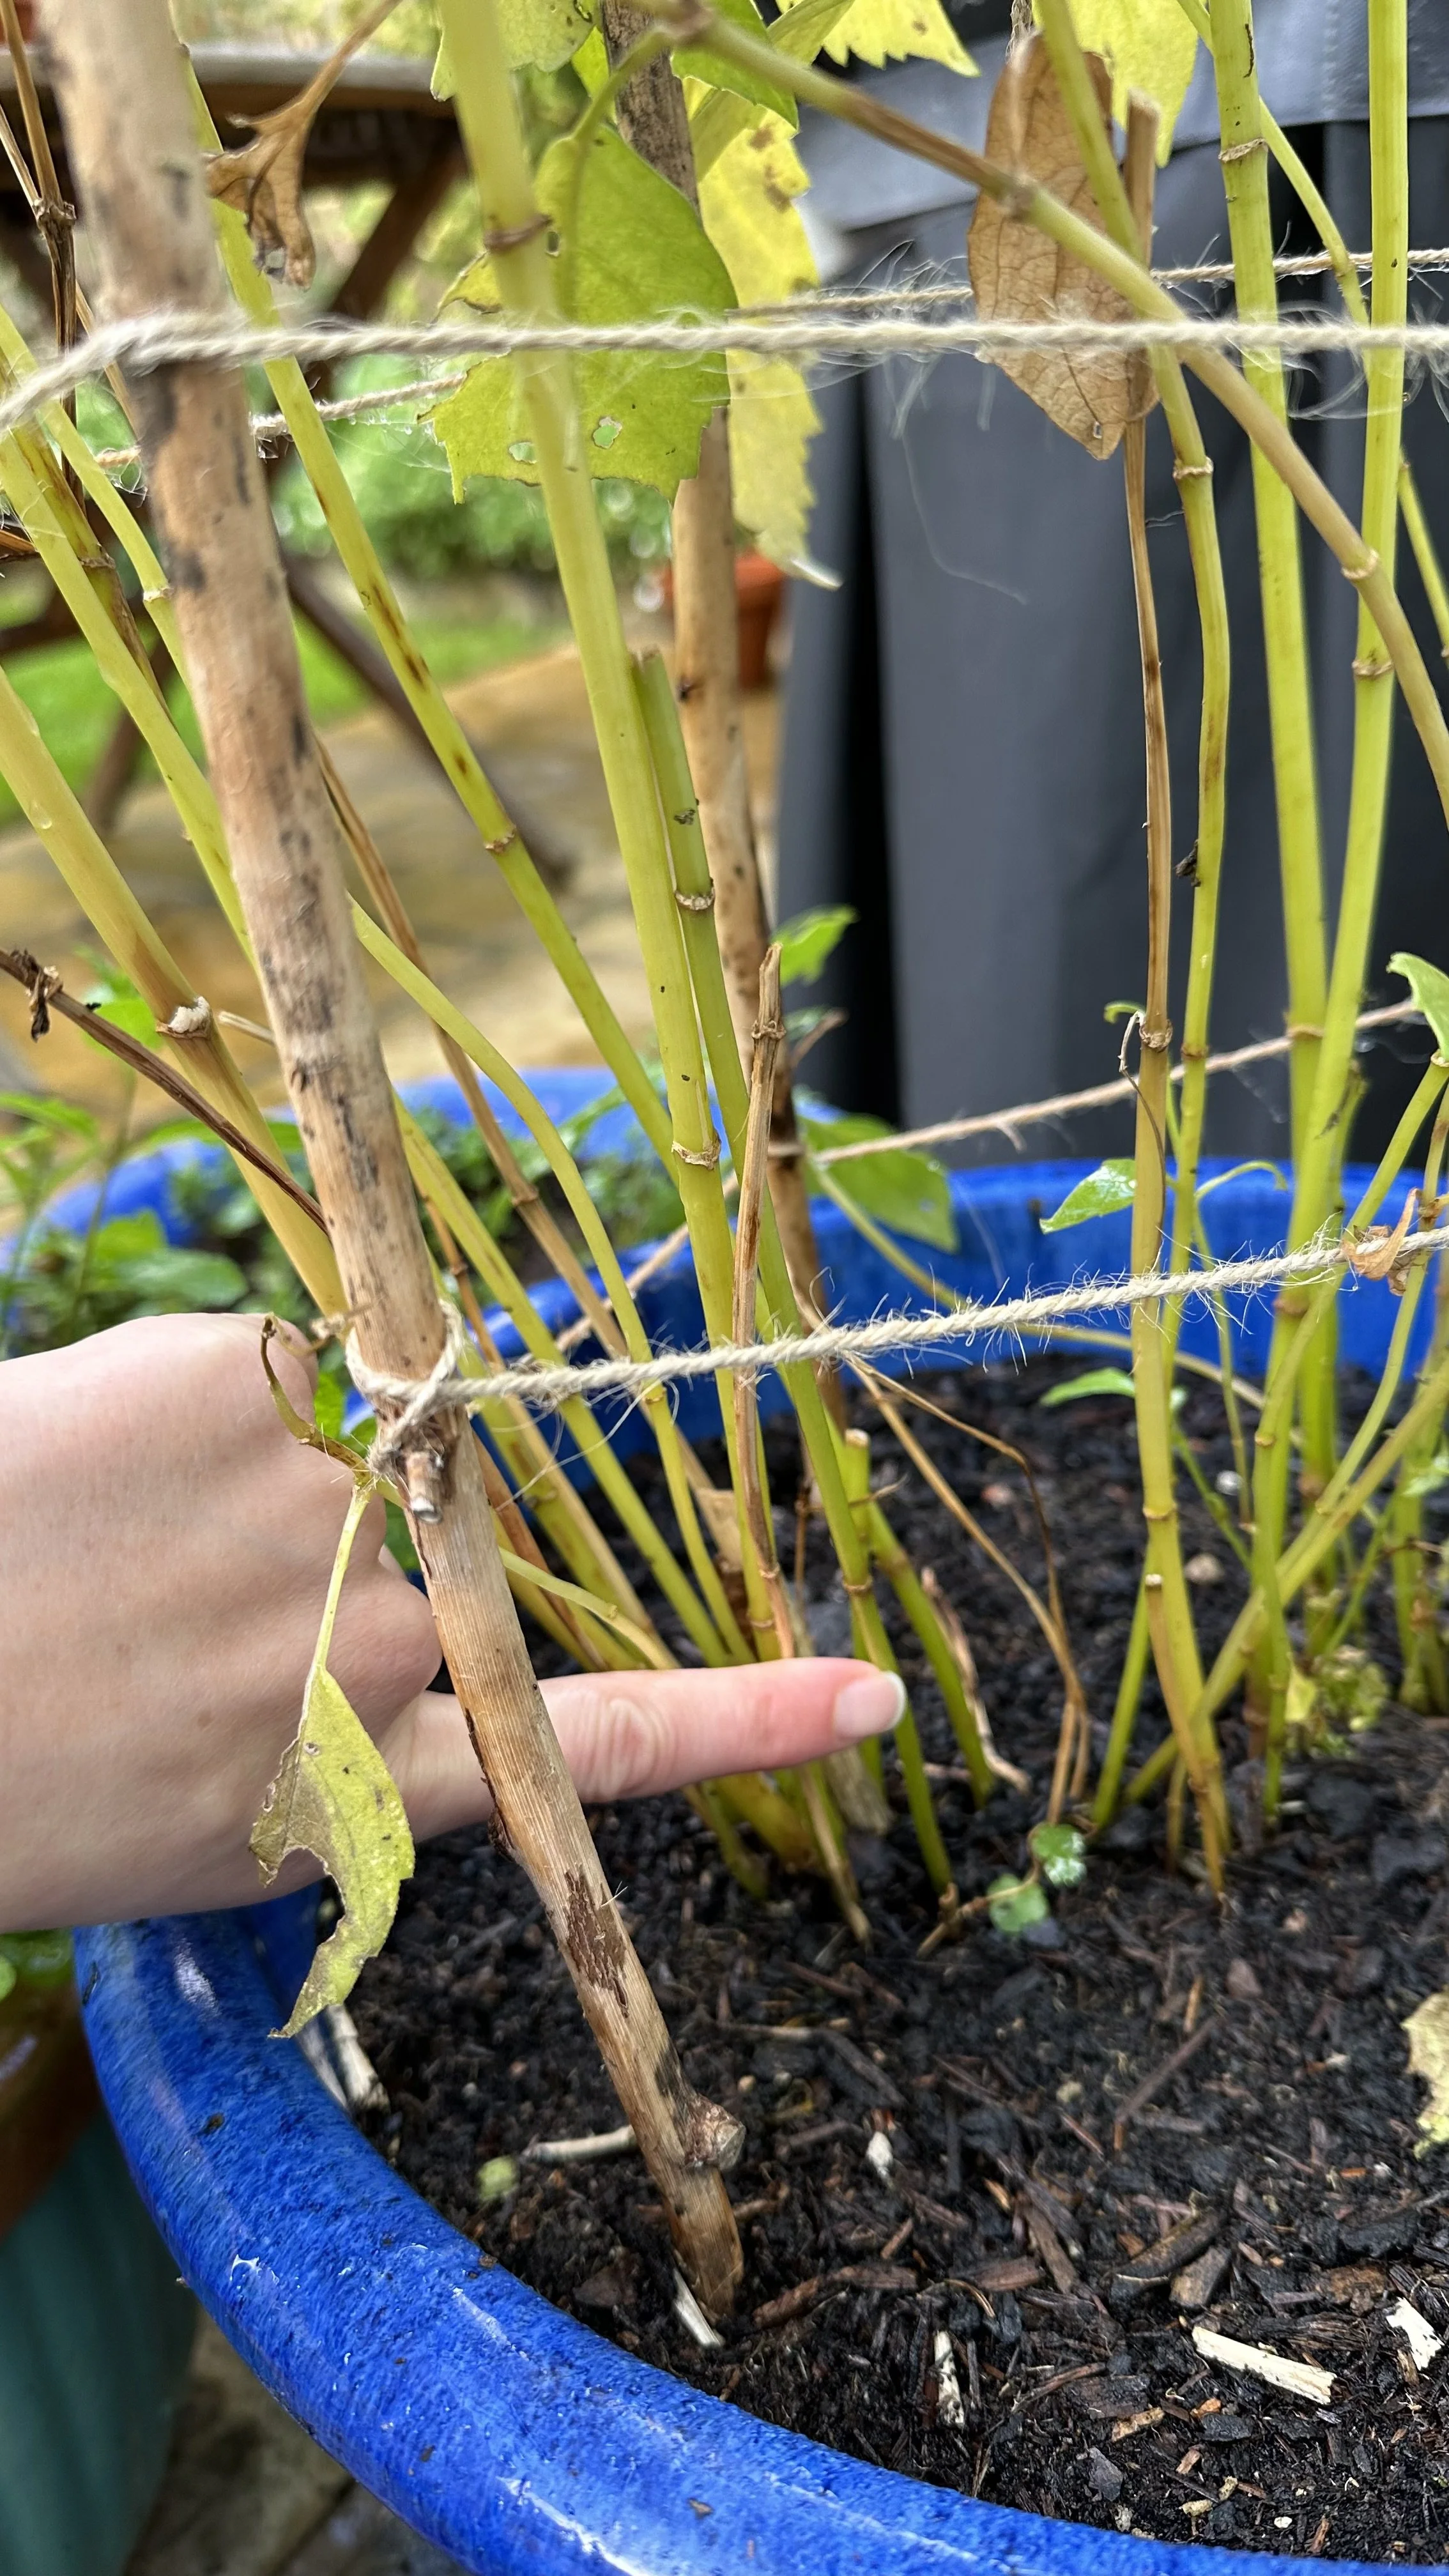
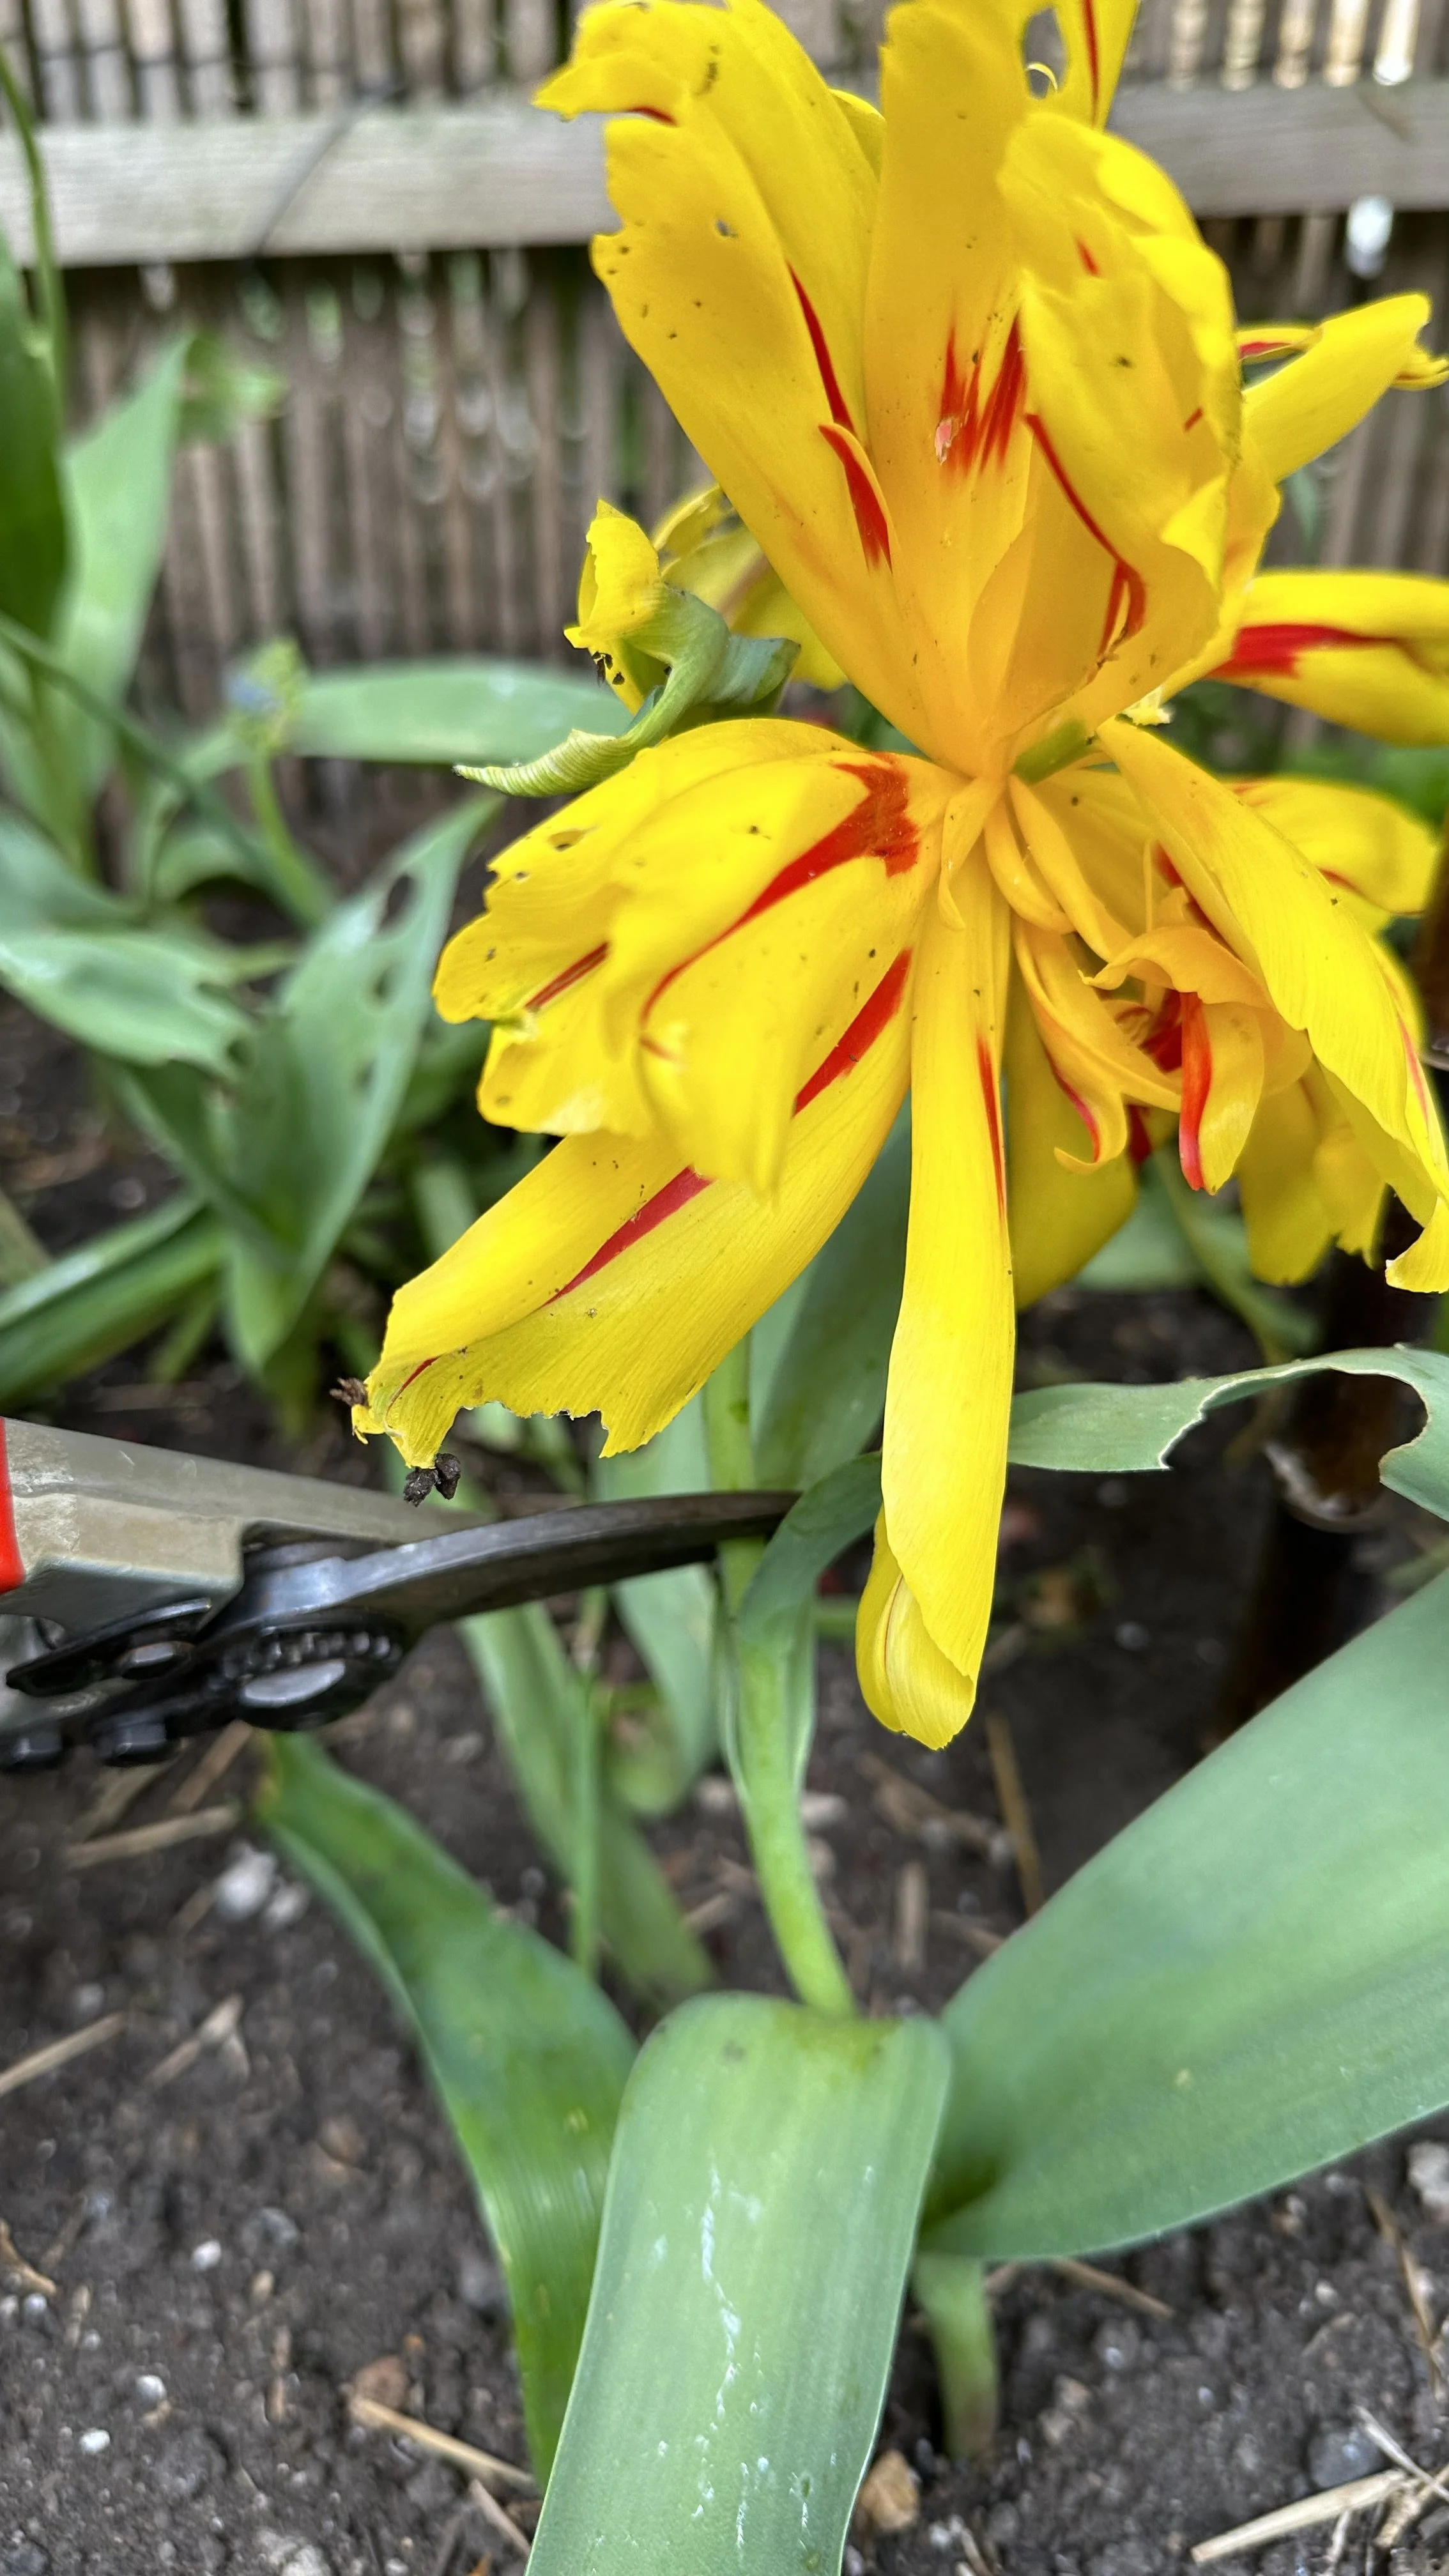
Step 3: Making the Cut
Now, for the actual deadheading process.
Locate the base of the spent flower, where it meets the stem.
You’ll want to cut just above the first set of healthy leaves below the flower.
This is important because you're not just removing the dead flower; you're signaling to the plant where to redirect its energy – back into the bulb.
Quick tip:
If the stem is tall and healthy, you can cut higher up to keep some greenery in your garden for a while longer.
This doesn’t harm the plant and can keep your garden looking lush even as it transitions between blooms.
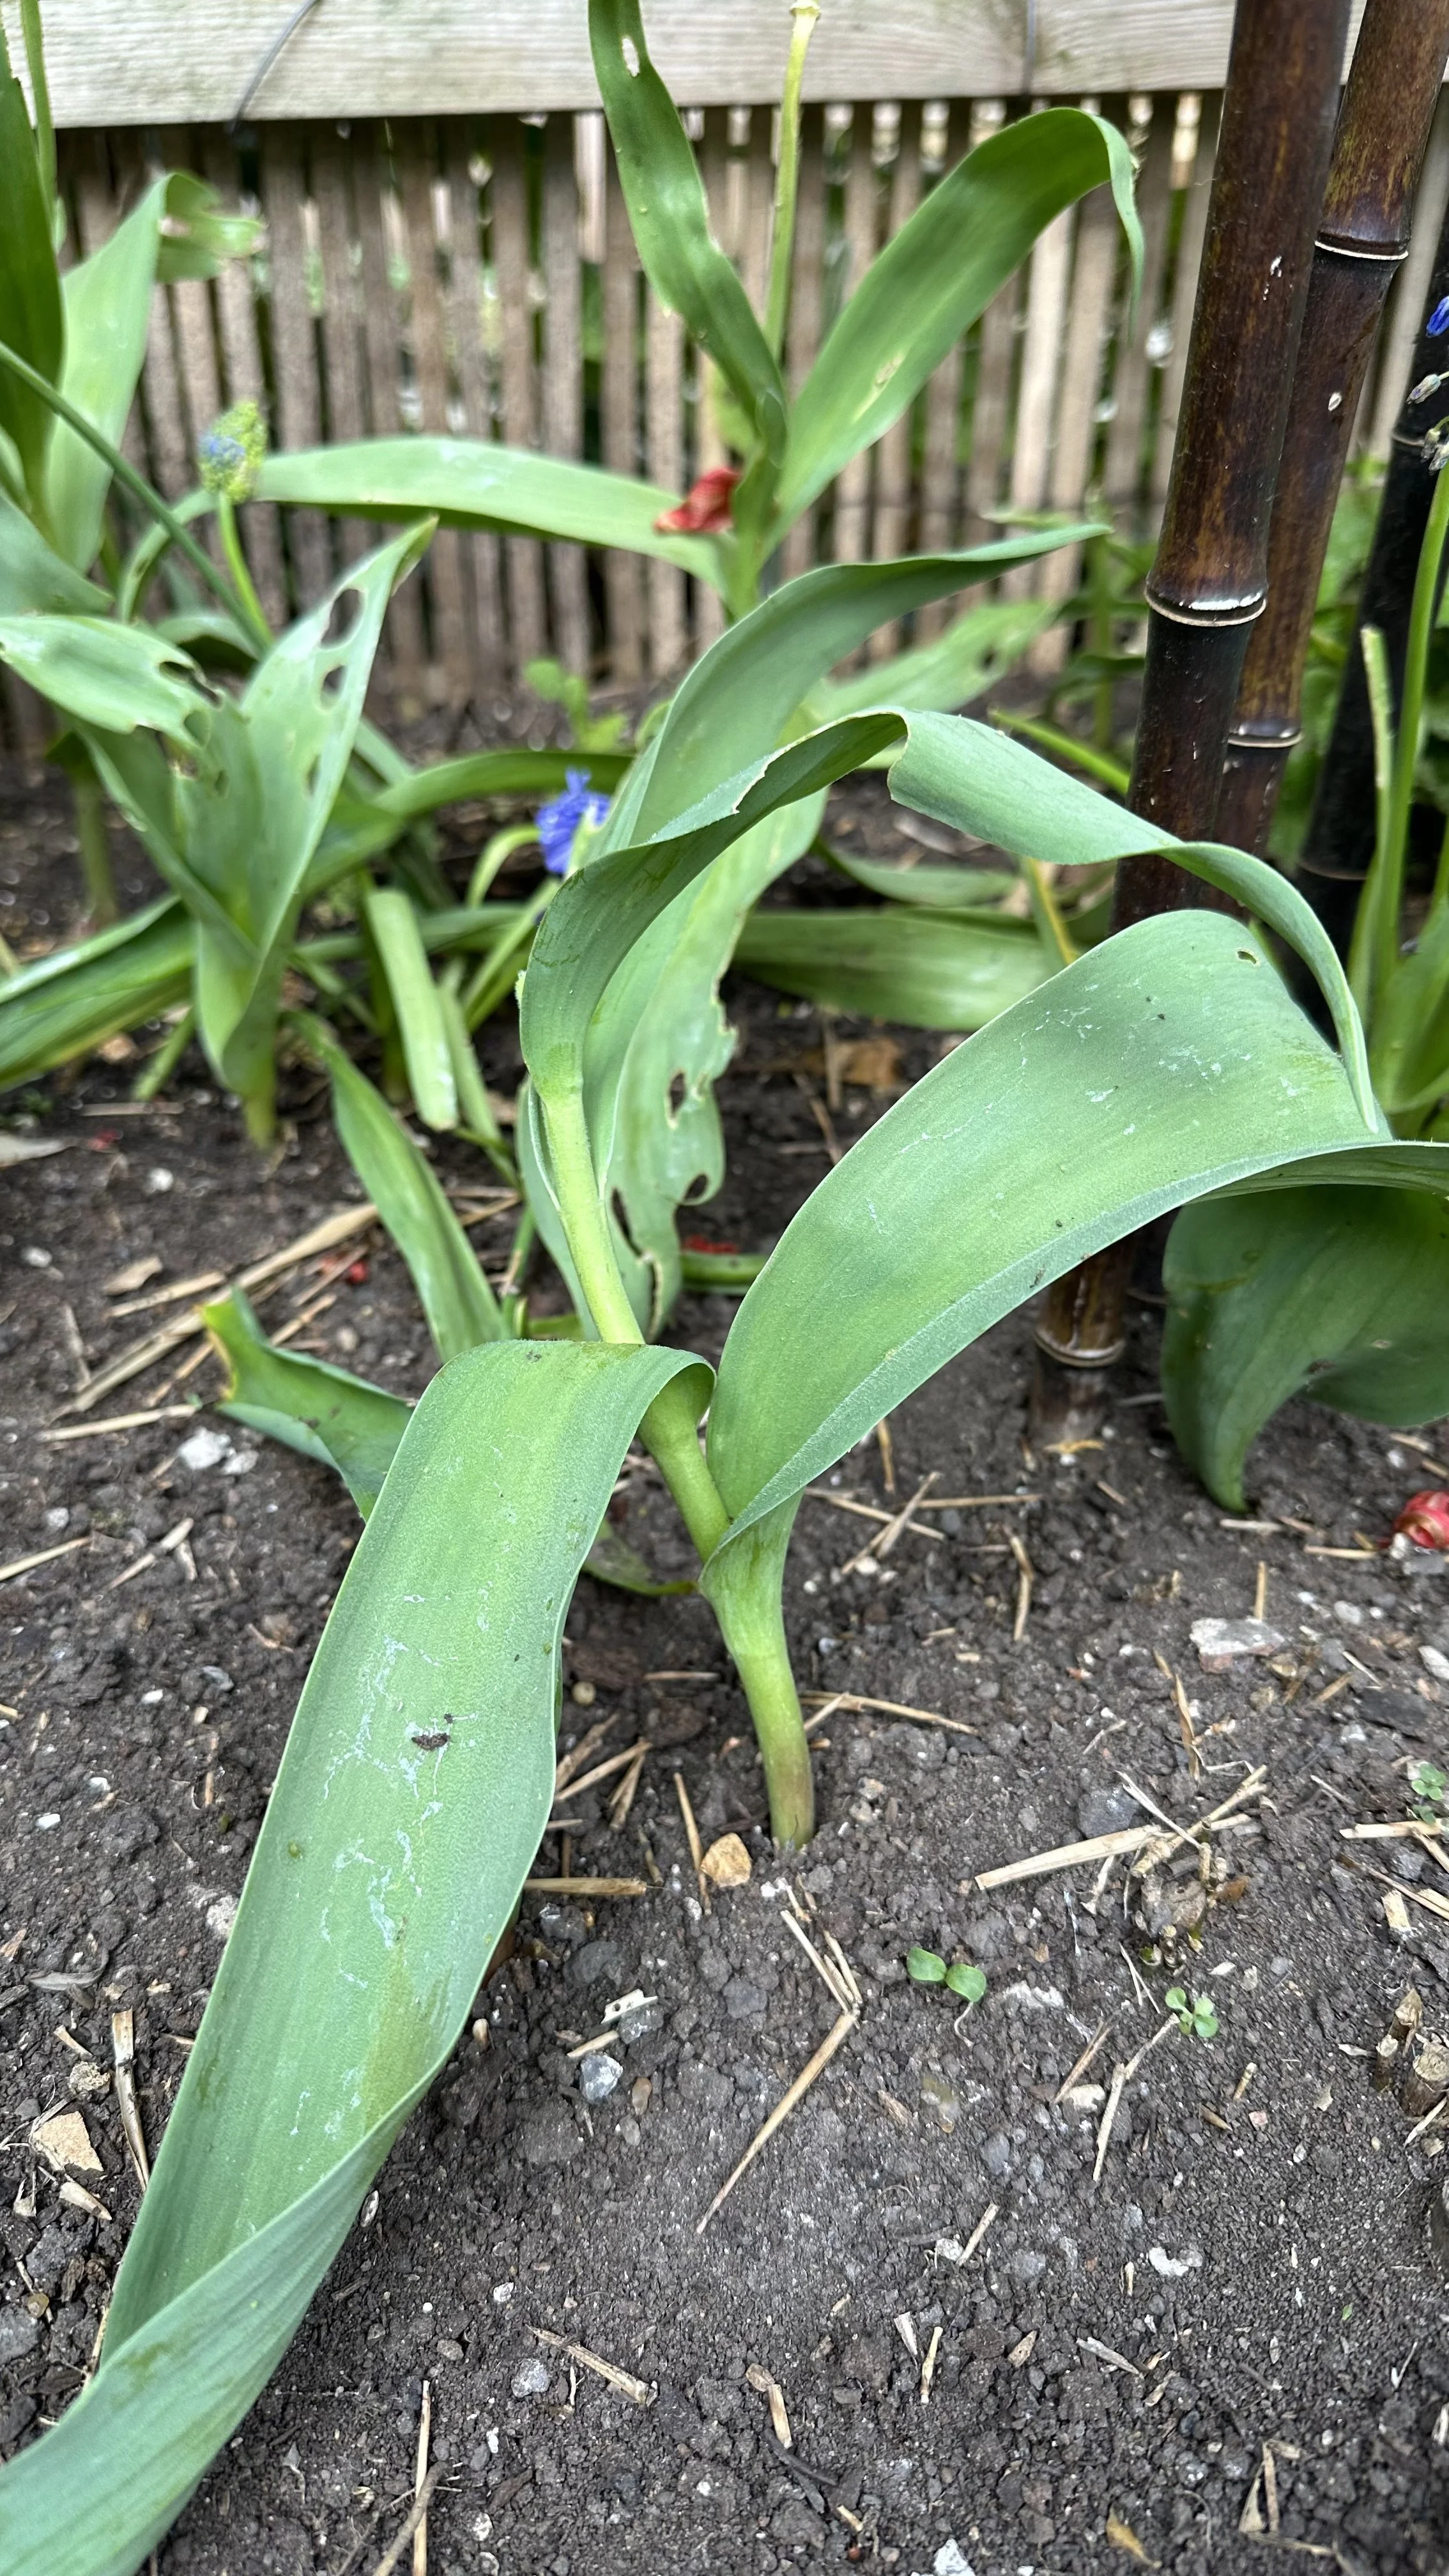
Step 4: Leave the Foliage
After you’ve deadheaded the flower, you might be tempted to tidy up by removing the stem and leaves.
Resist this urge.
The foliage is where the magic happens post-bloom.
These leaves are busy photosynthesizing, creating food that’s stored in the bulb below.
Only once the leaves have turned yellow and withered should you gently remove them.
This usually happens a few weeks after the bloom is gone.
Step 5: Compost the Waste
Don’t forget to compost the spent flowers and, eventually, the foliage.
To learn more about composting, check out my guide: How to Start Composting in a Tumbler.
For more bulb growing advice, check out my guides:
Deadheadinig Other Bulb Flowers
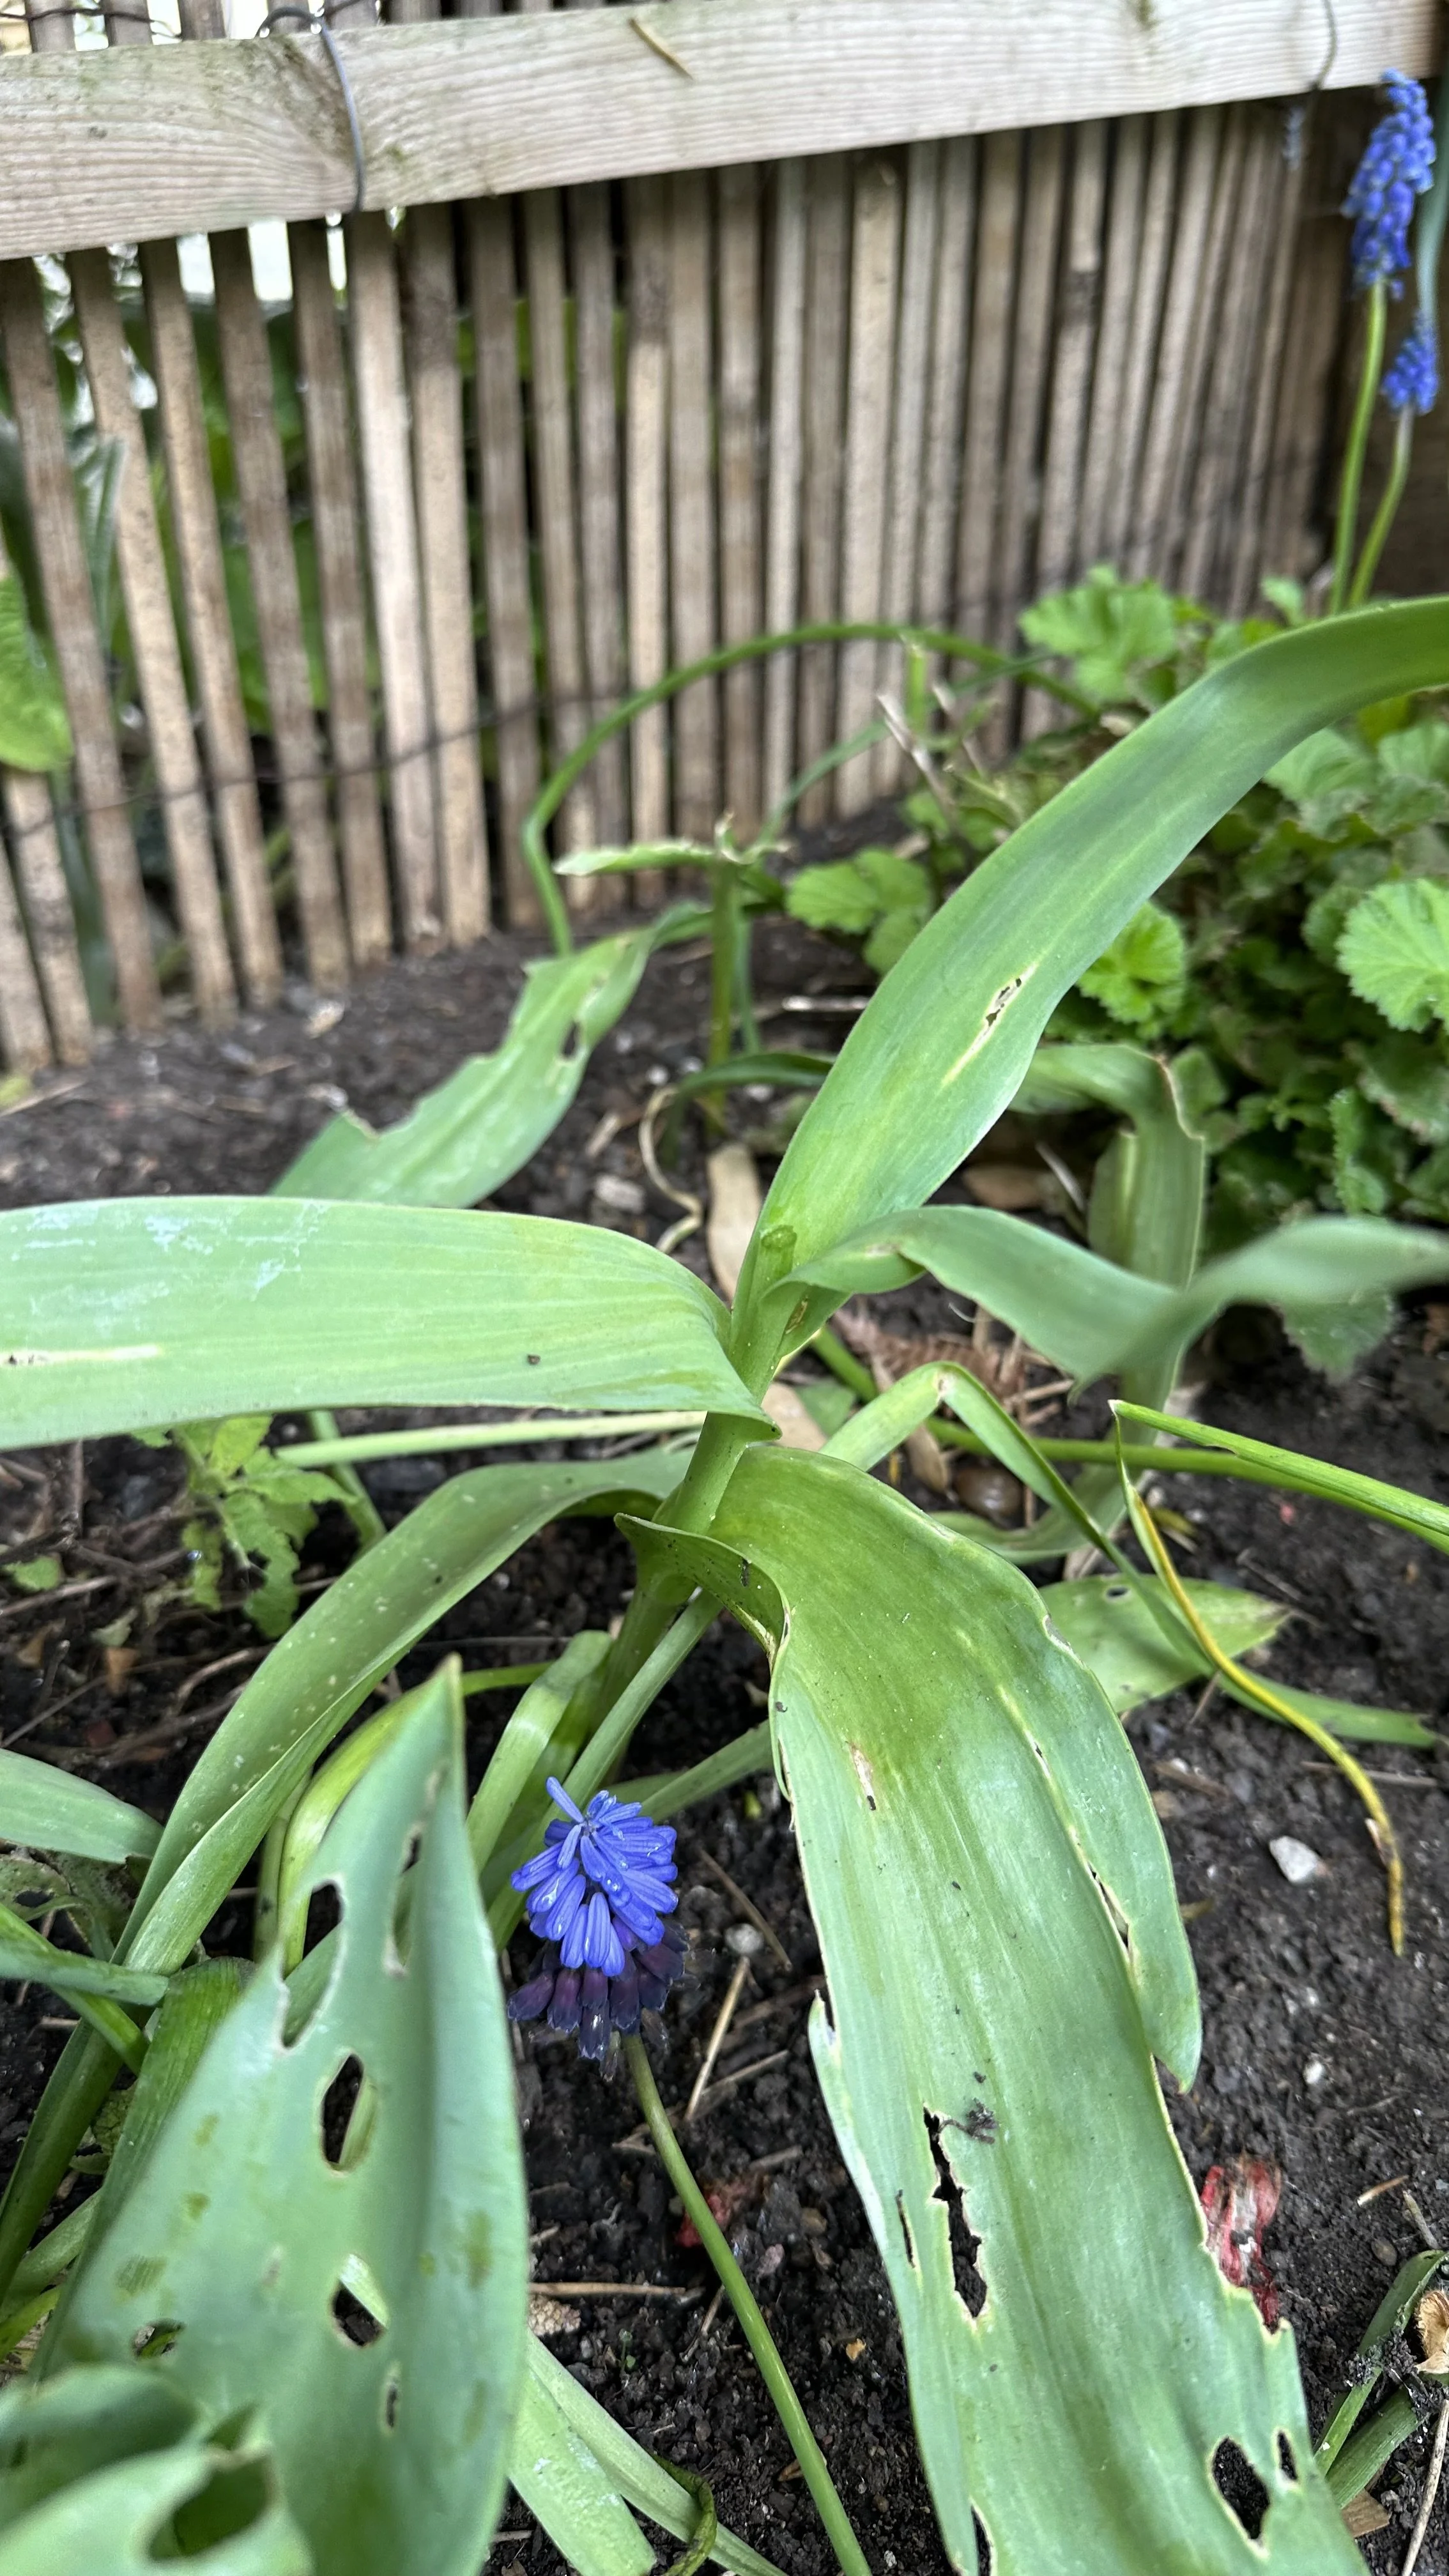
When it comes to other bulb flowers, such as hyacinths, alliums, and crocuses, the principles of deadheading remain largely the same, but with slight adjustments based on the plant’s specific needs and growth habits.
Hyacinths:
These fragrant blooms benefit from deadheading as soon as their flowers fade.
Snip the spent flower spike at its base, but let the leaves remain until they naturally wither.
Alliums:
The dramatic globe-shaped flowers of alliums can be deadheaded in a similar manner, though some gardeners choose to leave the seed heads for their architectural interest and to encourage self-seeding.
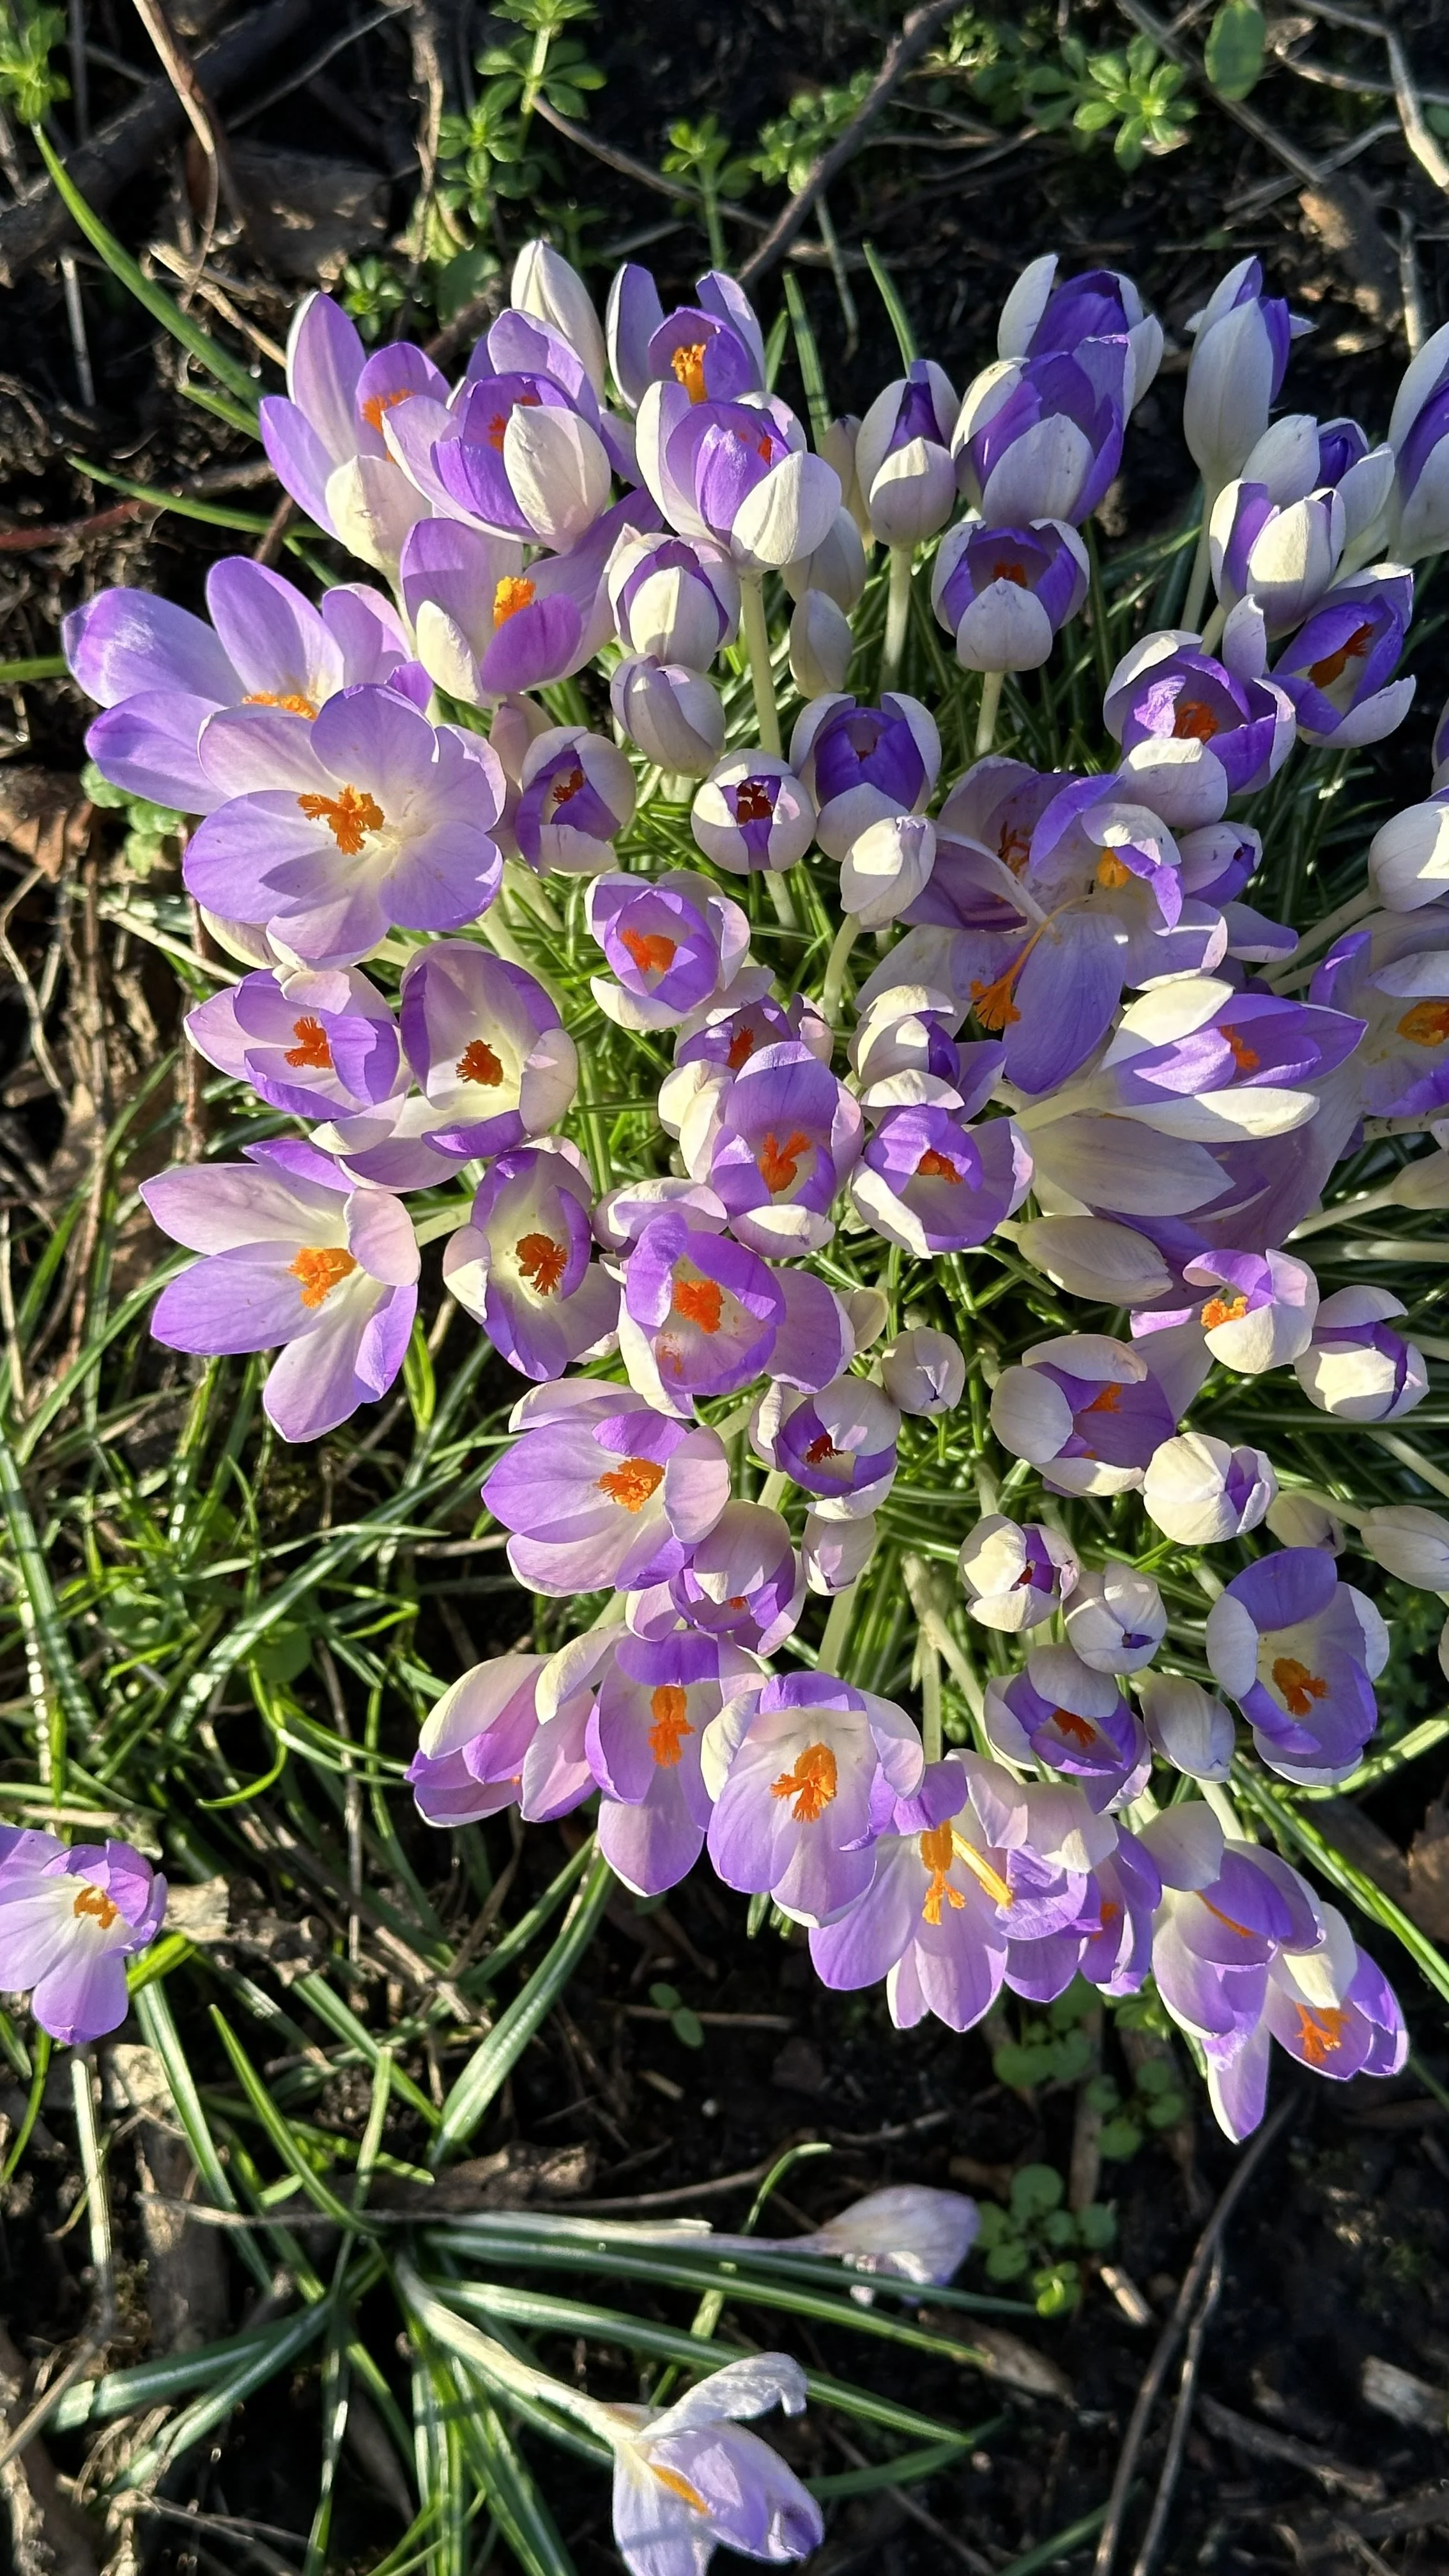
Crocuses:
Being smaller, crocuses require a gentler touch.
Once the flowers fade, pinch off the spent blooms with your fingers or small scissors, and let the foliage die back naturally.
Tulips After Flowering In Pots
Here’s how I approach this transitional phase, tailored to tulips grown in pots.
Tulips in Pots:
Potted tulips are a great way to bring color to patios, balconies, and other spaces.
Post-bloom care is slightly different due to their confined environment.
Watering:
Continue to water your potted tulips after they have finished flowering, but reduce the frequency.
The goal is to prevent the soil from becoming bone dry while avoiding waterlogging, which can rot the bulb.
For more watering tips, check out my guide: How to Use Watering Globes.
Feeding:
A balanced, slow-release fertilizer can be applied once the flowers have faded.
This will help replenish nutrients in the limited soil volume of a pot.
Here is the fertilizer I recommend:

Sunlight:
Keep the pots in a sunny spot to ensure the leaves can photosynthesize efficiently.
This process is critical for recharging the bulb’s energy reserves.
Foliage Care:
Resist the temptation to remove the leaves until they have completely yellowed and died back.
This might take several weeks, but it's essential for the tulip bulbs to absorb as much energy as possible.
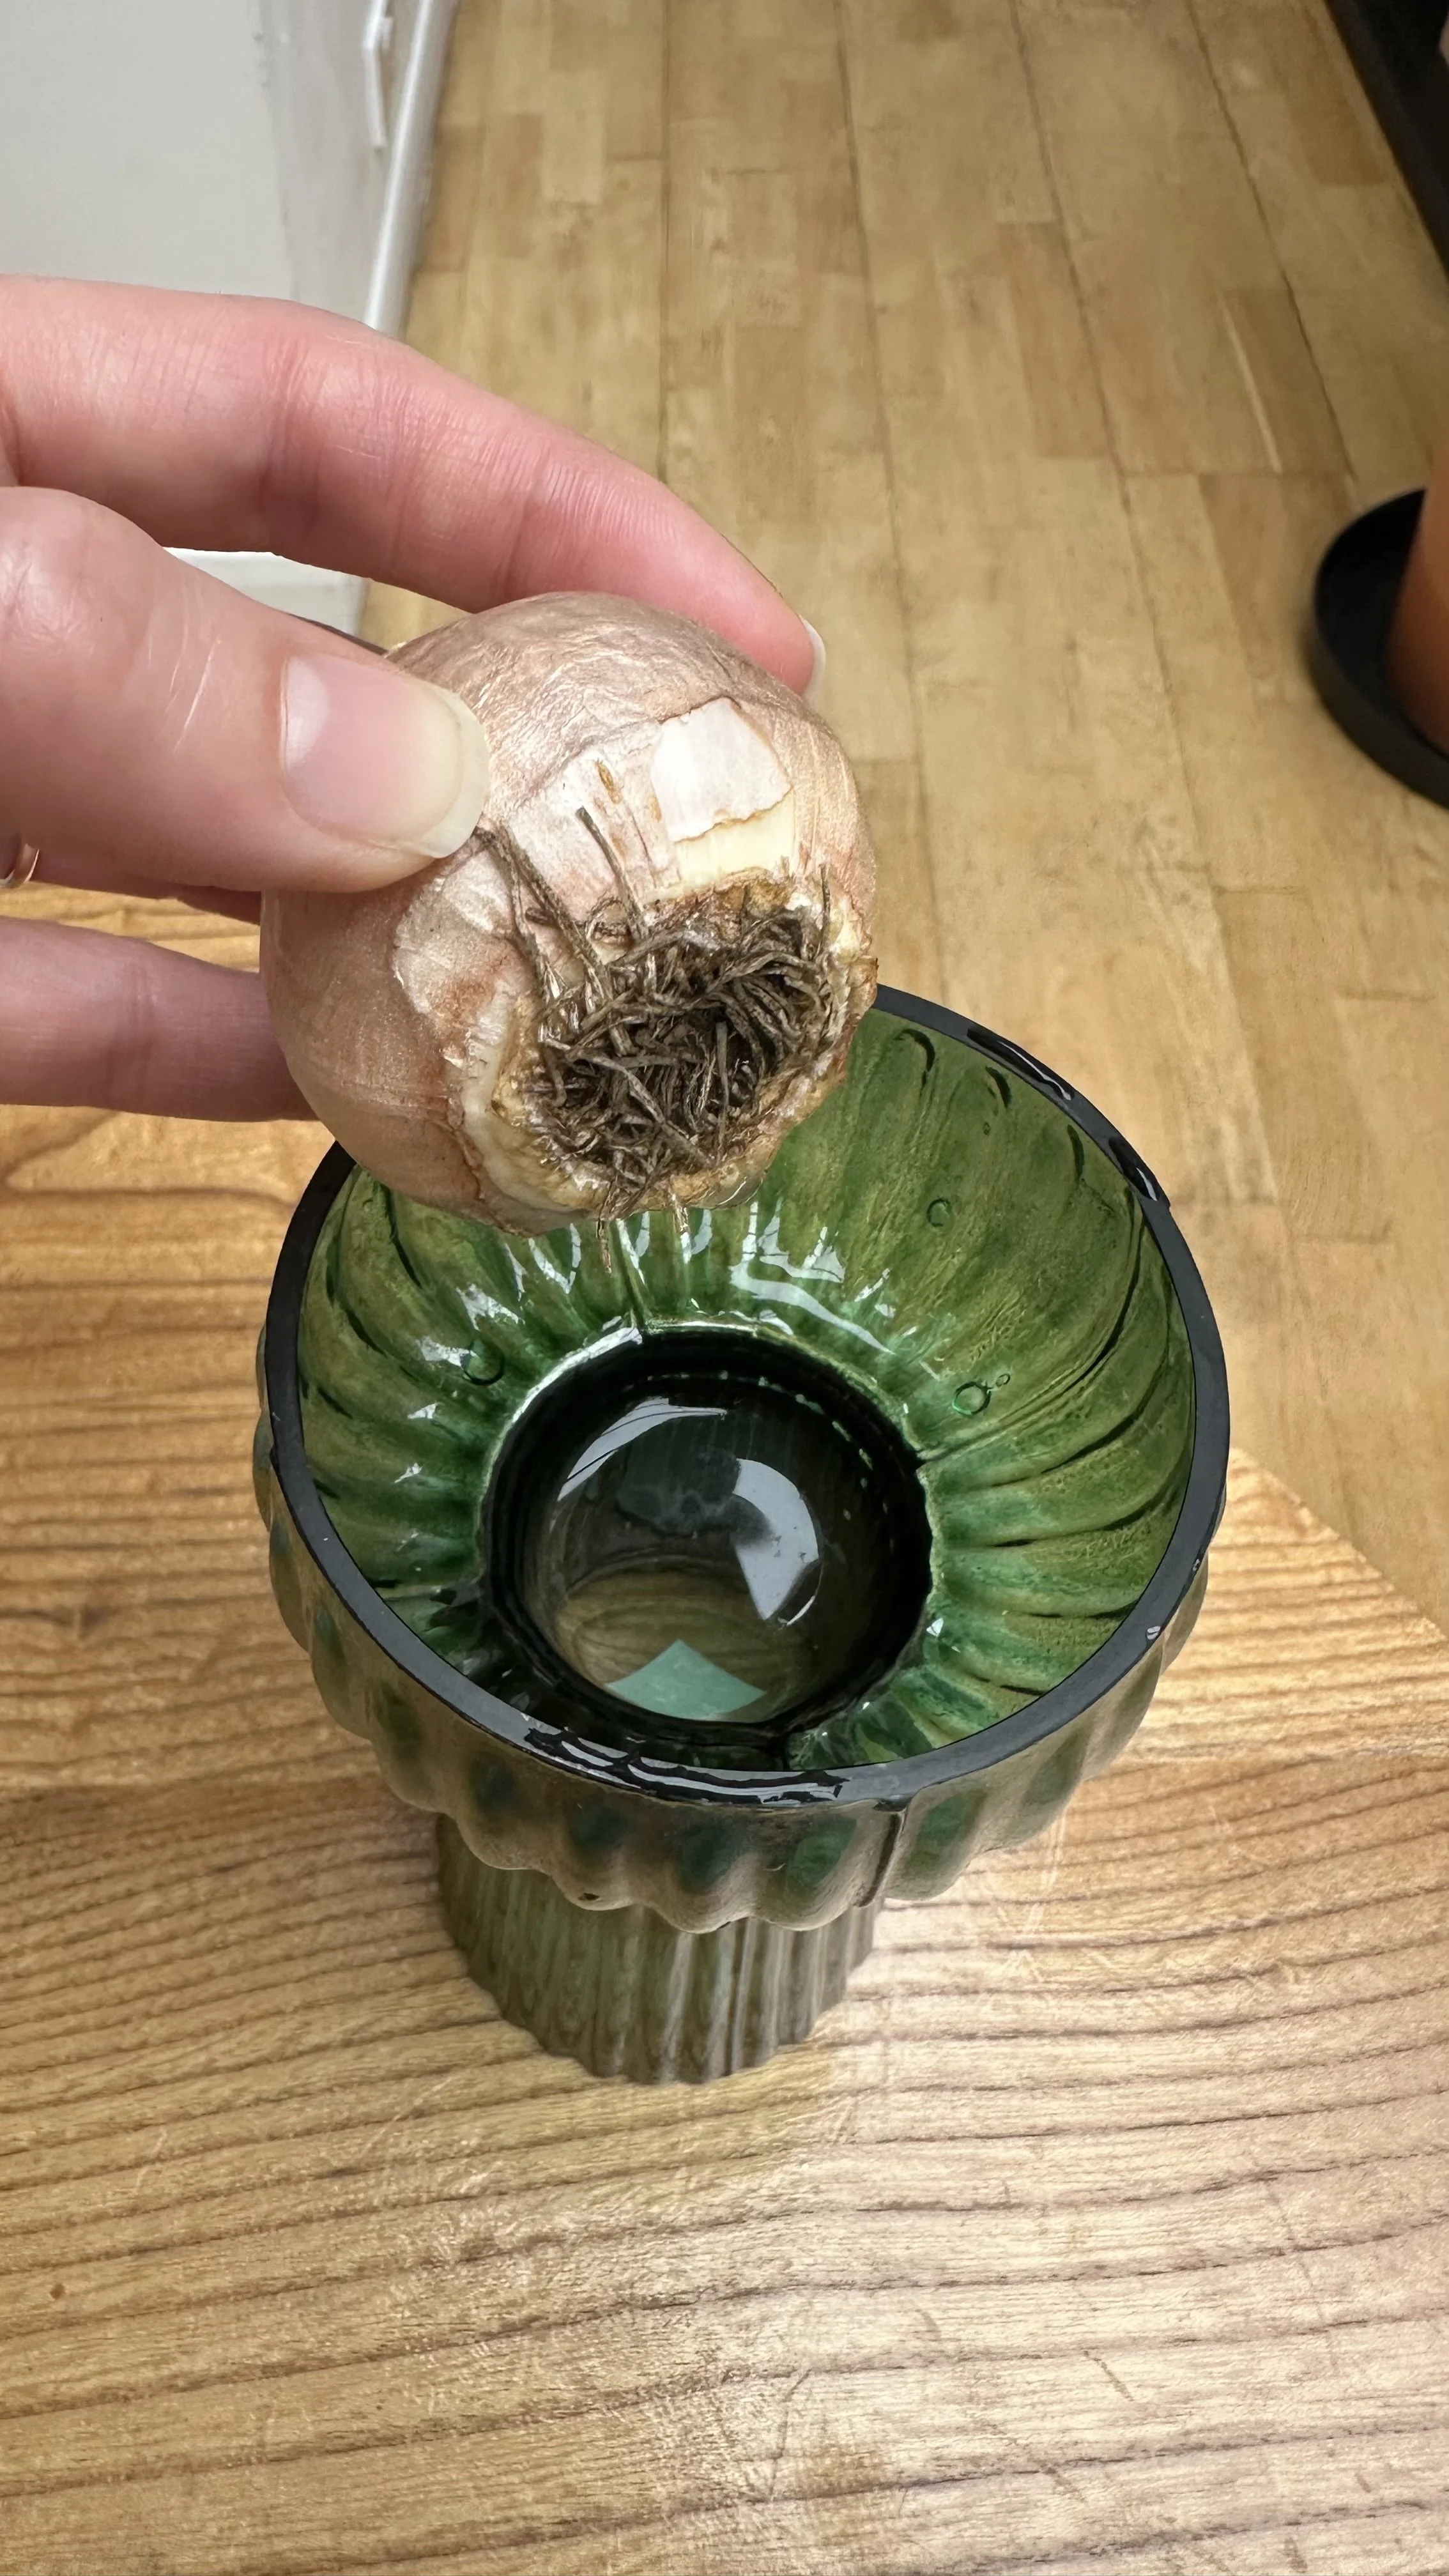
Resting Period:
Once the foliage has died back, you can choose to lift the bulbs and store them in a cool, dry place over summer, or leave them in the pot if it can be moved to a suitable spot.
If leaving them in the pot, ensure the soil is dry and the pot is placed in a cool, shaded area to simulate the dormant period.

Tulip Care After Blooming
The final curtain call of a tulip's bloom is not the end of its story.
In fact, it's a critical moment where the groundwork is laid for the next act.
Here’s how I nurture my tulips after they bloom, ensuring they have the best chance to thrive in the following year.
1. The Importance of Post-Bloom Nutrition
After blooming, tulips are in a state of recovery and preparation.
They've expended a lot of energy on their beautiful display and now is the time to replenish their reserves.
Fertilizing:
Apply a balanced, slow-release bulb fertilizer after flowering to supply essential nutrients.
This helps the bulb regenerate and store energy for the next year.
Avoid high-nitrogen fertilizers, as they can promote leaf growth at the expense of the flower.
Here is the one I recommend:
Composting:
Adding a layer of compost around your tulips can also enrich the soil with nutrients.
This natural fertilizer supports healthy growth without the risk of burning the plant, as some chemical fertilizers can.
2. Watering Wisely
Moderation is Key:
While it's important to keep the soil around your tulips moist, especially during dry spells, overwatering can lead to bulb rot.
Water your tulips sparingly after they bloom, reducing the amount as the foliage begins to yellow and die back.
Letting the Soil Dry:
As the tulips enter their dormant phase, the soil should be allowed to dry out somewhat.
This mimics their natural cycle and helps prevent diseases.
3. Dealing with Foliage
Patience with Yellowing Leaves:
It might be tempting to remove yellowing leaves to tidy up your garden, but these leaves are still working hard.
They're photosynthesizing, which means they're creating food for the bulb below.
Wait until the leaves have completely yellowed and come away with a gentle tug before removing them.
Never Cut Green Leaves:
Cutting back green foliage can interrupt the photosynthesis process, reducing the bulb's ability to store energy.
4. Mulching for Protection
Mulch Application:
Once the foliage has died back and been removed, applying a light layer of mulch can help maintain soil moisture and temperature.
This is particularly beneficial during extreme summer heat or unexpected cold snaps.
Here is the mulch I recommend:

5. Planning for Dormancy
Understanding Dormancy:
Tulips need a period of dormancy, a time when they're not actively growing, to prepare for the next blooming season.
This period of rest is crucial for the development of next year's flowers.
Care During Dormancy:
Ensure the area where your tulips are planted remains undisturbed during their dormancy.
If you're gardening in a particularly hot climate, consider lifting the bulbs and storing them in a cool, dry place until the fall.
FAQs
Should You Always Deadhead Tulips?
Absolutely, if you want to maximize the health and blooming potential of your bulbs!
It's a simple step that makes a big difference.
Deadheading tulips is not just a recommended practice; it’s a crucial step in ensuring your tulips have the energy they need for a strong return in the next season.
When you remove the spent blooms, you prevent the tulip from wasting valuable resources on seed production.
Instead, this energy is redirected to the bulb, strengthening it.
This process is especially important for ensuring the longevity and vibrancy of your tulip display year after year.
Can You Reuse Tulip Bulbs After Flowering?
Yes, you can.
Once the foliage has died back, you can dig up the bulbs (if you wish) and store them in a cool, dry place until it's time to plant them again in the fall.
Reusing tulip bulbs is a great way to maintain or even expand your garden's tulip display without additional cost.
After the foliage has yellowed and can be easily removed, carefully dig up the bulbs, taking care not to damage them.
Clean off any soil and inspect them for signs of disease or damage.
Healthy bulbs can be stored in a netted bag or a box with ventilation holes, in a cool, dry, and dark place over the summer.
Before replanting in the fall, check the bulbs again and only plant those that are firm and disease-free.
Here are the netted bags I recommend for storage:
What Happens If You Don't Deadhead Tulips?
If you don't deadhead, the tulip will spend energy producing seeds, which can result in smaller or fewer blooms the following year.
It's not the end of the world, but deadheading gives your tulips the best chance to thrive.
Seed production is an intensive process that diverts resources away from the bulb, potentially leading to less impressive blooms or even a year without blooms as the plant recovers.
Do Deadheaded Tulips Come Back?
Yes, deadheaded tulips will come back the next year stronger and more vibrant, thanks to the redirected energy back into the bulb.
Deadheading is like giving your tulips a boost for their next performance.
By removing spent blooms, you're ensuring that all the plant's energy goes into bulb development rather than seed production.
This focused energy storage supports the bulb in producing a strong stem and vibrant bloom in the following spring.
It’s a way to help your tulips put their best foot forward when they return.
Pin this post to save it for later!