Container-Grown Celery: A Step-by-Step Guide
This website is reader-supported - thank you! This post may contain affiliate links. As an Amazon Associate, I earn from qualifying purchases at no extra cost to you.
The joy of growing celery can transform a small space into a vibrant green area.
Whether you're an urban gardener or someone with limited outdoor space, the prospect of growing celery in containers offers a rewarding experience.
In this guide, we'll explore the essentials of nurturing celery plants within the confines of pots and planters.
From the initial stages of planting to the moment you harvest your home-grown celery, each step brings its own set of joys and challenges.
Perfect for balconies, patios, or even windowsills, celery containers not only add a splash of green to your living space but also provide the satisfaction of growing your own fresh, crisp celery right at home.
Join us as we delve into the world of growing celery in containers, a journey that promises to be both educational and enjoyable.
To learn more about growing vegetables in containers, check out my guides:
Choosing the Right Container for Growing Celery
Selecting the appropriate container for growing celery is crucial for the health and productivity of your plants.
Here are some detailed factors to consider:
1. Size and Depth
Growth Space:
Remember, celery plants can grow quite bushy.
Providing enough space for each plant ensures adequate air circulation and reduces the risk of fungal diseases.
Root Accommodation:
Celery has a robust root system that requires ample space to grow.
Choose a container that is at least 12-15 inches deep and 18-24 inches wide to accommodate a few plants.
Here is the container I recommend using:
2. Material Considerations
Plastic Containers:
Lightweight and cost-effective, plastic pots are a popular choice.
They retain moisture well but can deteriorate in direct sunlight over time.
Clay or Terracotta Pots:
These natural materials are breathable, promoting good root health.
However, they tend to dry out more quickly and are heavier to move.
Wooden Containers:
Wooden boxes or barrels can add a rustic charm to your garden.
Ensure they are treated to prevent rot but avoid harmful chemicals that could leach into the soil.
Fabric Pots:
A newer option, fabric pots are excellent for air-pruning the roots, leading to healthier plants.
They are lightweight and improve aeration but may require more frequent watering.
3. Drainage Is Key
Adequate Drainage Holes:
Ensure your chosen container has sufficient drainage holes to prevent waterlogging, a common issue that can lead to root rot in celery.
Trays and Saucers:
While these are useful for protecting surfaces, be cautious of standing water. Empty them regularly to avoid excess moisture at the roots.
4. Color and Heat Absorption
Light vs. Dark Colors:
Dark-colored containers absorb more heat, which can be beneficial in cooler climates but may lead to overheating in hot areas.
Light-colored pots reflect more sunlight and keep the soil cooler.
5. Container Shape
Depth Over Width:
For celery, prioritize depth over width. A taller container is preferable to a wide, shallow one, as it accommodates the root system better.
Vertical Growing Systems:
For growing celery vertically, consider stackable containers or tiered planters, which are designed to maximize vertical space while ensuring each plant receives enough light and water.
6. Sustainability
Eco-Friendly Options:
Consider environmentally friendly options like recycled or upcycled containers. Old buckets, barrels, or even kitchen containers can be repurposed into unique planters.
7. Mobility
Portability:
If you plan to move your containers frequently (to chase the sun or avoid harsh weather), consider lightweight materials or containers with wheels.
8. Aesthetics
Complementing Your Space:
Choose containers that not only suit the needs of your celery plants but also complement your home’s decor and style.
In conclusion, the right container can make a significant difference in the health and yield of your celery plants. Consider factors like size, material, drainage, and aesthetics to find the perfect home for your celery.
With the right container, you'll be well on your way to a successful and enjoyable container gardening experience.
Want to learn more about container gardening? Check out my guides:
Selecting and Preparing Celery Varieties for Container Gardening
Choosing the right variety of celery and preparing it correctly are key steps in successful container gardening.
Here are some in-depth considerations:
1. Choosing the Right Variety
Variety Selection:
There are several varieties of celery, each with unique characteristics.
Some are more suited to container gardening due to their size and growth habits.
Compact Varieties:
Look for compact or dwarf varieties, which are ideal for containers.
These varieties tend to have a smaller footprint while still producing a good yield.
Taste Preferences:
Consider the flavor and texture you prefer.
Some varieties are known for their crispness and flavor, while others might be more tender or have a different taste profile.
Here are my favorite celery seeds for growing in containers:
2. Starting with Seedlings
Ease for Beginners:
For beginners, starting with celery seedlings can be more straightforward than growing from seed.
Seedlings have already passed the delicate germination stage.
3. Growing from Seed
Starting Seeds Indoors:
Celery seeds need to be started indoors about 10-12 weeks before the last frost date.
They require a warm environment to germinate.
Seedling Trays:
Use seedling trays with a good quality seed starting mix.
Celery seeds are tiny, so sow them shallowly and keep the soil moist.
For watering tips, check out my guide How Often to Water Seedlings.
Here are the small pots for seedlings and the seed starting mix I recommend:
4. Regrowing from Store-Bought Celery
The Process:
Cut the base from a bunch of store-bought celery, leaving about 2-3 inches.
Place it in a shallow dish of water in a sunny spot. In a week or so, you should see new leaves starting to grow from the center.
Transplanting:
Once these new shoots are established, transplant the celery base into a container with potting soil, covering the old base but leaving the new shoots exposed.
5. Soil Preparation
Nutrient-Rich Soil:
Celery thrives in nutrient-rich, well-draining soil.
Amend the potting soil with compost or well-rotted manure to provide extra nutrients.
Here is the organic potting soil I recommend for celery:
pH Level:
Celery prefers a neutral to slightly acidic soil pH, around 6.0 to 7.0.
You can test your soil's pH and adjust it if necessary.
Here is the soil pH tester I recommend:
6. Acclimatization
Hardening Off:
If you start seeds indoors or purchase seedlings, they need to be gradually acclimatized to outdoor conditions.
This process, known as hardening off, involves exposing the plants to outdoor conditions for increasing periods over a week or so.
7. Spacing and Planting Depth
Proper Spacing:
When planting, give each celery plant enough space to grow. A general rule is to space them about 8-10 inches apart.
Planting Depth:
Plant celery at the same depth it was growing previously. For seeds, a light covering of soil is sufficient as they need light to germinate.
Selecting the right celery variety and preparing it properly for container gardening are critical steps that impact the health and productivity of your plants.
Whether you start with seedlings, seeds, or regrow from store-bought celery, understanding the specific needs and characteristics of your chosen variety will help ensure a successful and enjoyable growing experience.
For more tips, check out my guides:
Soil and Planting for Growing Celery in Containers
1. Choosing the Right Soil
Potting Soil Quality:
Select high-quality potting soil that is well-draining yet retains moisture.
Avoid using garden soil as it can be too heavy and may contain pathogens.
Learn more about this in my guide Garden Soil vs. Potting Soil: How to Choose the Right One.
Soil Composition:
Look for a mix rich in organic matter like compost or coconut coir.
These components help retain moisture and nutrients, essential for celery's growth.
Nutrient Content:
Celery is a heavy feeder, requiring nutrient-rich soil.
Incorporate a slow-release fertilizer into the soil before planting, or plan to fertilize regularly.
Here is the potting soil for celery I recommend:
2. Preparing the Container and Soil
Drainage:
Ensure your container has adequate drainage holes. If necessary, add a layer of gravel or broken pottery at the bottom to facilitate drainage.
Filling the Container:
Fill the container with potting soil, leaving about an inch of space at the top for watering.
3. Planting Celery
Seed Germination:
If starting from seed, remember that celery seeds need light to germinate.
Sow them on the surface of the soil and press lightly, or cover with a very thin layer of soil.
Seedling Transplantation:
For transplanting seedlings or store-bought celery bases, make a hole in the soil just large enough for the root ball.
Gently place the plant in the hole and fill around it with soil. Firm the soil gently but do not compact it too much.
Watering After Planting:
Water the newly planted celery gently but thoroughly.
This helps settle the soil around the roots and removes air pockets.
This is a great way to use rainwater collected from a water butt.
4. Spacing and Depth
Plant Spacing:
Provide enough space for each celery plant to grow.
A general guideline is to space plants about 8-10 inches apart in larger containers or one plant per pot in smaller containers.
Depth Considerations:
Plant celery at the same depth as it was in the nursery pot or, for seeds, just below the soil surface.
Deep planting can bury the crown of the plant, leading to rot.
5. Soil pH and Adjustments
pH Requirements:
Celery prefers a soil pH between 6.0 and 7.0.
Use a soil test kit to determine the pH of your potting mix and adjust accordingly.
Here is the test kit I recommend:
Adjusting pH:
If the soil is too acidic, add lime to increase the pH. If it's too alkaline, incorporate sulfur to lower the pH.
6. Soil Maintenance
Moisture Level:
Keep the soil consistently moist but not waterlogged.
Celery requires a lot of water, and uneven watering can lead to bitter-tasting stalks.
Mulching:
Consider adding a layer of organic mulch on top of the soil to help retain moisture and regulate soil temperature.
Check out my guide: The Best Alternatives to Traditional Mulch for Your Garden.
7. Monitoring and Adjustments
Regular Checks:
Regularly check the soil moisture and fertility.
Container soil can dry out quickly, especially in hot weather, and nutrients can be depleted over time.
Fertilization Schedule:
Plan to fertilize the celery every few weeks with a balanced, water-soluble fertilizer to ensure a steady supply of nutrients.
The right soil preparation and planting techniques are vital for growing healthy celery in containers.
From selecting the appropriate potting mix to ensuring proper planting depth and spacing, each step plays a significant role in establishing a robust and productive celery plant.
Regular monitoring and maintenance of the soil will further enhance the growth and yield of your celery plants.
Learn how to grow more in pots with my guides:
How to Grow Zinnias in Pots: From Seed to Colorful Blooms
Water and Fertilizer for Growing Celery in Containers
1. Watering Requirements
Consistent Moisture:
Celery plants require consistent moisture to thrive.
Their high water content means they are more sensitive to drought than many other vegetables.
Watering Frequency:
The frequency of watering will depend on factors like the size of the container, the material of the container, the weather, and the stage of growth. In general, check the soil moisture daily and water whenever the top inch of soil feels dry.
Deep Watering:
When watering, do so deeply to encourage a strong root system.
This means watering until moisture seeps out of the drainage holes at the bottom of the container.
Avoiding Over-Watering:
While celery needs consistent moisture, over-watering can lead to root rot and other issues.
Good drainage in your container is essential to prevent waterlogging.
2. Fertilizer Needs
High Nutrient Demand:
Celery is a heavy feeder, meaning it requires a good amount of nutrients to grow well.
Type of Fertilizer:
Use a balanced, all-purpose liquid fertilizer for container-grown celery.
This typically means a fertilizer with equal parts nitrogen, phosphorus, and potassium (e.g., 10-10-10).
Fertilizing Schedule:
Apply fertilizer every two to four weeks, following the instructions on the fertilizer package for dilution and application rates.
Organic Options:
For those preferring organic gardening, fish emulsion or seaweed extract make excellent fertilizers for celery. Compost or well-rotted manure can also be added to the soil for additional nutrients.
Here are the organic fertilizers I recommend for celery:
3. Adjusting Fertilizer Based on Growth
Observation:
Pay attention to your celery plants' growth and appearance.
Pale or yellowing leaves can indicate a nitrogen deficiency, prompting a need for fertilizer.
Adjusting for Growth Stages:
During the early stages of growth, focus on a nitrogen-rich fertilizer to encourage leafy growth.
As the plant matures, a balanced fertilizer supports overall health and productivity.
4. Importance of pH in Nutrient Uptake
Soil pH:
The pH of the soil affects the plant's ability to absorb nutrients.
Celery prefers a pH between 6.0 and 7.0. If the pH is out of this range, nutrient uptake can be compromised.
Testing and Adjusting pH:
Regularly test the soil pH and adjust as necessary using lime (to increase pH) or sulfur (to decrease pH).
5. Water Quality
Chlorine and Chemicals:
If your tap water is heavily chlorinated or contains other chemicals, consider using filtered or rainwater for your plants.
Chlorine can harm the beneficial microorganisms in the soil.
6. Mulching for Moisture Retention
Organic Mulch:
Applying a layer of organic mulch, such as straw or shredded bark, can help retain soil moisture and reduce the need for frequent watering.
7. Monitoring for Water Stress
Signs of Under-Watering:
If your celery plants are wilting or the leaves are curling, it's a sign they need more water.
Signs of Over-Watering:
Yellowing leaves, especially at the base of the plant, can be a sign of too much water.
In summary, effective watering and fertilization are key to growing healthy celery in containers.
Consistent moisture and regular fertilization, tailored to the plant's growth stage and needs, will ensure your celery thrives.
Paying attention to the signs your plants give you and adjusting your care accordingly will lead to a successful and rewarding celery harvest.
Learn how to grow more in containers with my guides:
Harvesting Celery in Containers
1. Understanding the Right Time to Harvest
Maturity Indicators:
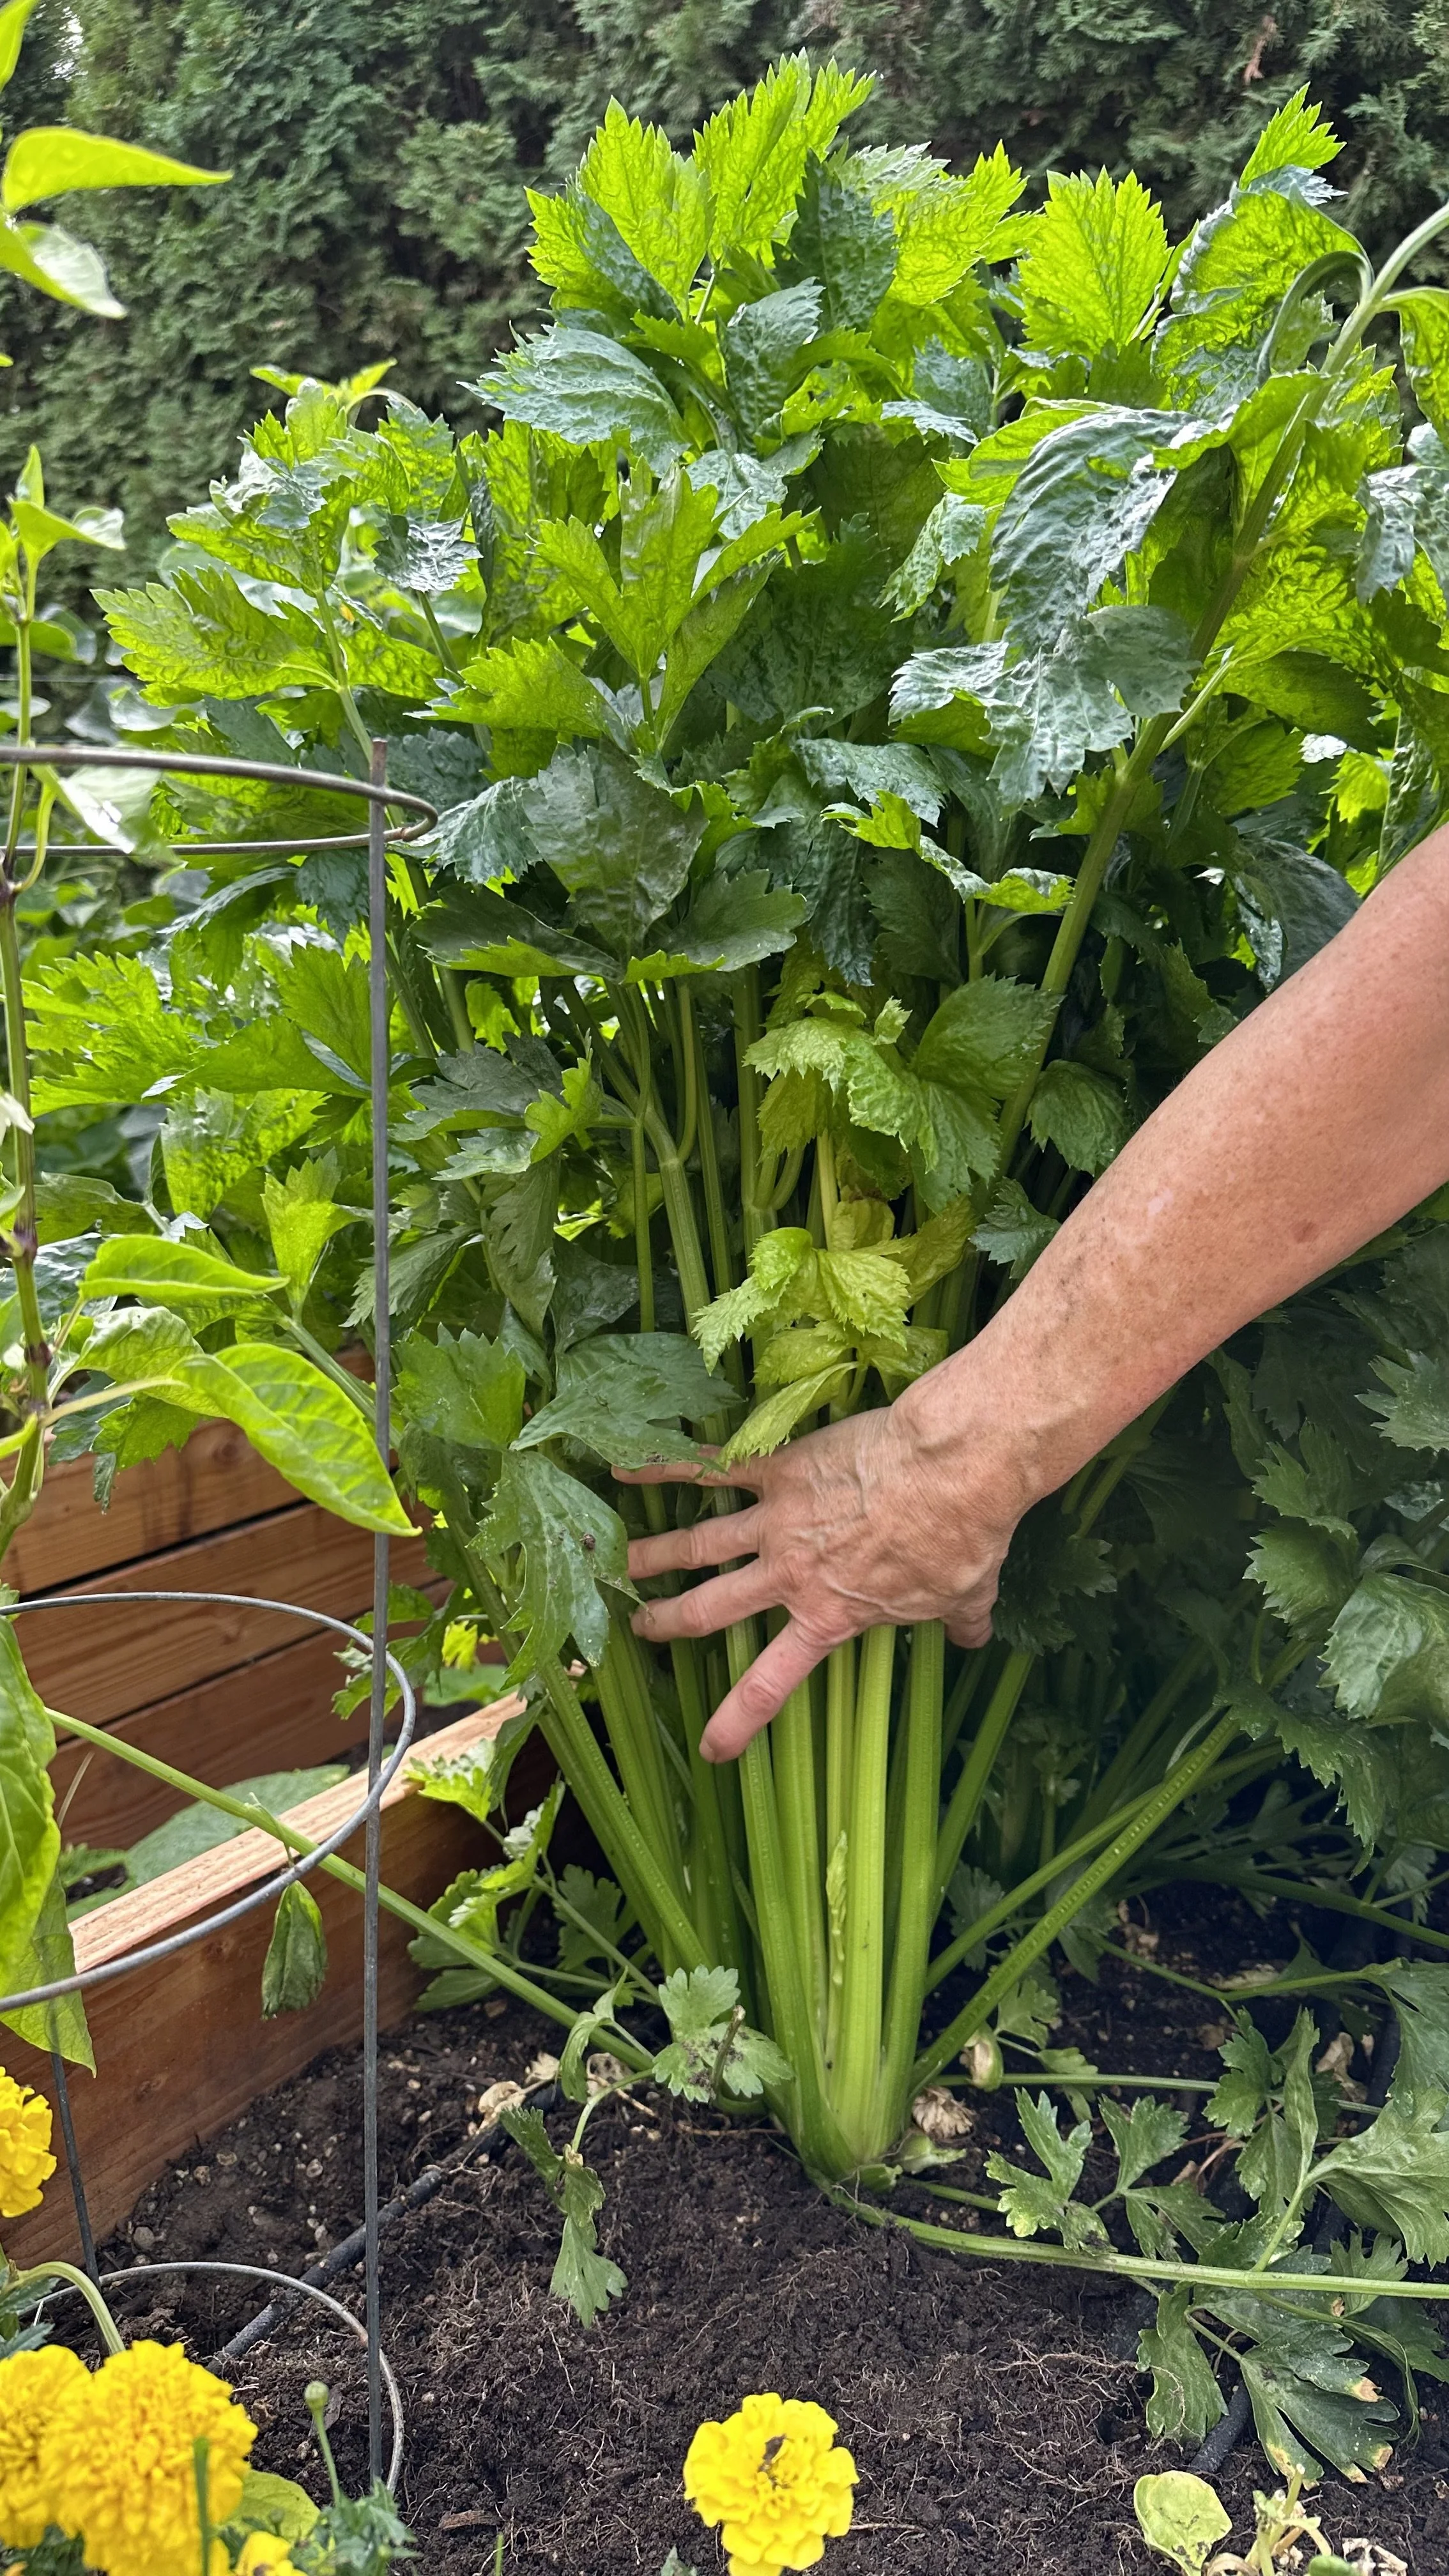
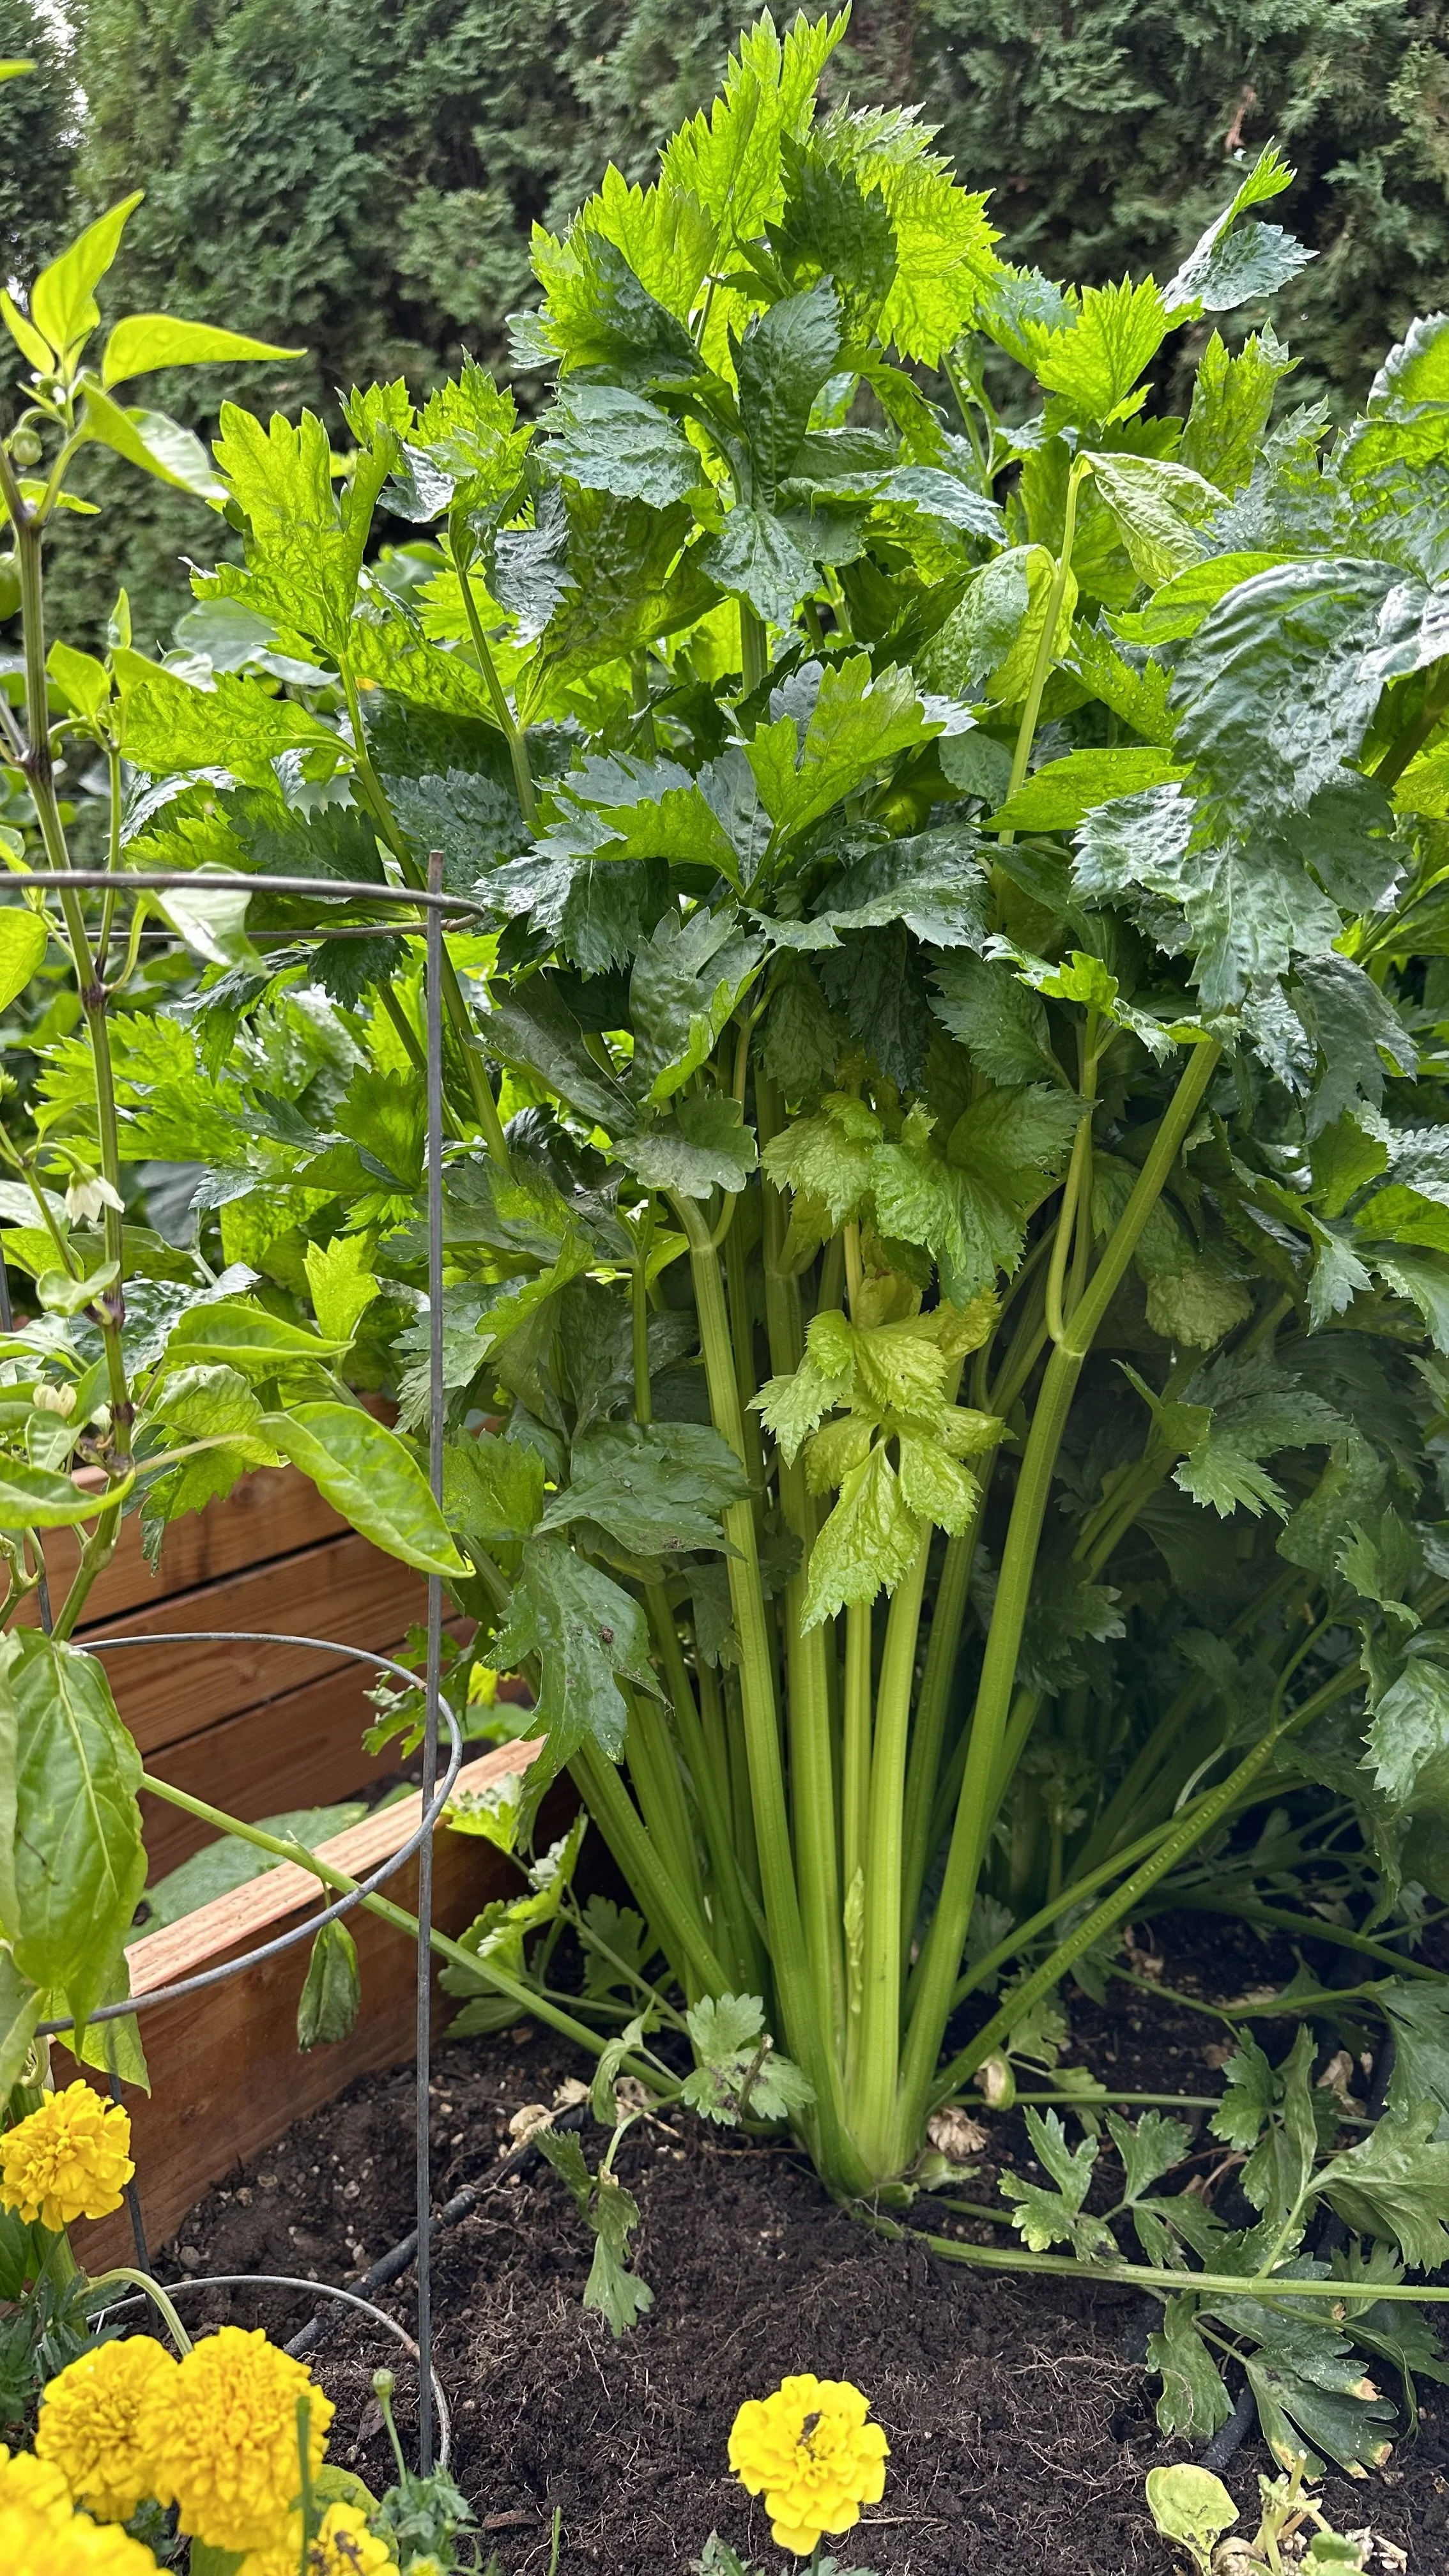
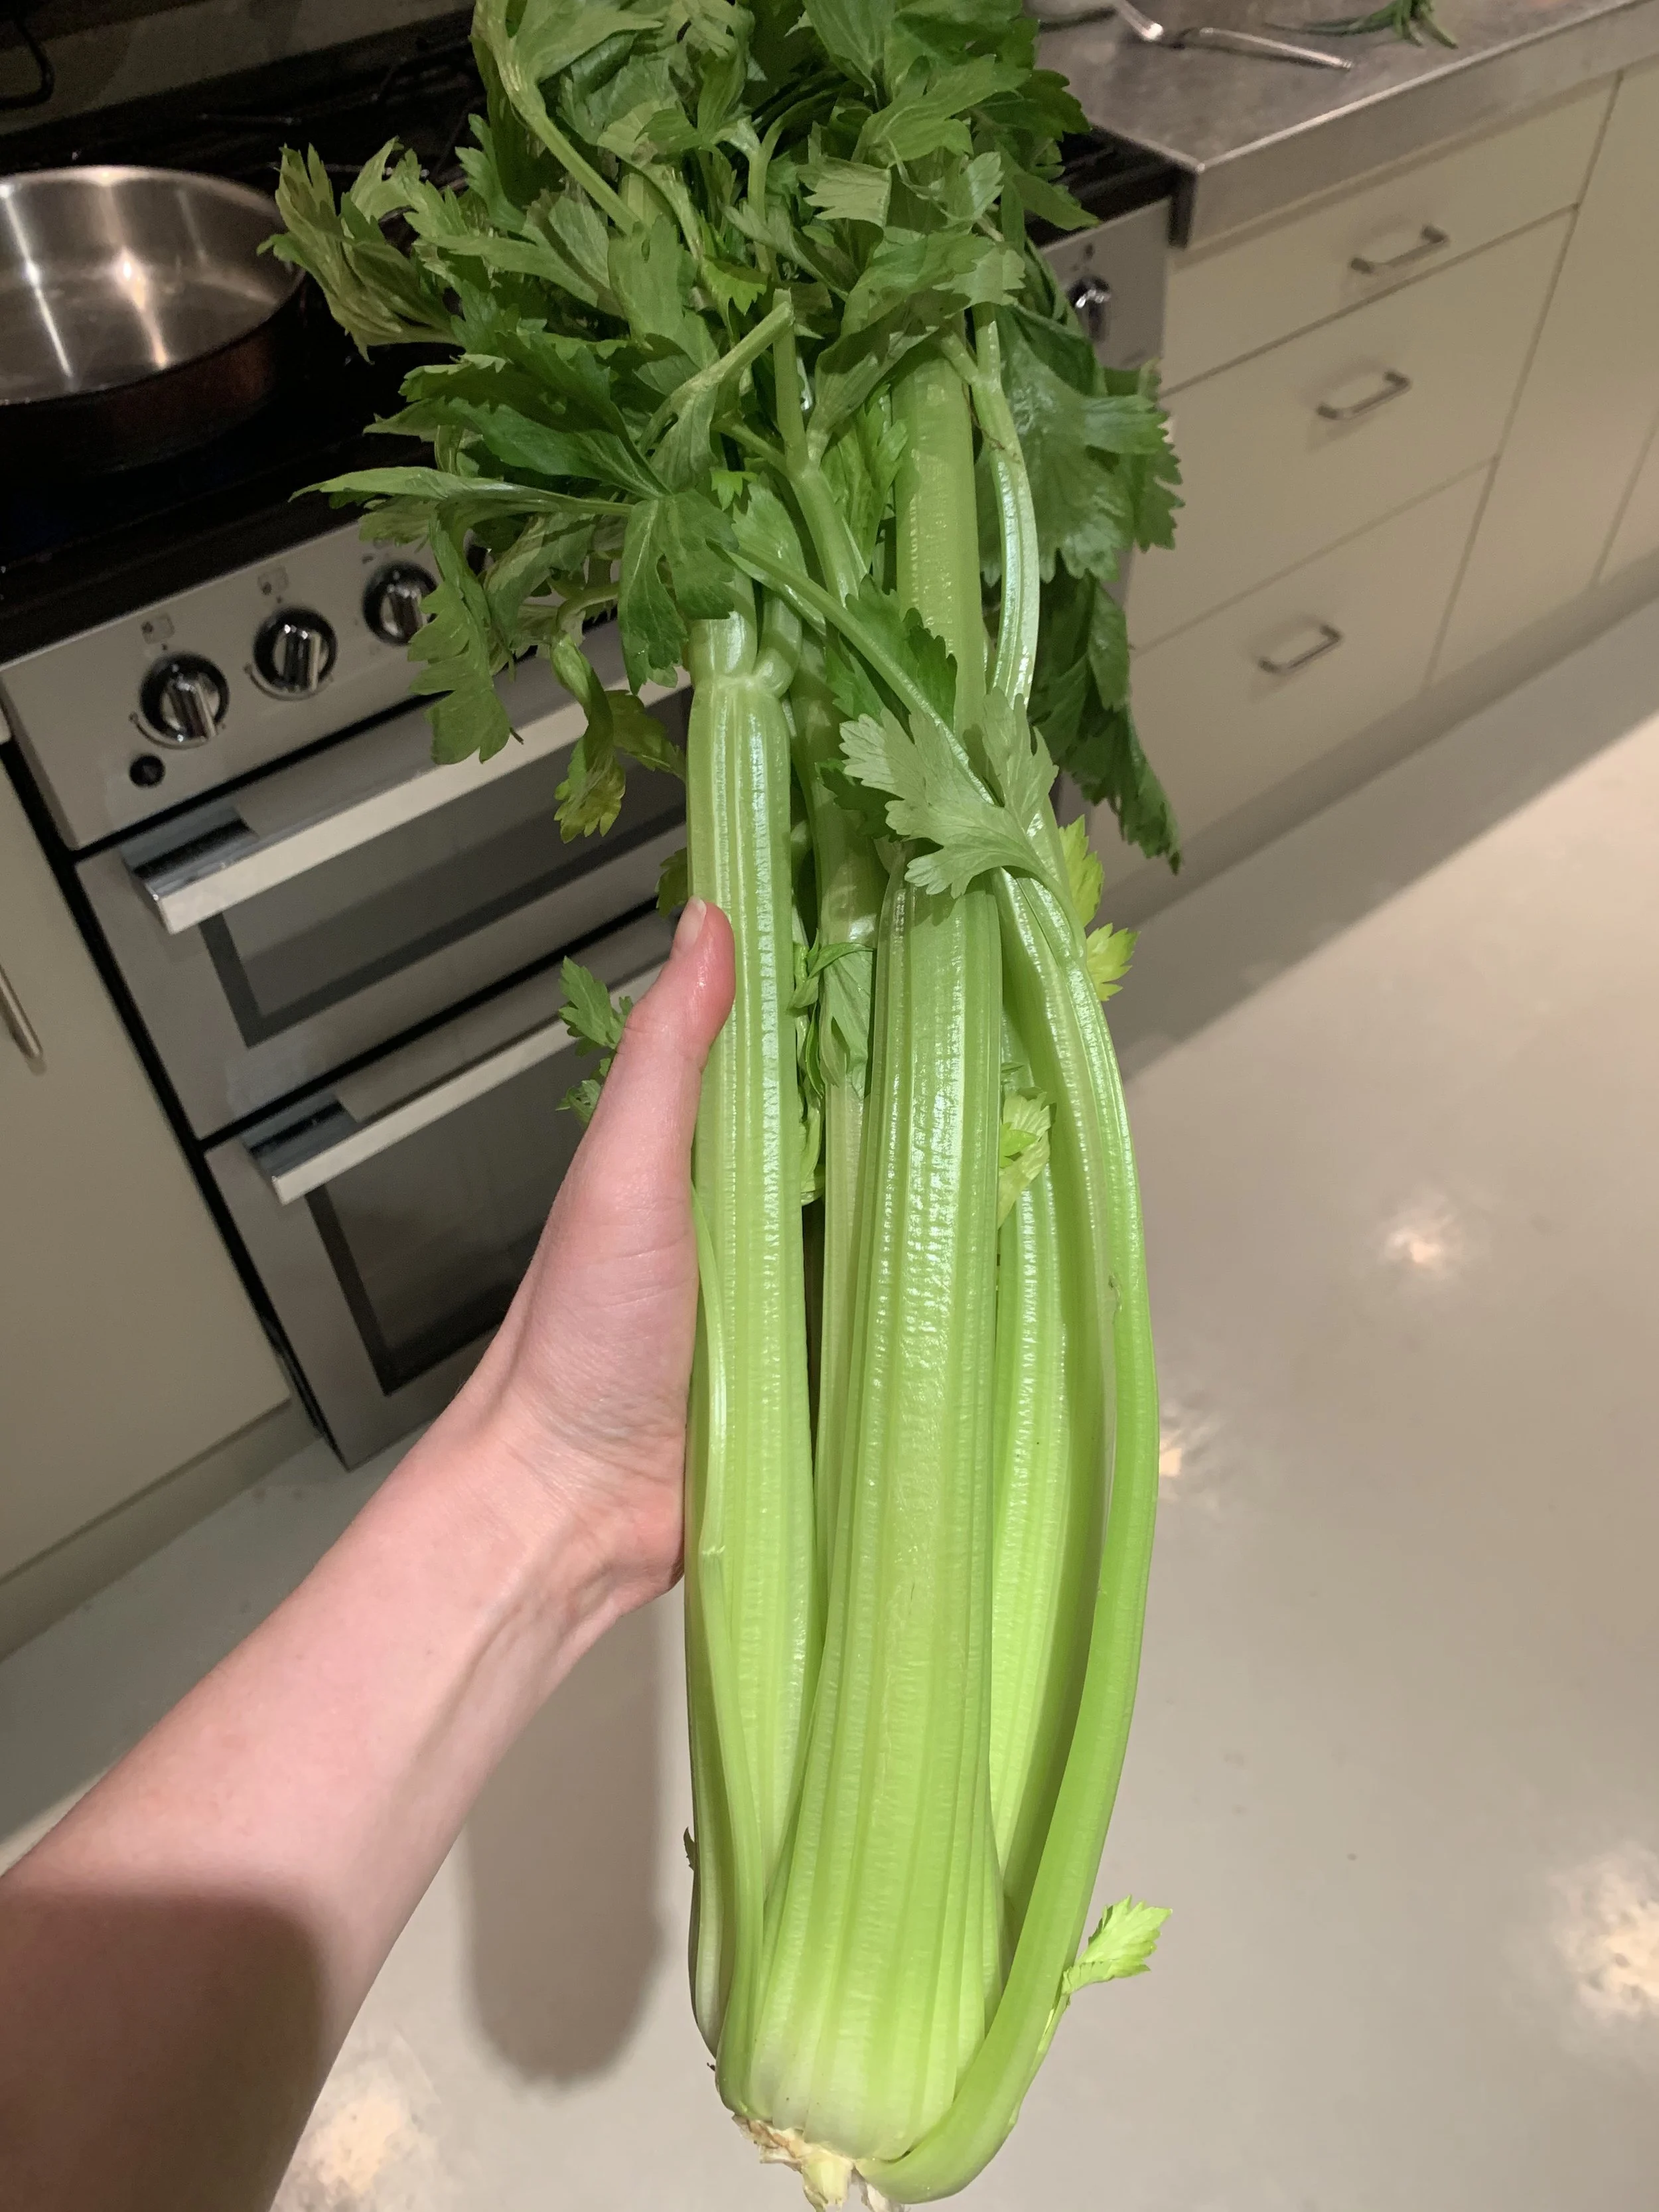
Celery is typically ready to harvest when the stalks are about 8 to 12 inches tall and the base is 2 to 3 inches in diameter.
This usually takes about 130-140 days from seed, or less if you started with seedlings.
Observation:
The stalks should be firm and crisp with a deep green color. The leaves will be vibrant and healthy-looking.
2. Harvesting Technique
Cut-and-Come-Again Method:
This method involves cutting individual stalks as you need them, starting from the outer stalks and working your way in.
This way, the plant continues to grow and produce new stalks.
Harvesting the Whole Plant:
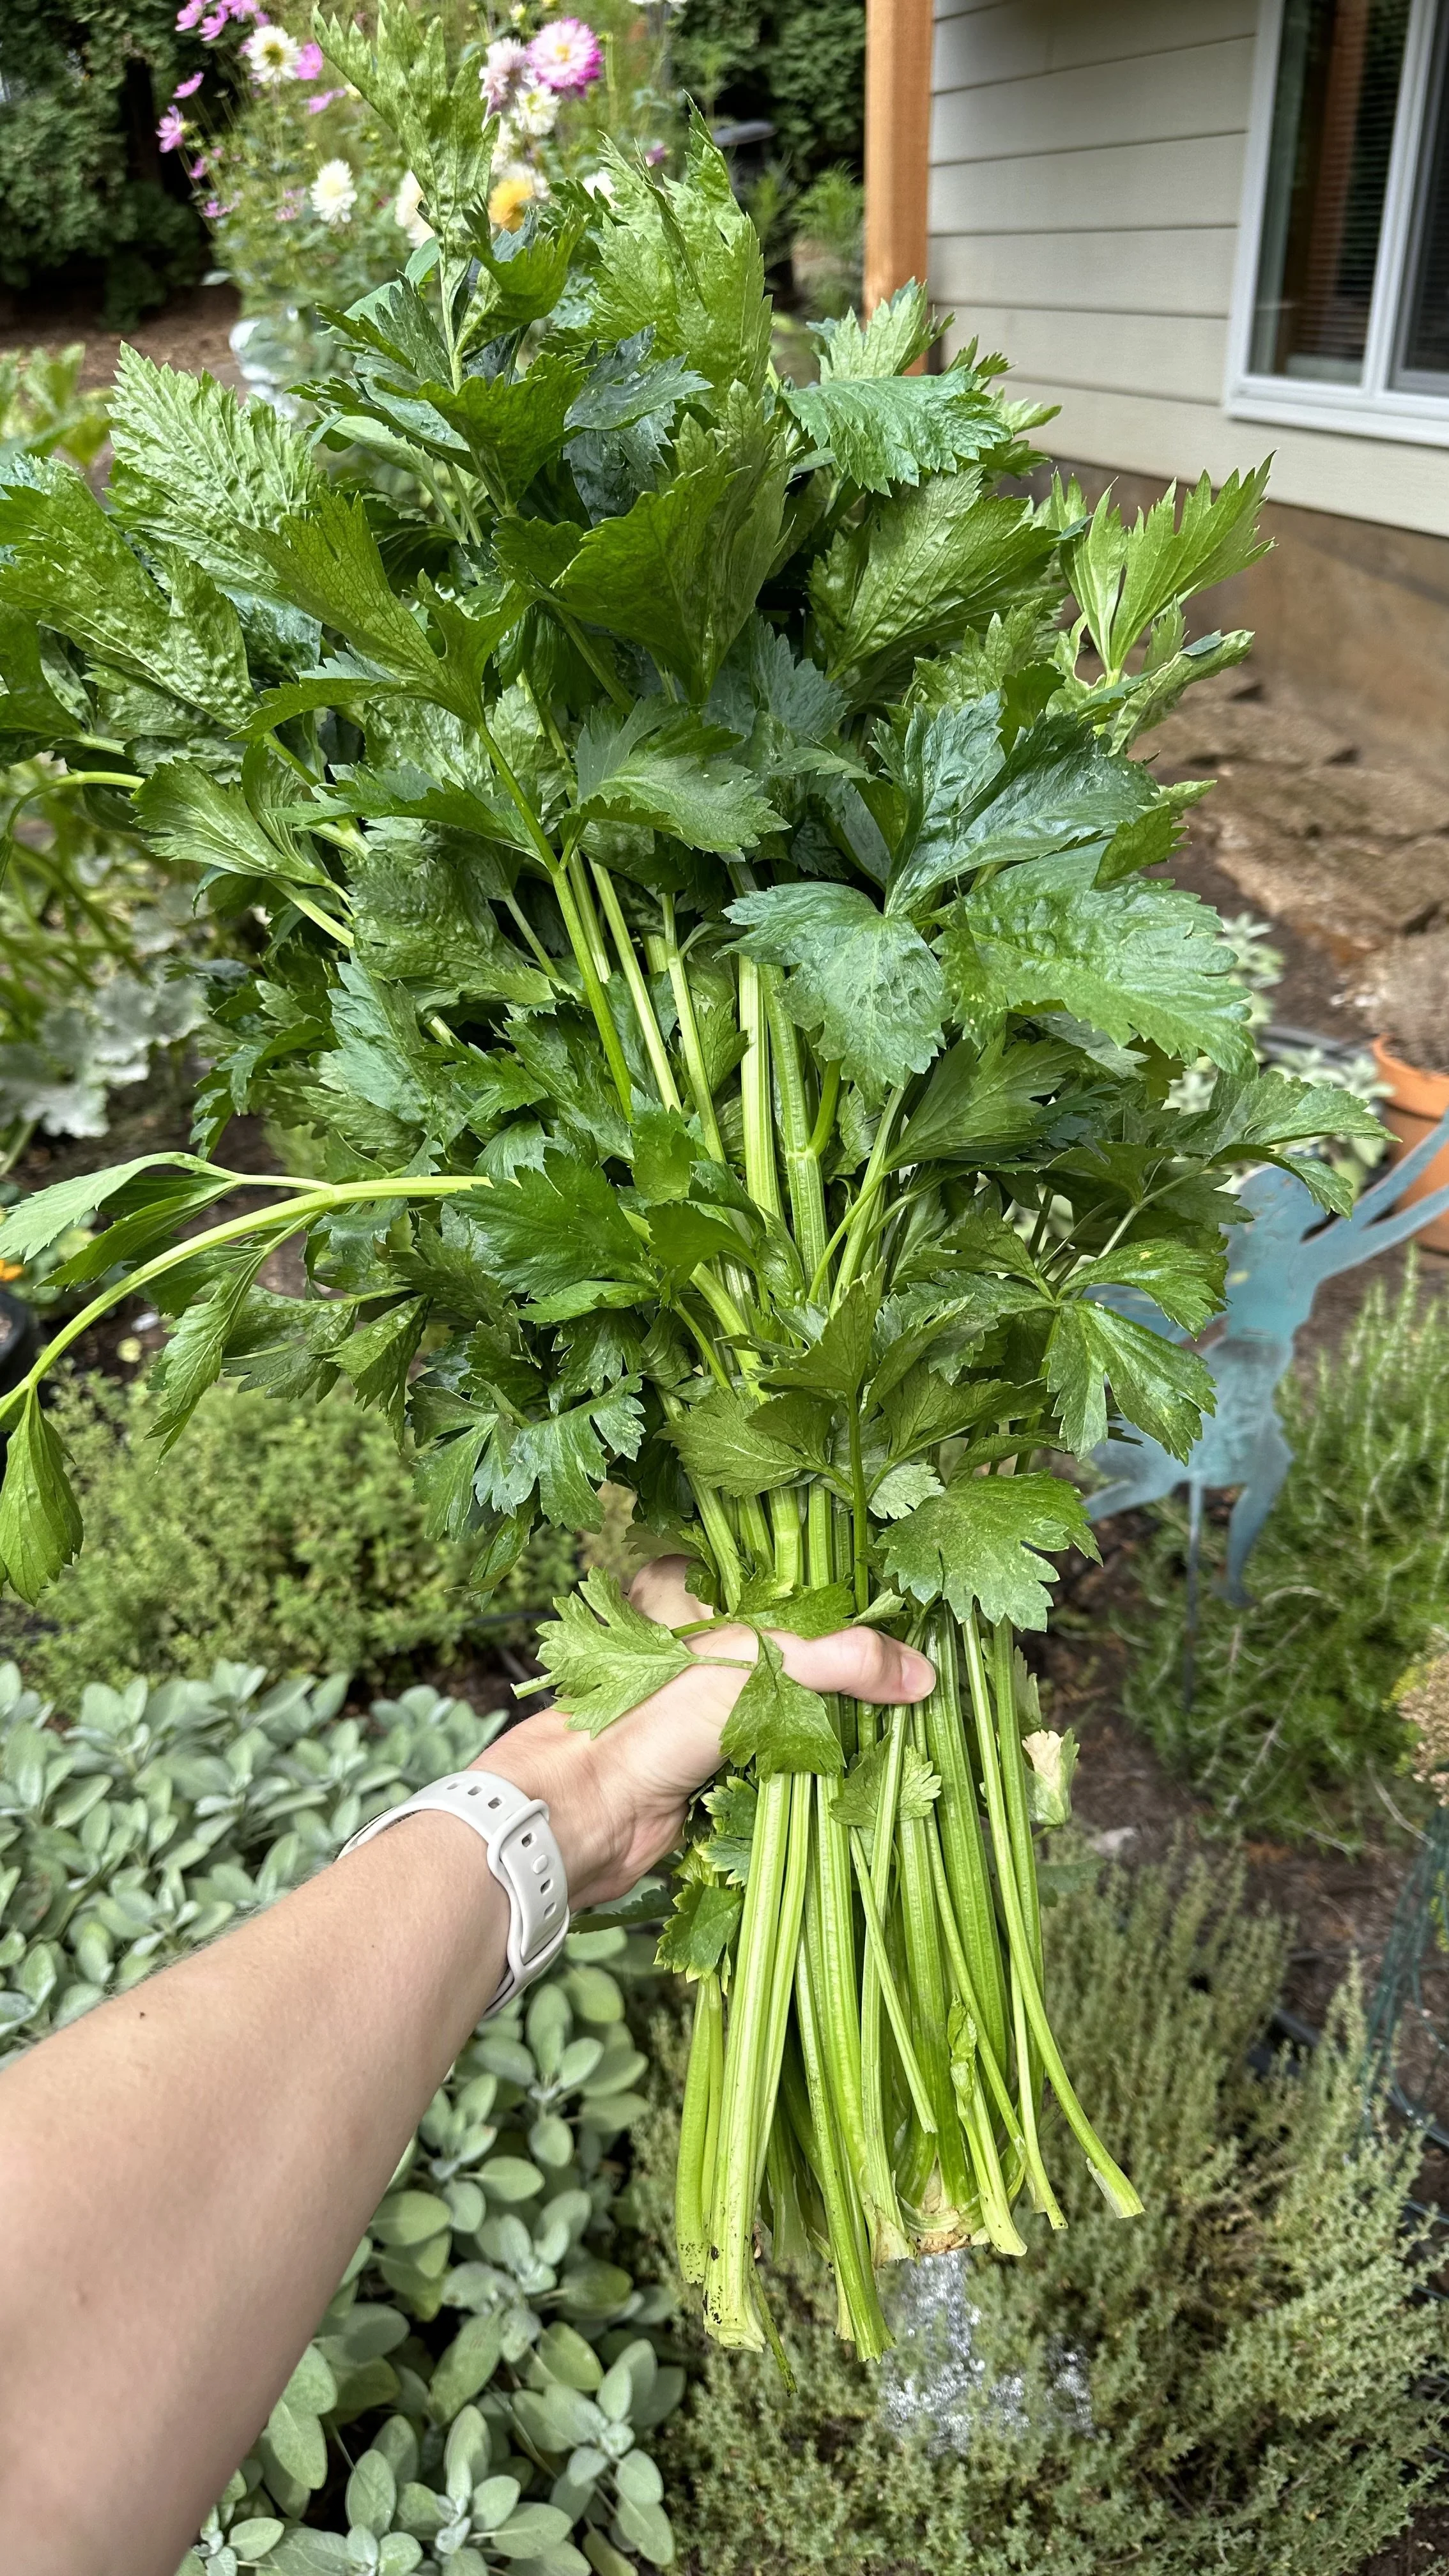
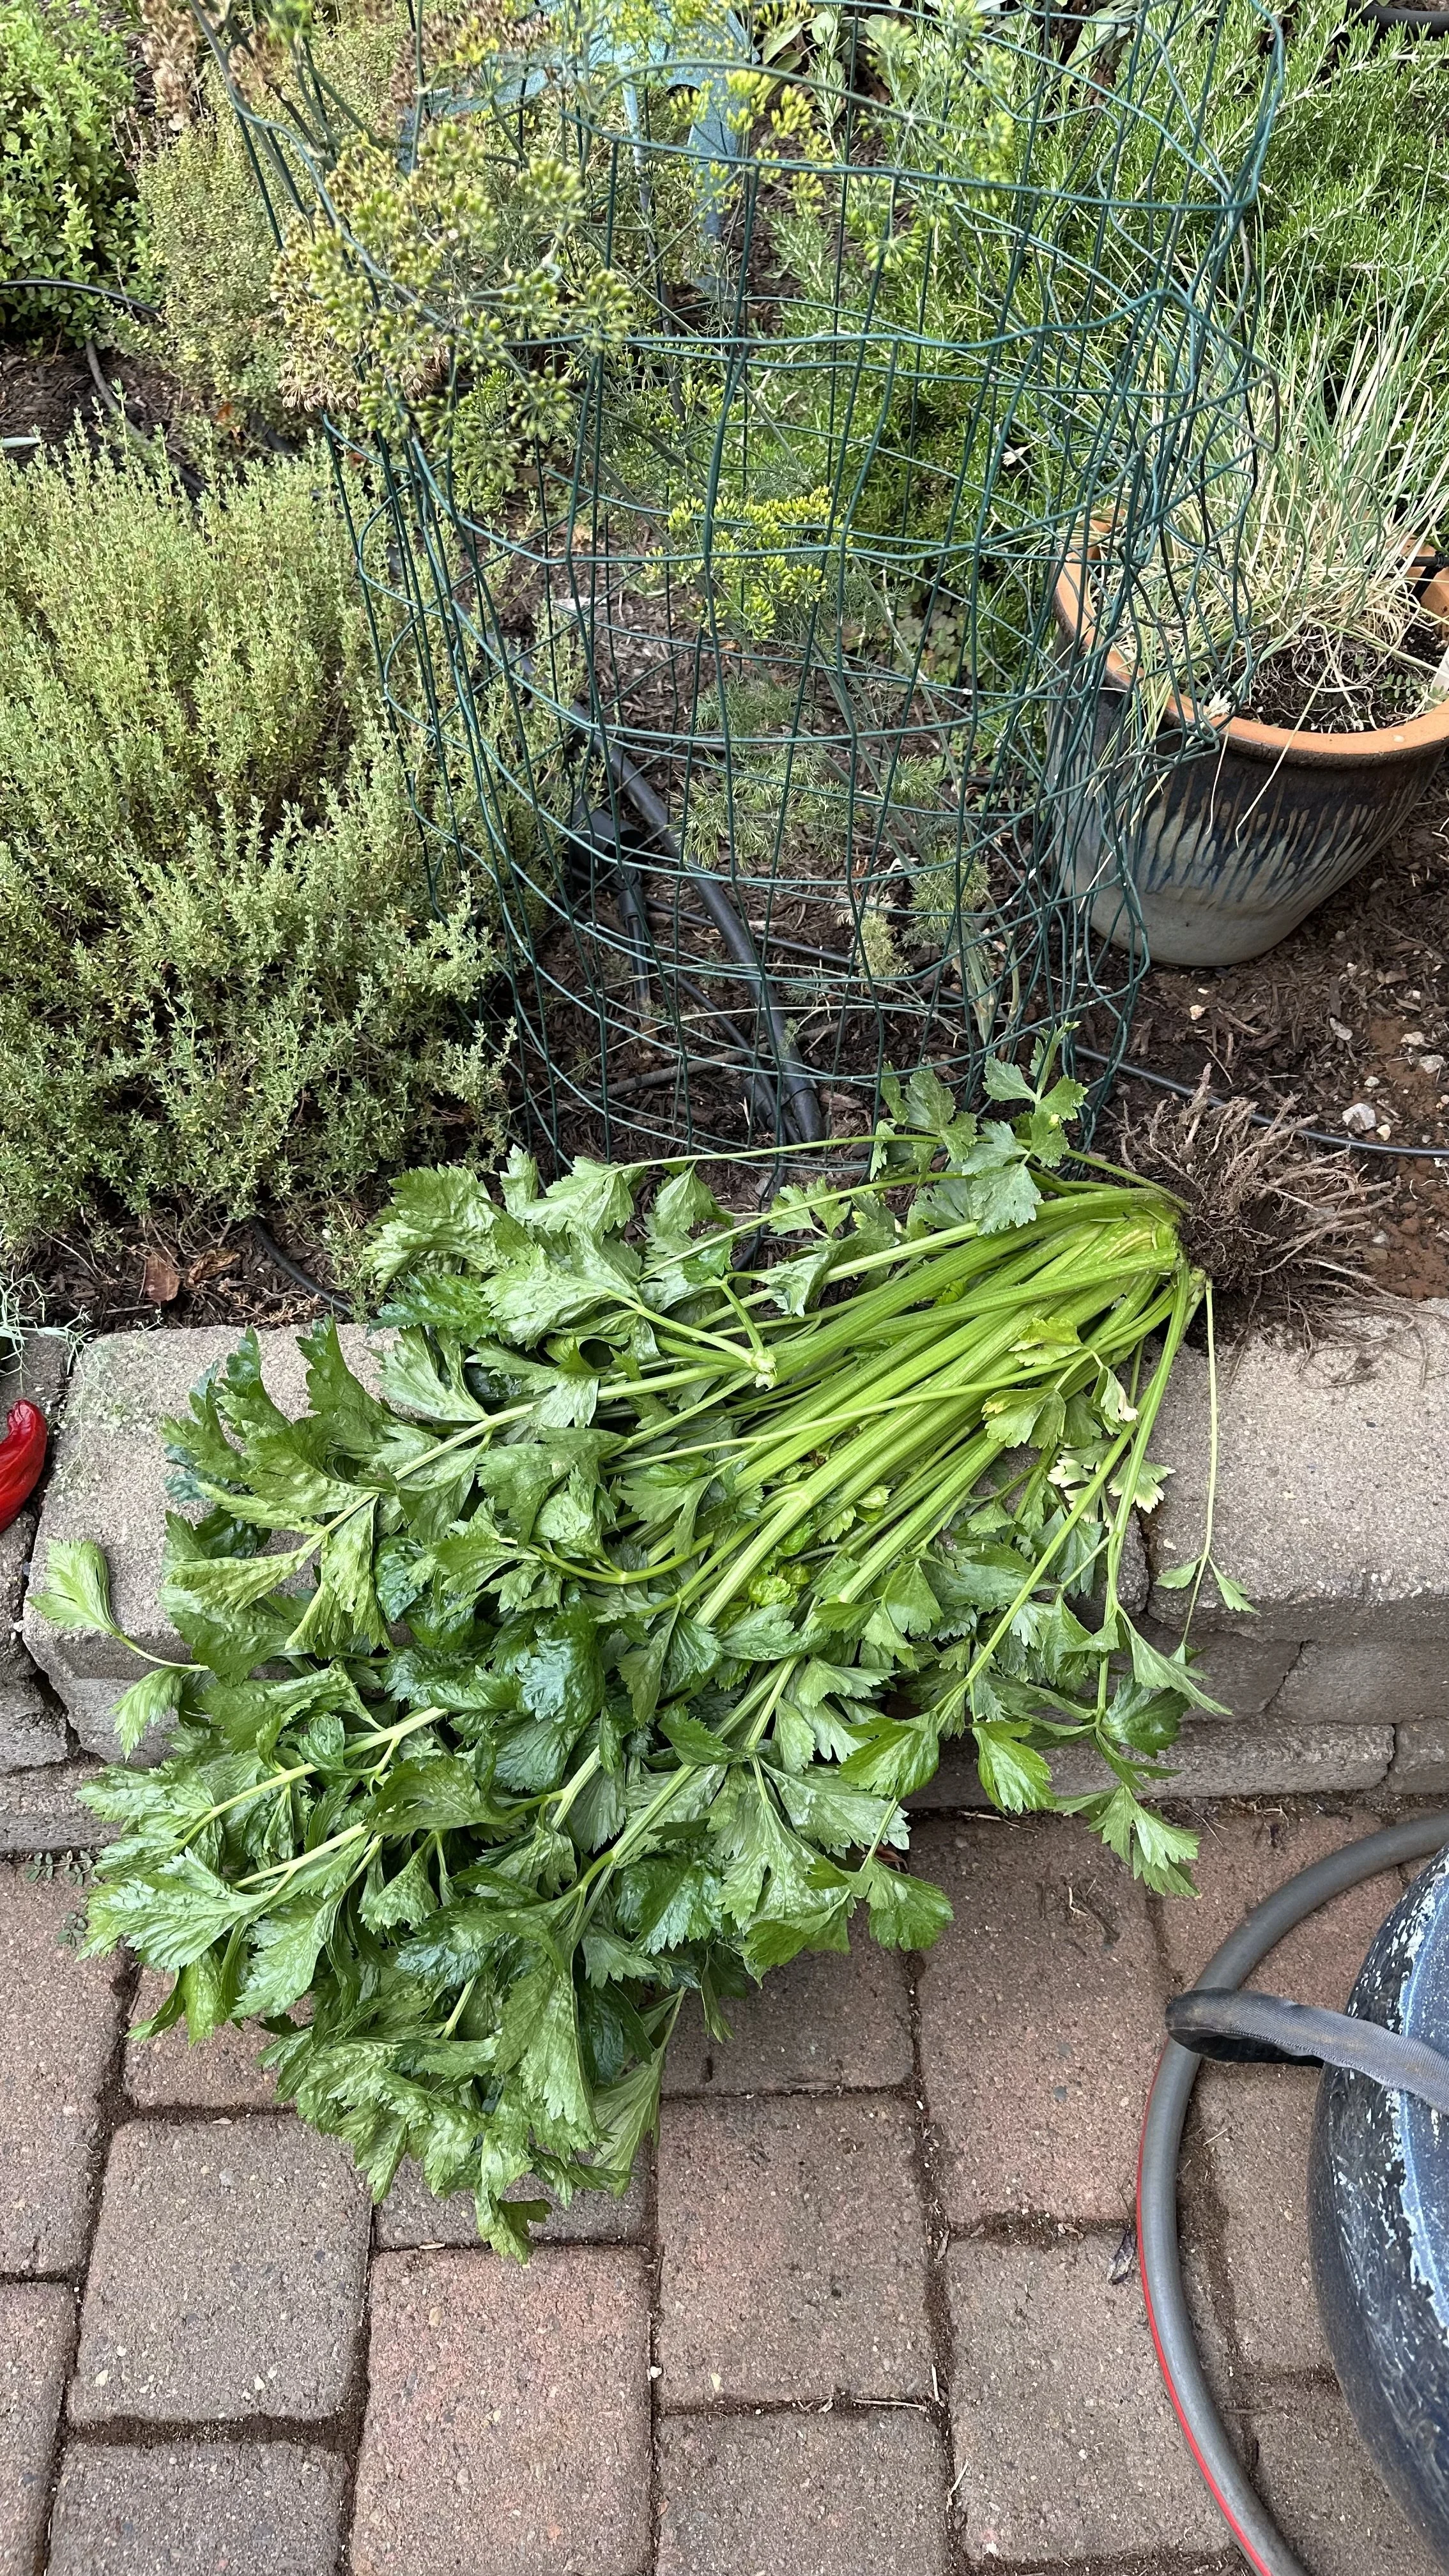
If you prefer, you can harvest the entire plant at once. Cut at the base of the plant, just above the soil line, with a sharp knife or shears.
3. Avoiding Damage to the Plant
Gentle Handling:
Be careful not to damage the remaining stalks or the root system if you're only harvesting some stalks.
Clean Cuts:
Make clean, sharp cuts to avoid tearing the stalks, which can lead to disease.
4. Post-Harvest Care
Watering:
Continue to water and care for the plant if you have not harvested the entire thing.
This will encourage continued growth and additional harvests.
Fertilizing:
After harvesting, a light application of fertilizer can help rejuvenate the plant for further growth.
5. Storage and Usage
Immediate Use:
Freshly harvested celery has the best flavor and texture.
Use it as soon as possible for the best culinary experience.
Storage:
If you need to store celery, wrap it in a damp paper towel and place it in the refrigerator.
This can keep the celery crisp for a week or more.
Freezing:
Celery can also be chopped and frozen for long-term storage, though it may lose some of its crispness when thawed.
6. Regrowing from the Base
Regrowth Potential:
After harvesting, you can try to regrow a plant from the base.
Place the base in a shallow dish of water until new growth appears, then replant it in soil.
7. Harvesting Leaves
Leaf Harvesting:
Don't forget that celery leaves are edible and flavorful.
They can be harvested throughout the growing season and used in cooking, similar to herbs.
8. Signs of Over-Maturity
Woody Texture:
If the stalks become too thick and develop a woody texture, they are over-mature and may not be as palatable.
Flavor Changes:
Over-mature celery can become stringy and lose its desirable flavor.
In summary, knowing when and how to harvest your celery is crucial for getting the best quality and yield.
Whether you choose to harvest stalk by stalk or the whole plant at once, proper technique and post-harvest care will ensure that your celery is delicious and ready for your culinary uses.
Remember that the leaves are also edible and can add flavor to your dishes.
With proper harvesting techniques, you can enjoy the fruits of your labor and possibly even regrow a new plant from the harvested base.
Why Grow Celery in Containers?
Growing celery in containers offers a range of advantages, particularly for those with limited garden space or challenging growing conditions.
Here’s a more detailed look at why container gardening is an excellent choice for growing celery:
1. Maximizes Limited Space
Urban Gardening:
For those living in urban areas or with small yards, container gardening is an ideal way to grow vegetables like celery.
Flexibility:
Containers can be placed on balconies, patios, or even windowsills, making the most of available space.
2. Enhanced Control Over Growing Conditions
Soil Management:
In containers, you have complete control over the soil quality.
Celery thrives in rich, loamy soil, which can be easily achieved in a container setting.
Watering and Drainage:
Containers allow for precise water management.
Celery needs consistent moisture, and containers with good drainage help prevent waterlogging, a common issue in ground gardens.
For more watering tips, check out my guide How to Use Watering Globes.
3. Mobility and Convenience
Adjustable Environment:
Containers can be moved to optimize sunlight exposure, protect plants from harsh weather, and even bring indoors during frost.
Accessibility:
For those with mobility issues, container gardening makes it easier to care for plants without the need for bending or kneeling.
4. Reduces Pest and Disease Risk
Barrier to Pests:
Containers can be more easily protected from pests like snails and rabbits.
Disease Control:
With separate containers, the spread of soil-borne diseases is minimized, keeping plants healthier.
5. Extended Growing Season
Early Start:
Containers warm up more quickly than the ground in spring, allowing for an earlier start to the growing season.
Flexibility in Seasons:
In colder months, containers can be moved to sheltered areas or indoors, extending the growing period.
6. Aesthetic Appeal
Visual Interest:
Containers add a decorative element to spaces like balconies and patios.
They can be chosen to complement the surroundings and make attractive features.
Versatility in Design:
There's a wide variety of container styles and sizes, allowing for creative and personalized garden designs.
Growing celery in containers is not only a practical solution for space constraints but also offers enhanced control, convenience, and aesthetic benefits, making it an appealing option for a wide range of gardeners.
Whether you're an experienced gardener looking to experiment with container gardening or a beginner with limited space, celery is a great vegetable to start with.
Grow more in containers with my guides:
How to Grow Bamboo in Pots: A Simple Guide
FAQs
How Can I Grow Celery Vertically in Containers?
Growing celery vertically in containers is an excellent space-saving technique. Use tall, narrow pots and stackable planters to maximize vertical space.
Is It Possible to Grow Celery Indoors?
Yes, celery can be grown indoors with sufficient light. Place containers near a sunny window or use grow lights.
Can Celery Be Grown in Water?
Celery can be regrown in water from the base of a stalk. However, for full growth, transplanting to soil is recommended.
How Do I Grow Celery from Cuttings?
To grow celery from cuttings, place the base of a cut stalk in water. Once roots appear, transplant it into a container with potting soil.
What Are Some Common Varieties of Celery for Container Gardening?
Popular celery varieties for container gardening include 'Tango', 'Ventura', and 'Golden Self-Blanching'.
Here are the seeds I recommend:
