Easy Steps to Growing Bulbs in Pots
This article has links to products that I may make commission from.
Diving into the world of container gardening can be a incredibly fun, especially when it's all about growing bulbs in pots.
It's a colorful adventure whether you're just getting your hands dirty with your first planted bulbs or you're a green-thumbed pro adding more flower bulbs to your collection.
Getting those bulbs planted and seeing them bloom is always a thrill.
This guide is all about making sure your blooming bulbs get exactly what they need to flourish, staying cozy above freezing and turning heads with their vibrant colors.
So, let's roll up our sleeves and dig into the ins and outs of growing bulbs in containers.
Learn more about growing bulbs with my guides:
Learn more about planting bulbs with my guides:
The Top 3 Bulbs that Flower in Winter
Selecting the Right Bulbs and Pots
Choosing the right bulbs and pots is crucial for successful container gardening.
This process involves considering the type of bulbs best suited for your environment and the most appropriate containers for their growth.
Choosing the Right Bulbs
Consider Bloom Time:
Select bulbs based on their blooming time to ensure a continuous display of flowers.
Early spring bulbs like crocuses, snowdrops, and early tulips bloom first, followed by mid-spring bulbs like daffodils and hyacinths, and finally late-spring bulbs like alliums and late-flowering tulips.
Size and Growth Habit:
Consider the size and growth habit of the bulb.
Larger bulbs like tulips and daffodils work well as focal points in larger pots, while smaller bulbs like grape hyacinths and crocuses are better suited for smaller containers or as fillers in mixed plantings.
Sunlight and Temperature Requirements:
Different bulbs have varying sunlight and temperature requirements.
Some, like tulips, need full sun, while others, such as certain daffodil varieties, can tolerate partial shade.
Choose bulbs that suit the conditions where you plan to place the pots.
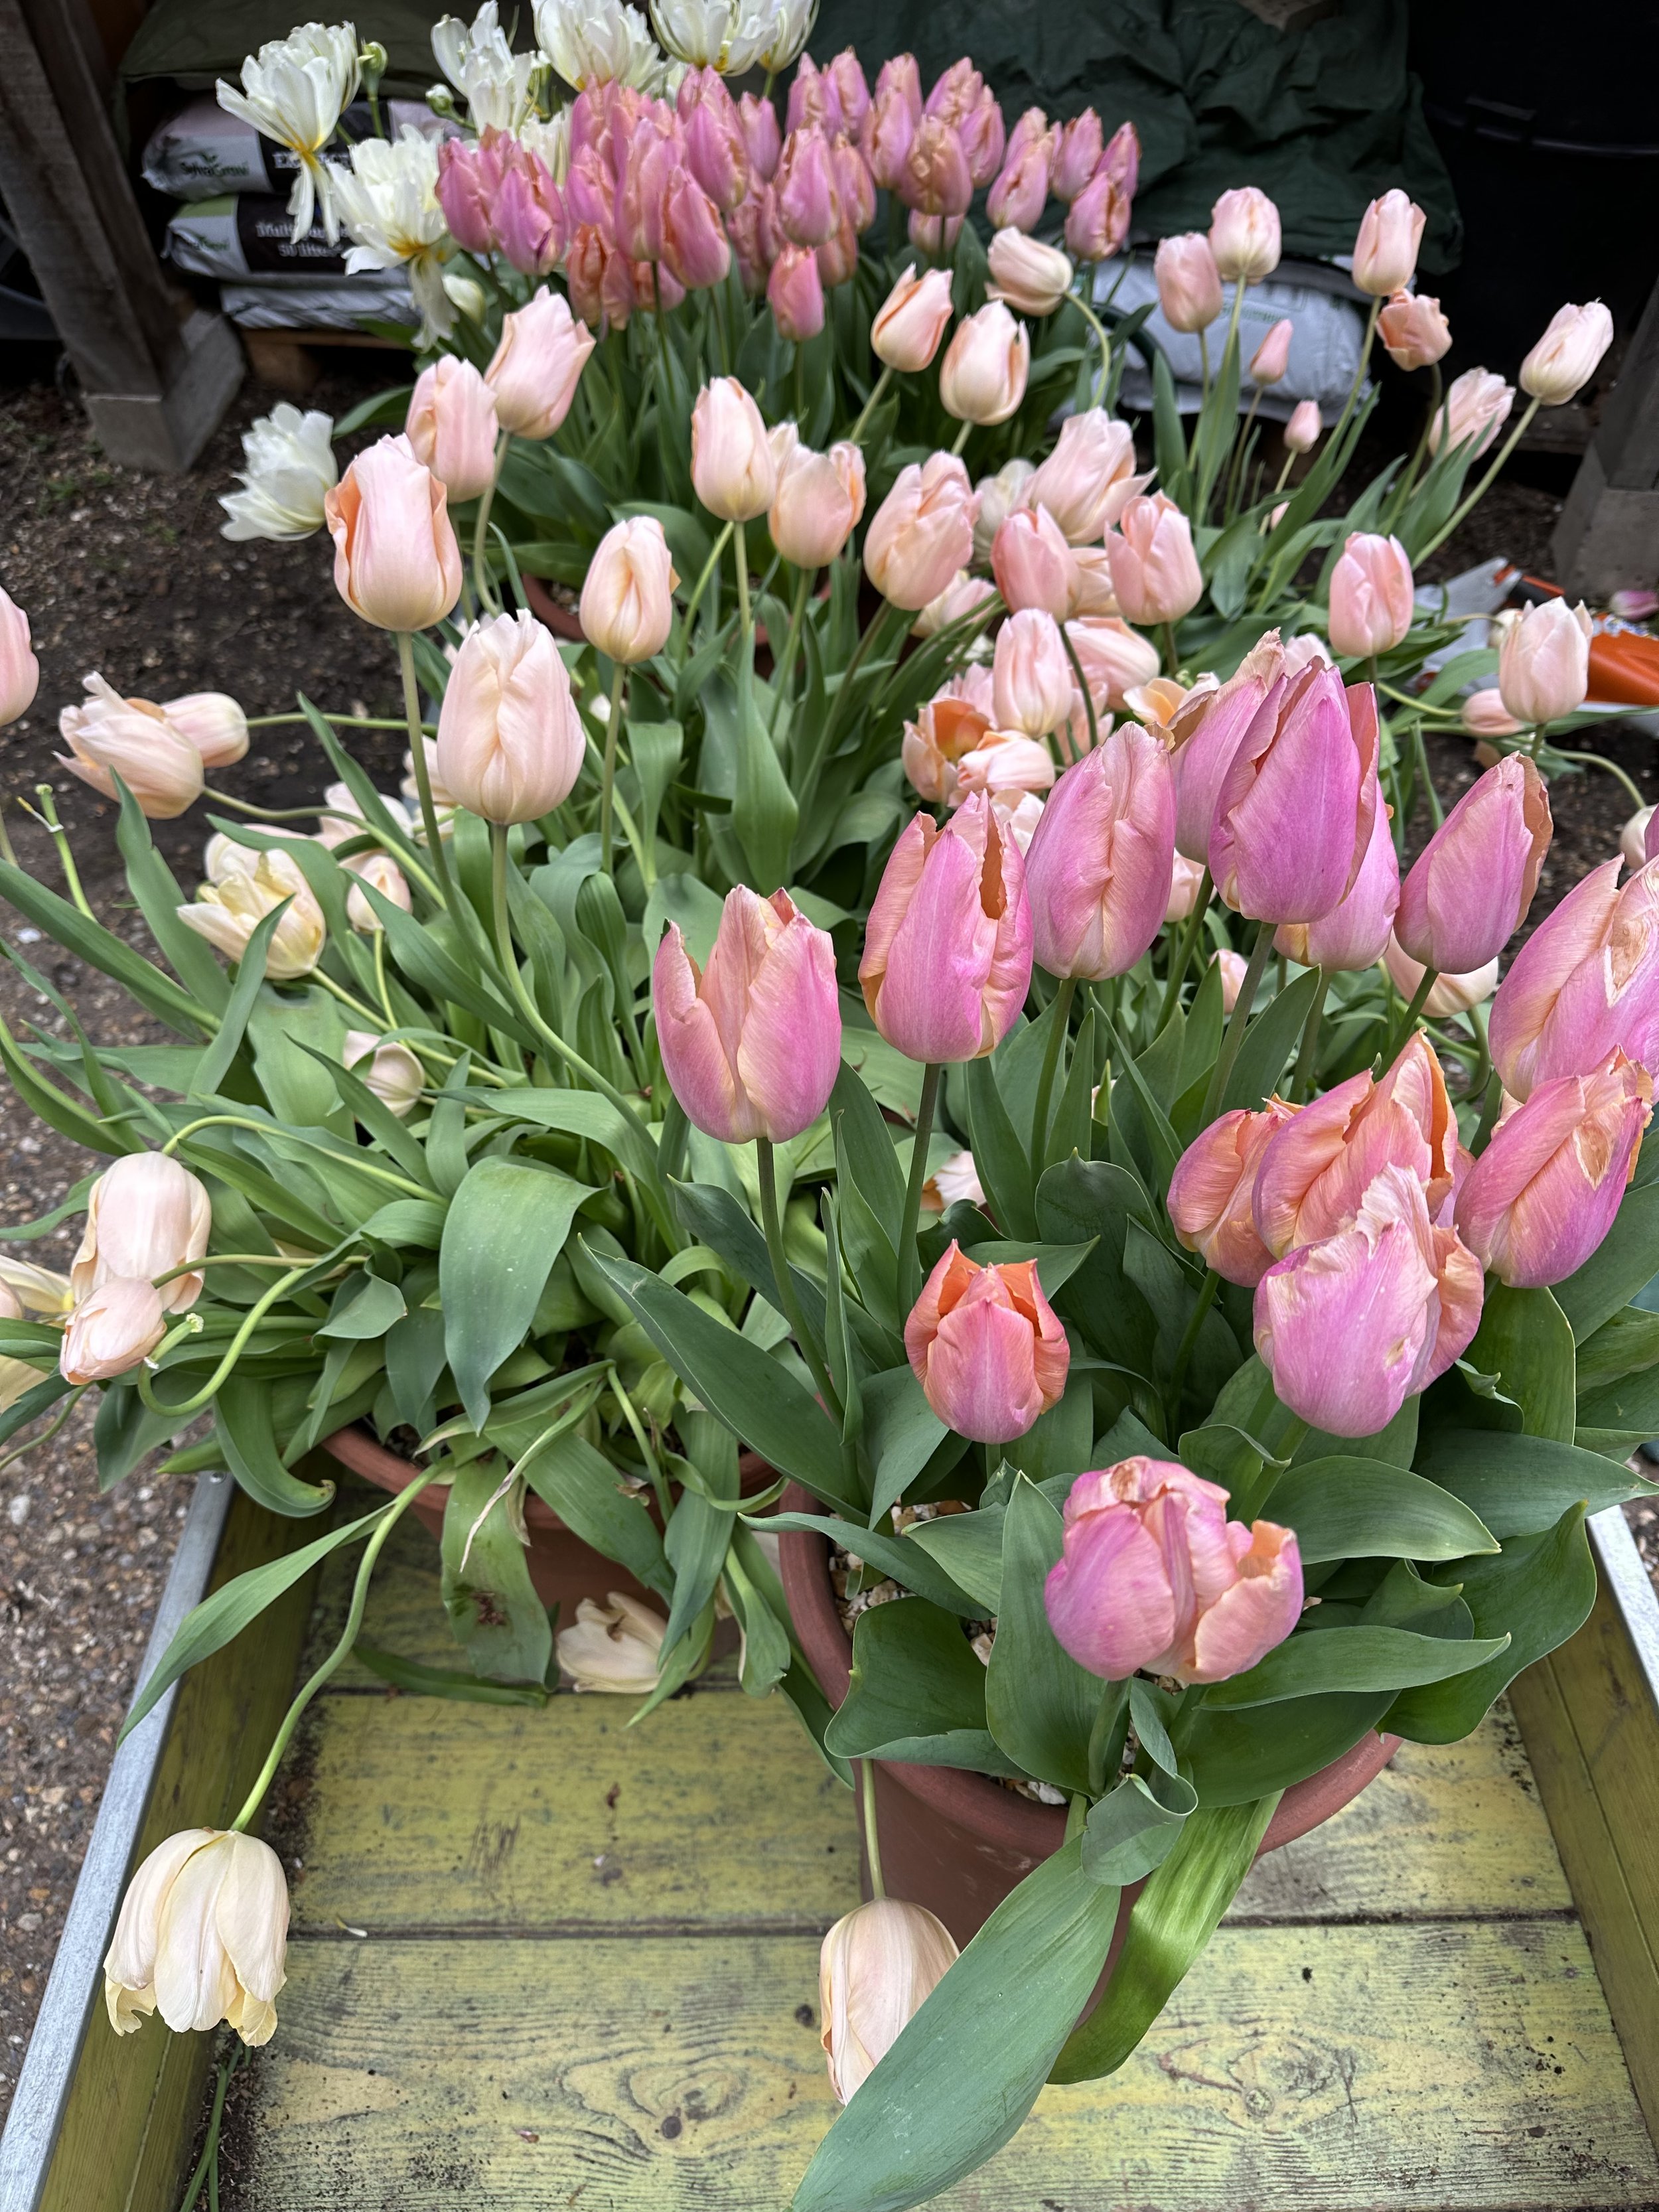
1. Tulips
Variety of Colors and Shapes:
Tulips come in a wide range of colors and forms, allowing for creative and vibrant displays.
Spring Bloomers:
As quintessential spring flowers, they provide an early burst of color.
Depth Adaptability:
Tulips can thrive even when planted at varying depths, making them ideal for layered planting in deeper pots.
To learn more about growing tulips, check out my guides How Long Do Tulips Bloom? and Can I Plant Tulip Bulbs in the Spring?
Here are the tulips bulbs I recommend for pots:
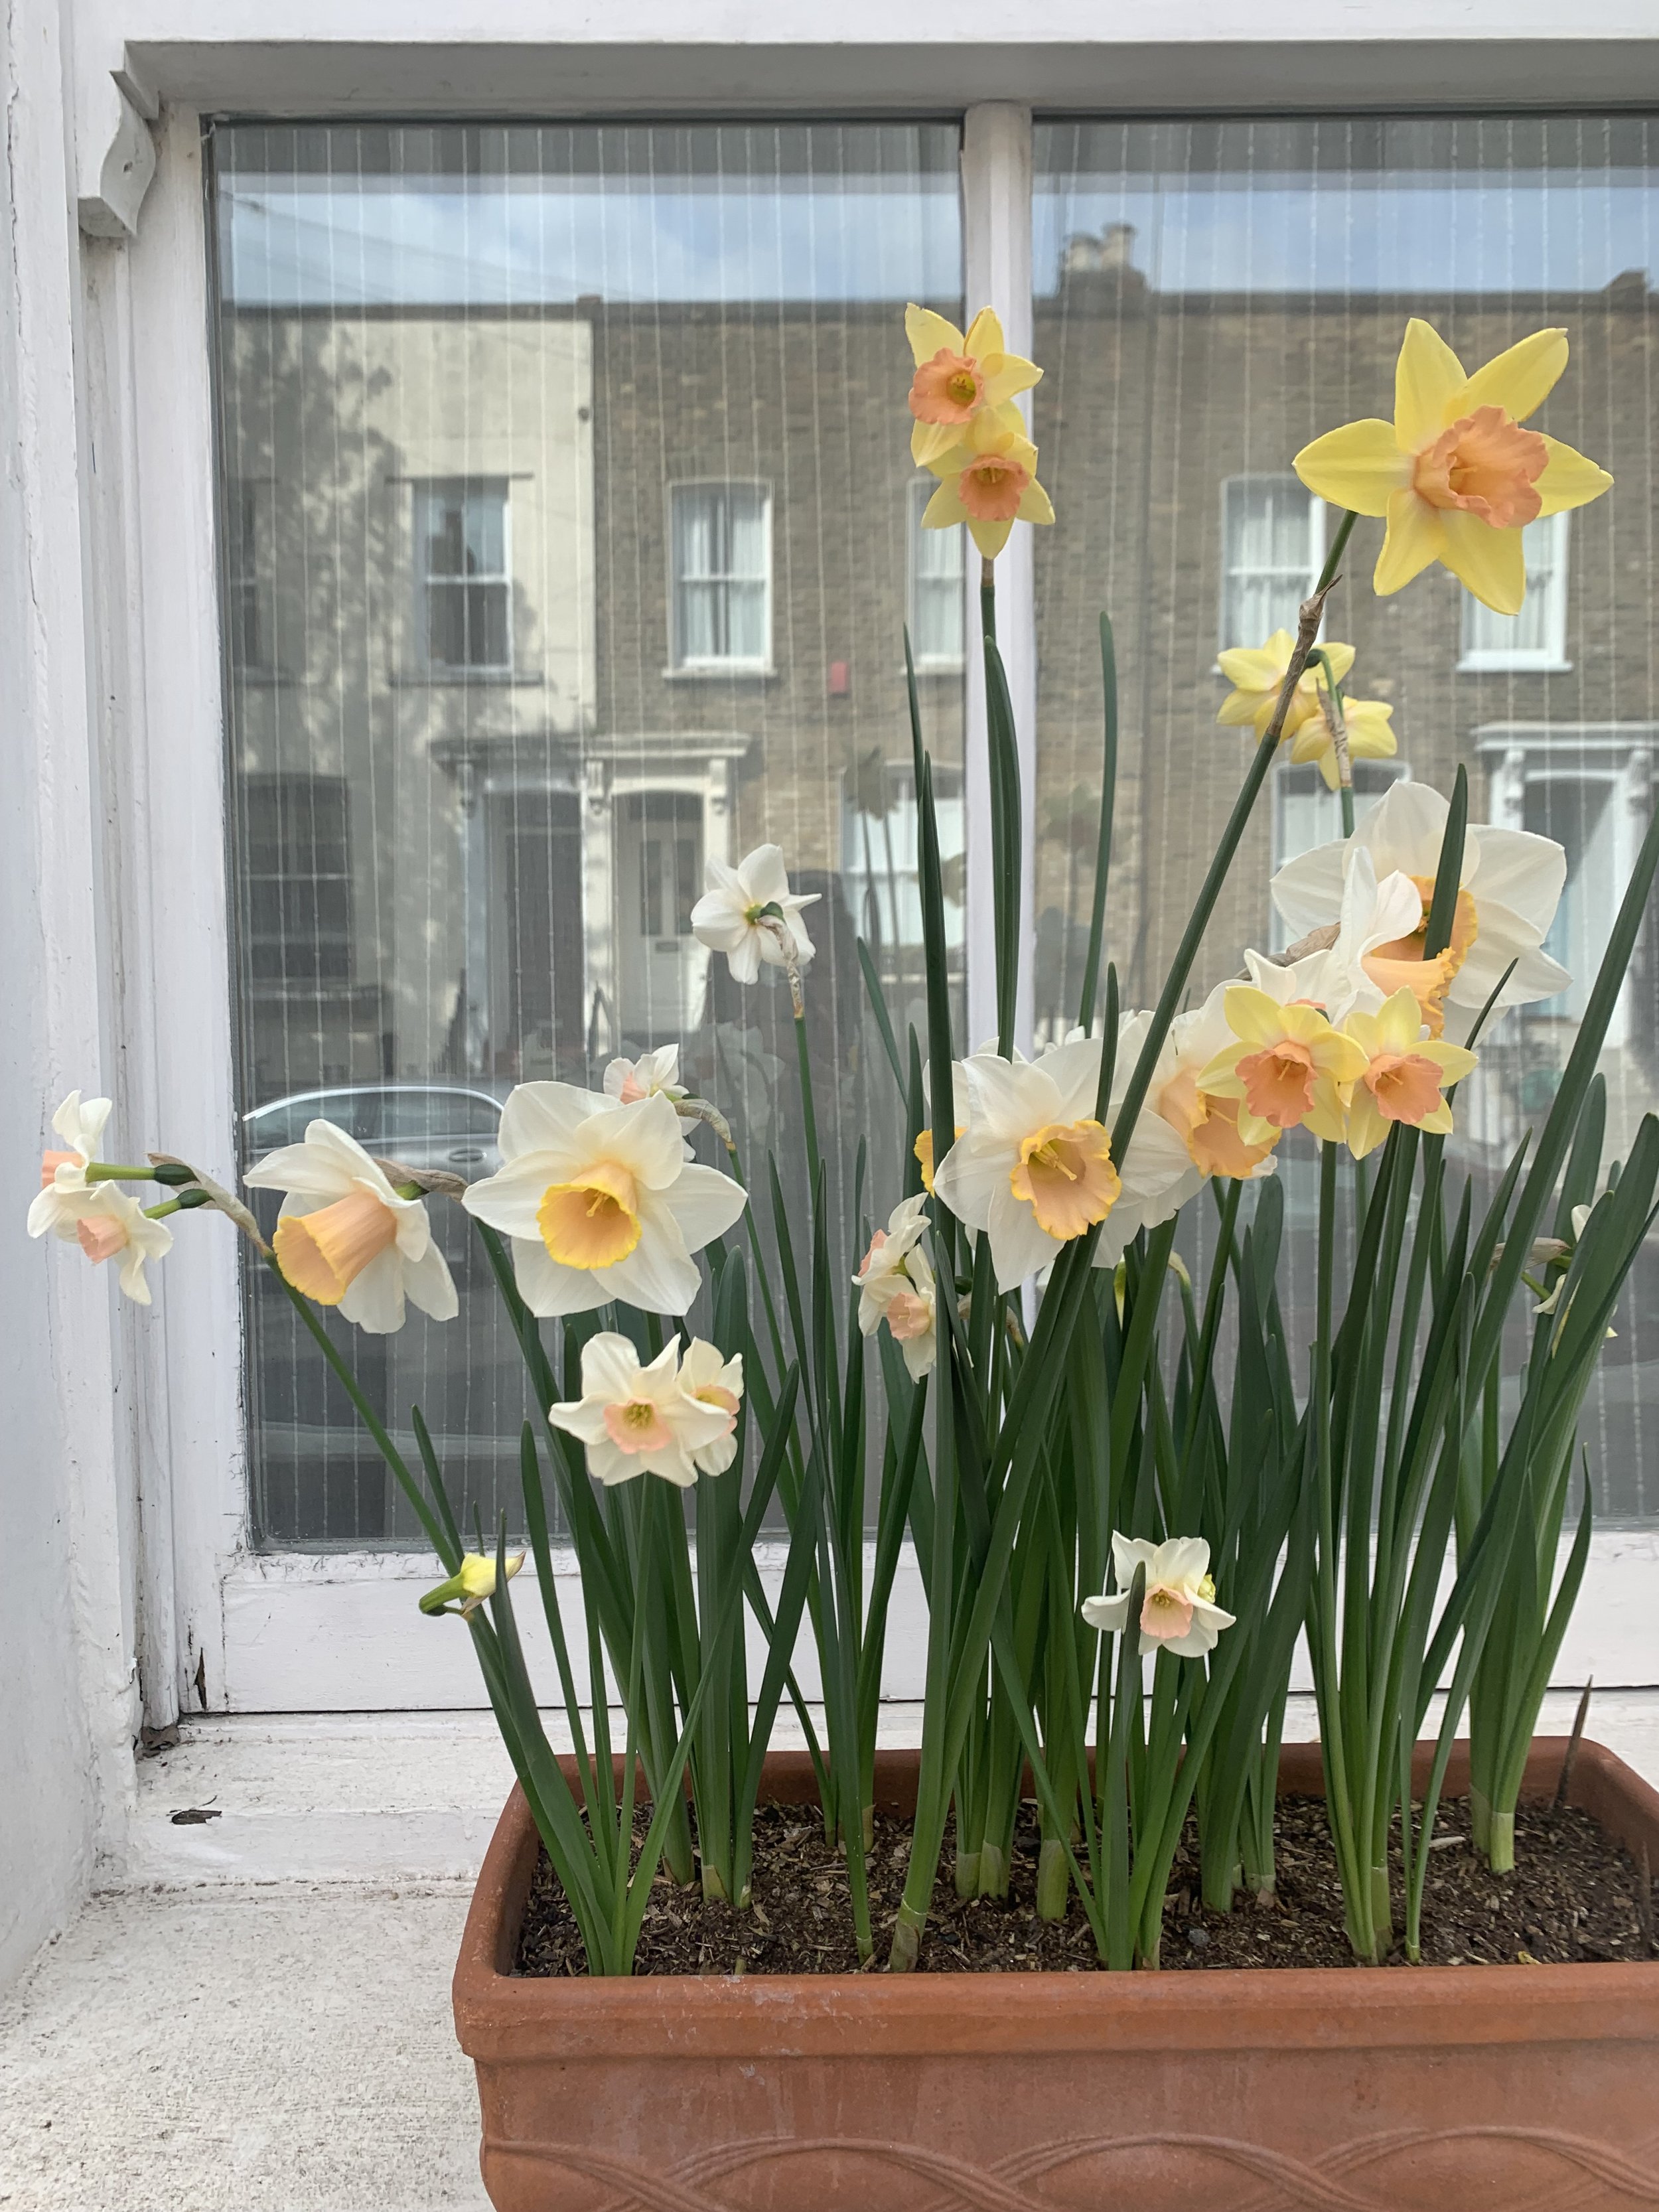
2. Daffodils
Hardiness:
Daffodils are known for their hardiness and ability to withstand cooler temperatures, making them suitable for a variety of climates.
Long-lasting Blooms:
They tend to have a longer blooming period compared to other bulbs, extending the colorful display in your pots.
Pest Resistant:
Daffodils are less prone to problems with pests, which is a significant advantage in container gardening.
Here are the daffodils I recommend growing in pots:
3. Hyacinths
Fragrance:
Hyacinths are renowned for their delightful fragrance, adding not just visual beauty but also a pleasant aroma to your space.
Compact Growth:
Their compact and sturdy growth habit makes them well-suited for pots, where their blooms can be closely admired.
Spring Bloomers:
Like tulips, they bloom in spring, contributing to an early season of color and fragrance.
Here are the hyacinths I recommend growing in pots:
4. Crocuses
Early Bloomers:
Crocuses are among the first to bloom in late winter or early spring, bringing color to your pots when most other plants are still dormant.
Small Size:
Their small size makes them perfect for even tiny pots or for creating dense clusters of color in larger containers.
Easy to Grow:
Crocuses are relatively easy to grow and maintain, making them ideal for beginners in container gardening.
Here are the crocus I recommend growing in pots:
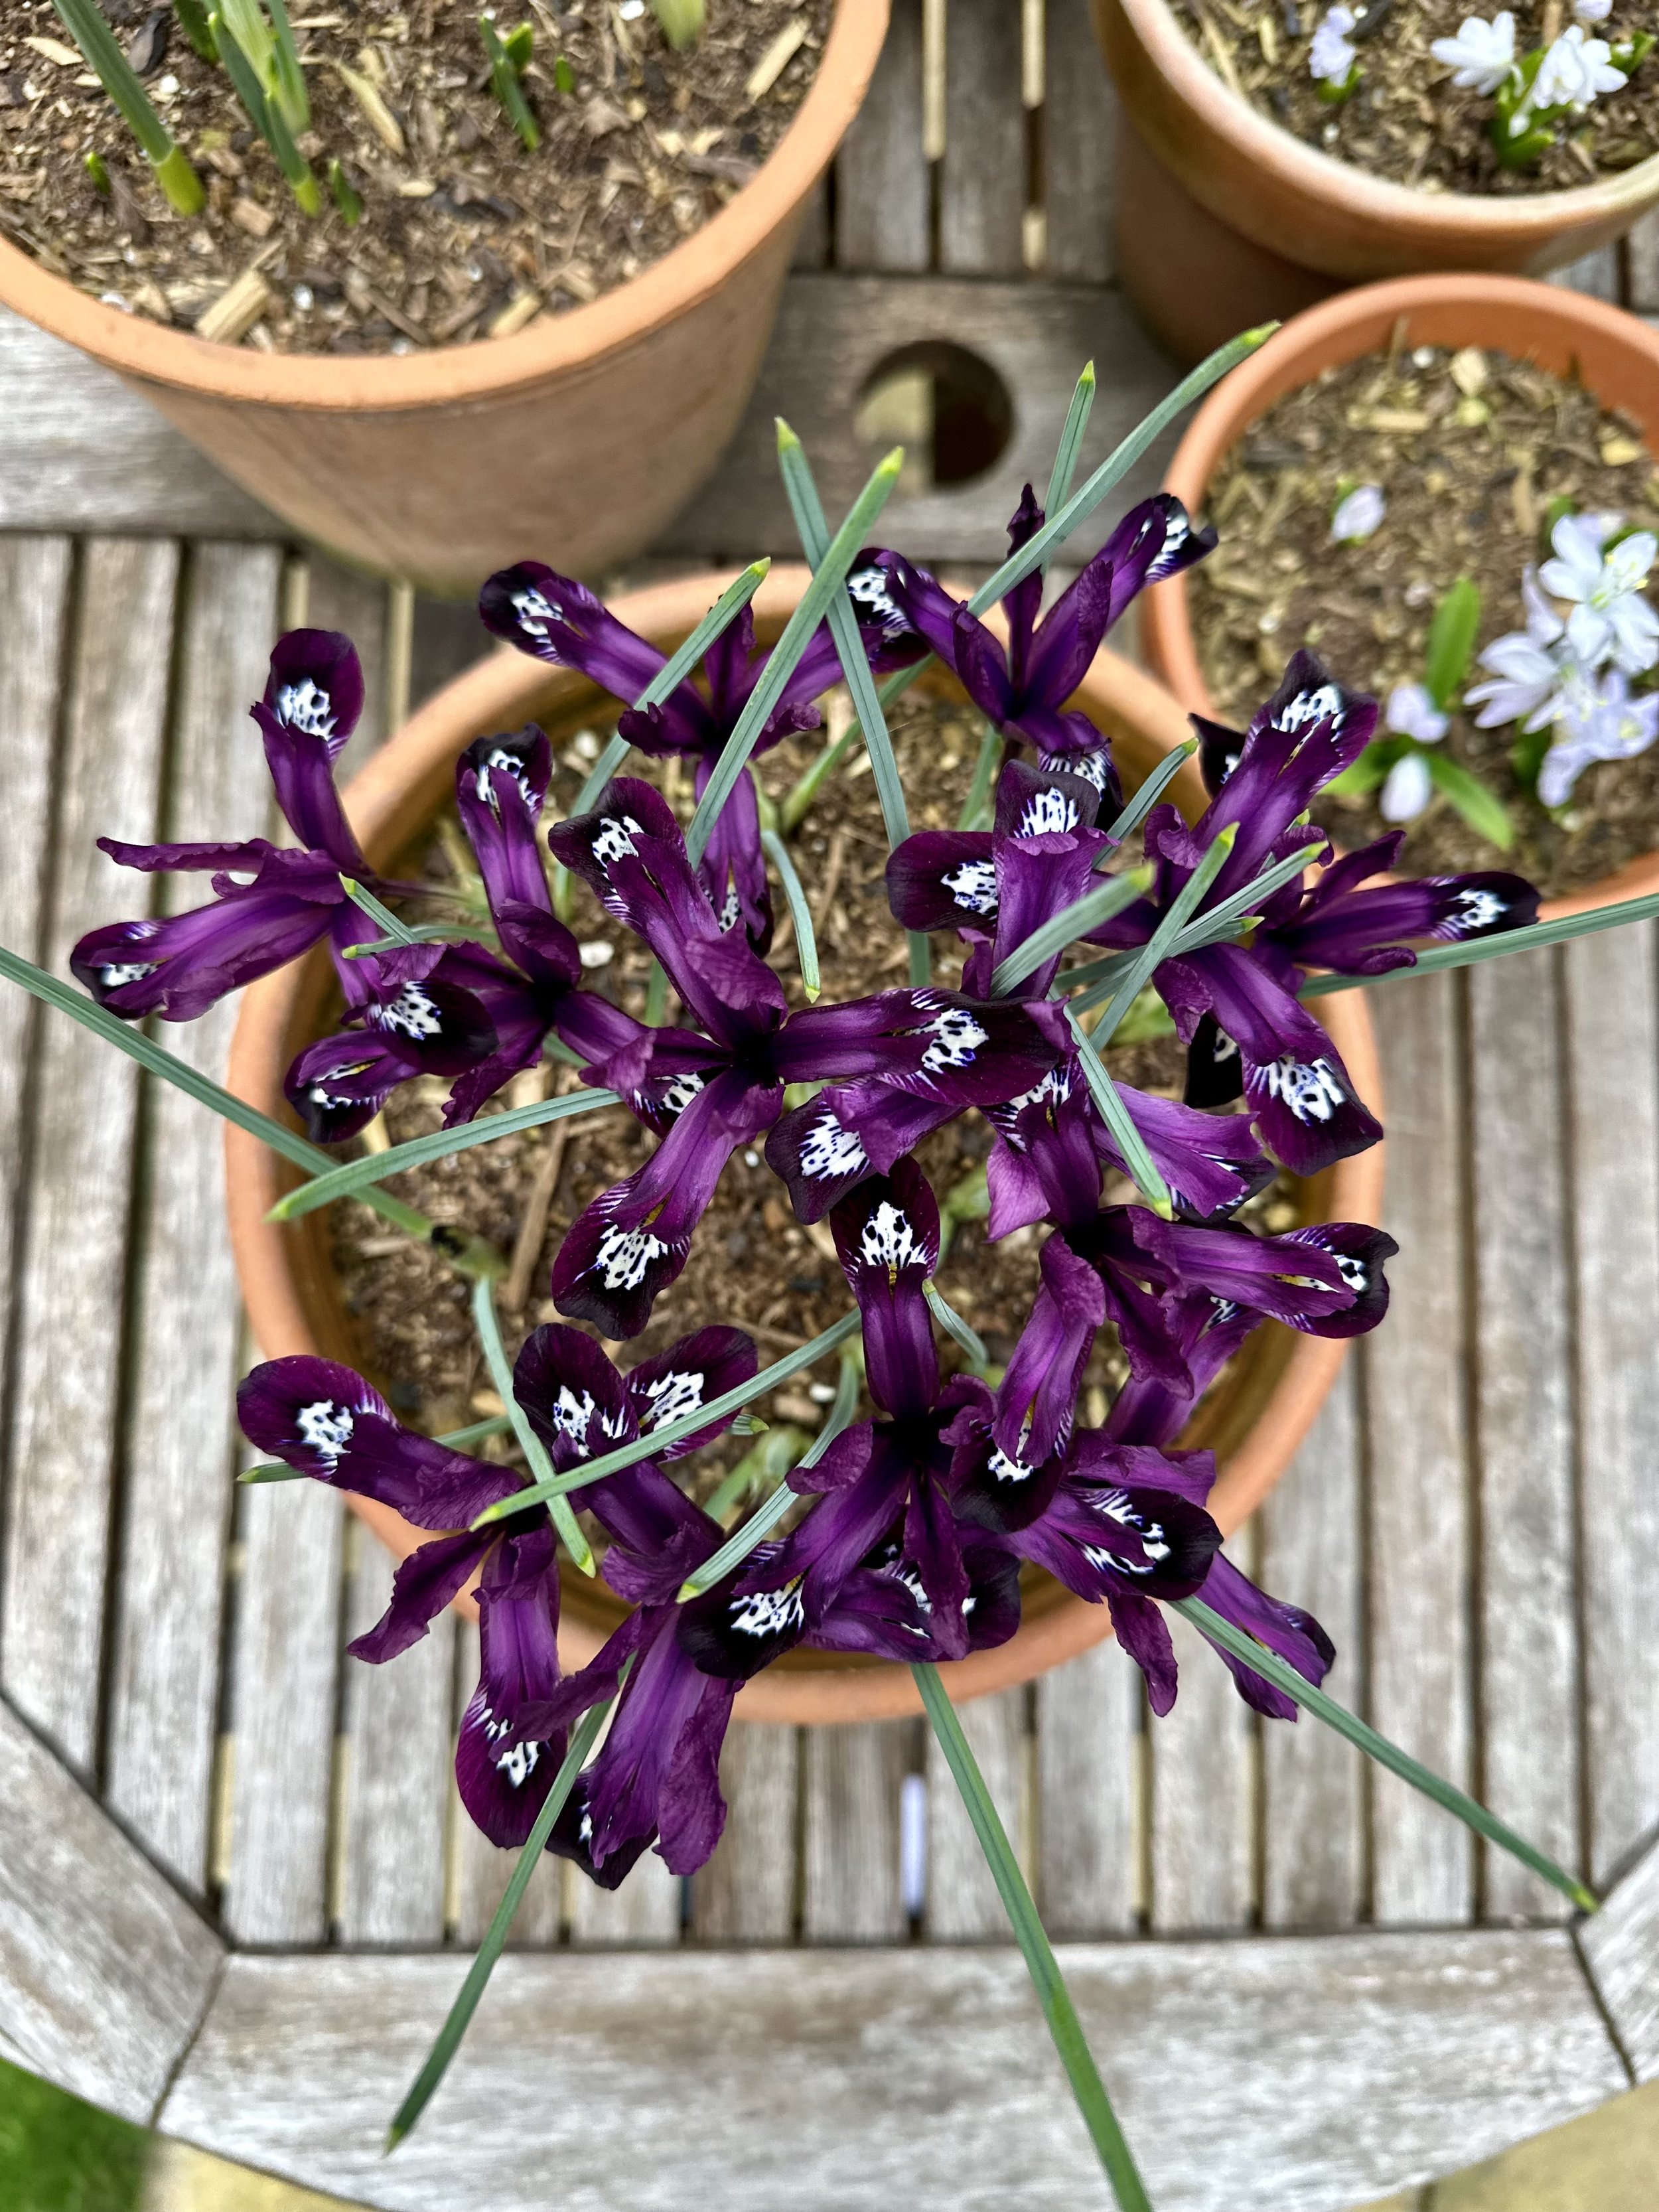
5. Iris (Dwarf Varieties)
Striking Appearance:
Dwarf irises offer a striking appearance with their unique shape and vibrant colors.
Early to Mid-Spring Bloom:
They typically bloom in early to mid-spring, fitting well into the container gardening bloom sequence.
Height Variation:
Their shorter stature compared to traditional irises makes them well-suited for pots, where they can be displayed at eye level.
Here are the Iris I recommend growing in pots:
Selecting the Right Pots
1. Material Matters
Pots can be made of various materials, including terracotta, plastic, wood, or metal.
Terracotta pots are porous, offering good breathability, but they can dry out quickly and are heavy.
Plastic pots are lightweight and retain moisture better but may not provide the same breathability.
Wood offers a natural look and good insulation but can be prone to rot.
Here is the pot I recommend for growing bulbs in:
2. Size and Depth
The size of the pot should correspond to the size and number of bulbs you plan to plant.
A general rule is to choose a pot that provides at least 2 inches of soil beneath the bulb and enough space around it for root growth.
Larger bulbs require deeper pots, while smaller bulbs can be planted in shallower containers.
3. Drainage Is Key
Ensure the pot has adequate drainage holes to prevent waterlogging, which can cause bulb rot.
If a pot doesn't have enough drainage, you can drill additional holes.
In pots without holes, create a drainage layer at the bottom using gravel or broken pottery pieces.
4. Aesthetic Considerations
Choose pots that complement the style of your garden or home.
Consider the color, shape, and texture of the pots and how they will look with the bulbs when in bloom.
This aesthetic consideration can greatly enhance the visual appeal of your container garden.
Learn more about growing bulbs with my guides:
The Planting Process
Soil Preparation
1. Choosing the Right Soil
Select a high-quality potting mix designed for container gardening.
This mix should offer good drainage while retaining enough moisture to nourish the bulbs.
Avoid using garden soil as it can be too heavy and may contain pathogens harmful to the bulbs.
To learn more about this, check out my guide Garden Soil vs. Potting Soil: How to Choose the Right One.
Here is the potting mix for bulbs I recommend using:
2. Enriching the Soil
Consider enriching the potting mix with compost or a slow-release fertilizer to provide essential nutrients.
This step is crucial for promoting healthy bulb growth and vibrant blooms.
Here is the fertilizer I recommend for bulbs:
3. Preparing the Container
Before adding the soil, ensure the pot is clean and has adequate drainage.
If necessary, add a layer of gravel or broken pottery pieces at the bottom to improve drainage.
Planting Depth and Spacing
1. Determining the Depth
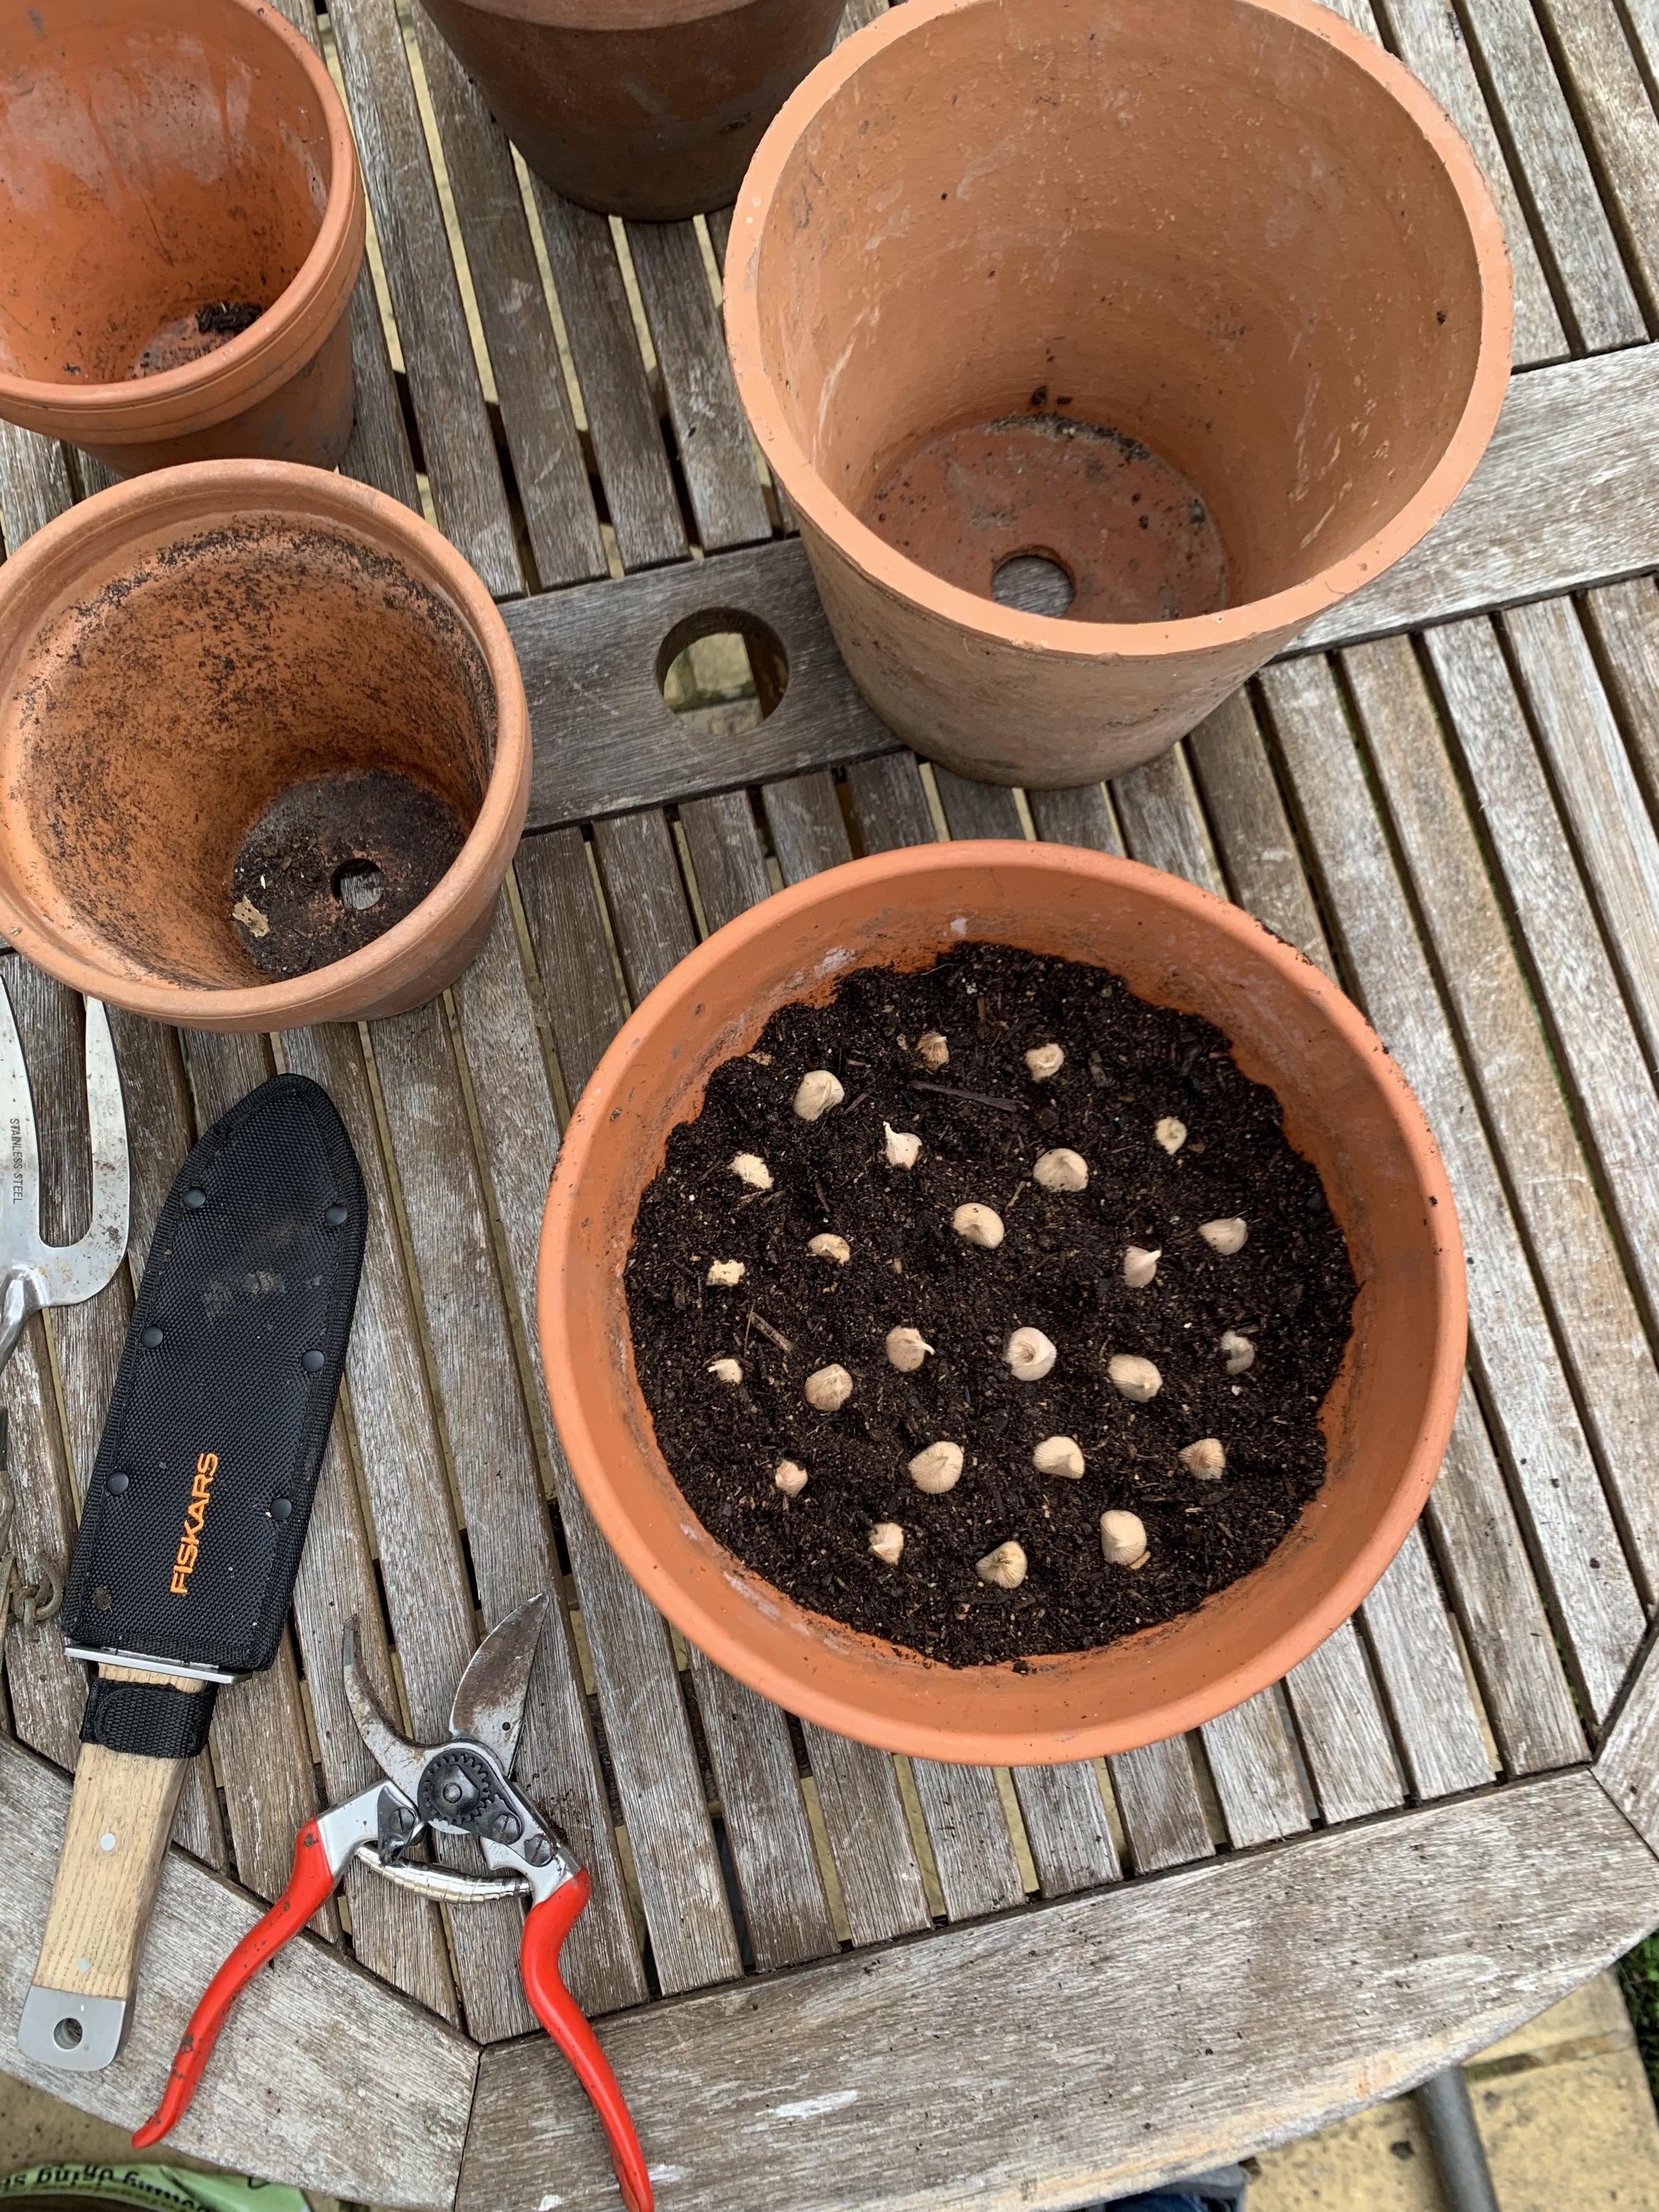
A general rule for bulb planting is to set the bulb in the soil at a depth three times its height.
This depth ensures the bulb has enough room to establish a strong root system while being close enough to the surface to sprout effectively.
2. Spacing the Bulbs
Space the bulbs about two to three times the bulb's width apart.
This spacing allows for sufficient room for growth without overcrowding, which can lead to poor development and disease.
3. Positioning the Bulbs
Place the bulbs with their pointy end up and the root plate down.
If it's hard to discern the top from the bottom, plant the bulb on its side; the plant will find its way up.
Layering for Successive Blooms
1. Creating Layers
For a longer blooming period, consider layering different types of bulbs in the same pot.
Plant the larger, later-blooming bulbs deeper and the smaller, earlier-blooming bulbs closer to the surface.
2. Timing
When layering, it's essential to choose bulbs that bloom at different times to enjoy a succession of flowers from early to late spring.
After Planting Care
1. Watering
Once planted, water the bulbs thoroughly to settle the soil and provide the necessary moisture to encourage rooting.
Be careful not to overwater, as this can lead to bulb rot.
2. Location
Place the pots in a location where they will receive the appropriate amount of sunlight based on the bulbs' needs.
Some may require full sun, while others might thrive in partial shade.
For more tips, check out my guides:
Caring for Potted Bulbs
Watering Practices
1. Maintaining Moisture Levels
The key to watering bulbs in pots is to keep the soil consistently moist but not waterlogged.
Over-watering can lead to bulb rot, while under-watering can stress the plants.
2. Watering Frequency
Water the bulbs when the top inch of soil feels dry to the touch.
This frequency will vary depending on the weather, pot size, and the type of bulb.
3. Watering Method
Use a watering can with a rose attachment or a gentle spray setting on a hose to avoid displacing or eroding the soil around the bulbs.
Here is the watering can I recommend:
Winter Care for Bulbs
1. Cold Treatment
Bulbs in pots need protection during winter.
If you live in an area with freezing temperatures, consider moving the pots to a sheltered location like a garage or shed.
2. Insulation
Wrapping pots in bubble wrap or burlap can provide extra insulation against cold.
Alternatively, burying the pot in the ground or covering it with mulch can also protect the bulbs.
Pest and Disease Management
1. Monitoring
Regularly inspect your potted bulbs for signs of pests or diseases.
Early detection is key to effective treatment.
2. Pest Control
If you notice pests, such as aphids or bulb mites, use appropriate organic or chemical treatments as necessary.
Always follow label instructions for any pesticides.
3. Disease Prevention
Good drainage and avoiding over-watering are crucial to preventing bulb rot and other water-related diseases.
After-Bloom Care
1. Foliage Care
After the bulbs have bloomed, continue to water and care for the foliage until it turns yellow and dies back.
This period is essential for the bulbs to store energy for the next blooming cycle.
2. Dividing Bulbs
If the bulbs become overcrowded over time, consider dividing them after the foliage has died back.
This helps maintain vigorous growth and blooming.
Post-Bloom Care
The care given to bulbs after they have finished blooming is crucial for ensuring their health and vigor for the following season.
This phase involves managing the foliage, feeding, resting period, and potential replanting.
Managing the Foliage
1. Importance of Foliage
After the blooms have faded, the green foliage continues to photosynthesize, providing essential nutrients to the bulb for the next season's growth.
It's important to leave the foliage intact until it turns yellow and dies back naturally.
2. Watering
Continue watering the bulbs as normal during this period.
The soil should be kept moist but not waterlogged to support the foliage's nutrient-gathering process.
For more watering tips, check out my guide How to Use Watering Globes.
3. Appearance Concerns
If the dying foliage is unsightly, you can camouflage it with other plants or strategically place the pots in less visible areas.
Avoid braiding or tying the foliage, as this can impede the photosynthesis process.
Feeding the Bulbs
1. Fertilizing
After flowering, apply a balanced, slow-release fertilizer to help replenish nutrients.
This step is especially important if you plan to keep the bulbs in the same pot for multiple seasons.
2. Choosing the Right Fertilizer
Use a fertilizer that's high in potassium and low in nitrogen to support root development and discourage excessive leaf growth.
Here is the fertilizer I recommend using:
Resting Period
1. Dormancy Requirement
Most bulbs require a period of dormancy, which is a rest phase that typically occurs in summer or autumn, depending on the bulb type.
During this time, reduce watering gradually as the foliage dies back.
2. Storing Bulbs
If you wish to remove the bulbs from the pot, wait until the foliage has completely died back, then gently lift them out, clean off any soil, and store them in a cool, dry, and dark place.
Replanting Considerations
1. Bulb Rejuvenation
Some bulbs, especially perennials like daffodils, can be left in the same pot for several years.
However, they may eventually need rejuvenation or dividing if they become overcrowded or start to bloom less vigorously.
2. Replanting Time
The best time to replant or divide bulbs is during their dormant period. For spring-blooming bulbs, this is typically in the autumn.
Preparing for the Next Season
1. Soil Refreshment
If you plan to reuse the pot and soil for the next season, consider refreshing the top layer of soil or replacing it entirely to ensure a nutrient-rich environment for the new growth.
2. Rotating Bulbs
Rotating different types of bulbs in the same pot from year to year can help prevent disease buildup and nutrient depletion in the soil.
Why Choose Bulbs for Pots?
Versatility in Design
Bulbs offer immense versatility in garden design.
Whether you're looking to create a vibrant display on your patio, balcony, or even indoors, bulbs can adapt to various settings.
Their variety in color, size, and bloom time allows for creative arrangements.
You can mix different types of bulbs in one pot for a multi-layered display or use single-bulb plantings for a minimalist, elegant look.
Seasonal Flexibility
One of the most significant advantages of growing bulbs in pots is the ability to control their environment, especially during seasonal changes.
Bulbs like tulips, daffodils, and hyacinths require a period of cold to bloom, which is naturally provided in winter.
By potting these bulbs, you can easily move them to a suitable location when the weather changes, ensuring they receive the necessary cold period without being exposed to harsh winter conditions.
Space Efficiency
For those with limited garden space or living in urban settings, growing bulbs in pots is a perfect solution.
Potted bulbs require much less space than garden beds, making them ideal for small patios, balconies, and even window sills.
This space efficiency allows even those with the smallest outdoor spaces to enjoy the beauty of flowering bulbs.
Control Over Growing Conditions
When you plant bulbs in containers, you have better control over the soil and watering conditions.
This control is particularly beneficial for bulbs, as they require well-drained soil to prevent rot.
Pots with drainage holes and the use of potting soil can provide the ideal growing conditions, reducing the risk of diseases common in garden soil.
Extended Blooming Period
By carefully selecting and timing the planting of different bulbs, you can enjoy an extended blooming period.
For instance, planting early-spring bulbs alongside mid-spring bloomers in the same pot can create a continuous display of color.
Additionally, indoor pots can be manipulated to force bulbs to bloom earlier, extending the natural blooming season.
Ease of Care
Bulbs are generally low-maintenance, making them an excellent choice for beginners and busy gardeners.
Once planted, they require minimal care other than regular watering and occasional fertilizing.
This ease of care makes bulbs a rewarding choice for those new to gardening or with limited time.
Reusability and Sustainability
Many bulbs can be reused for several years.
After the blooming season, you can store the bulbs and replant them the following year.
This reusability makes bulbs a sustainable and cost-effective choice for garden enthusiasts.
In summary, the choice of bulbs for pots offers aesthetic flexibility, seasonal adaptability, space efficiency, better control over growing conditions, an extended blooming period, ease of care, and sustainability.
These factors make bulbs in pots a delightful and practical option for gardeners of all levels.
FAQs
Can you leave bulbs in pots all year round?
Yes, you can leave bulbs in pots throughout the year, but it requires specific care to ensure their health and re-blooming.
During the growing season, provide adequate water and fertilizer.
After blooming, allow the foliage to die back naturally, as this helps the bulb gather energy for the next season.
During dormancy, reduce watering and store the pot in a cool, dry place if the climate is extremely hot or cold.
It's also important to refresh the soil annually and check for bulb health, dividing or replacing them if necessary.
What is the best soil for bulbs in pots?
The best soil for bulbs in pots is a well-draining, nutrient-rich potting mix.
Avoid using regular garden soil, as it can be too dense and may contain pathogens.
A mixture of potting soil, compost, and perlite or vermiculite provides good drainage and aeration, key elements for healthy bulb growth.
Some gardeners also add a bit of slow-release fertilizer to the mix to ensure a steady supply of nutrients.
How often should you water bulbs in pots?
Watering frequency for bulbs in pots depends on various factors such as the weather, pot size, and the bulb type.
As a general rule, water when the top inch of soil feels dry.
During active growth and blooming periods, this might mean watering more frequently, while in cooler or dormant periods, watering should be reduced.
Be vigilant against over-watering, as this can lead to bulb rot.
What should you do with bulbs in pots after flowering?
After flowering, continue to care for the bulbs by watering and feeding them as the foliage remains green.
Once the foliage has died back naturally, reduce watering.
You can either leave the bulbs in the pot for next year (while refreshing the soil and adding fertilizer) or remove them for storage in a cool, dry place until the next planting season.
Inspect the bulbs during this process for any signs of disease or damage.
How do you plant tulip bulbs in a pot?
To plant tulip bulbs in a pot, choose a container with adequate drainage and fill it with a well-draining potting mix.
Plant the bulbs with the pointed end up, at a depth of about three times the bulb's height, and space them a few inches apart.
After planting, water thoroughly and place the pot in a sunny location.
If you're planting in autumn for spring blooms, you might need to provide a cold period by storing the pots in a cool, dark place like a garage or shed for several weeks.
Want to learn more about growing bulbs? Check out my guides:
