Spring Garlic Planting: From Clove to Harvest
This article has links to products that I may make commission from.
Welcome to the world of spring planted garlic, where each individual clove sown promises a season of robust growth and bountiful harvest.
As the chill of winter recedes and the first signs of spring emerge, it's the perfect time to start your journey with planting garlic.
Whether you're a seasoned gardener or a curious beginner, the process of nurturing garlic from a single clove to a fully developed bulb is a rewarding experience.
In this guide, we'll explore the exciting venture of planting spring garlic.
From the hearty hardneck varieties, known for their rich flavors and distinctive garlic scapes, to the milder but equally delightful green garlic, spring offers an opportunity to grow a range of garlic types.
With each garlic seed planted, you're not just growing garlic; you're participating in a timeless dance with nature.
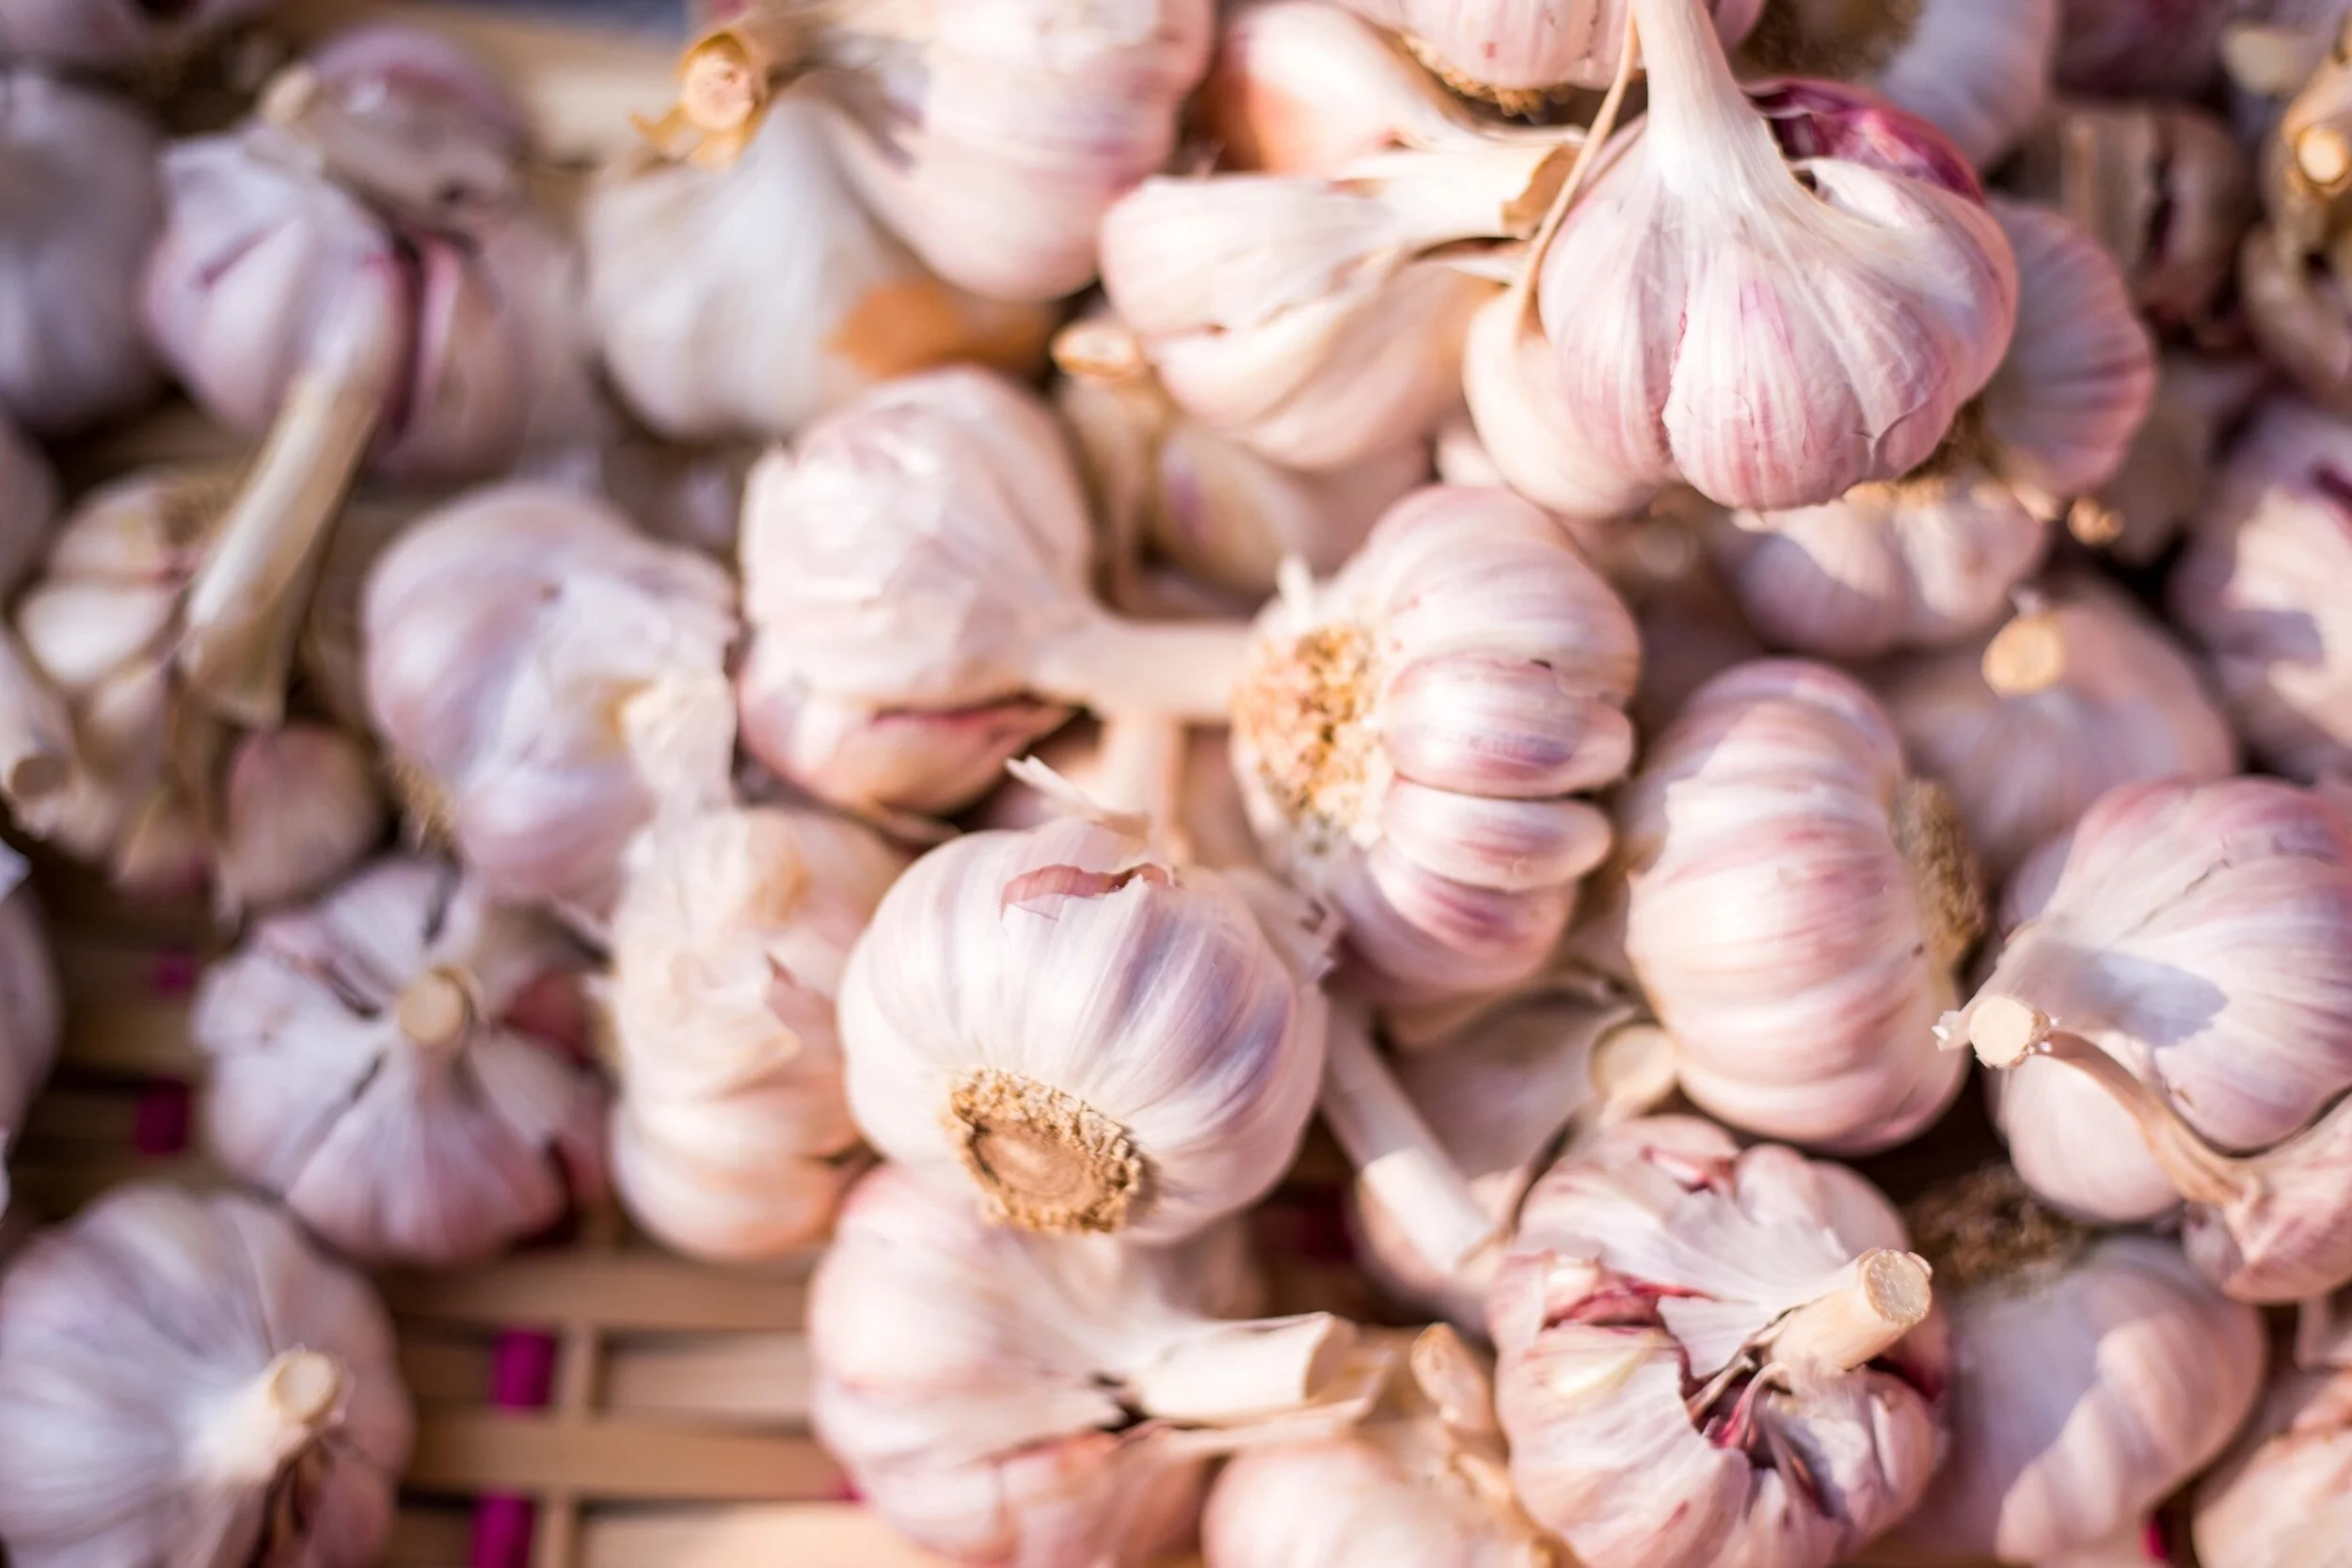
Spring planted garlic brings a unique charm to your garden.
The process, starting from the careful selection of garlic seed to watching the sprouts break through the soil, is a testament to the wonders of growth and renewal.
As we delve into the specifics of planting and nurturing these bulbs, you'll learn about the different stages of garlic development, from the early sprouts of green garlic to the emergence of garlic scapes, heralding the approach of harvest time.
With the arrival of spring, gardeners are eager to plant spring garlic. This season is not just a time for planting; it's a period of awakening and rejuvenation, both for the gardener and the garden.
The planted garlic, nestled in the soil, symbolizes the hope and anticipation that comes with each new growing season. As the days grow longer and warmer, the garlic planted in spring thrives under the nurturing care of those who appreciate the magic of gardening.
So, let's embark on this journey together, exploring the intricacies of growing spring garlic, nurturing each planted clove, and ultimately celebrating the harvest of your hard work.
Embrace the gifts of Mother Nature and discover the joy of growing your very own spring planted garlic.
To learn more about spring planting, check out my guides:
Choosing the Right Garlic Varieties
When embarking on your garlic planting journey, the first step is selecting the appropriate variety.
Garlic is not a one-size-fits-all crop; the variety you choose can significantly impact your gardening success and the flavor profile of your harvest.
Here, we'll delve deeper into the types of garlic and factors to consider when making your selection.
Understanding Garlic Types: Hardneck vs. Softneck
Garlic is broadly categorized into two types: hardneck and softneck. Each has distinct characteristics and is suited to different climates and culinary uses.
Hardneck Garlic:
Known for their complex and richer flavors, hardneck varieties are preferred by chefs and garlic connoisseurs.
They produce a central stalk, known as a scape, which is also edible and has a milder garlic flavor.
Hardneck garlic is more tolerant of cold weather and is ideal for colder climates. However, it has a shorter shelf life compared to softneck varieties.
Here are the hardneck varieties I recommend:
'Music': A hardy variety with a rich, musky flavor, known for its large, easy-to-peel cloves.
Here garlic ‘Music’ bulbs I recommend growing:

'German Red': Recognized for its strong, spicy flavor, this variety is well-suited for heartier dishes.
Here are the ‘German Red’ bulbs I recommend:

Softneck Garlic:
These varieties are generally more adaptable to a wider range of climates and are known for their longer storage life.
Softneck garlic is often found in grocery stores and is ideal for braiding due to its flexible stalk.
It's a great choice for milder climates or for gardeners looking for a longer-lasting garlic supply.
Here are the softneck varieties I recommend:
'California Early': A versatile and robust variety, known for its mild flavor and good storage capacity.
Here are the ‘California Early’ garlic bulbs I recommend growing:

'Silverskin': This variety boasts a long shelf life and a more intense garlic flavor, making it perfect for long-term storage.
Here are the ‘Silverskin’ garlic bulbs I recommend:

Factors to Consider When Choosing Garlic Varieties
Climate Adaptability:
Consider your local climate when selecting a variety.
Hardneck varieties are more suited to cold climates, while softneck varieties thrive in milder regions.
Flavor Preferences:
Your choice may also be influenced by your culinary preferences.
Hardneck garlic tends to have a more complex flavor profile, whereas softneck varieties are milder and more versatile.
Growing Season Length:
In regions with shorter growing seasons, quick-maturing varieties may be more suitable.
Soil Type:
Garlic prefers well-drained, fertile soil. Some varieties may be more adaptable to different soil types than others.
Experimenting with Varieties
Don’t hesitate to experiment with different varieties to discover which ones grow best in your garden and match your taste preferences. Many gardeners find joy in comparing the subtle differences in flavor and growth habits between varieties.
For more spring planting tips, check out my guide:
Planting Process
Planting garlic in the spring is a straightforward process, but it does require attention to detail to ensure a successful harvest.
Below, we break down the steps and considerations for planting your garlic.
Preparing for Planting
Timing
The ideal planting time in spring depends largely on your climate.
As a general rule, aim to plant garlic when the soil is workable and there's no longer a risk of hard frost.
In some regions, this could be as early as late February or March, while in others, it might be closer to April or May.
Soil Preparation
Garlic thrives in rich, well-drained soil.
Prepare your planting bed by loosening the soil and mixing in plenty of organic matter, such as compost or aged manure.
This will improve soil fertility and drainage. Ensure the pH of the soil is between 6.0 and 7.0 for optimal growth.
Here is the soil pH tester I recommend using:

Planting Garlic Cloves
Separating the Bulbs
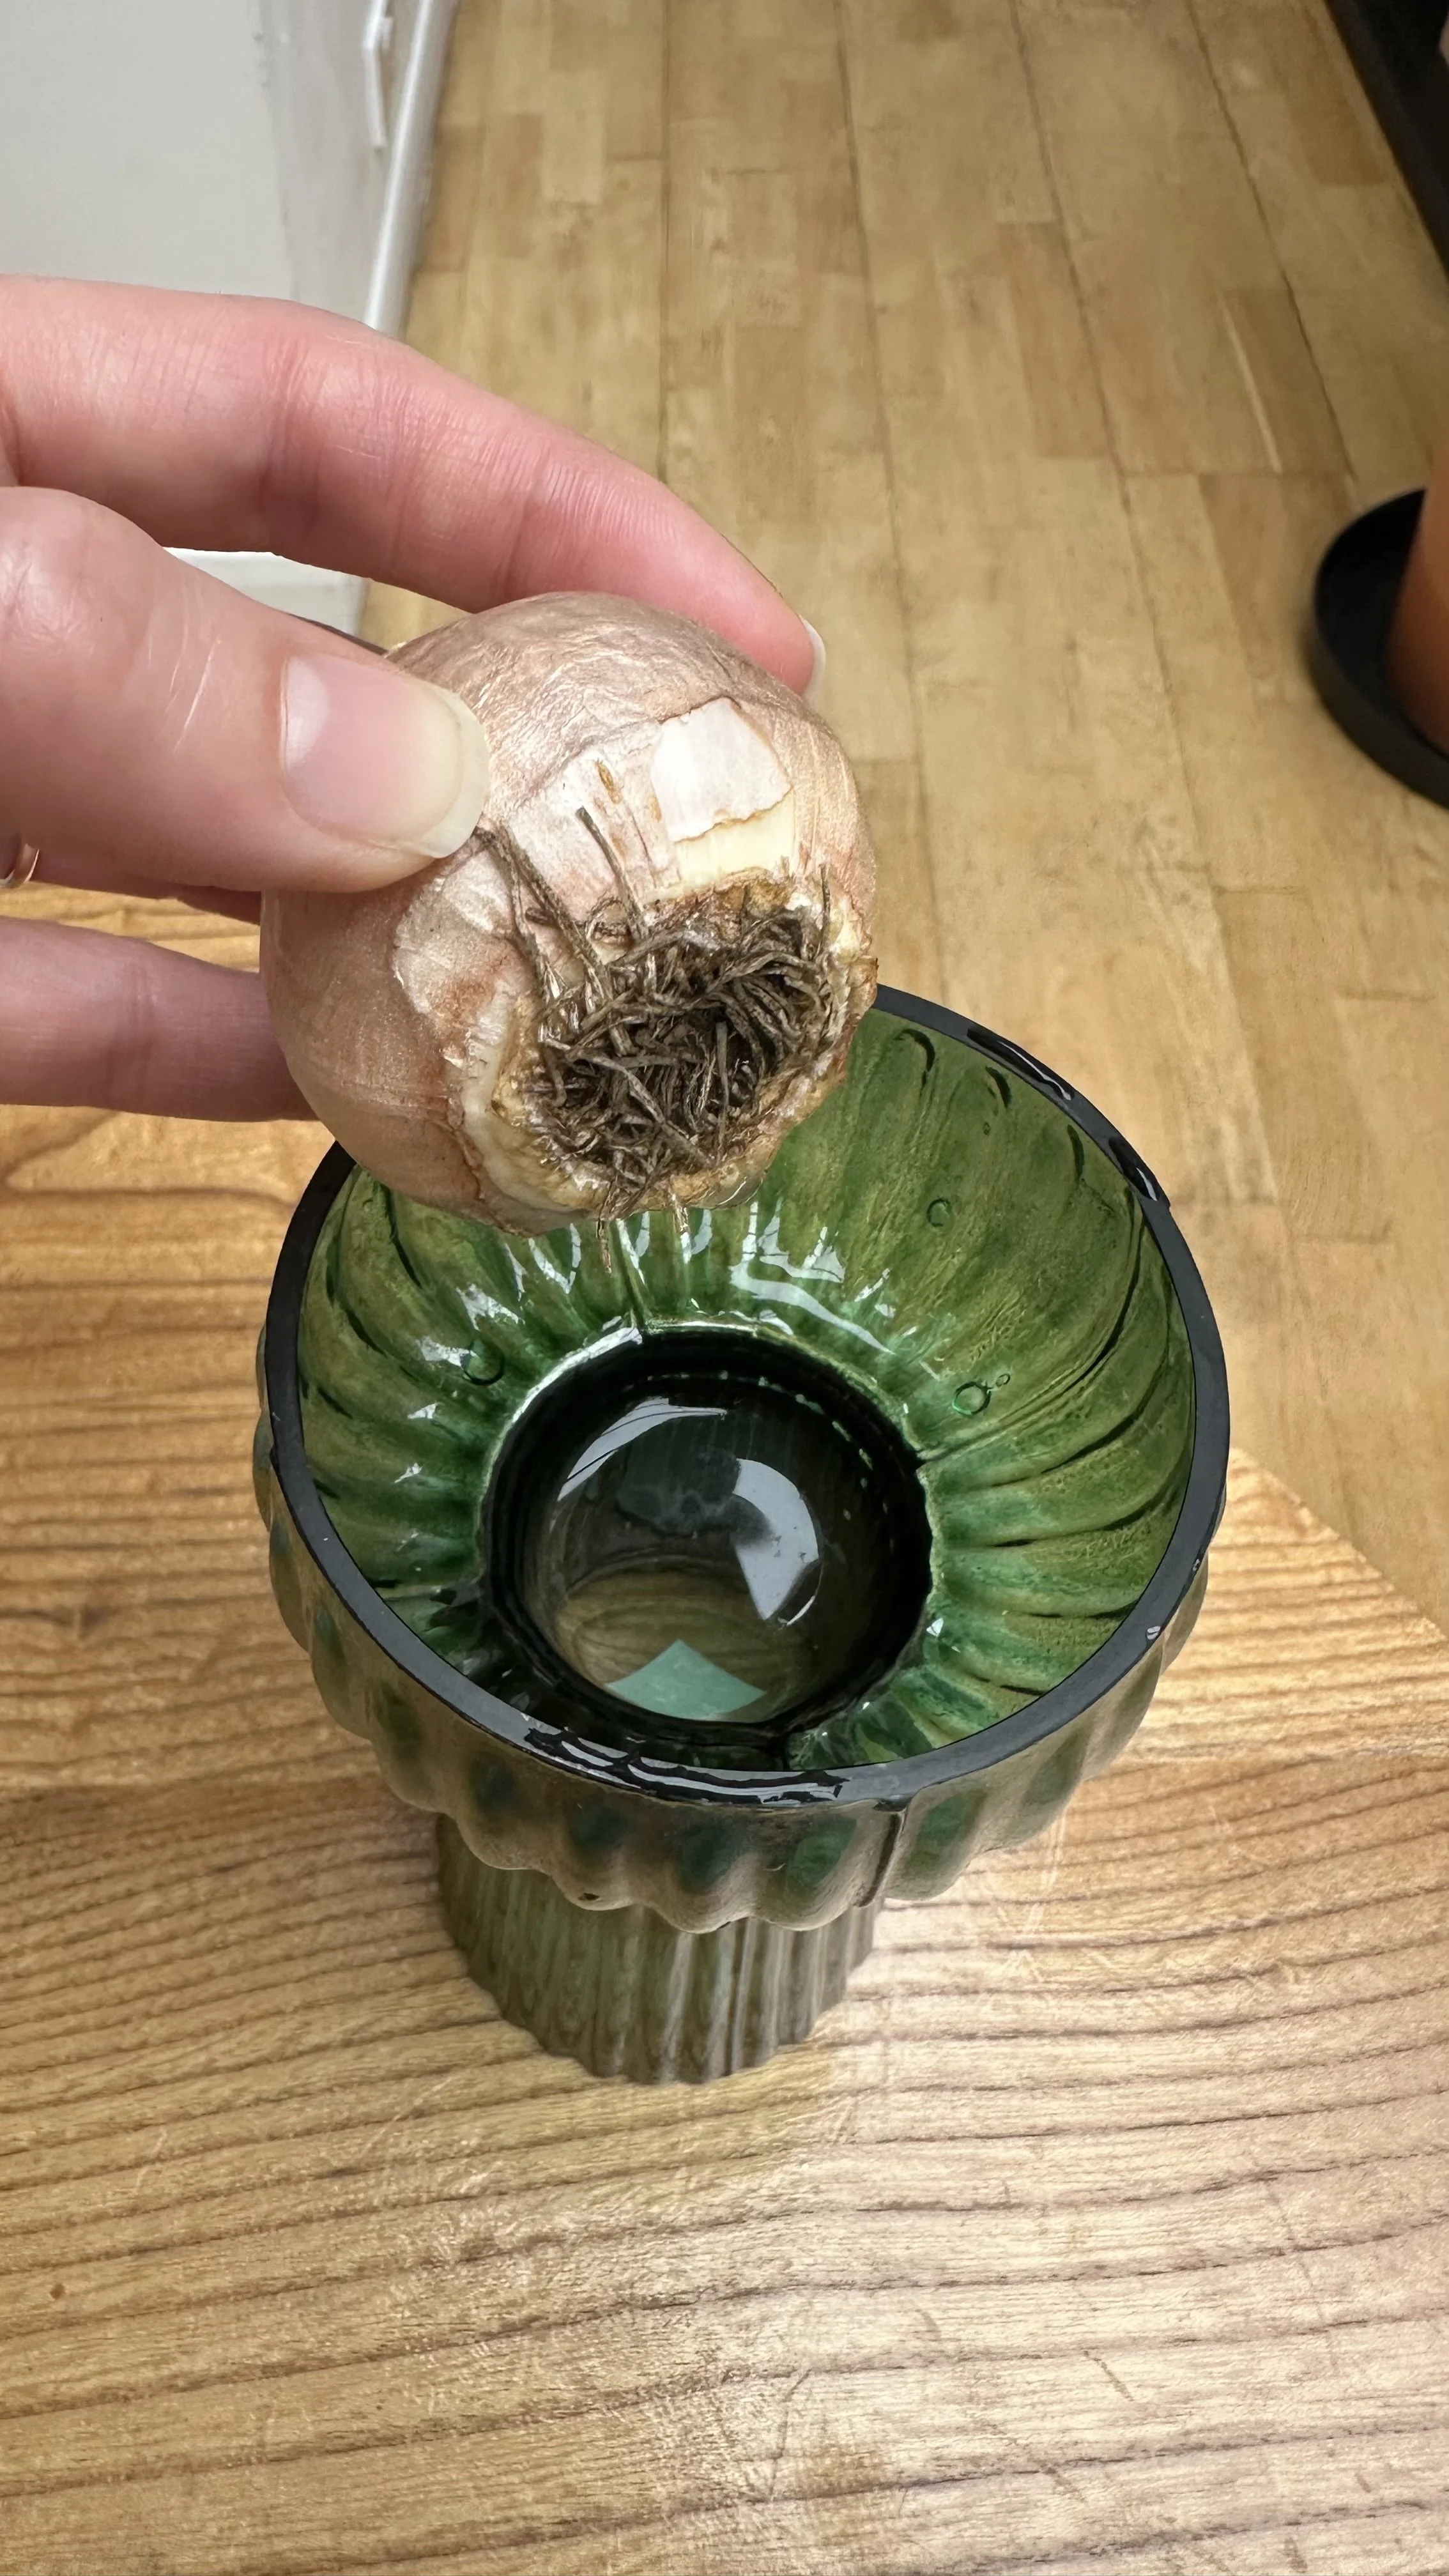
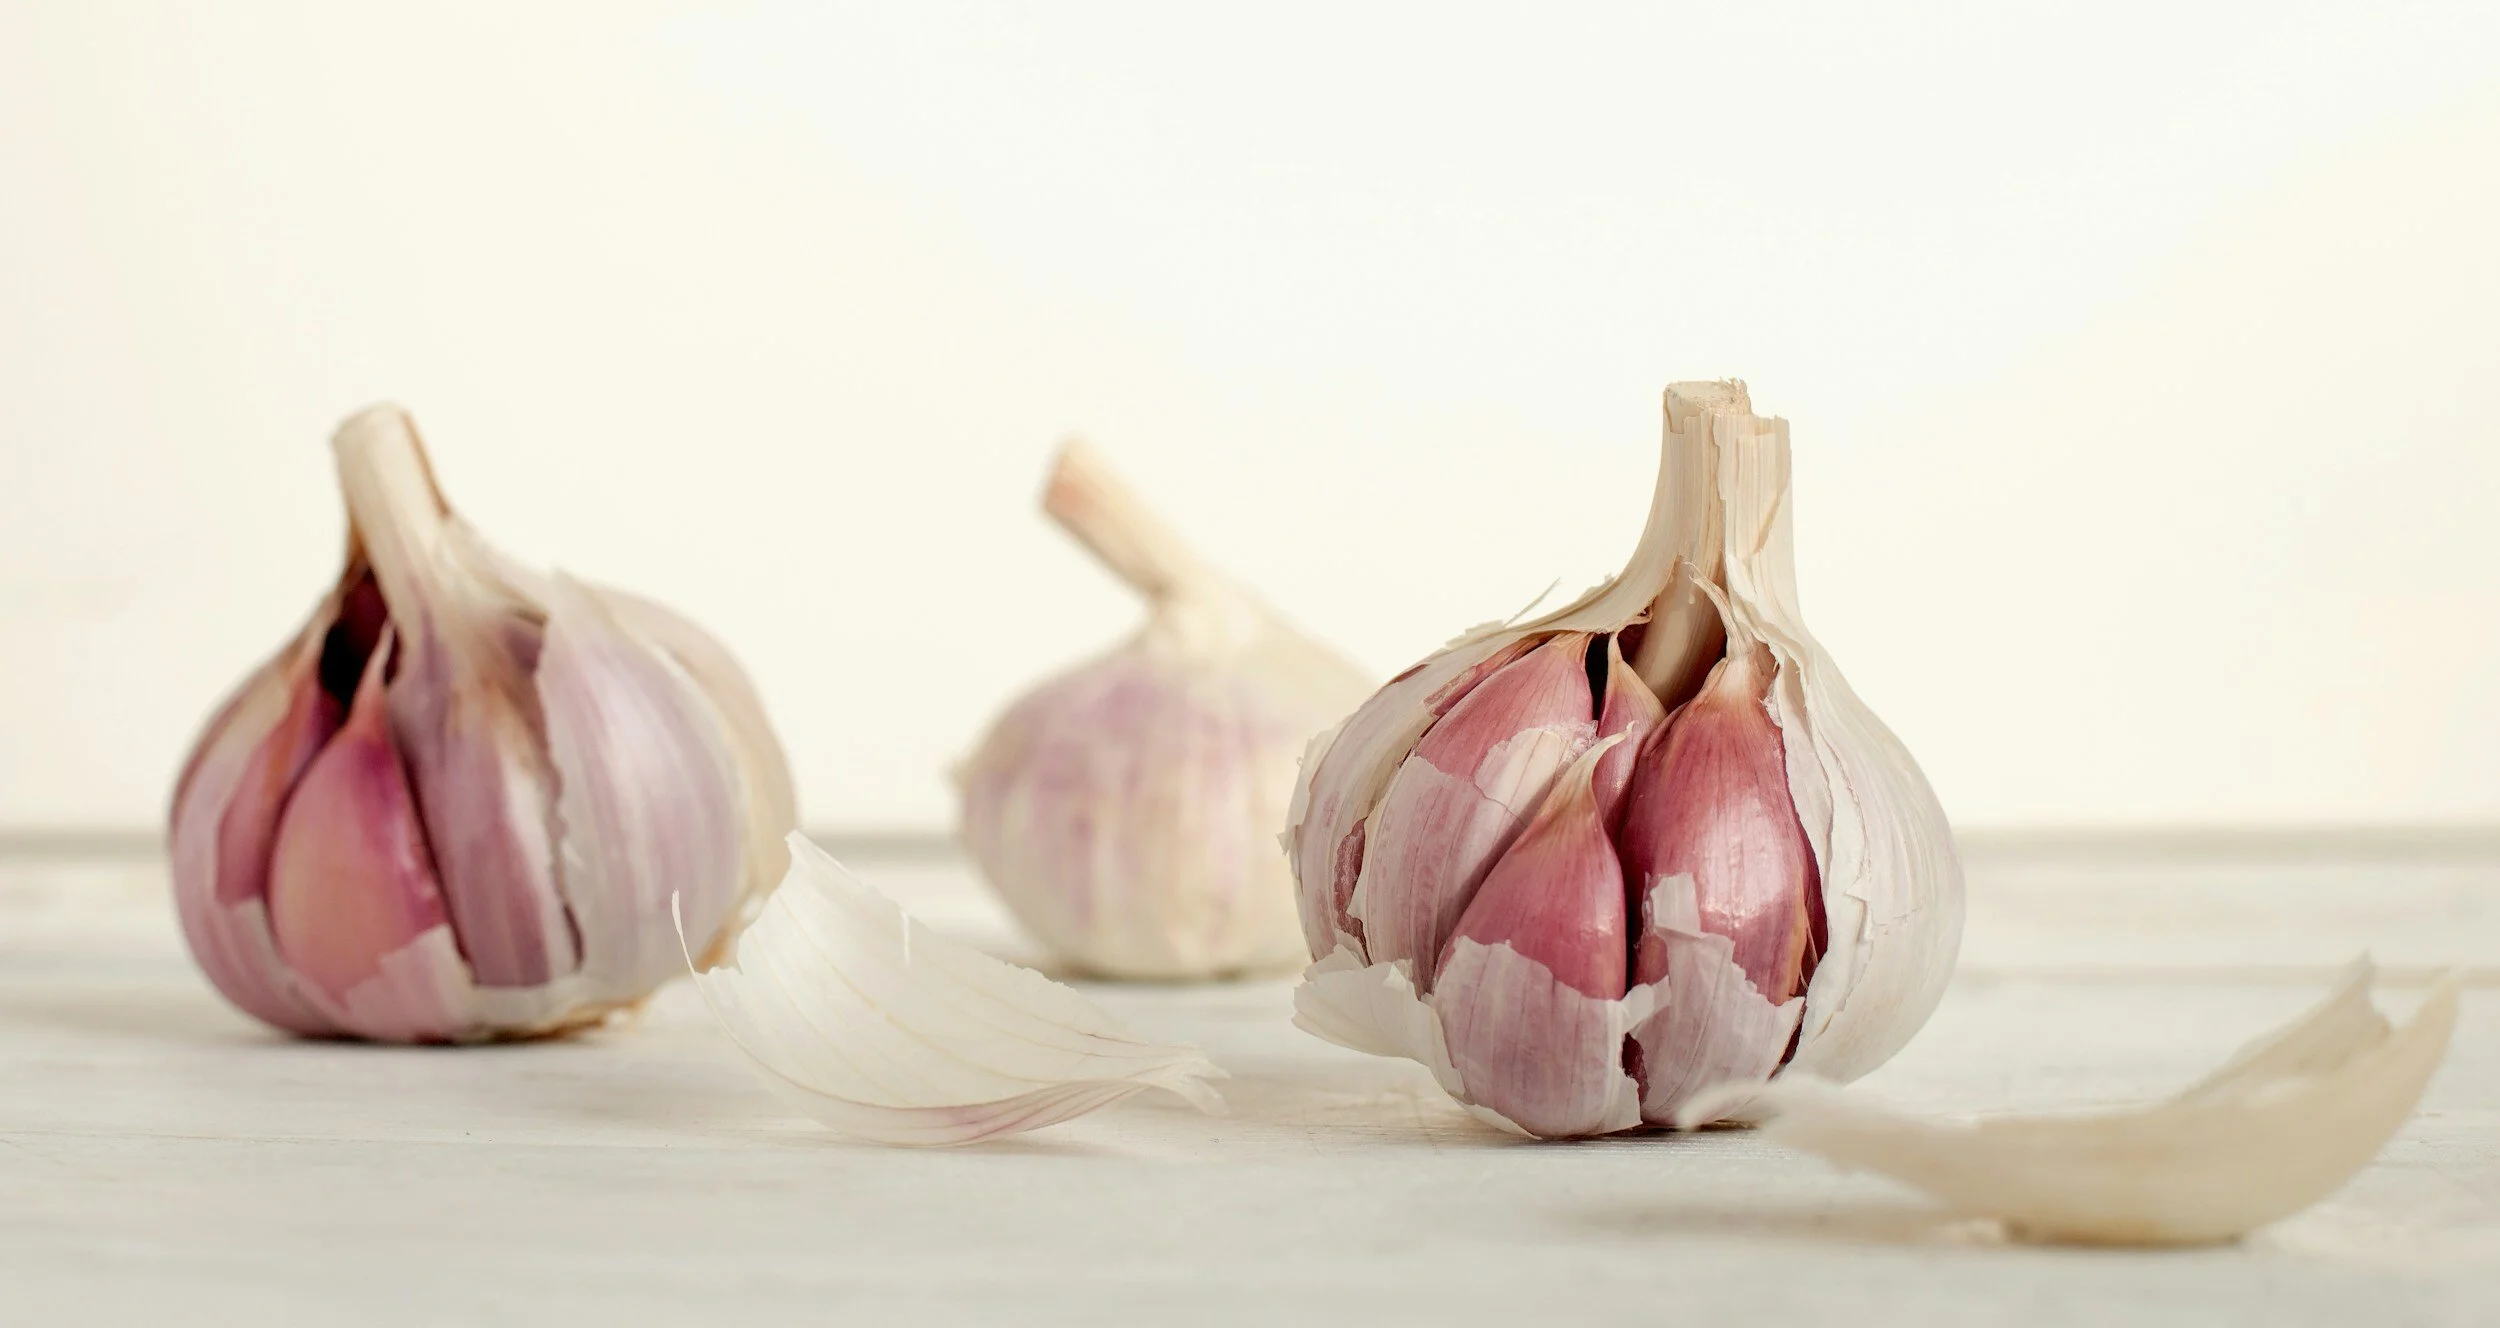
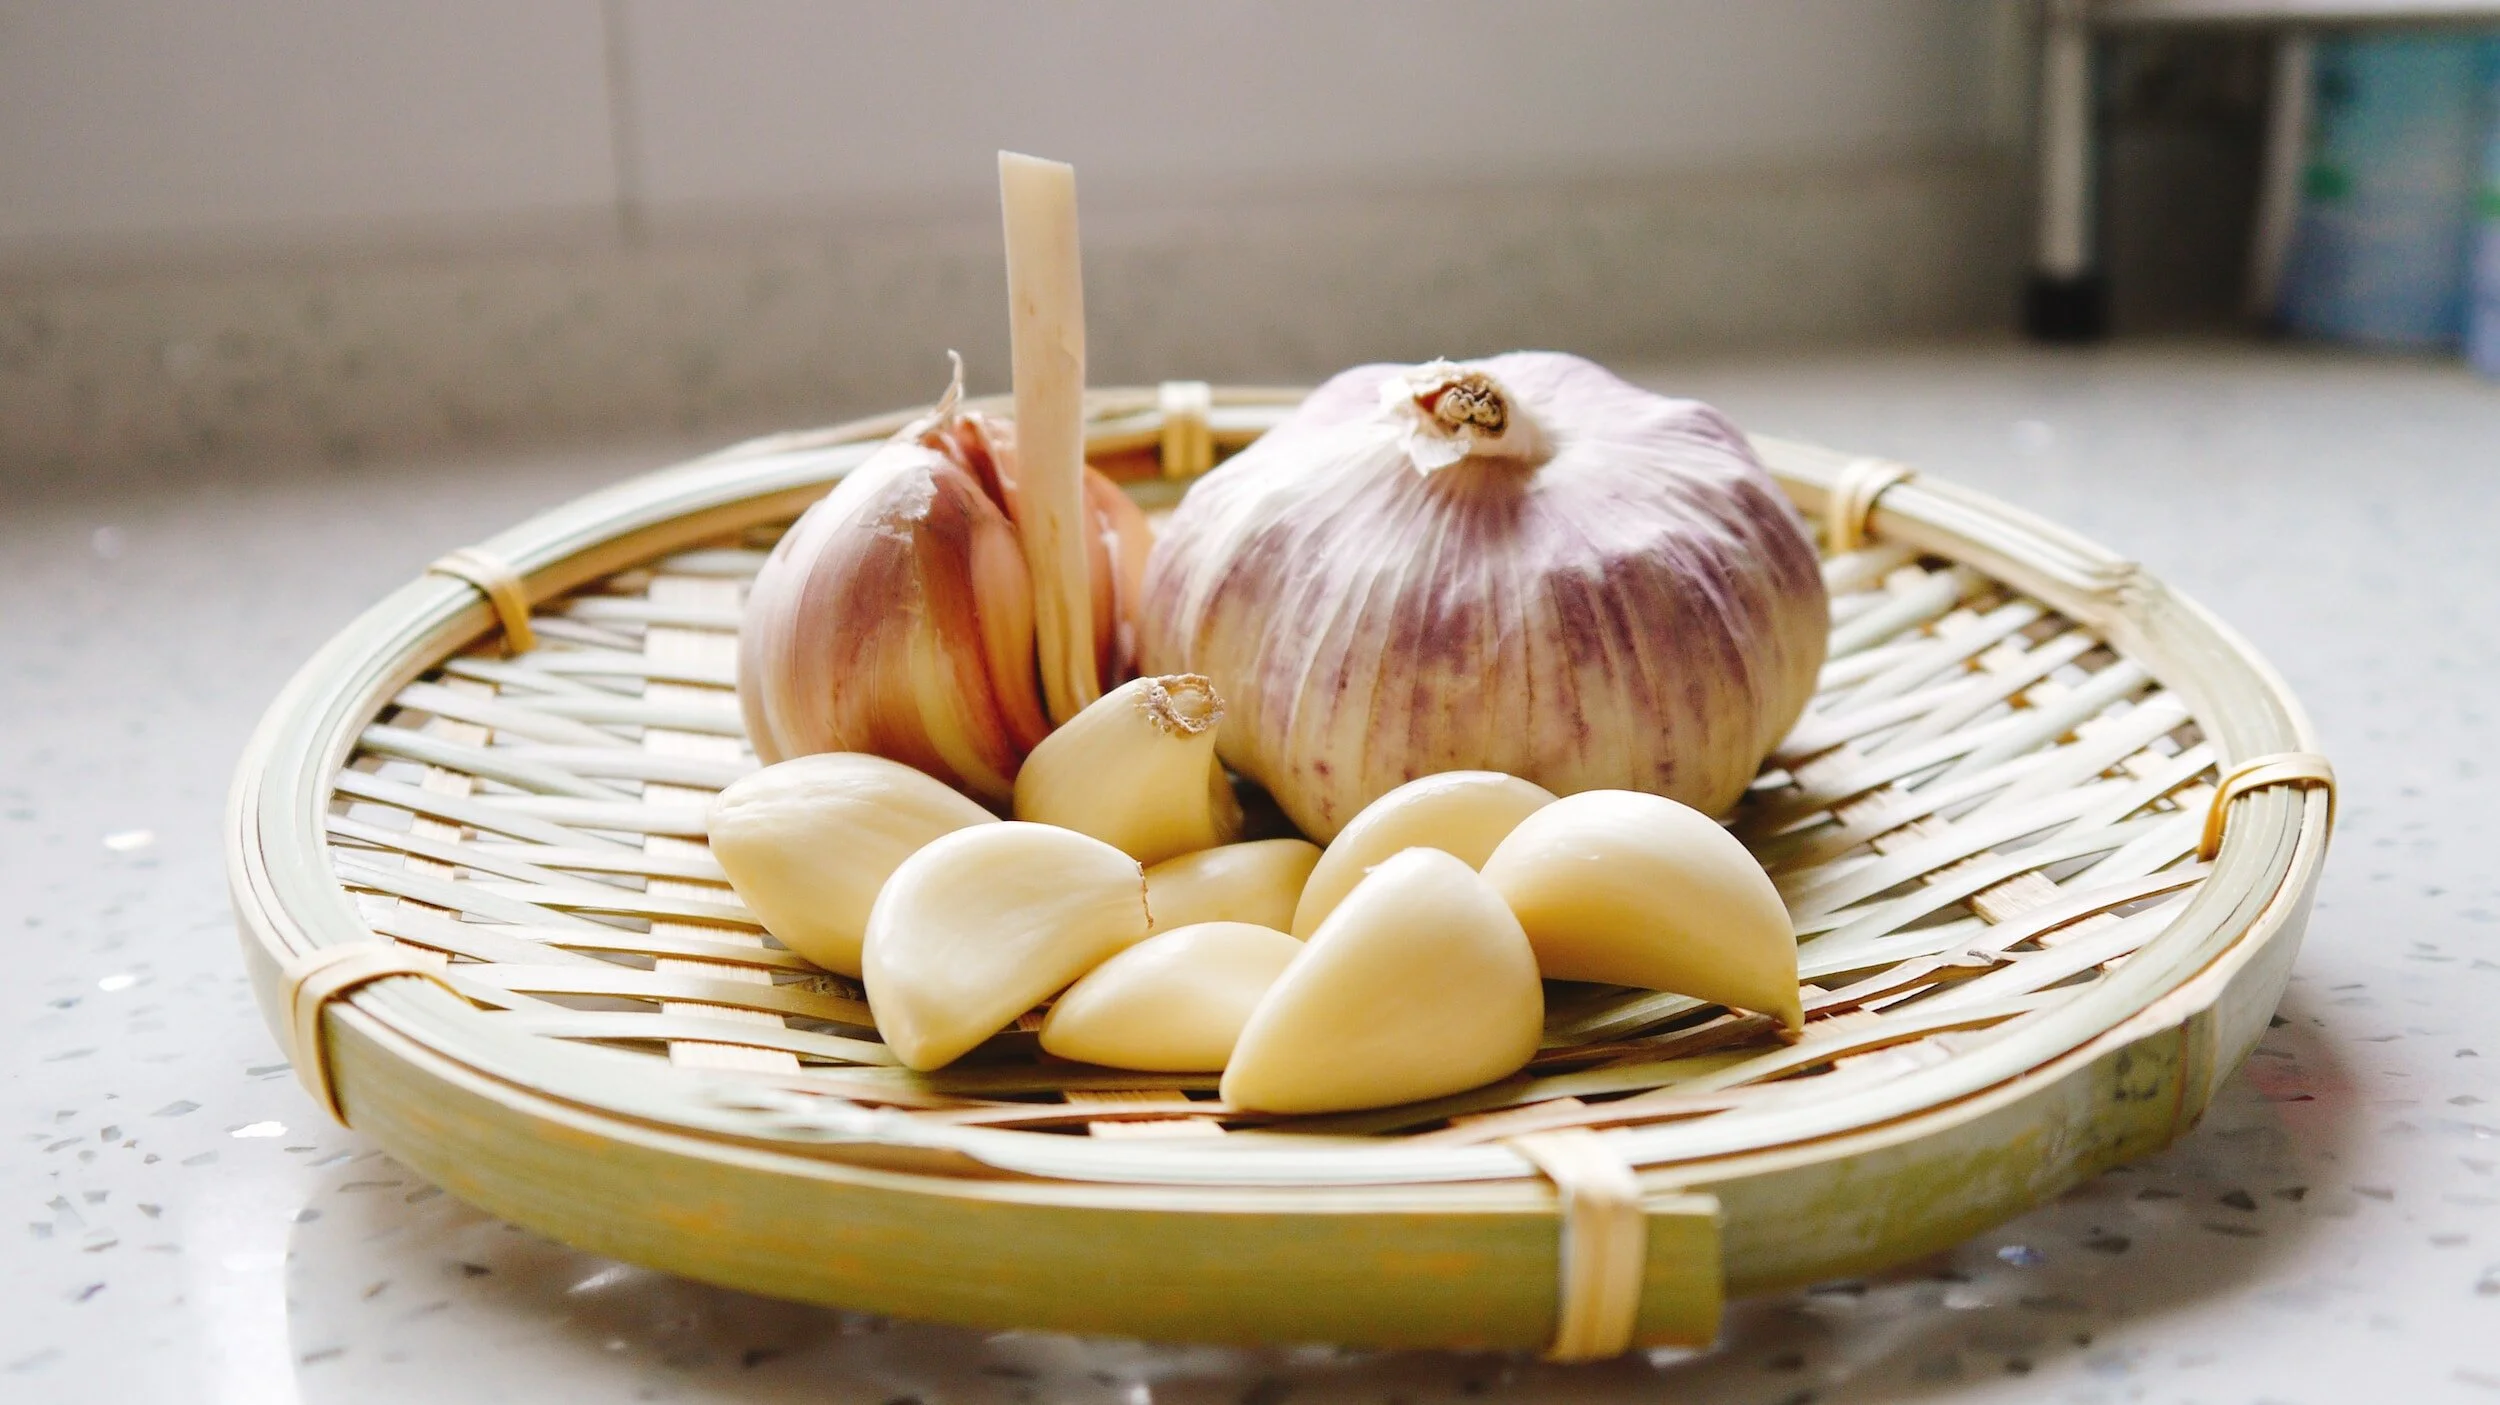
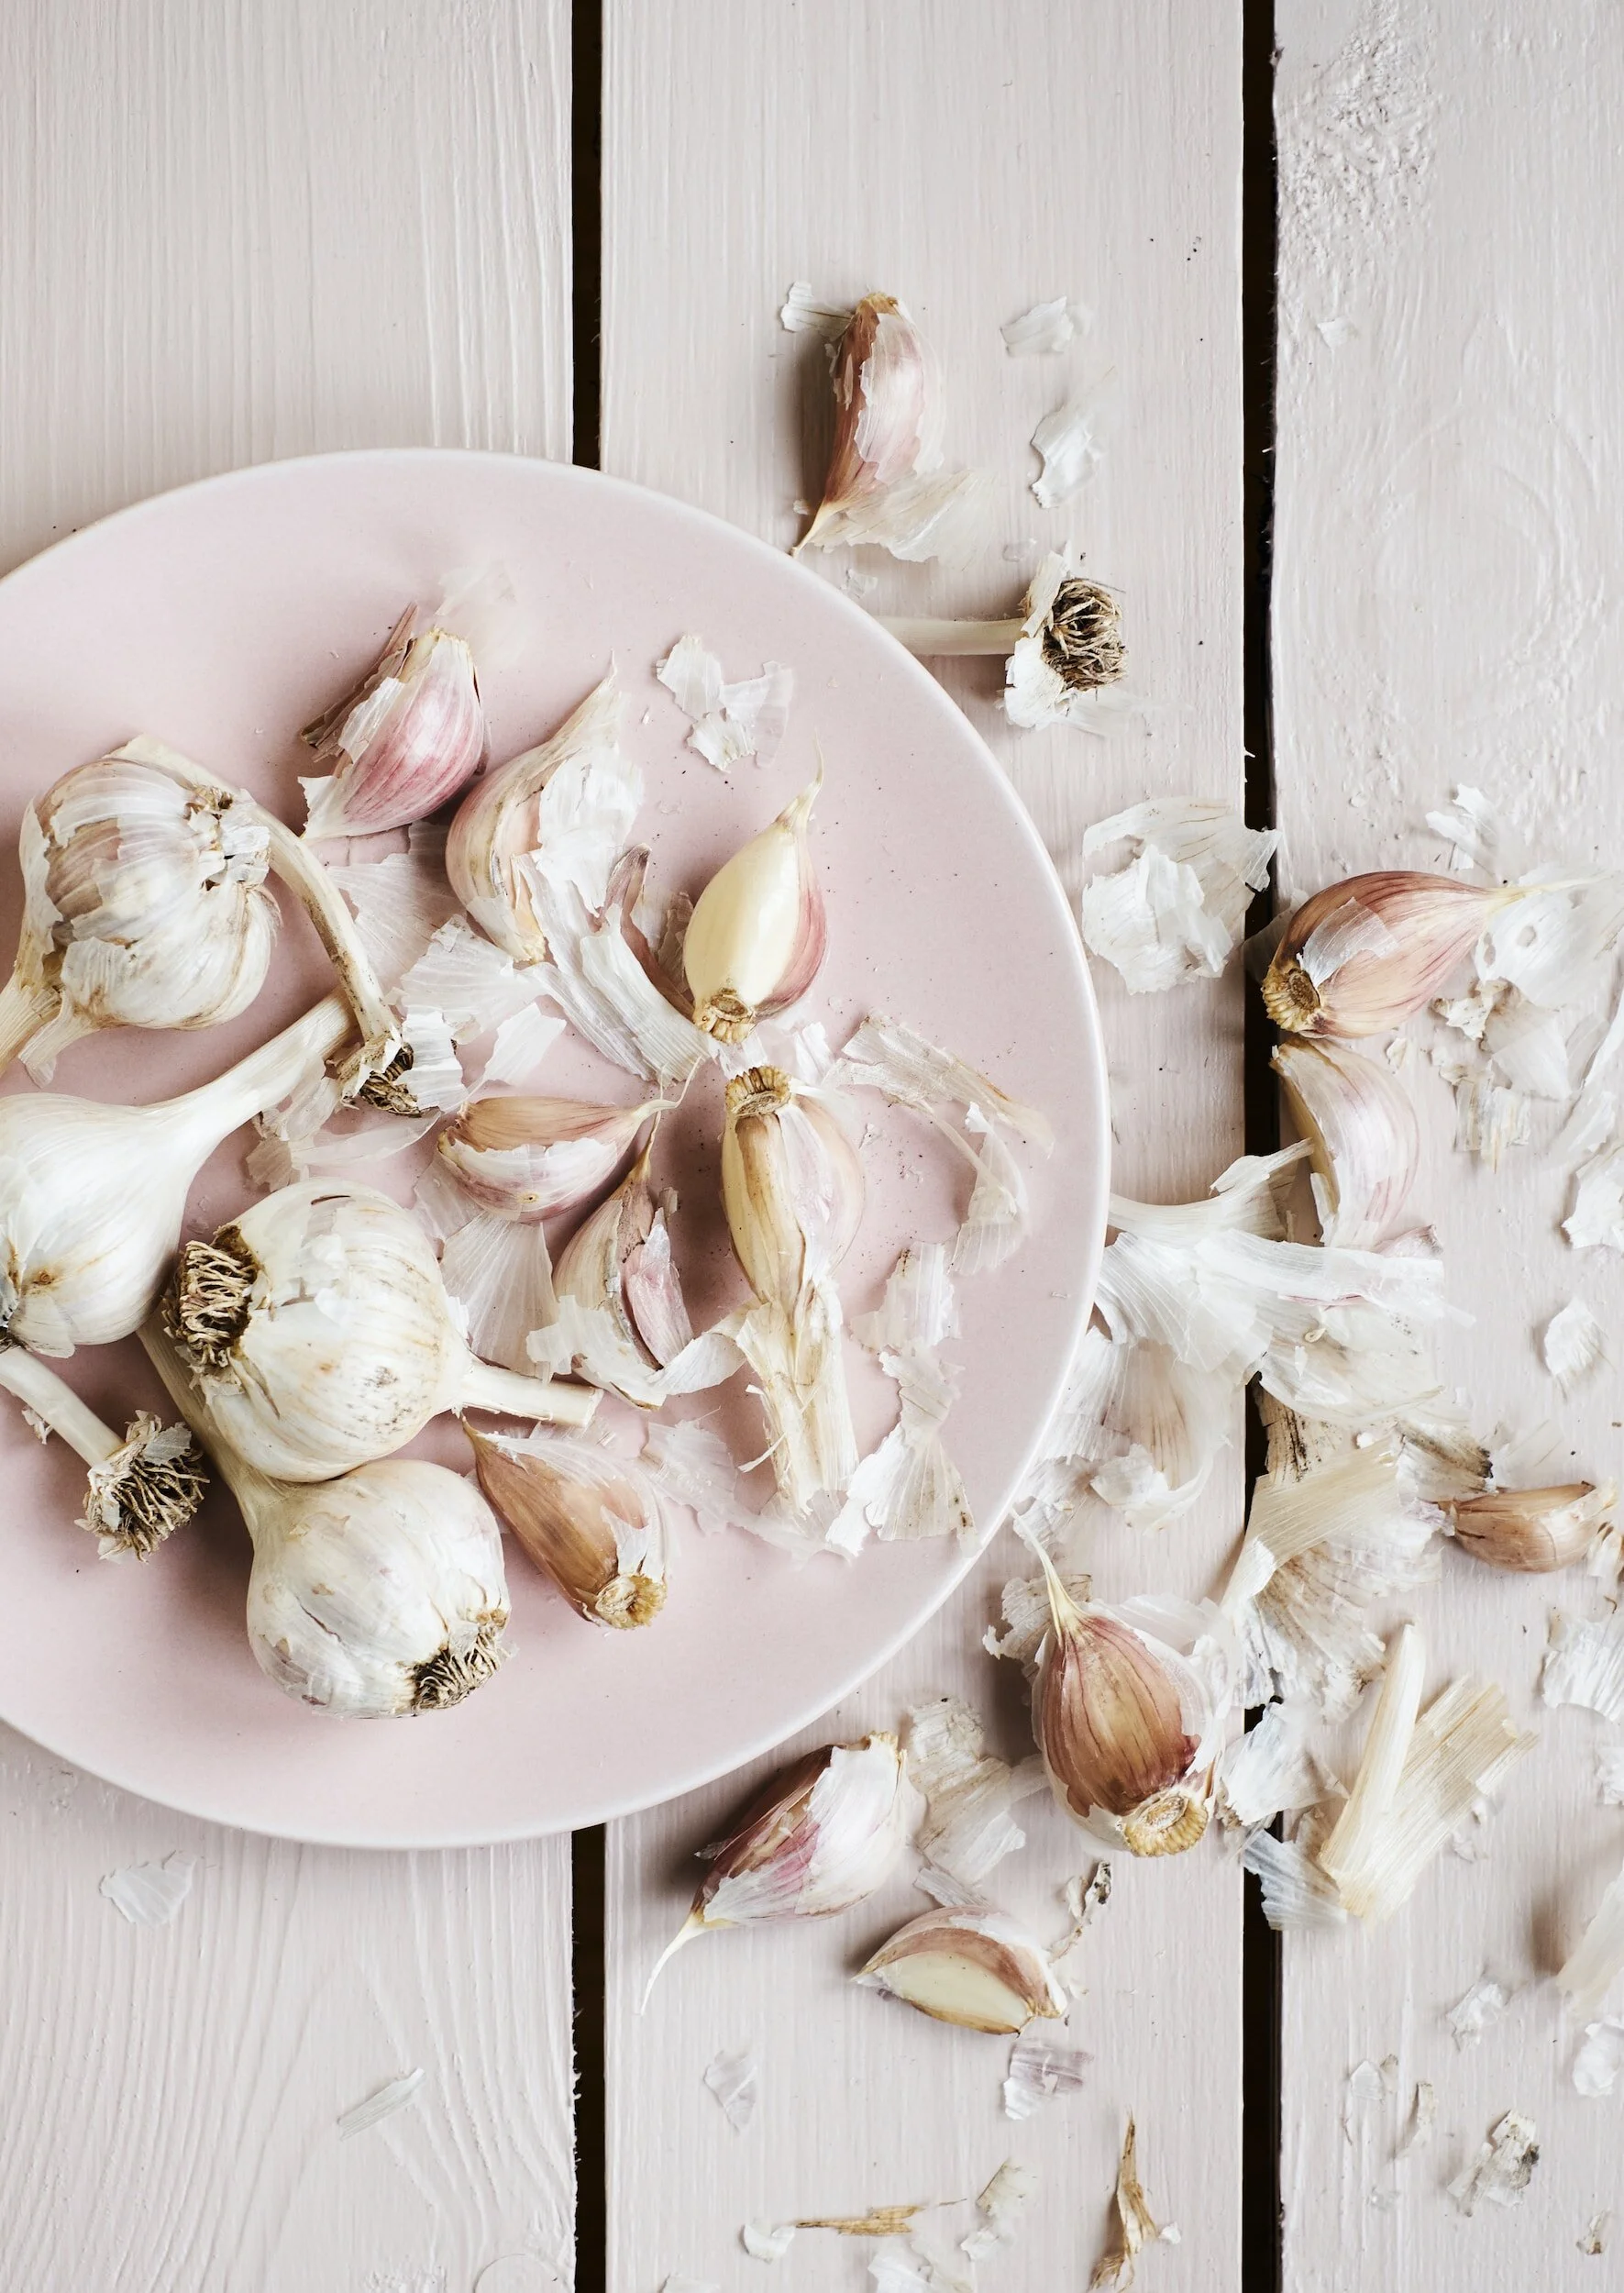
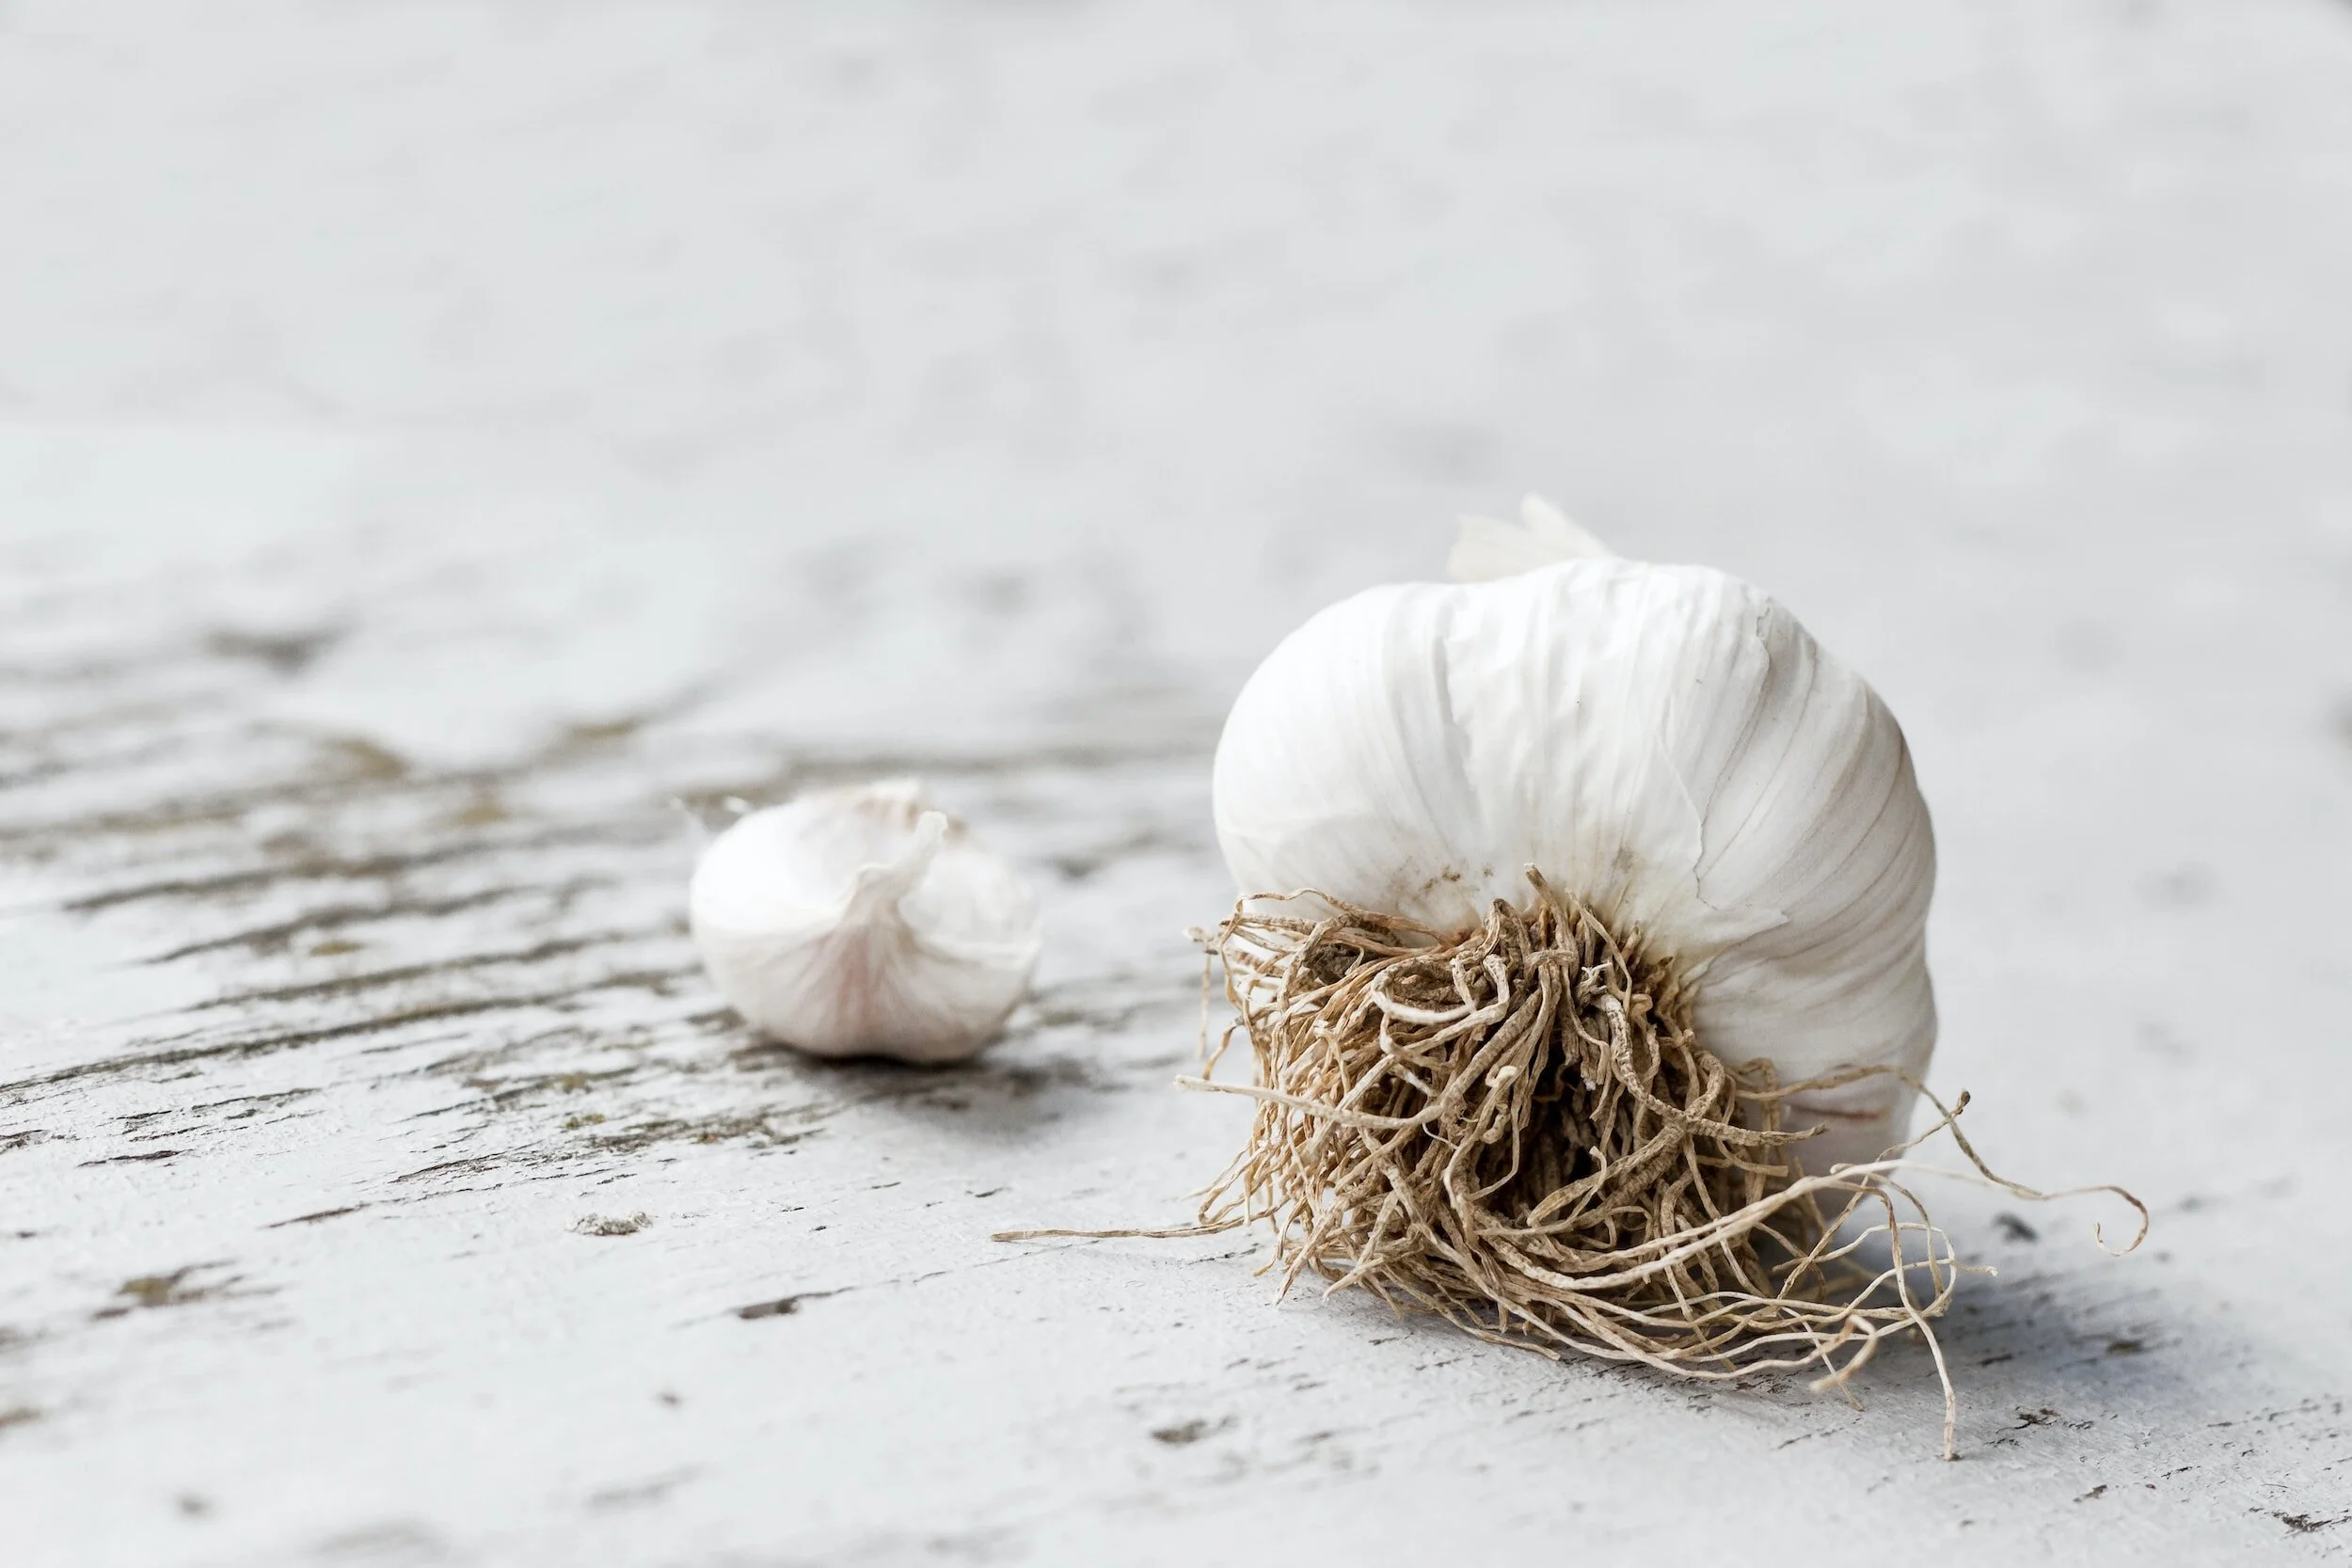
Start with high-quality seed garlic and carefully separate the cloves.
Use only the largest cloves for planting, as bigger cloves often lead to bigger bulbs. Small cloves can still be used in cooking.
Planting Depth and Spacing
Plant each clove pointy end up, about 2 inches deep.
Space the cloves about 4 to 6 inches apart to give each plant enough room to grow.
If planting multiple rows, space the rows about 10 to 12 inches apart.
In Containers
For planting garlic in containers, choose pots that are at least 8 inches deep and have good drainage.
Fill the pot with a mix of potting soil and compost.
Plant the cloves at the same depth as in-ground planting, and water well.
Post-Planting Care
Watering
After planting, water the cloves gently.
Garlic needs a consistent amount of water, so keep the soil moist but not waterlogged.
Overwatering can lead to rot, while under-watering can affect bulb development.
For more watering tips, check out my guide How to Use Watering Globes.
Mulching
In colder regions, applying a layer of mulch after planting can help insulate the cloves and retain soil moisture.
Straw, grass clippings, or shredded leaves are excellent choices for mulch.
Check out my full guide: The Best Alternatives to Traditional Mulch for Your Garden.
Monitoring Growth
Keep an eye on your garlic plants as they grow.
Remove any weeds that appear to prevent competition for nutrients and water.
If you notice any pests or diseases, address them promptly to protect your crop.
Care and Maintenance
After planting your garlic, ongoing care and maintenance are crucial to ensure healthy growth and a bountiful harvest.
Here are the key aspects to focus on:
Regular Watering
Garlic plants require consistent moisture throughout their growing period.
Water your garlic plants deeply once a week, ensuring the soil is moist but not waterlogged.
Overwatering can cause the bulbs to rot, while underwatering can lead to smaller bulbs.
Adjust your watering schedule based on rainfall and temperature; more frequent watering may be needed in dry, hot periods.
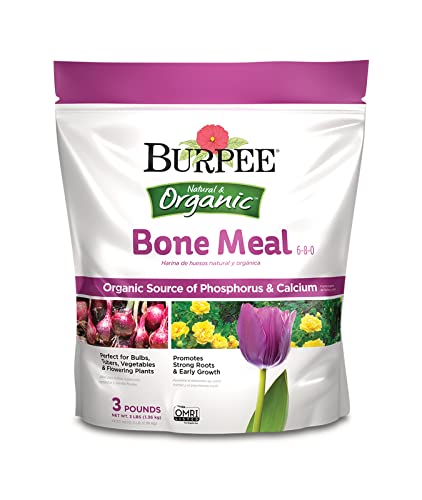
Fertilization
Garlic benefits from regular fertilization, especially during the early stages of growth.
Use a balanced, slow-release fertilizer or well-composted organic matter.
Apply fertilizer when you first plant the cloves and again as the plants begin to grow.
Avoid over-fertilizing, as this can lead to excessive leaf growth at the expense of bulb development.
Here is the fertilizer I recommend using:
Mulching
Mulching helps retain soil moisture, keeps weeds at bay, and can protect the garlic from extreme temperature fluctuations.
Apply a layer of organic mulch, such as straw or grass clippings, around the plants.
In warmer climates, mulch can also help keep the soil cool.
Weed Control
Weeds compete with garlic for nutrients and water, so it's important to keep your garlic beds weed-free.
Hand-pulling weeds is the most effective and least disruptive method. Be careful not to disturb the garlic roots when weeding.
Pest and Disease Management
Garlic is relatively resistant to pests, but it's still important to monitor your plants.
Common pests include onion thrips and nematodes.
Diseases like white rot or rust can also affect garlic.
Practice crop rotation to prevent disease buildup in the soil, and remove any affected plants promptly to prevent spread.
Scapes Management
For hardneck garlic varieties, the scapes (flower stalks) will emerge in spring.
Cutting these scapes off when they are about 6 to 8 inches long can direct more energy into bulb growth.
Scapes are edible and have a milder garlic flavor, making them a delicious by-product of your garlic crop.
Adjusting to Weather Conditions
Be mindful of your local weather conditions throughout the growing season.
In case of an unexpected cold snap, additional mulching might be necessary to protect the plants. Similarly, during a heatwave, more frequent watering might be required.
Harvesting and Storing
The final stage in your garlic-growing journey is the harvest and storage, which is critical for enjoying your garlic for months to come.
Here’s how to do it right:
Knowing When to Harvest
Garlic is typically ready for harvest in the summer, but the exact timing depends on the planting date and weather conditions.
Here are some signs that your garlic is ready to be harvested:
The lower leaves will start to turn brown, while several of the upper leaves remain green. Each green leaf represents a layer of protective covering around the bulb in the ground.
The bulbs will feel firm and the cloves will be well-defined.
If you're unsure, gently dig around one bulb to check its size and clove formation.
Harvesting Garlic
Harvesting garlic requires care to avoid damaging the bulbs:
Use a garden fork to gently loosen the soil around the garlic.
Grasp the base of the stalk and gently pull the bulb out of the ground.
Shake off any loose soil, being careful not to bruise the garlic.
If the soil is very wet, let the garlic dry slightly in the sun for a few hours.
Curing Garlic
Curing is essential for long-term storage:
Hang the harvested garlic in a dry, well-ventilated area, such as a shed or garage. You can also lay them out on a rack in a single layer.
Allow the garlic to cure for about 2-4 weeks. The outer skins will become papery, and the roots will dry out.
During curing, avoid direct sunlight, which can affect the flavor.
Cleaning and Trimming
Once cured, clean the garlic by trimming the roots and cutting the stalks off about 1 inch above the bulb.
You can also gently rub off any remaining dirt, but avoid removing too many layers of the papery skin.
Storage Tips
Proper storage is key to preserving your garlic:
Store cured garlic in a cool, dry place with good air circulation. A mesh bag, basket, or paper bag works well.
Avoid storing garlic in the refrigerator, as this can cause it to sprout.
Check your stored garlic regularly and use any bulbs that start to sprout or soften.
Special Considerations
Softneck garlic is ideal for braiding and can be a decorative and practical storage method.
Hardneck garlic has a shorter shelf life and should be used first.
FAQs
Can I Plant Garlic in Spring?
Yes, you can plant garlic in the spring, especially in regions where a fall planting is not feasible due to harsh winter conditions.
Spring planting can lead to a successful harvest, though the bulbs may be slightly smaller compared to fall-planted garlic.
Can You Plant Garlic in Pots?
Absolutely. Garlic can be grown in pots or containers, making it a great option for those with limited garden space.
Ensure the pot is deep enough (at least 8 inches) and has good drainage. Use a rich, well-draining potting mix and follow the same planting guidelines as for in-ground planting.
When is the Best Time to Plant Garlic in Spring?
The best time to plant garlic in the spring is as soon as the soil is workable and the threat of hard frost has passed.
In many regions, this is typically in late March or April. However, this can vary depending on your local climate and weather conditions.
Can Garlic Be Planted in Spring in Cold Climates?
Yes, garlic can be planted in the spring in cold climates, but make sure the ground has thawed and warmed up enough for planting.
In very cold regions, using mulch can help protect the young plants from late frost.
How Deep Should I Plant Garlic Cloves?
Plant garlic cloves about 2 inches deep, with the pointed end facing up.
This depth provides enough coverage to protect the clove while allowing the green shoot to emerge easily.
Should I Soak Garlic Cloves Before Planting?
Soaking garlic cloves before planting is not necessary, but some gardeners prefer to soak them in a solution of water and baking soda or seaweed extract to prevent fungal infections and promote healthy growth.
Can You Grow Garlic From Store-Bought Bulbs?
While it's possible to grow garlic from store-bought bulbs, it's not always the best choice.
These bulbs might be treated to prevent sprouting and may not be suited to your local climate. For best results, use garlic bulbs from a garden center or seed supplier.
When and How Should I Harvest Garlic?
Harvest garlic when several of the lower leaves turn brown but there are still a few green leaves at the top.
Gently dig around the bulb and lift it out of the soil. Avoid pulling the garlic by the stalk, as this can damage the bulb.
How Long Does Garlic Take to Cure?
Garlic typically takes about 2-4 weeks to cure.
Hang the bulbs in a well-ventilated, dry location out of direct sunlight.
The outer skins should become dry and papery, and the roots should shrivel.
For more vegetable garden inspiration, check out my guides: