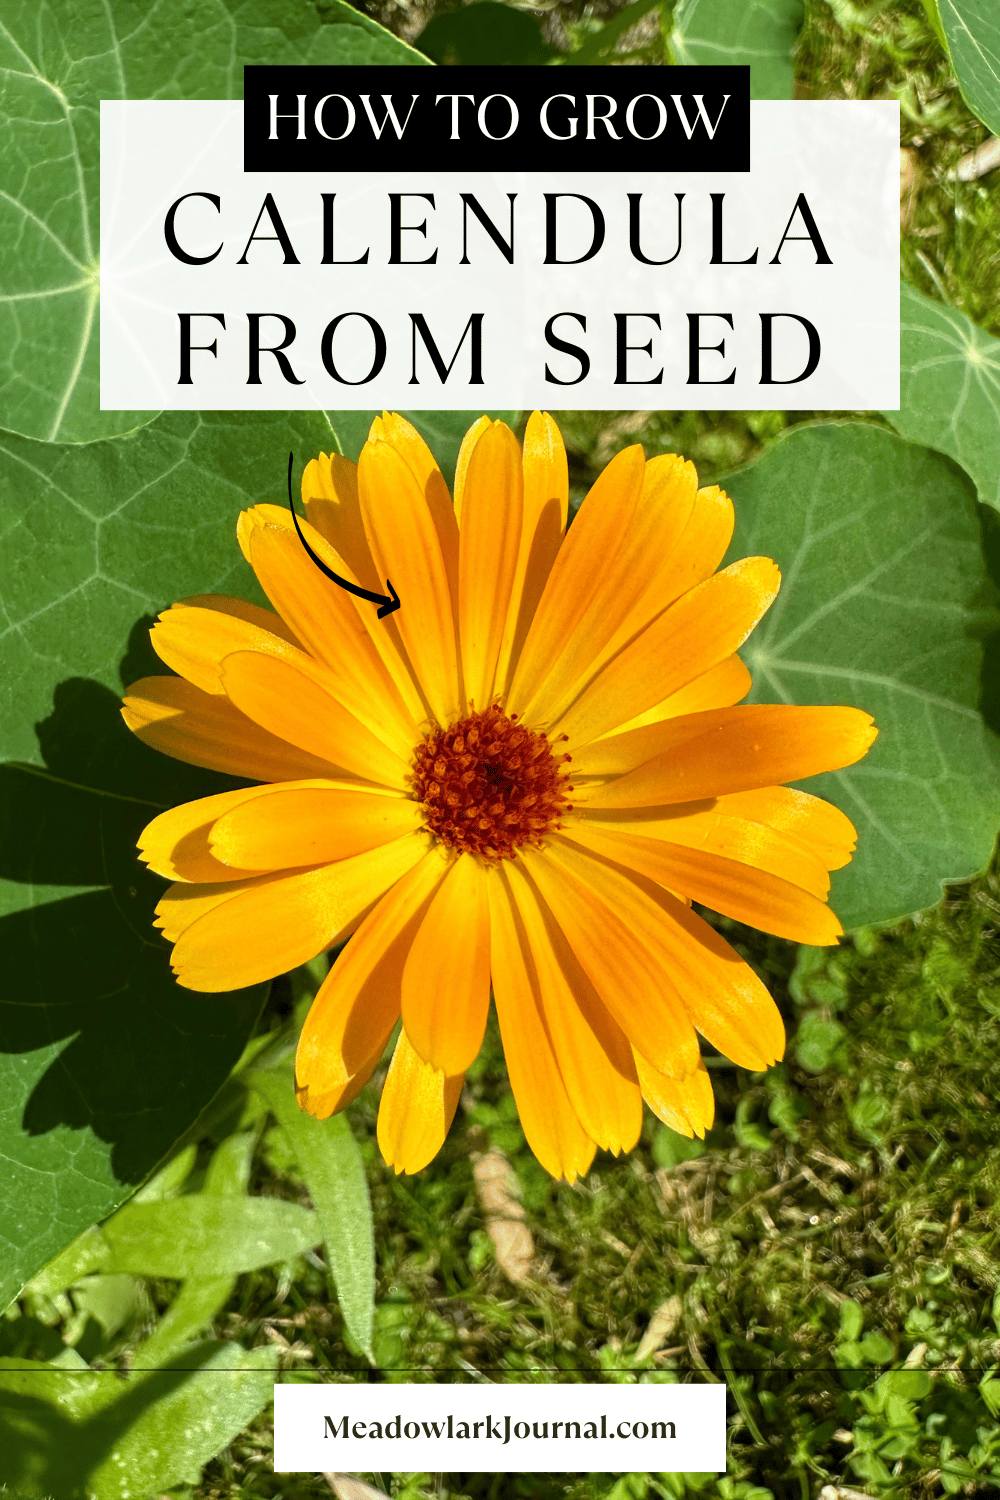
The Easiest Way to Grow Calendula from Seed
This website is reader-supported - thank you! This post may contain affiliate links. As an Amazon Associate, I earn from qualifying purchases at no extra cost to you.
I've always had a thing for starting my garden projects from scratch, and there's something especially rewarding about growing calendula from seed.
Calendula officinalis isn't just another pretty face in the garden; it’s like the Swiss Army knife of plants.
Whether it’s for the sake of companion planting, kicking off a seed starting adventure, or just brightening up the place, calendula has got you covered.
In this post, I'll walk you through how I sow calendula seeds and grow them into the bright, cheerful calendula plants that never fail.
It’s a journey that’s as easy as it is rewarding, and trust me, if I can do it, so can you.
Learn more about growing flowers from seed with my guides:
How to Plant Calendula from Seed
Starting on the calendula-growing journey begins with a tiny yet powerful thing: the seed.
Calendula seeds, with their unique, curved shape resembling tiny worms or caterpillars, hold the promise of vibrant blooms and a garden teeming with life.
Here's is the easiest way how to unlock their potential, whether you're planting directly in your garden or starting seeds indoors.
Choosing Your Seeds
When selecting calendula seeds, you have a world of options at your fingertips.
From the classic bright orange 'Calendula officinalis' to varieties with lemon-yellow or even deep maroon petals, each type brings its own beauty.
I recommend sourcing seeds from reputable suppliers to ensure good germination rates and plant health.
Opt for organic seeds for a more sustainable gardening practice.
Here are my favorite calendula seeds:

Sowing Calendula Seeds Directly in the Garden
Calendula is quite forgiving and can be easily sown directly into the garden soil once the threat of frost has passed.
This method mirrors nature's own way of propagating these resilient plants and will result in strong, healthy growth.
Here's how I do it:
Choose a Sunny Spot:
Calendula loves the sun, thriving in locations that receive full sunlight for most of the day.
A south-facing or west-facing garden location work best.
They can tolerate partial shade, but full sun leads to more vigorous growth and flowering.
Prepare the Soil:
Although calendula isn't fussy, it appreciates well-draining soil.
I like to enrich the soil with a bit of compost or well-rotted manure to give the seeds a great start.
A light, fluffy soil helps the seeds germinate more easily.
Planting the Seeds:
Sow your calendula seeds by spreading them over the soil surface.
Then, gently press them into the ground or cover them with a light sprinkling of soil—no more than 1/4 inch deep.
Calendula seeds need some light to germinate, so don’t bury them too deeply.
Water Wisely:
After planting, water the area gently but thoroughly.
The goal is to keep the soil moist but not waterlogged, as calendula seeds can rot in overly wet conditions.
Calendula Germination Temperature:
The ideal germination temperature for calendula seeds is between 70-75°F (21-24°C).
At this temperature range, calendula seeds tend to germinate best, usually within 7 to 14 days.
For more growing tips, check out my guides:
Starting Calendula from Seed Indoors
For those eager to get a head start on the growing season or living in cooler climates, starting calendula seeds indoors is a great option.
This method gives you more control over the growing conditions and can lead to earlier blooms.
Here’s my approach:
Seed Starting Mix:
Use a high-quality seed starting mix in your trays or pots to ensure good drainage and aeration.
I fill the containers to just below the rim and moisten the mix before planting the seeds.
Here is the seed starting mix I recommend:

Planting Depth and Spacing:
Plant two to three calendula seeds per pot, about 1/4 inch deep.
If you're using trays, space the seeds a couple of inches apart to give each seedling room to grow.
Temperature and Light:
Calendula seeds germinate best at temperatures between 70-75°F (21-24°C).
I place the trays or pots near a sunny window or under grow lights to ensure they get plenty of light once they sprout.
Watering and Care:
Keep the soil consistently moist, using a spray bottle to mist the surface if it begins to dry out.
Seedlings usually appear within 7 to 14 days.
Once they have a couple of sets of true leaves, thin them out, keeping only the strongest seedling in each pot.
Transplanting Seedlings
Whether you’ve started your seeds indoors or sowed them directly, giving your calendula plants enough space to grow is crucial.
For indoor starts, I begin to harden off the seedlings about two weeks before the last frost date by gradually introducing them to outdoor conditions.
Then, I transplant them into their final positions in the garden, spacing them about 8-12 inches apart to allow for ample air circulation and room to grow.
For more growing tips, check out my guides:
Easy Flowers to Grow from Seed
Care and Maintenance of Calendula
Once your calendula plants are happily settled into their spots, whether directly sown into the garden or transplanted from indoor starts, the journey to beautiful blooms is well underway.
Calendula is known for its resilience, but a little attention to detail can go a long way in ensuring a bounty of flowers.
Here's how I keep my calendula plants healthy and flourishing:
Regular Watering
Calendula plants prefer consistent moisture, especially during dry spells.
I aim to keep the soil evenly moist but not soggy, as waterlogged conditions can lead to root rot.
The trick is to water deeply and less frequently, encouraging strong root development.
In the morning, I water at the base of the plants to avoid wetting the foliage, which can lead to fungal diseases.
This is a great way to use rainwater collected from a water butt.
To learn more, check out my guide Water Butts: Sustainable Water Storage for Your Garden.
Mulching
To help retain soil moisture and suppress weeds, I apply a layer of organic mulch around my calendula plants.
Mulch, such as straw, shredded leaves, or compost, not only keeps the soil cool and moist but also adds nutrients as it breaks down.
A 2-3 inch layer is sufficient, but make sure to keep the mulch a few inches away from the plant stems to prevent rot.
To learn more about mulch, check out my guide The Best Alternatives to Traditional Mulch for Your Garden.
Here is the mulch I recommend:

Fertilizing
Although calendula isn't demanding when it comes to feeding, a little boost can enhance growth and blooming.
I incorporate a balanced, slow-release organic fertilizer into the soil at planting time.
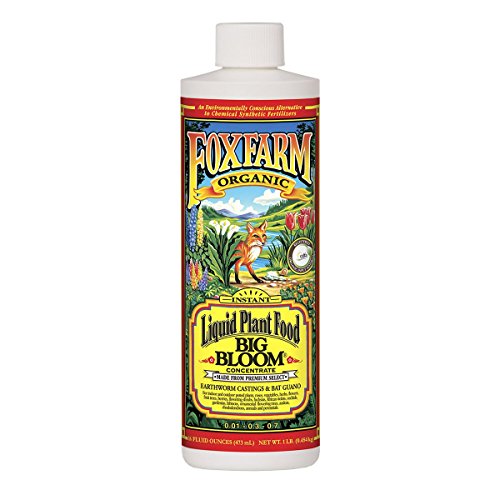
If the growth seems sluggish or the foliage looks pale, I might apply a diluted liquid fertilizer every 4-6 weeks during the growing season.
However, I'm careful not to over-fertilize, as too much nitrogen can lead to lush foliage at the expense of flowers.
To learn more about fertilizer, check out my guide Does Fertilizer Go Bad? The Reality of Fertilizer Shelf Life.
Here is the fertilizer I recommend:
Deadheading
One of the keys to prolonging the blooming period of calendula is regular deadheading, or the removal of spent flowers.
This process encourages the plant to produce more blooms instead of setting seeds.
I gently snap off the faded flowers at the base of their stems, which keeps the plants looking tidy and stimulates new growth.
Plus, it's a peaceful gardening task that I find quite meditative.
To learn more about how to deadhead, check out my guide How to Deadhead Dahlias for Stunning Blooms.
Disease and Pest Management
While calendula is relatively pest-resistant, it's not immune to garden troubles.
I keep an eye out for common issues like aphids and powdery mildew.
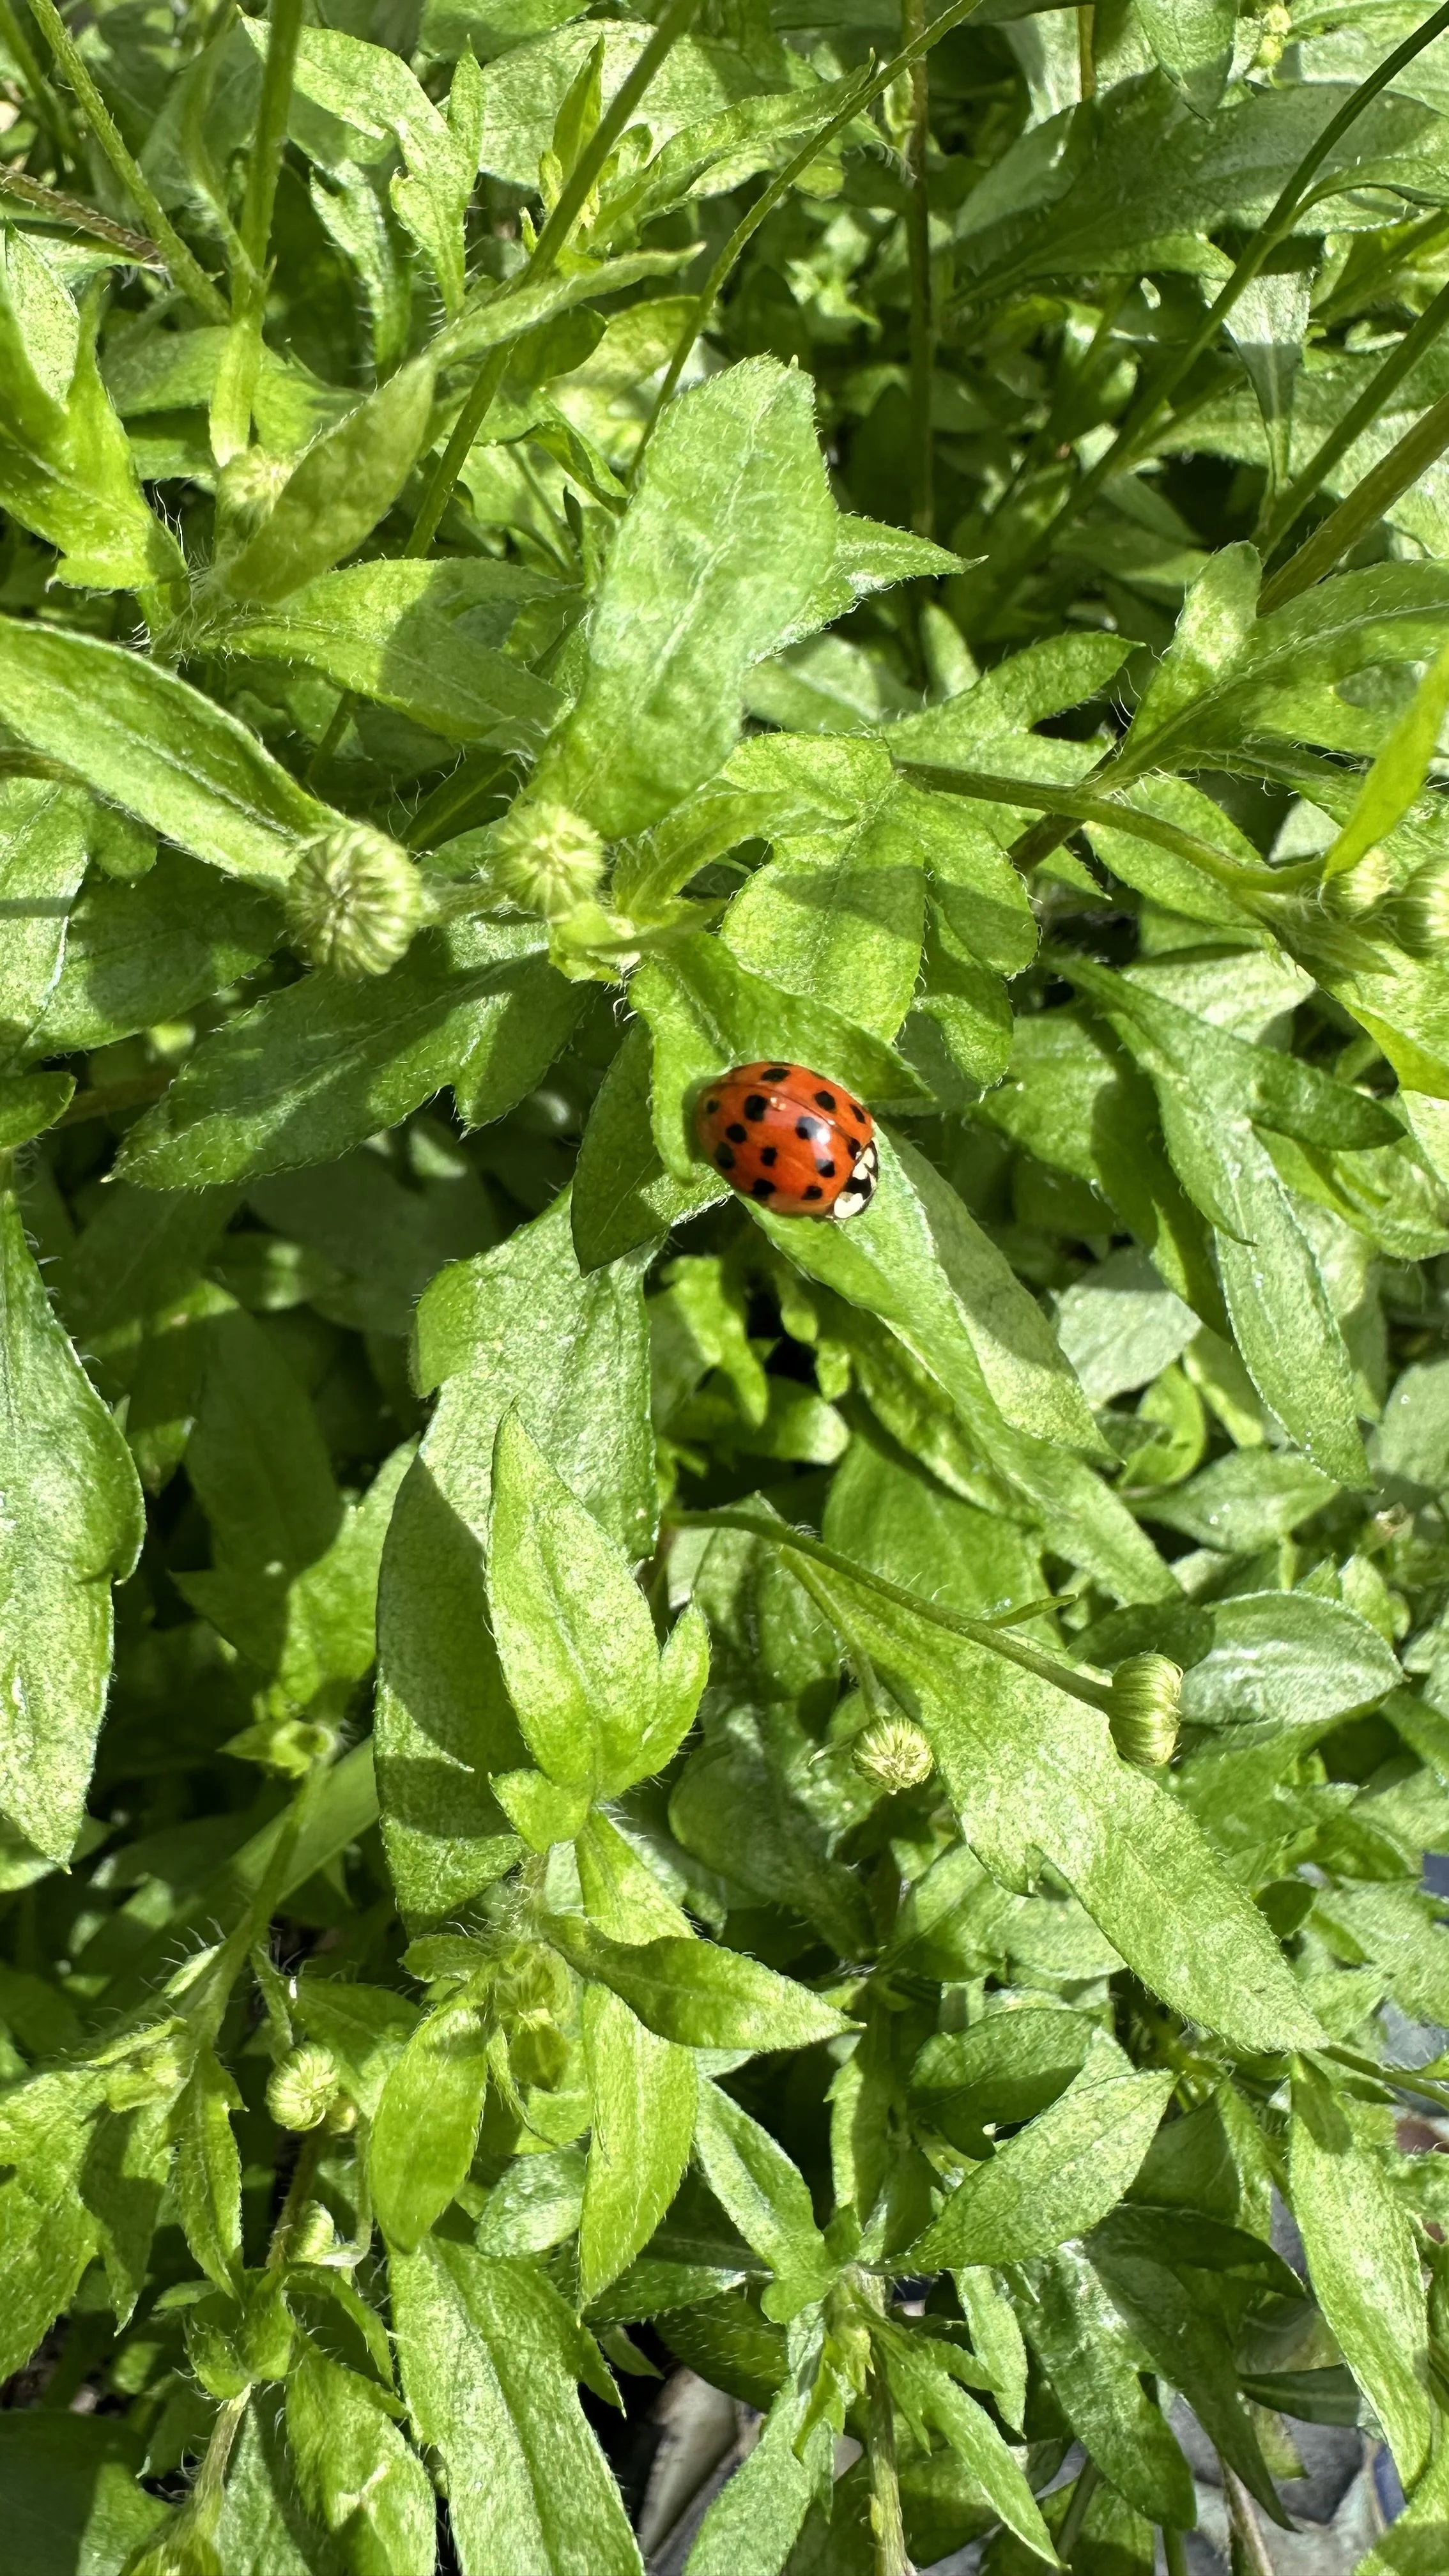
Aphids can be managed with a strong jet of water from the hose or by introducing beneficial insects like ladybugs.
For powdery mildew, ensuring good air circulation around the plants and watering at the soil level (rather than overhead) can help prevent outbreaks.
If mildew does appear, I apply a homemade baking soda spray (1 teaspoon baking soda mixed with 1 quart of water) to affected areas.
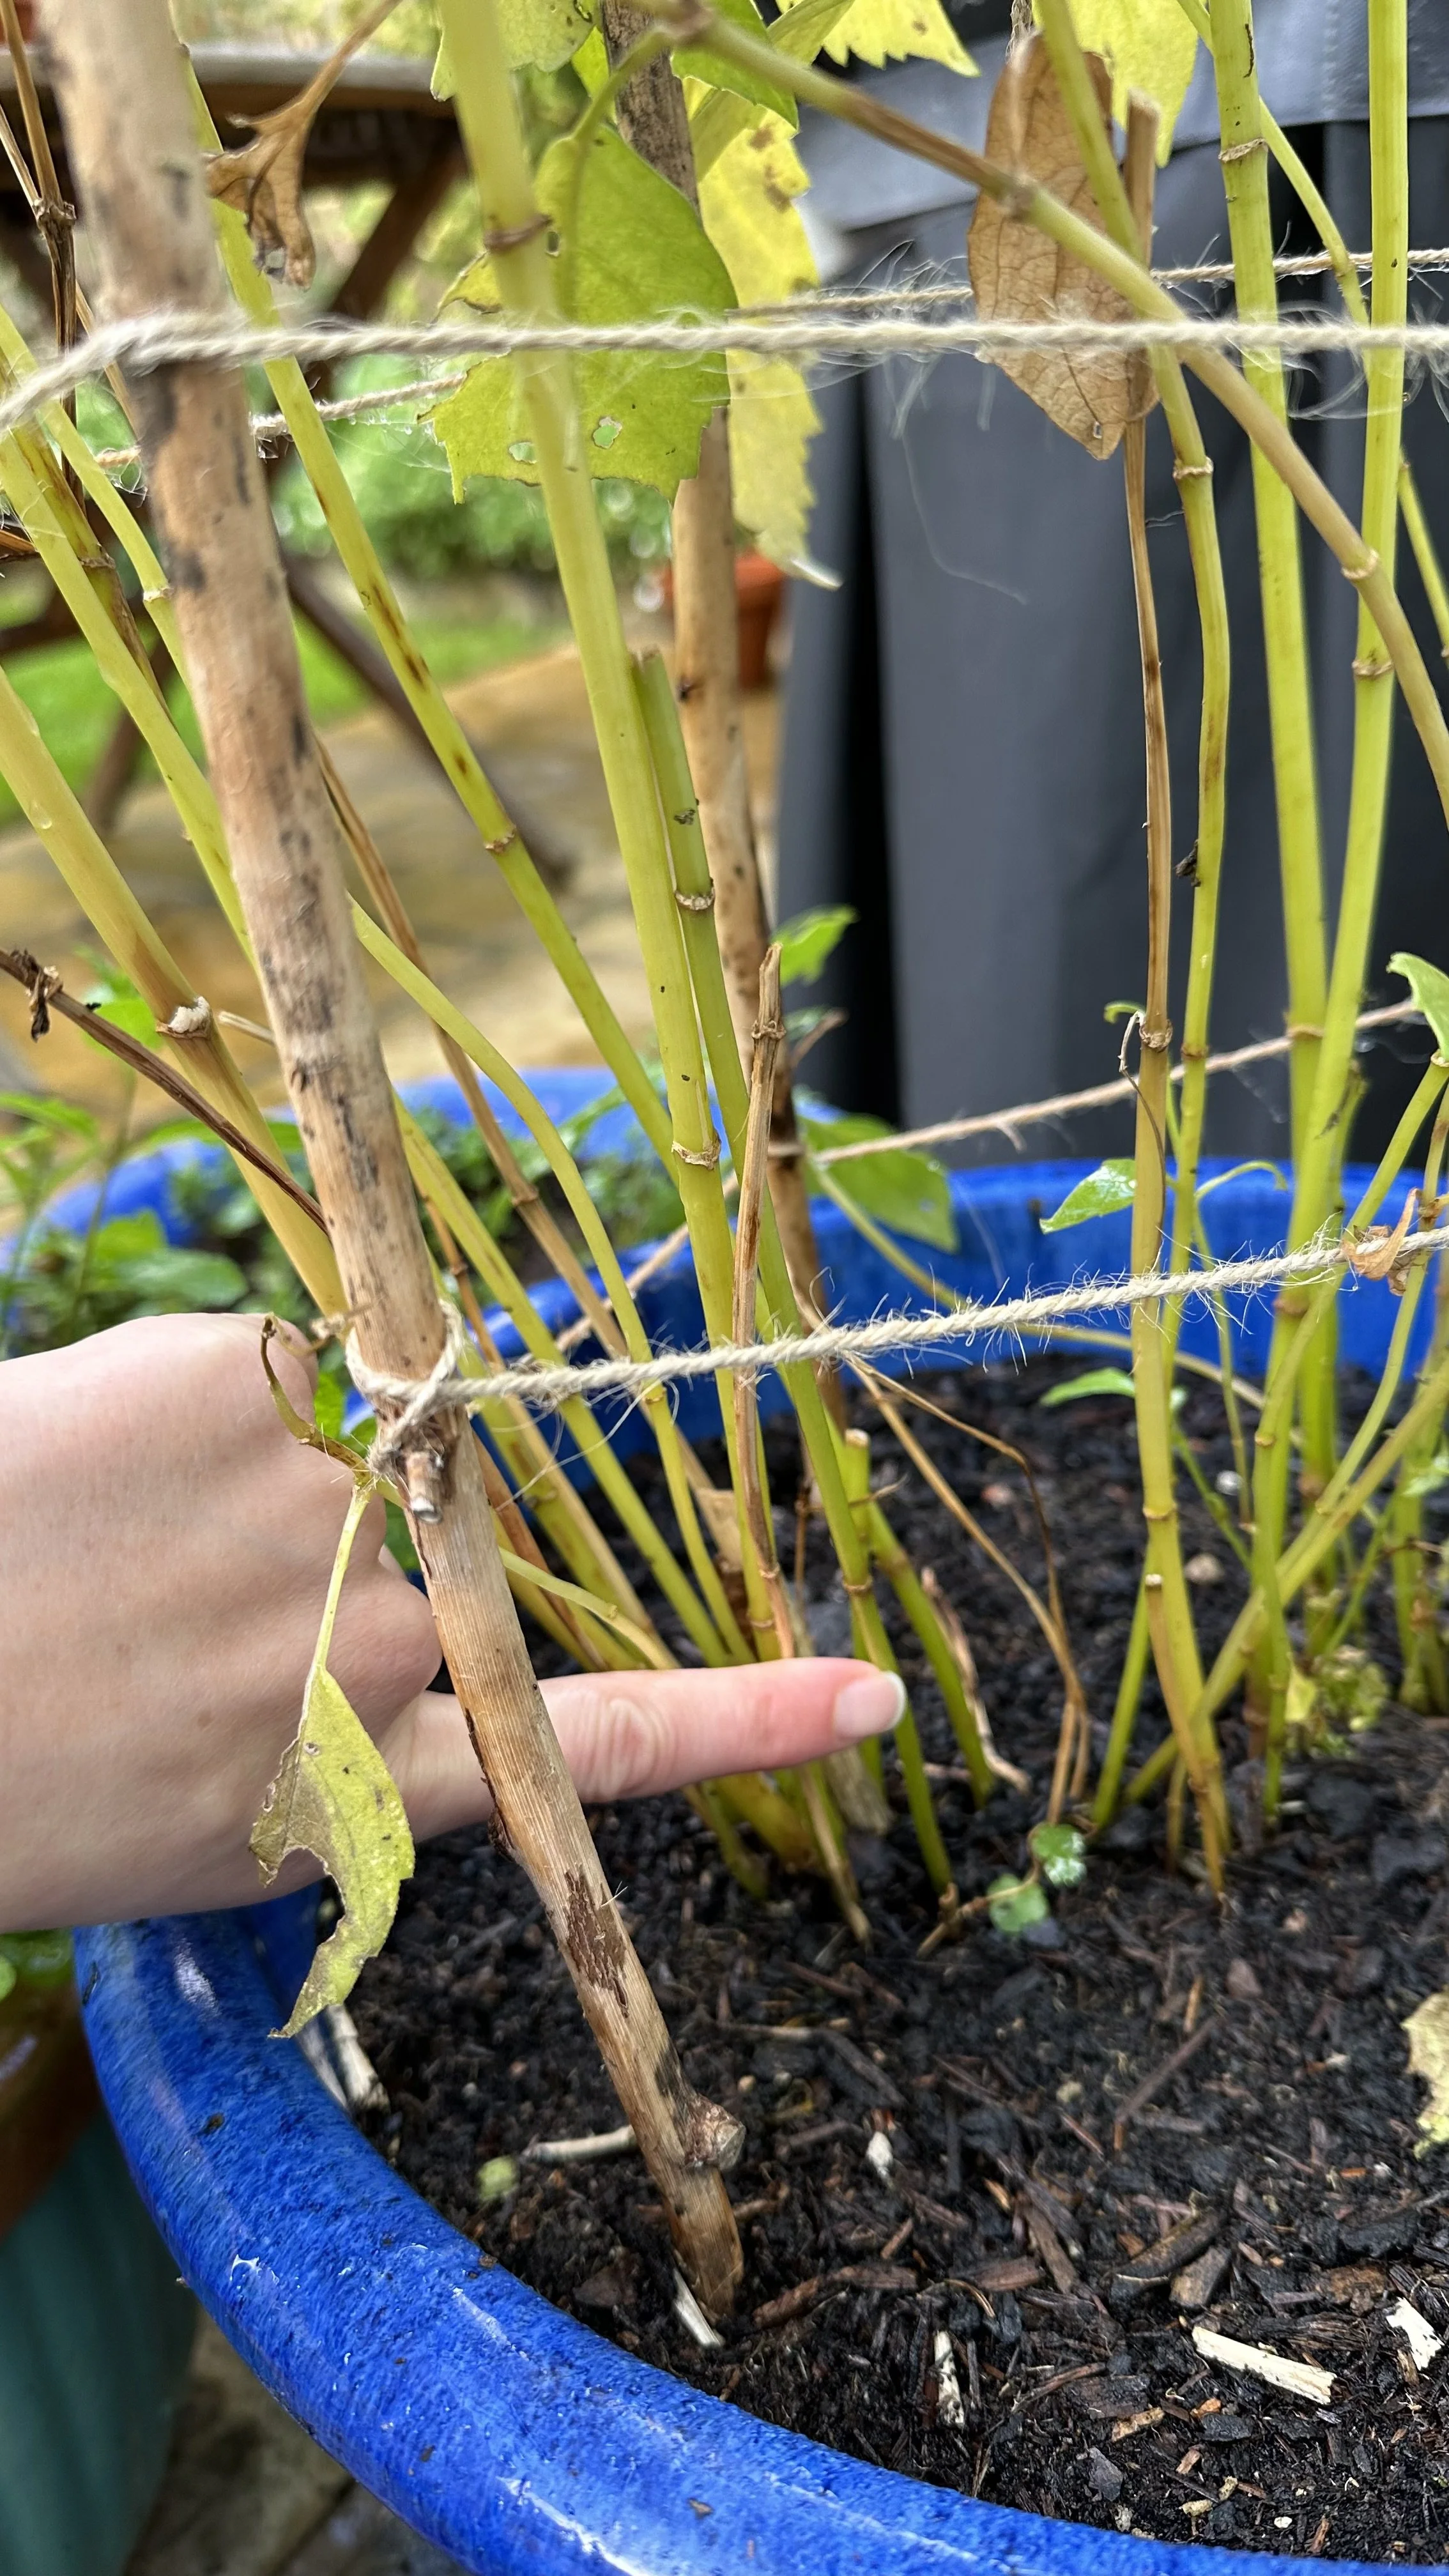
Supporting the Plants
As some calendula varieties can grow quite tall and bushy, they may require some support to keep them from flopping over, especially in windy locations or when the flowers become heavy with rain.
A few stakes and soft ties can do the trick, gently lifting the stems and keeping the pathway clear.
End-of-Season Care
At the end of the growing season, I let a few flowers go to seed, providing a natural way to replenish the calendula population in my garden for the following year.
I collect some seeds to store and share with friends, ensuring a continuous supply of these cheerful blooms.
For more tips, check out my guide:
For more garden inspiration, check out my guides:
Harvesting and Using Calendula
The magic of calendula extends far beyond its sunny blooms in the garden.
Here's how I make the most out of my calendula harvest:
When to Harvest
The best time to harvest calendula flowers is in the late morning after the dew has evaporated but before the midday sun is at its peak.
This timing ensures the flowers are dry but still full of vitality.
Look for blooms that are fully open and vibrant in color, as these will have the most potent properties.
Regular harvesting encourages the plant to produce more flowers, extending the blooming season.
How to Harvest
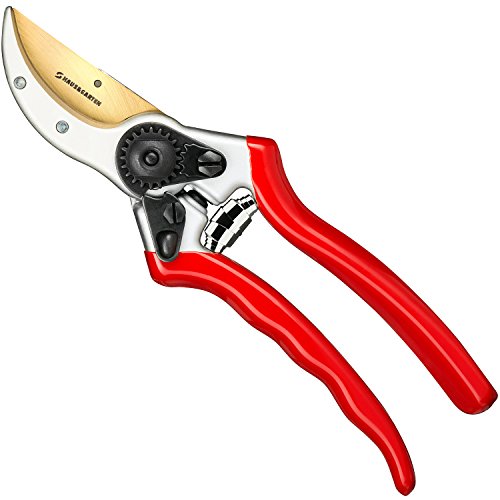
Harvesting calendula is straightforward: simply snip the flower heads at the stem using clean, sharp scissors or garden shears.
I like to bring a basket or tray with me to hold the flowers as I collect them.
It's a peaceful, meditative activity I love.
Here are the garden shears that are perfect for the job:
Drying Calendula Flowers
For many uses, calendula flowers need to be dried.
Spread the flowers out on a clean, dry surface in a well-ventilated, shady spot.
I often use a mesh drying rack to ensure good air circulation around each bloom.
Depending on the humidity and temperature, drying can take anywhere from a few days to a week.
You'll know the flowers are fully dried when they feel crisp to the touch.
Store the dried flowers in airtight containers away from direct sunlight to preserve their color.
To learn more check out my guides How to Store Dried Flowers and How Long Do Dried Flowers Last?
Culinary Uses
Calendula petals, both fresh and dried, are edible and have a slightly peppery, tangy taste.
They make a beautiful addition to salads, soups, and baked goods, imparting a beautiful color and a hint of flavor.
Fresh petals can also be frozen in ice cubes for a decorative touch.
Collecting Calendula Seeds
To collect calendula seeds, wait until the flower heads are fully dry and have turned brown on the plant.
Gently remove the dried flower heads and carefully pull apart the petals and base to reveal the seeds, which look like small, curved spikes.
Store the seeds in a cool, dry place until you're ready to sow them again for the next growing season.
Why Grow Calendula?
I quickly learned that some plants offer more than just beauty, and calendula is a prime example.
Here's why I've fallen head over heels for growing calendula and why you might, too:
Beauty and Versatility
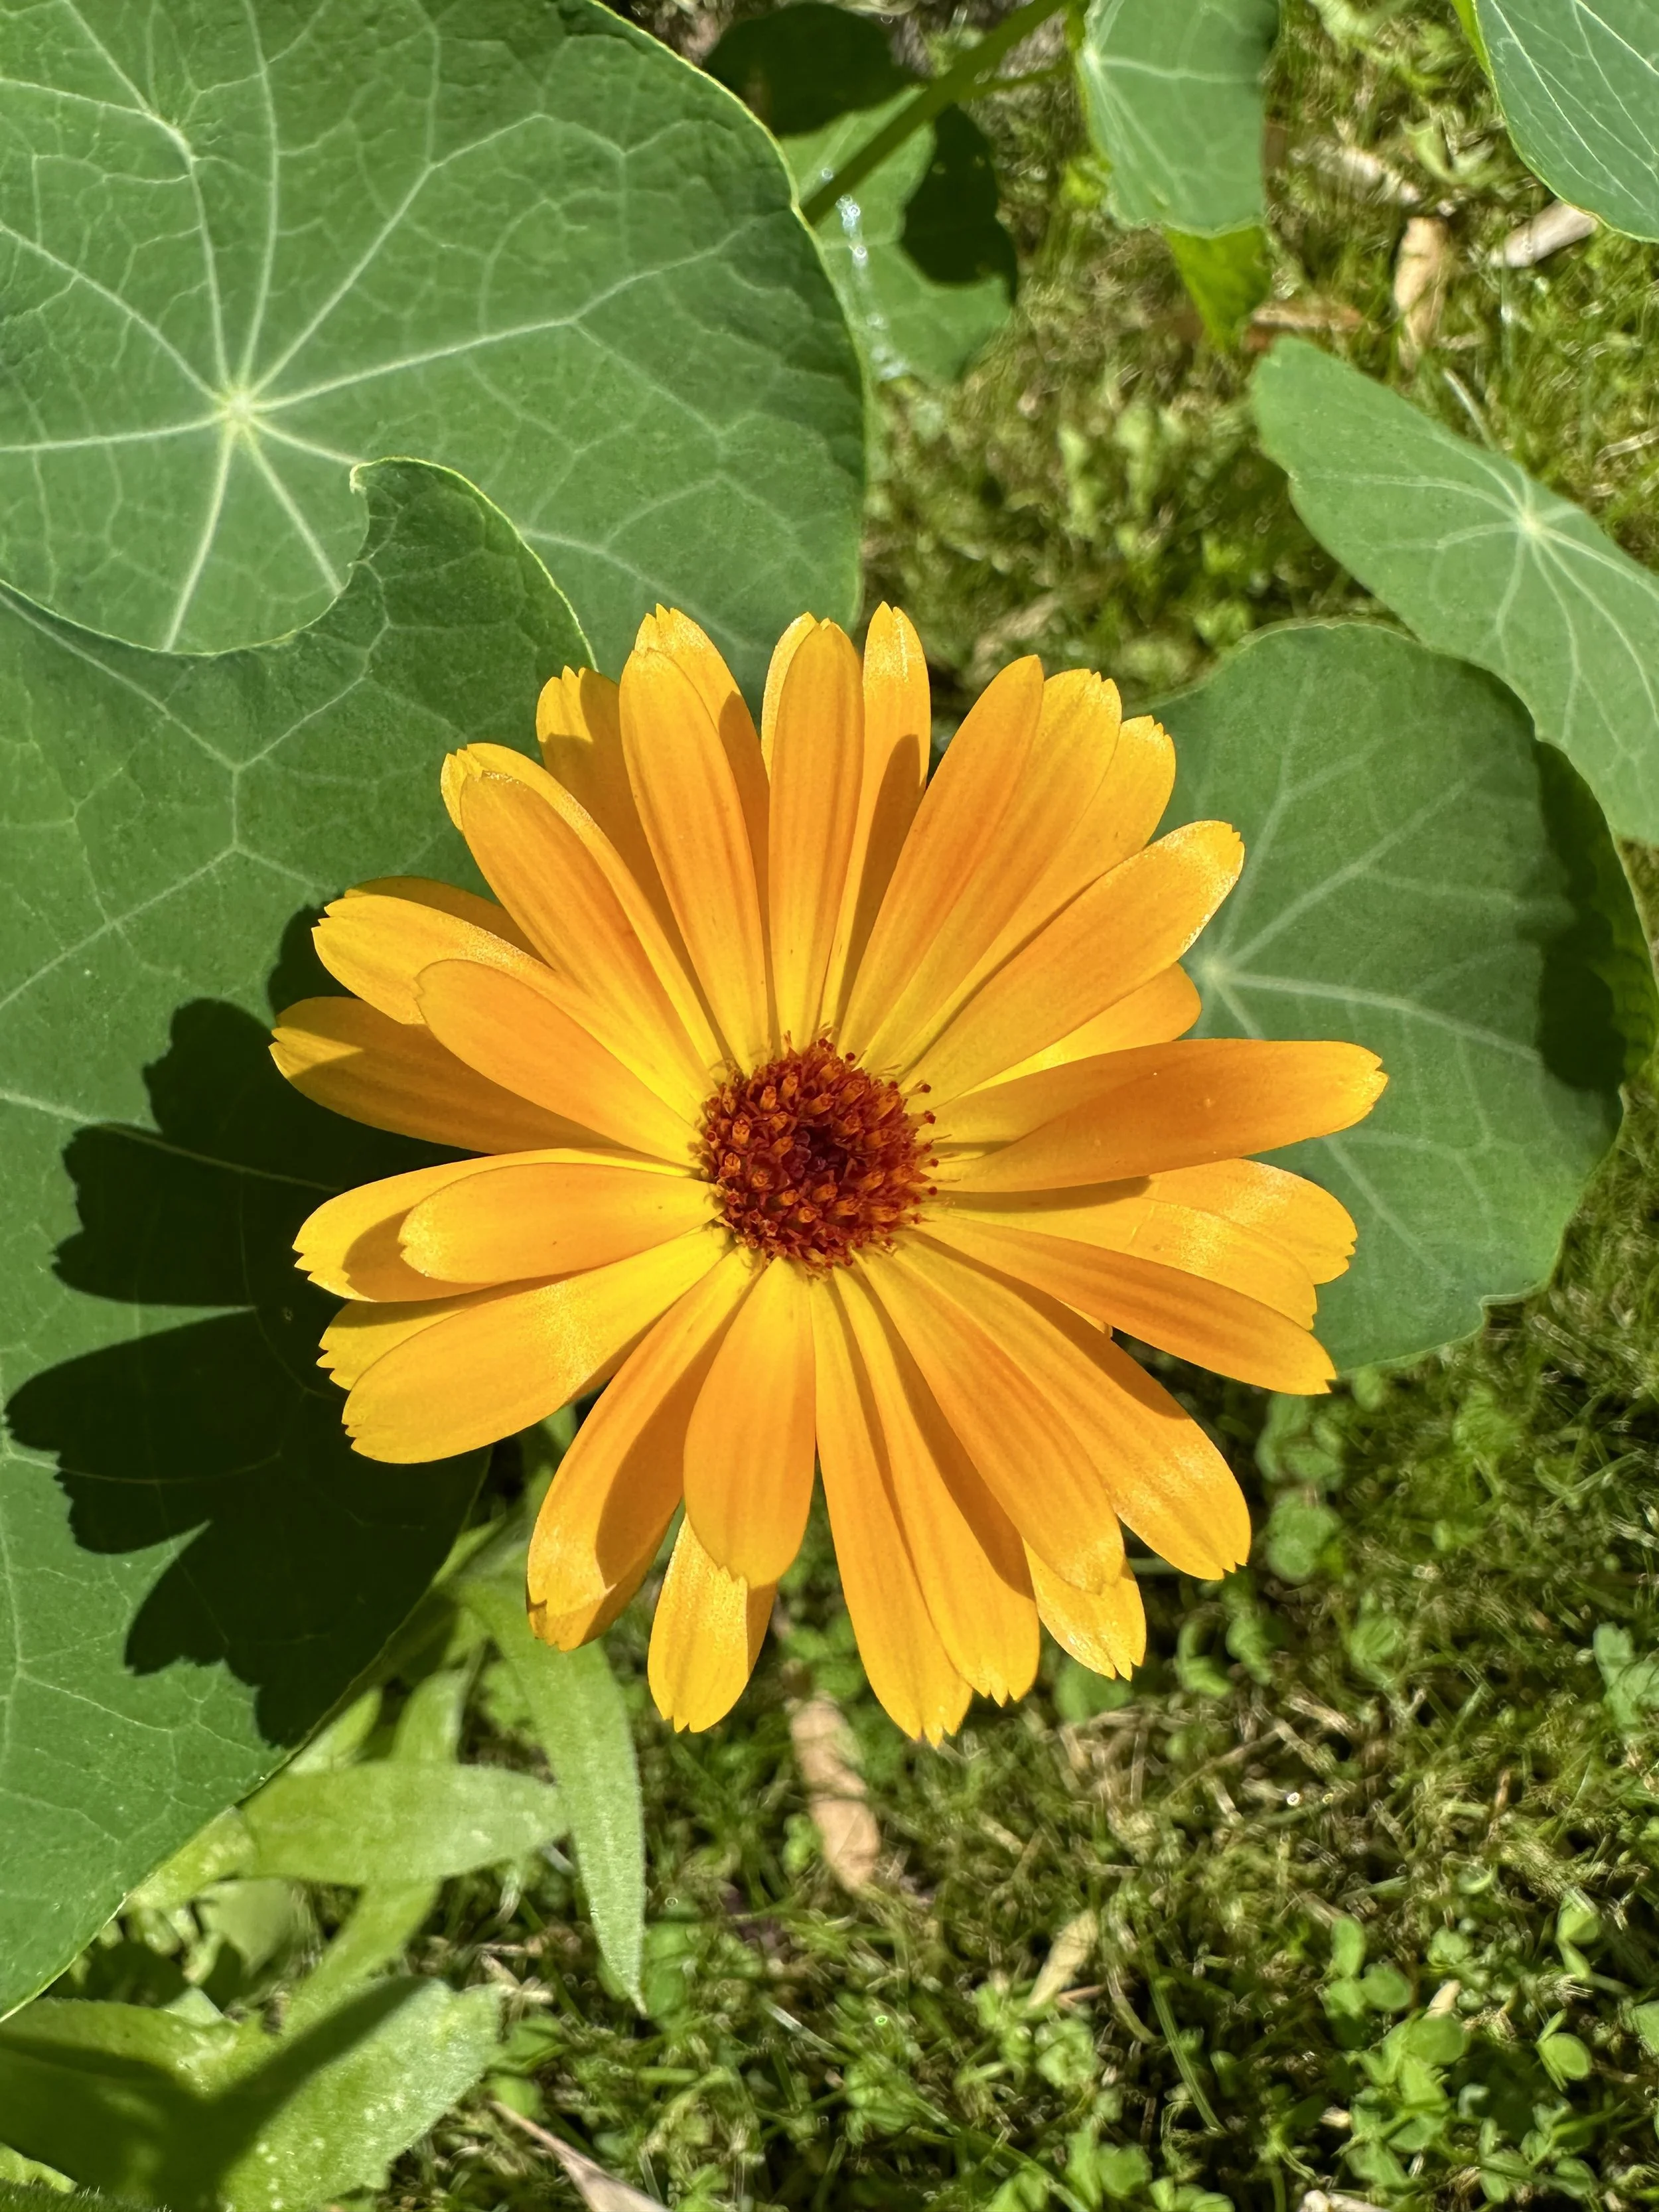
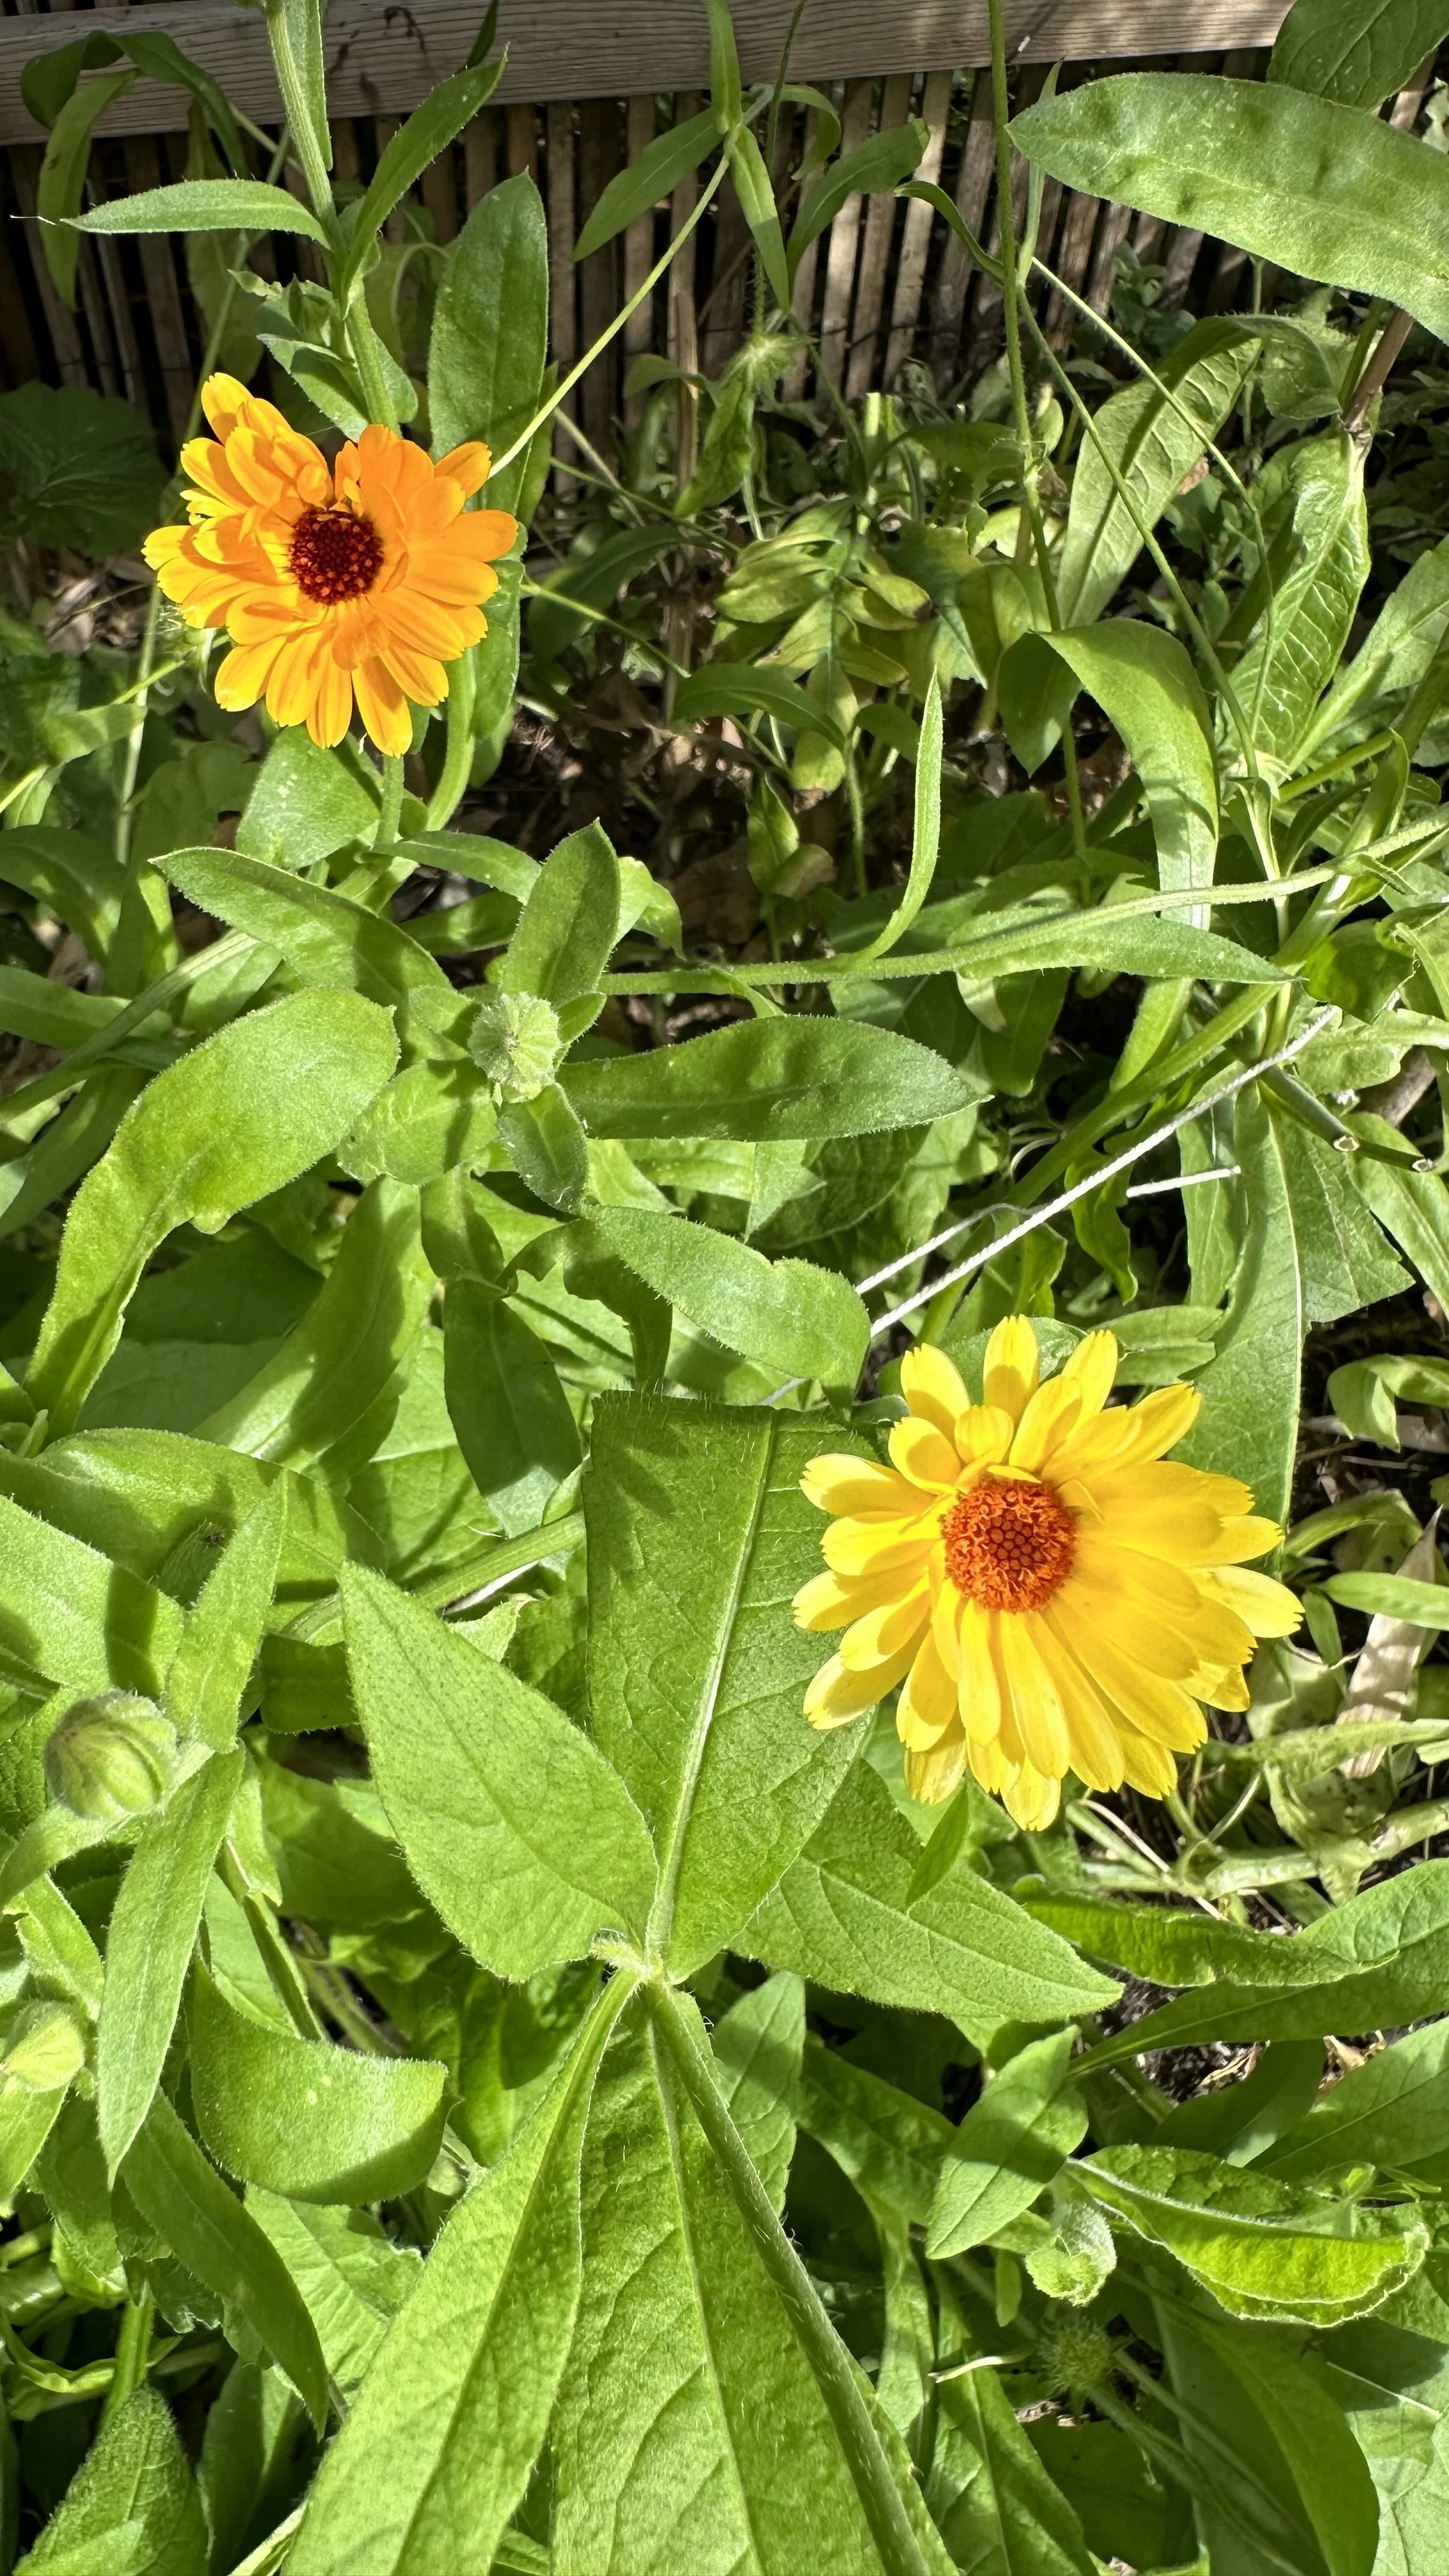
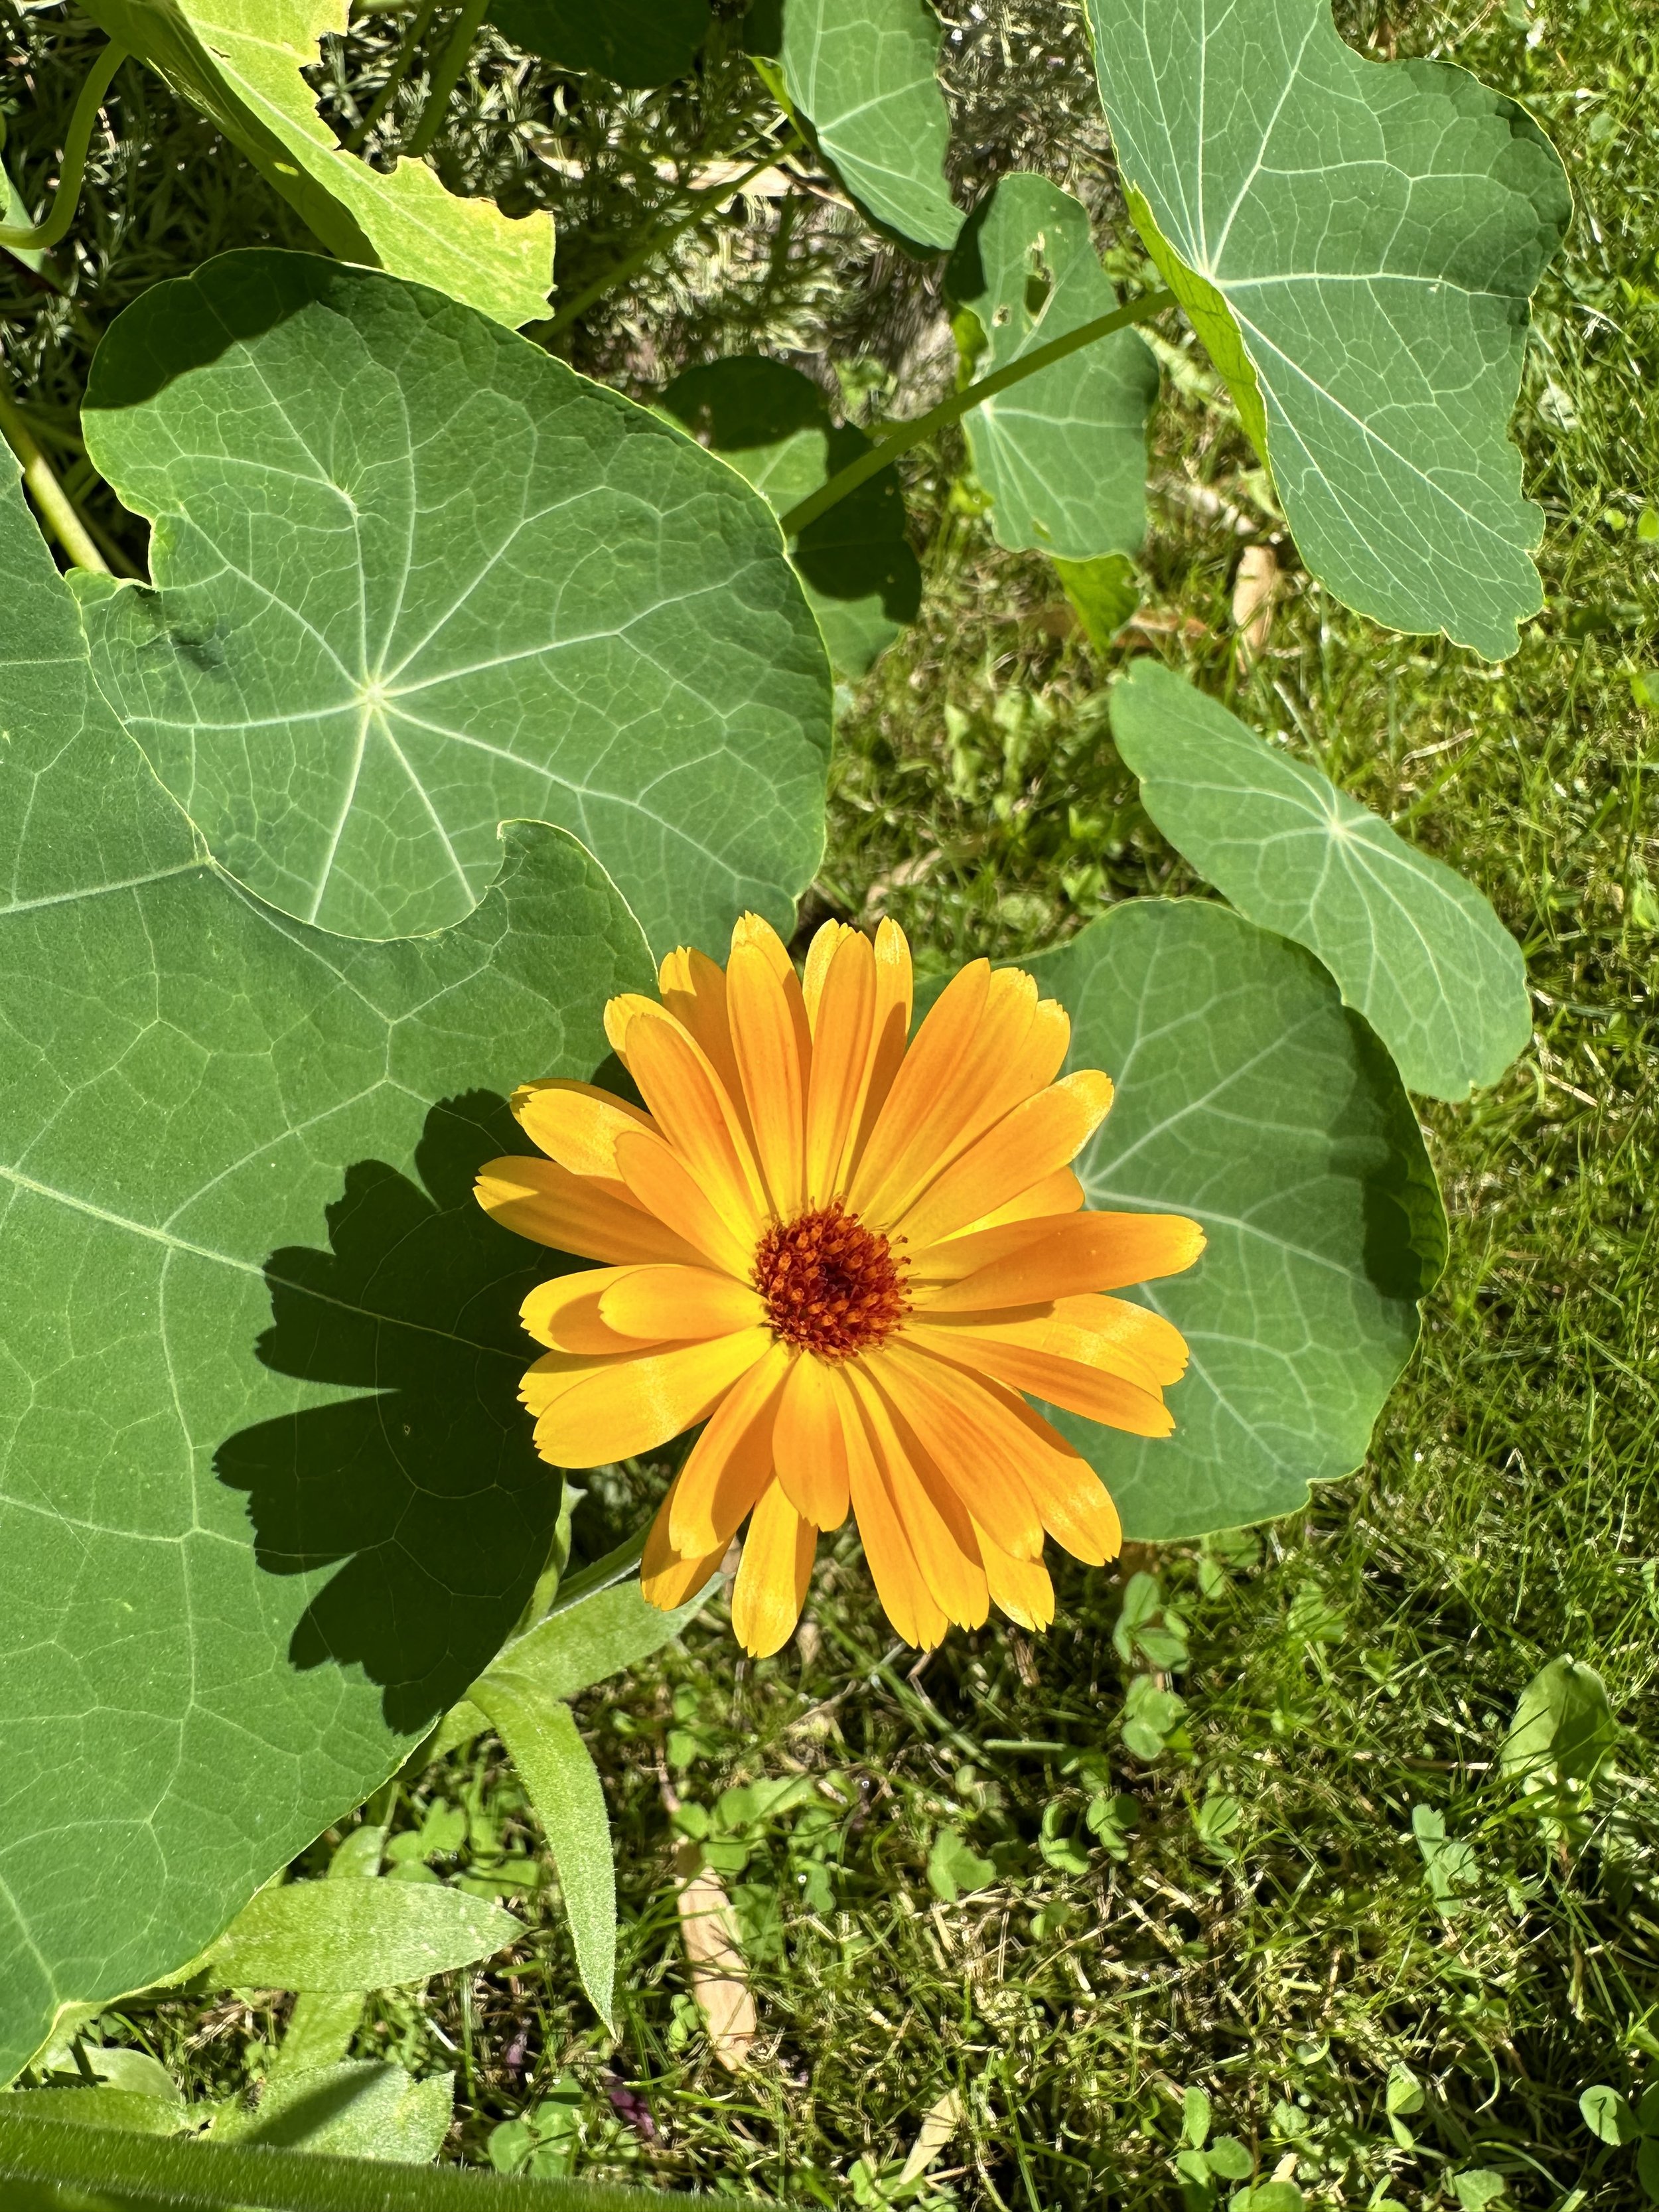
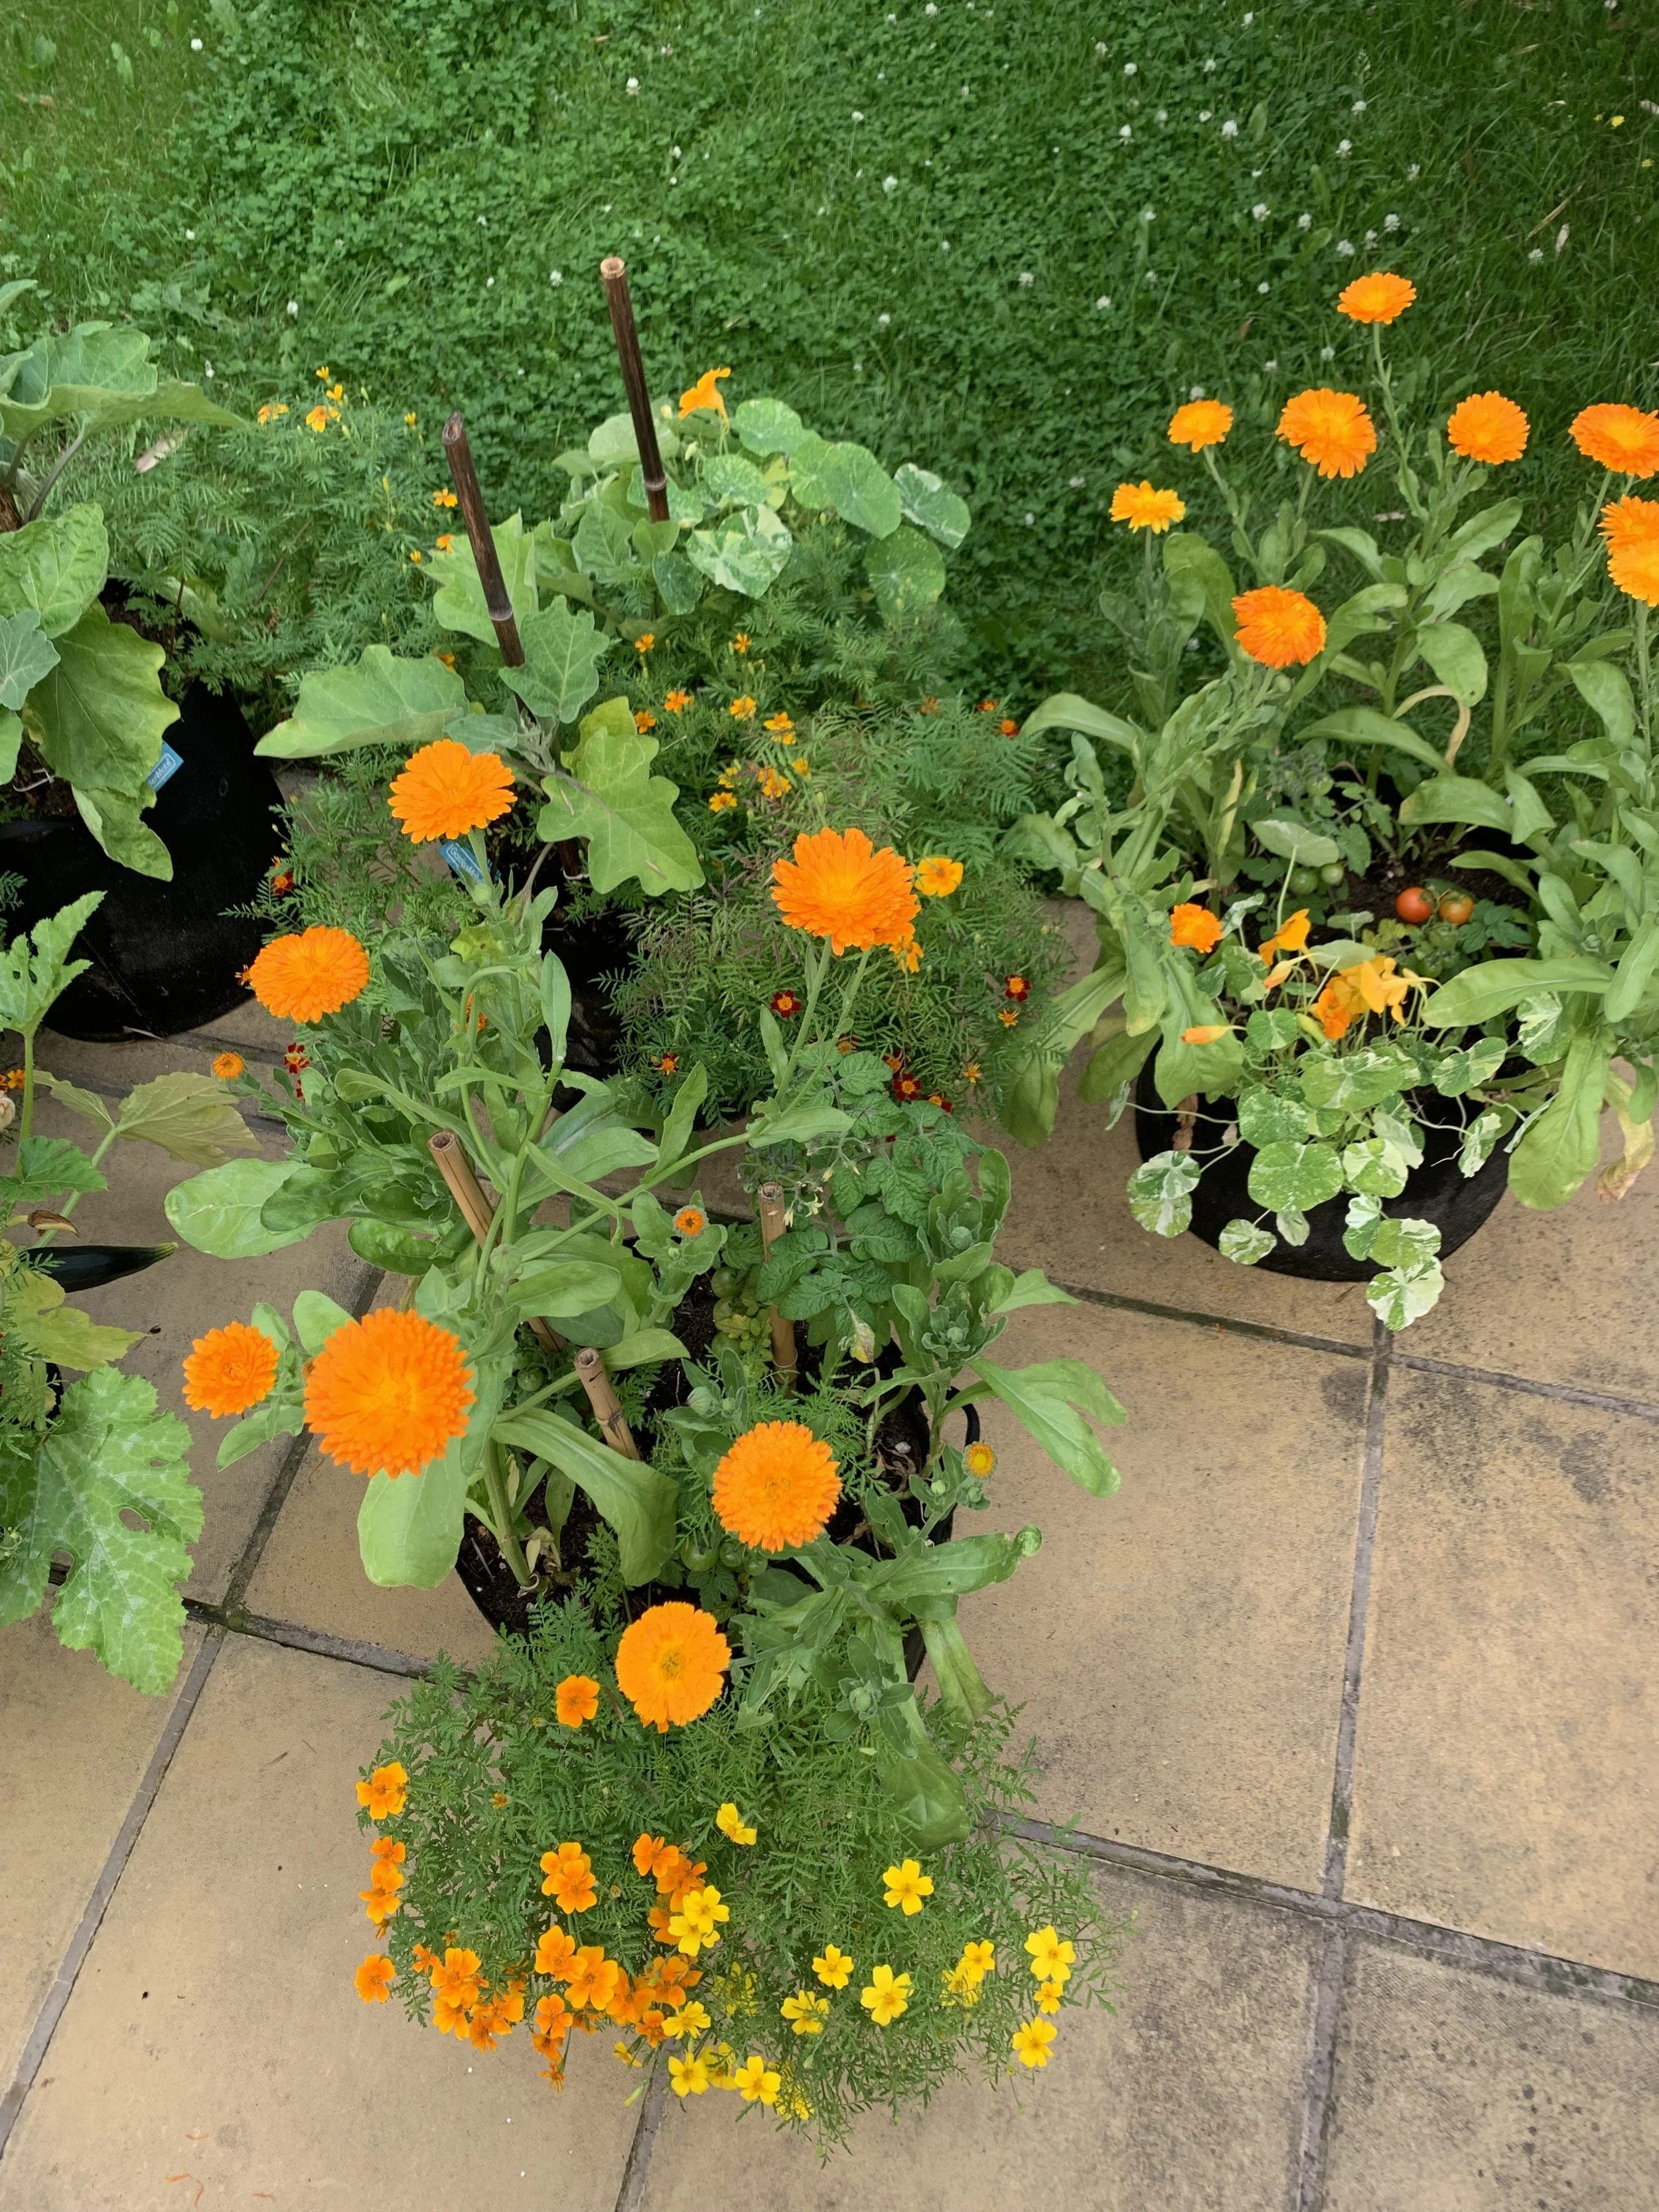
First off, the vibrant hues of calendula flowers, ranging from sunny yellow to deep orange, are stunning.
They have a unique ability to light up any garden corner.
But their appeal is larger than that.
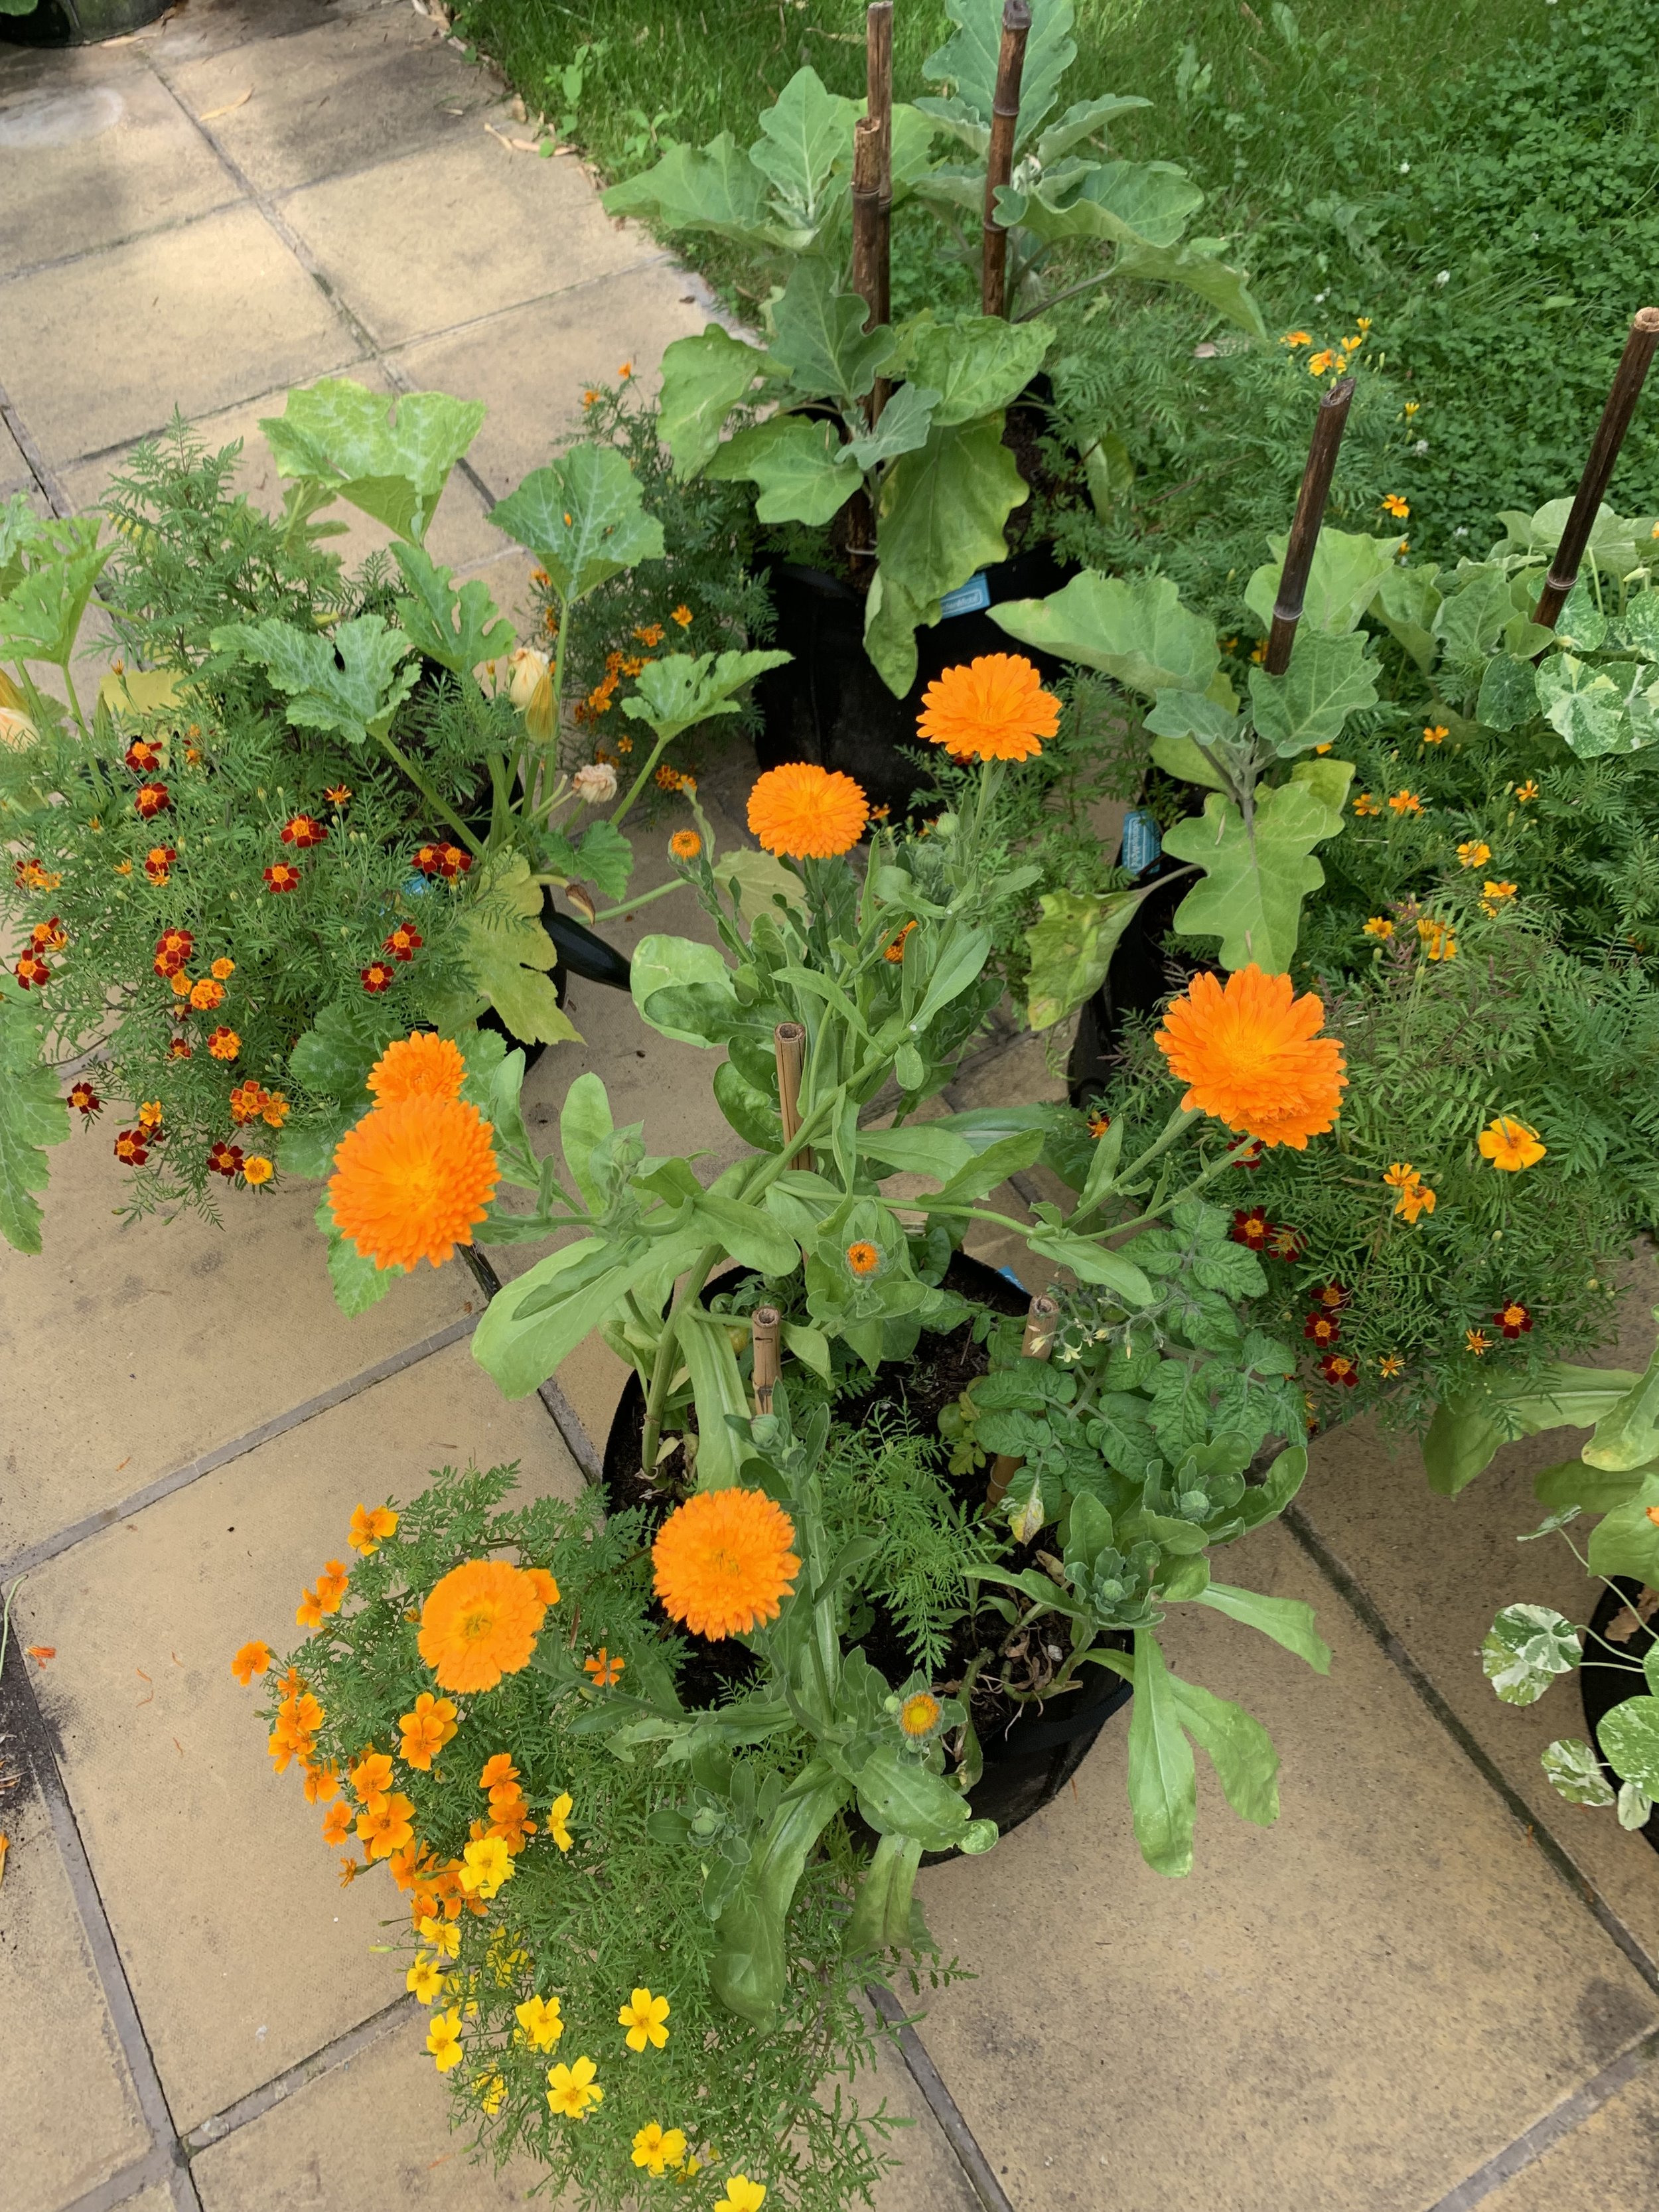
Calendula's versatility in the garden is unmatched.
Whether you're filling gaps in flower beds, edging paths, or adding pops of color to vegetable gardens, calendula seamlessly fits in, enhancing the overall beauty of your garden.
Pollinator Magnet
In my garden, calendula acts as a beacon for bees, butterflies, and other beneficial insects.
Watching these pollinators buzz and flutter around the calendula blooms is not only mesmerizing but also crucial for the health of my garden.
By attracting these natural allies, calendula supports the pollination of my vegetables and contributes to a balanced ecosystem.
Companion Planting Champion
Calendula's benefits extend beyond beauty and pollination; it's a champion of companion planting.
I've observed firsthand how planting calendula near my vegetables and herbs has resulted in healthier plants with fewer pest problems.
Its strong scent is believed to deter common garden pests, and it's said to even improve the growth of certain crops.
Plus, it can help with soil health by attracting beneficial nematodes and repelling unwanted pests.
Edible and Medicinal Uses
One of my favorite aspects of calendula is that it's not just for show.
The petals are edible, adding a splash of color and a peppery taste to salads, soups, and baked goods.
Beyond the kitchen, calendula has a storied history in herbal medicine.
Its flowers are known for their anti-inflammatory, antiseptic, and healing properties, making them a go-to ingredient for homemade salves, oils, and teas.
Whether you're soothing skin irritations or brewing a calming tea, calendula offers natural remedies right from your backyard.
Easy to Grow and Maintain
For anyone new to gardening or those with busy schedules, calendula is a forgiving friend.
It's remarkably easy to grow from seed, resilient to most pests and diseases, and tolerant of a range of soil types and conditions.
Plus, calendula's self-seeding nature means you might find delightful surprises popping up in your garden year after year, with minimal effort.
Sustainable Gardening
Growing calendula aligns with sustainable gardening practices.
It's not just about the blooms; it's about contributing to a healthier planet.
By attracting beneficial insects, improving soil health, and reducing the need for chemical pesticides, calendula plays a small but significant role in my quest for a more eco-friendly garden.
For more garden tips, check out my guide:
Plants That Deter Cats: A Natural Solution to Keep Cats at Bay
FAQs
How long do calendula seeds take to germinate?
Calendula seeds typically germinate within 7 to 14 days under the right conditions.
They prefer a warm and moist environment to start, with temperatures around 70-75°F (21-24°C).
Ensuring your seeds are planted in well-draining soil and keeping the soil consistently moist can help speed up the germination process.
Can I grow calendula in pots?
Absolutely!
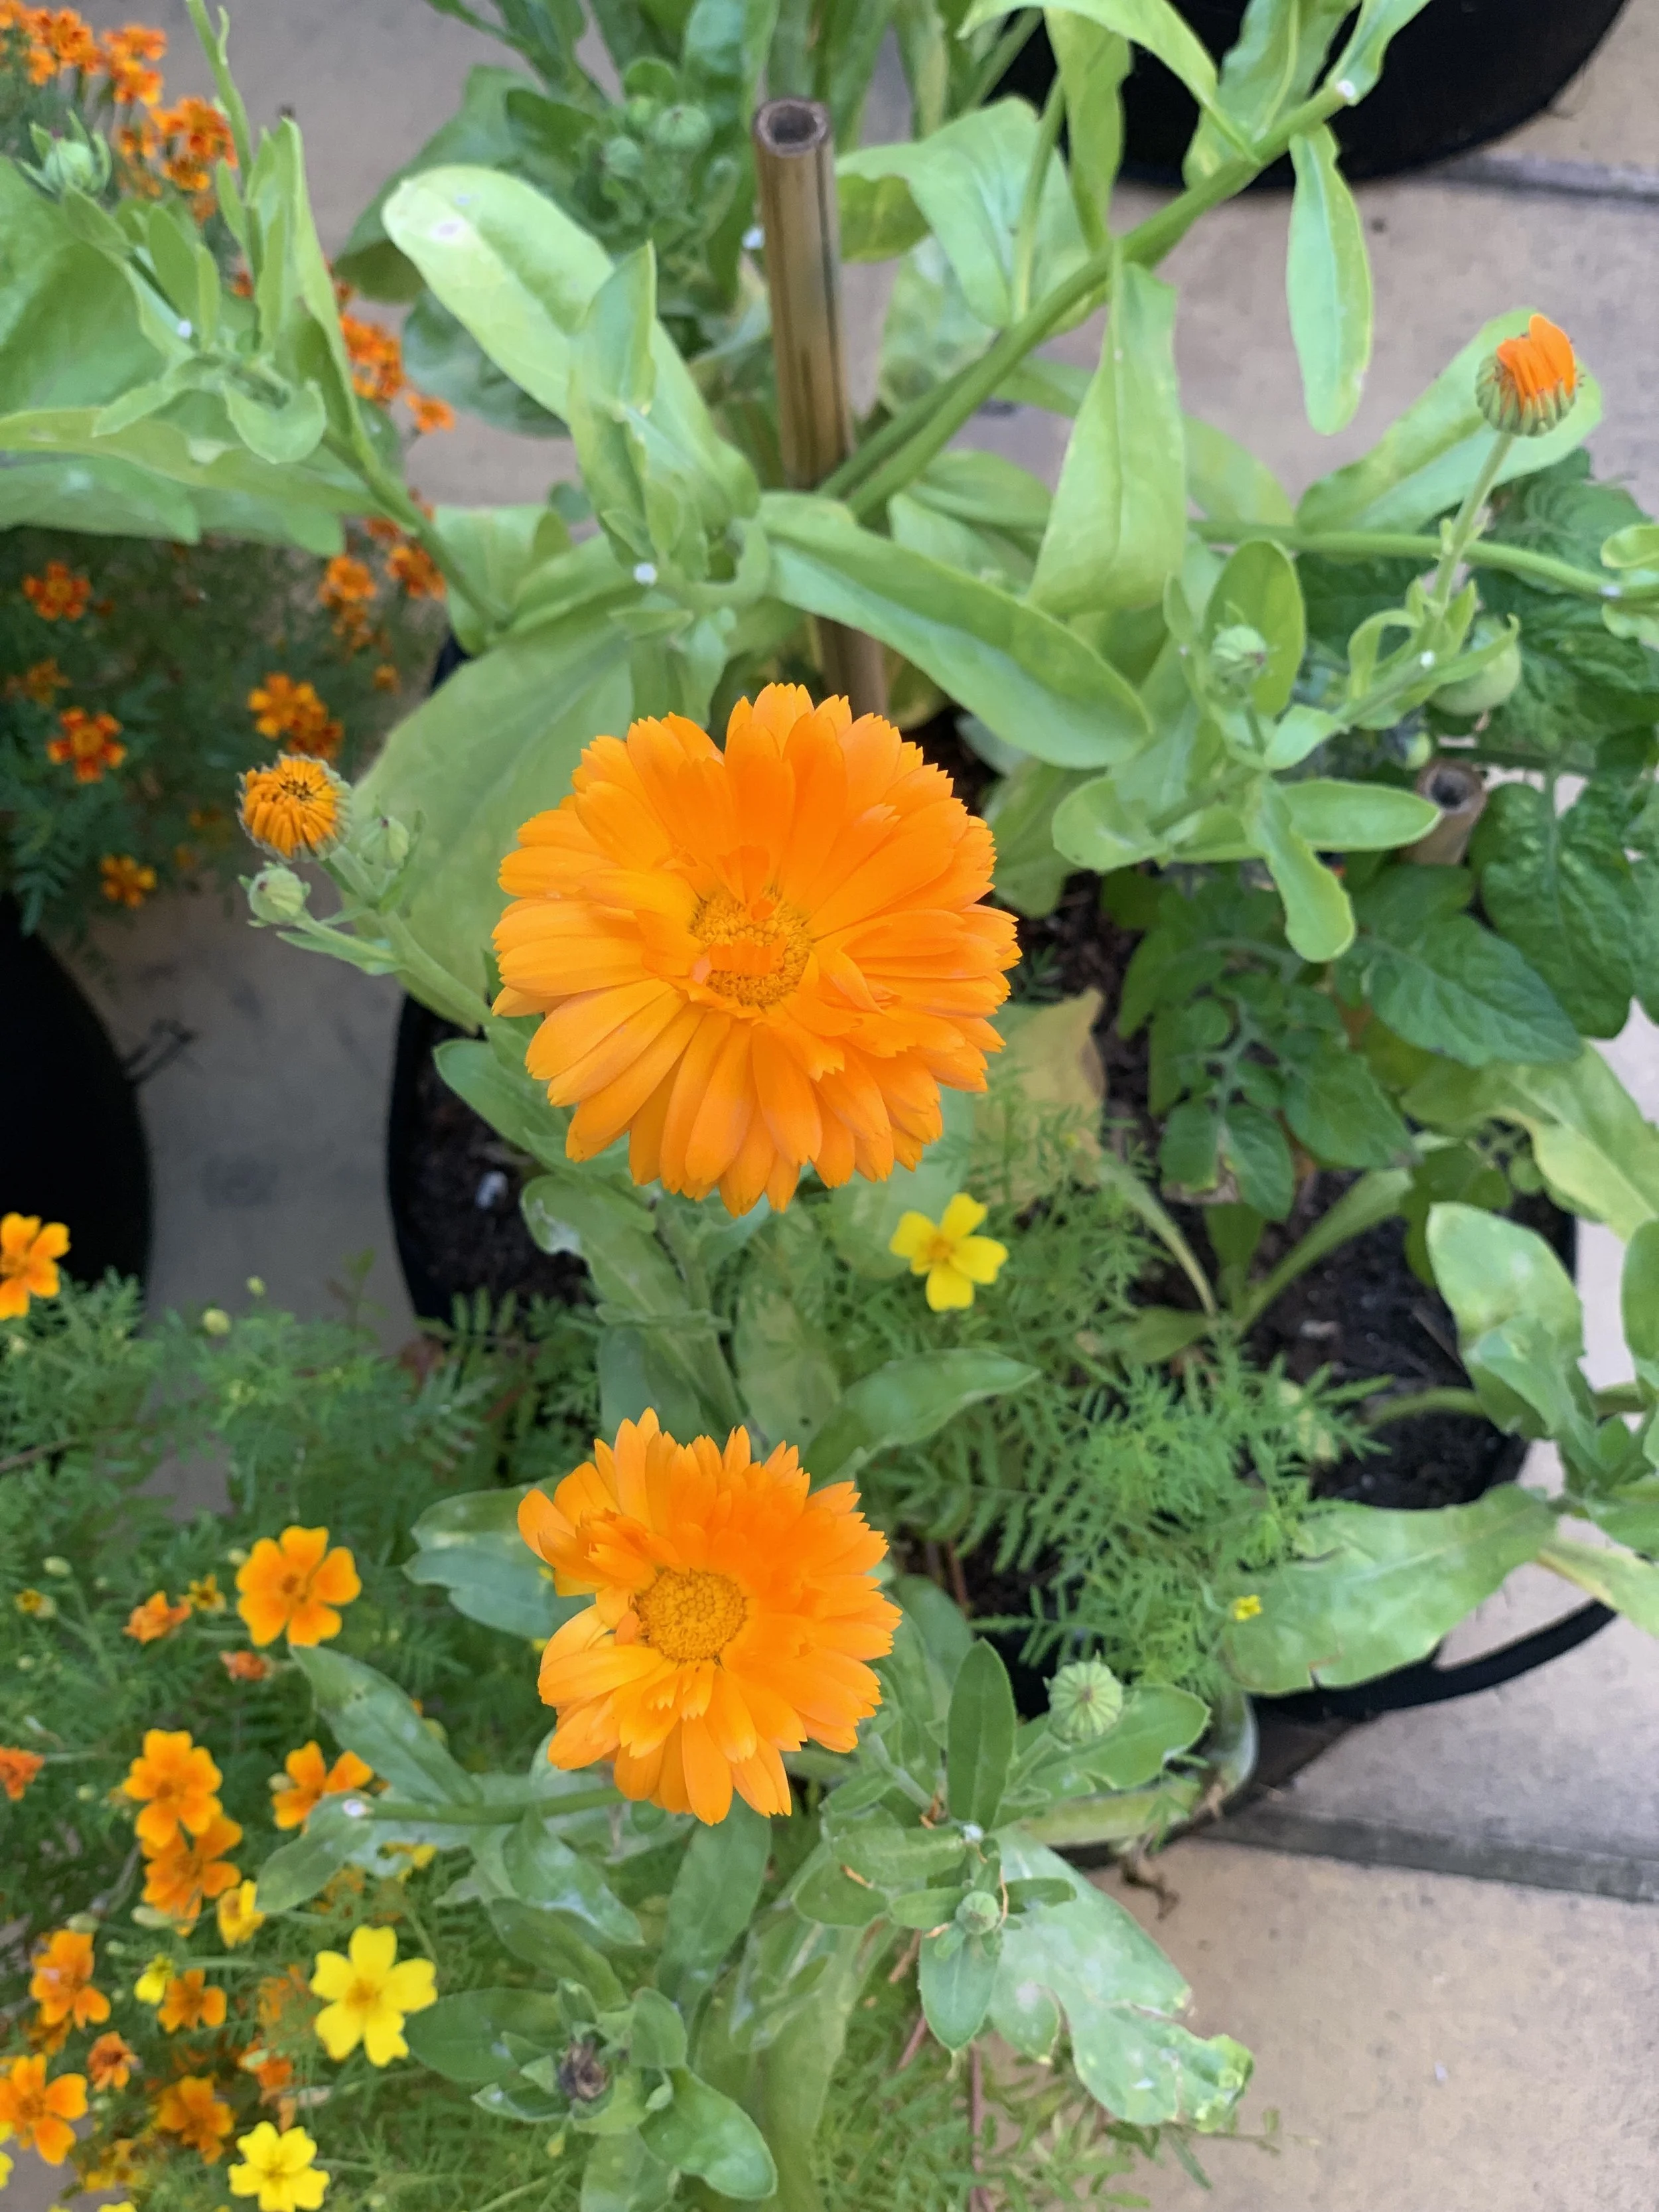
Calendula thrives in pots and containers, making it a versatile choice if you have limited space or those looking to add color to patios and balconies.
Just ensure your container has good drainage holes, use a well-draining potting mix, and place it in a spot that receives plenty of sunlight.
What should I plant with calendula for companion planting?
Calendula is a fantastic companion plant for a variety of vegetables and herbs.
It's known to deter pests like aphids and can attract beneficial insects, such as ladybugs and bees.
Planting calendula near tomatoes, peppers, beans, and brassicas (like kale and Brussels sprouts) can help enhance growth and deter common garden pests.
When is the best time to collect calendula seeds?
The best time to collect calendula seeds is late in the growing season when the flower heads have dried on the plant.
Carefully remove the dried blooms and extract the seeds by pulling them away from the base.
Store the seeds in a cool, dry place for planting next year.
Do calendula come back every year?
Calendula is generally grown as an annual, meaning it completes its life cycle in one year.
However, it often self-seeds prolifically, which can give the appearance of coming back each year.
If you allow some flowers to go to seed and drop naturally, you're likely to find new calendula plants sprouting the following spring.
Are calendula seeds edible?
While calendula flowers are widely known for their edible petals, the seeds themselves are not commonly consumed.
The petals can be used in salads, as garnishes, or to add color to dishes, but the seeds are typically saved for planting.
Always ensure you're using parts of the plant known to be safe for consumption.
And there you have it!
From the tiny beginnings of flower seeds to the full splendor of pot marigold blooms, the journey of calendula cultivation is nothing short of amazing.
Sowing seeds might seem like a small step, but it's the start of something truly magical.
Throughout this process, I've leaned on a few essential supplies and tools that have made all the difference.
Whether it's the right soil mix, a trusty trowel, or just the patience to let nature do its thing, every piece plays a part in the bigger picture of garden life.
I hope the information shared here lights a spark for you to start your own calendula adventure.
There's something incredibly grounding about getting your hands dirty and nurturing life from the earth.
And when those first calendula blooms open up, it's a reminder of the beauty and resilience of nature—and our part in it.
So grab your seeds, gear up with your gardening toolkit, and get ready to sow.
The world of calendula cultivation awaits, and I promise, it’s as rewarding as it is beautiful.
Pin this post to save it for later!