The Best Potatoes to Grow in Bags
This website is reader-supported - thank you! This post may contain affiliate links. As an Amazon Associate, I earn from qualifying purchases at no extra cost to you.
Growing potatoes in containers offers a really efficient way to cultivate your own potatoes, even with limited space.
Whether you're using a gallon pot, grow bags, or any other type of container, the satisfaction of harvesting your own potatoes is the best feeling.
In this guide, I will take you through the best potatoes to grow in bags, from choosing the right seed potatoes and potato seeds to ensuring your new potatoes thrive.
Growing potatoes in containers not only saves space but also allows for greater control over the growing environment, making it an ideal option for urban gardeners and those looking to add fresh, home-grown produce to their kitchen.
Join me as we discuss the essentials of container-grown potatoes, providing you with all the knowledge you need to successfully grow your own potatoes at home.
To learn more about growing potatoes, check out my guides:

Best Potato Varieties to Grow in Bags
Growing potatoes in bags isn't just a matter of convenience; it's also about making the most out of your gardening efforts.
Not all potato varieties are created equal when it comes to container gardening.
The key is to choose types that are well-suited to the confined space and can produce a good sized harvest without a sprawling garden.
Here are my top picks for those of us looking to maximize our yield in minimal space.
Early Potatoes: The Quick and Rewarding Choice
'Red Pontiac':
This variety is a favorite among bag gardeners for its adaptability and the beautiful, red-skinned potatoes it produces.
They tend to mature quickly, offering a fast route to gratification from planting to harvest.
Their smooth texture and sweet flavor make them versatile for cooking, whether you're boiling, mashing, or roasting.
Here are the ‘Red Pontiac’ seed potatoes I recommend:

'Yukon Gold':
A name that resonates with potato lovers, Yukon Golds are known for their golden flesh and rich flavor.
These potatoes are perfect for bags as they don't need as much room to spread out and they mature in a relatively short period.
They're excellent for a variety of dishes, bringing a buttery texture that's hard to beat.
Here are the ‘Yukon Gold’ seed potatoes I recommend:

For more container gardening tips, check out my guides:
Mid-Season Varieties: For Those Who Can Wait a Bit Longer
'Kennebec':
This variety is a bit of a jack-of-all-trades.
Kennebecs are resistant to many potato diseases and can adapt to various growing conditions, making them a solid choice for the environment of a grow bag.
They have a white skin and flesh, with a texture that makes them suitable for almost any potato dish.
Here are the ‘Kennebec’ seed potatoes I recommend:

'Purple Majesty':
If you're looking to add a splash of color to your potato gardening, Purple Majesty is the way to go.
These potatoes are not only striking with their deep purple skin and flesh, but they're also packed with antioxidants.
They mature in a mid-season timeframe and are a wonderful way to diversify your potato crop.
Here are the ‘Purple Majesty’ seed potatoes I recommend:

Specialty Varieties: For the Adventurous Gardener
'Fingerling Potatoes':
Growing fingerlings in bags is for those who love gourmet potatoes with a unique shape and flavor.
Varieties like 'Russian Banana' or 'French Fingerling' are ideal for bag cultivation.
These potatoes have a nutty flavor and firm texture, making them perfect for roasting or boiling.
Here are the ‘Fingerling’ seed potatoes I recommend:

'Adirondack Blue':
Another visually striking option, Adirondack Blue potatoes offer a blue skin and flesh that retains its color when cooked.
They're not just about looks; these potatoes have a deliciously earthy and slightly sweet taste.
They're a mid-season variety that does well in bags, offering both beauty and taste to your garden.
Here are the ‘Adirondack Blue’ seed potatoes I recommend:

Ready to learn more about growing vegetables in containers?
Check out my guides:
The Ultimate Guide to Growing Carrots in Containers
Growing Pumpkins in Containers: A Complete Urban Garden Guide

Best Soil Mix for Growing Potatoes in Bags
When it comes to growing potatoes—or any plants, for that matter—the soil is more than just dirt; it's the life-support system for your garden.
The right soil mix can mean the difference between a bountiful harvest and a disappointing yield, especially in a controlled environment like a grow bag.
For bag-grown potatoes, the soil mix is critical because it needs to provide all the nutrients and support the plant requires from a confined space.
Key Components of an Ideal Potato Soil Mix
1. Potting Soil:
The base of your mix should be a high-quality potting soil.
Potting soil is designed to be lightweight and well-draining, which is crucial for growing potatoes.
Potatoes dislike waterlogged conditions, so a potting mix that can retain moisture without becoming soggy is essential.
To learn more about potting soil, check out my guide Garden Soil vs. Potting Soil: How to Choose the Right One.
Here is the potting soil I recommend for growing potatoes in bags:

2. Compost:
Compost is like gold for gardeners.
It adds essential organic matter to the soil, which improves soil structure, water retention, and aeration.
More importantly, compost is rich in nutrients that potatoes need to grow healthy and strong.
Adding compost to your mix will ensure your potatoes have access to the slow-release nutrients they need throughout their growth.
To learn more about creating your own compost, check out my guide How to Start Composting in a Tumbler.
3. Perlite or Vermiculite:
Both perlite and vermiculite are amendments that improve soil aeration and water retention.
Perlite, with its white, popcorn-like appearance, enhances drainage and keeps the soil light and airy.
Vermiculite holds more water and can help maintain consistent moisture levels.
A mix containing either (or a bit of both) will help prevent compaction in the bag, ensuring the roots have plenty of room to grow and breathe.
To learn more, check out my guide: Perlite vs Vermiculite: What's Best for Your Garden?
Here is the perlite I recommend using:

4. Sand:
Adding a bit of horticultural sand to the mix can further improve drainage.
While not always necessary, sand can be particularly helpful if your potting soil and compost are on the heavier side.
Just be sure to use a coarse sand, as fine sand can lead to compaction.
The Best Way to Grow Potatoes in Bags
Planting potatoes in bags is an excellent way to grow your own food, even in limited spaces.
This method simplifies the traditional potato farming process, making it accessible to everyone from balcony gardeners to those with sprawling backyards.
Here's a detailed breakdown to ensure your potato planting process is a success.
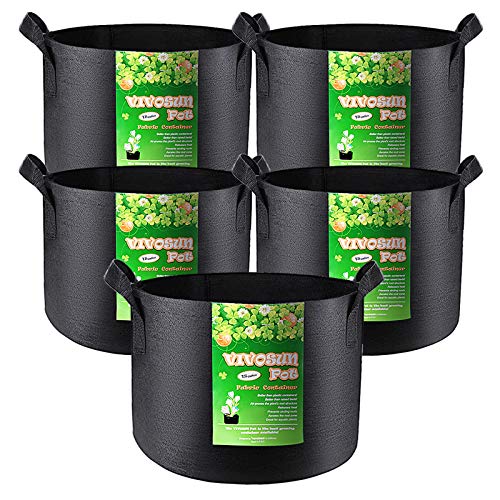
Step 1: Choose the Right Bag
Before you even think about soil and seed potatoes, the first step is selecting the appropriate bag.
Potato grow bags are available in various sizes, but a 10 to 30-gallon capacity is ideal.
Ensure the bag is made of a breathable fabric, such as felt or a similar material, to encourage air flow and prevent overheating.
Here are the grow bags I recommend for potatoes:
Step 2: Prepare Your Seed Potatoes
Start with certified seed potatoes to minimize the risk of disease.
About a week before planting, place them in a bright, cool area to encourage sprouting - a process known as "chitting."
Each seed potato should have at least two or three healthy sprouts before planting.
If they're large, you can cut them into smaller pieces, each with at least one sprout, but make sure to let the cut surface dry for a day or two to prevent rot.
Step 3: Mix Your Soil
Your blend of potting soil, compost, and perlite or vermiculite should be ready before you start planting.
This mix will ensure your potatoes have the nutrients, drainage, and aeration they need to thrive.
Step 4: Fill the Bag and Plant Your Potatoes
Fill the bottom of your bag with about 4-6 inches of your soil mix.
Place your seed potatoes evenly spaced apart on this soil layer.
For a 10-gallon bag, planting three to four seed potatoes is a good rule of thumb.
Cover them with an additional 2-3 inches of soil mix.
Don't fill the bag all the way up yet; you'll add more soil as the plants grow.
Step 5: Watering
After planting, give your potatoes a good watering.
The soil should be moist but not waterlogged.
Keep the soil consistently moist throughout the growing season, especially during the periods of active growth and once the tubers begin to form.
Step 6: Hilling
As your potato plants grow, you'll perform a process known as "hilling."
This involves adding more soil to the bag every few weeks, burying the lower part of the plant stems.
Hilling encourages the plant to produce more tubers along the buried stems.
Continue to add soil until the bag is full, leaving only the top few inches of the plant exposed.
Step 7: Sunlight and Placement
Place your bag in a location where it will receive at least six hours of sunlight each day.
Potatoes thrive in full sun, so the more, the better.
A south-facing or west-facing garden location work best.
If you're growing indoors, ensure they're near a large, sunny window or use grow lights to supplement light.
Final Tips
Be patient:
Potatoes take time to grow.
Depending on the variety, it can be anywhere from 70 to 120 days from planting to harvest.
Monitor for pests and diseases:
Keep an eye out for signs of trouble, such as yellowing leaves or holes in the foliage, and address issues promptly to keep your plants healthy.
Want to grow more vegetables in containers? Check out my guides:
Growing Corn in Containers Made Easy
Growing Cabbages in Containers
Watering and Care: Ensuring Your Potato Plants Thrive
Watering: Finding the Balance
Watering your potato plants correctly is critical to their growth.
Potatoes need a consistent supply of moisture to develop properly, but too much water can lead to problems like root rot and other diseases.
Consistency is Key:
Aim to keep the soil evenly moist.
Check the soil moisture by inserting a finger into the soil; if the top inch feels dry, it's time to water.
This is a good opportunity to use rainwater collected in a water butt.
To learn more check out my guide Water Butts: Sustainable Water Storage for Your Garden.
Deep Watering:
When you water, do so deeply to encourage root growth downward.
Shallow watering can lead to shallow roots, which affects the plant's stability and its ability to access nutrients and moisture from deeper in the soil.
Avoid Overwatering:
Ensure your bags have good drainage to prevent waterlogging.
While the fabric of grow bags naturally helps prevent excess water retention, it's still important to be mindful not to overwater.
Morning Watering:
Water your potatoes early in the day.
This allows the foliage to dry before evening, reducing the risk of fungal diseases.
For more watering tips, check out my guide How to Use Watering Globes.
Nutrient Management
While the initial soil mix provides a good start, potatoes are heavy feeders and may benefit from additional nutrients as they grow.
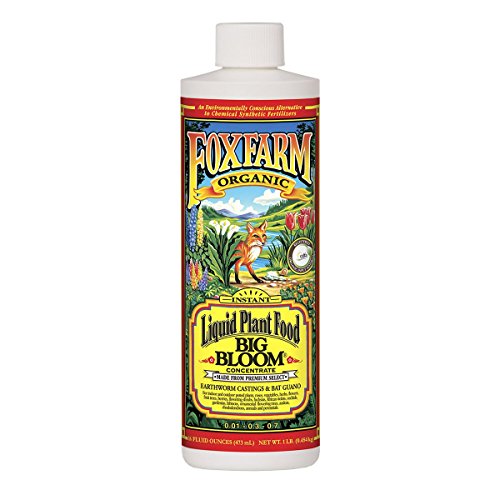
Compost Tea or Liquid Fertilizer:
Applying a balanced, organic liquid fertilizer or compost tea every few weeks can support healthy growth.
However, avoid high-nitrogen fertilizers, as they can promote foliage growth at the expense of tuber development.
Learn how to make your own compost tea with my guide: A Simple Recipe for Rich Compost Tea.
Here is the fertilizer I recommend:
Monitoring Growth:
Keep an eye on your plants' growth and foliage color.
Pale or yellowing leaves can indicate a nutrient deficiency, requiring a quick response to address the issue.
Pest and Disease Control
Potatoes can be susceptible to pests and diseases, but careful monitoring and preventive measures can keep your plants healthy.
Inspect Regularly:
Check your plants regularly for signs of pests or disease.
Common potato pests include Colorado potato beetles and aphids, while diseases like blight and scab can also affect plants.
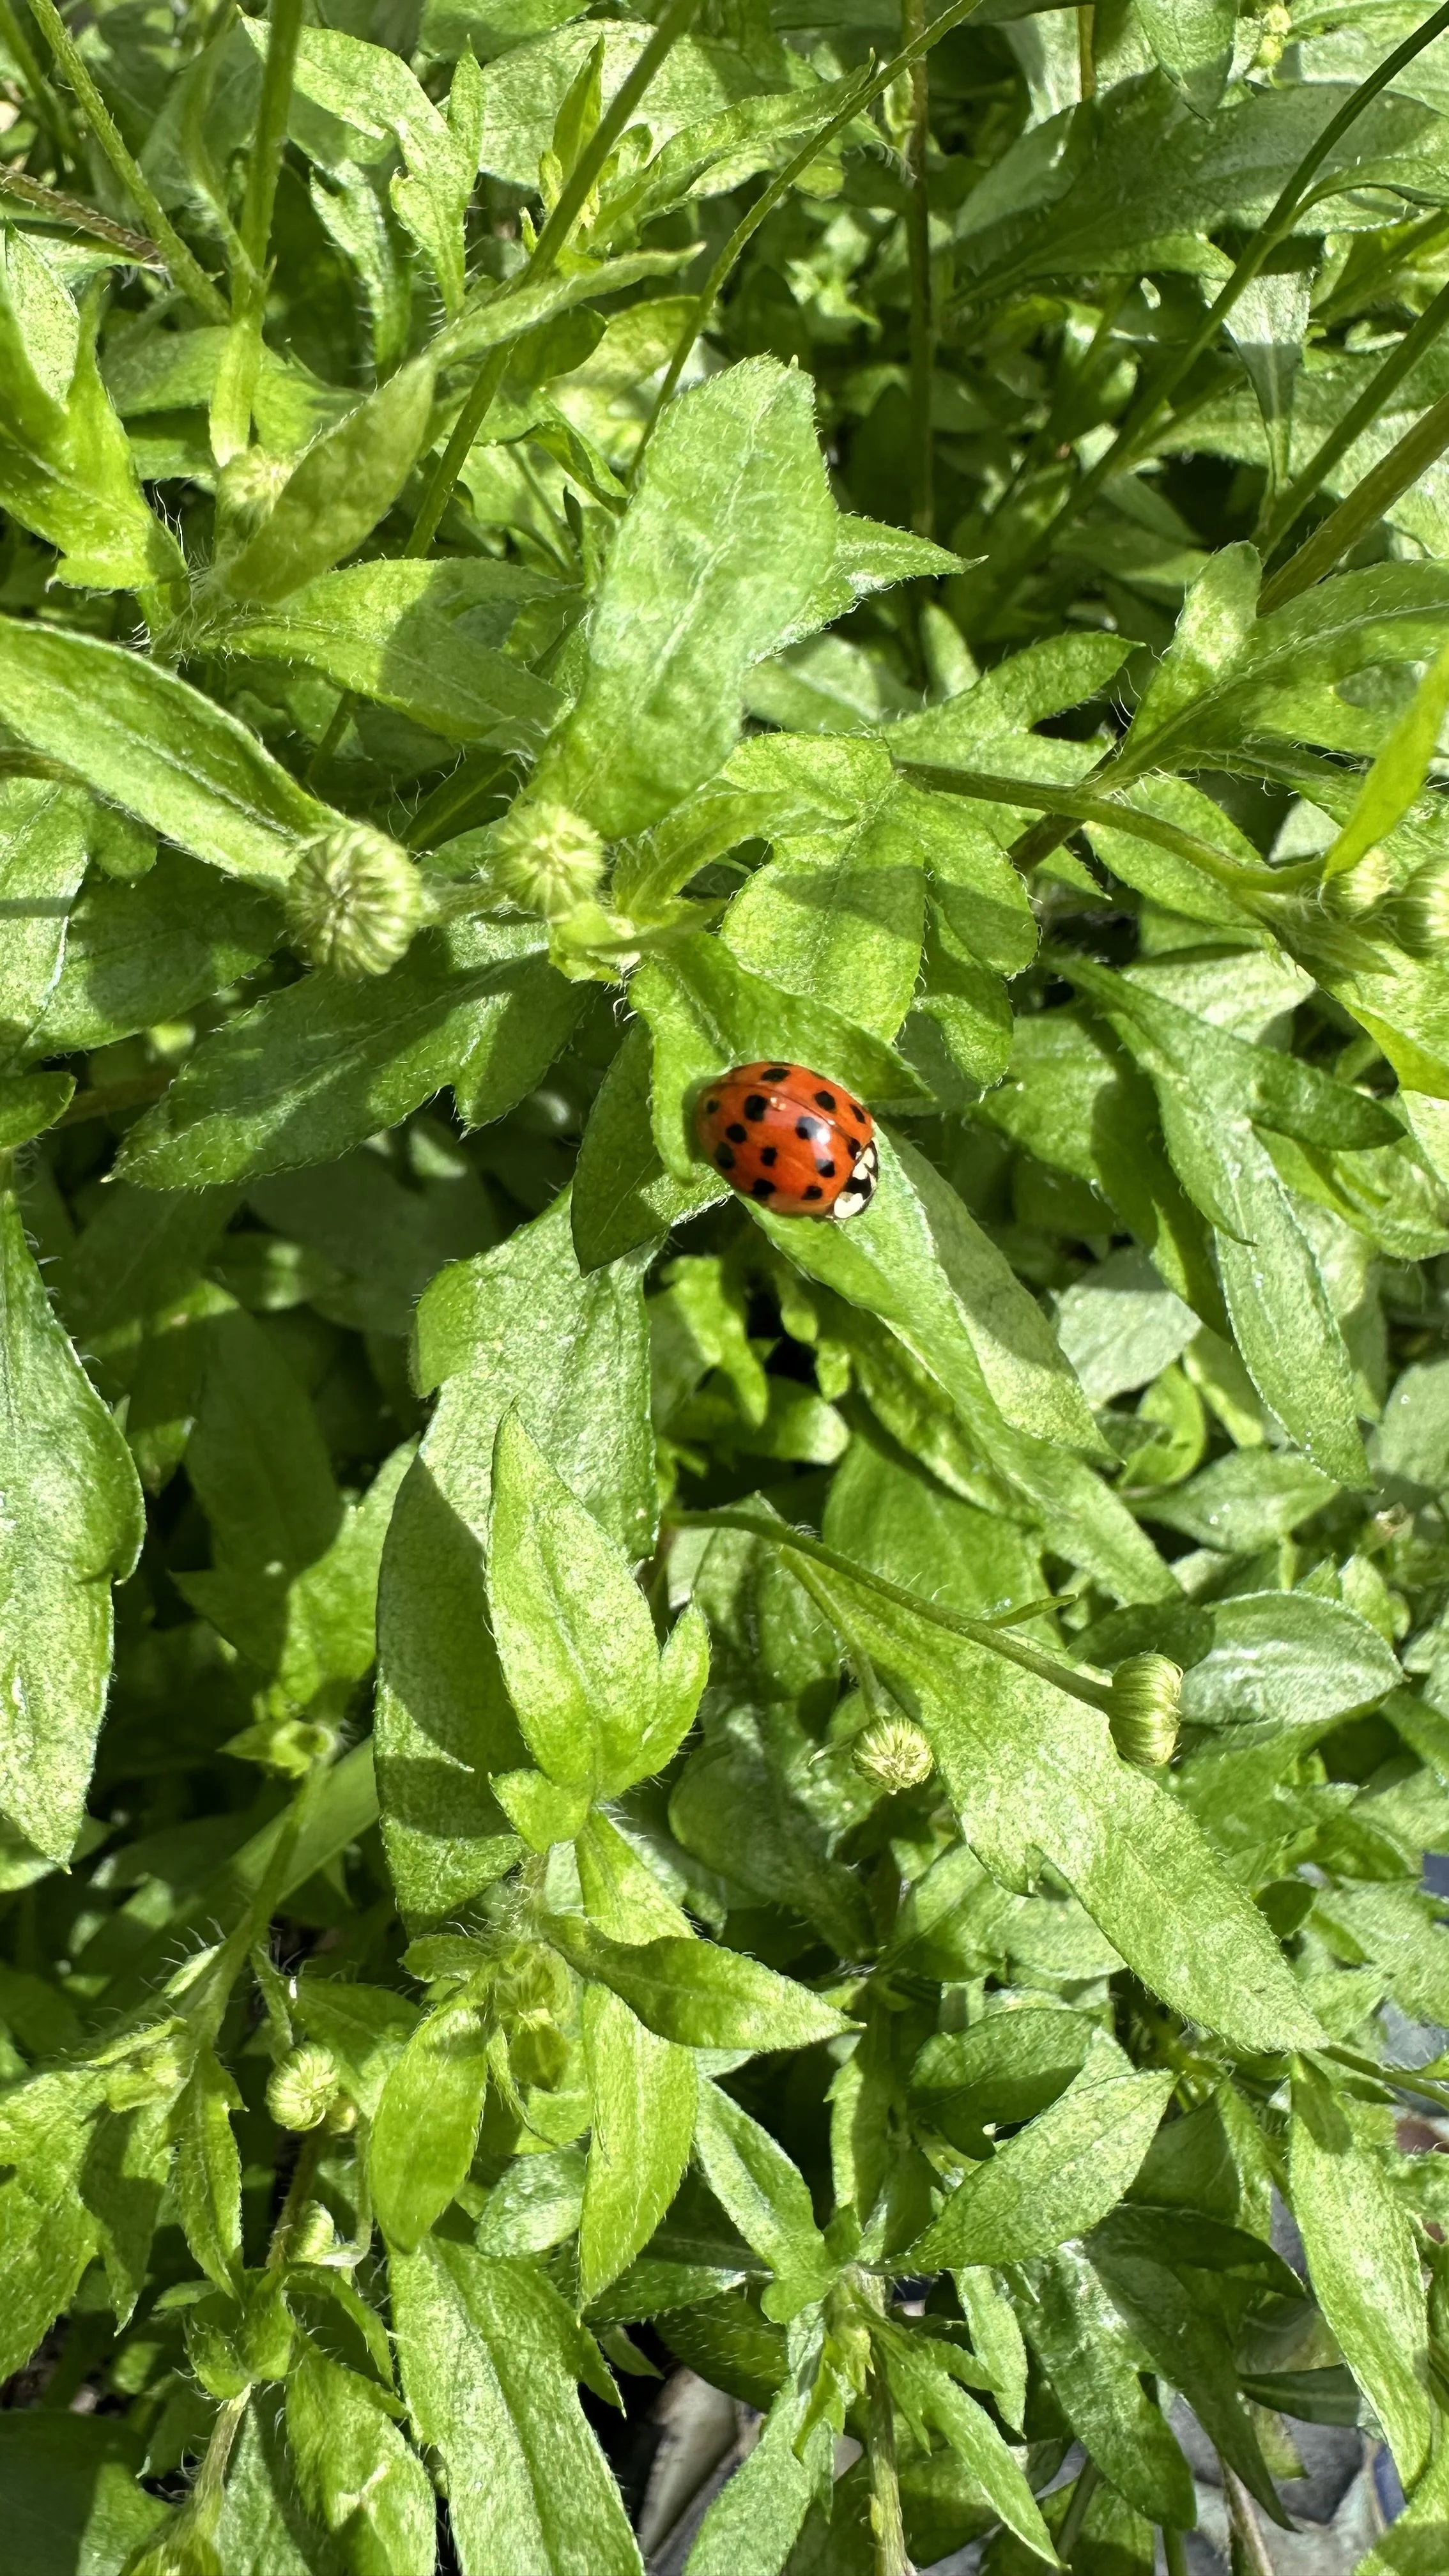
Natural Solutions:
Use natural or organic pest control methods where possible.
Introducing beneficial insects, such as ladybugs for aphid control, or using neem oil can be effective against pests without harming the environment.
Here is the neem oil I recommend:

Good Hygiene:
Keep the area around your potato bags clean and free of debris.
Remove any diseased or dying foliage promptly to prevent the spread of disease.
Crop Rotation:
If you're growing potatoes or other related crops (like tomatoes or peppers) in the same area year after year, consider rotating to prevent disease buildup in the soil.
Final Care Tips
Mulching:
Applying a layer of straw or other organic mulch around the plants can help retain soil moisture, suppress weeds, and keep soil temperatures stable.
Here is the mulch I recommend:


When to Harvest Potatoes Grown in Bags
Harvesting potatoes is one of the most rewarding parts of the growing process.
Knowing when and how to harvest can make a big difference in the quality and storage life of your potatoes.
Recognizing Harvest Time
Early vs. Main Crop:
If you planted early varieties, you might start checking for "new" or baby potatoes as early as 10 weeks after planting.
These can be gently harvested by reaching into the soil and feeling around for small potatoes.
Main crop varieties will take longer, typically ready 16-20 weeks after planting, depending on the variety and growing conditions.
Foliage Clues:
A key indicator that potatoes are ready for harvest is the state of the plant itself.
When the foliage starts to yellow and die back, it's a signal that the tubers have stopped growing and are entering their maturation phase.
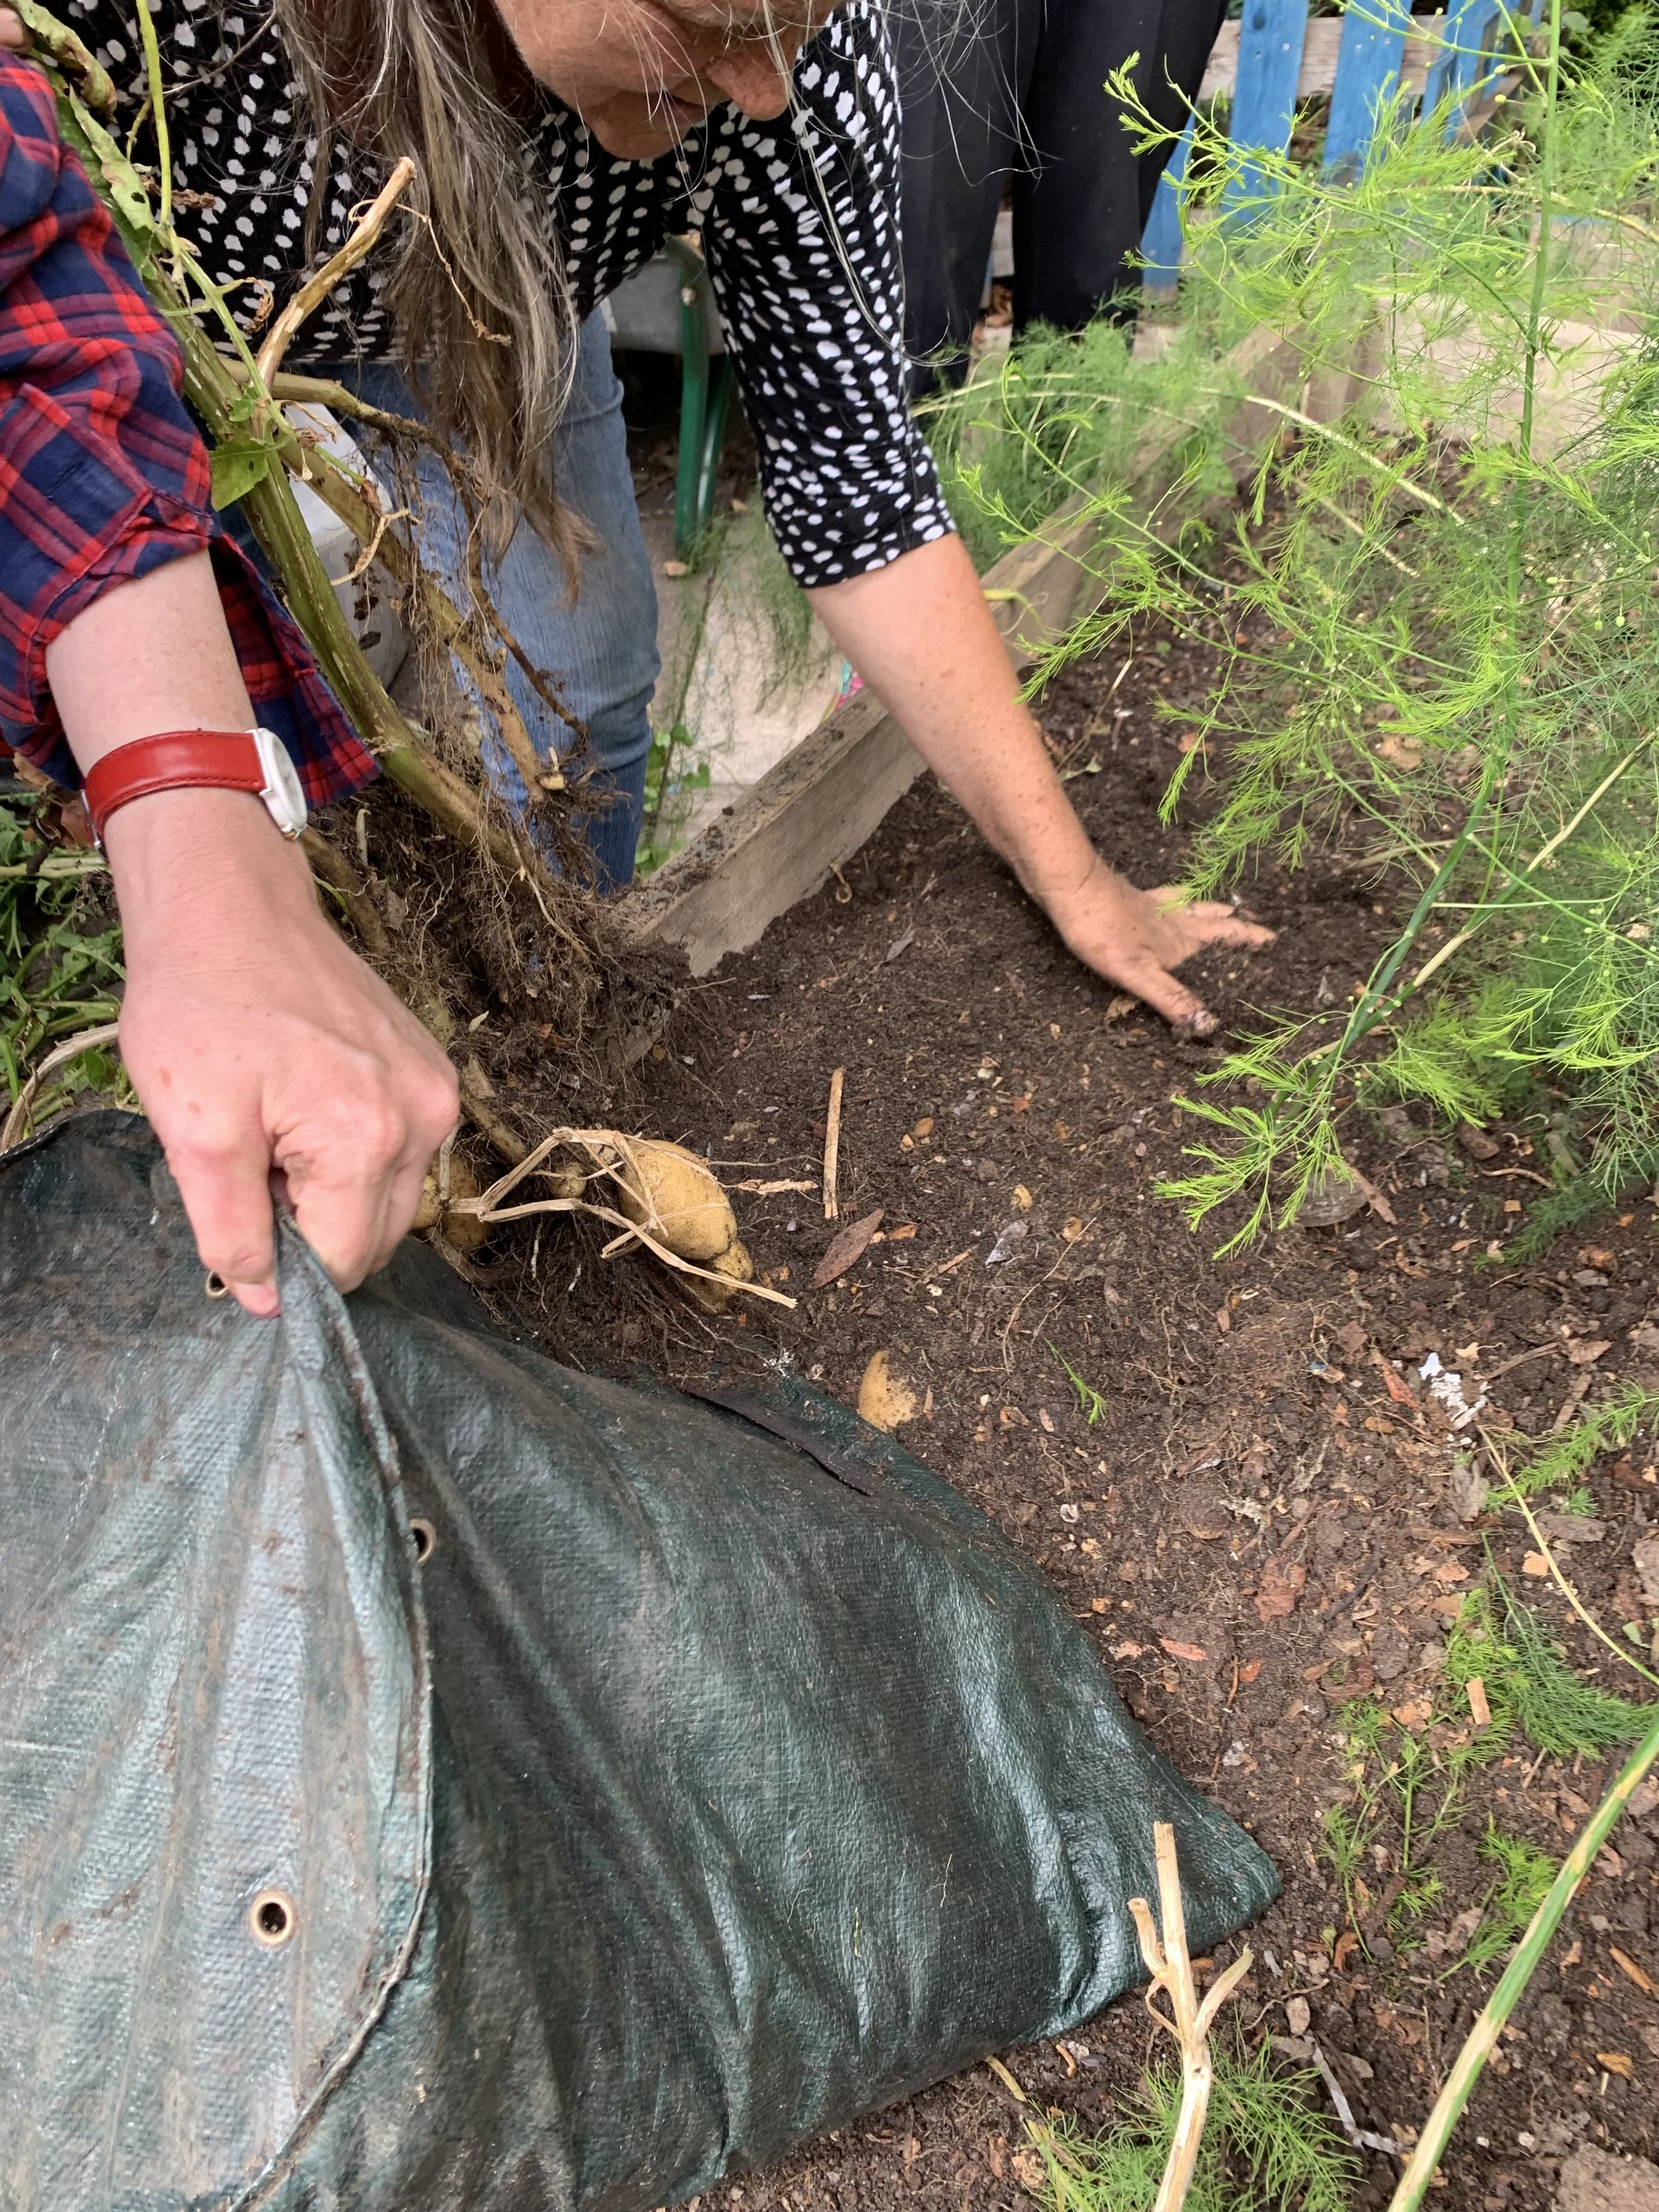
Harvesting Your Potatoes
Gentle Approach:
The beauty of grow bags is the ease of harvest.
You can either turn the bag onto a tarp or large sheet and sift through the soil to find your potatoes, or you can reach in and harvest them by hand, feeling around the soil.
Avoid Damage:
Be careful not to bruise or cut the potatoes as you harvest.
Damaged potatoes won't store well and should be consumed relatively quickly.
Full Harvest:
For a full harvest, wait until most of the foliage has died back.
This waiting period allows the skin of the potatoes to toughen up, which is crucial for storage.
If you harvest too early, the skins may be too tender, and the potatoes could be damaged easily.
After the Harvest: Curing and Storage
Curing:
After harvesting, it's beneficial to cure your potatoes before storage.
Curing involves letting the potatoes sit in a dry, well-ventilated area out of direct sunlight for about 1-2 weeks.
This process helps the skins toughen further, which is essential for long-term storage.
Storage Conditions:
Once cured, store your potatoes in a cool, dark, and well-ventilated area.
Ideal storage temperatures are between 45-55°F (7-13°C).
Avoid storing potatoes in the refrigerator, as cold temperatures can turn the starch into sugar, affecting the taste.
Check Regularly:
During storage, check your potatoes regularly for signs of spoilage or sprouting.
Remove any that are soft, shriveled, or sprouting to prevent the spread of decay.
Quick FAQs
how many potatoes can you plant in a 5-gallon grow bag?
In a 5-gallon grow bag, you can plant about three to four seed potatoes.
This allows enough space for each potato to have adequate room to grow and develop without overcrowding, ensuring a healthier crop.
how deep should a potato grow bag be?
A potato grow bag should be at least 12-18 inches deep to accommodate the depth potatoes need to grow effectively.
This depth allows enough room for the potatoes to develop underground and for adequate soil coverage as you "hill" the plants by adding more soil as they grow.
what else can you grow in potato bags?
Beyond potatoes, you can grow a variety of plants in potato bags, including carrots, garlic, onions, and other root vegetables that benefit from the deep, loose soil that bags provide.
Leafy greens, herbs, and even small fruiting plants like strawberries can also thrive in the well-draining and aerated conditions of grow bags.
when to start growing potatoes in bags?
The best time to start growing potatoes in bags is in early spring, after the last frost date for your area.
This gives the potatoes a long growing season before the heat of summer, allowing them to develop fully before harvest in late summer or early fall.
where to put potato grow bags?
Place potato grow bags in a location that receives at least six hours of direct sunlight per day.
An ideal spot would be on a patio, balcony, or in a garden area that gets ample sunlight, ensuring the potatoes get the energy they need for growth.
WRap-Up
Whether you're growing your potatoes in grow bags or various pots the journey of growing your own potatoes is really rewarding.
The versatility of container gardening, particularly when using grow bags, opens up the possibilities for gardeners with limited space or those seeking a more controlled growing environment.
As we've explored the nuances of selecting the best potatoes for grow bags, managing seed potatoes, and nurturing new potatoes to harvest, it's clear that the art of growing potatoes is a process that you can learn from in each growing season.
Embracing pots and bags as viable alternatives to the conventional raised bed or in-ground garden allows you to enjoy the pleasures of gardening and the taste of fresh, home-grown potatoes.
Pin this post to save it for later!