Growing Tomatoes in a Grow Bag
This website is reader-supported - thank you! This post may contain affiliate links. As an Amazon Associate, I earn from qualifying purchases at no extra cost to you.
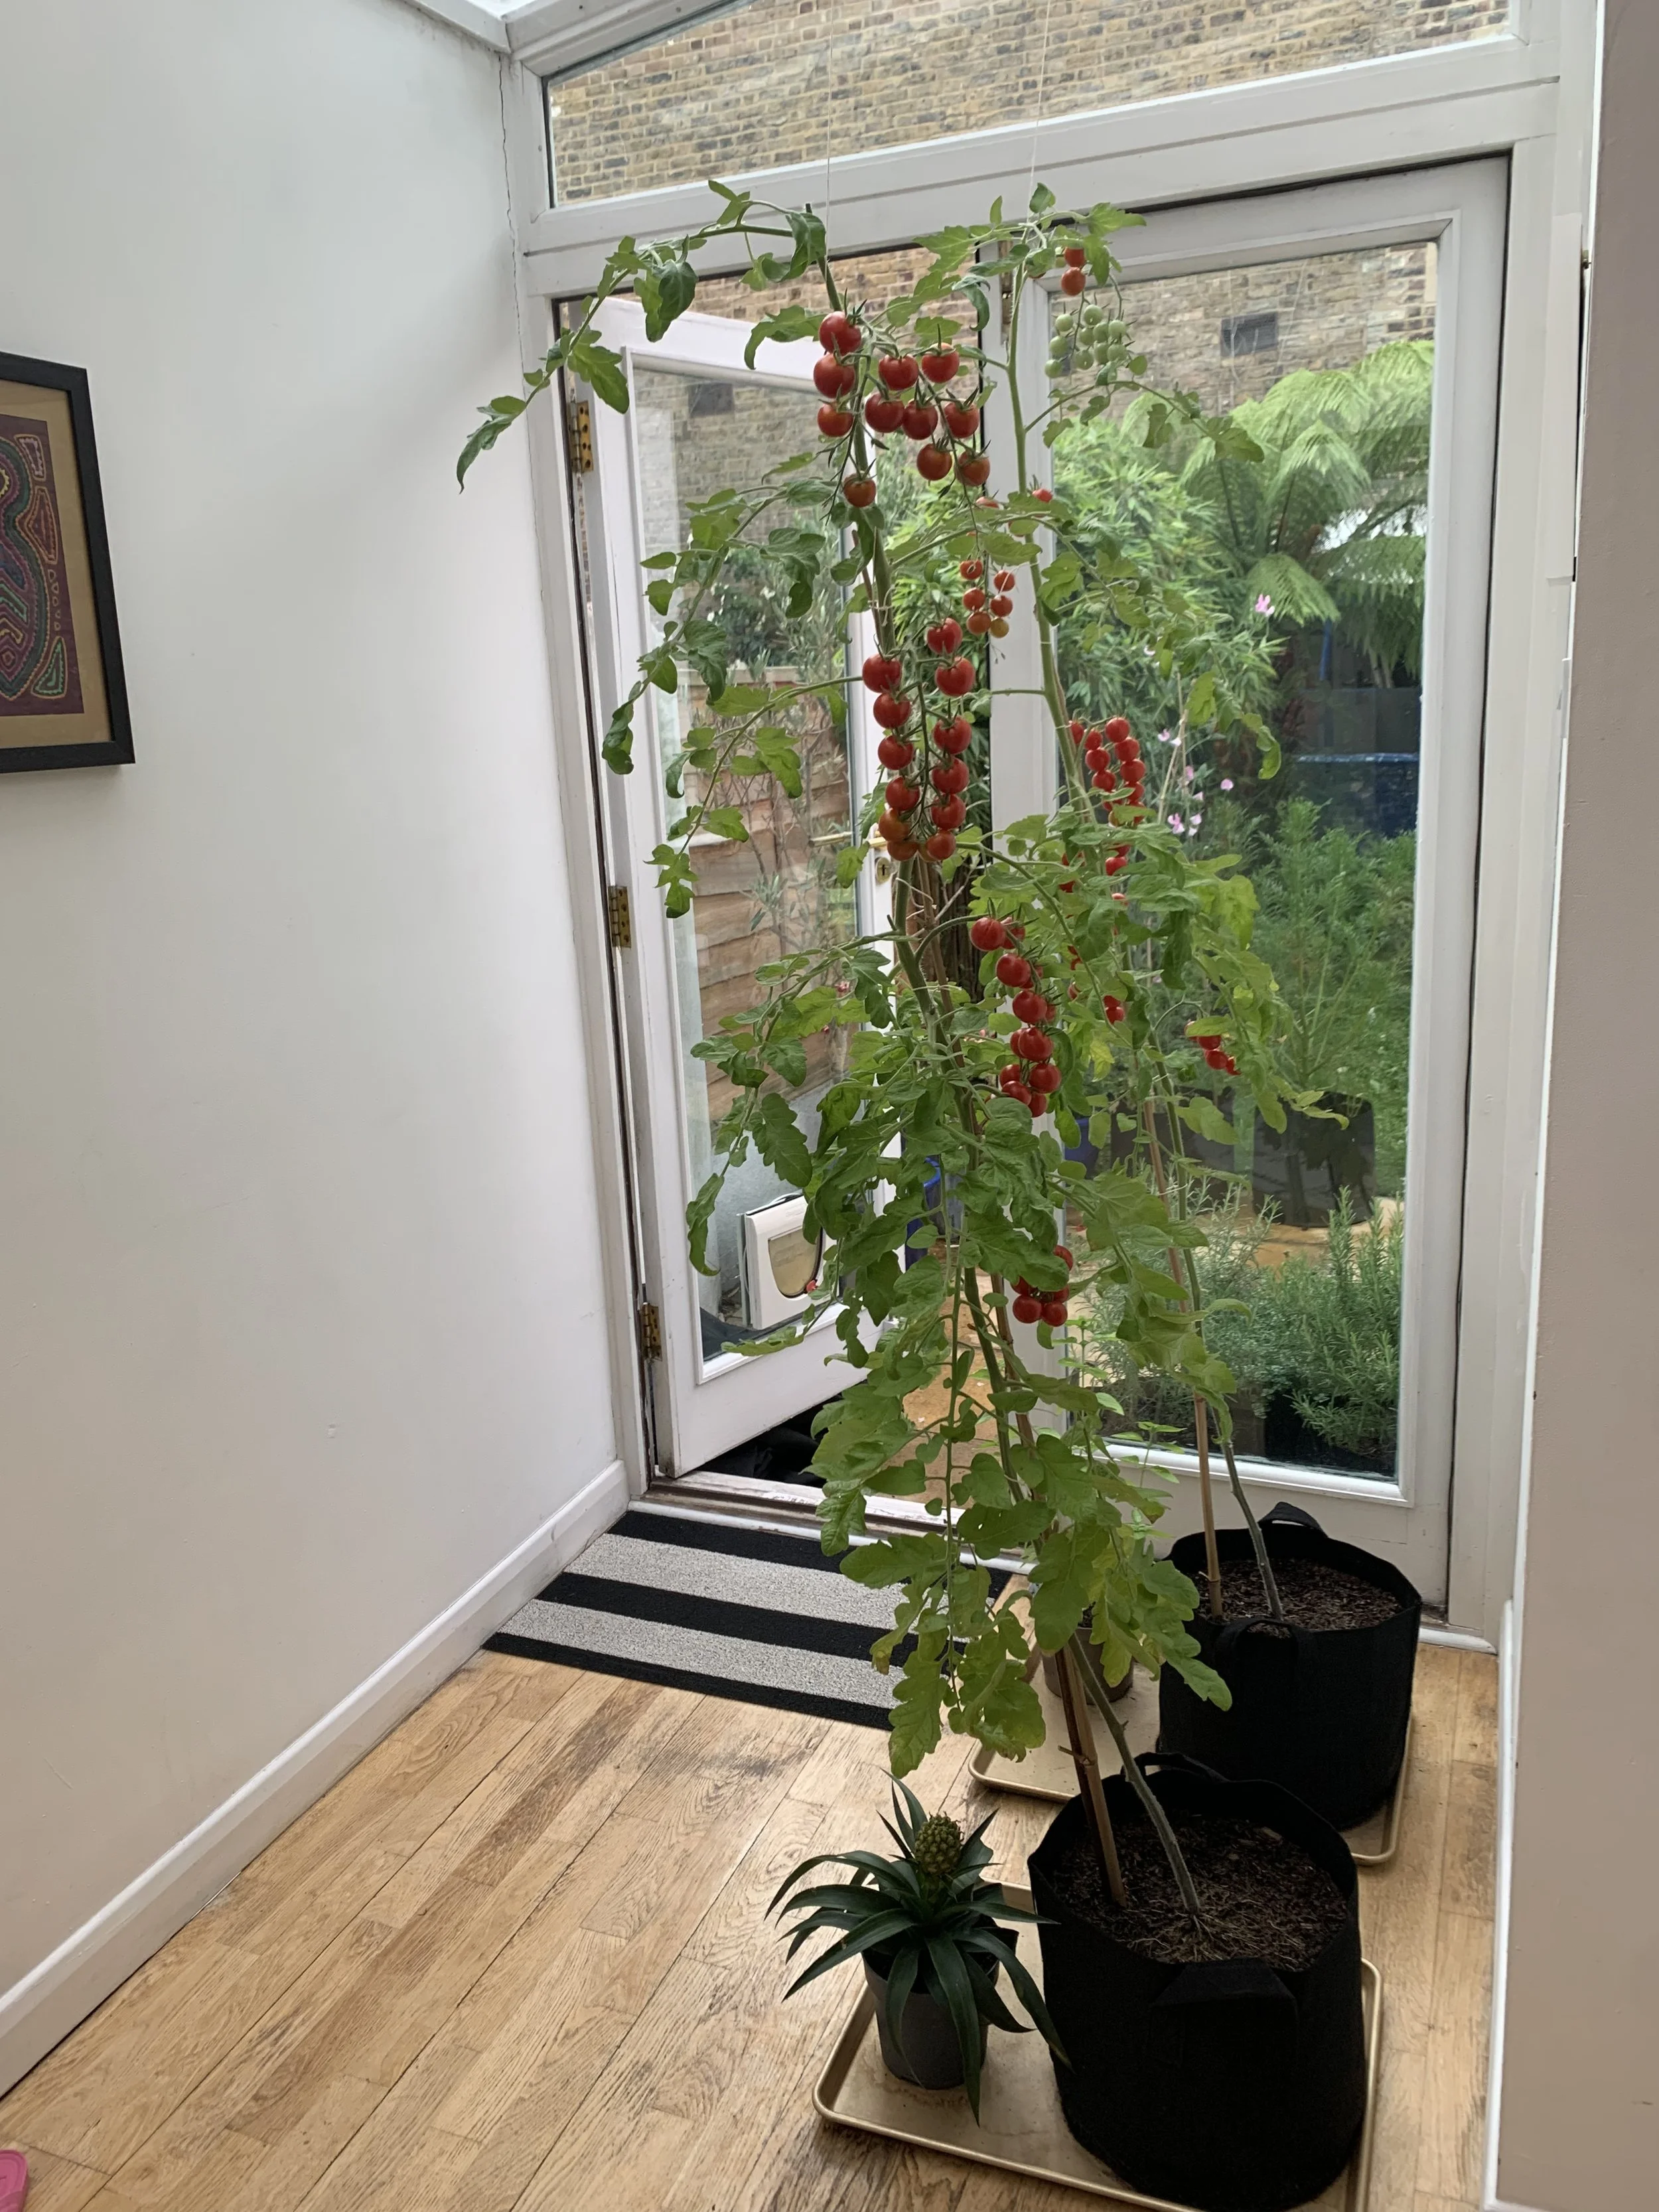
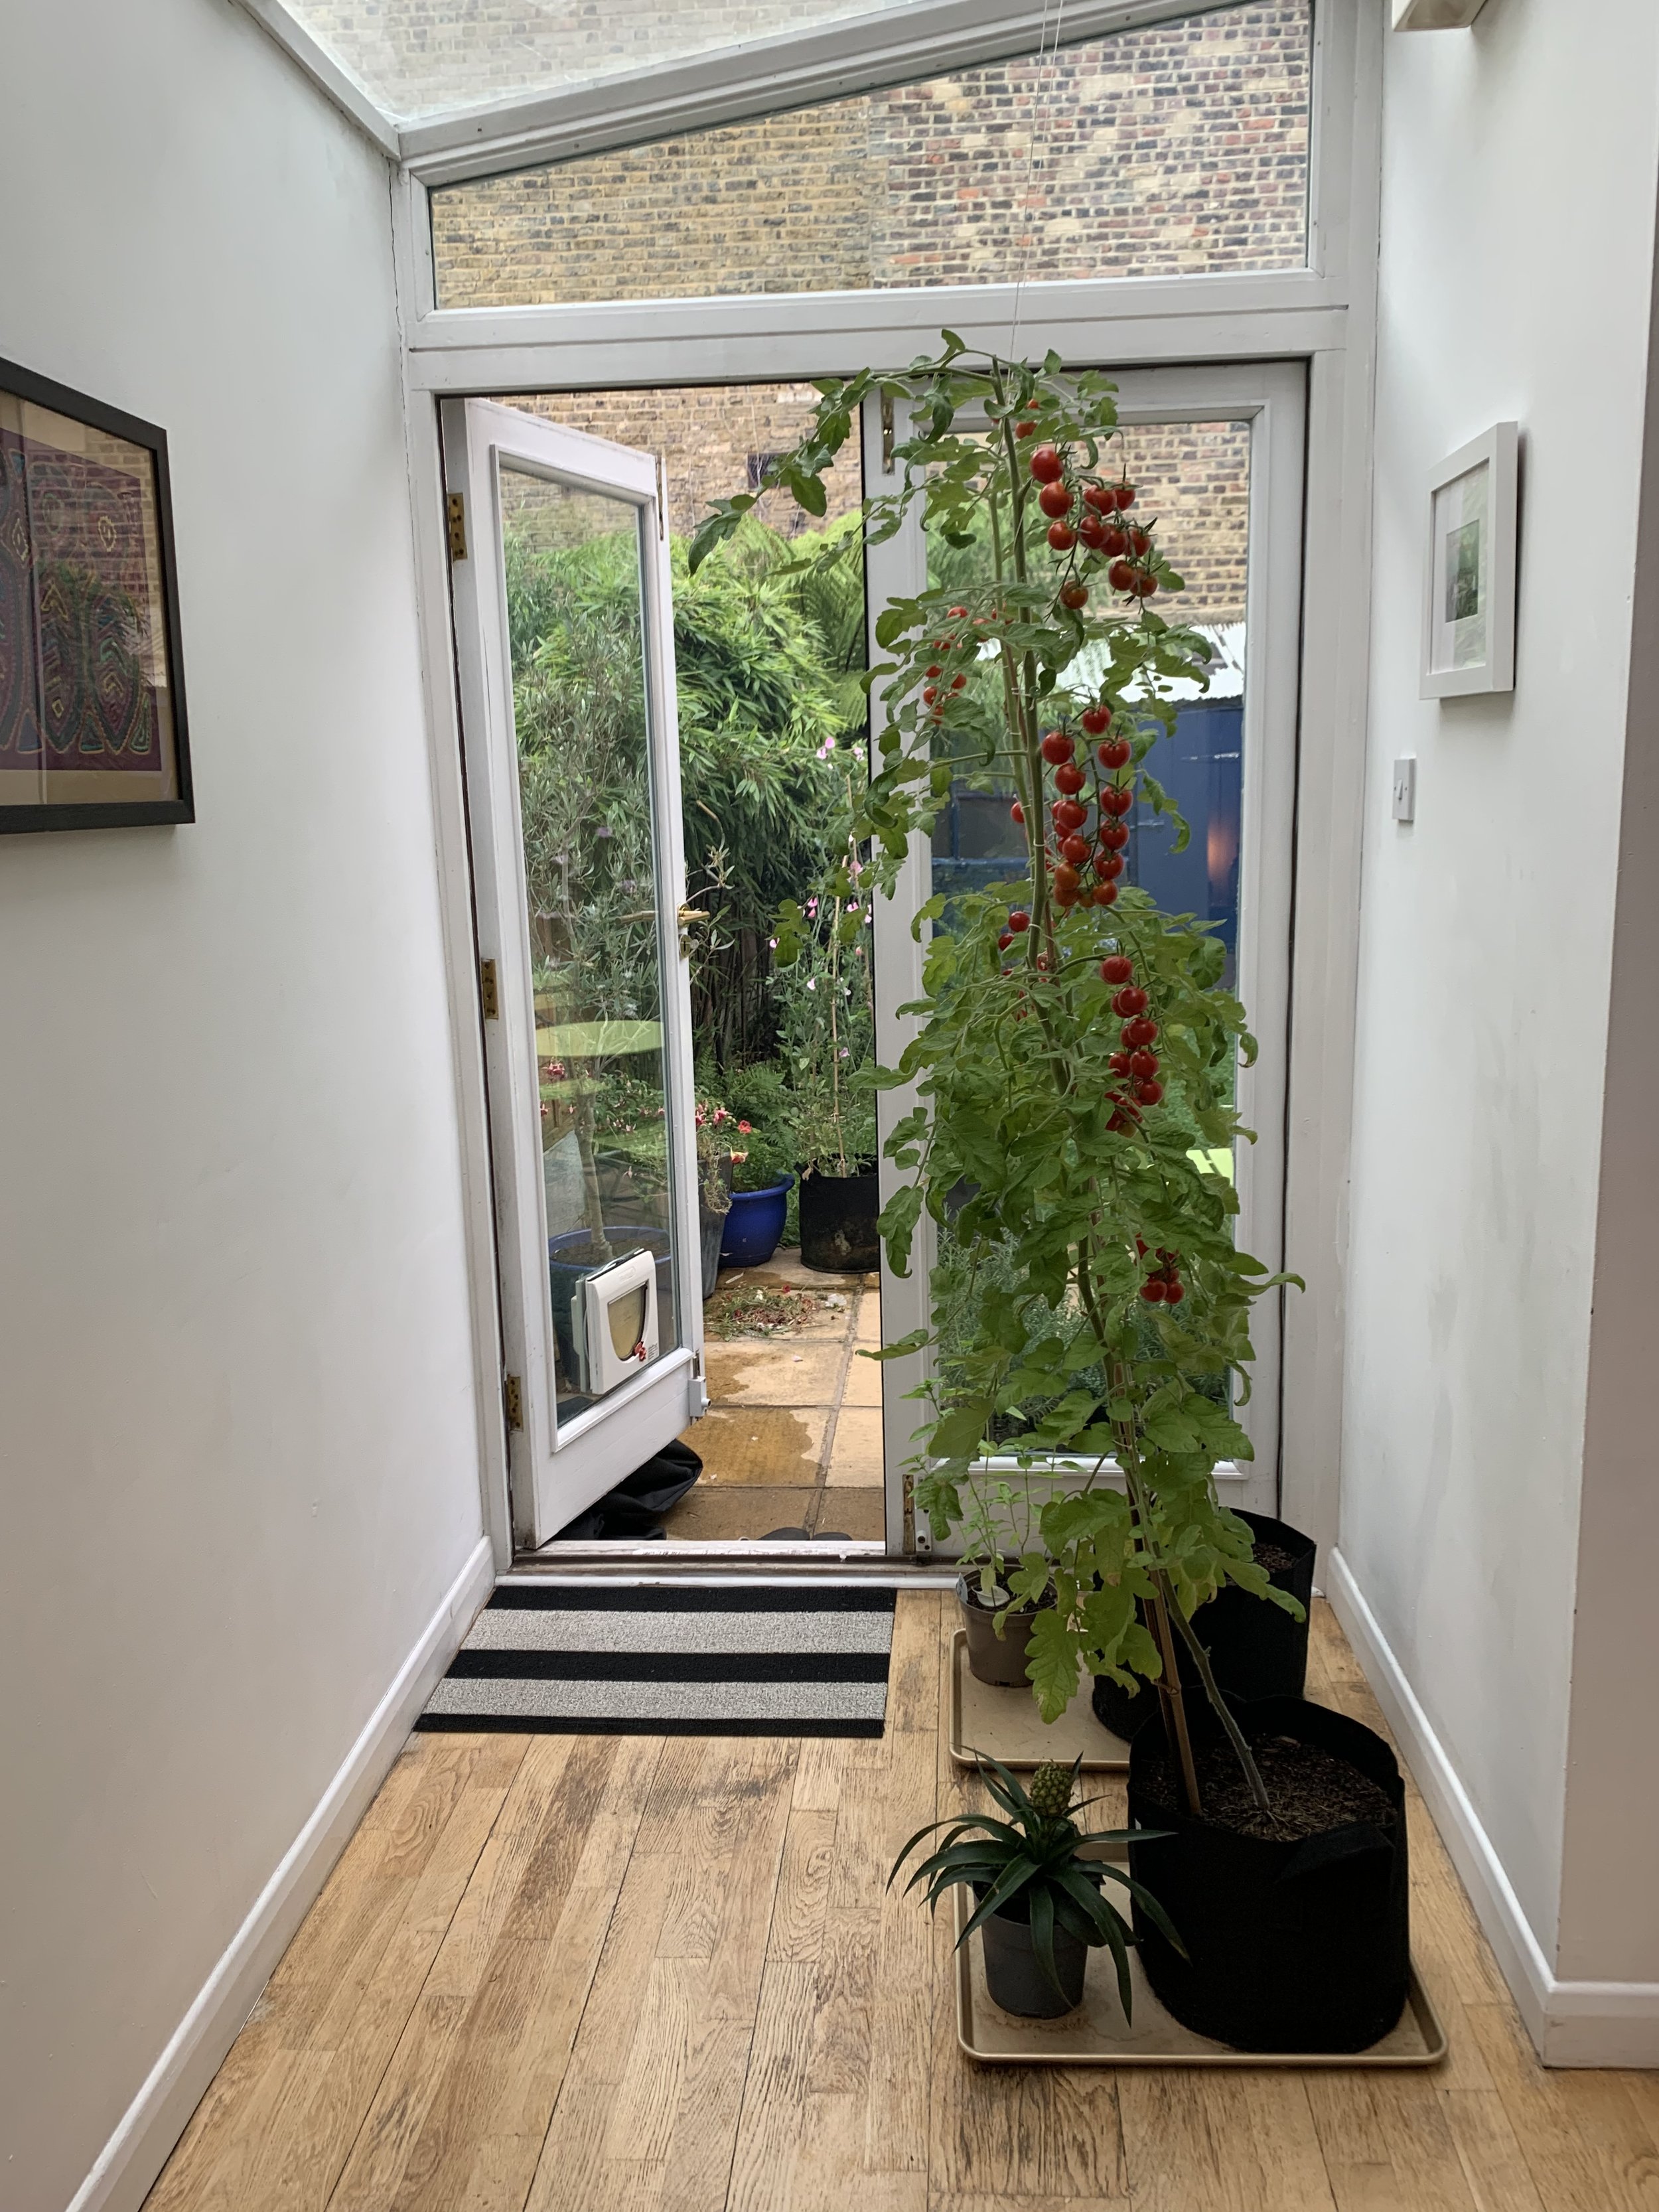
Growing tomatoes in a grow bag is a really easy way to enjoy home-grown tomatoes, even if you have limited space.
Whether you have a small balcony, patio, or a tiny backyard, grow bags offer a really simple way to grow your own tomatoes at home.
They are perfect for urban gardeners as they can be placed in small spaces and moved easily to find the sunniest spot.
I’ve found that using grow bags simplifies the entire tomato growing process and can yield really impressive results.
All you need is a grow bag, high-quality potting mix, and some tomato plants or seeds to get started.
The process is straightforward, and the rewards are delicious.
In this guide, I’ll walk you through choosing the right grow bag, preparing it, planting your tomatoes, and caring for them to ensure a big harvest.
By the end, you’ll be well-equipped to grow your own tomatoes in grow bags, no matter how much space you have.
To learn more about growing tomatoes, check out my guides:
When to Start Tomato Seeds Indoors
I love using tomato grow bags for growing both indoors and out.
Choosing the Right Grow Bag
When it comes to selecting a grow bag for your tomatoes, there are lots of options.
Here’s what you need to consider:
Size of the Grow Bag
The size of the grow bag is one of the most important factors.
Tomato plants need ample space for their roots to grow and spread out.
I recommend using a grow bag that’s at least 10 gallons in capacity.
Larger bags, like 15 or 20 gallons, are even better as they provide more room for the root system and help retain moisture longer, reducing the frequency of watering.
Here is the grow bag I recommend for growing tomatoes:
Material of the Grow Bag
Grow bags come in various materials, but the best ones for tomatoes are made from breathable fabric.
Fabric grow bags promote better aeration and drainage compared to plastic or other non-porous materials.
This helps prevent root rot and encourages a healthier root system by allowing excess water to escape and providing air to the roots.
Look for grow bags labeled as “breathable” or “aerated.”
Drainage
Good drainage is essential to prevent waterlogging, which can lead to root diseases.
Fabric grow bags naturally provide excellent drainage.
Some grow bags come with built-in holes, while others rely on the fabric's permeability.
Either way, ensure that excess water can easily escape.
Durability
Since you’ll be moving and handling the grow bags, especially when filled with soil and a mature tomato plant, durability is key.
Choose grow bags that are sturdy and well-constructed.
Double-stitched seams and reinforced handles are beneficial for added strength and longevity.
High-quality fabric grow bags can last for several growing seasons if taken care of properly.
To learn more about growing tomatoes, check out my guides:
The Art of Harvesting Tomatoes: When and How to Pick the Perfect Fruit
Preparing Your Grow Bag
Proper preparation of your grow bag is really important in order to ensure your tomato plants have the best possible environment to grow and thrive.
Here's a step-by-step guide to getting your grow bag ready:
Selecting the Right Potting Mix
Start with a high-quality potting mix specifically designed for container gardening.
Unlike garden soil, potting mix is lightweight and provides excellent drainage, which is crucial for grow bags.
Look for a mix that includes ingredients like coconut coir, perlite, and vermiculite.
These components help retain moisture while allowing excess water to drain away, preventing root rot.
Here is the potting mix I recommend using:
Enriching the Soil with Organic Compost
Adding organic compost to your potting mix can significantly improve soil fertility and structure.
Compost provides essential nutrients and beneficial microorganisms that promote healthy plant growth.
Mix in compost at a ratio of about 1 part compost to 3 parts potting mix.
This combination ensures your tomato plants have a steady supply of nutrients throughout the growing season.
To learn more about compost, check out my guide: How to Start Composting in a Tumbler.
Incorporating Slow-Release Fertilizer
To give your tomato plants a strong start, consider incorporating a slow-release organic fertilizer into the potting mix.
This type of fertilizer gradually releases nutrients over time, providing a consistent supply without the need for frequent feeding.
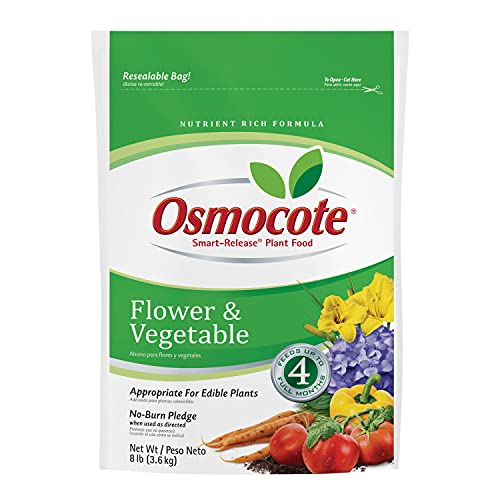
Here is the slow-release fertilizer I recommend:
Filling the Grow Bag
Once you’ve prepared your potting mix and enriched it with compost and fertilizer, it’s time to fill the grow bag.
Place the grow bag in its final location before filling, as it can be challenging to move once full.
Fill the bag about two-thirds full with the prepared potting mix.
This allows room for the root ball of your tomato plants and additional soil to be added later.
Moistening the Soil
Before planting, it’s essential to moisten the soil thoroughly.
Dry potting mix can be difficult to wet evenly once the plants are in place.
Slowly add water to the grow bag, mixing the soil with your hands to ensure even moisture distribution.
The soil should be damp but not waterlogged.
To learn more about growing tomatoes, check out my guides:
Why is My Tomato Plant Not Flowering?
Planting Your Tomatoes
Once your grow bag is prepared, it's time to plant your tomatoes.
Here's a step-by-step guide to planting tomatoes in grow bags:
Starting from Seeds or Seedlings
You have two main options for planting tomatoes: starting from seeds or using seedlings.
Each method has its benefits, and the choice largely depends on how much time you have.
Starting from Seeds:
This is a cost-effective option and allows you to choose from a wider variety of tomato plants.
Begin by planting seeds indoors 6-8 weeks before the last expected frost date.
Learn more about this in my guide: When to Start Tomato Seeds Indoors.
Use seed trays or small pots filled with seed-starting mix, and plant the seeds about 1/4 inch deep.
Keep the soil moist and place the trays in a warm, sunny location or under grow lights.
Once the seedlings have at least two sets of true leaves and the outdoor temperatures are consistently warm, they are ready to be transplanted into the grow bags.
Here is one of my favorite tomatoes to grow from seed:
Using Seedlings:
If you prefer a quicker start, you can purchase tomato seedlings from a nursery or garden center.
Look for healthy, sturdy plants with dark green leaves and a well-developed root system.
Avoid leggy or wilted seedlings, as they may struggle to establish in the grow bags.
Planting Techniques for Grow Bags
Whether you start with seeds or seedlings, the planting technique is super important the success of your tomato plants.
Planting Seedlings:
Dig a hole in the prepared grow bag deep enough to accommodate the root ball and part of the stem.
Tomato plants can develop roots along their buried stems, so planting them deeper than they were in their original containers helps promote a robust root system.
Gently remove the seedling from its pot, being careful not to damage the roots.
Place the seedling in the hole, backfill with potting mix, and firm the soil gently around the plant.
Ensure the soil level is about an inch below the rim of the grow bag to allow for watering.
Planting Seeds:
If you are direct-seeding into the grow bags, create shallow holes or trenches according to the depth recommended on the seed packet, usually about 1/4 to 1/2 inch deep.
Place the seeds in the holes and cover them lightly with soil.
Water gently to settle the soil over the seeds.
Keep the soil consistently moist until the seeds germinate and seedlings emerge.
Watering After Planting
Water the plants thoroughly after planting to help settle the soil and eliminate air pockets around the roots.
For seedlings, ensure the water reaches the root zone without causing waterlogging.
For seeds, use a gentle spray to avoid displacing the soil and seeds.
Monitoring and Adjusting
Keep an eye on your newly planted tomatoes during the first few weeks.
Check for signs of transplant shock, such as wilting or yellowing leaves, and provide extra care if needed.
Ensure the soil remains consistently moist but not waterlogged, and adjust watering frequency based on weather conditions.
Looking for more container gardening inspiration? Check out my guides:
The Ultimate Guide to Growing Carrots in Containers
Caring for Your Tomato Plants
Caring for your tomato plants is the key to ensuring a big harvest.
Here’s how to take care of your tomatoes in grow bags:
Importance of Watering Regularly
Tomato plants need consistent moisture to thrive, especially when grown in grow bags, which can dry out more quickly than garden beds.
Here are some tips to ensure proper watering:
Frequency:
Water your tomato plants regularly, typically once a day during hot weather.
In cooler weather or during the early growing stages, you might reduce watering to every other day.
The goal is to keep the soil consistently moist but not waterlogged.
Method:
Water at the base of the plants, avoiding the leaves to prevent fungal diseases.
Using a watering can with a narrow spout or a drip irrigation system can help direct water to the roots efficiently.
Depth:
Ensure the water penetrates deep into the soil to reach the root system.
Shallow watering can lead to weak roots and poor plant health.
Supporting Your Plants with a Tomato Cage
As tomato plants grow taller and start to bear fruit, they require support to keep them upright and prevent the stems from breaking.
Place a tomato cage around the plant shortly after planting.
These structures provide support as the plant grows, keeping the stems and branches off the ground.
Here is the tomato cage I recommend:
Pruning
Prune the lower leaves and any suckers (side shoots) that develop between the main stem and branches.
This helps direct the plant’s energy towards fruit production and improves air circulation, reducing the risk of disease.
Monitoring the Root System and Plant Health
Regularly check your tomato plants for signs of stress, pests, or diseases.
Early detection and intervention can prevent minor issues from becoming major problems.
Root Health:
Ensure the roots have enough space to grow and aren’t waterlogged.
Signs of root problems include yellowing leaves, stunted growth, and wilting despite adequate watering.
Pests and Diseases:
For diseases like blight or powdery mildew, remove affected leaves and apply appropriate organic fungicides.
Common pests include aphids, tomato hornworms, and whiteflies.
Use insecticidal soap or neem oil to manage pests.
Here is the neem oil I recommend:
Nutrient Deficiency
Watch for signs of nutrient deficiencies, such as yellowing leaves (nitrogen deficiency) or blossom end rot (calcium deficiency).
Adjust your fertilization routine as needed, using a balanced organic tomato fertilizer.
Check out my guide: Quick Homemade Tomato Fertilizer.
Feeding Your Tomato Plants
Tomatoes are heavy feeders and benefit from regular fertilization.
Here’s how to keep your plants nourished:
Initial Fertilization:
When preparing your grow bag, incorporate a slow-release organic fertilizer into the potting mix.
Ongoing Feeding:
Every 2-4 weeks, apply a water-soluble fertilizer high in phosphorus and potassium to support fruit development.
Here is the fertilizer I recommend:
Compost Tea
Consider using compost tea as an organic fertilizer option.
It provides essential nutrients and improve soil health.
Learn how to make compost tea with my guide: A Simple Recipe for Rich Compost Tea.
Mulching to Retain Moisture
Mulching helps conserve moisture, regulate soil temperature, and reduce weed growth.
Apply a 2-3 inch layer of organic mulch around the base of the plants.
Leave a small gap around the stem to prevent rot.
Here is the mulch I recommend:
Managing the Growing Season
Throughout the growing season, maintain consistent care for your tomato plants to ensure a bountiful harvest.
Sunlight:
Ensure your tomato plants receive at least 6-8 hours of direct sunlight each day.
Grow bags are portable, so you can move them to sunnier spots if necessary.
Temperature:
Tomatoes thrive in warm temperatures.
If a cold snap is expected, cover the plants with a frost cloth or move the grow bags indoors temporarily.
Pollination:
Tomatoes are self-pollinating, but you can aid the process by gently shaking the plants to distribute pollen.
Grow more in containers with my guides:
A Step-by-Step Guide to Growing Broccoli in Containers
Growing Pumpkins in Containers: A Complete Urban Garden Guide
Harvesting Your Tomatoes
Harvesting tomatoes at the right time and in the right way ensures you get the best flavor and quality from your plants.
To learn more about this, check out my guide: The Art of Harvesting Tomatoes: When and How to Pick the Perfect Fruit.
Here’s how to harvest your tomatoes for the best results:
When to Harvest
Tomatoes are best harvested when they are fully ripe, which can vary depending on the variety.
Here’s how to tell when your tomatoes are ready to be picked:
Color:
The most obvious indicator of ripeness is color.
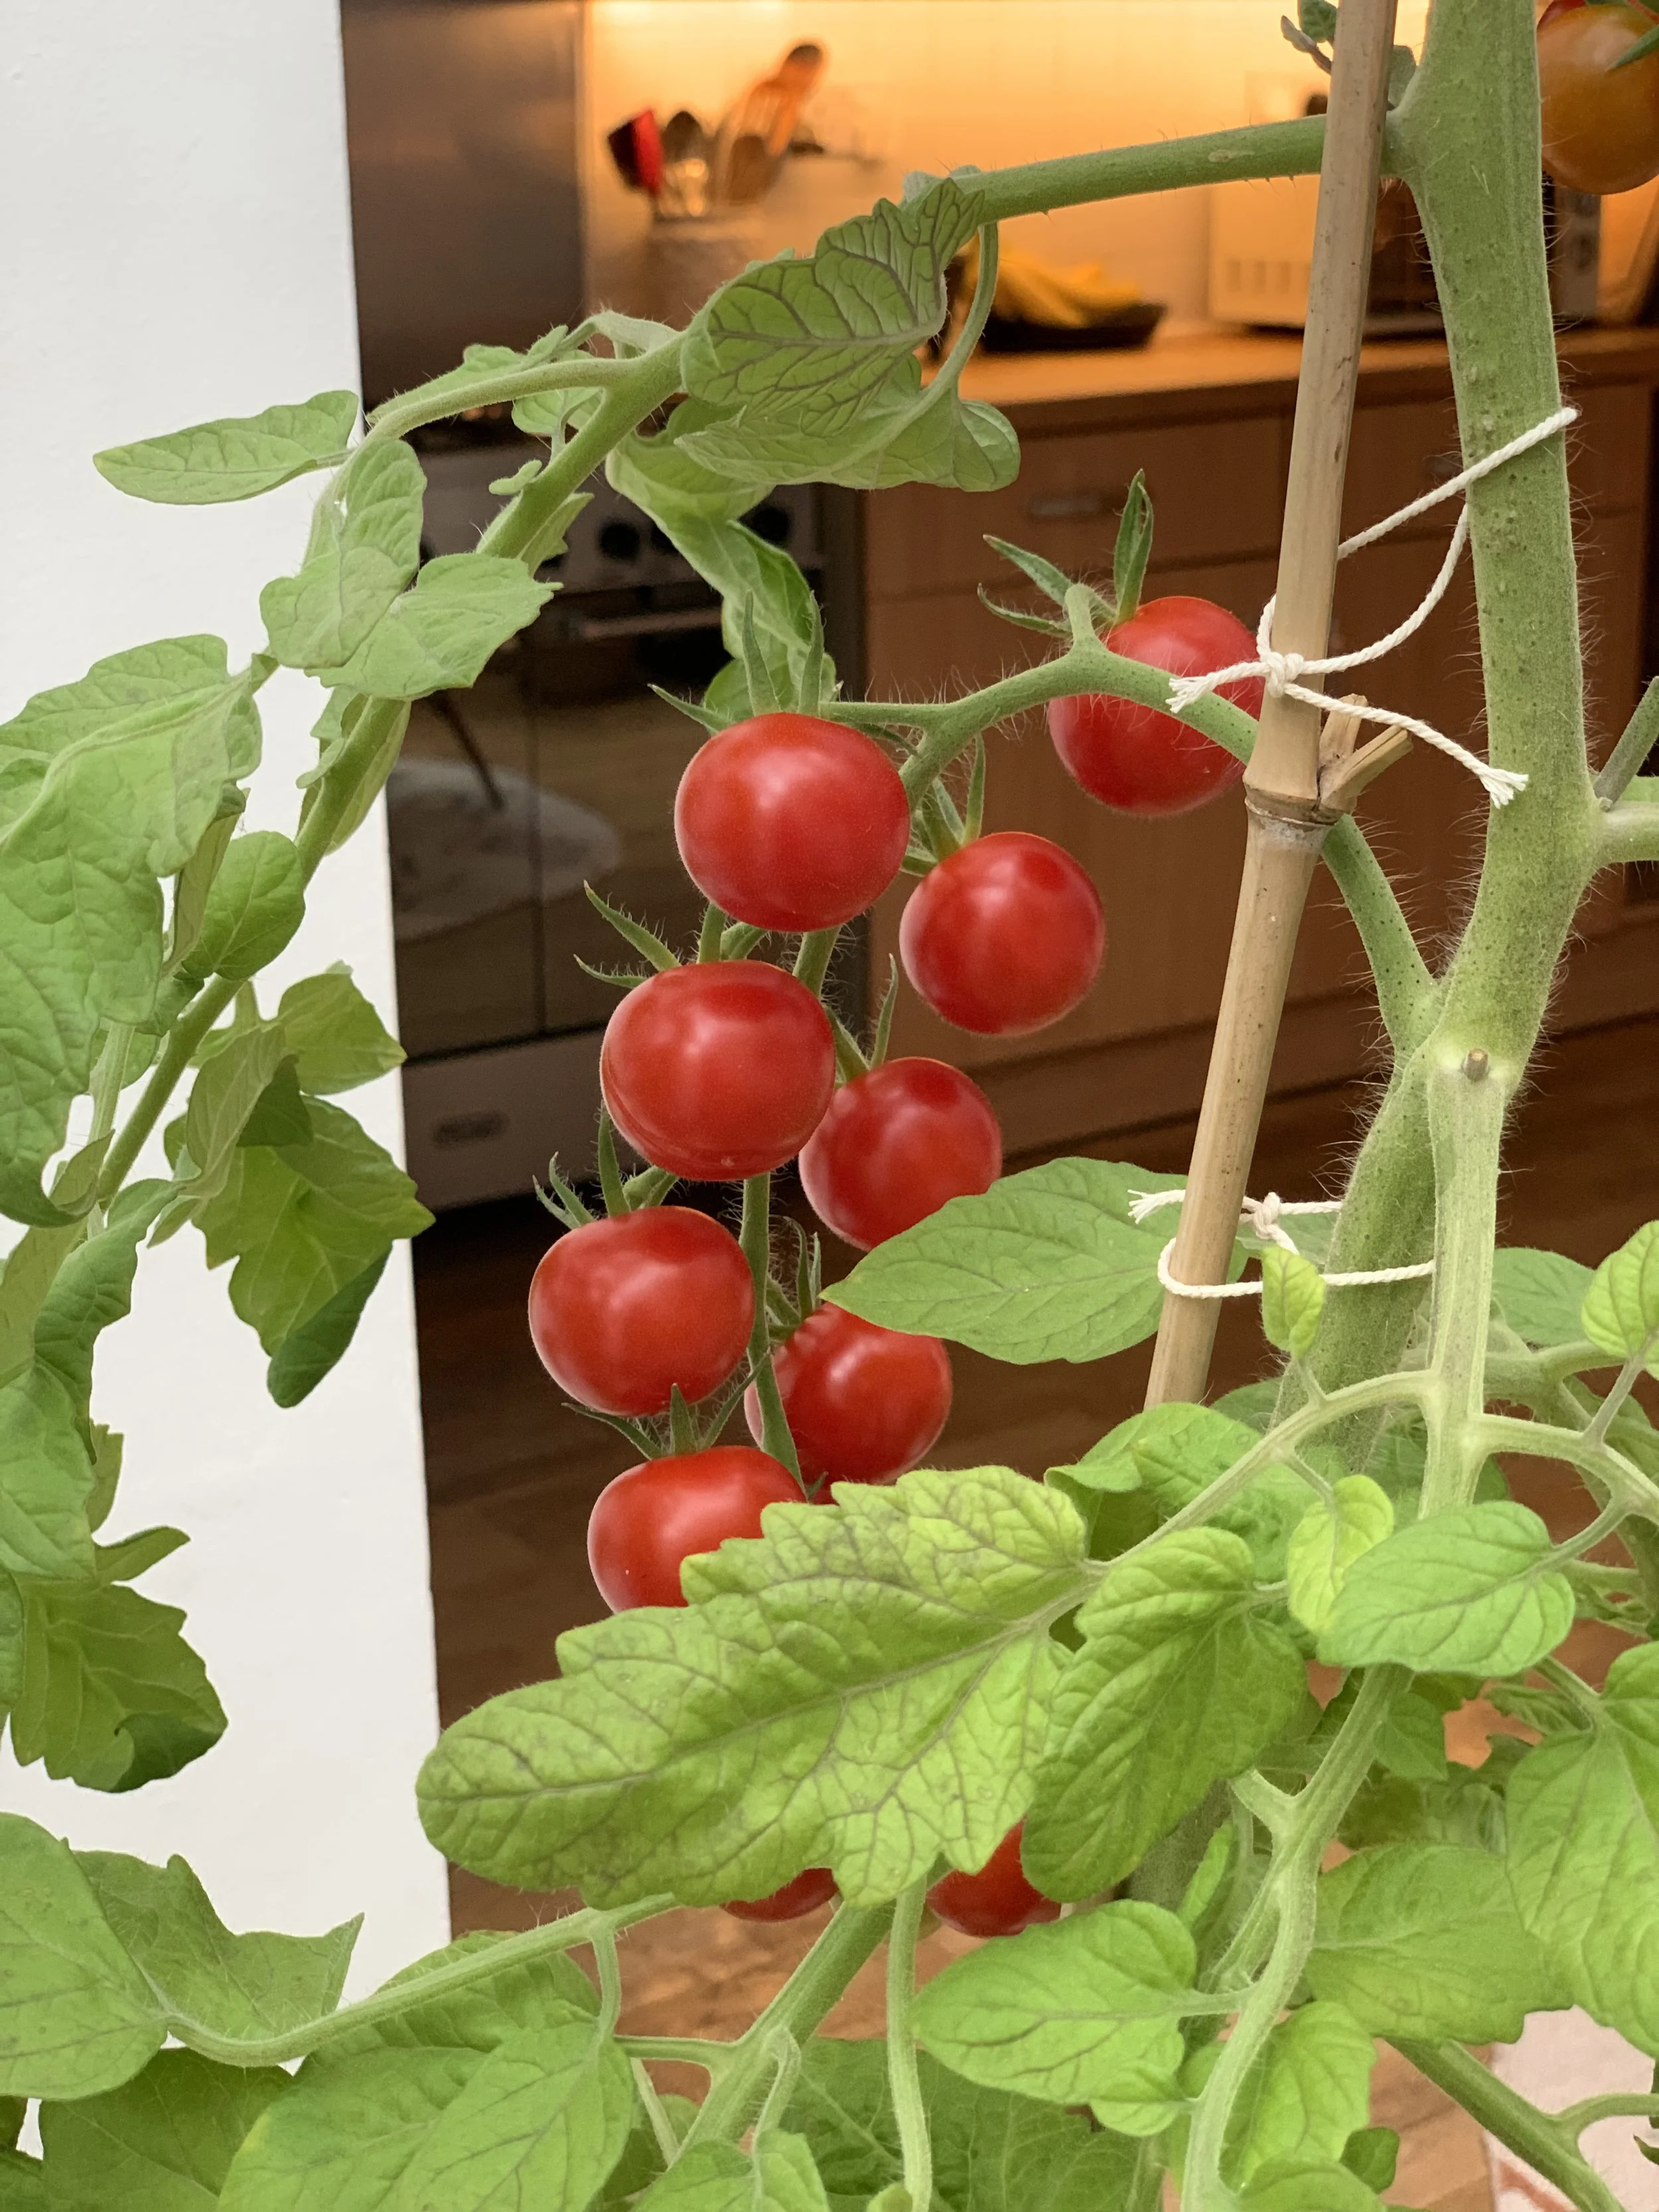
Tomatoes should be fully colored—red, yellow, orange, or the appropriate color for the variety you are growing.
Green shoulders (the area around the stem) should be minimal or gone.
Feel:
Ripe tomatoes should feel firm but give slightly when gently squeezed.
They should not be rock hard or overly soft.
Aroma:
Ripe tomatoes often emit a pleasant, sweet aroma, particularly at the stem end.
If they smell like a tomato, they’re likely ready to harvest.
Days to Maturity:
Check the seed packet or plant label for the expected days to maturity.
This gives you a general timeline for when your tomatoes should be ready to pick.
Best Practices for Picking Tomatoes
Properly picking your tomatoes ensures that you don’t damage the plant or the fruit. Here are some tips:
Gentle Twist and Pull:
For most varieties, gently grasp the tomato and twist it until it comes off the vine.
Alternatively, you can pull it off with a slight upward motion.
If the tomato doesn’t come off easily, it might need a bit more time to ripen.
Using Pruners:
For larger varieties or if you’re concerned about damaging the plant, use a pair of clean, sharp garden pruners.
Cut the stem about half an inch above the fruit.
These pruners are perfect for the job:
Regular Harvesting:
Check your tomato plants daily once they start to ripen.
Regular harvesting encourages the plant to produce more fruit and prevents overripe tomatoes from attracting pests or rotting on the vine.
Handling and Storing Harvested Tomatoes
How you handle and store your tomatoes after harvesting can affect their flavor and shelf life.
Here’s what to do:
Avoid Refrigeration:
Tomatoes lose flavor and texture when stored in the refrigerator.
Keep them at room temperature, out of direct sunlight, and in a single layer to prevent bruising.
Use or Preserve:
Tomatoes are best enjoyed fresh, but if you have a large harvest, consider preserving methods such as canning, drying, or making sauces and salsas.
Ripening Off the Vine
Sometimes, you might need to harvest tomatoes before they’re fully ripe, especially if a frost is forecast or you need to lighten the load on the plant.
Here’s how to ripen them off the vine:
Indoors Ripening:
Place unripe tomatoes in a warm, dry area indoors.
They will continue to ripen over a few days to a week.
You can place them in a paper bag to speed up the process.
Ethylene Gas:
Tomatoes emit ethylene gas, which aids in ripening.
Placing a ripe banana or apple in the bag with your tomatoes can speed up the ripening process.
Preventing Common Issues During Harvest
Harvesting tomatoes can sometimes come with challenges.
Here’s how to address common issues:
Splitting:
Tomatoes can split due to irregular watering or heavy rains.
Harvest these tomatoes immediately and use them as soon as possible.
Blossom End Rot:
This condition, caused by calcium deficiency, shows up as dark, sunken spots on the bottom of the fruit.
Remove affected tomatoes and adjust your watering and fertilization practices to prevent future issues.
Grow more vegetables in containers with my guides:
Can I reuse grow bags for the next growing season?
Yes, you can definitely reuse grow bags for multiple growing seasons.
Here’s how to prepare them for reuse:
Empty and Clean:
At the end of the growing season, empty the grow bags completely, removing all soil and plant debris.
Discard the old soil or use it in your garden compost, as it might be depleted of nutrients and could harbor diseases.
Disinfect:
To prevent the spread of diseases, thoroughly disinfect the grow bags.
Soak them in a solution of one part bleach to ten parts water for about 30 minutes.
Rinse them well with clean water and let them dry completely in the sun.
Inspect for Damage:
Check the grow bags for any signs of wear and tear, such as holes or weakened seams.
Minor repairs can be made with a strong, weather-resistant thread, but severely damaged bags should be replaced.
Storage:
Store the clean and dry grow bags in a cool, dry place until you’re ready to use them again.
Proper storage prevents mold and mildew from developing.
For more container gardening inspiration, check out my guides:
Wrap-Up
Growing tomatoes in a grow bag is a really rewarding experience that anyone can enjoy, regardless of space constraints.
By carefully choosing the right grow bag, preparing it with high-quality potting soil, and ensuring you plant tomatoes correctly, you set the foundation for a bountiful tomato harvest.
Remember to water regularly to keep your plants hydrated and healthy, and provide support as they grow.
Whether you start from seeds or seedlings, each tomato plant will benefit from your care and patience.
So, grab your grow bags, prepare your potting soil, and plant tomatoes this season to enjoy fresh, home-grown produce right at your doorstep.
For more tomato tips, check out my guide:
Pin this post to save it for later!
